
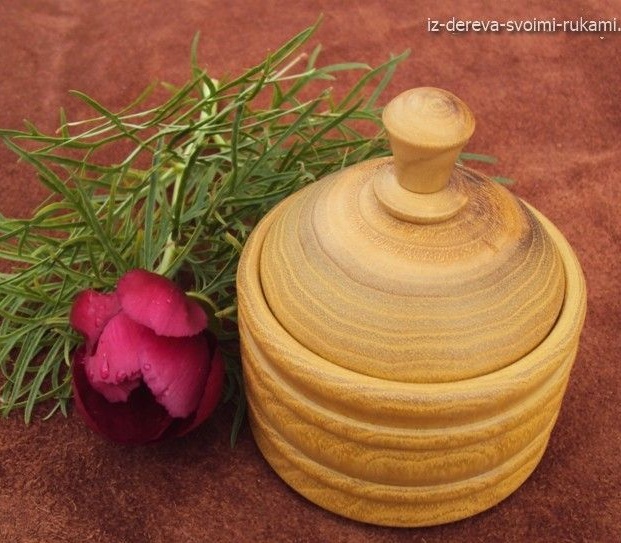
Hello to all lovers homemade. Turning is still very common to this day and is a very interesting occupation in which you can give the blank a unique and original look, in this article I will tell you how the author made a salt box on his wood lathe. The material was chosen quite correctly, the acacia in this case will look very good because of the greenish color, and polished it to shine on the walls you will see the mother of pearl, which will give the salt shaker even more aesthetics. In the manufacture of this homemade product, some initial skills in working with a wood lathe will be necessary, however, the basics of working on it are taught in labor lessons in high school, so if you did not skip these classes, then this will only be beneficial. And now we’ll decide what exactly is needed to make this salt shaker.
In order to make a salt shaker on a lathe, you will need:
* The wood lathe itself.
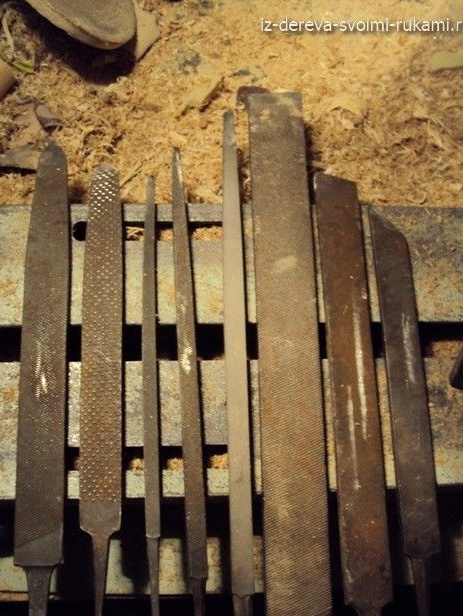
* Cutters made of files, the strength of which is more than enough.
* Acacia wood blank.
* Hacksaw for metal.
* Varnish for wooden products.
* Wax mastic.
* Sandpaper.
The materials and the machine are ready to go, so let's get started.
Step one.
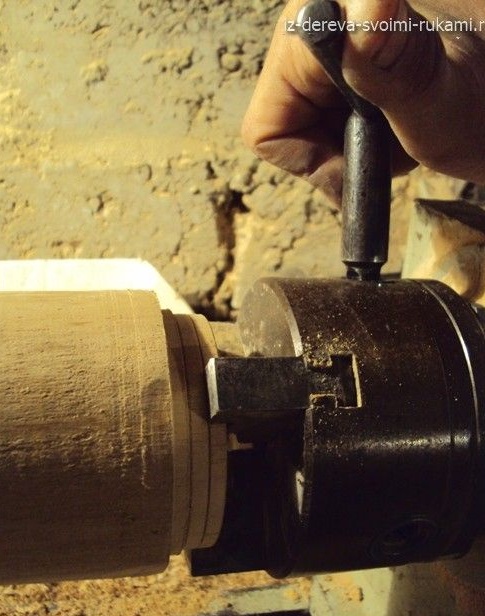
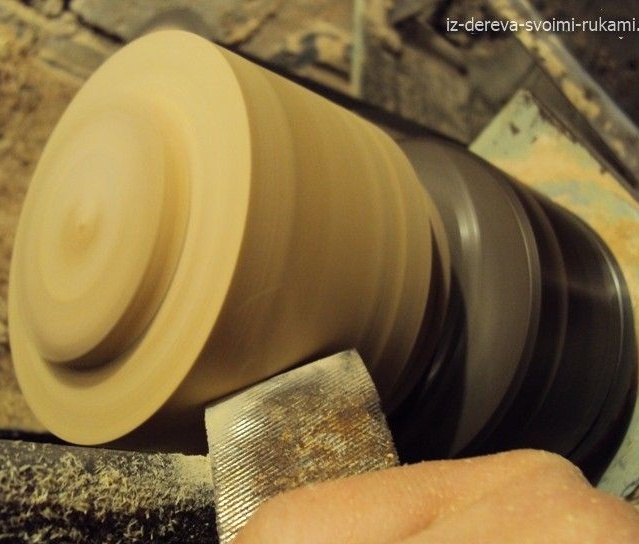
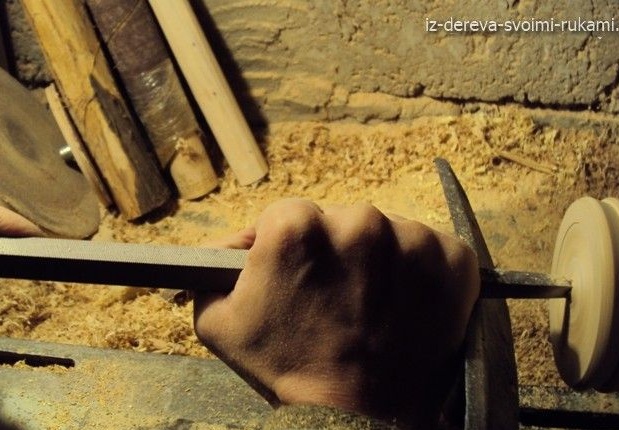
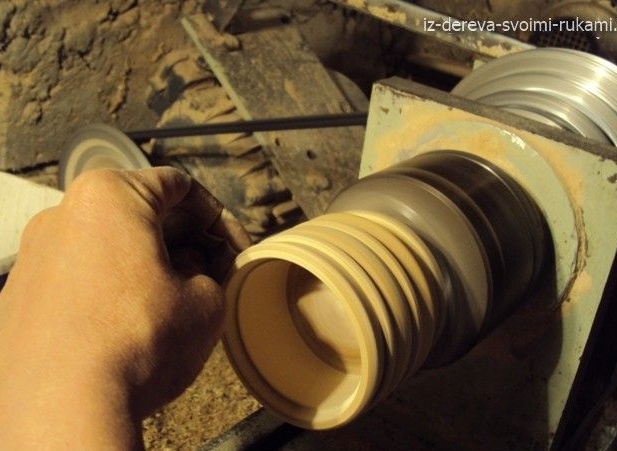
First of all, you need to fix the wooden workpiece into a three-jaw chuck, if the original part has the shape of a square, then with the knife we grind the ends, thereby making one side round, after which we tighten the workpiece in the chuck. Now we start the machine engine and process the ends to get a cylindrical workpiece, we do this with a semicircular cutter.
Step Two
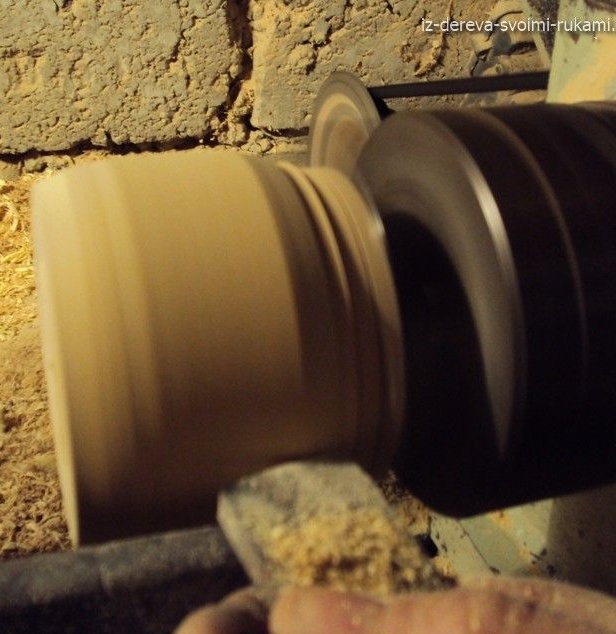
In the case of a semicircular cutter, a smooth surface cannot be achieved, therefore, we replace it with a jamb cutter, which will give the desired result.
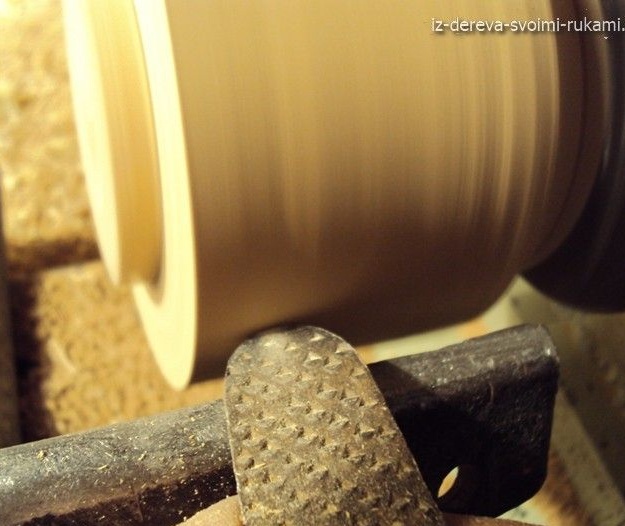
Step Three
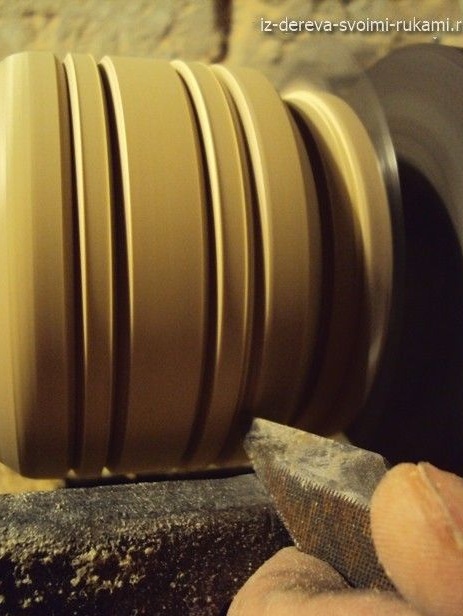
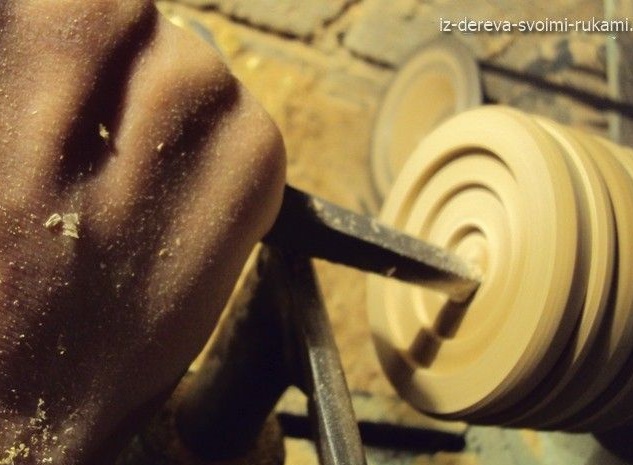
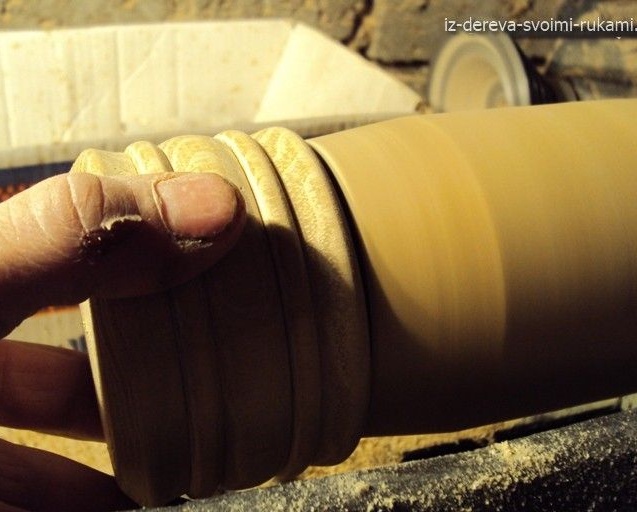
Each homemade little thing has its own originality and non-repeatability, therefore, to give a decorative look and a peculiar style, we cut out grooves with a jamb cutter, which will distinguish your homemade product from others.
Step Four
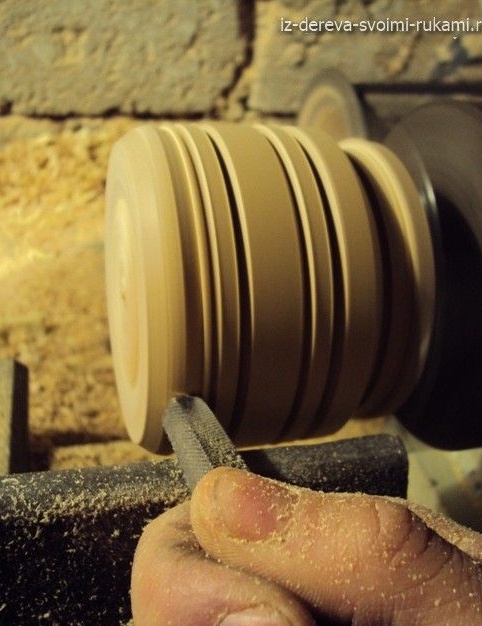
The time has come for design ideas, think of what your salt shaker should be, you can also sketch sketches and make a drawing. We make convex patterns on both sides of the recesses. Round the finished edges.

Step Five
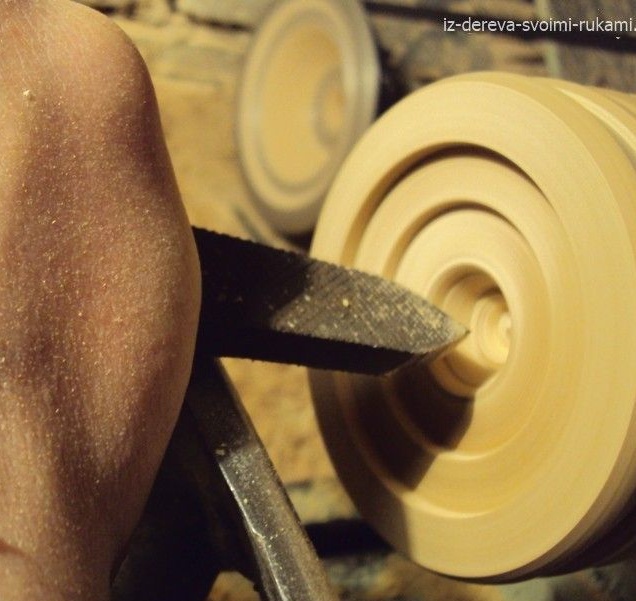
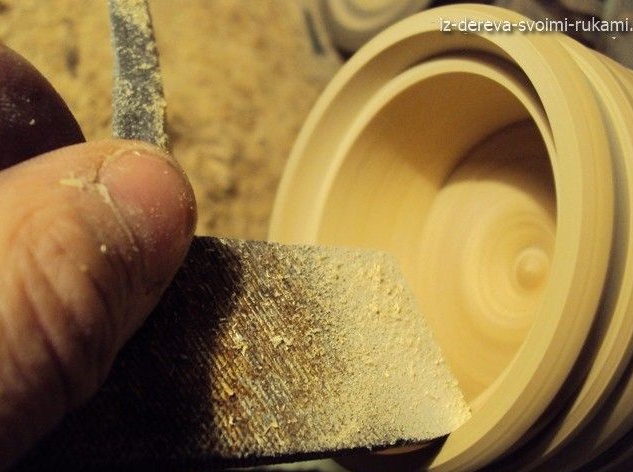
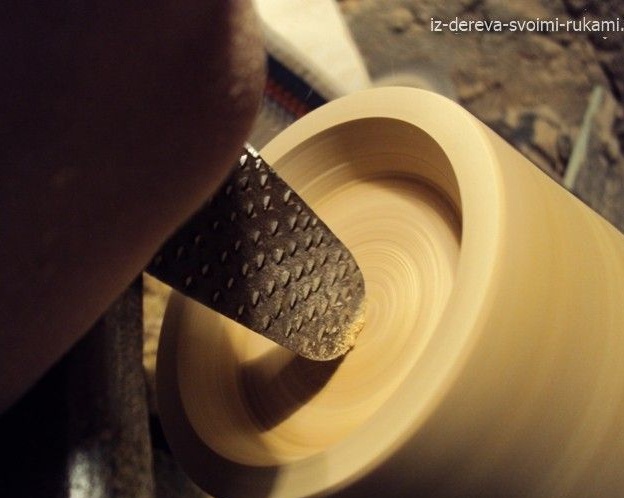
Like all salt shakers, ours also must have an internal cavity, where salt will be placed. In this case, so that there is an emphasis, we turn the handle by 90 degrees.Having picked up a straight narrow incisor, we begin to deepen it, leading from the center to the edge, the main thing is to move the cutter gently, avoiding strong pressing inside the workpiece, otherwise a scoring may appear on the surface, or worse, a crack. To gradually deepen the cutter, we do it stepwise, removing layer by layer.
Step Six
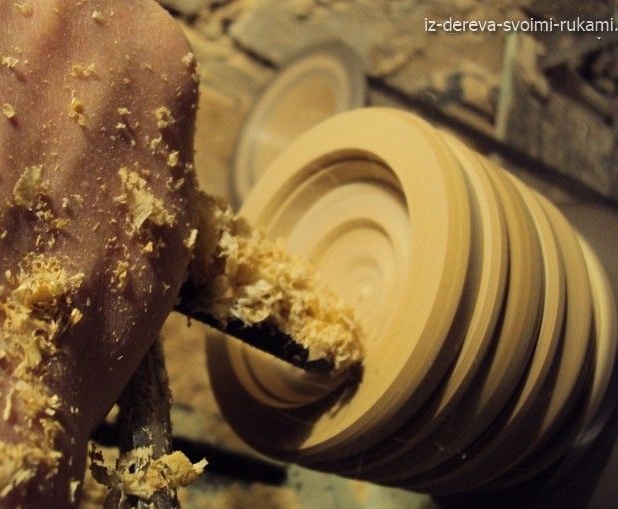
Now you need to expand the internal cavity with the tip of a triangular incisor, while the movements of the incisor should be smooth from the center to the edge, and we also do not forget about the bottom.
Seventh step.
Armed with a cutter with a wide cutting edge, align, and also give the necessary thickness, then make a seat for installing the cover.
Step Eight.
Any work with wood is not complete without grinding, so we grind the edges and bottom of the finished part, gradually reducing the grain size of sandpaper, the finish of which will be zero.
Step Nine.
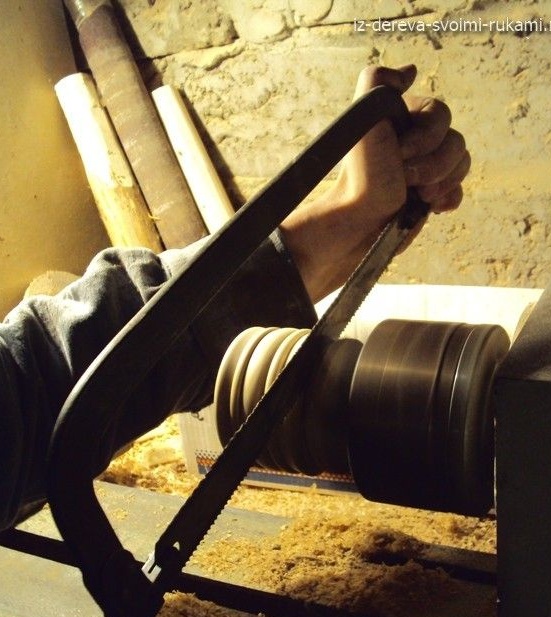
After making sure that everything is well polished, you can cut off the finished salt shaker from the excess. This is done on the turned-on machine, moving the hacksaw away from you on the part, but be careful and follow the process, not allowing the blade to overheat. Without finishing it a bit, turn off the machine and release the excess part.
Step Ten
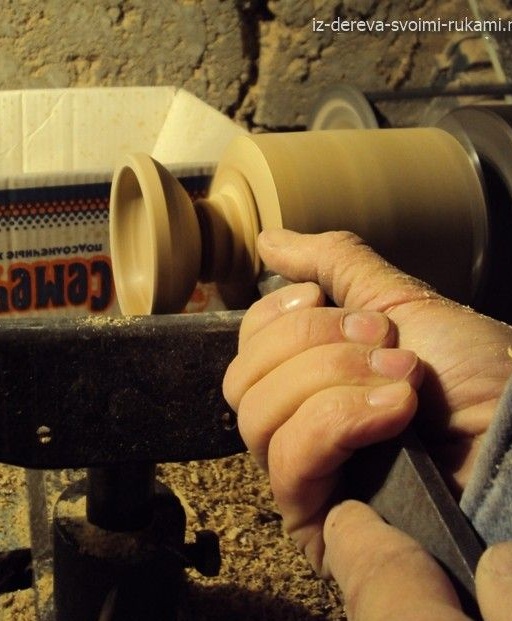
In order for the salt shaker to be full, it needs to make a lid, the author's choice fell on the domed shape. All landing dimensions must match, if necessary, adjust the inner diameter of the salt shaker. For simplicity, we check for accuracy of fit.
Step eleven.
Inside the lid, cut out a dome-shaped recess with a semicircular cutter.
After the inside, go to the outside, where you need to make a pen for convenience.
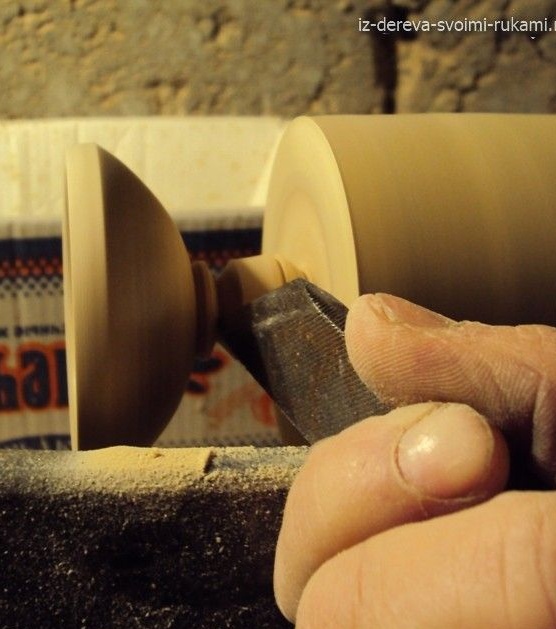
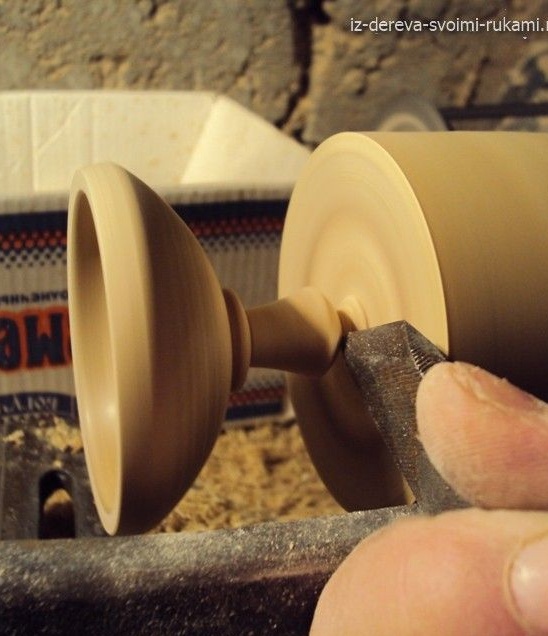
Grind the lid in the same way as the main part.
In the end, the surface of the salt shaker is covered with wax mastic, also the outside can be covered with a layer of transparent varnish, this is where the home-made salt shaker is ready.
Thank you all and good luck in your endeavors.