From this article you can learn how to make garage Workbench with a large work surface and with built-in drawers for storing tools and other necessary things.
Materials and tools:
-a circular saw
plywood sheets 20 and 13 mm thick
milling cutter
strips of red oak
-polyurethane
-paint
-Sander
self-tapping screws
Description of the manufacture of a universal rack with a workbench for a garage workshop:
Step One: Design Planning.
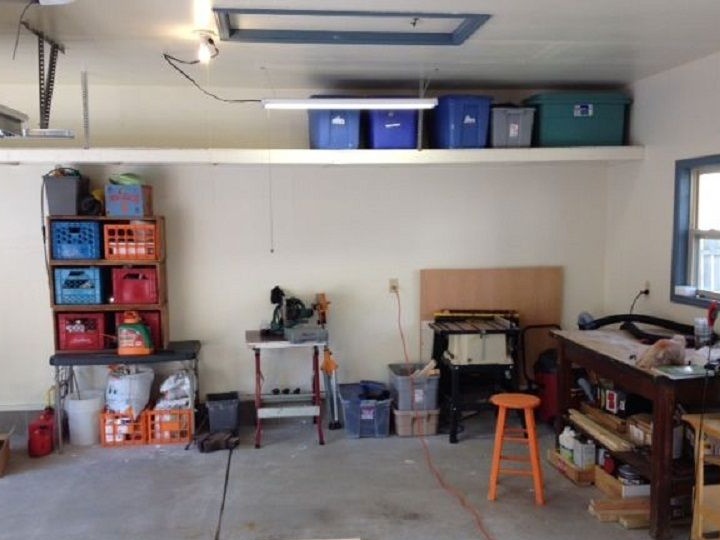
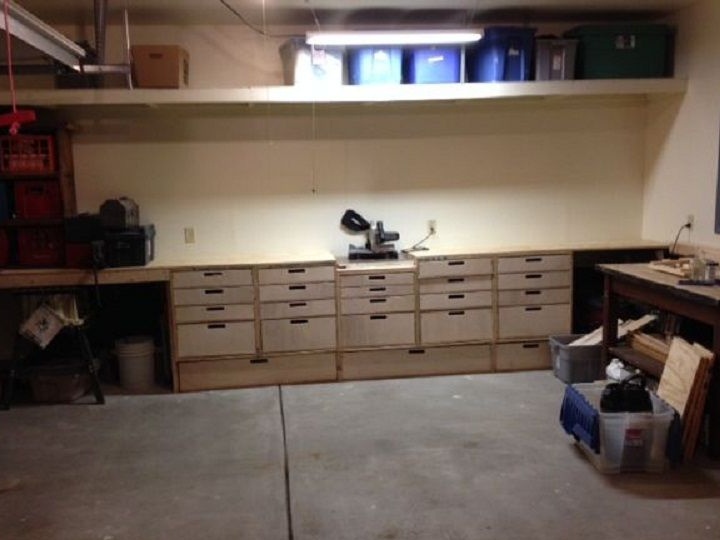
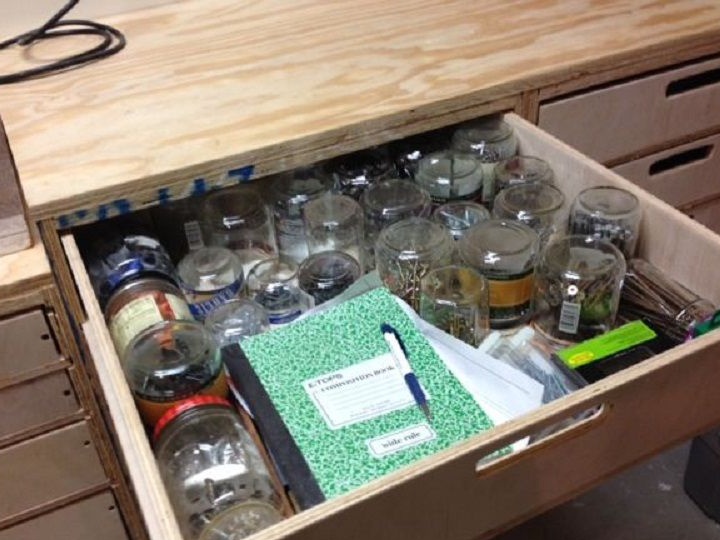
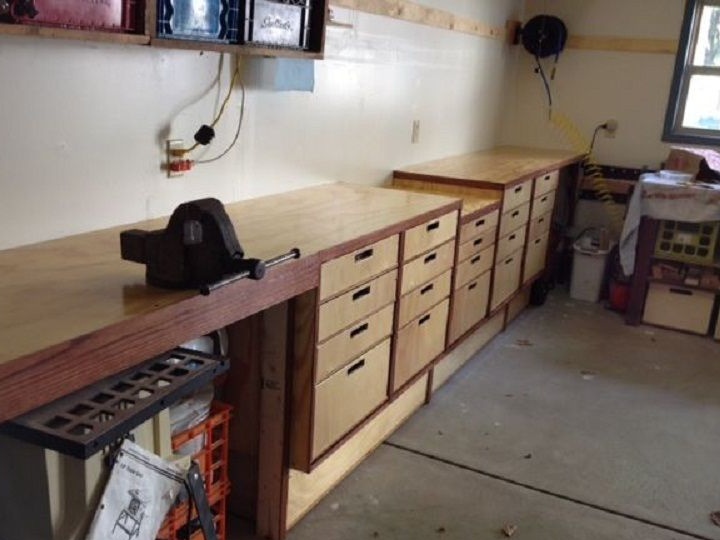
The author planned to make a large workbench with racks that could occupy the entire length of one of the walls of his garage. It was necessary to calculate everything so that on its surface there was a place for work with a circular saw. Also in the workbench should be the maximum number of boxes of various sizes for storing tools, parts, crafts, various devices and other things.
Thus, the workbench will be 660 cm long, 100 cm high and 60 cm wide.
The main material for creating the drawers and the design of the rack will be sheets of thick plywood, and the upper part of the workbench will be made of a 60 by 120 cm frame.
Step Two: Cutting parts from plywood.
For the central cabinet, as well as for the lid of the workbench, polished plywood with a thickness of 20 mm was used. In order to make five cabinets, as well as create a work surface for a workbench, it took four full sheets of plywood.
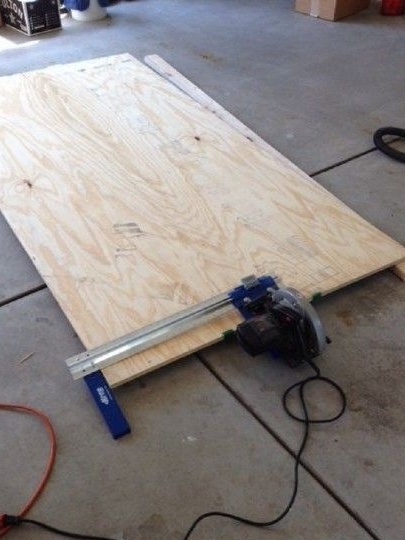
Using a circular saw, each of these plywood sheets was cut into two halves of 4.8 m by 0.6 m. To create a workbench cover, three such strips of better quality would be required.
Other plywood strips were cut into fragments to make the top and bottom of the cabinet.
For the manufacture of five boxes, strips of the same dimensions of 0.6 m by 4.8 m were used, but from plywood 13 mm thick.
Fragments for the manufacture of boxes were cut with a size of 61 by 61 cm. In total, 20 pieces were cut to create a section of the rack.
Step Three: Create Drawer Guides
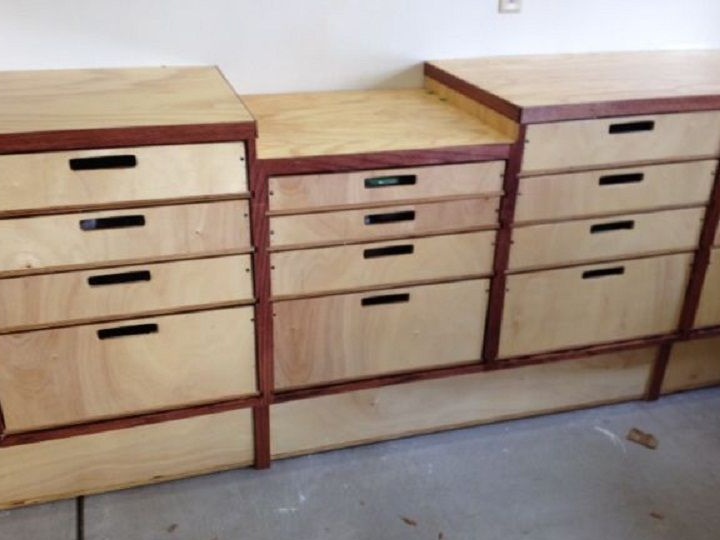
For each cabinet, the calculation of the boxes was as follows: three not very deep and one deep for larger items. For boxes, it was necessary to cut out the guides. For these purposes, a milling cutter with a diameter of 1.27 cm was used, just such will be the depth of each groove in the walls of the cabinets.
For easy grooving of lockers, an extra devicewhich facilitated the work. One groove with a depth of 254 mm was cut in the lower side of the cabinet, the other 3 grooves were made at a distance of 127 mm from each other and 146 mm from the upper part of the cabinet.
Fourth step: Assembling a workbench frame with racks.
To ensure the reliability of fastening, small strips of plywood were used, which covered the upper parts of the rear wall. Thus, creating a fastener point for mounting boxes with screws.
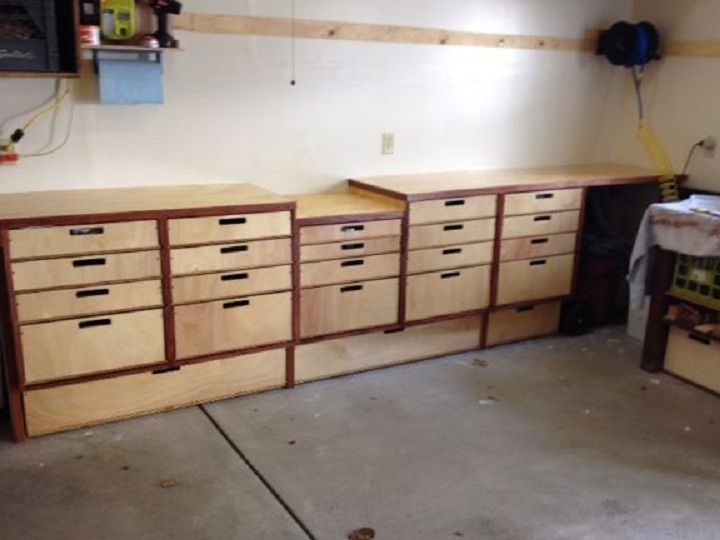
Since the author originally planned to create a place for using a circular saw in his workbench, the cabinet, which is installed in the middle, was made 76 mm lower compared to the others. This was done by reducing the height of the first two boxes.
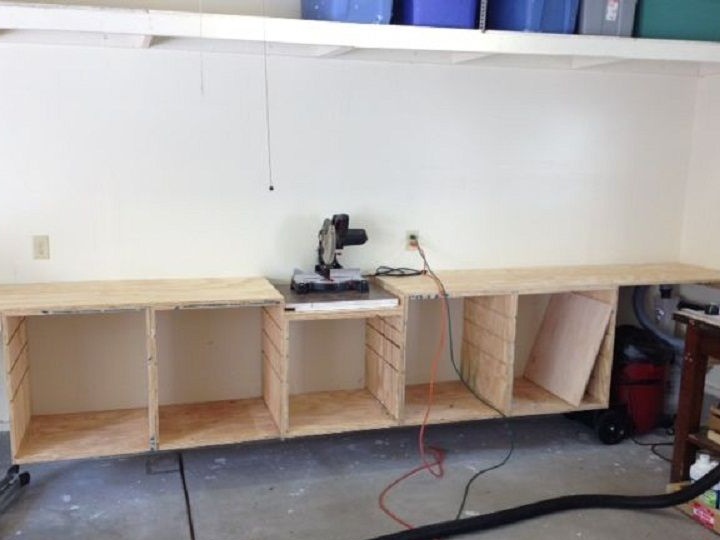
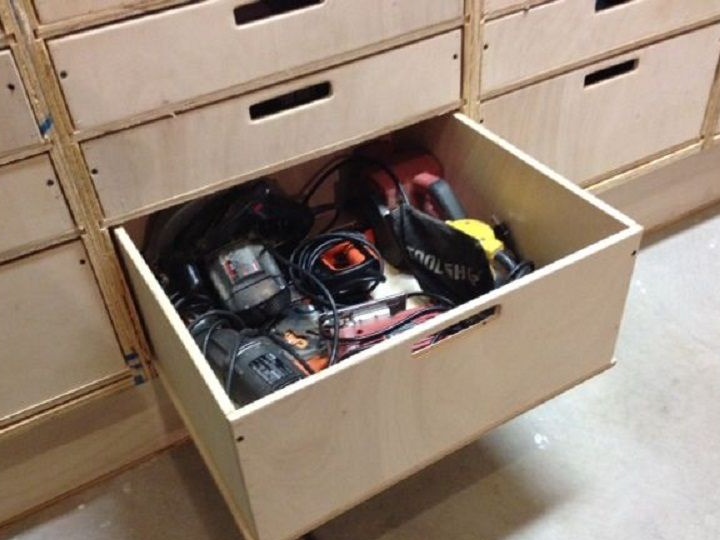
All five assembled boxes were fastened together, and also attached to the wall due to fixing screws. The boxes were fixed so that a lot of free space remained below them. This space will be used to create an additional three largest drawers, in which it will be possible to clean especially long tools, parts and workpieces. The author decided to simply place these drawers on the floor, although for more convenient use, it is best to attach furniture rollers, making it easier to open and close drawers.
Step Five: Installing partitions and finalizing boxes.
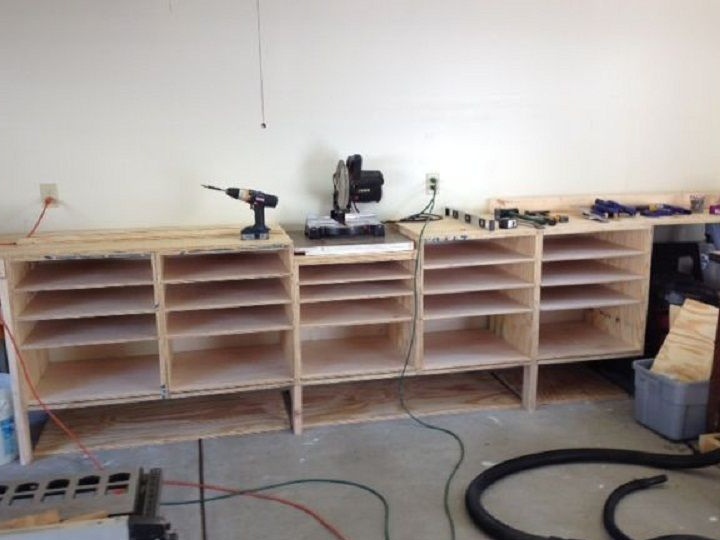
In order for the drawers to slide easily, and did not require strong efforts to open them. Parts of the contacting surfaces were additionally processed by a grinding machine, and the edges of the bottoms of the boxes were rounded. After that, partitions were installed in the shelves, on which the boxes will be fixed.
Step Six: Build the Crates.
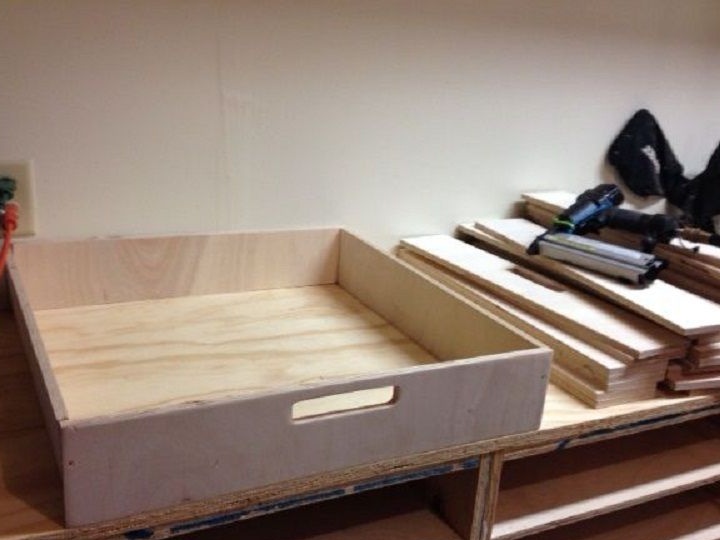
To create the sides of the boxes, a 13 mm thick plywood sheet was used, which was cut into strips of the desired size.
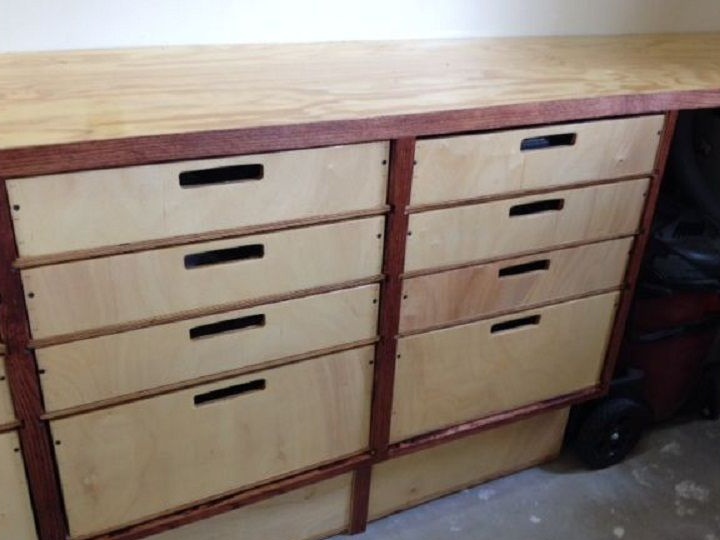
Next, handles were cut in the front of each box. Handles were created by cutting holes with a milling machine. Further, these holes were polished. After that, the author assembled the boxes from the parts obtained using self-tapping screws.
This part of the work is the most labor-intensive in terms of time and effort, because it was necessary to make grooves and grinding for 112 parts of the boxes that will be used in the construction of the workbench.
Next, we made the two largest lower drawers 120 cm long and another 60 cm long. The depth for each of the three drawers is about 25 centimeters and a width of 51 cm. These drawers can store especially long or large objects, such as clamps, hoses and garden tools and stuff.
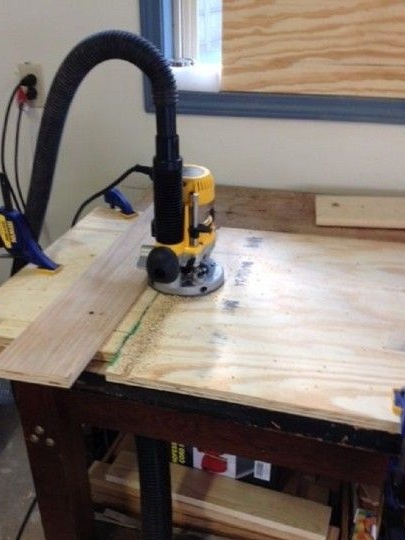
Seventh step: Workbench surface.
To thicken the cover of each workbench, solid sheets of plywood 20 mm thick were used, which cover the surface of the pedestals. These sheets were securely screwed to the top of the cabinets.
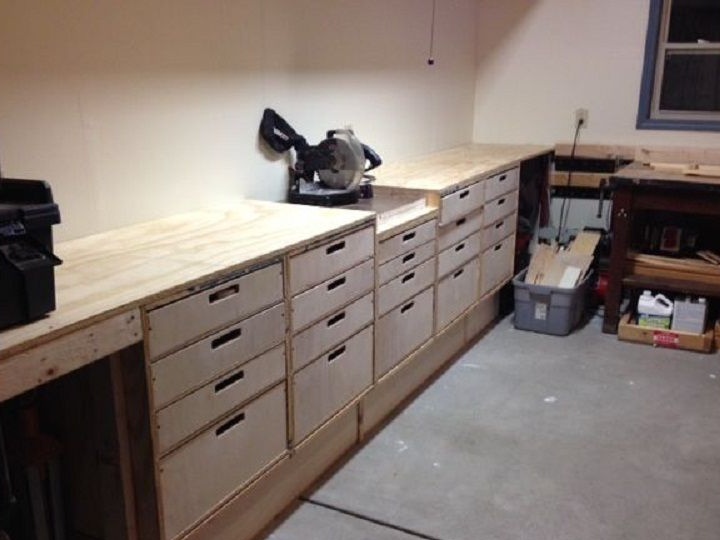
In addition, a frame measuring 60 by 120 cm was made, which was also attached to the lid of the workbench.
Thus, the author received a very durable workbench, consisting of a 60 by 120 cm frame and two layers of plywood superimposed on top of the drawer frame.
Step Eight: Final Processing.
After assembling the workbench, the author proceeded to finish it. To do this, he once again polished all the surfaces of the workbench. After that, several layers of paint were applied to the workbench and to the drawers. Then, for decoration, several strips of red oak were added, the width of which was 38 mm.
After grinding the surface of the workbench using a grinding machine and using a natural dye, we will paint all the plywood. Adding strips of red oak, 3.8 cm wide.
Then he additionally coated the surfaces with several layers of polyurethane.
Summary:
The creation of such a design of racks, drawers and a workbench in a single whole allowed the author to get rid of a bunch of drawers scattered around the workshop, to place tools and materials more compactly and organizedly.
Of the minuses, it is noted that two drawers with a height of 7.6 mm are not enough to store small electric tools, it would be nice to add more. After full loading, drawers 12.7 cm high became quite heavy, perhaps it was worth thinking about guides using rollers, for easier opening of filled drawers. The same goes for 25 cm drawers, which in practice turned out to be too large.