welcome all the inhabitants of our sites!
I present to your court the next home-made device, the tests of which can be viewed on the YouTube site - channel "".
The source of this homemade product was our favorite site, “bestdiy.washerhouse.com”. Only unlike a previously published article metal detector "Butterfly"where the author posted a description of the manufacture metal detector with several articles, my device was manufactured and tested.
Overview and demonstration of the metal detector:
Customization
According to established tradition, the assembly of the device was carried out from improvised material:
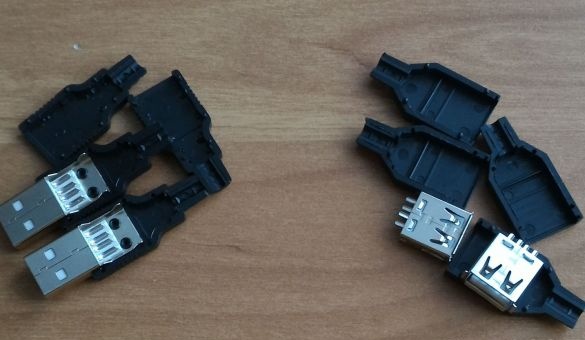
paper, plastic sheet, fishing line, thread, slats, tree branch, insulating tape, wires, PVA glue. In the store I had to purchase only radio components and two sets of USB connectors. Stereo headphones can be taken from a cell phone.
For work, the following tools were used:
- ruler;
- nippers;
- scissors;
- scissors for metal;
- drill mini;
- electric soldering iron;
- clamps;
- thermal gun;
- marker, etc.
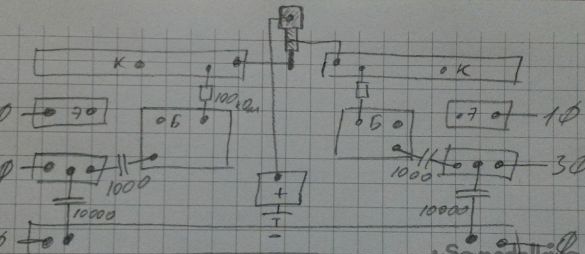
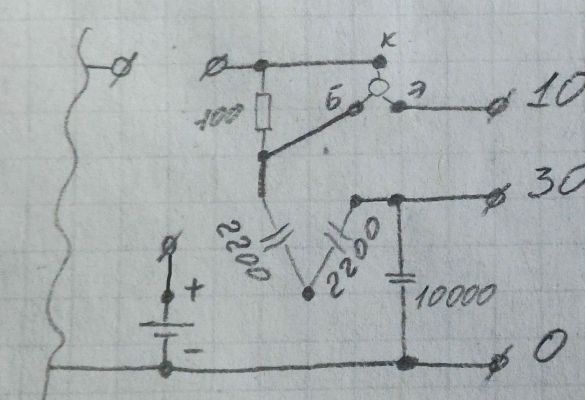
As mentioned above, the scheme is taken from a previously published article.
But due to the lack of some capacitor ratings, small changes were made.
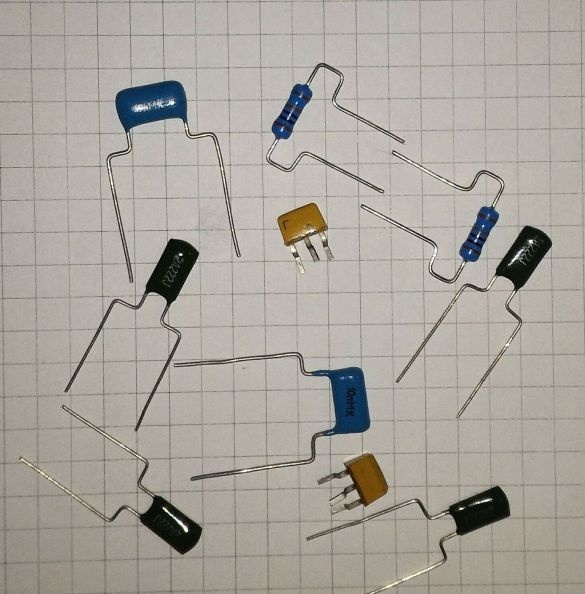
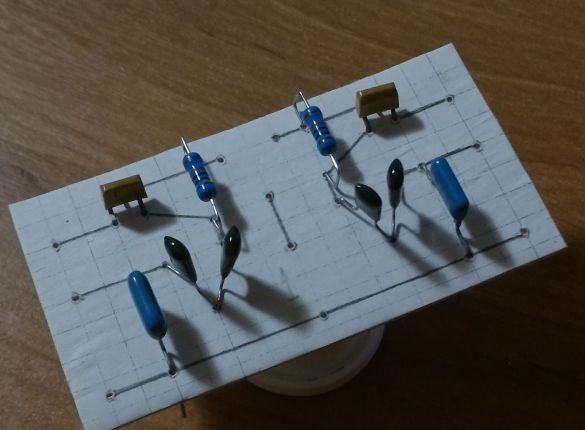
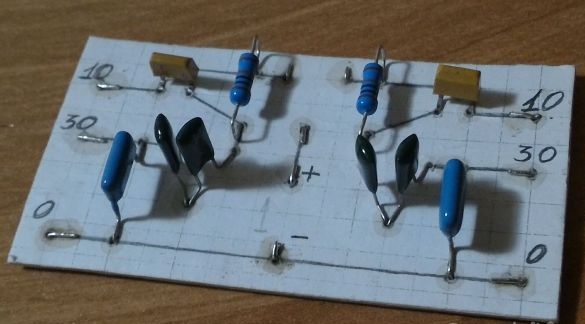
So, the radio components:
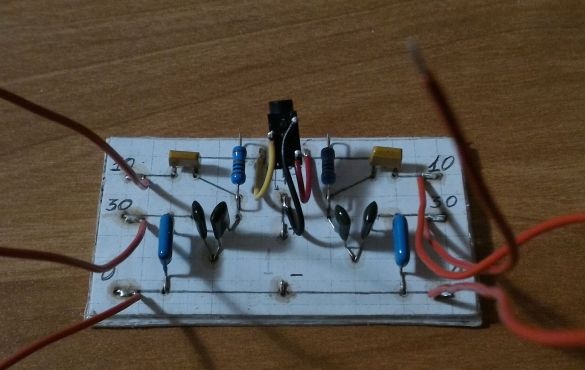
- two transistors KT315;
- four capacitors 2200 pF;
- two capacitors 10000 pF;
- Two 100 kΩ resistors.
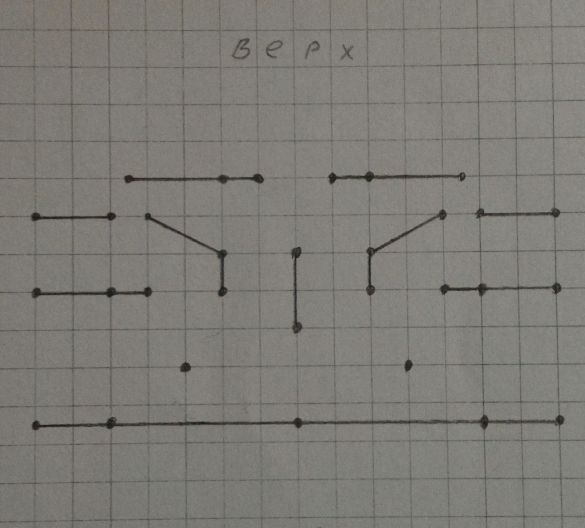
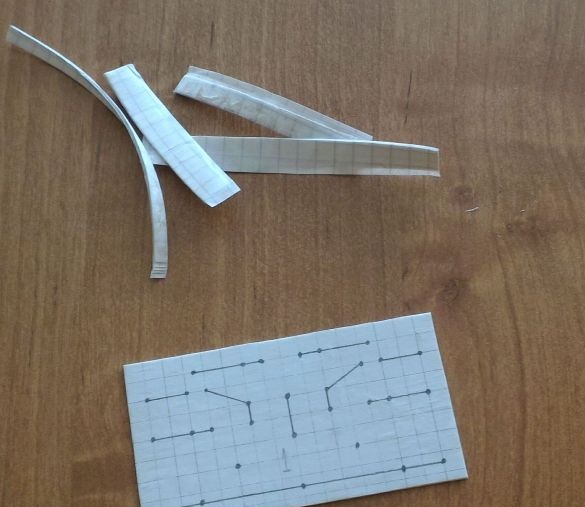
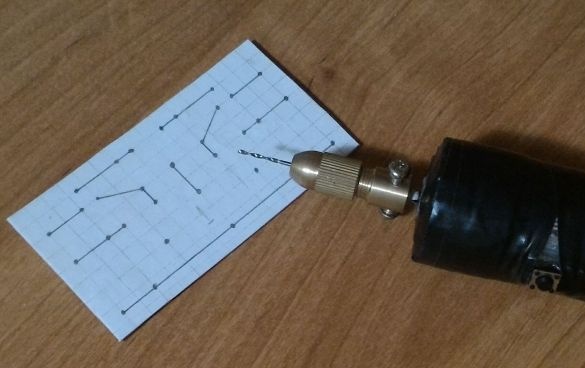
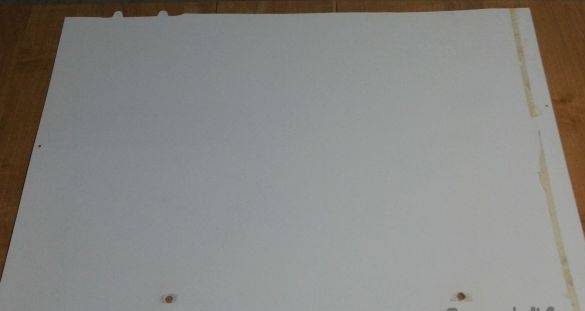
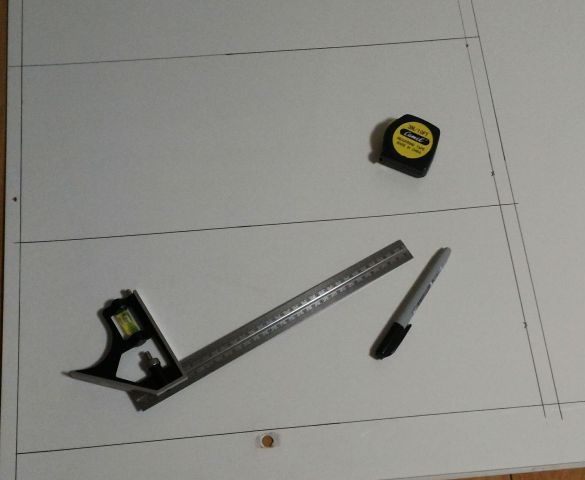
Mark the future board on paper
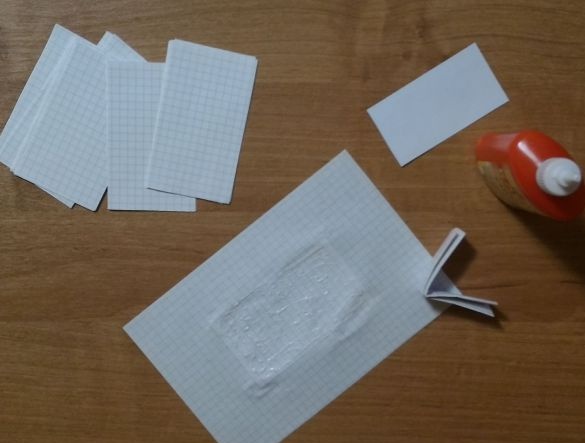
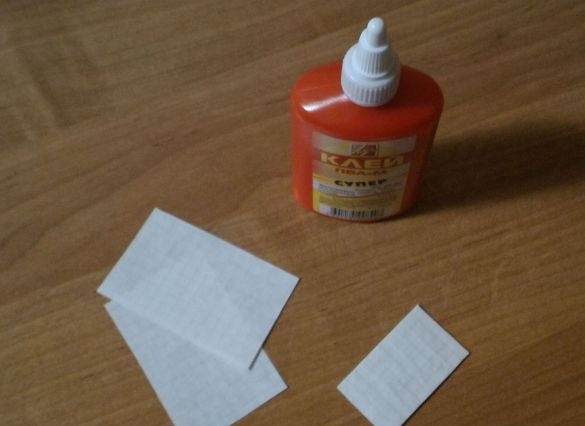
Glue 10-15 sheets of paper to achieve approximately 1-1.5 mm thickness
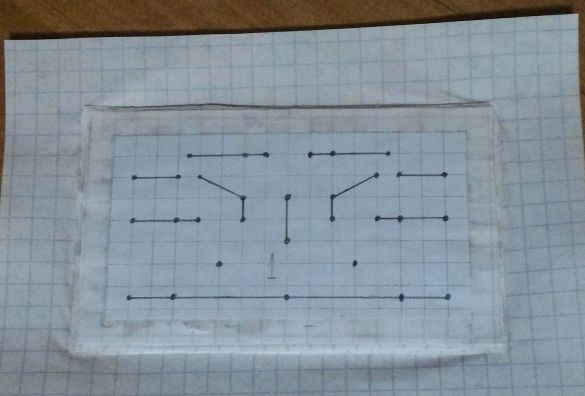
On top, on the resulting "sandwich", paste the marked sheet
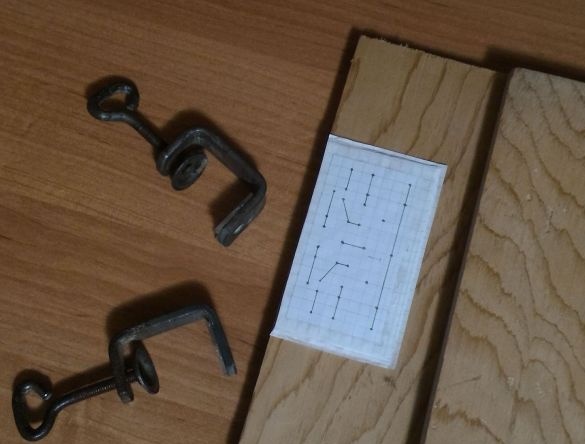
We send the blank under the press
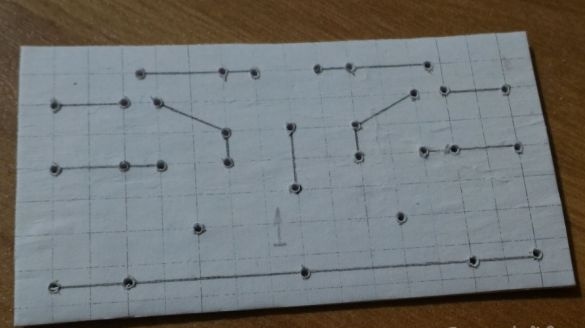
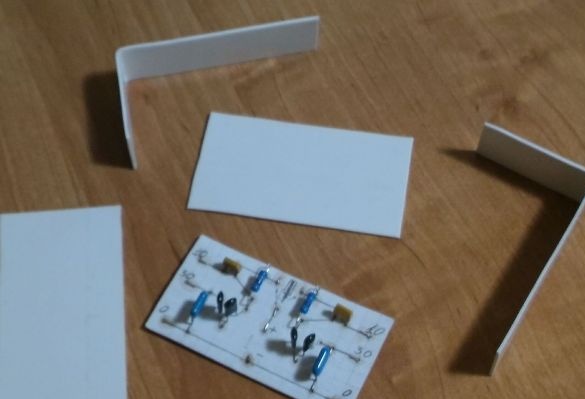
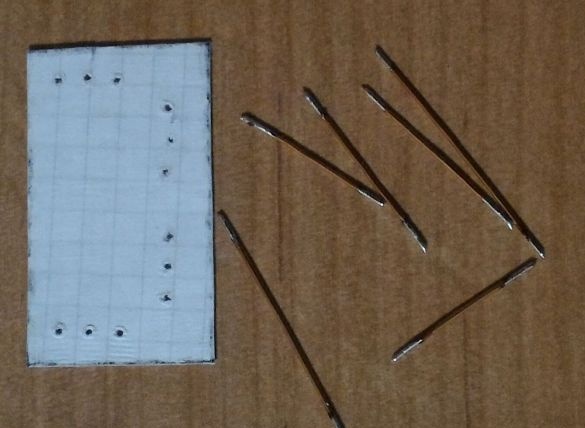
After drying, we cut out the blank of the board and drill holes for the legs of the radio components
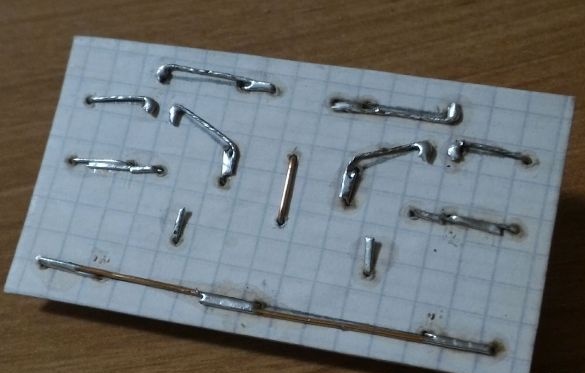
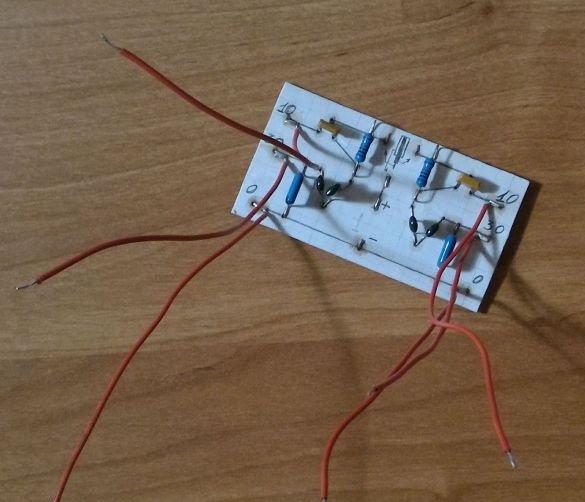
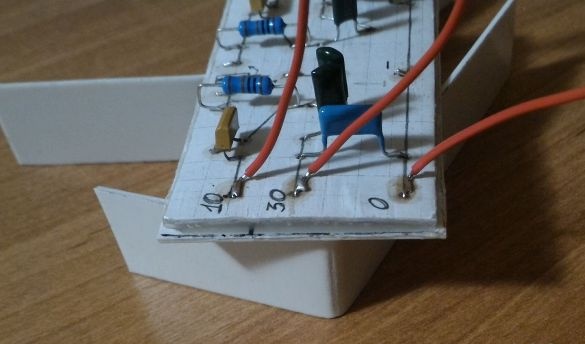
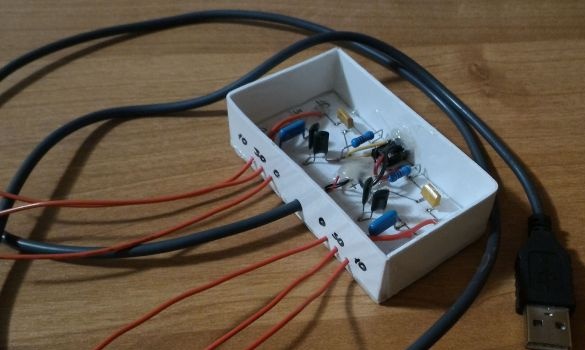
We place the radio components on the board, solder
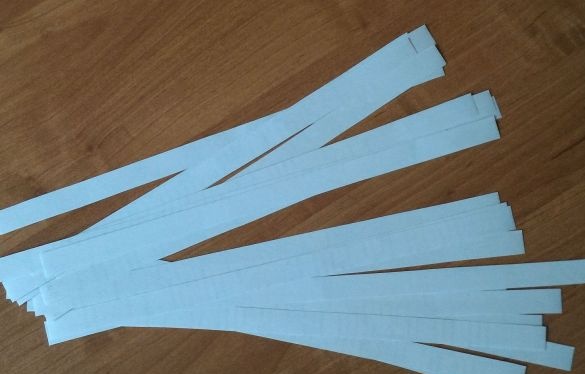
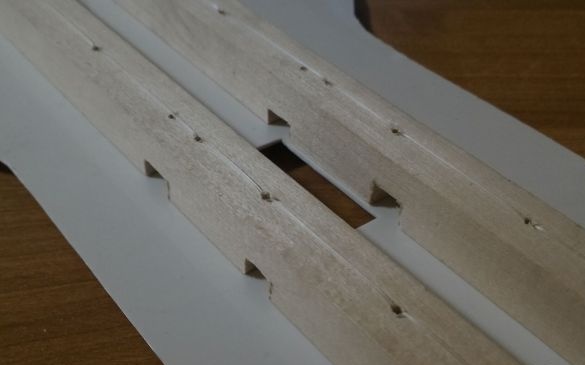
Cut paper strips
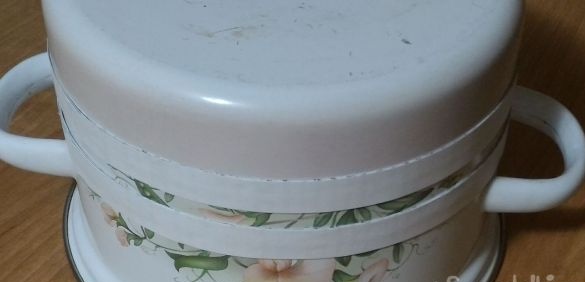
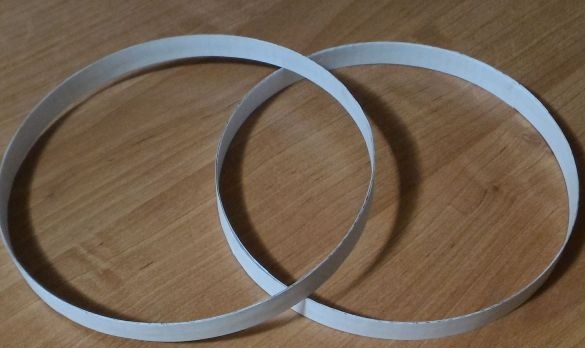
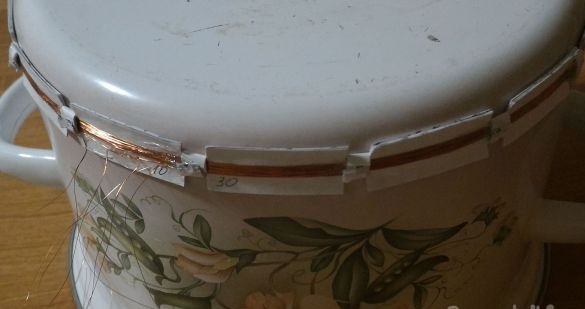
Using a pan, glue two rings from strips (about 6 to 8 layers)
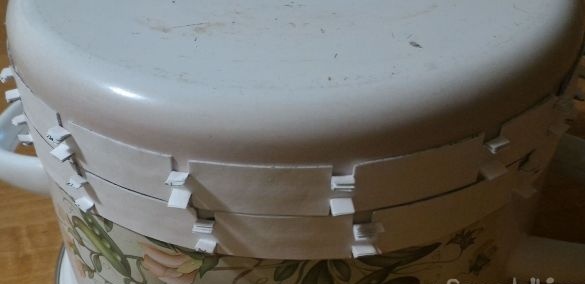
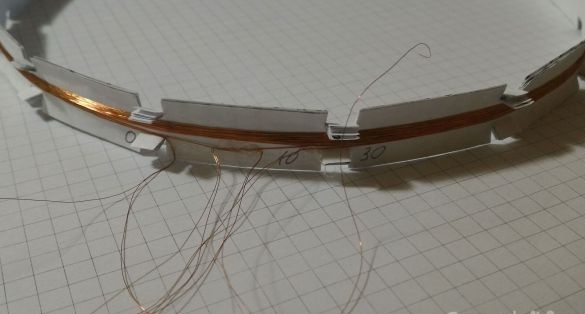
On the rings we make incisions, for the convenience of winding coils
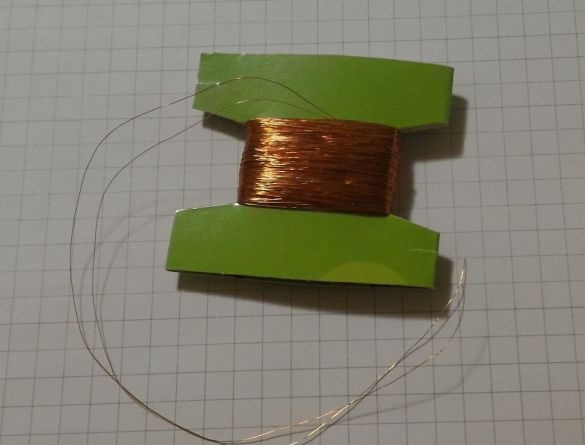
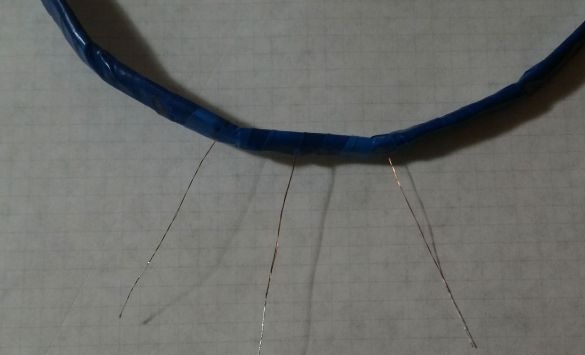
For coils, a double copper wire in varnish insulation with a diameter of 0.1 mm was used (the result was 0.2 mm)
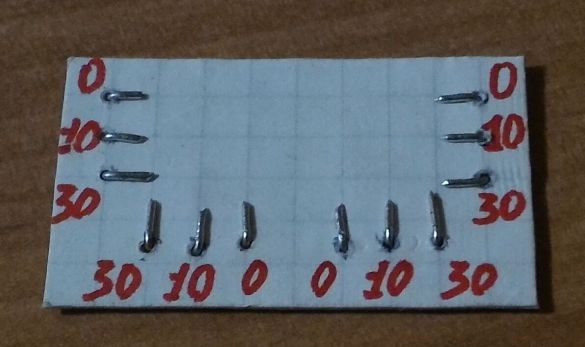
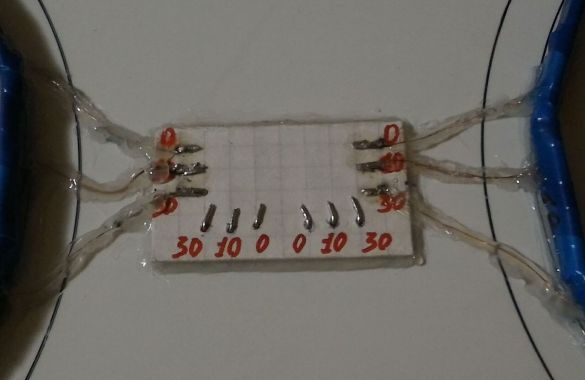
Also, using a pan for convenience, we wind the coils according to the scheme 0 - 10 - 30 turns
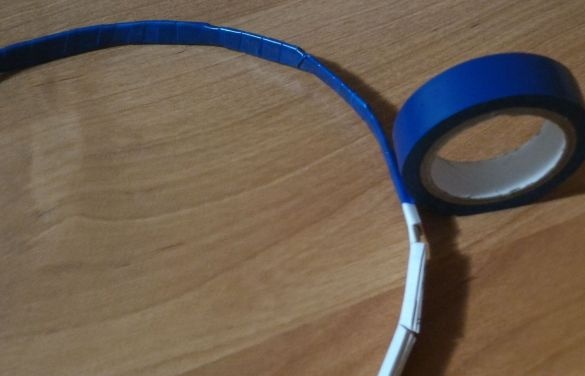
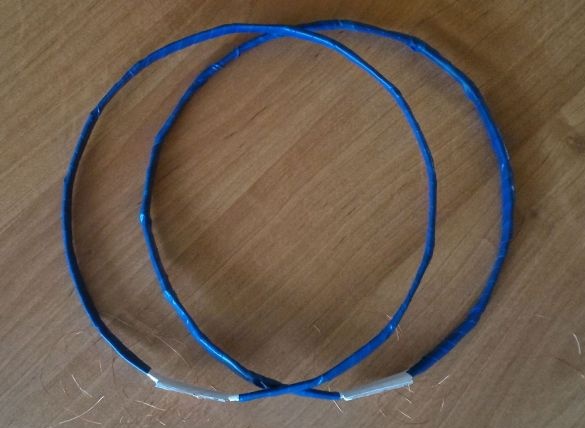
We wrap coils with electrical tape
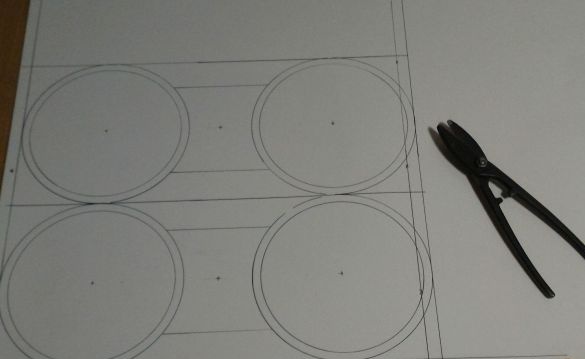
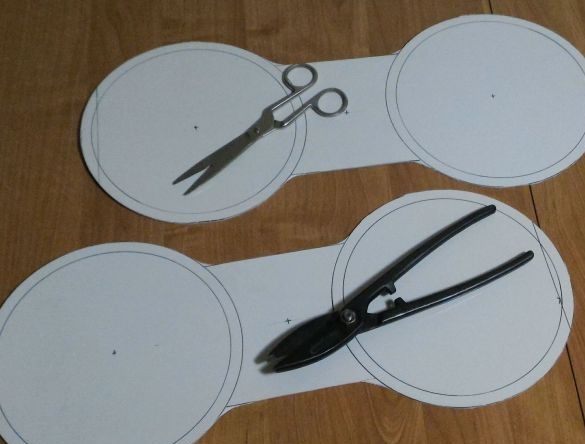
We mark sheet plastic and cut blanks
We make blanks for the case of the working board
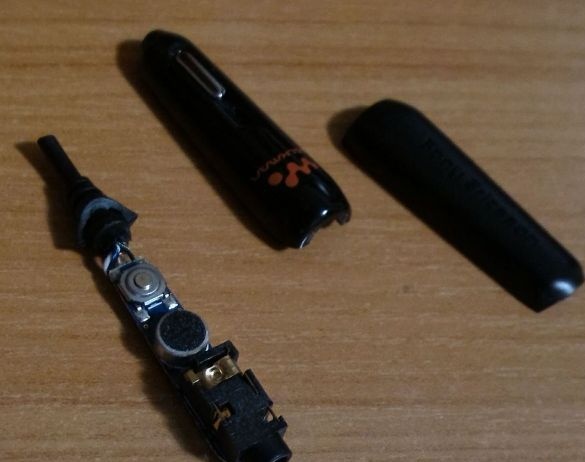
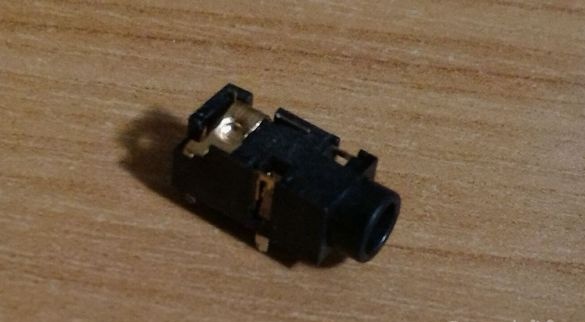
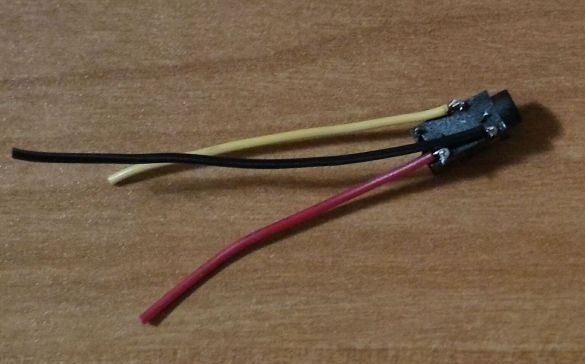
We disassemble the headset of a cell phone and solder the stereo jack for headphones
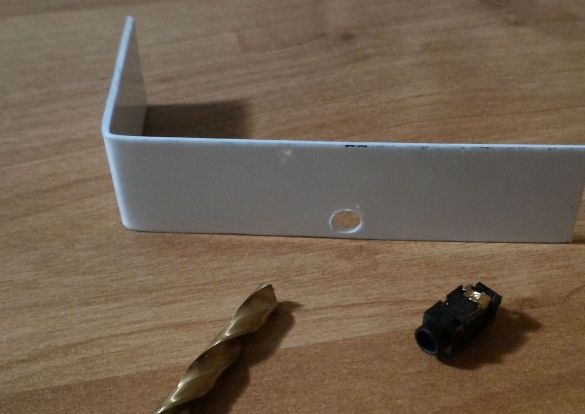
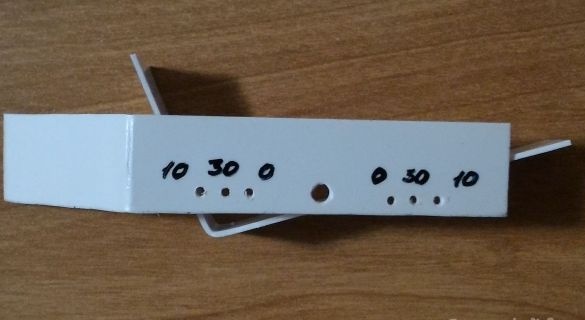
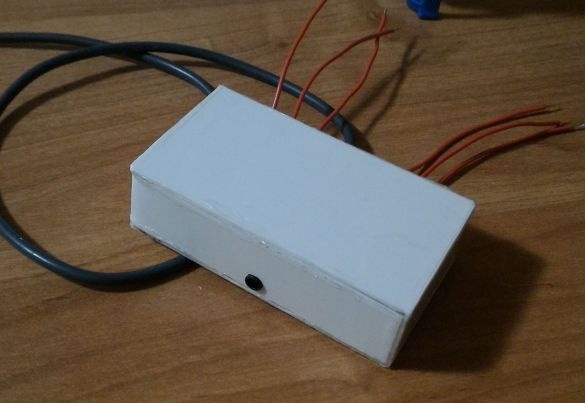
In the blanks of the case, we drill holes for the stereo jack on one side and for wires on the other
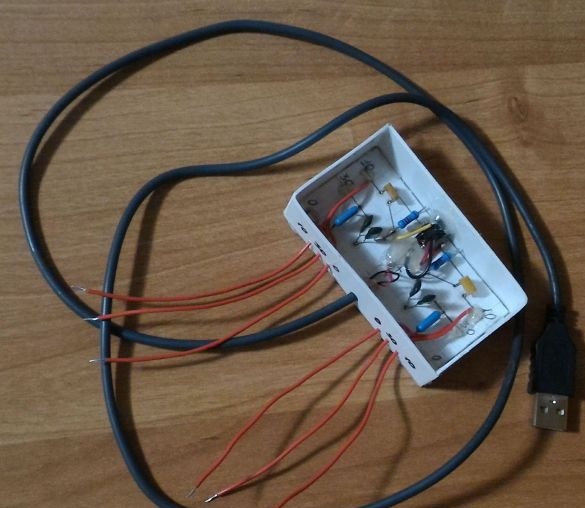
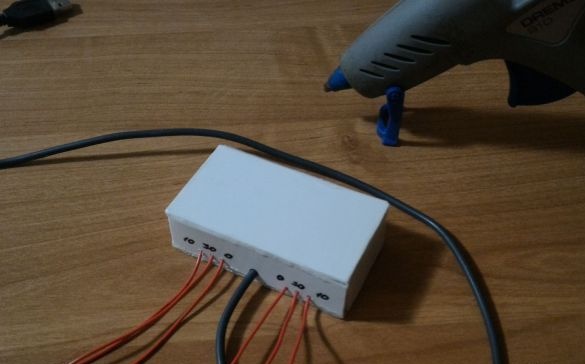
We complete the assembly of the working board and the housing for it
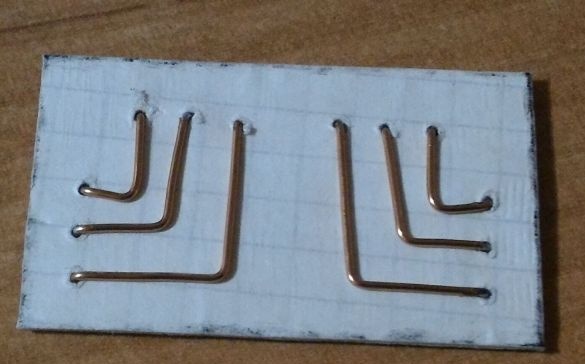
In the above-described way, we make the second board, we make current-carrying tracks from copper wire
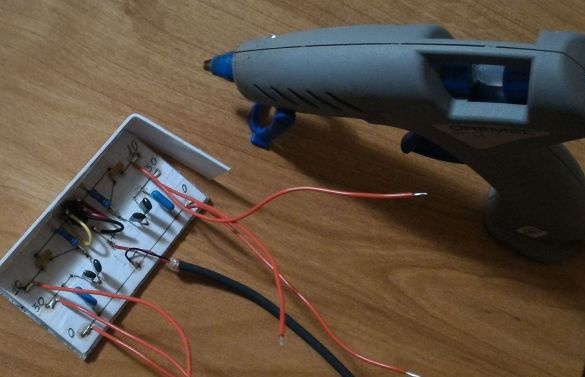
We fix the coils and the board with the tracks on the lower workpiece of the case, we solder, observing the connection scheme of the coil turns
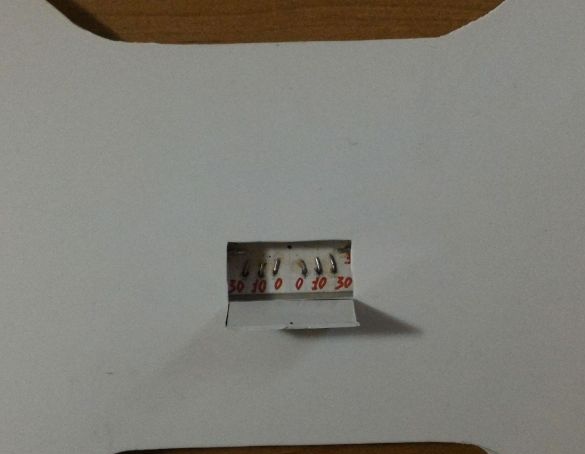
On the upper workpiece of the body we make a hole
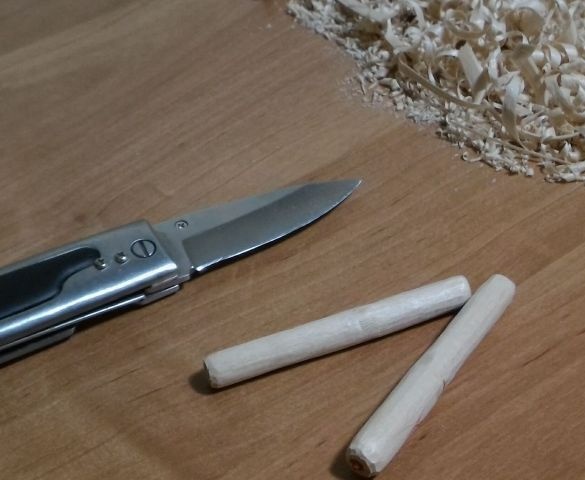
Further, more - improvisation has no limits.
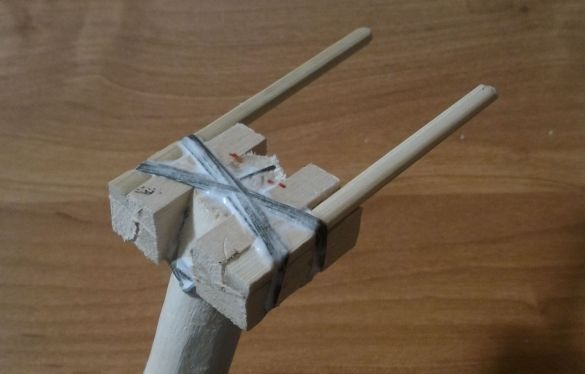
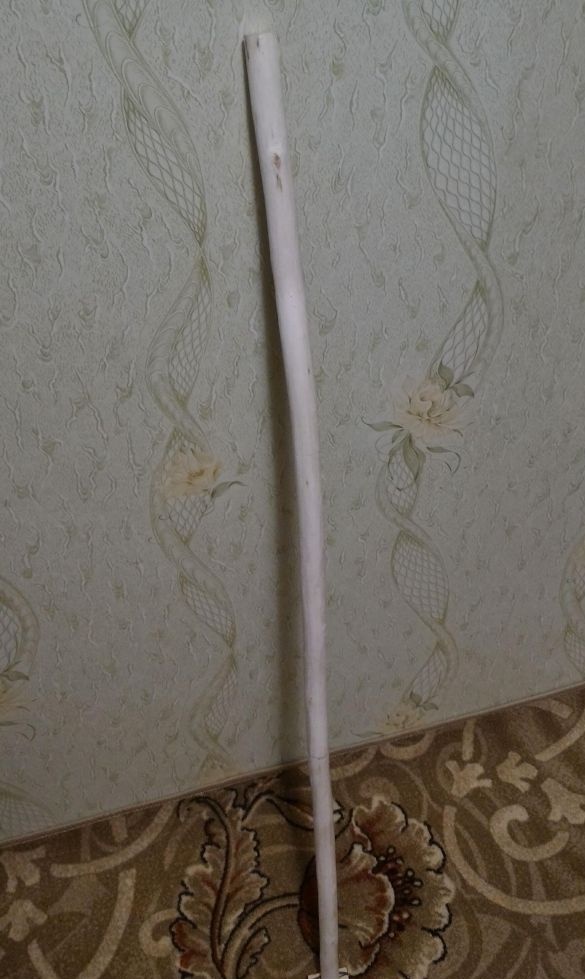
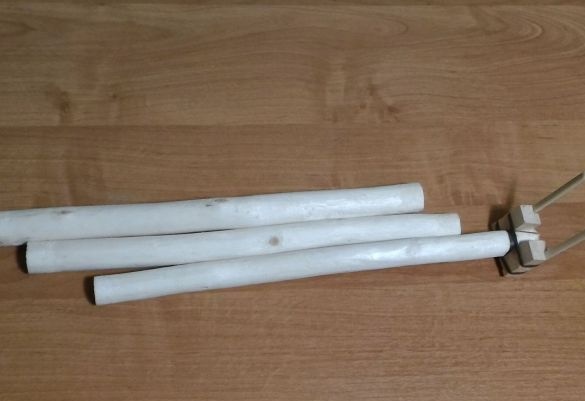
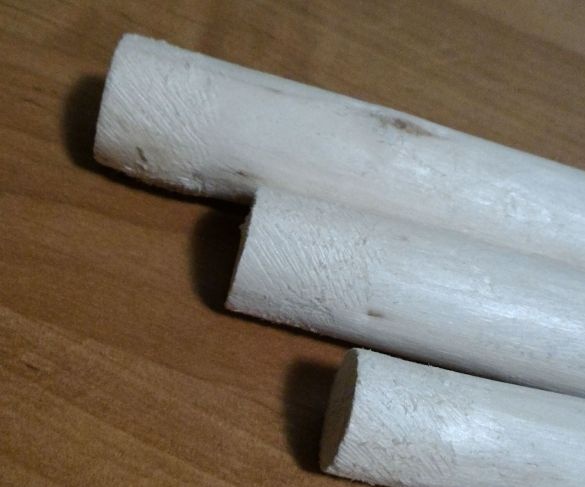
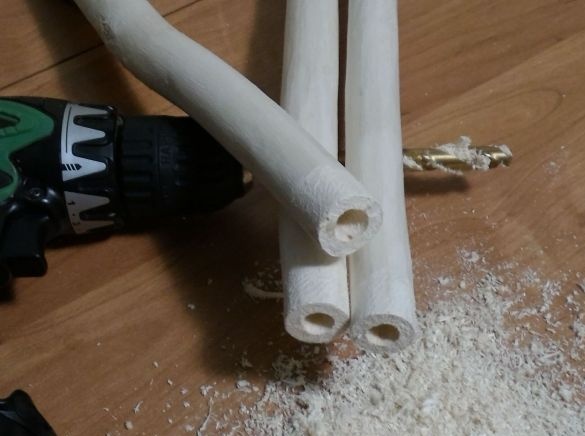
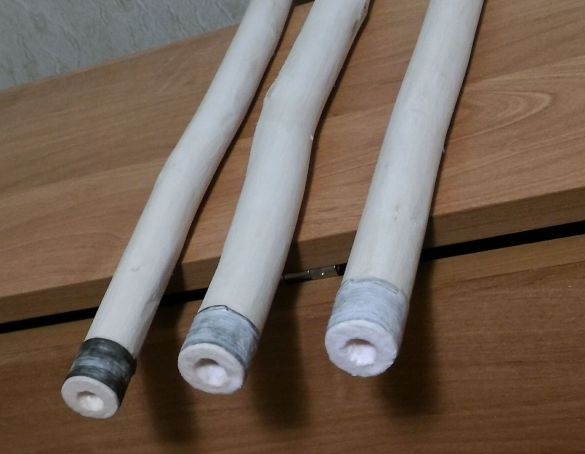
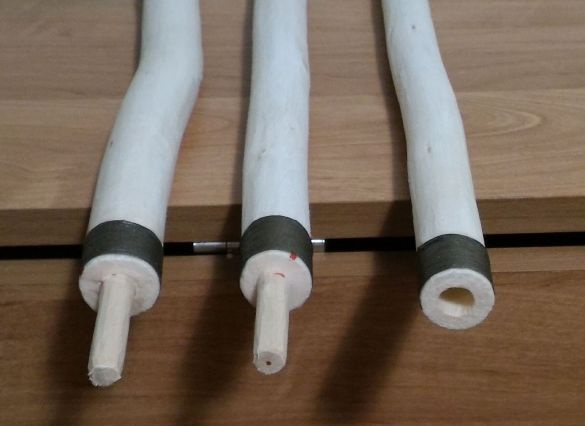
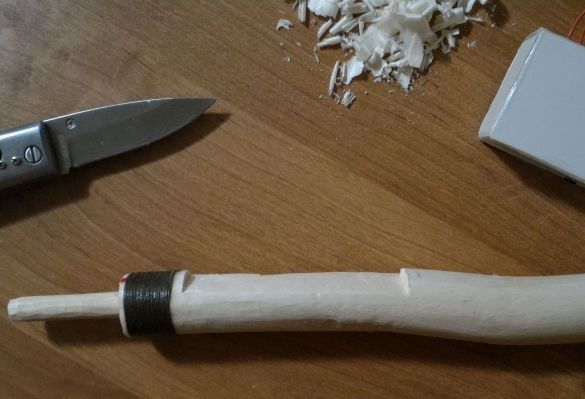
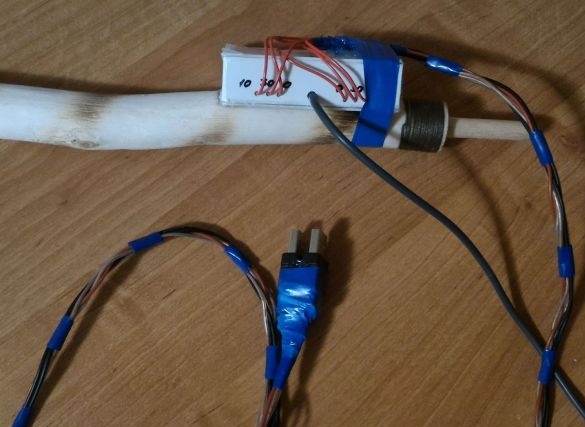
My idea is for a folding handle and mounting a body with coils on it
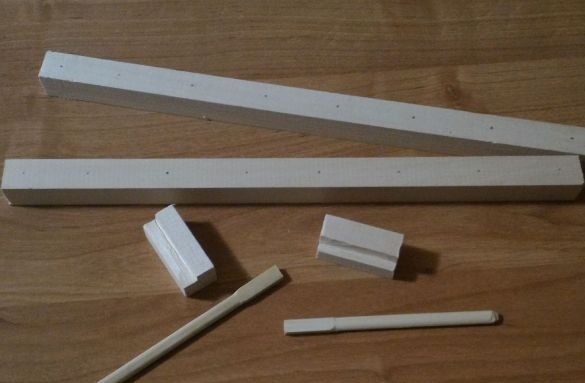
We scratch the ends of the cut handle for better impregnation with glue when winding the thread
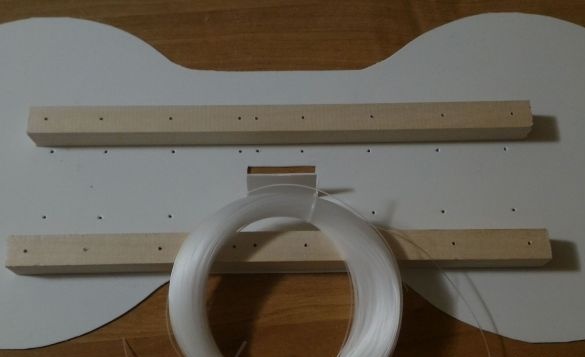
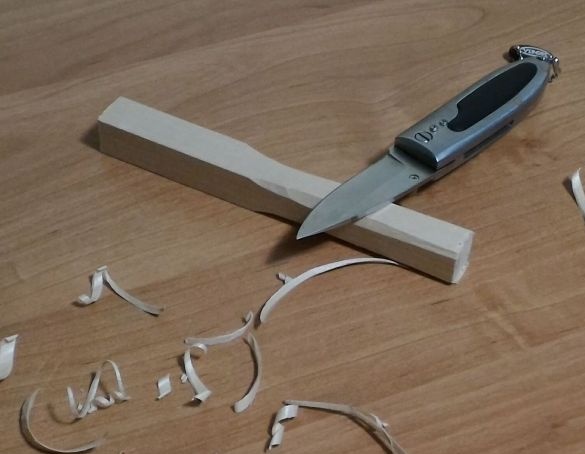
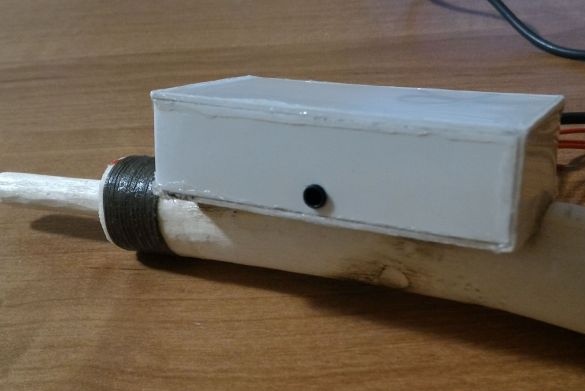
We cut the platform for mounting the board body
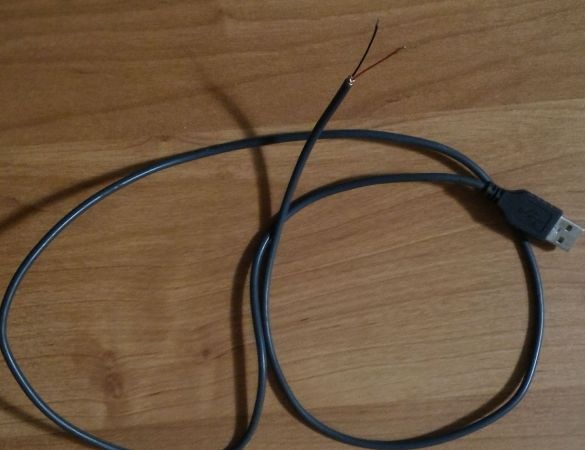
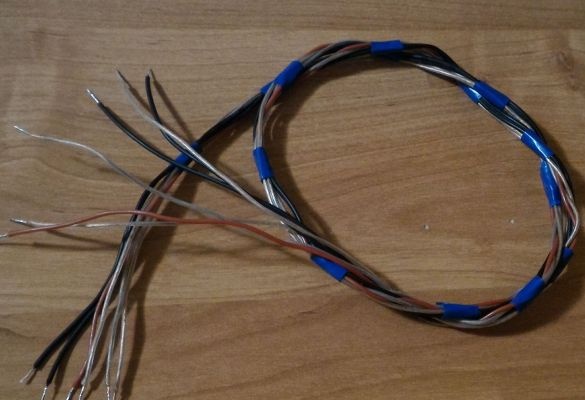
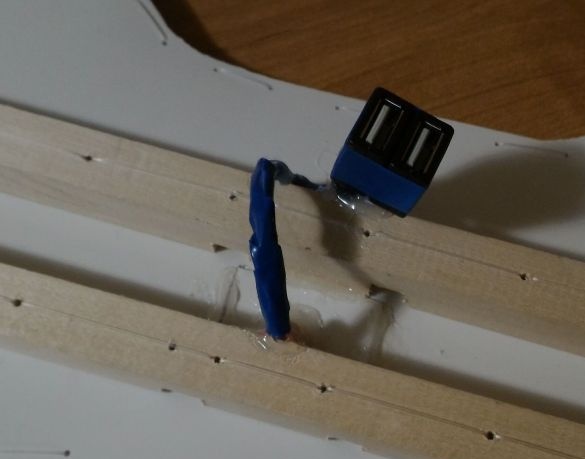
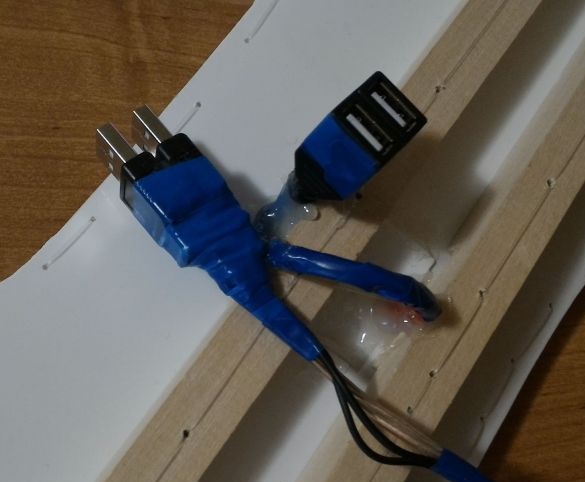
On a six-wire bundle, we solder the USB connectors on one side and on the other, solder the conclusions from the board body
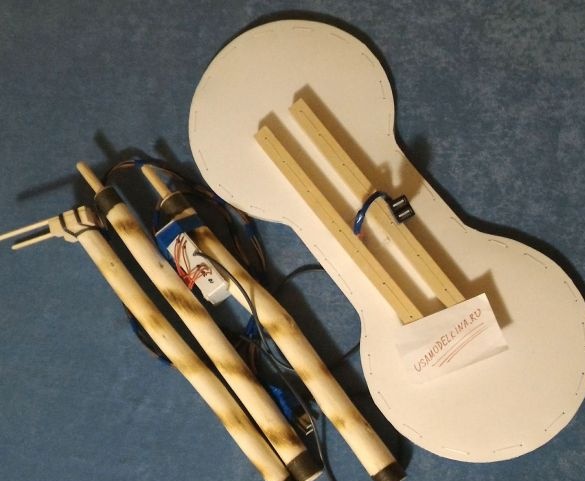
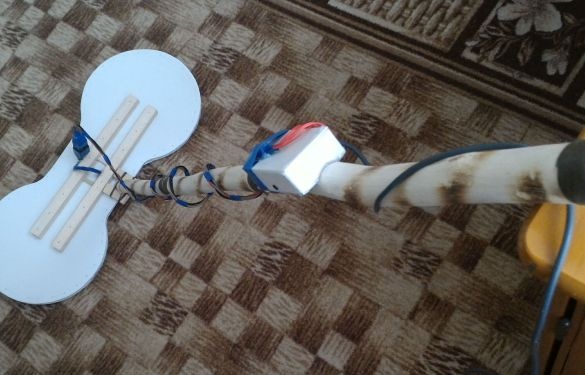
And in the end it turned out something like this!


