Necessary materials and tools:
- Plywood 10 mm.
- Self-tapping screws
- Cardboard
- Stain
- Varnish
- rope
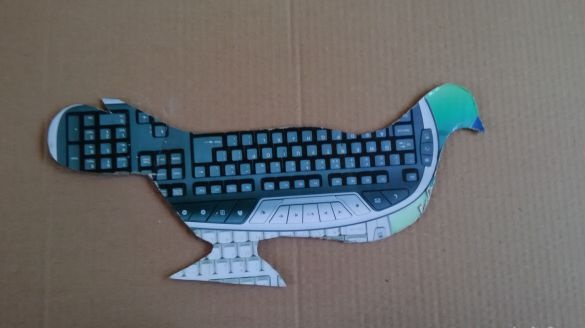
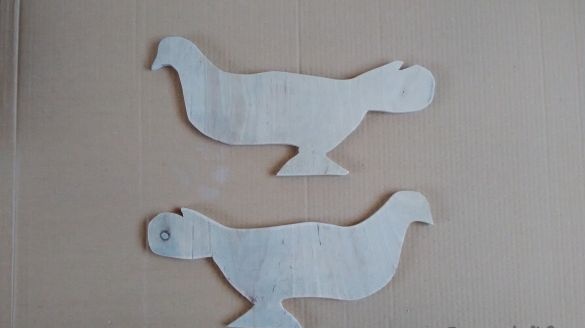
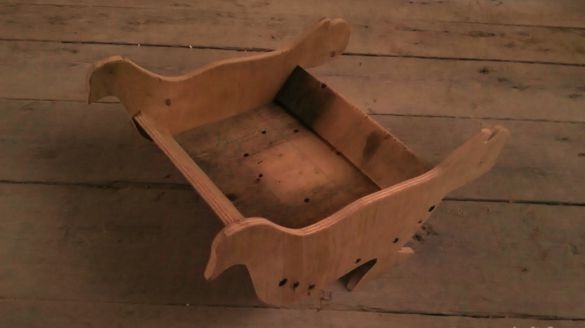
Step 1: First, we need to make a stencil in the form of a bird. Then, using a stencil, we transfer the birds to plywood, and cut them with an electric jigsaw.
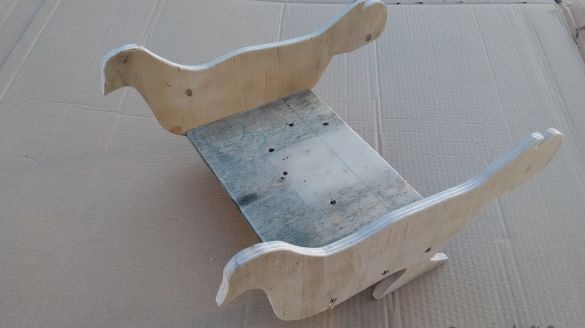
Step 2: Next, cut out a 24x15 cm rectangle. And fasten it, as shown in the photo.
Step 3: Then we need to cut two 24x5 cm rectangles. This will be the sides of our feeder so that the feed does not spill out of it.
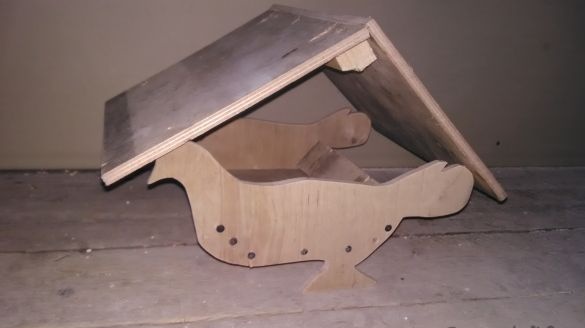
Step 4: Next we make the roof. We cut out two rectangles 30x25 cm in size. And we fasten them to the feeders, as shown in the photo. The edges of the plywood (at the top of the roof) need to be fastened together using a bar.
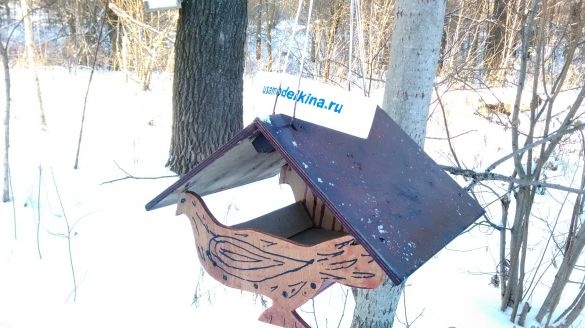
Step 5: We clean the feeder with sandpaper so that the birds do not get hurt. Then we attach the rope to the feeders and can be painted. We cover the roof with a stain and let it dry. And at the end we cover the feeder with varnish.
And now our feeding trough is ready!


