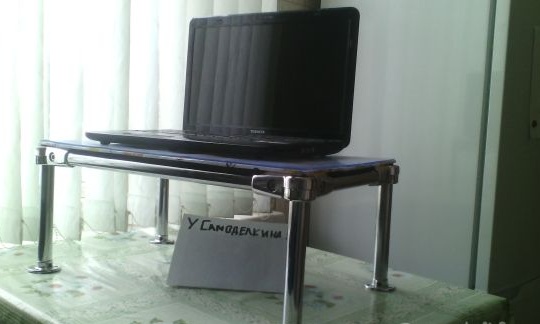
The idea of making a homemade table for my home I got the idea of computer pets after I started repairing computers and laptops. Before that, they served me as a stand: an egg tray (incidentally, not a bad option), books, a chessboard, knees, a piece of fiberboard, and so on. Looking inside other people's laptops and seeing dust there, I no longer had any doubts about the need to make a table. I wanted it to be convenient for me to sit on the bed behind the laptop and that he would freely “breathe”, not “suffocate” and overheat on his knees. Moreover, at work, chrome tubes caught my eye, and I realized ... ... this is fate: smiley:
My table underwent a slight interpretation during operation, so I want to talk about two manufacturing options. They are not very different from each other, but still the difference is visible. Let one be the budget version, and the second business. It’s like for programmers, the program came out, and then it was finalized and updated, version number two became. Everyone will decide what to do. That's enough to rant, I turn directly to the point.
Version 1 or Budget Class ![]()
This table is going to elementary, the most difficult thing is to find the right good.
We will need 8 furniture fixtures (as they are called, I don’t know)
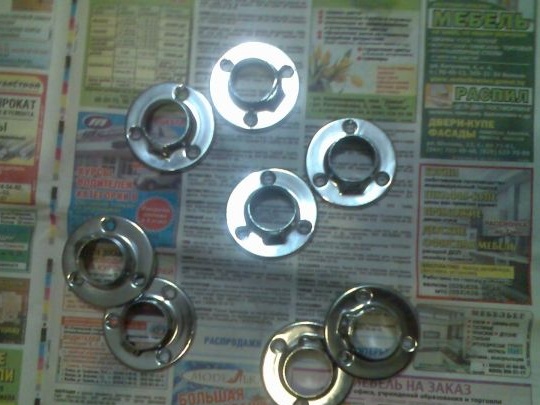
Well, of course, supports are needed. 4 tubes with this role cope with a bang.
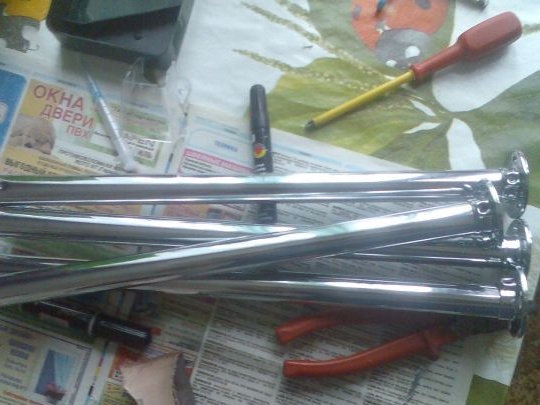
Speaking of tubes, these are standard tubes that are very often used in of furniture, wardrobe, shelf, etc. I was lucky and I “shaved” 4 pieces of the same and most importantly suitable length. Fasten our mounts at one end of the tube.
Next, we look for material for the countertop. Choose what you want, the main thing is to be firm. I took plexiglass.
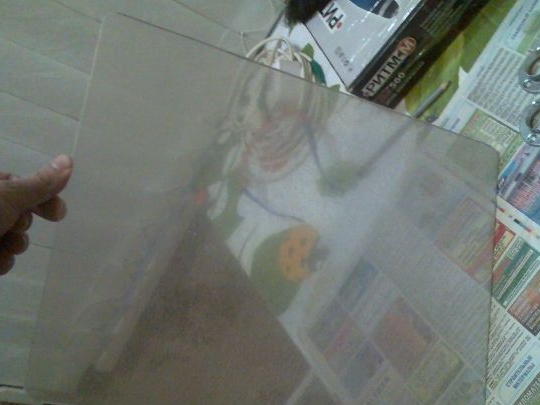
At the edges we apply the remaining 4 fasteners and mark the holes with a pencil or like a proofreader.
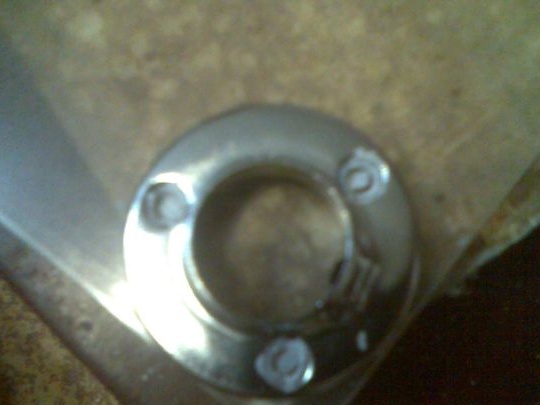
We drill and fasten with a bolt and nut. I drilled the 5th, and also took bolts at 5.
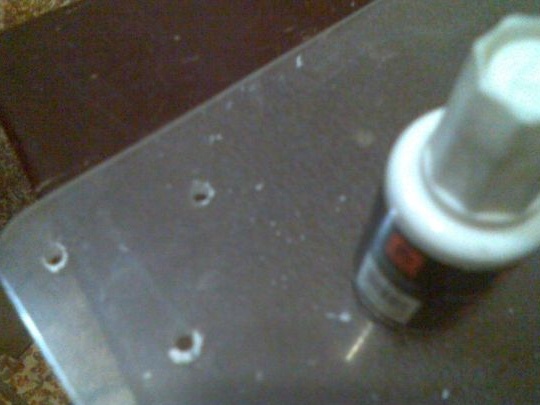
Twist and get a table.
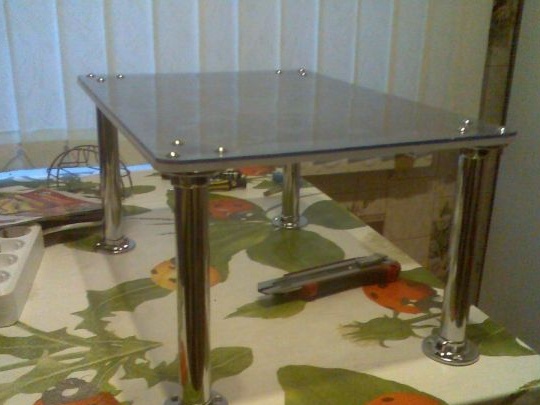
There is a wonderful thing called silicone. I found such a rug and I decided to use it in business.
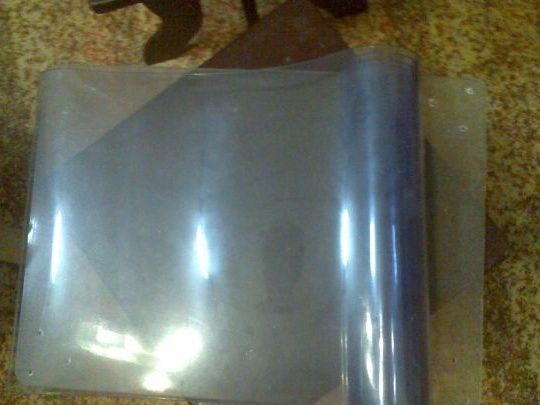
Having covered the table with a silicone rug, I got a non-slip surface. The rug also fastened right through to the countertop. He put down his netbook and lifted the countertop almost vertically .... ... holds a silicone netbook, a good thing.
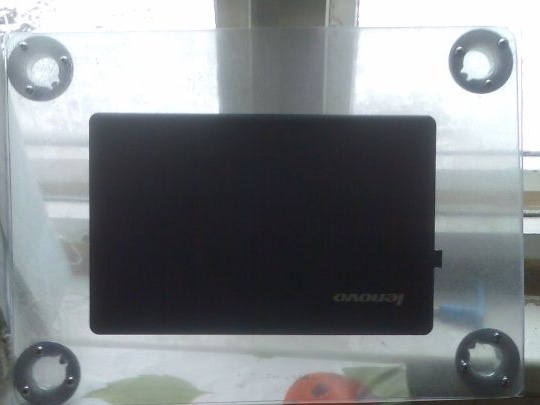
A couple of pictures of the table "at work".
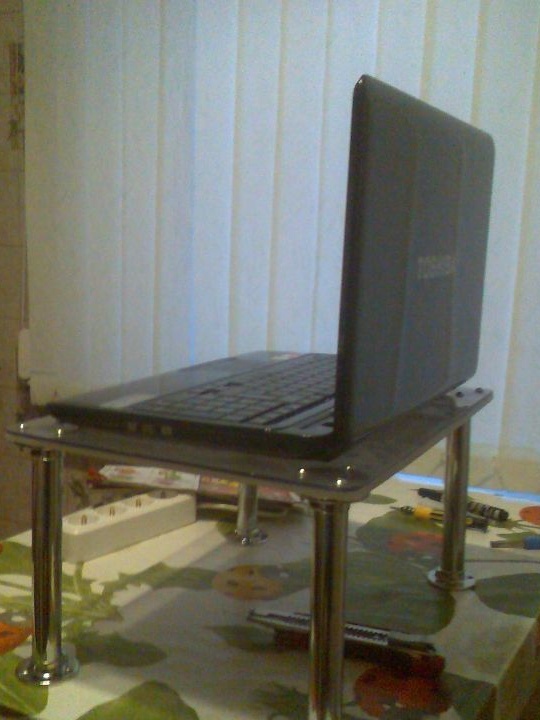
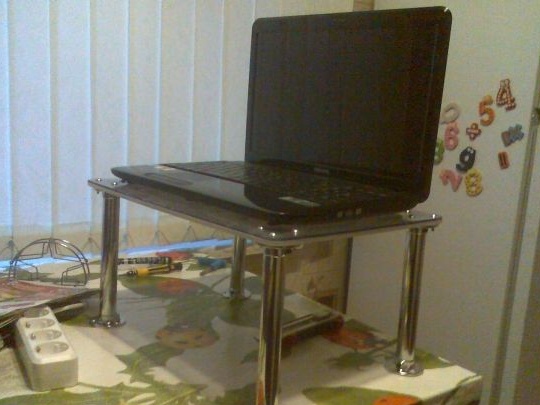
Pros and cons of the design.
Pros:
Quick assembly, ease of installation, accessibility of material, convenience when working reclining / half-sitting in bed: smiley: You can even have breakfast in bed (if anyone brings it).
Minuses:
Plexiglas I took fragile, inside it was like cracked everything. Well, my daughter eventually broke one leg of the table. But still, he lived with me for a year. The overall rigidity is weak due to the lack of longitudinal and transverse mounting.
Specification:
1) 4pcs chrome tube (length of your choice)
2) Furniture fasteners 8pcs (I won’t tell you the name)
3) Material for countertops
4) 12 pcs of 5 bolts and nuts
5) Tools and desire.
The table broke and demanded an upgrade, well, I’ll do it better.
I turn to version two or business class !!!
For this version we need 4pcs of such mounts.
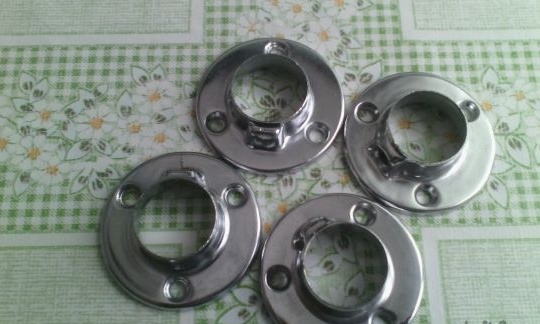
Since this is a business option, you will have to fork out a little for the purchase of another mount. Already 8 pieces will be needed.
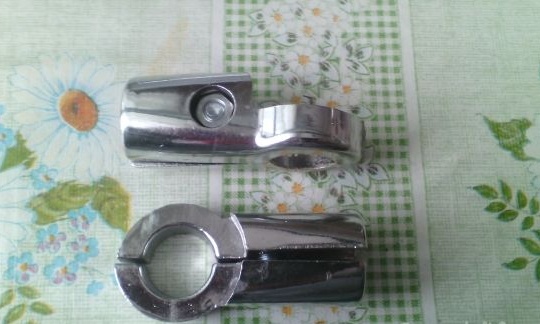
Cool mount, when you assemble a table, it creates a view as a solid unit.
4 pcs of tubes 20 cm long will serve as table stands. Another 2 pieces of 20 cm will be needed for transverse mounting (below is a photo where it is clear what I'm talking about).
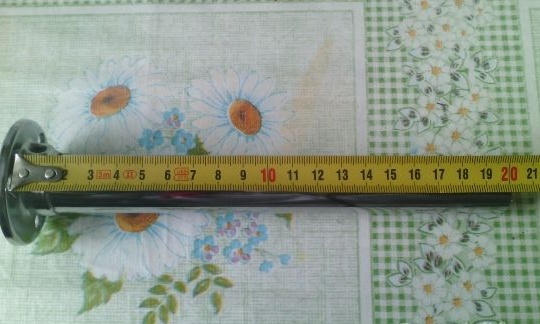
Slowly we collect a table.
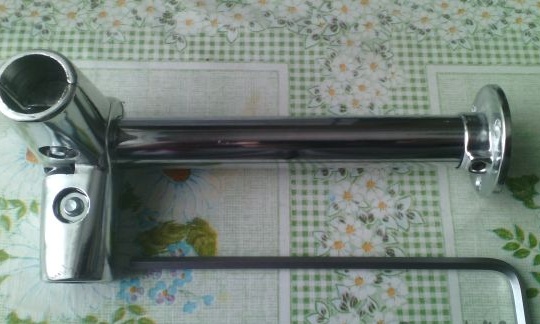
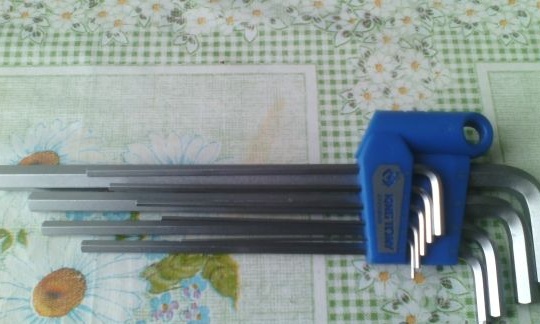
Here you can’t do without hexagons !!!
The length of the longitudinal tube is about 41cm
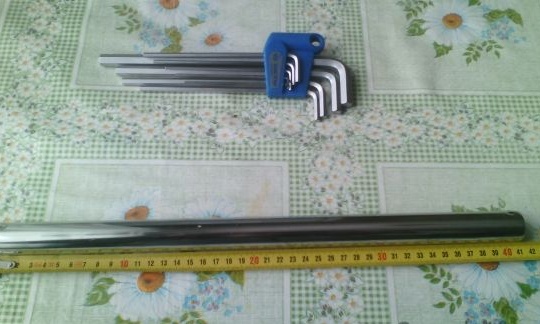
I assembled the "skeleton" of the table and I think it became clear to you what and where to twist.
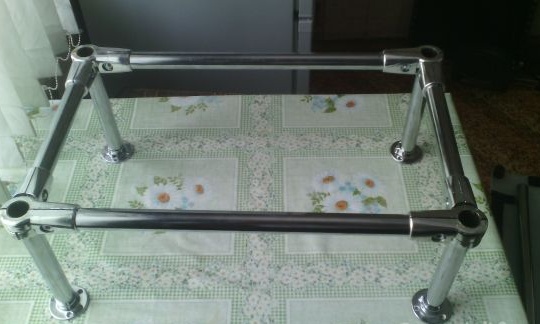
Again, I repeat on the size of the table. Each needs are different, respectively, the size of the table will also be different. This model was modified in width compared to the previous one. So to speak, I completely “dive” under the table and still remains on the sides. I am very comfortable working.
Here is the transverse tube about which I spoke above. The assembly is much clearer what where. It is long 20 cm.
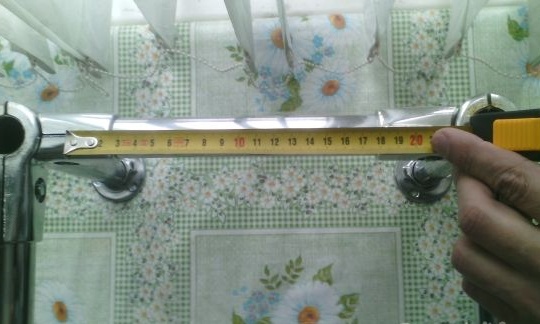
And this is a longitudinal 41 cm. I hope I do not confuse the names.
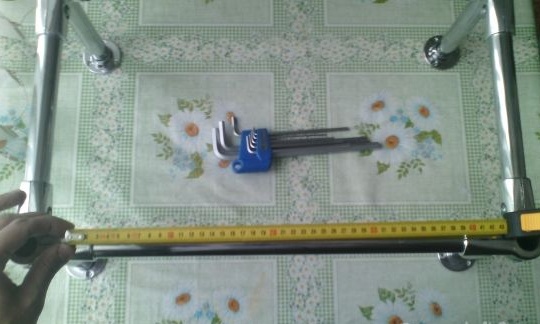
In the role of a tabletop, I took Plexiglas again, only normal, without any cracks inside. I had to think a little about fastening. I did not want to do something complicated, I needed to quickly, conveniently, simply. He picked up the phone and sharpened one end on an emery. Then he took a thick rubber and knocked out such a rubber cylinder. I drilled and made a pot in the countertop. He twisted the cylinder with a self-tapping screw through the table and smeared a little 88 glue.
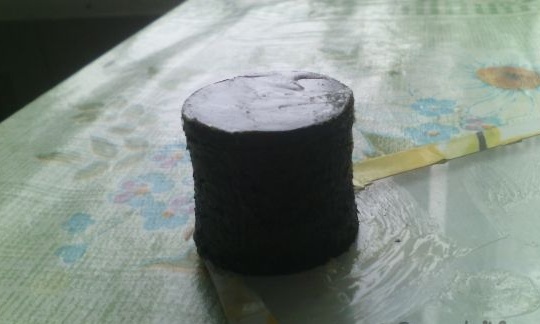
I glued the countertop with adhesive paper, which I found at home. Butterflies are beautiful too !!!
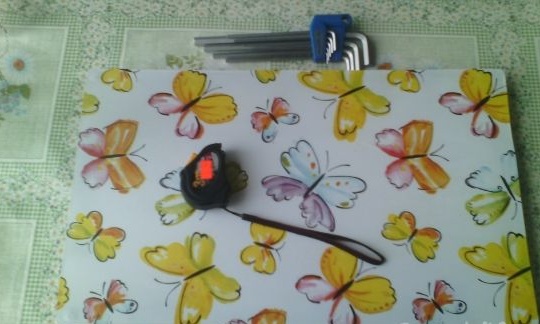
Tape measure for size ratio. Well, at least about!
This is what the table looks like on rubber cylinders, or mega-pads: smiley:
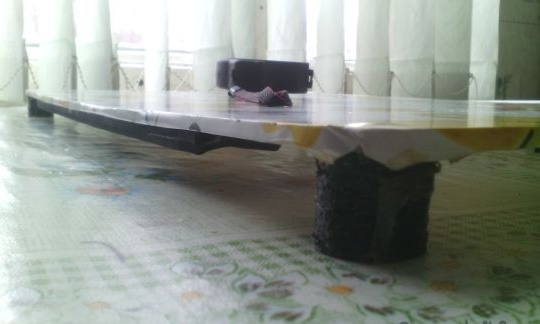
In the middle, my countertop sagged a bit due to chrome furniture mounts. I solved this problem with foam tape. So the adhesive tape is wrapped around the joints of the insulation, which is worn on copper tubes. Very often you can see such insulated pipes on refrigeration units.
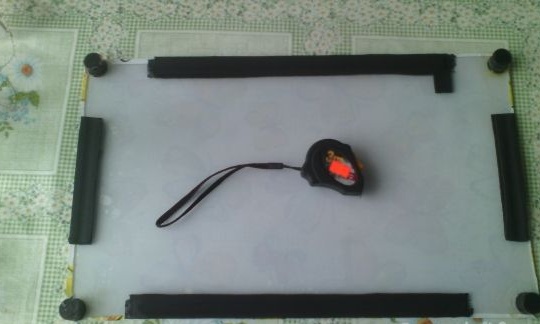
Everything became tough, and the countertop stopped playing in the center.
So I gathered my business class table !!!
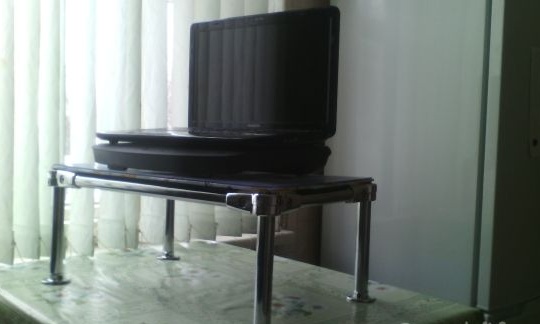
Pros and cons of construction:
Minuses:
The table has become more noticeable heavier
Pros:
Rigid and steady construction. Beautiful appearance. Suitable for laptop / netbook / bed food. In short, the class, I myself did not expect !!!
Specification:
1) Furniture fasteners - 4pcs
2) Other furniture mounts - 8pcs ![]()
3) Furniture pipe 20 cm long - 6 pcs.
4) Furniture pipe 41 cm long - 2 pcs.
5) Plexiglass
6) Rubber cylinders - 4 pcs.
7) Self-tapping screws - 4 pcs.
That's it.
Success in creative work for everyone !!!

