
Let's see the manufacturing process homemade in the video:
Materials and tools:
1. Kit Christmas tree set
2. Instruction
3. Soldering iron
4. Tin
5. Rosin or flux
6. Hands.
Detailed manufacturing description:
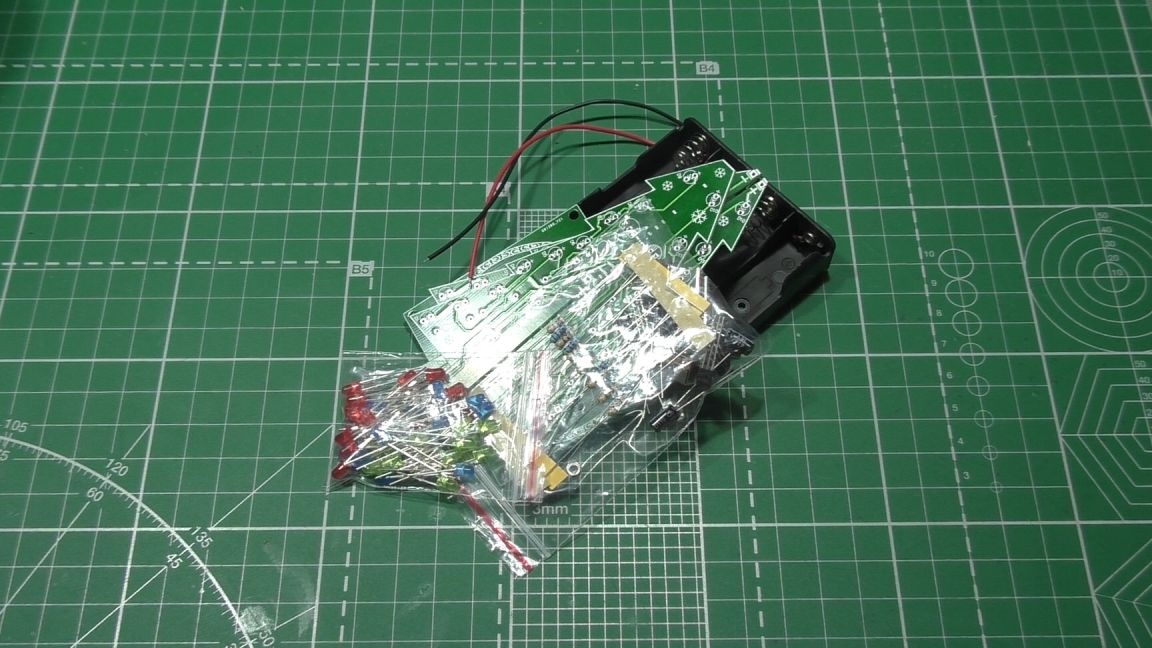
All components are supplied in polymer clipboxes and consist of 3 boards, 2 sets of resistors with 100 Ohm and 4.7K Ohm resistance, a set of 47uF capacitors, a set of S9014 transistors, a set of colored LEDs and a battery box.
 Also, the instruction goes to the designer and looks like this.
 So, we begin the assembly process. Everything is simple here, all the elements are soldered to the boards according to the presented scheme, first we solder the resistors, capacitors and transistors, and then we solder the LEDs according to the scheme, because there is a parable, if the LEDs are not soldered according to the scheme, they will not work, so there’s no risk necessary.
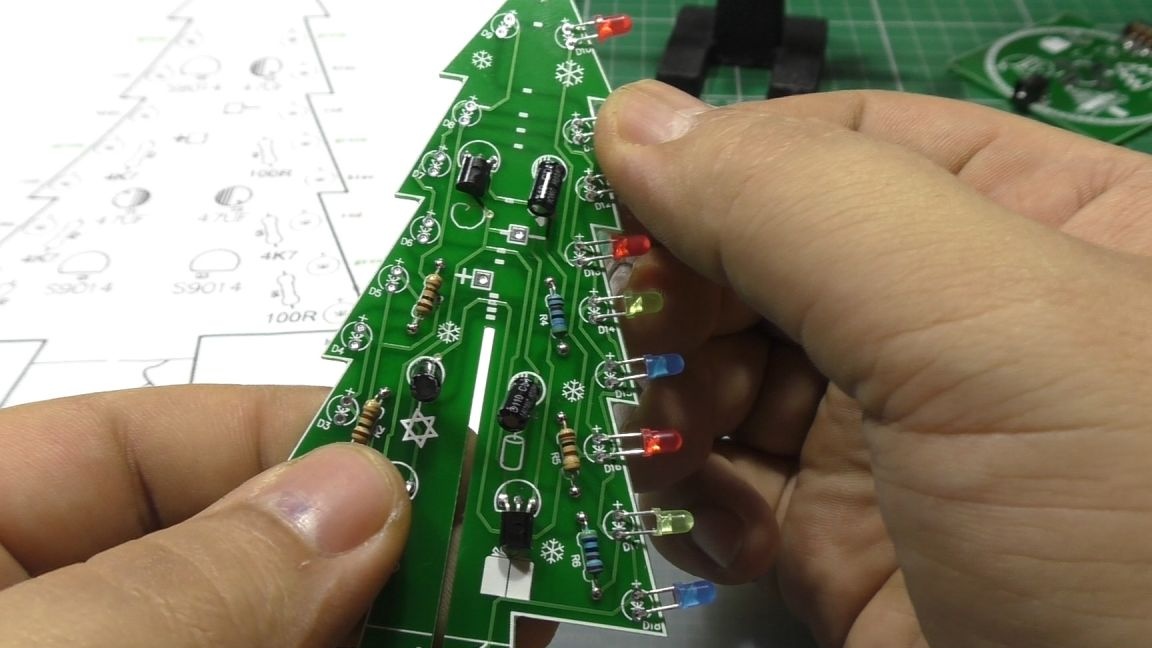 Yes, and experienced electronics engineers will notice that I soldered the resistors incorrectly, noticed later and fixed everything. So, look at the instructions carefully.
On the second board, we solder all the components in the same way according to the scheme and we should get something like this. Already pretty pretty, isn't it?
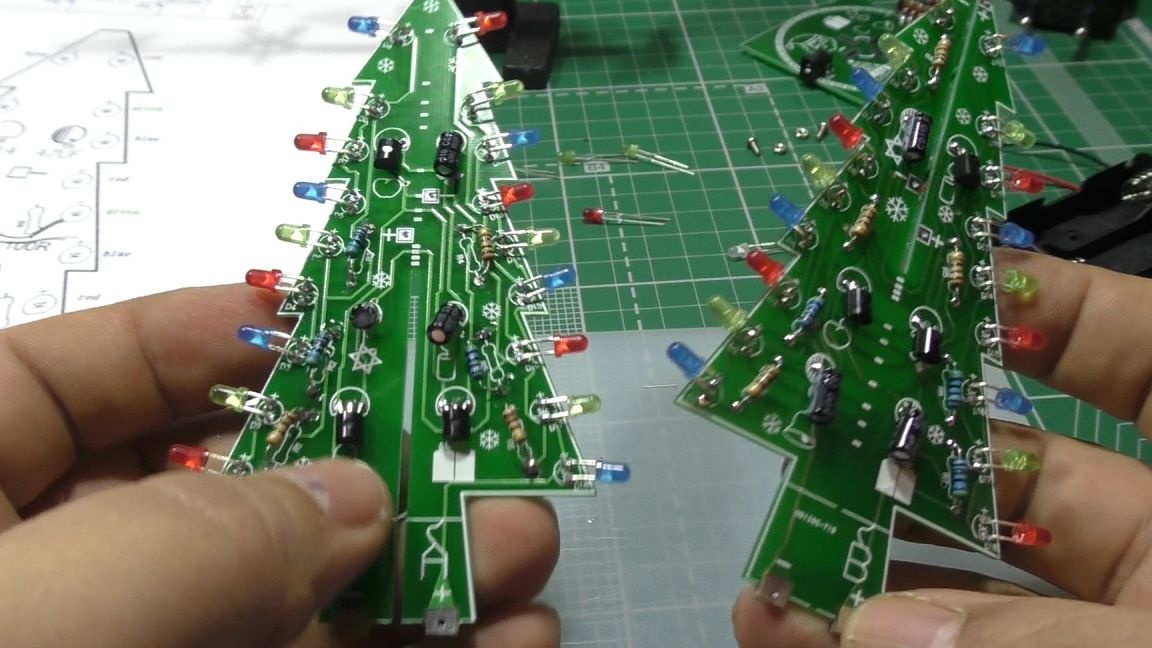 After that, we connect two boards, cross to cross, for this there are slots in the boards.
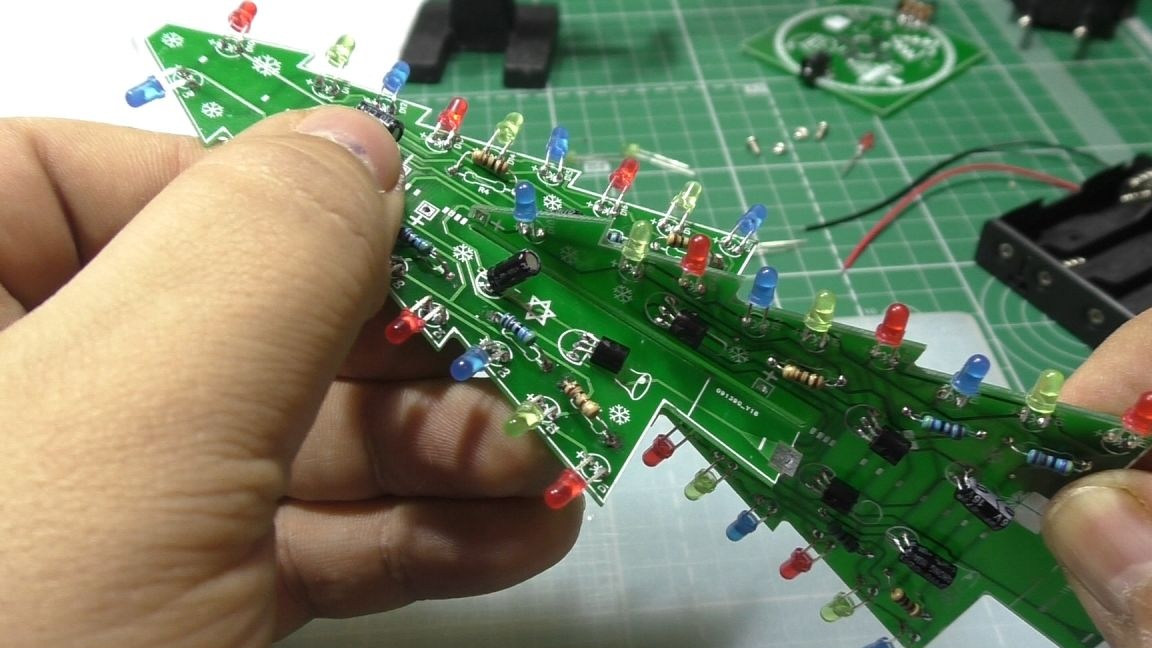 After connecting the boards, it is necessary to solder them together in two places, as shown in the picture, otherwise there will be no contact.
 And after that we solder the upper LED, which will denote the star on our Christmas tree.
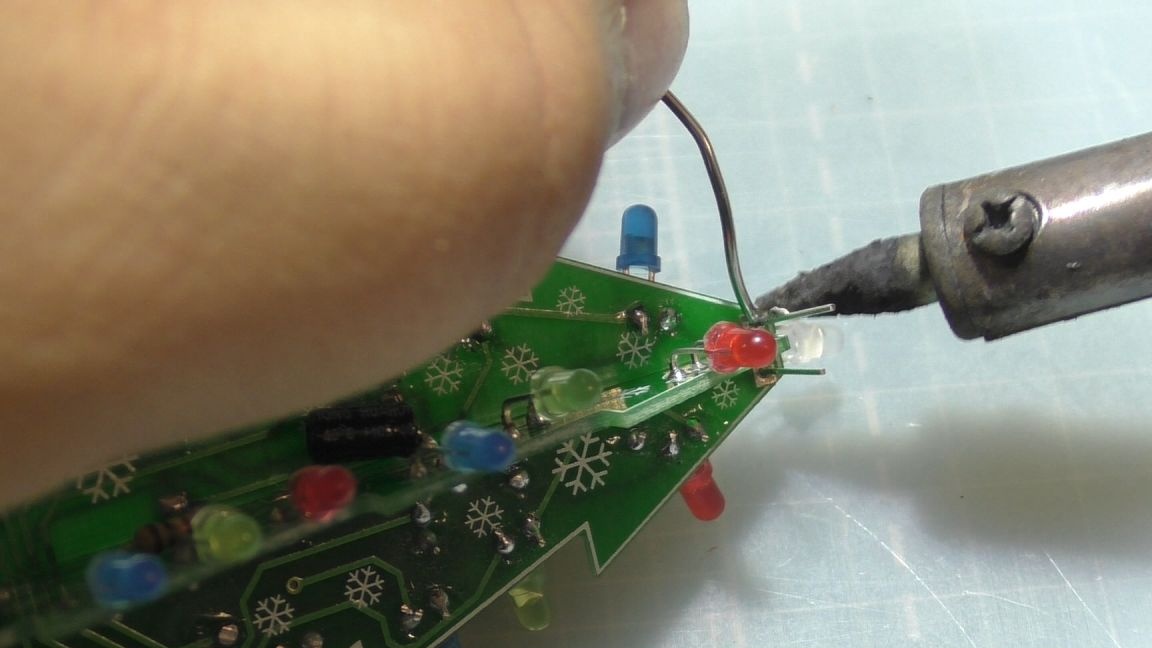 Now you need to solder our tree to the base and not mix up the pros and cons, but there will not be a problem here since all the contacts are signed on the boards.
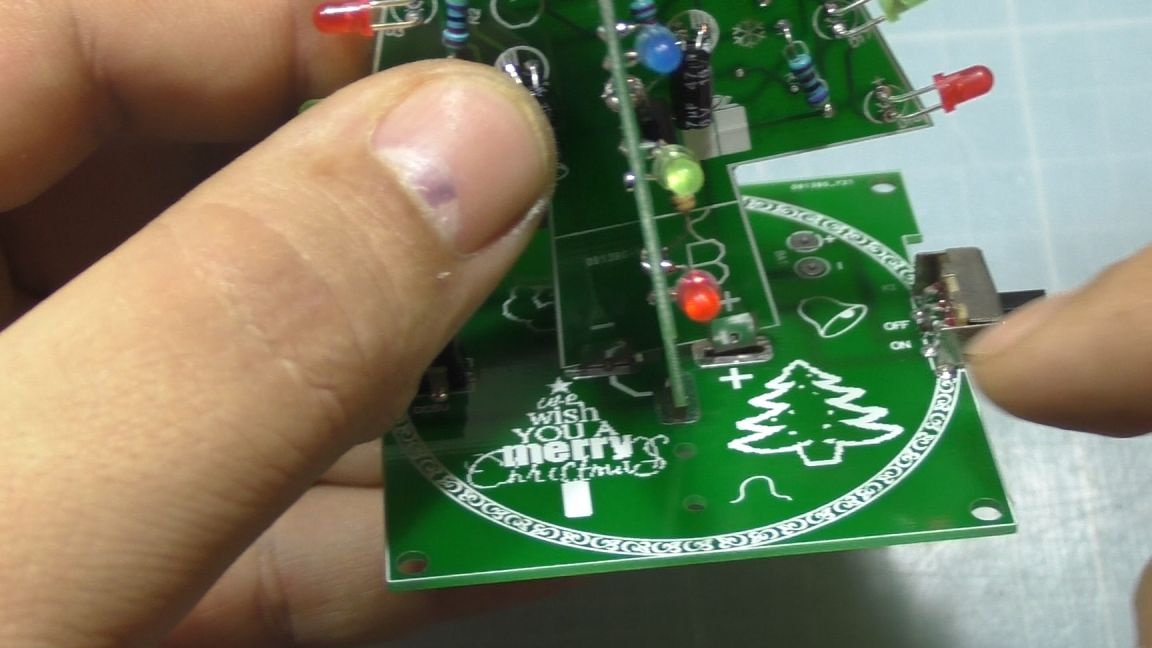 Further, if you decide to use batteries as batteries, then you need to solder the two wires coming from the box under the batteries to the base.
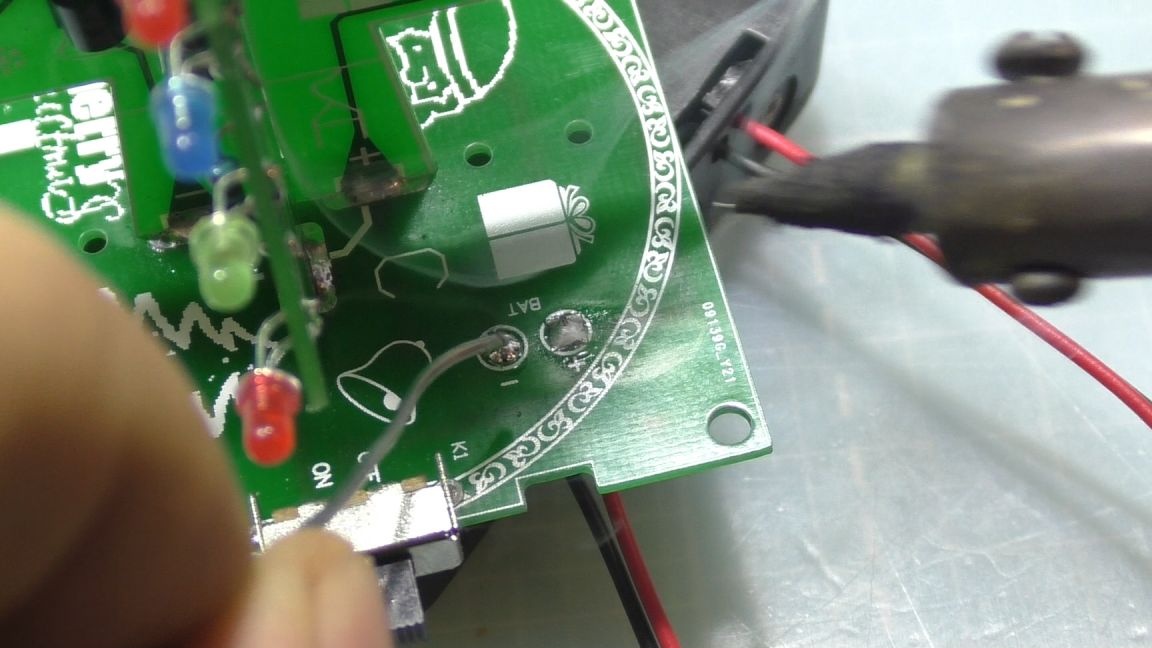 After that, we fasten the base of the Christmas tree to the box under the batteries, insert the batteries, turn it on and enjoy the New Year e a Christmas tree that children will really like.
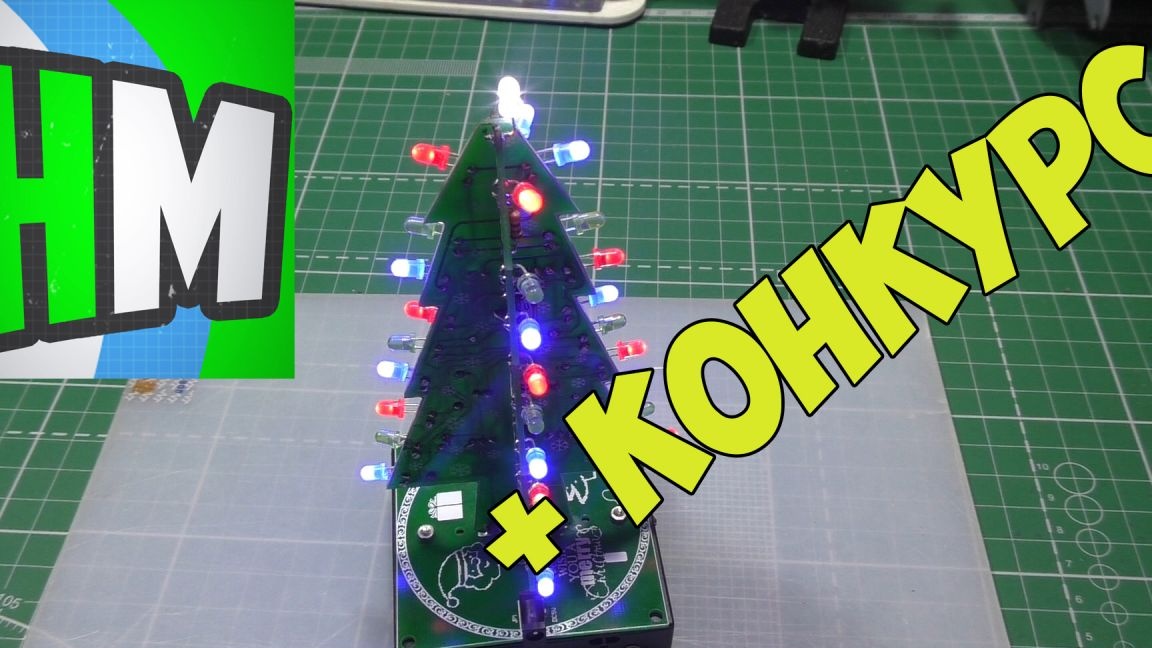
Here is such a cool New Year set that can cheer up any person.
Well, in conclusion, I would like to wish everyone a Happy New Year !!! And wish you all the best, happiness and good luck in the New Year. Well, for those who want to try their luck and win a fee Arduino, I invite you to my channel, where all the conditions of the contest, which will be held on January 1, 2017, are indicated.