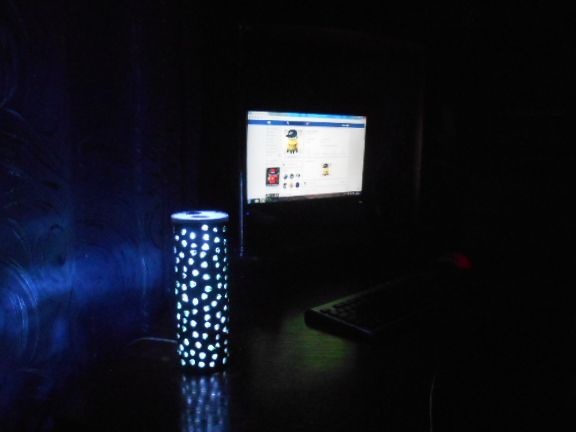
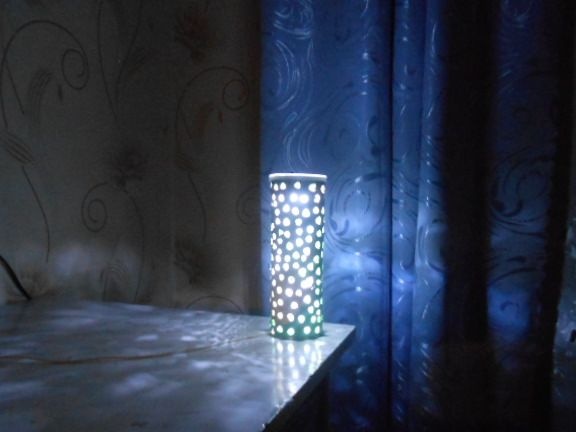
If you have an old jar full of chips, then do not rush to throw it away, because you can make a very cool nightlight out of it.
And so let's go.
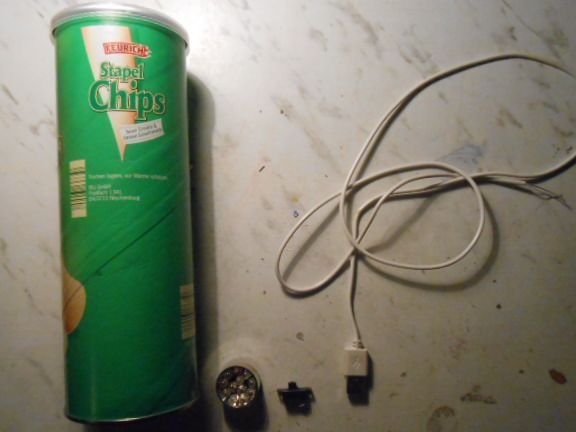
Instruments:1. Soldering iron (flux, solder ...)
2. Scissors
3. Double-sided tape or thermal glue
Materials:1. Jar with chips
2. LED matrix (from any unnecessary flashlight)
3. The switch
4. USB cable (as power supply)
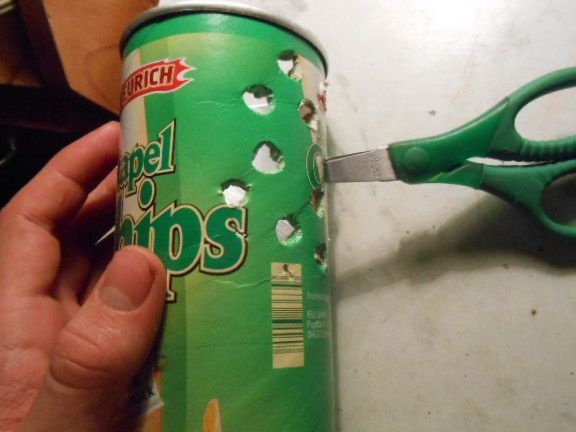
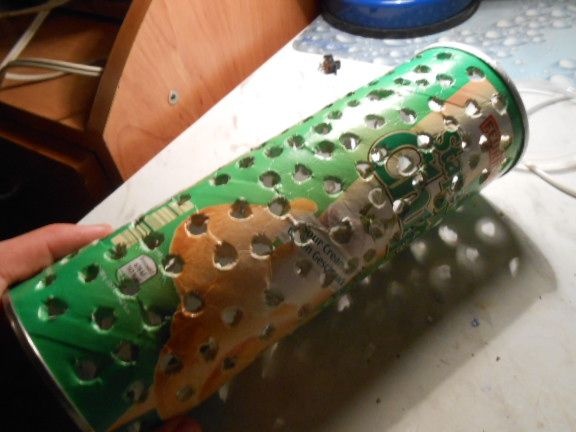
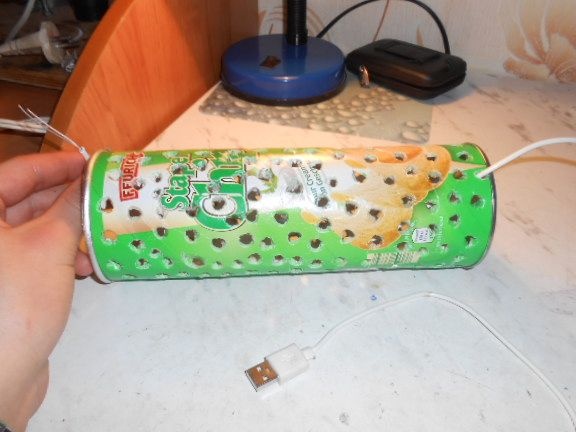
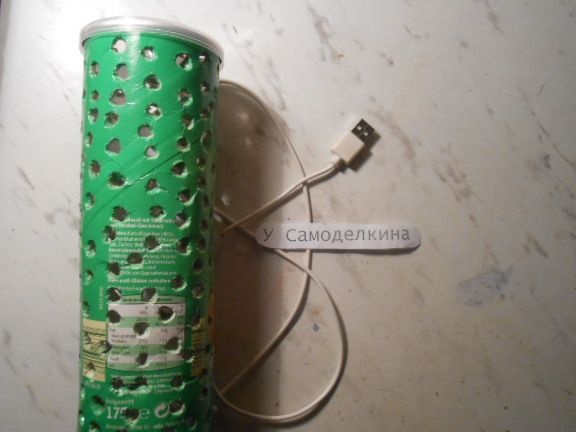
First, we need to make holes throughout the bank (with scissors), and there should be a distance of 0.5-1 cm between these holes.
This is what we should end up with.
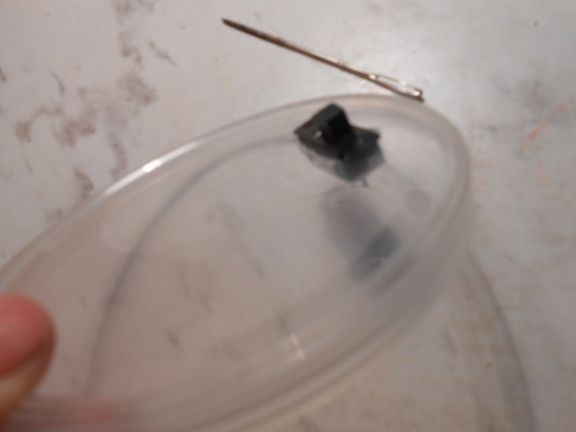
Then we take a cover and we make holes for the switch. I did this with a heated needle.
Pass the cable into the lowest hole and bring it out, with a margin of 3-5 cm.
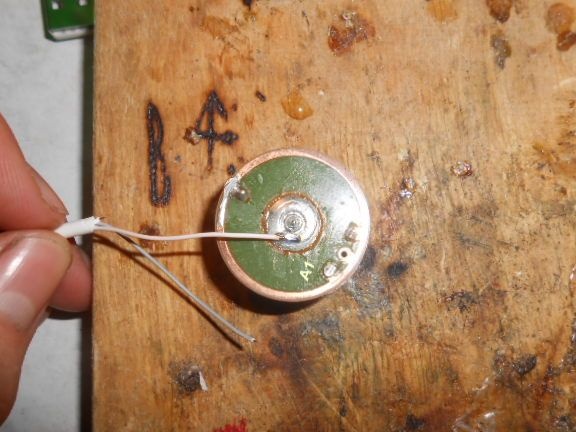
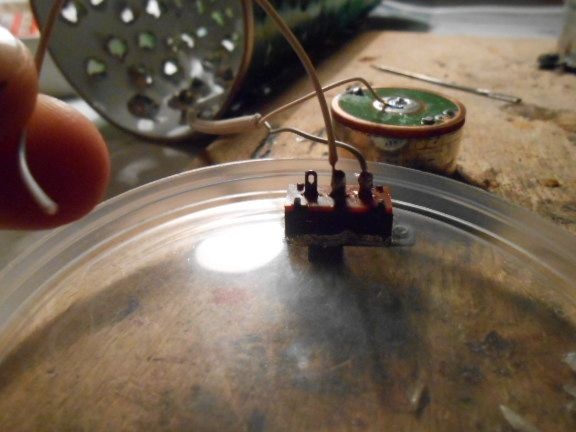
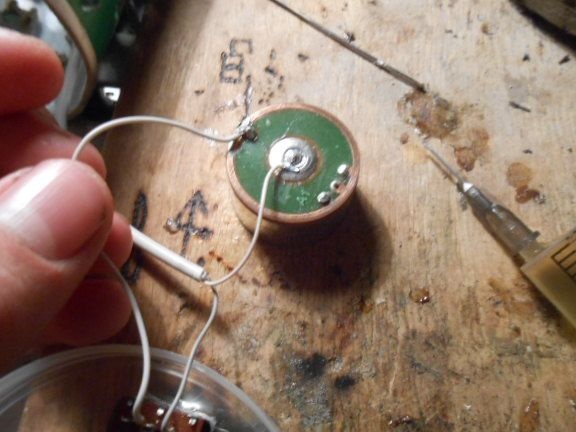
We take the matrix and look for “plus and minus” on it, plus in the middle minus at the very edge. So we solder the positive USB cable to the plus LEDs.
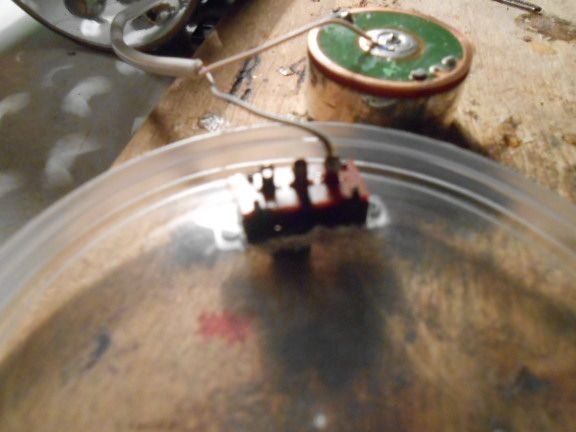
And minus to the right contact of the switch.
Next, take a 5-cm wire length and solder to the middle contact of the switch.
Next, the average contact of the switch is soldered to the negative of the matrix.
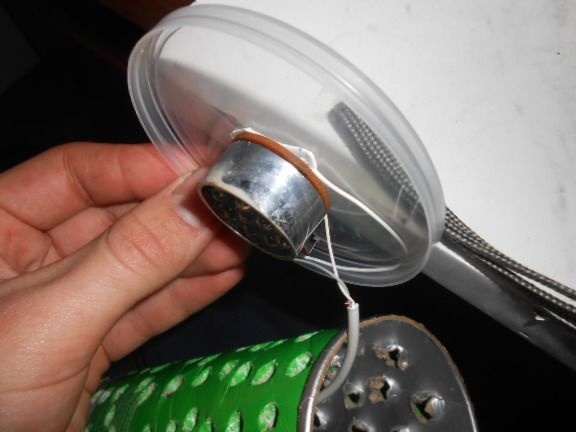
Our night light is almost ready, we just have to stick the LEDs on the double-sided tape to the lid itself. And close the jar tightly with the lid.
That's all the nightlight is ready, it will take a minimum of material to make it, and not enough time.
This night lamp fits very well into any interior of your room!
