And so let's get started.
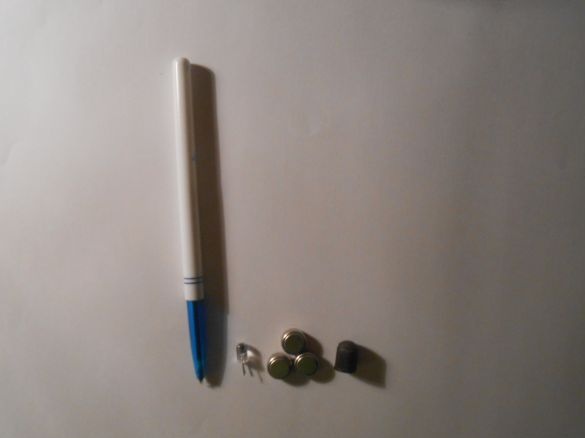
We will need:
1. Ballpoint pen (tukzar 0.7 mm).
2.LED.
3. Three batteries "tablets".
4.Bicycle cap (from camera)
Instruments:
1. Soldering iron (solder, flux ...).
2. Glue gun.
3. Long nose pliers.
4. Electrical tape.
Let's get started.
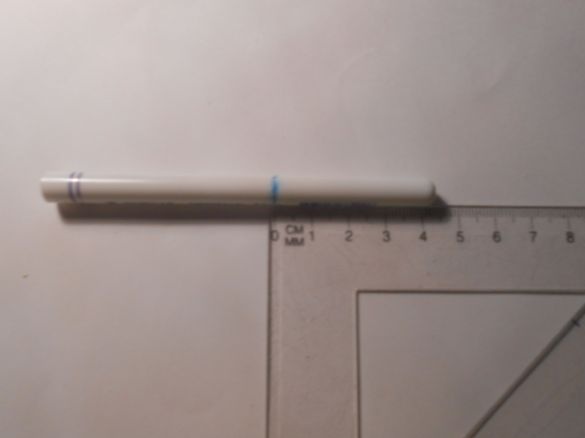
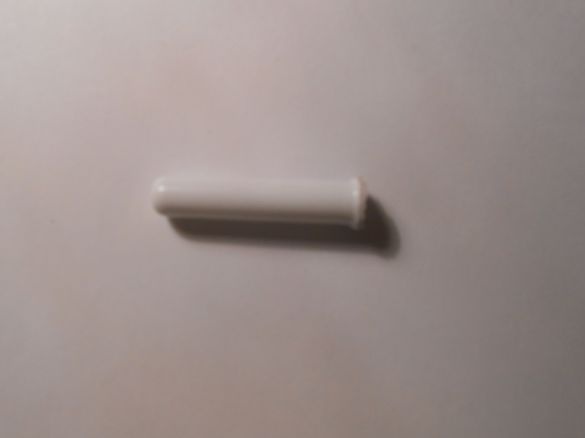
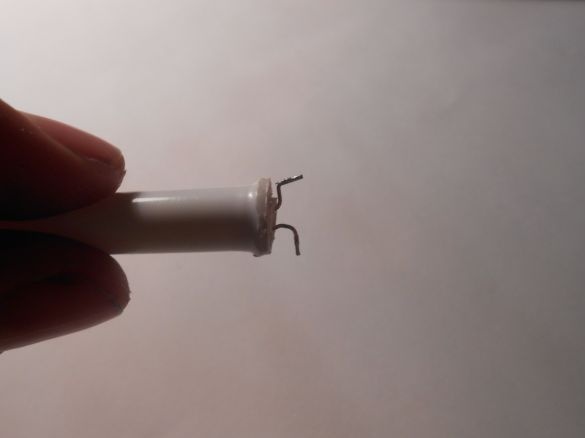
From the end of the handle we measure 4 cm, and saw off. I did this with a heated knife.
That's what we got.
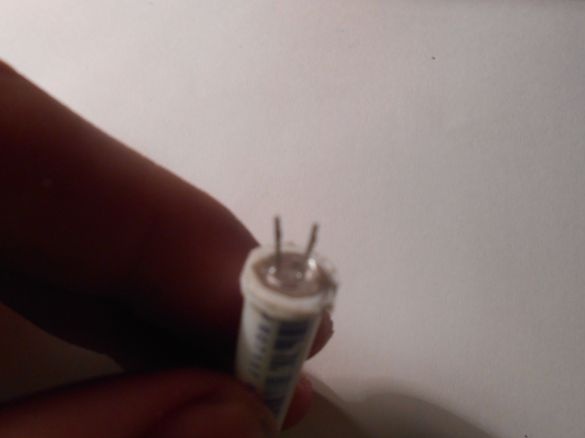
Next, take our LED and paste it inside this segment.
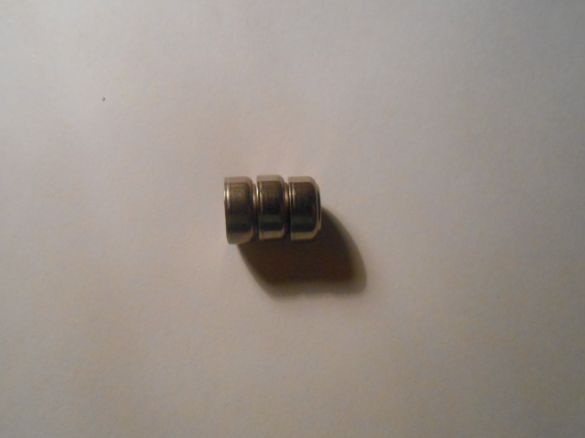
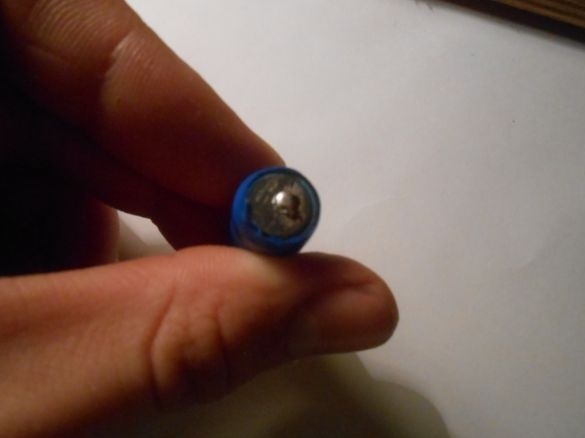
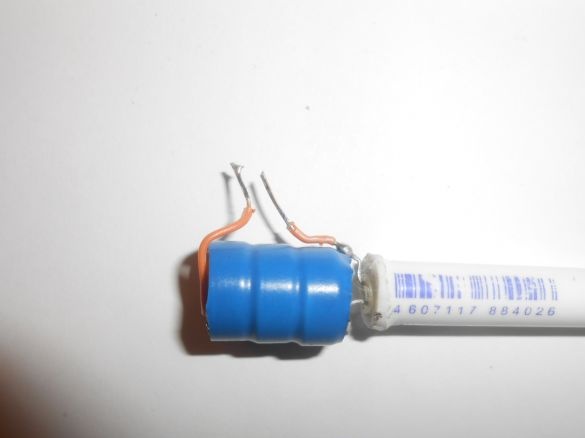
Then we take three batteries and put them in the same way as in the photo.
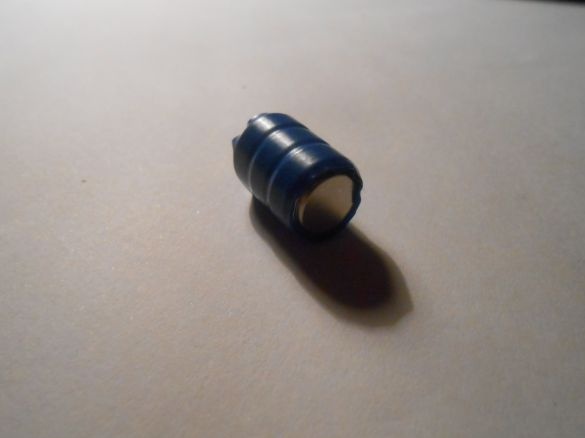
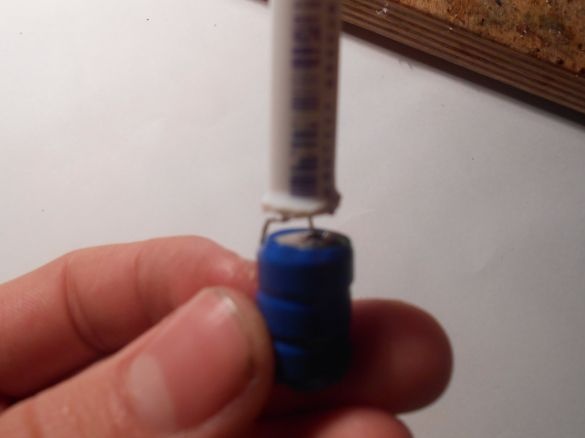
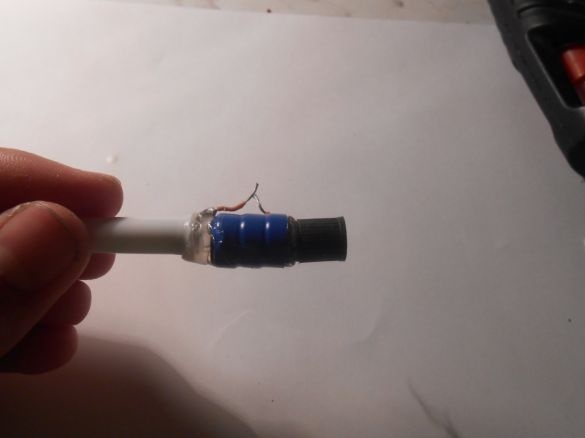
And fix it with electrical tape.We bend the legs of the LEDs in this way, the upper leg is "+", the lower one is "-".
We trick the negative contact of the battery.
Solder the negative contact of the LED to the negative from the battery.
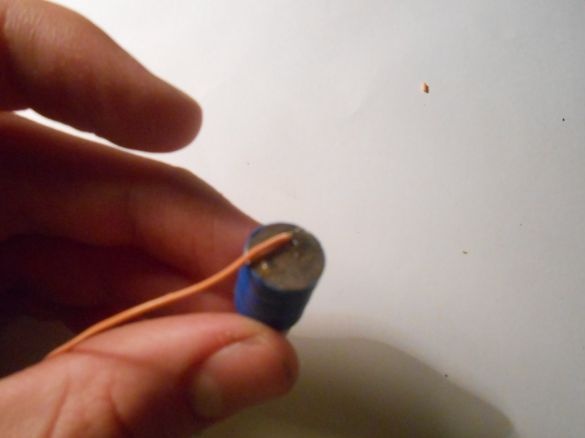
Positive contact is also tricked and soldered wire.
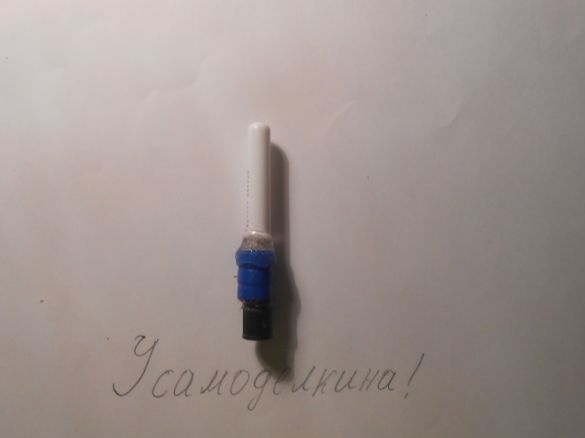
This is what we should get.
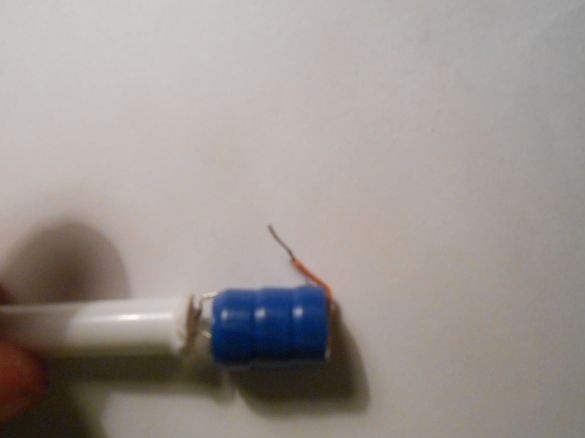
Before sticking the batteries with LEDs on the cap, you need to grind off the top of the cap so that it becomes flat.
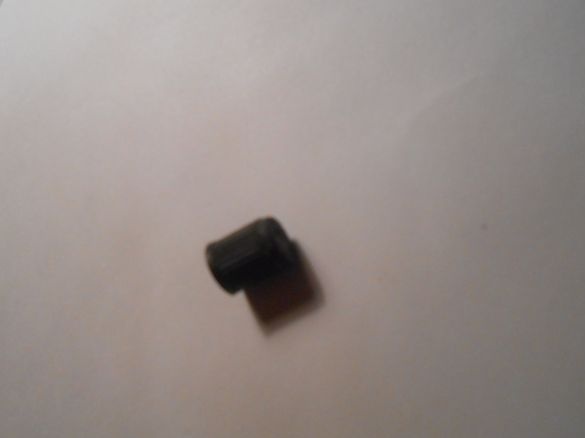
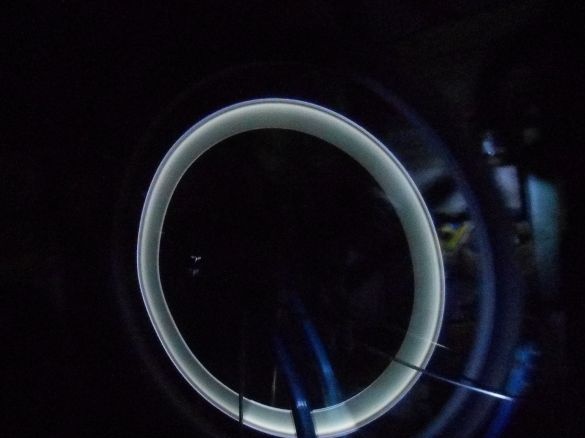
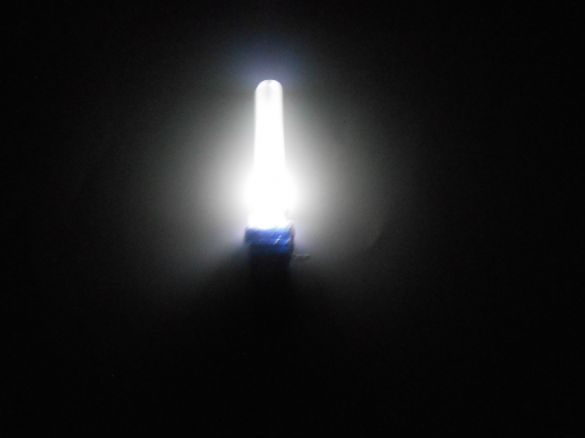
That's what happens if you close the contacts. And if there was a switch, it would take up a lot of space, and would not look beautiful. The luminous cap is ready for use.
