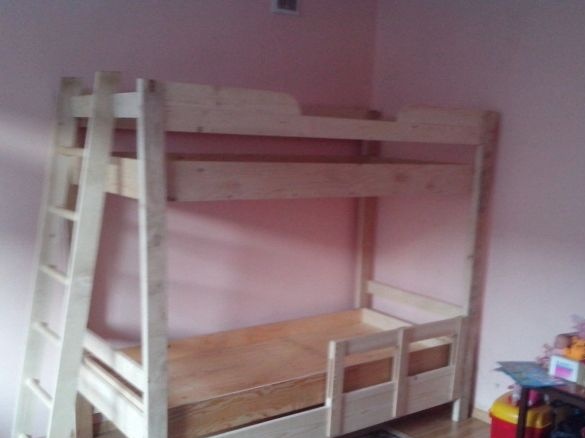
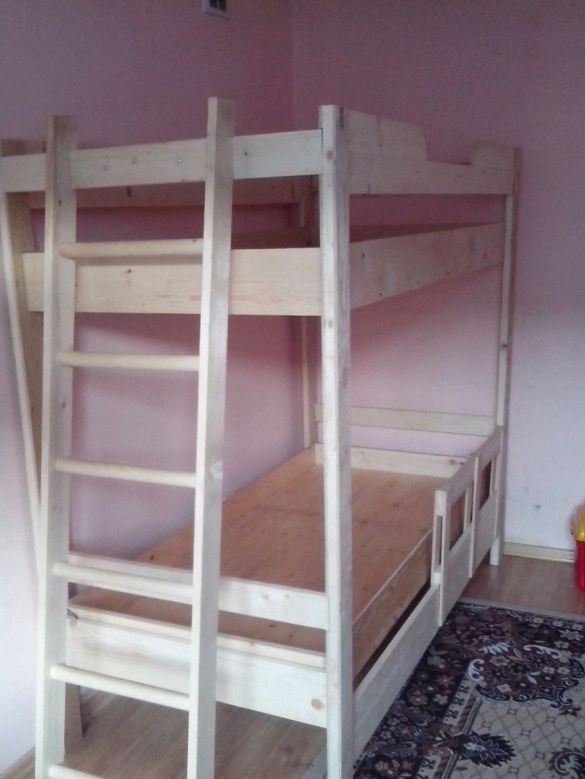
One friend (my enemy’s tongue) promised to make a bed for her children, as the room is small, it was decided to make it into 2 tiers.
To make a bed I needed:
Board 25mm., Plywood 10mm., Screw with a head in patai, PVA construction adhesive, metal sheet 3mm thick., Rivet steel 5mm x 10mm.
I used a tool: an electric jointer (home-made), a drilling machine (home-made), a circular saw (I used a hand-held circular saw as the basis), a wood-turning lathe (home-made), an electric drill, and drill-bits for metal and wood, a joiner's corner, a pencil, chisels (different), tape measure, grinder.
To determine the size of the bed, it was repelled from the size of the mattress. To do this, "climbed" on the Internet and went to a furniture store. Based on the size: 80x180cm.
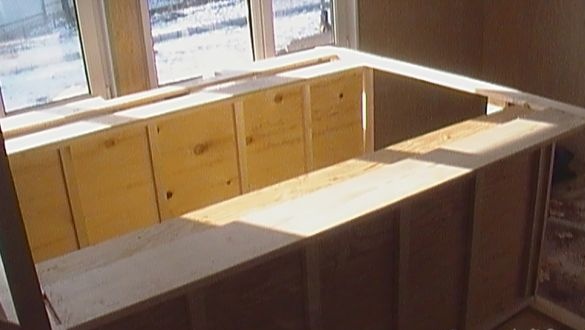
He began with the manufacture of a “box” of the upper berth. To do this, cut 2 pieces of plywood: 15x186cm. I saw off and trimmed 2 boards: 15x82cm.
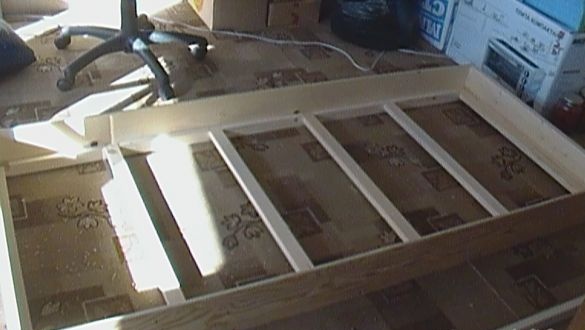
With glue and screws, I attached bars (3.5x2cm.) To the plywood boards to support the plywood for the mattress. Previously, I made cuts for the crossbars on a circular saw.
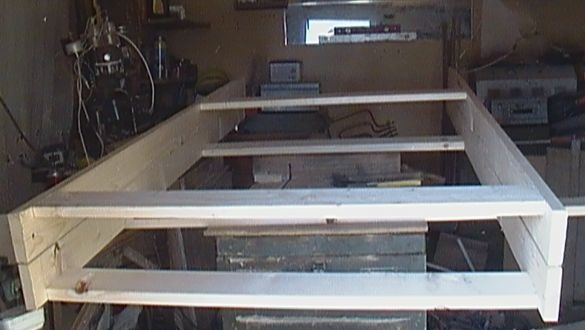
He buttered the ends of the boards with glue and with the help of screws he assembled the frame of the box. Cut and laid the crossbars
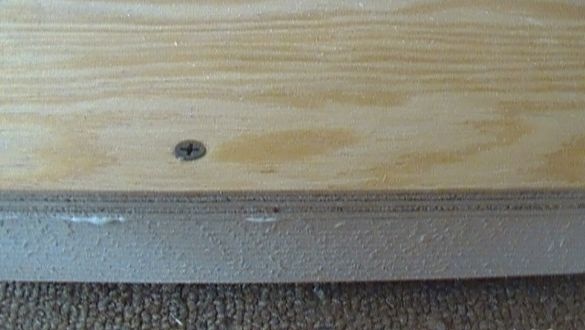
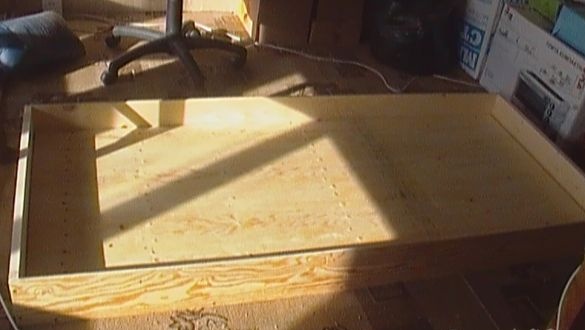
laid on them, cut to size, a sheet of plywood. I screwed it with screws to the longitudinal bars, observing the rectangularity of the corners of the box.
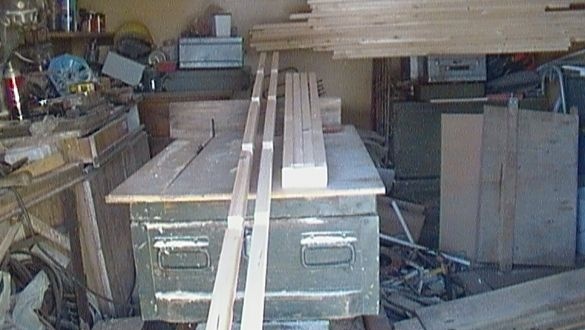
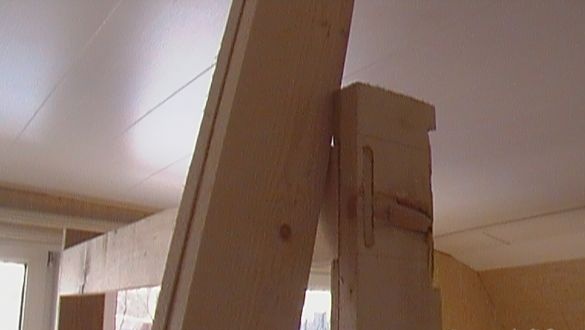
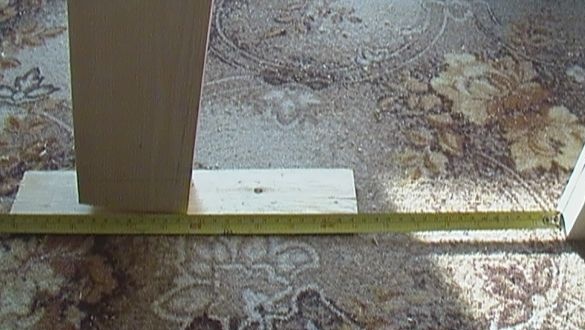
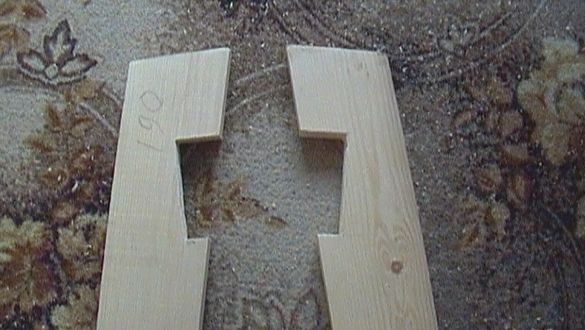
For racks I took a board with dimensions: 2x9x170cm. In each rack, on a drilling machine, I made 2 through grooves for a tenon (9x70mm).
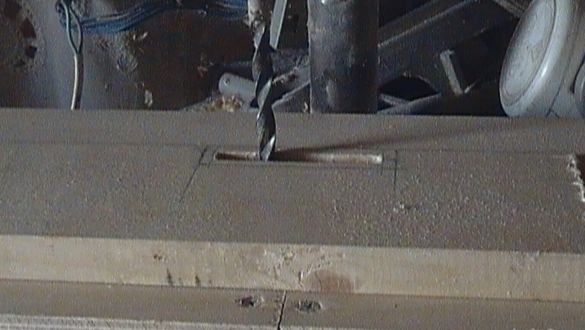 For this I used not complicated device which was installed in a vice and worked as a guide.
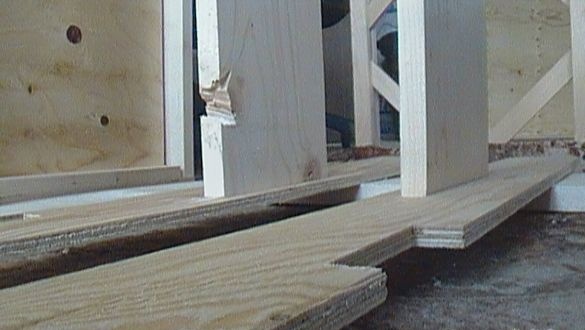
Next, I cut the bent boards for the lintels of the headboards and cut a spike on a circular saw.
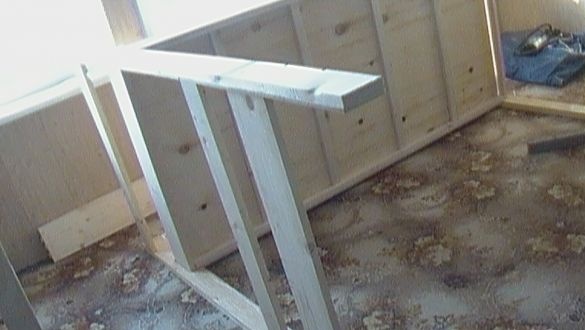
I collected both backs dry.
To ensure safety on the upper bed, I made railings.
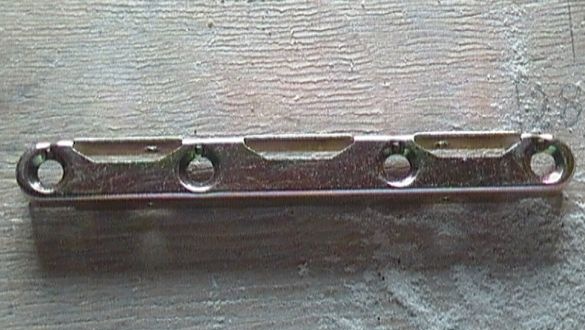
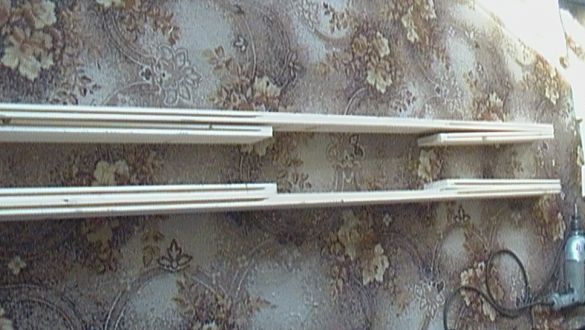
In the manufacture of used board 2x9 cm., And for mounting such a product.
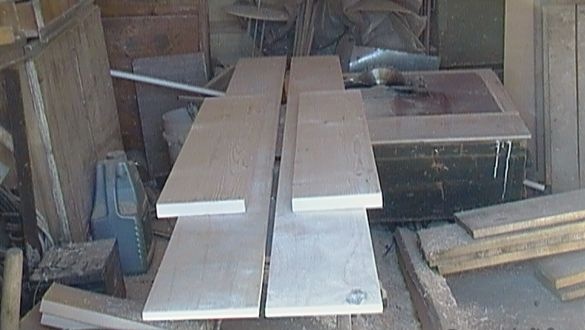
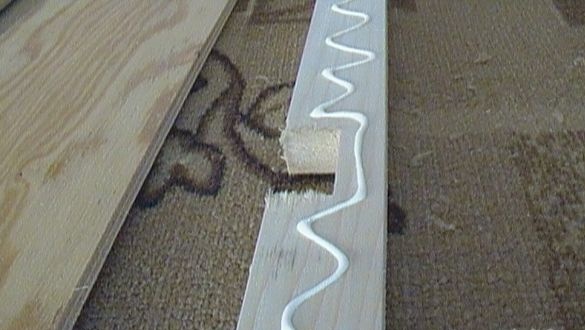
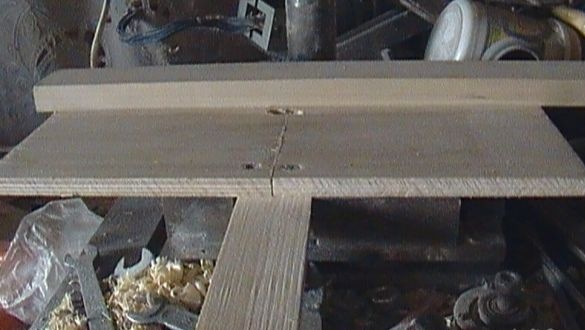
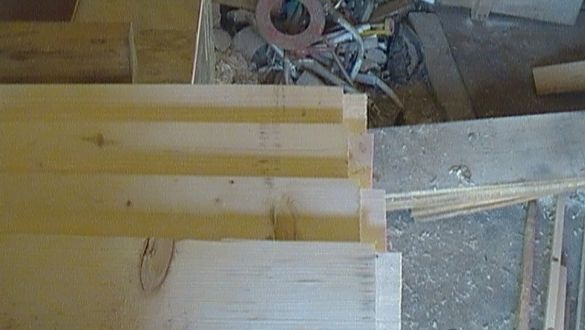
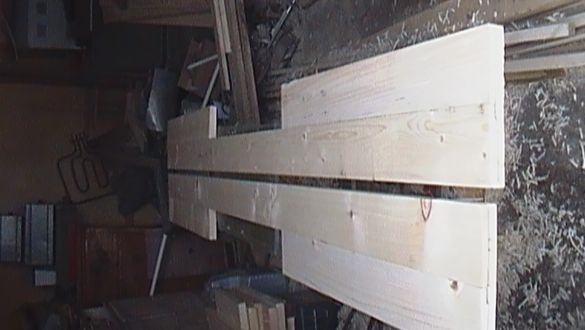
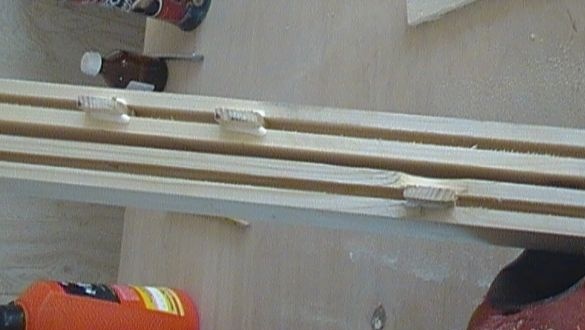
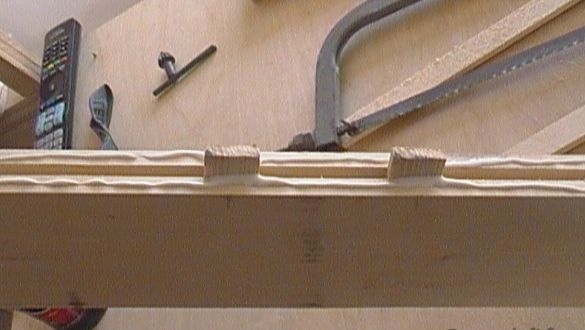
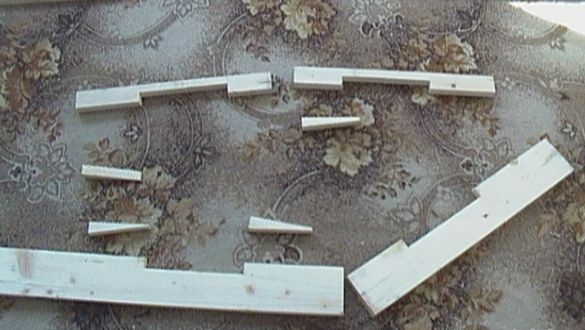
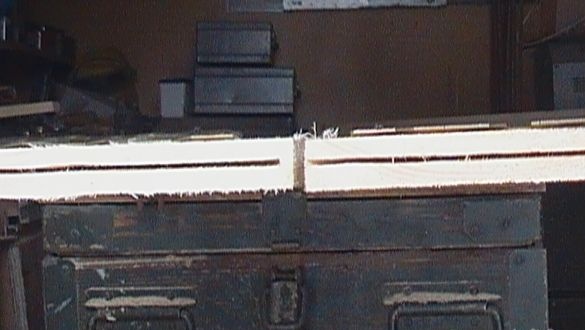
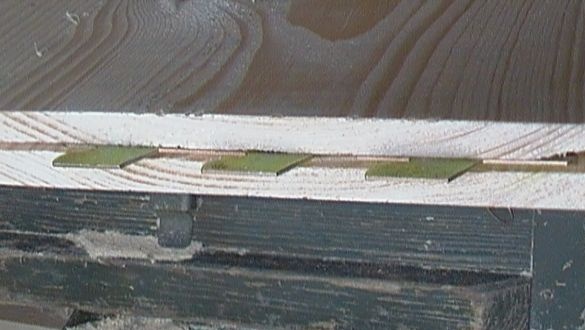
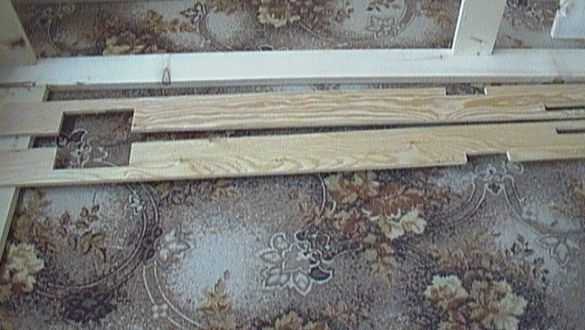
Since the length of the product was greater than the width of my board, I made extensions and glued them using flat dowels. To do this, I had to make longitudinal cuts
and cut a sliver of the required thickness for the dowels.
Glued parts using a tricky device.
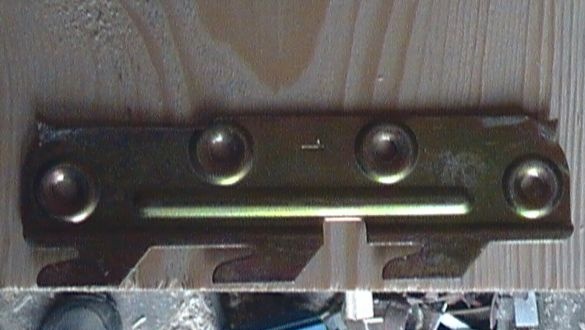
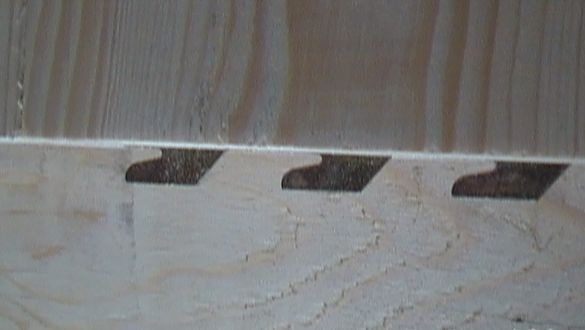
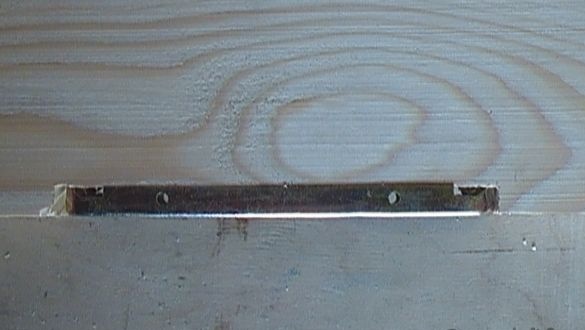
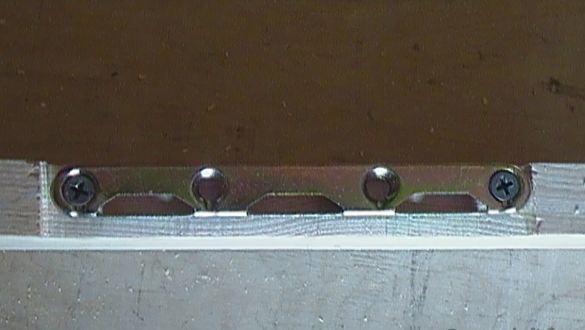
To install the mount, cuts were made at the ends of the boards, which was problematic.
I inserted one part of the fastener into these cuts and screwed the screws and cut off the protruding parts with a turbine.
The second half of the product is installed in the recess on the racks.
The bottom board is fastened similarly to the top.
and glued them to the racks. Installed between the racks the top drawer
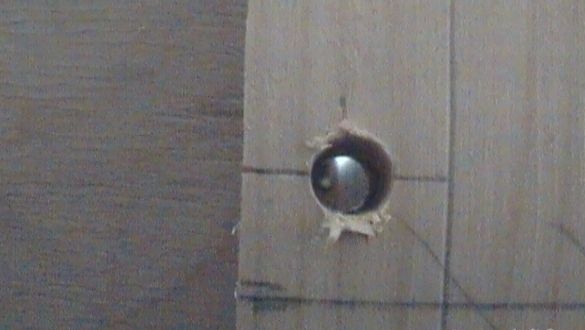
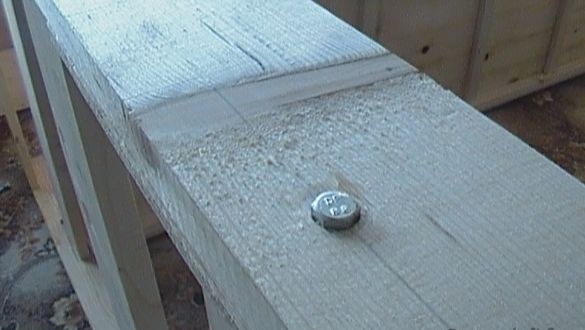
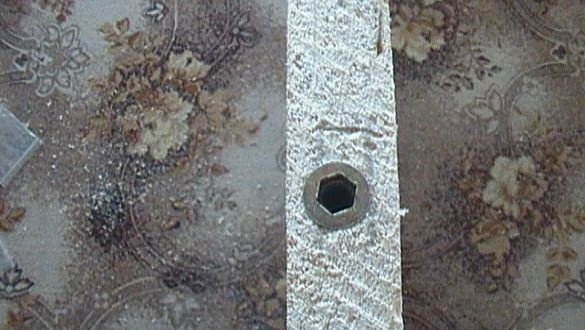
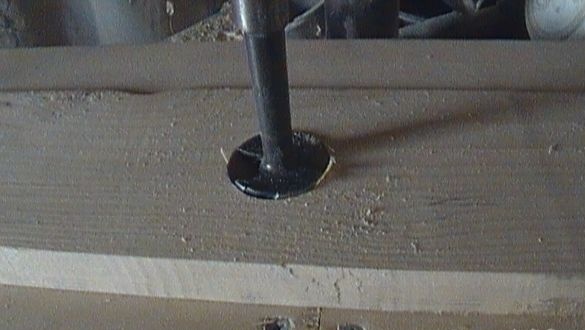
and drilled a through hole for the m10 bolt.
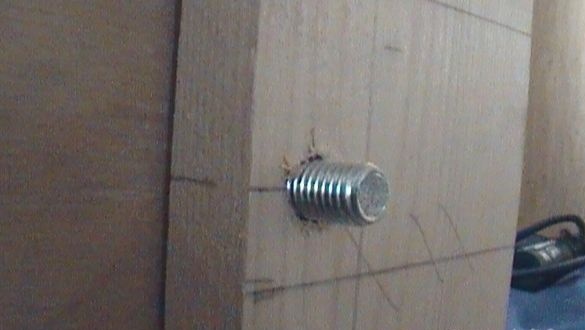
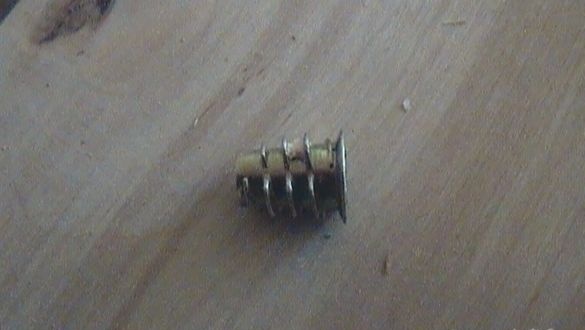
He installed furniture nuts and, using bolts, “drowned” them in a rack.
The rigidity of the upper part of the headboard creates a bolted drawer. For rigidity, at the bottom I installed one board each, entering the recess in the lining
and fastened them with a bolted connection
furniture bush and bolt m6. On the same boards I fixed the swivel joints for the lower drawer,
which did the same as the top, but 3 cm. already. To support the lower drawer, a 2.5x2.5 cm bar was glued to these boards.
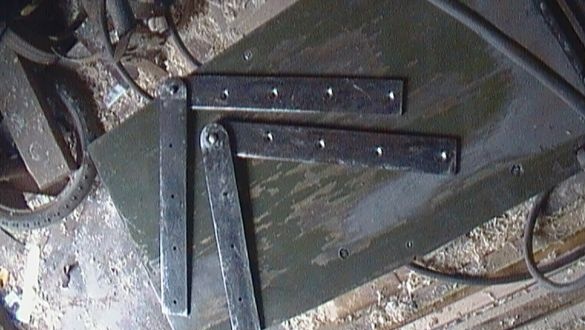
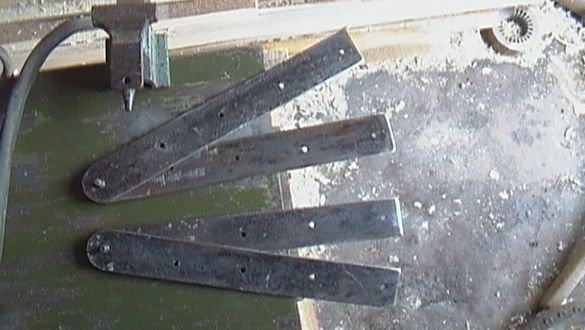
Hinges made of sheet metal 3 mm. The turbine cut off 4 strips of 30x250 mm. I drilled a hole for rivets and riveted them by inserting them. Then he drilled 4 holes for a screw and made a countersink. Using the “poke” method, the lower box was installed.
I disassembled the entire structure and glued the components of the headboards. To close the racks outside sawed 4 strips of plywood 6 mm. and glued to the racks.
To make the stairs I took the same boards,
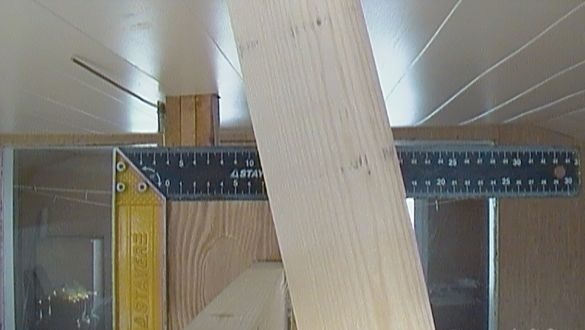
made a marking with the help of a corner
and made a cut on the circular.
For the manufacture of stairs, glued blocks 4.5x4.5 cm.
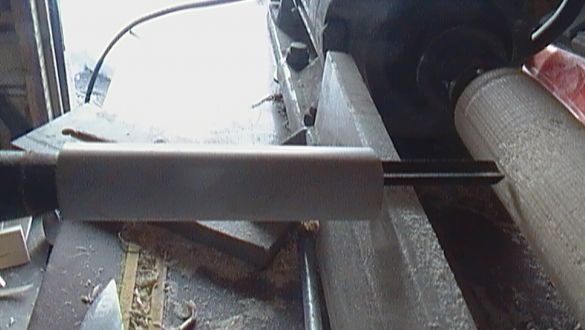
and processed on a lathe. For the manufacture of several parts of the same size, I used a piece of pipe that was specially fitted by experiment and put on a chisel.
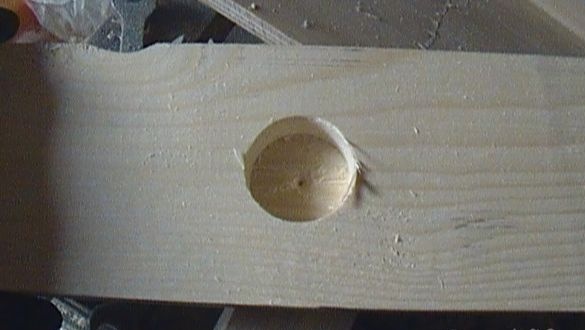
Further, the size was adjusted using sanding paper. I drilled blind holes in step boards with such a drill of 35 mm.
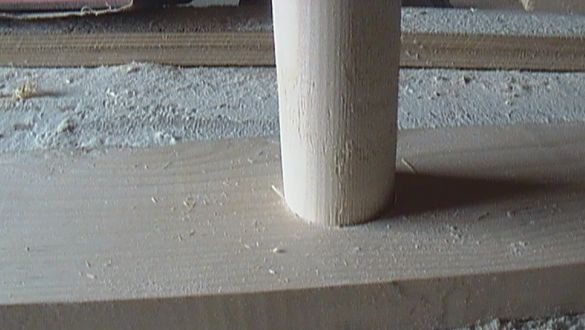
Steps set with glue.
At the top of the stairs I fixed a tightly fitted transverse board to glue with a screw. Using a bolted connection, the ladder of this board is attached to the upper bar of the headboard, on one or the other side. For this I used a furniture sleeve
(screwed into the backrest) and the m6 bolt. The steps of the stairs are located at a distance of 25 cm in the center of the step. As a result of the work done, I got:
As a friend said: the children were in "7 heaven" and 2 days did not leave her, using in their games.
Sweet dreams to you and intelligent ideas.


