From this article you can learn how to create a real model hovercraft boards.
In order to create and completely modify all the details of this homemade the authors took only one week, and, at the beginning of the work, they naturally did not have detailed instructions for making the board on an air cushion. So, if someone wants to create something similar, then relying on this article and having at hand all the necessary materials and tools, he will be able to make a board on an air cushion in just a couple of days.
And although the resulting model has a rather simple design and many options for refinement, it is a good basis for existing homemade hovercraft.
Materials and tools that were used to create homemade:
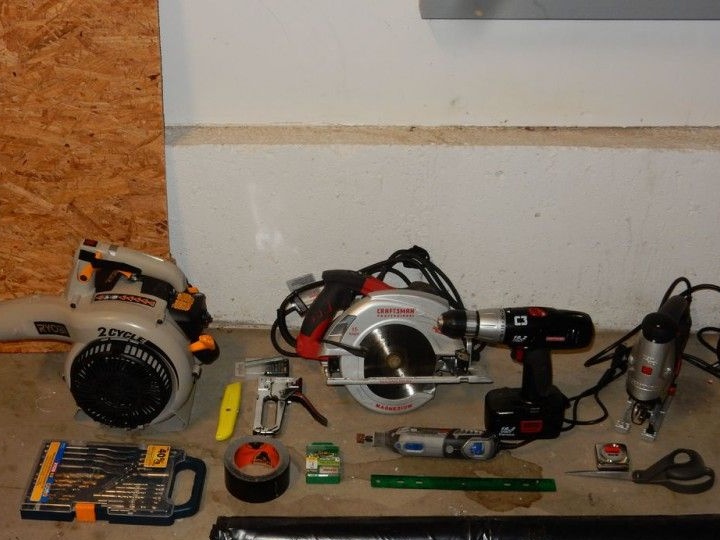
Gas blower Ryobi 400 CFM 26 cc cm.
Plywood sheet measuring 2 * 120 * 270 cm
Durable multi-layer oilcloth or soaked canvas.
Construction stapler
Several rolls of reinforced tape
Circular saw
Woodworking Jigsaw
Drill
scissors
screws 25 mm, 12 mm and 20 mm
roulette
sandpaper
Transparent sheet plastic with sufficient flexibility to create a windshield
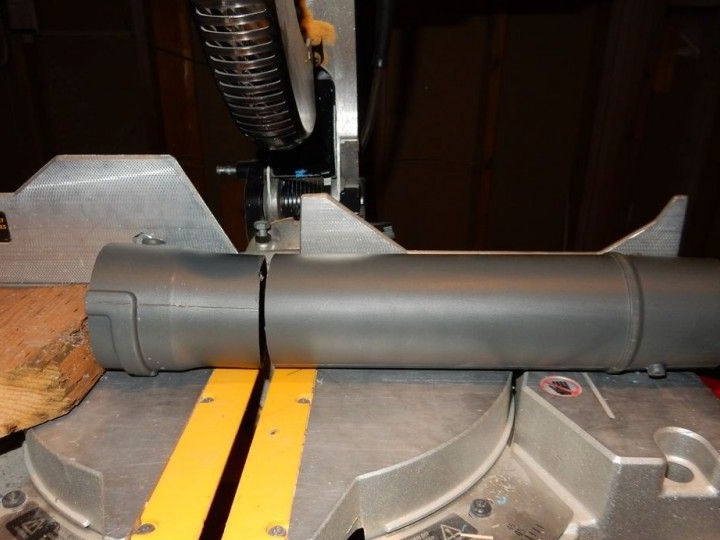
Several PVC pipes
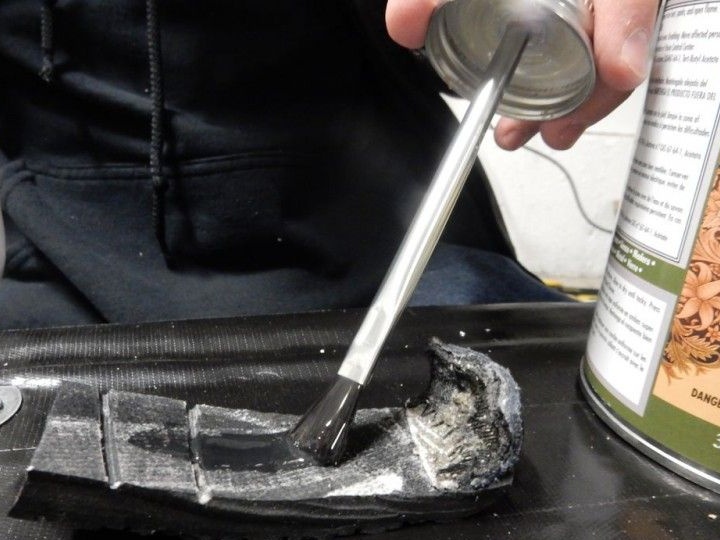
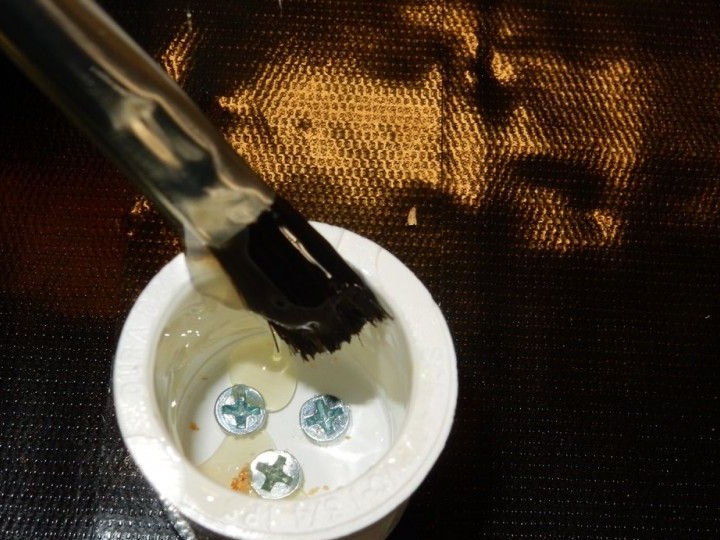
PVC glue
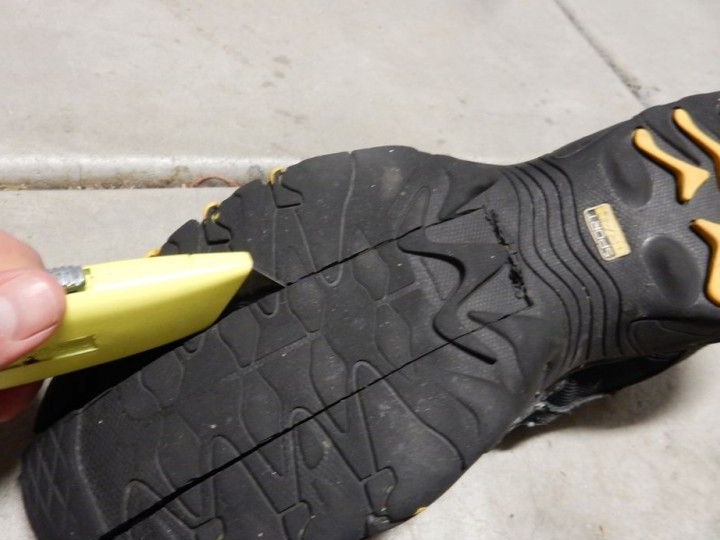
A piece of rubber from the sole of an old boot.
Several screeds, as well as LED strip.
A detailed description of the manufacture.
Having collected and prepared all the necessary materials, the authors began work on their homemade product.
Getting started with various materials and tools, it is important to remember the necessary safety measures, as well as protective equipment.
Step One: Plywood Base.
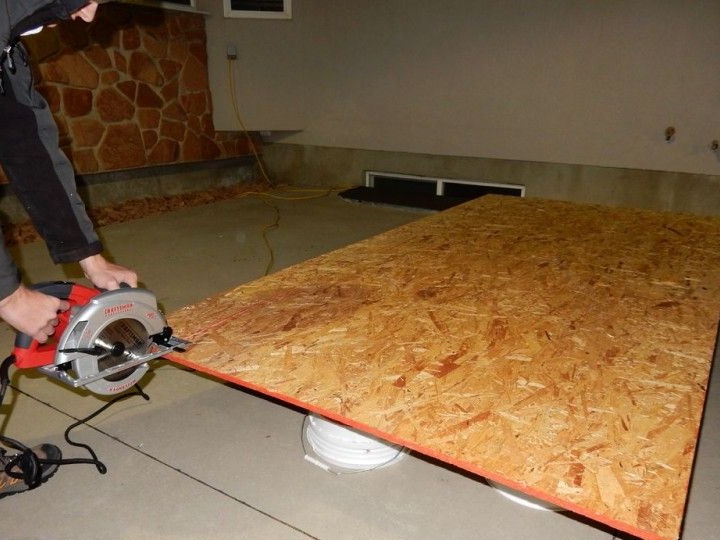
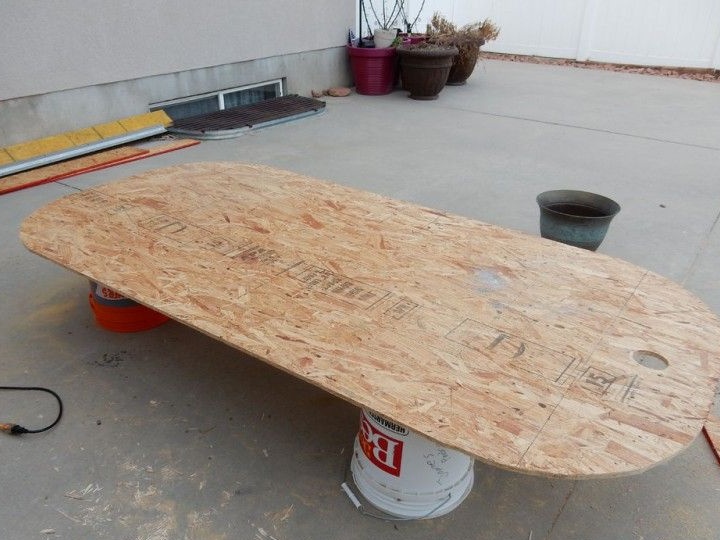
First of all, a form was laid out on a plywood sheet, which will serve as the basis for creating an air cushion board. The dimensions of the form were chosen about 200 cm in length and 100 cm in width, and the edges of this form will be rounded in the future.
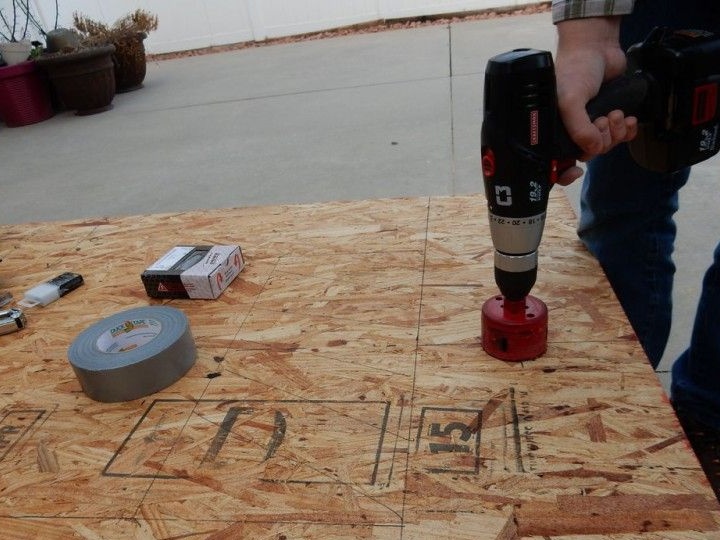
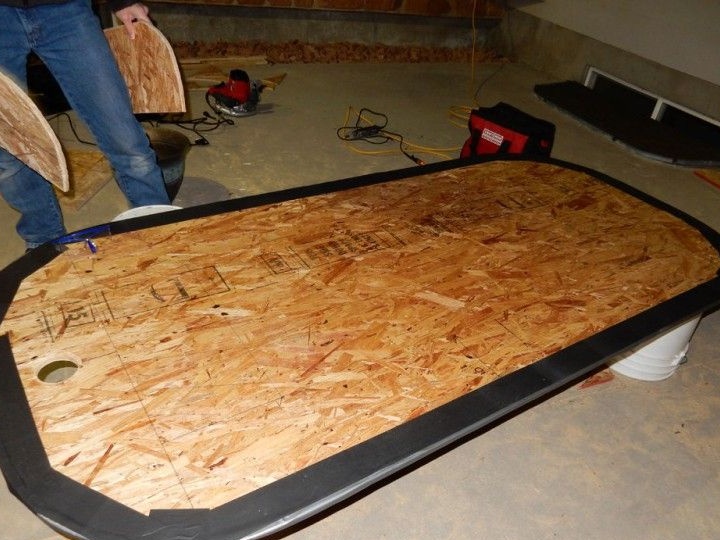
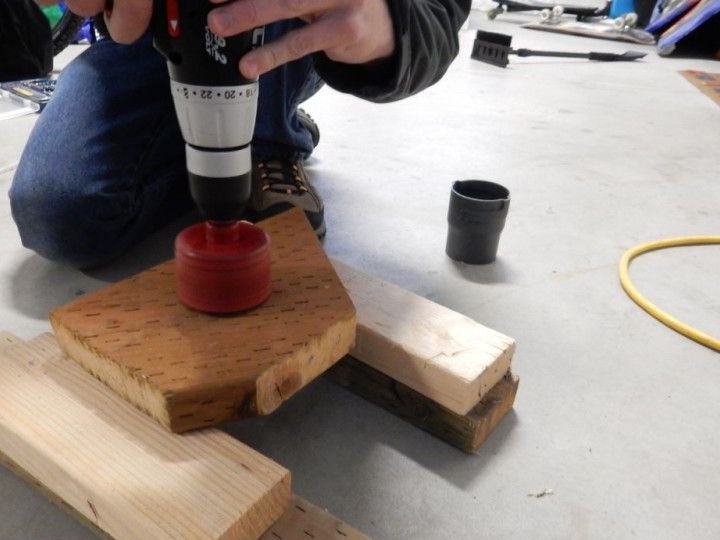
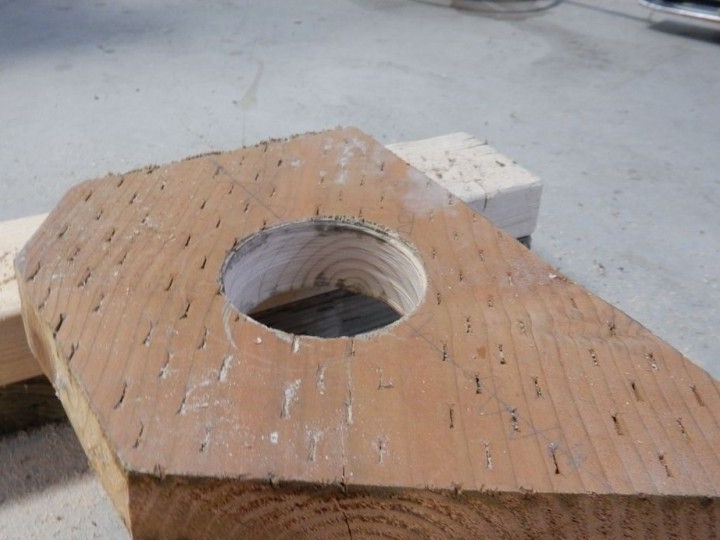
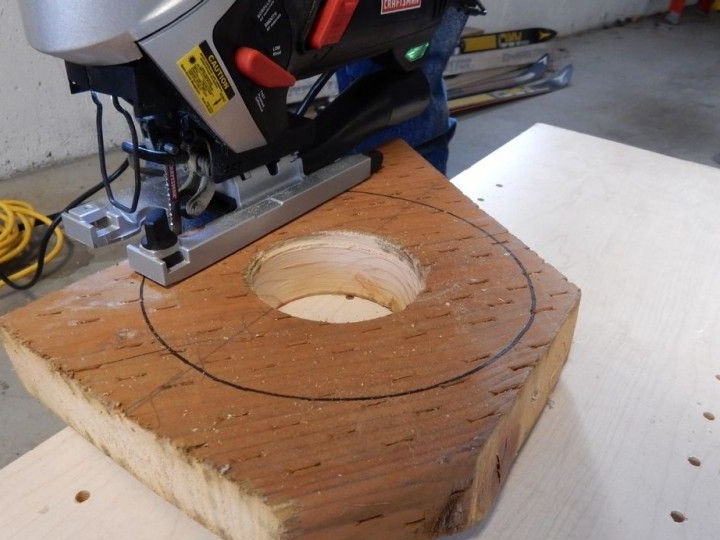
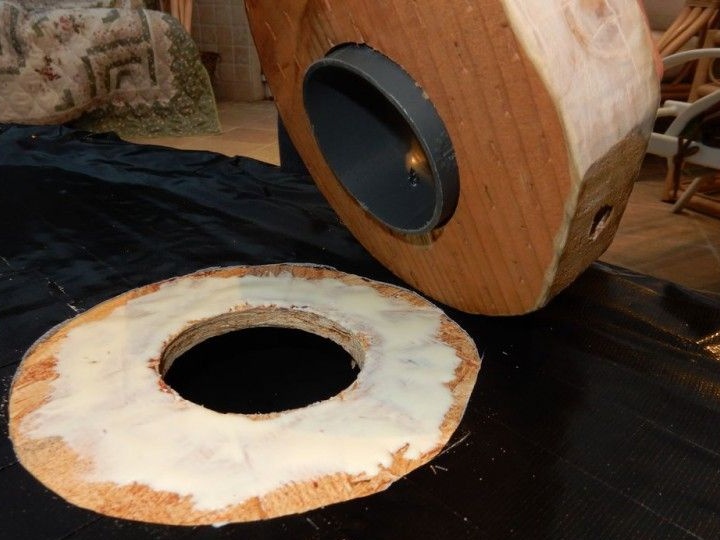
Then, in the center of the back of the resulting board was cut a hole for installing the nozzle from the blower. The diameter of the hole depends on the size of the blower pipe. The hole itself was equidistant from the sides and 15 cm from the rear edge of the board.
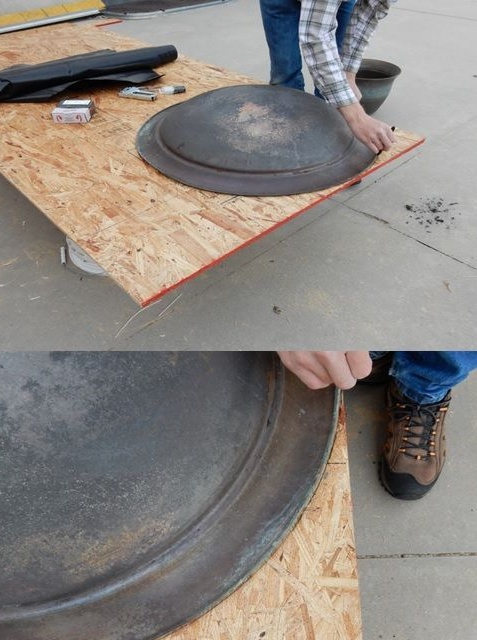
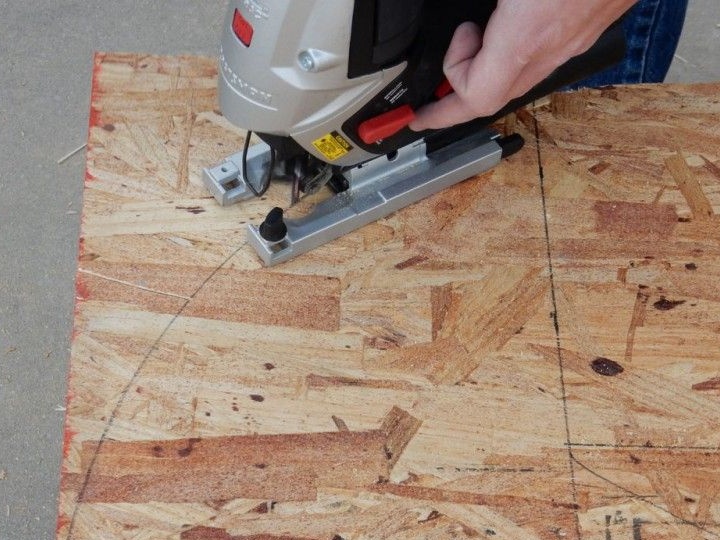
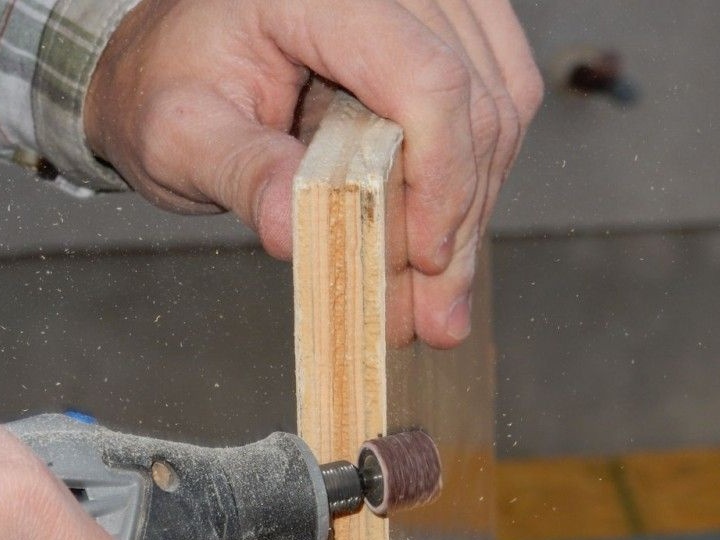
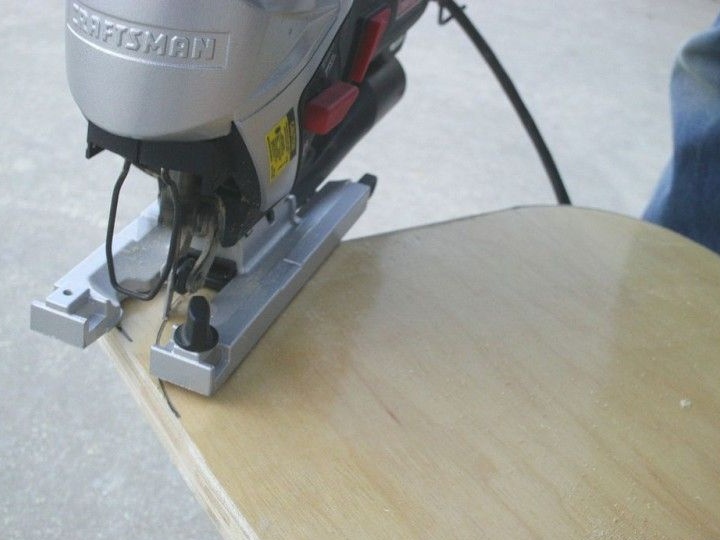
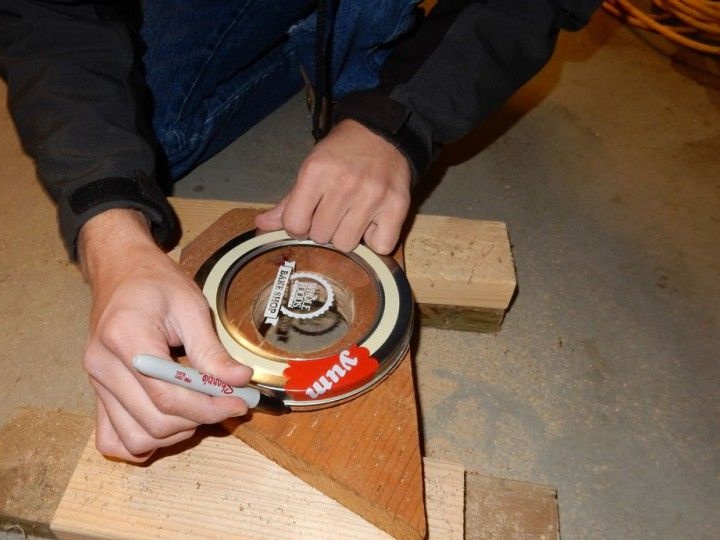
Then, with the help of a round metal cover, the roundings of each corner of the existing board were marked. Then these edges according to the markings were cut with a jigsaw.In addition, all the edges along the saw line were processed with sandpaper and polished with high quality so that chips and burrs would not damage the film of the air cushion, which will be attached to the board.
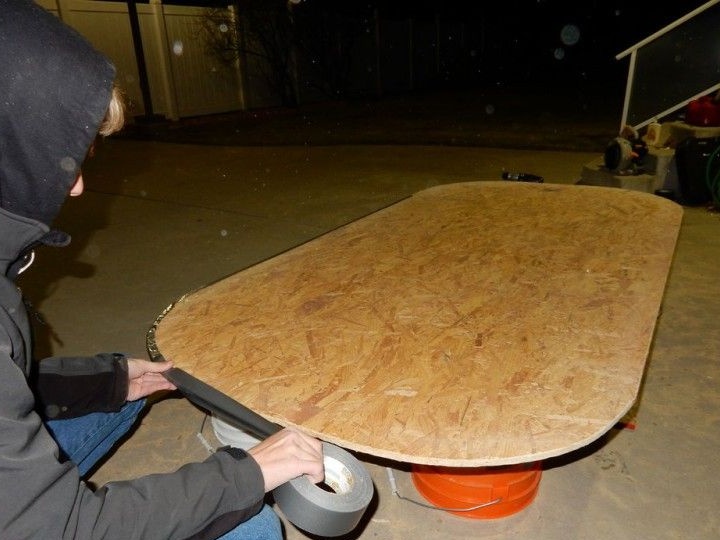
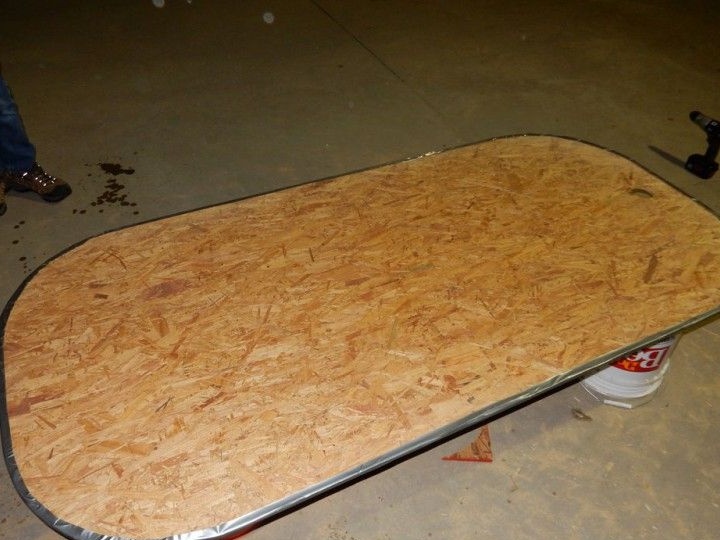
In order for the film to fit more densely and reliably to the edges, after polishing they were cleaned of all dust and additionally glued with tape. On the entire outer side of the perimeter, another additional layer of adhesive tape was also made, in the hope that this would allow better gluing of the oilcloth to the plywood using the staples of a building stapler.
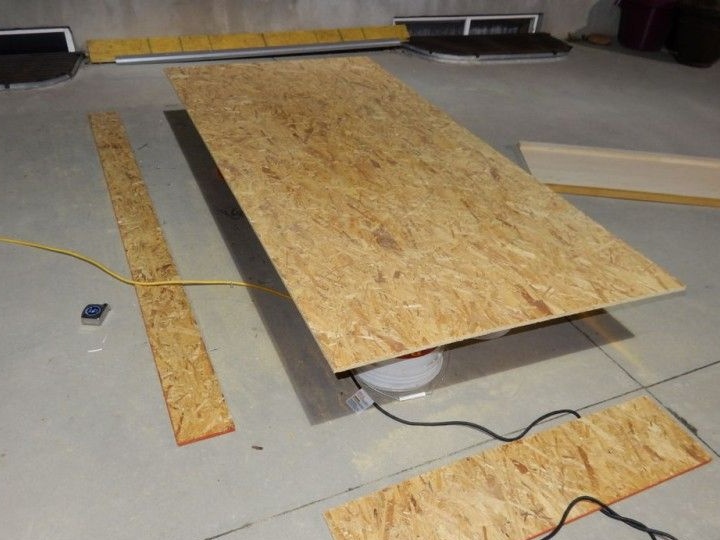
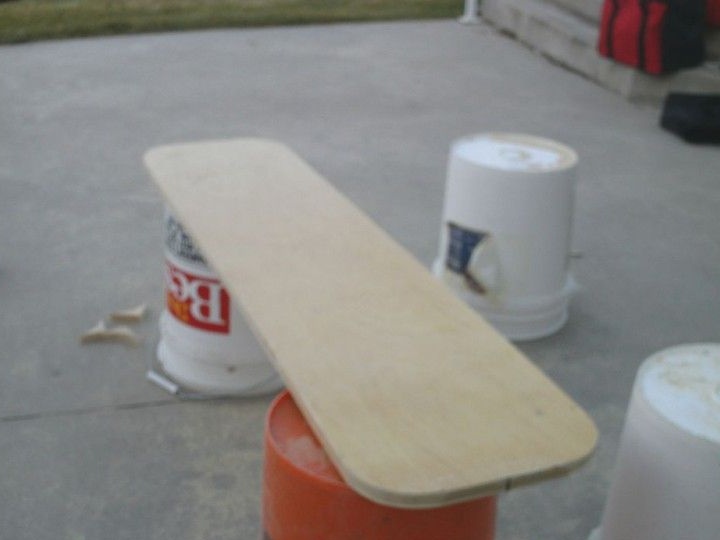
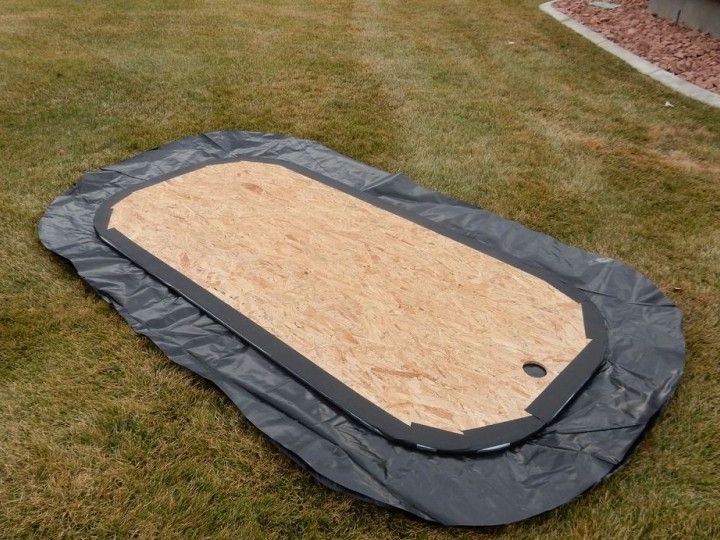
Then, from the same sheet of plywood, an additional board was cut with smaller dimensions with a length of 116 cm and a width of 28 cm, with which all the same processing steps were done, except for pasting with adhesive tape. The purpose of the resulting board will be to hold the oilcloth of the skirt of the future air cushion in the middle of the main board.
Step Two: Create an Oilcloth Skirt for an Air Cushion.
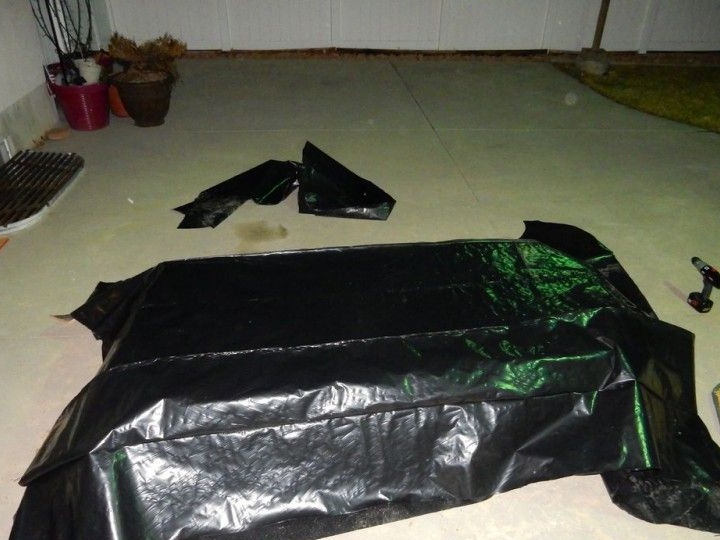

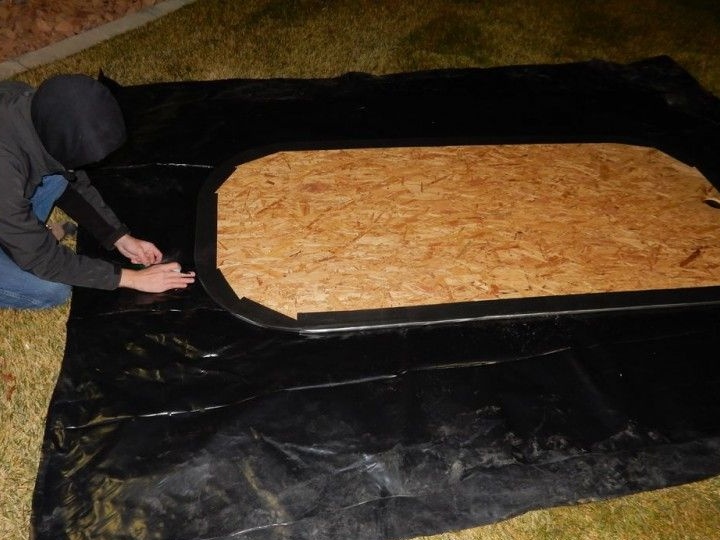
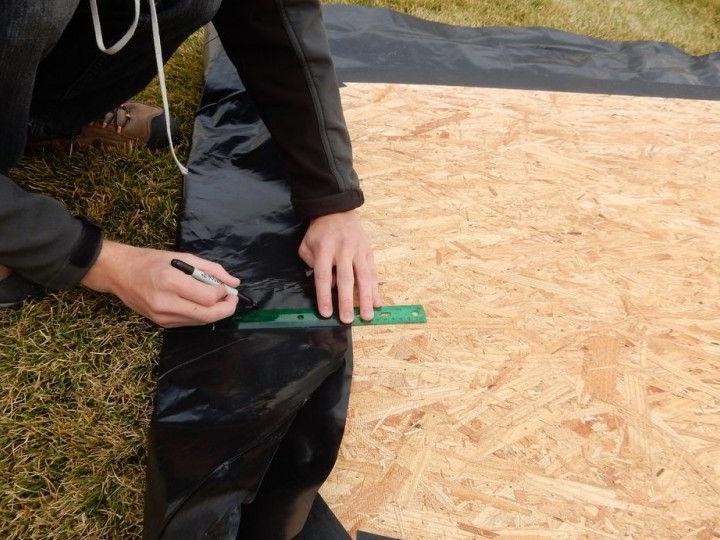
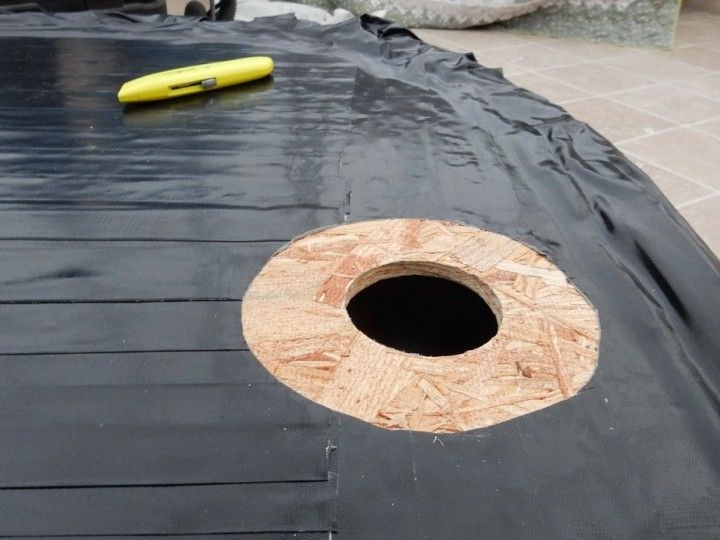
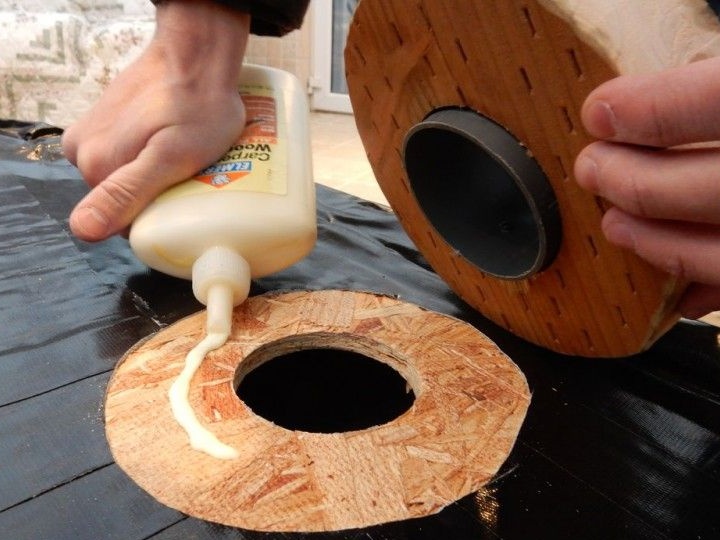
To do this, oilcloth was laid on the main part of the homemade product, which had previously been laid upside down. Oilcloth was evenly distributed over the entire surface with a margin of about 15 cm from each edge. Thus, the board should be covered with oilcloth, which protrudes 15 cm beyond the borders of the board along the entire perimeter. Then a smaller board was laid on it, which was prepared in the last stage. Then it was measured using a tape measure for an exact location in the center and fixed with 25 mm self-tapping screws to the main board. The number of screws should be such that the design is monolithic and reliable. In this case, it took about 10 screws from the bottom, plus a few from the top. If the screws are too long, it is necessary to cut off the protruding parts on the other side of the board.
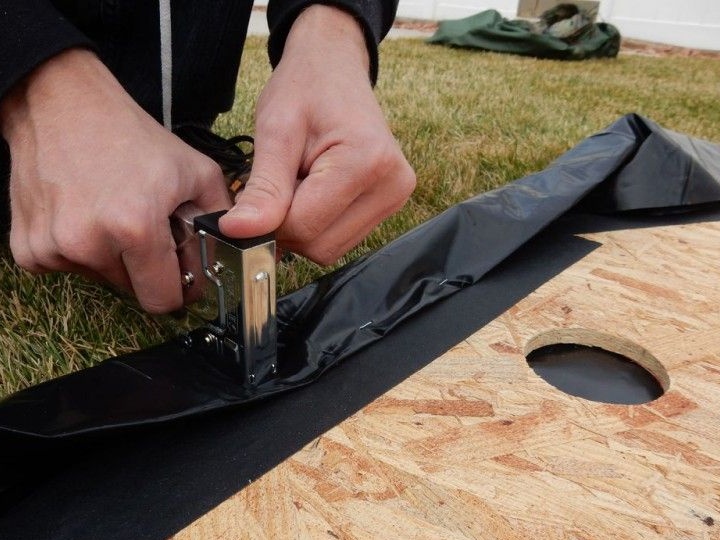
Further, the obtained workpiece was laid on a flat surface with its bottom side down, and the oilcloth was sewn to the main board using a construction stapler around the entire perimeter of the board. The author turned the oilcloth a little and put it on the staples at a distance of about 10 mm from the edge of the board. The brackets were laid at a distance of 5 mm from each other around the entire perimeter. With this approach, the board will rise about 10 cm above the ground.
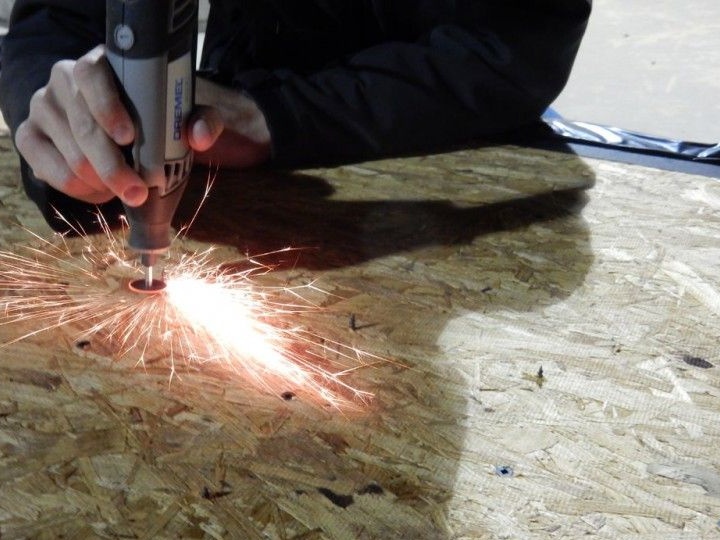
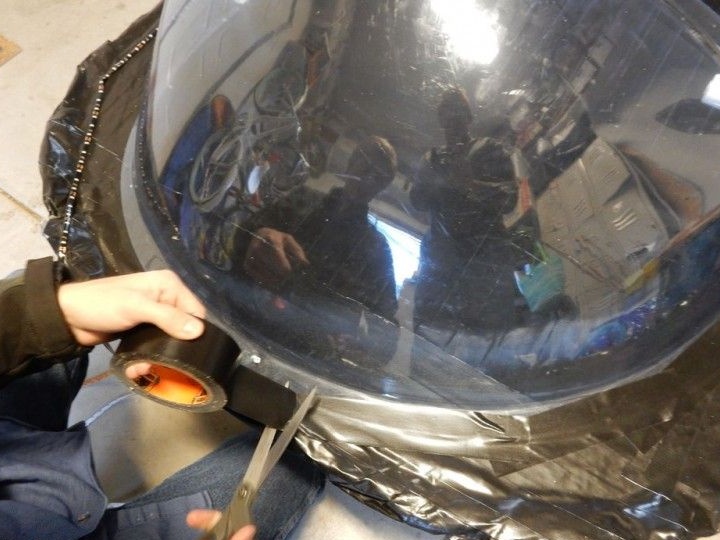
Step Three: Create holes in the skirt.
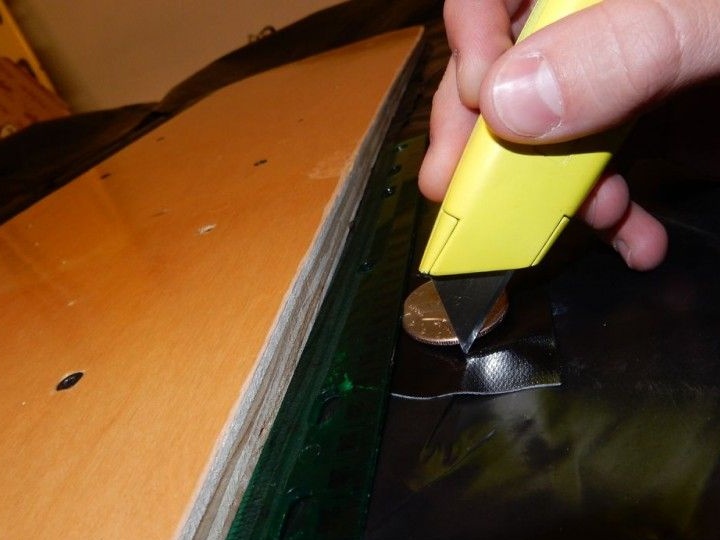
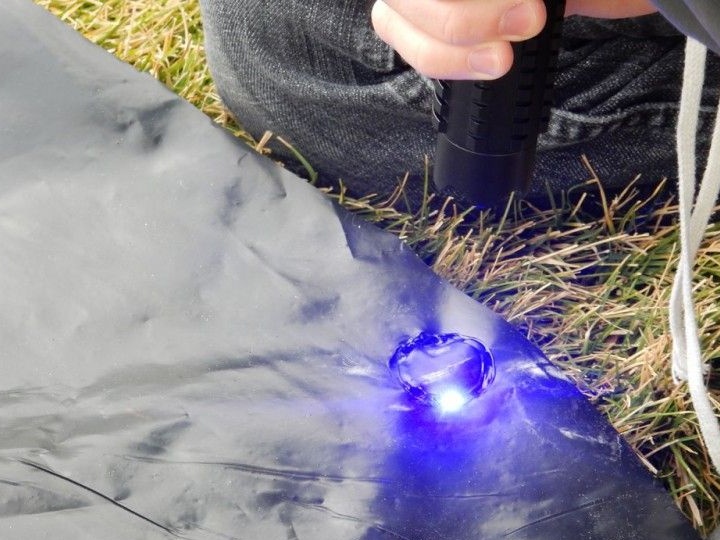
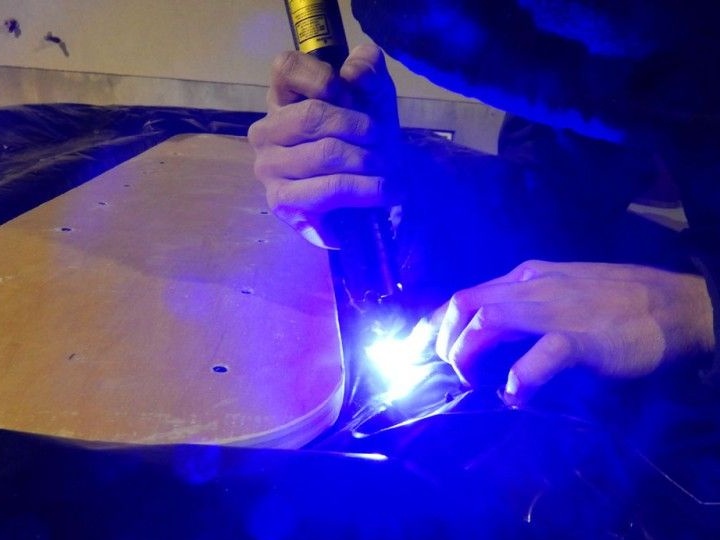
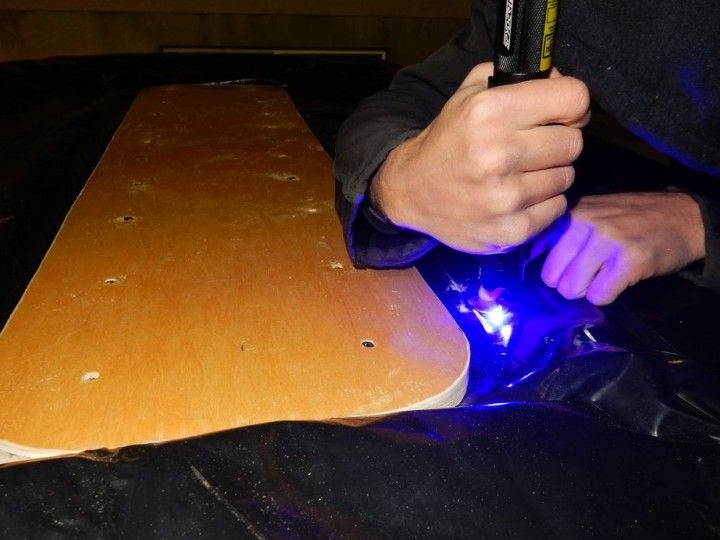
A total of 18 holes were marked. They were made as follows: retreating from the perimeter of the smaller board by about 3 cm, 7 holes were made on each of the long sides and 2 holes on the other. Before cutting holes, in order not to damage the oilcloth, the places where the holes were made were additionally reinforced with adhesive tape. Thus, 18 holes with a diameter of 40 mm were obtained. A laser was used to obtain uniform holes with strong edges.
Step Four: Testing the Air Cushion.
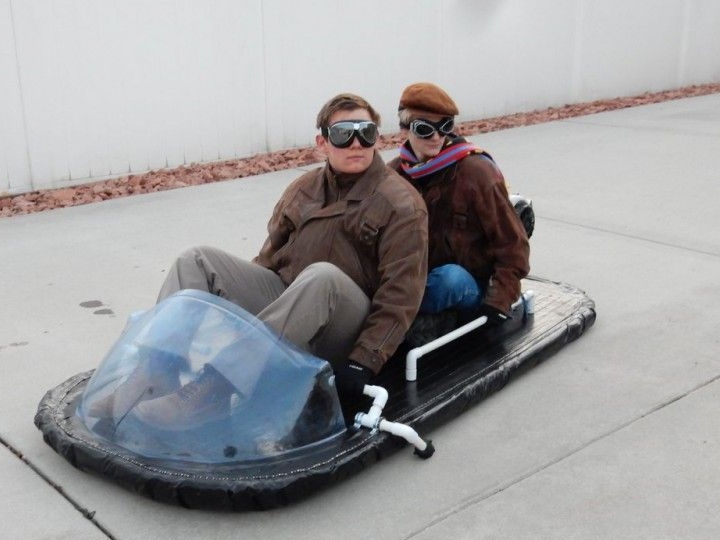
In order to conduct testing, a blower was installed in a hole made earlier on a large board. The model of the blower used in this homemade product has a regulator that allows you to set the blower to maximum power. Since the blower itself has a sufficiently large weight, for balance it is worth making a counterweight in front of the board, thereby ensuring uniform soaring of the board. Then the pilot was placed on an air cushion and the blower was turned on. If everything is fine, then you can safely proceed to training in the management of this vehicle. However, the authors had several problems that they could subsequently eliminate.
When testing and finalizing the floating board, the following nuances were identified that are worth paying attention to when testing.
If the air comes out unevenly from under the board, you must check the skirt for wrinkles. They can be either due to too thick oilcloth, or due to improperly sized smaller boards. Therefore, if wrinkles are found, you need to eliminate them, even if you have to redo the skirt.
In addition, improperly made holes in the oilcloth can be the cause of poor soaring of the board. Initially, the authors made only 8 holes, and the board refused to soar, so the number of holes was increased to 18.Therefore, it is necessary to choose the right number and diameter of holes depending on the mass of your homemade product and the power of the blower. The main thing is to place the holes at a distance of about 25 mm from the board.
Insufficiently tight connection of the blower pipe and the holes in the board can be solved with some tape. In addition, he also fixed the blower power control. In case the adhesive tape is behind, it is necessary to find a more sticky option. In general, high-quality adhesive tape in this homemade product plays almost the first role, since even the oilcloth is most conveniently strengthened with adhesive tape strips that can prevent the skirt from bloating too much and give it a more neat shape.
Step Five: Refine the hovercraft board.
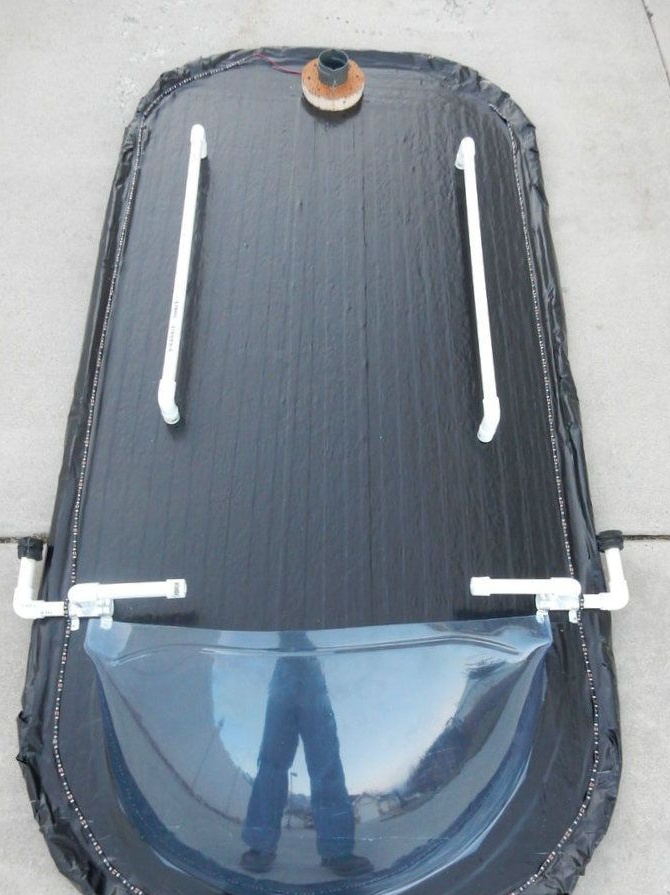


Below are a number of improvements that have been made by the authors, for more comfortable management and better appearance of the product.
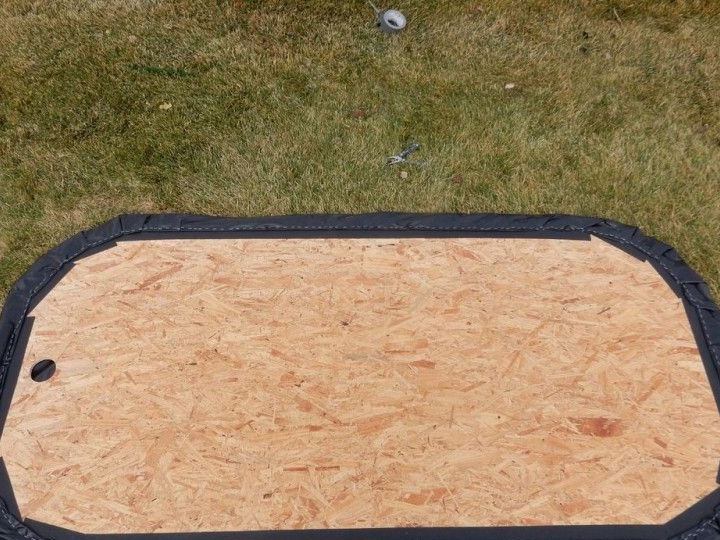
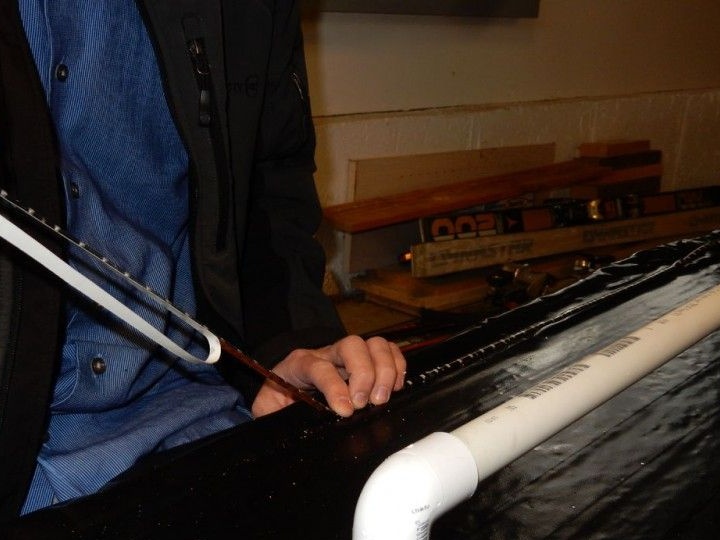
To give a more aesthetic appearance to the structure, its upper part of the floating board was covered with black tape. In addition, this will give the structure more strength.
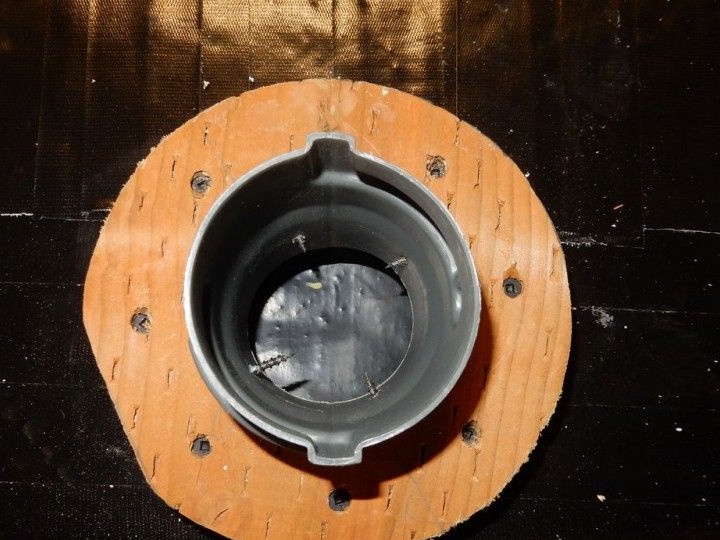
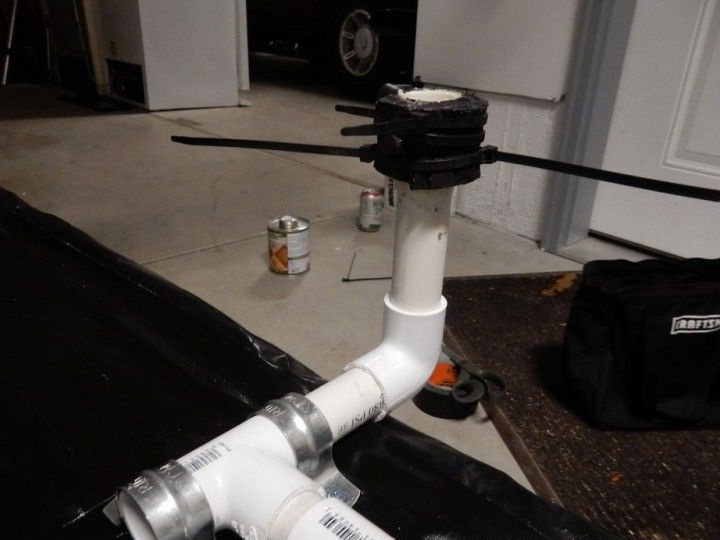
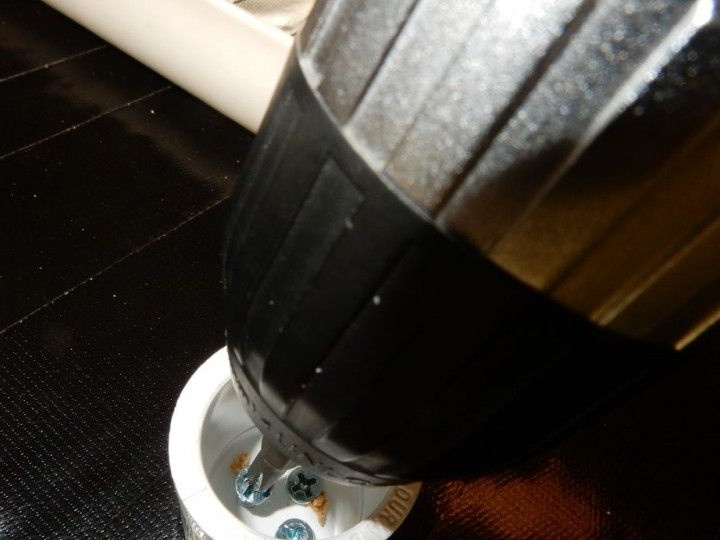
The blower mount has also been improved. A caliper was cut from a thick board, through which the blower was securely fixed to the board for self-tapping screws and glue.
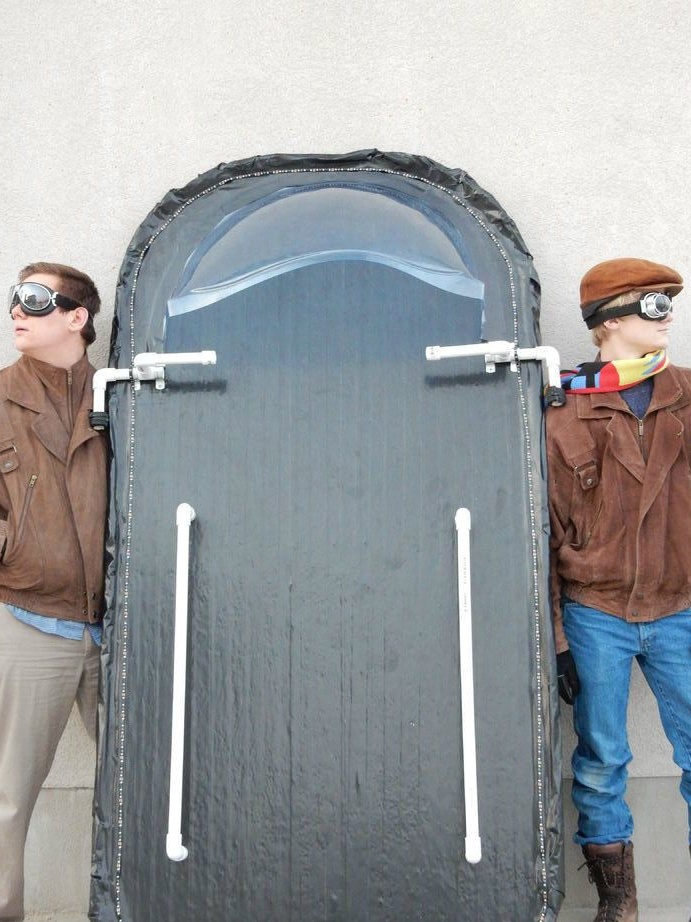
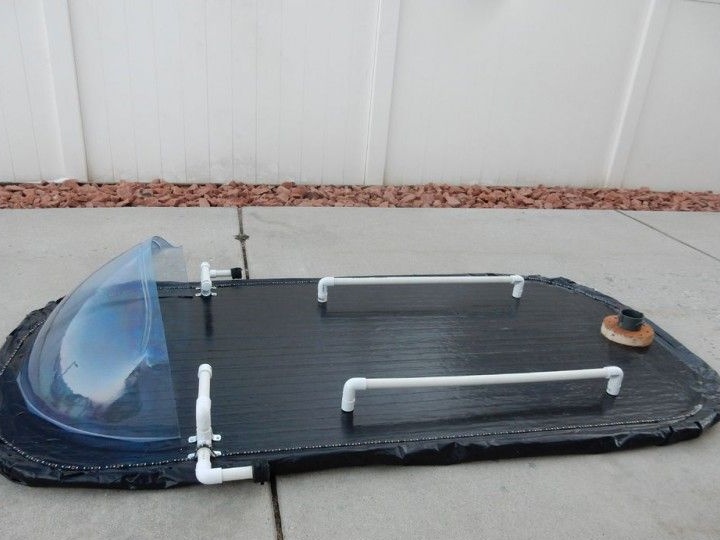
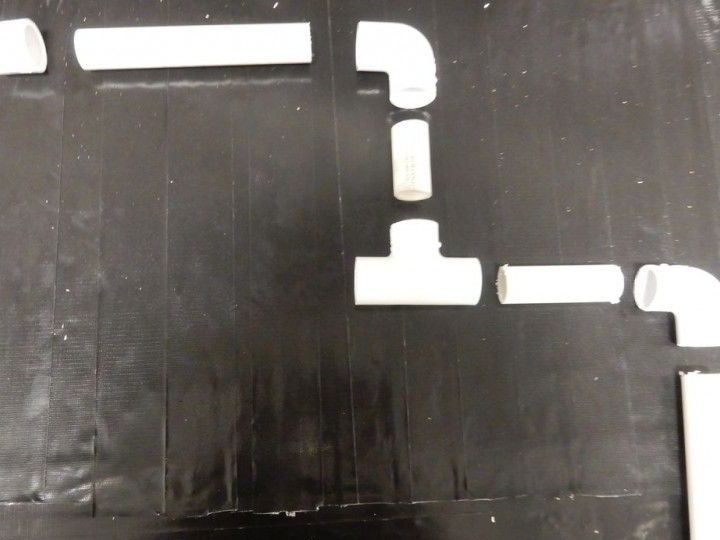
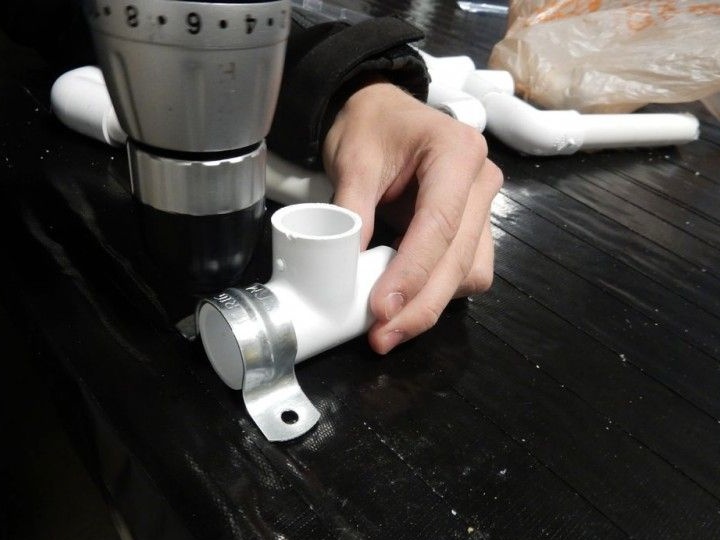
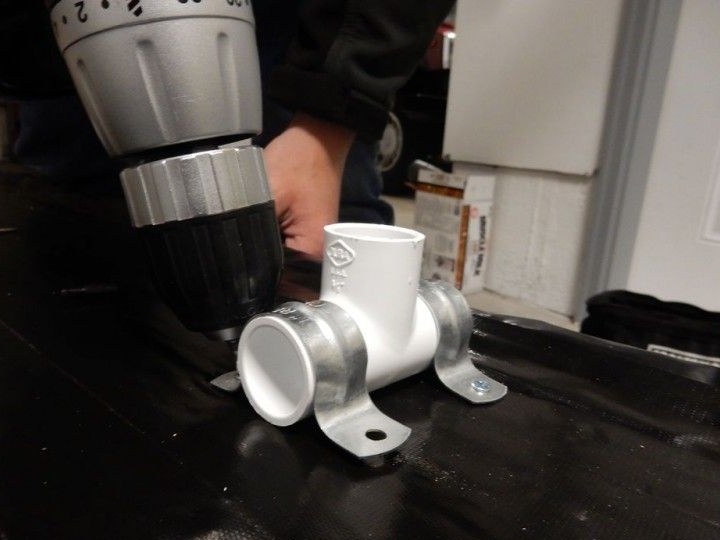
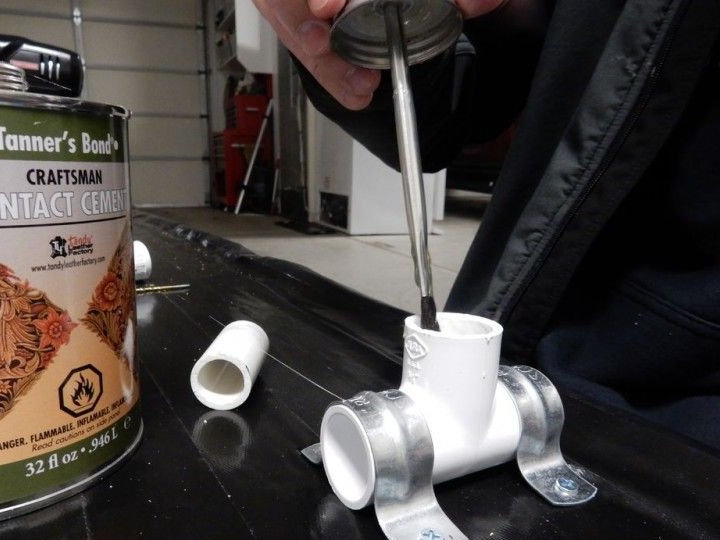
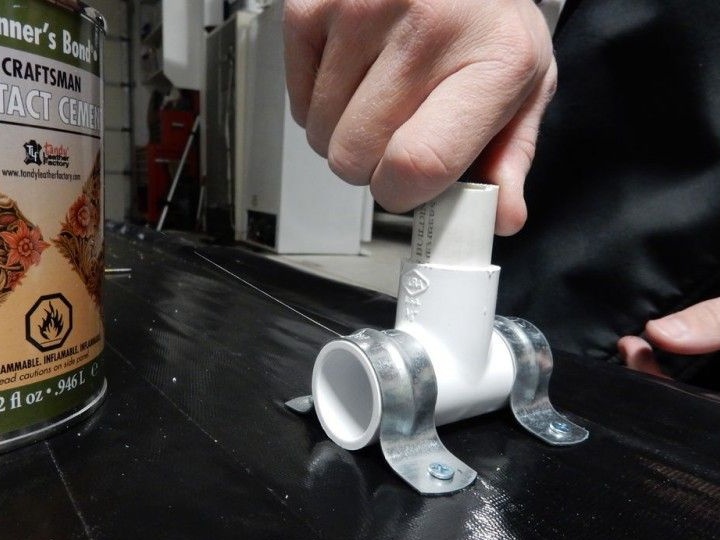
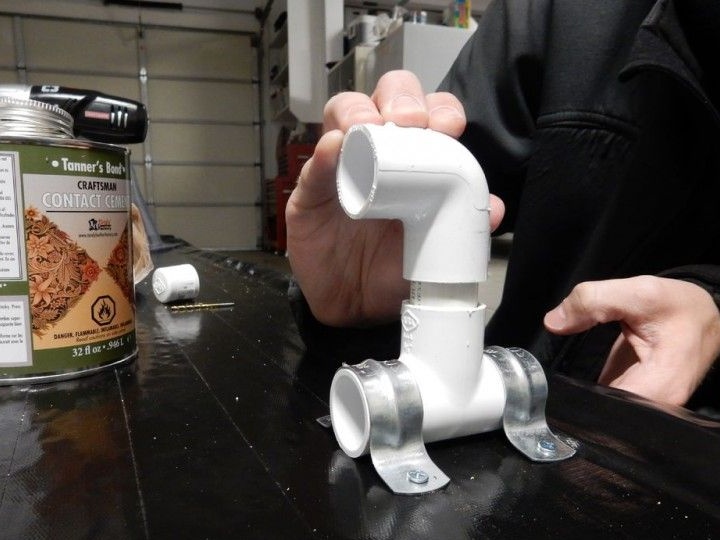
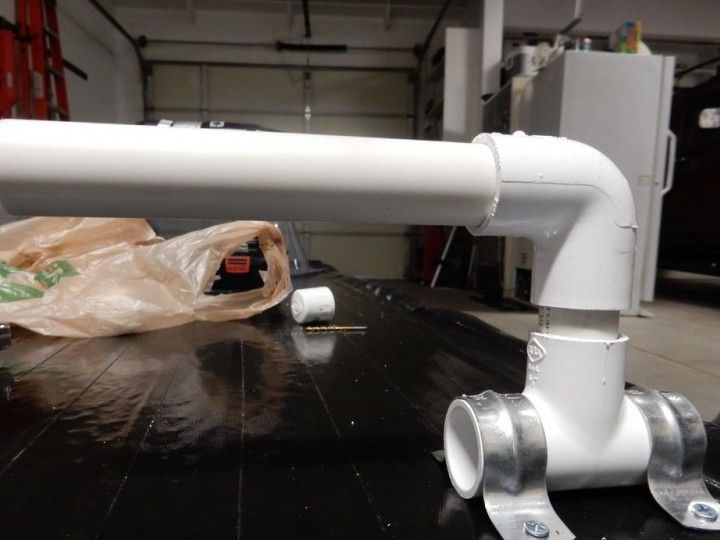
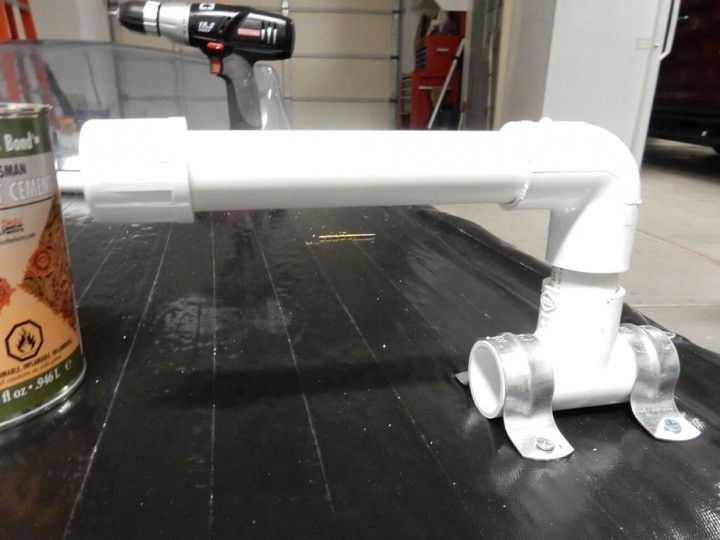
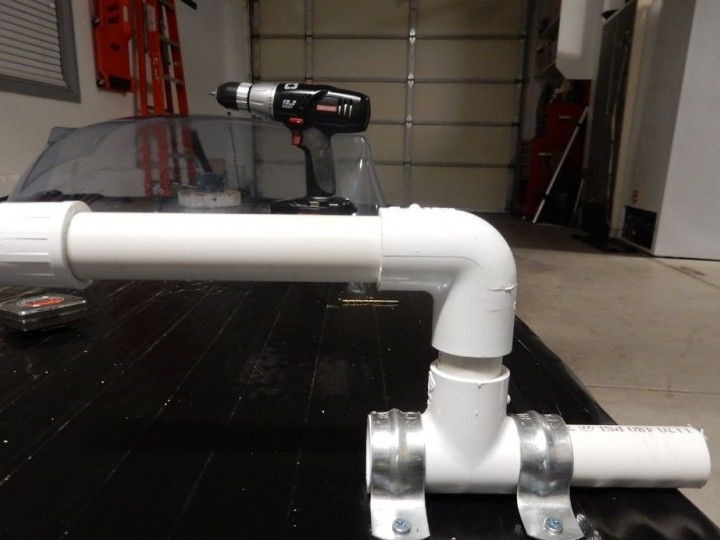
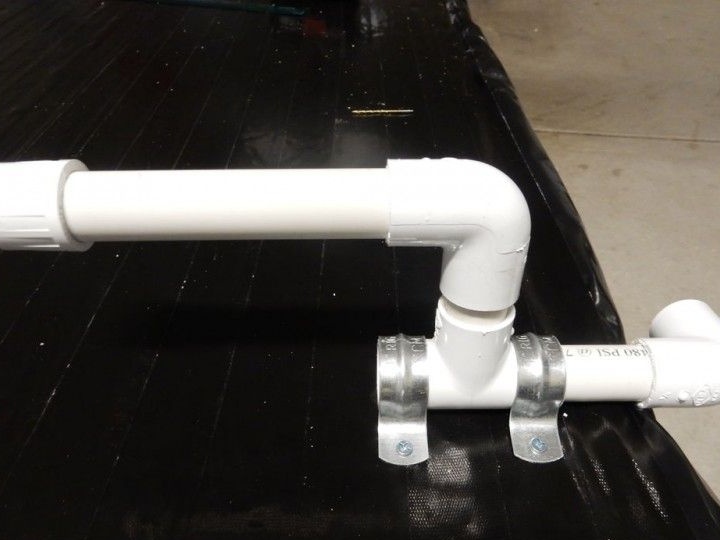
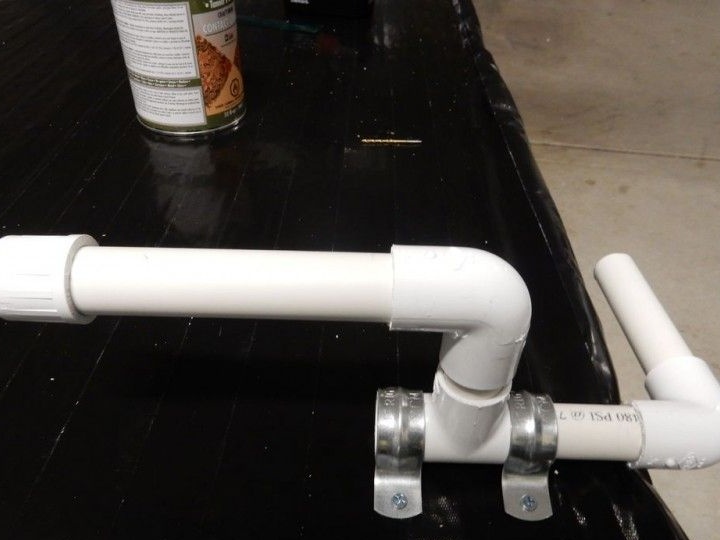
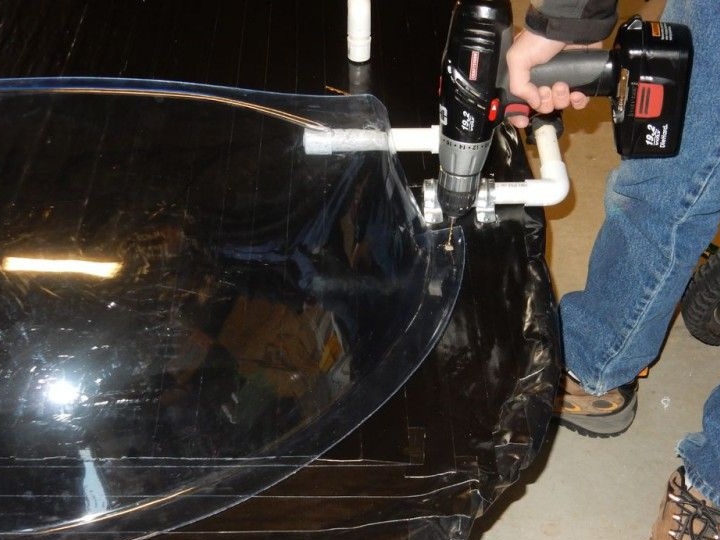
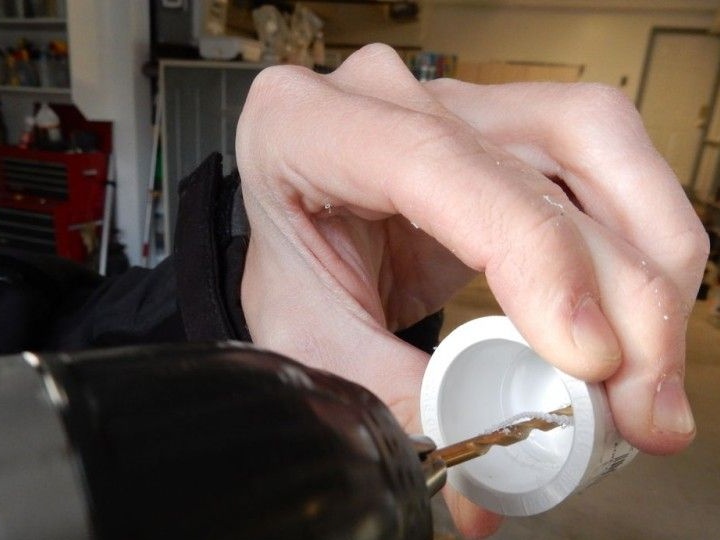
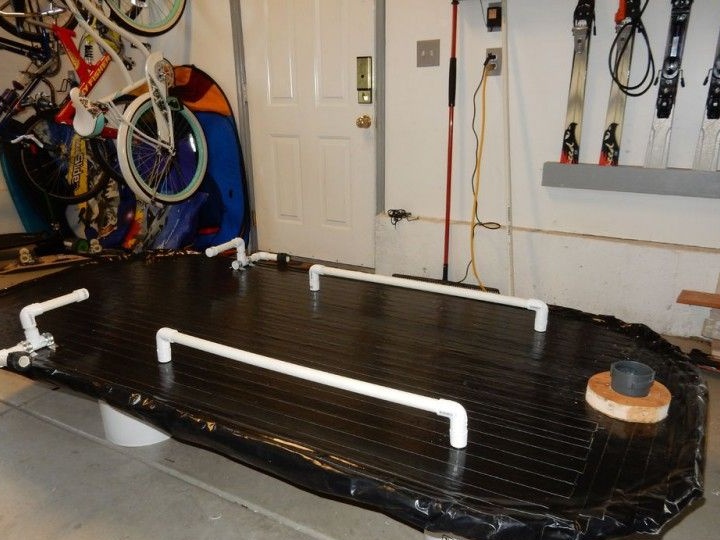
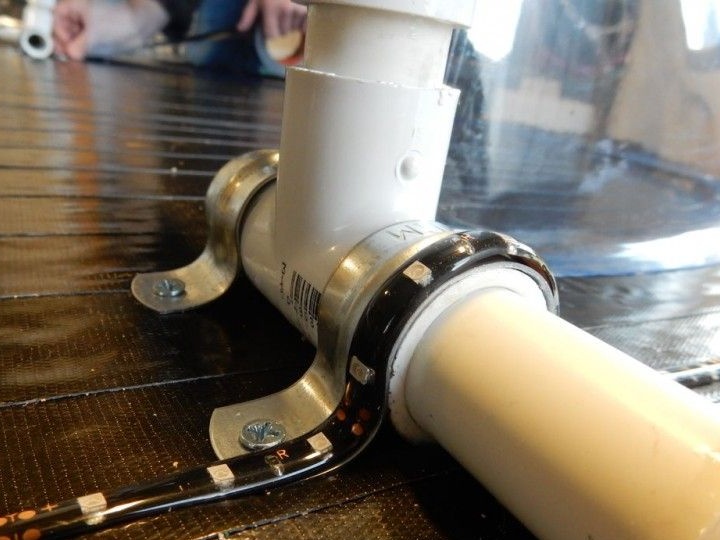
As you can see in the photos, a budget-like semblance of steering was made for a floating board made of PVC pipes and fittings.
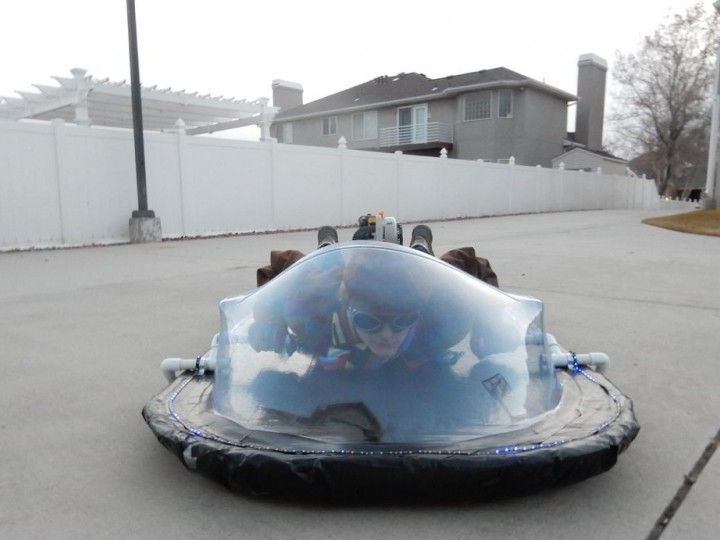
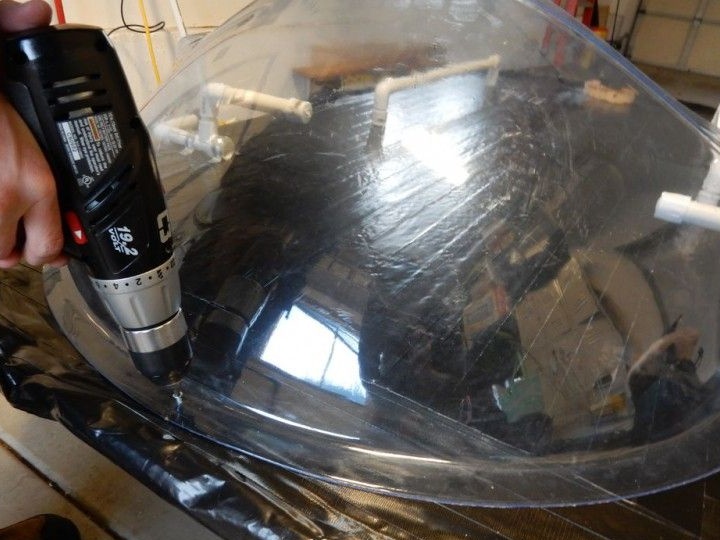
The windshield was also made of sheet transparent flexible plastic.
Using LED strips and 9V batteries, the simplest lighting circuit for a hovering board on an air cushion was made.
And so that the pilot doesn’t take off the board at the corners, all the same PVC pipes were installed on the edges of the sides.
In the end, we got such a homemade hovercraft board.