» Fixtures » Instruments »Homemade glue gun from USB

USB homemade glue gun


Hot glue gun do it yourself. It works from a 5 volt power source and can be connected to a bank or power supply using a USB connector. During operation, the glue gun consumes from 1.2A to 2A. During operation, the average value was 1.4A. To reduce power consumption, you can change the length of the nichrome wire or select a smaller wire cross section.

What we need:
1. Aluminum can (0.5l or 0.33l)
2. 2.5ml medical syringe
3. USB cable
4. Wooden handle (also from an old soldering iron)
5. Button or switch (the button is more convenient, because the switch I quickly failed)
6. Nichrome thread 14cm (I took from an old soldering iron)
7. A pair of heat sink tubes (from the same old soldering iron)
8. Copper wiring (I took a twisted punishment)
9. Shrink 5mm
10. Power supply 5V 2A
11. Insulating tape and super glue

From the tools:
1. Scissors
2. Stationery knife
3. Soldering iron

Step 1.
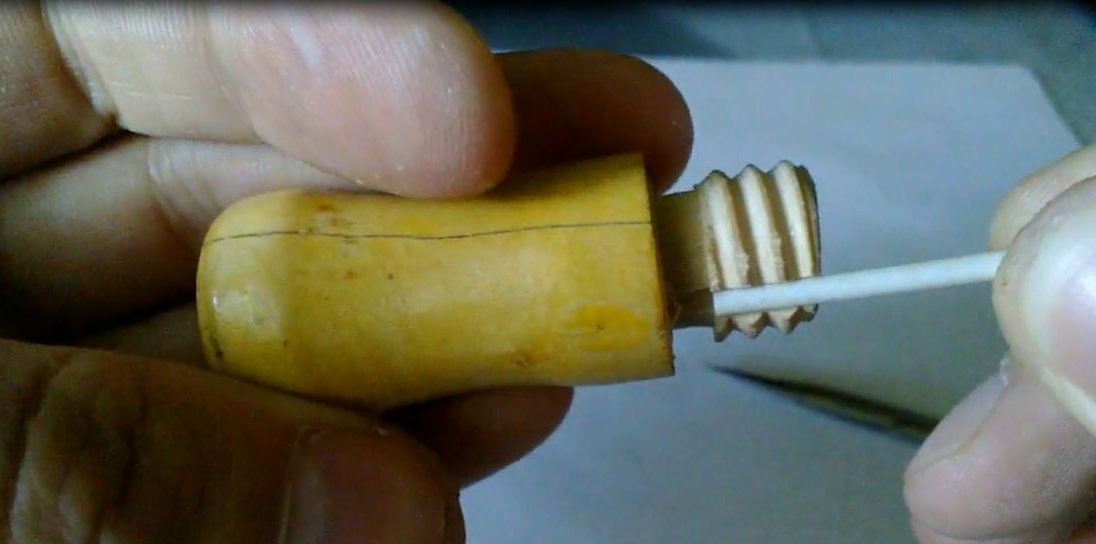
We take the handle from the old soldering iron and cut it in half (I was lucky, the handle is unscrewed). We need the bottom. There, the glue stick (7mm) passes perfectly (whoever does not, then you can modify it with a file). We make a slot as in the photo so that the pipes for heat removal are placed (I took them from the old soldering iron).

Step 2
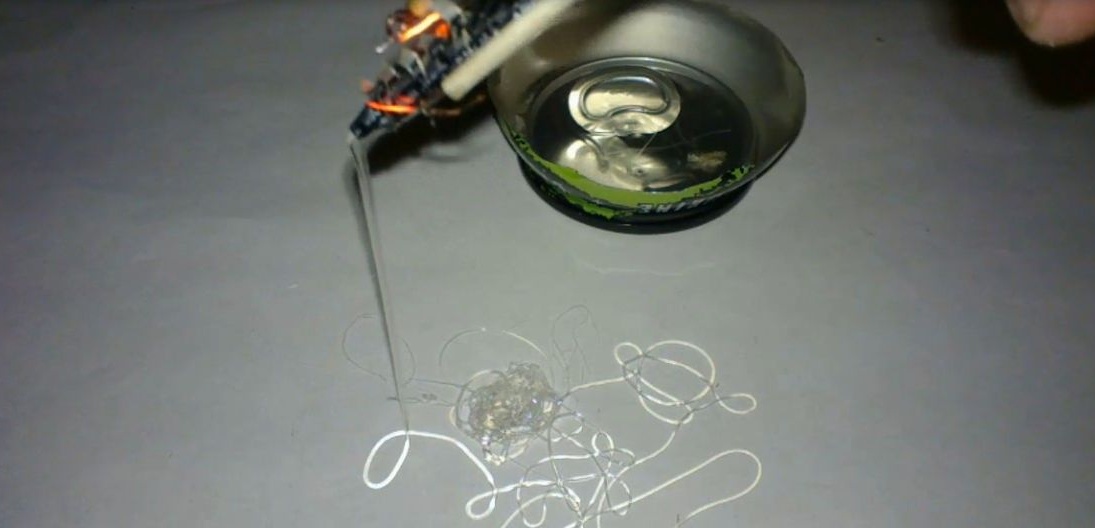
We take 2 copper wiring (took from a twisted pair) 10cm each. We clean them so that the heat sink tubes fit, as shown in the photo.
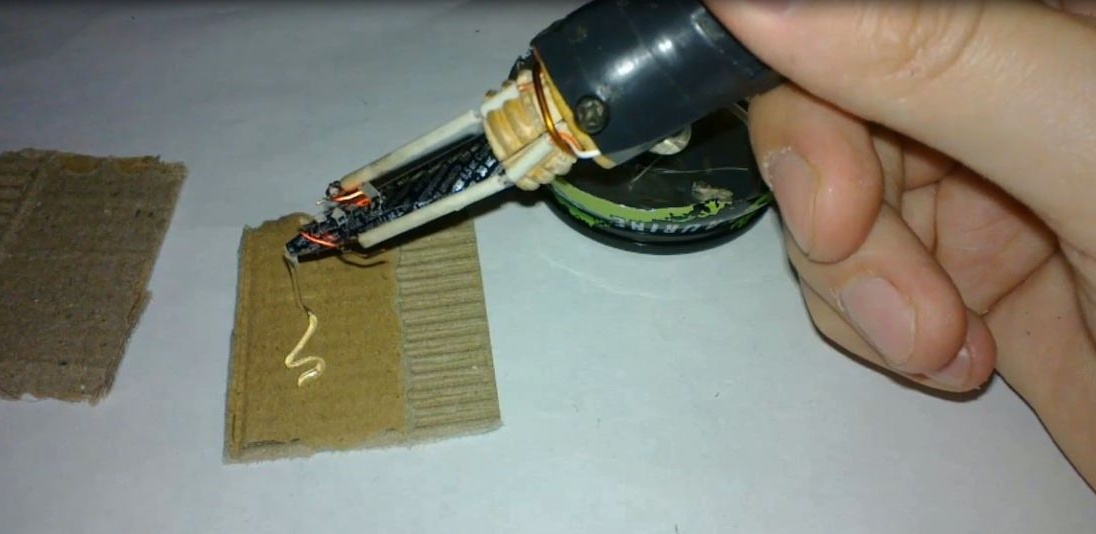

Step 3

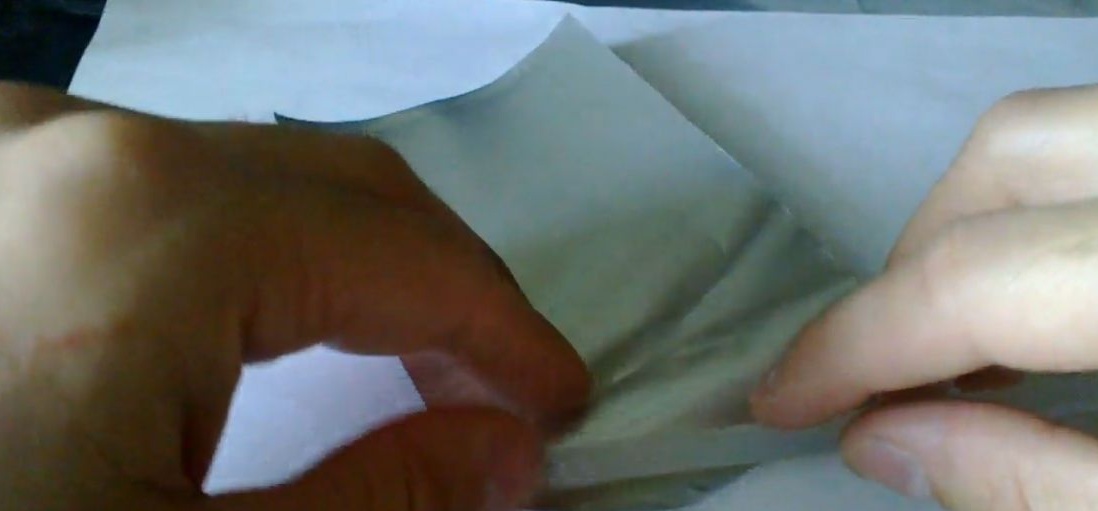
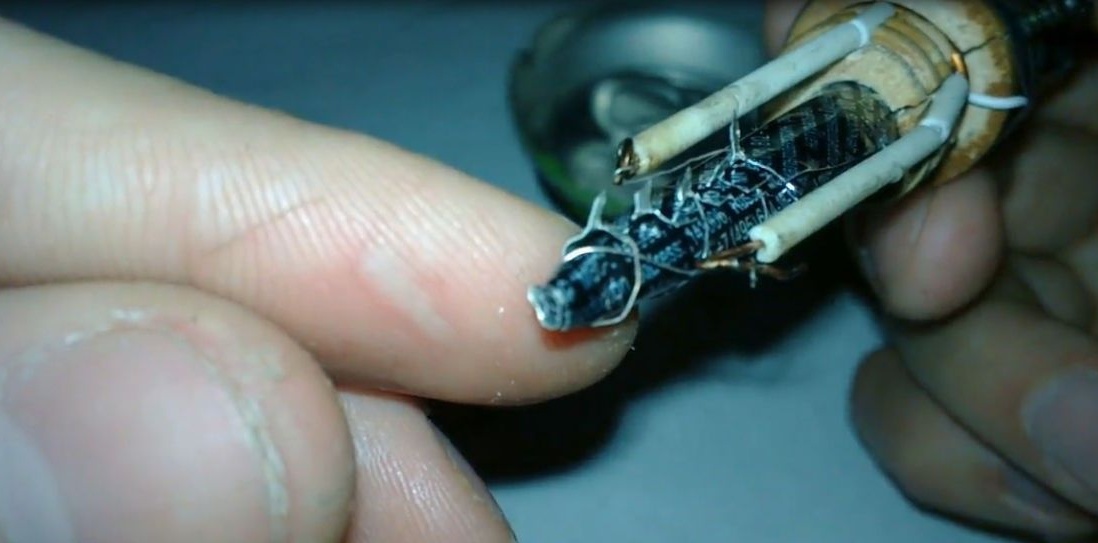
Cut a rectangle of 8cm x 12cm from an aluminum can from drinks (I took it with a margin, then it’s easier to cut off the excess). We take the glue stick 7mm and putting it on the cut rectangle, carefully roll it up, so that at the end we get a spout with a narrow outlet for the heated glue and insert the resulting tube into the hole in the handle.

We make cuts with scissors in the area of ​​the nose and bend through one.
Next, we wind a 14cm nichrome wire onto these slots.

An example of slots and windings (an example of a nose here is not correct). Ready, with a narrow nose, will be in the next photo.

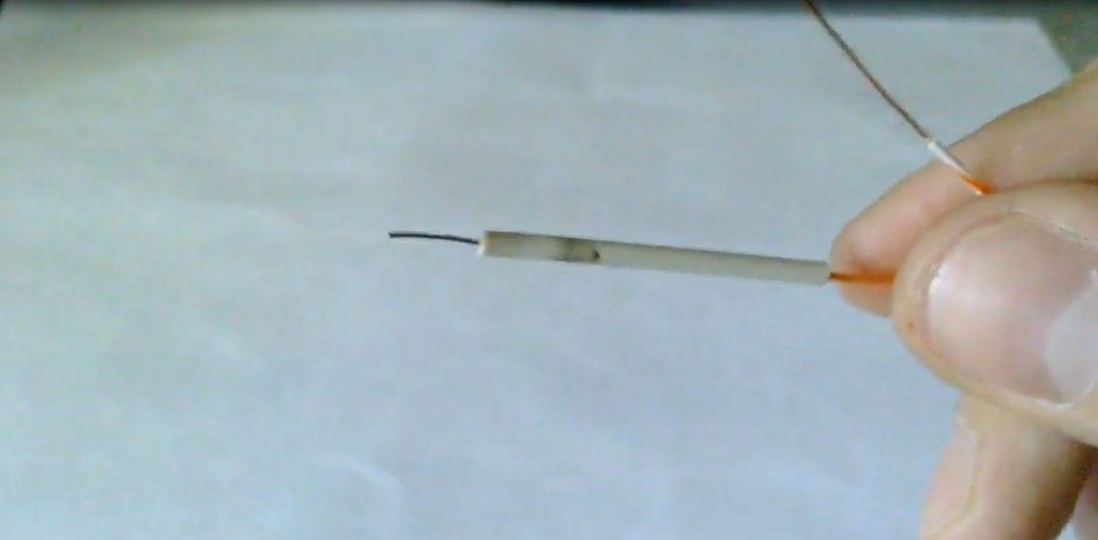
We glue the heat sink tubes (fragile turned out) in the slots on the handle and fasten the wires to the nichrome wire.
It should turn out like in the photo.


Step 4
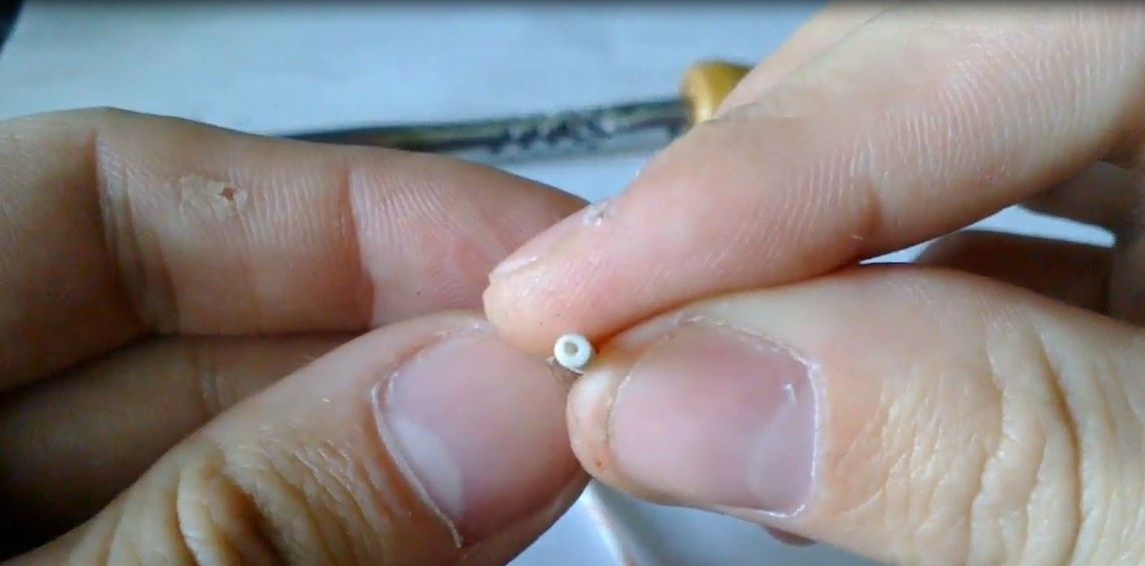
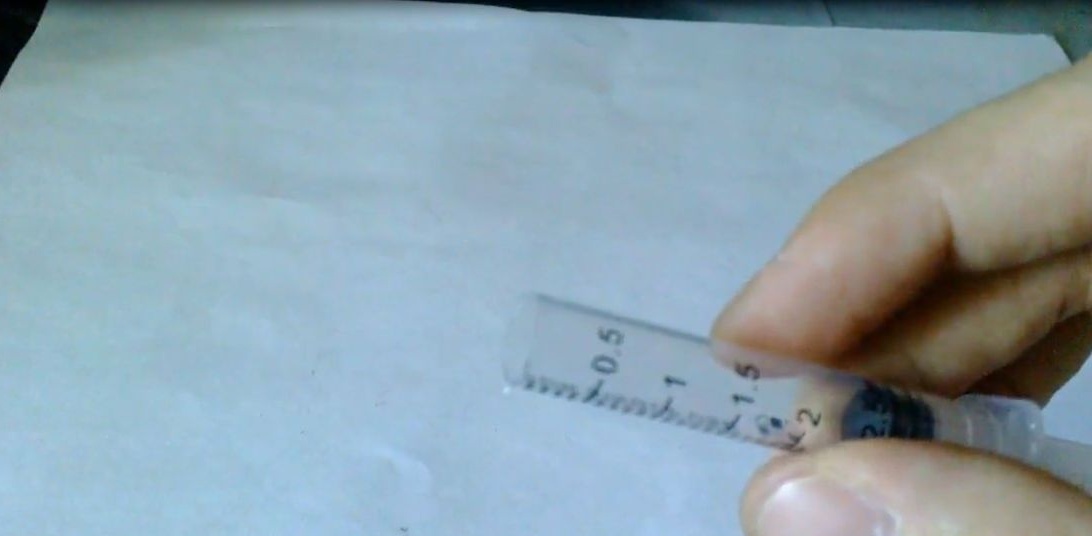
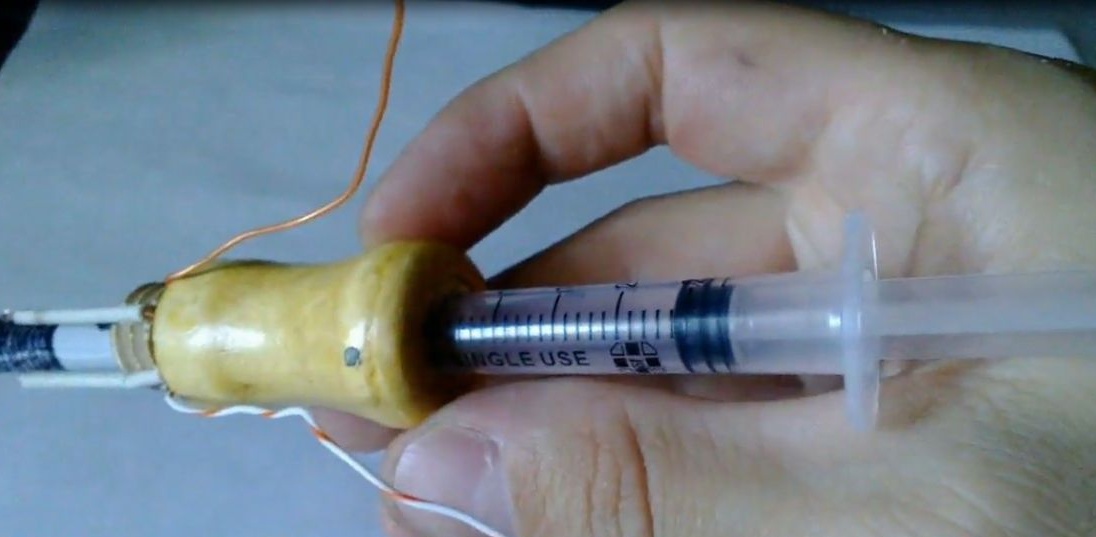
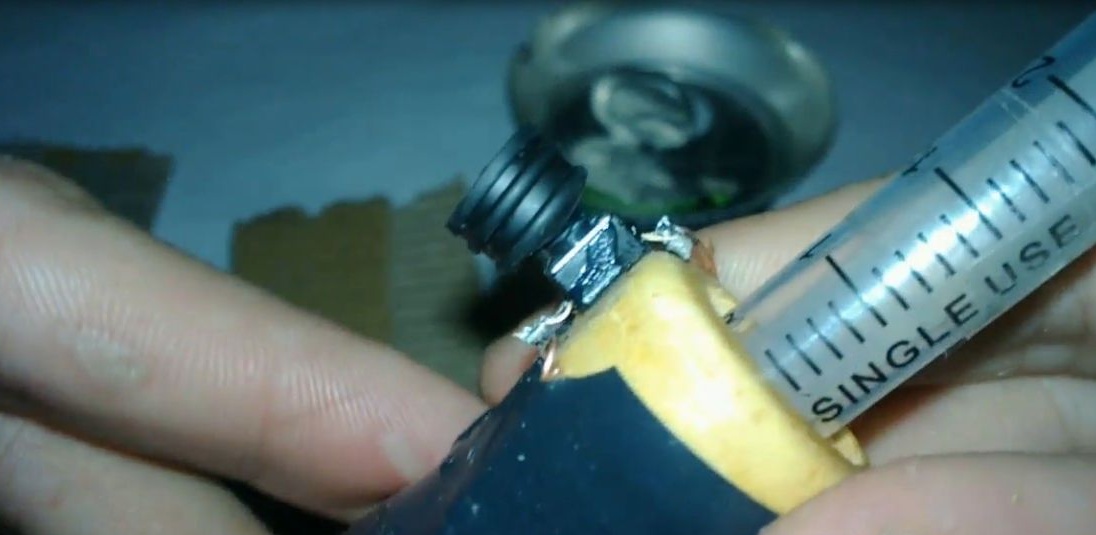
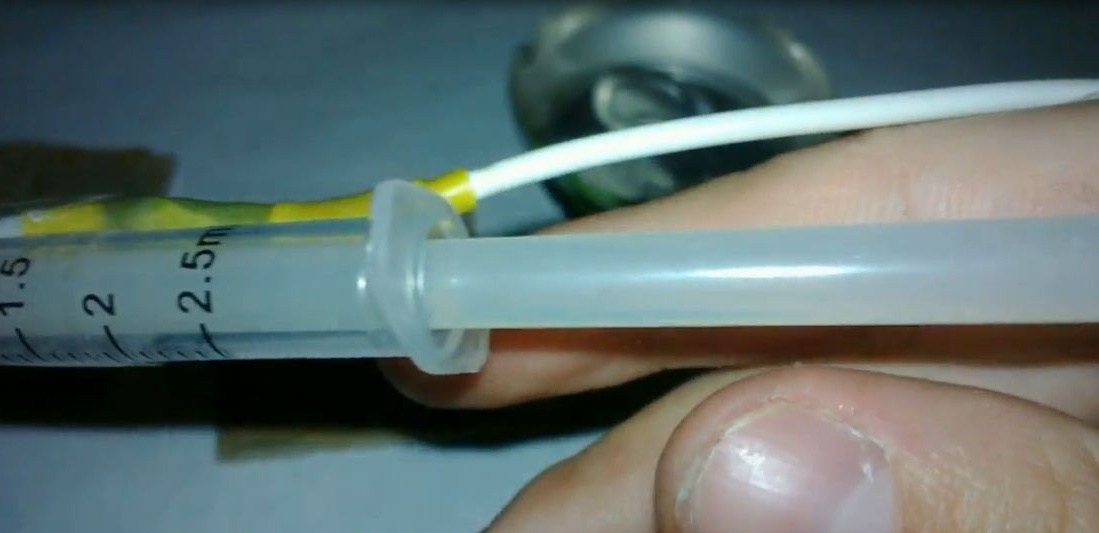
We cut off the syringe (2.5 ml) as in the photo.

And insert into the top of the handle (lucky again, it went perfectly).


Step 5
We wrap the bottom of the handle with electrical tape wires, glue the power button on super glue and solder the wires to it. Glue the gum from the syringe onto the power button for convenient pressing and working with one hand.


Step 6
At the end, connect the wires to the USB cable (polarity does not matter), isolate them from each other with electrical tape and heat shrink from above. We tape the place where the wires are connected to the syringe. Done!

We begin to test the performance.

The glue flows evenly, the intensity can be adjusted with the second hand.

I reworked it several times during assembly, customized parts by trial and error. Heats up in 25 - 30 seconds and you can work. The glue is squeezed out quite easily. The operation of the gun is implemented at the press of a button, which saves battery power and the glue does not leak spontaneously.

Detailed assembly for review on video.
7
4
10

Add a comment

    • smilesmilesxaxaokdontknowyahoonea
      bossscratchfoolyesyes-yesaggressivesecret
      sorrydancedance2dance3pardonhelpdrinks
      stopfriendsgoodgoodgoodwhistleswoontongue
      smokeclappingcraydeclarederisivedon-t_mentiondownload
      heatirefullaugh1mdameetingmoskingnegative
      not_ipopcornpunishreadscarescaressearch
      tauntthank_youthisto_clueumnikacuteagree
      badbeeeblack_eyeblum3blushboastboredom
      censoredpleasantrysecret2threatenvictoryyusun_bespectacled
      shokrespektlolprevedwelcomekrutoyya_za
      ya_dobryihelperne_huliganne_othodifludbanclose
12 comments

Quote: Mike Ike
I’m not particularly fond of printing detailed instructions, I’m used to working by turning on video recording.


Well ... in my opinion, it’s convenient to use it later, unless, at "copying". I mean, if someone wants to repeat the homemade. Basically, the study of other people's creations is necessary in order to "understand the topic." See all the "pitfalls" using someone else's experience. Obtain, by observation, answers to questions such as "is there such a shaft thickness" or "what material is better to make from". And then, on the basis of these data, you come up with your own "same". And therefore, it’s better not to “see enough”, but to “read” - you will see more deeply the nuances ...

Author

I’ll take into account for the future) I’m not particularly a fan of printing detailed instructions, I’m used to working by turning on video recording.

I agree completely !!! I don’t even watch the video at all - it’s interesting to view and analyze each “step”, but it’s difficult on the video - to pause “pause” all the time ... Anyway, the still image is not a photo !!!


This is how to compare a serious novel and a film made on it! ))))))))

Mike ike, I advise you to re-read (or read) the requirements for added homemade products on the article design page - everything will immediately fall into place.

By the way, this article was originally on the page "New homemade". Then I wrote a remark.

Mike ike, the text is perceived faster and easier than the video.

There is no "step-by-step" - and therefore did not pass. (I'm talking about a similar someone's asking such a question too)))))

Author

I agree. It is also not entirely clear why ideas were placed in the section. Not perfectly executed, but it works in this form and does not cope poorly. The principle of the glue gun should be a sign of many, did not focus on this. In my opinion, it’s easier to understand by watching the video of the step-by-step assembly and operation of the device than to delve into the text and consider what and how in the photographs.

Thank you, I will make changes.

Then you need an explanation of the rules, that for ideas it is not necessary to fulfill the requirements of the section "Adding homemade products on the site". And it is not clear why this is an idea. In my opinion, this is a home-made product, a complete device, but just the idea itself, the principle of its operation is not described.

There are no criteria in this section, you can add any ideas, ask questions.


Homemade articles are published in the main sections by category.On the main page, such articles are published in the "New Homemade" block.

Does not comply with paragraph 3 of the section "Adding homemade products on the site."

We advise you to read:

Hand it for the smartphone ...