
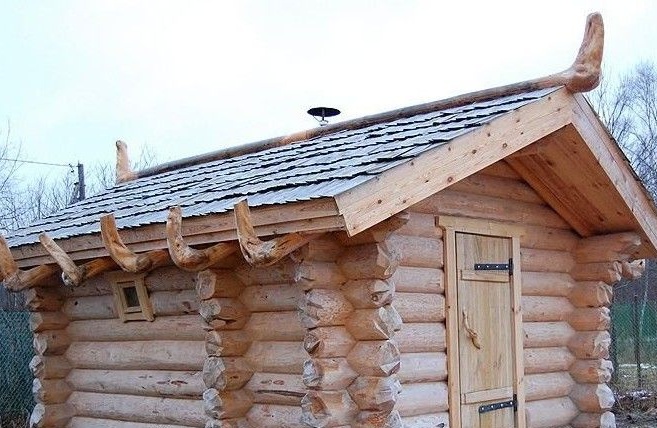
The history of the construction of baths dates back more than a dozen centuries, and maybe much more, the bathhouse is beloved by the people in Russia. For centuries, a sauna was built from a tree, namely from mostly logs, because this tree is best suited for a number of undeniable qualitative characteristics: the tree is soft, does not contain resins, low thermal conductivity, it is also believed that the linden bath is less carbon. And so let's look at how you can cut a bathhouse yourself and what you need for this.
Materials
- log (linden)
- timber
- board
- roofing material
- OSB
- cement
- sand
- gravel
- roofing material
- insulation
- lining
- vapor barrier
- foil
- ceramic tile
Instruments
- ax
- hacksaw
- chainsaw
- hammer
- shovel
- Master OK
- level
- solution container
- roulette
- electro-planer
- a circular saw
- screwdriver
The process of building a log house and a bathhouse as a whole, from start to finish.
Our ancestors betrayed a special place for the bathhouse, in some ways even sacred, because the elements of fire and water converge in the bathhouse for human health. It’s not for nothing that they say, “I went to the bathhouse, how I was born again.” The body and spirit are cleansed in the steam room, all the negativity and all ailments and illnesses come out, we can see that we have a people with a wide soul.
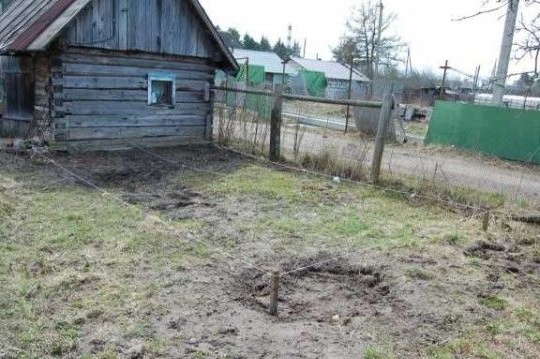
And so the first thing is to decide on a place for construction, for example, the author chose next to the old bathhouse, not far from the house. According to the ancestors, it was strictly forbidden to build on the spot where the bathhouse used to be, on the spot of the fire. Place you need to choose a new, unused.
The beginning of all beginnings, of course, the layout of the site.
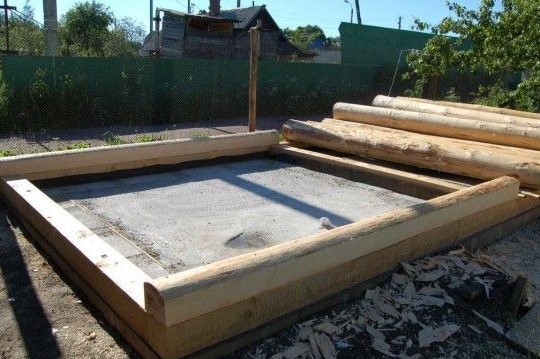
After the site is marked, the author proceeds with the preparation of the formwork, it can be made of boards or thick plywood, fastening everything into a single structure as in the photo.
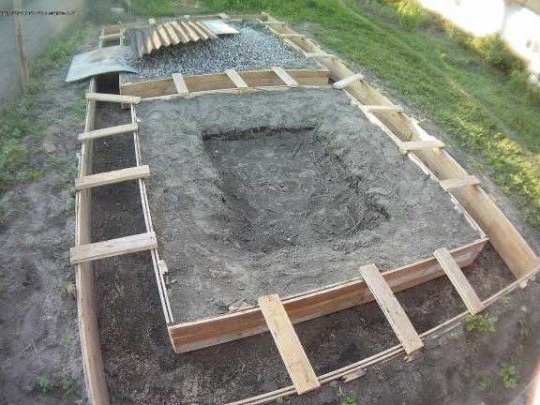
Then the mortar is poured into the prepared formwork, the author ordered ready-made concrete, hedged himself and bought with a margin, in short, it turned out not a strip foundation, but a monolithic slab, which by the way is also not bad. While the cement is gaining strength and getting stronger, it is advisable to periodically wet it for a week, so it will become even stronger.
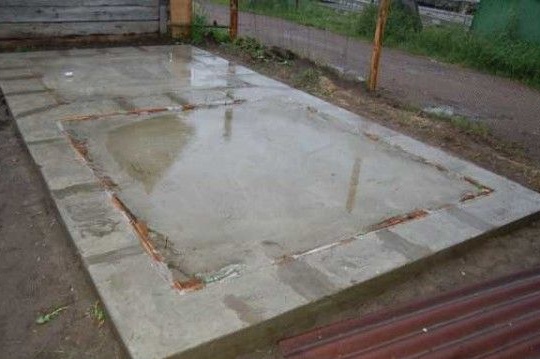
After a week, the foundation has dried out and the author is slowly starting to prepare for building log house, the first thing to do is waterproofing, the master uses a simple roofing material laid in several layers. As soon as the insulation is laid, the first crown lies, here the author used a square beam, of course it is advisable to use a solid tree species for the lower crown, for example (oak), our grandfathers and great-grandfathers did this because there was no discharge in the bathhouse and all the water and moisture left simply in the gap between the floorboards, thus the aggressive effect of moisture was exerted on the lower crown.
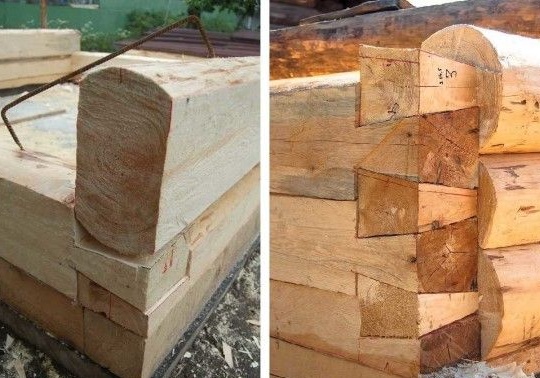
After the first crown is laid, work begins to boil. The author uses the dovetail method for laying a log house; according to him, it is the easiest for a beginner carpenter. Here is a little sketch.

In this way, crown by wall, the walls of the log house are being erected.
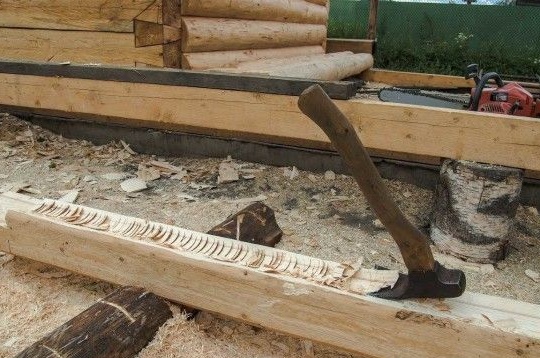
In the work, the author uses the old grandfather ax “Family heirloom” passing from father to son, only the topoisch changed when it became unusable or broke, and the ax is excellent, the highest quality steel is not like today.
And crown by crown, the log house is slowly growing.
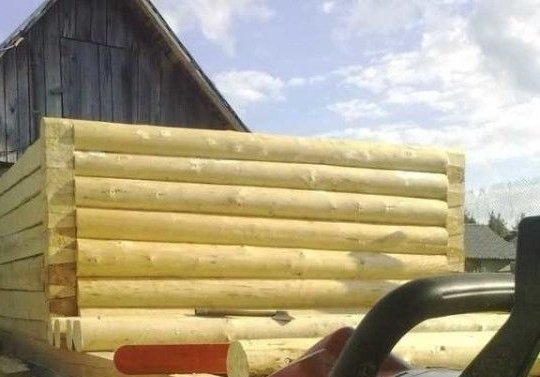
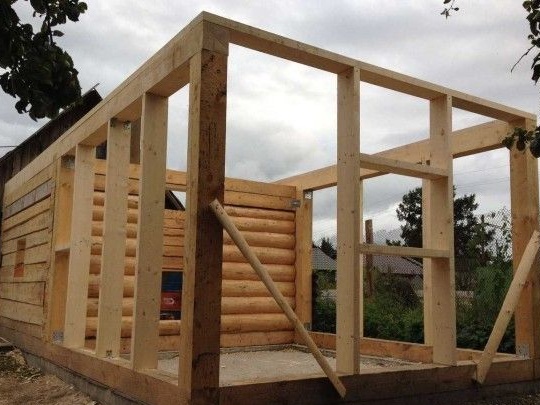
And here the height of the log house reached 2.5 meters.

Next, the author proceeds to the construction of the frame of the dressing room and saws through the entrance to the bathhouse.
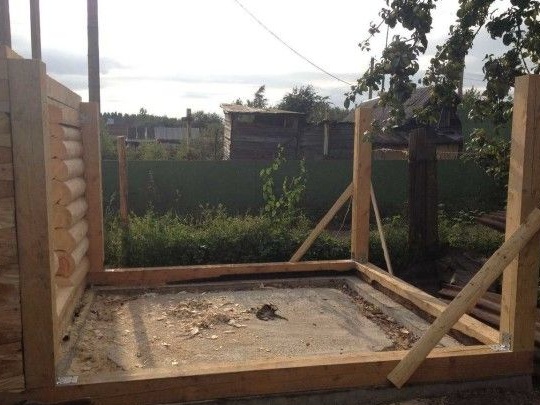
The frame is installed from the beam, the author gives advice to the followers - when constructing the frame, you should choose the distance between the supporting posts so that the width of the insulation is 1.5 cm greater than the distance between the posts.
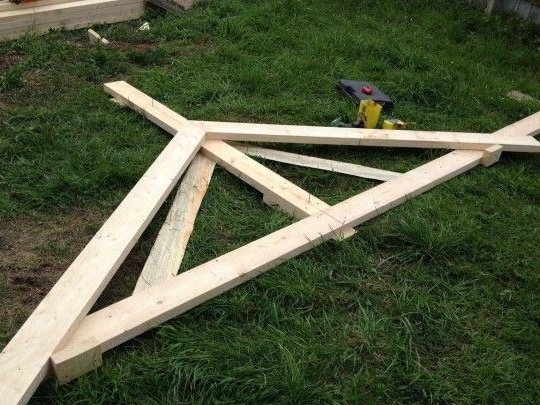
After the frame and log house are ready, the master proceeds to create a rafter system, first everything is done on the ground.
Then work on top is already underway.
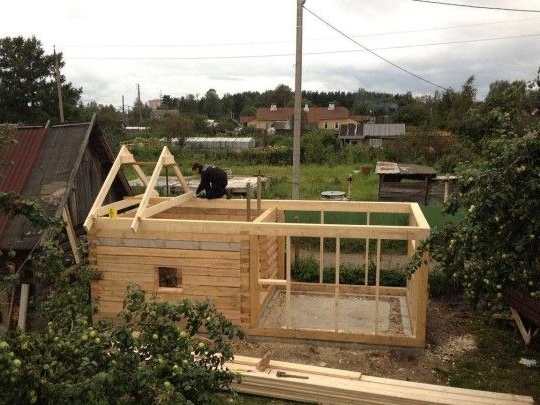
Next, the crate is sewn.

Next was an extension-entrance.
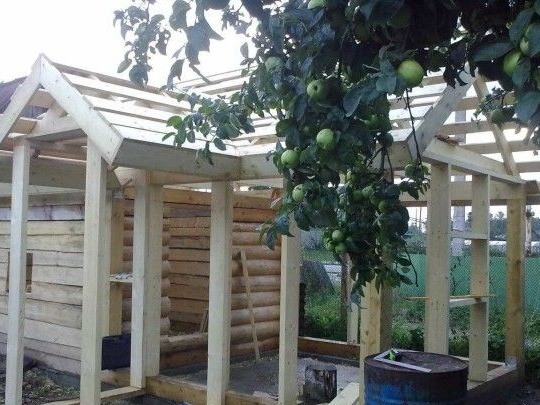
A rafter system is made and fitted to the main one.
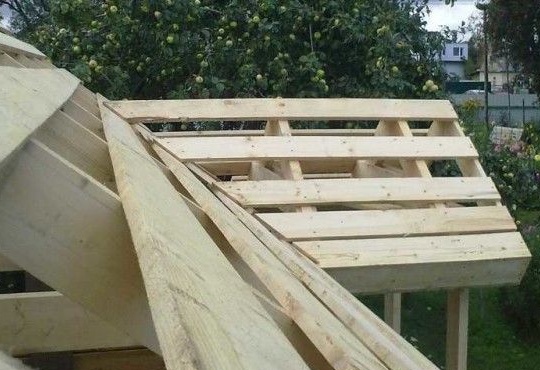
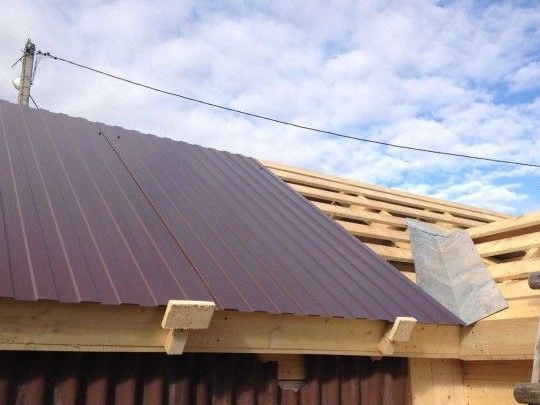
The roof turned out to be a little complicated and it requires laying a metal sheet bent at an angle directly at the junction of the two roofs.
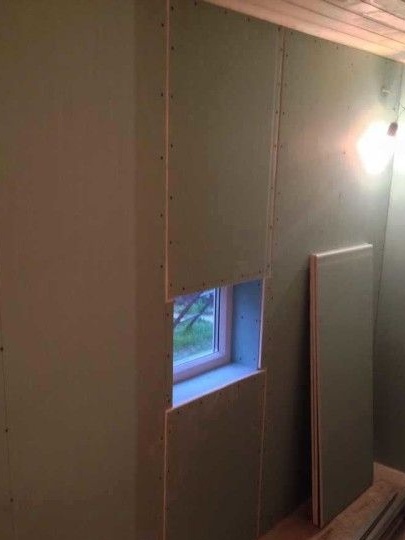
The walls of the dressing room are sheathed with OSB.
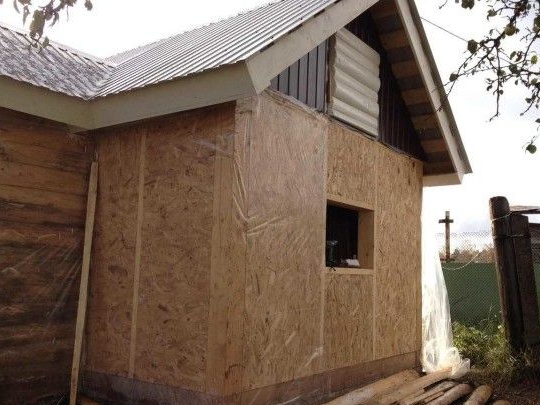
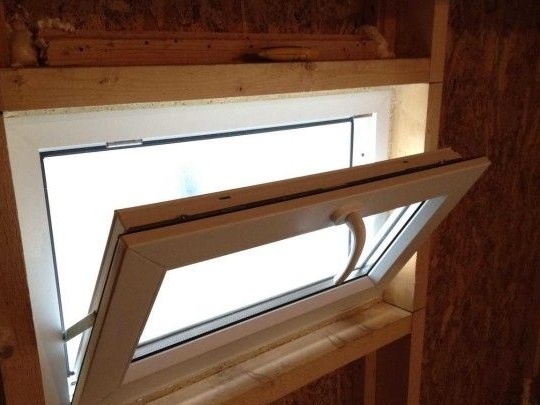
Windows are installed with the ability to open them.
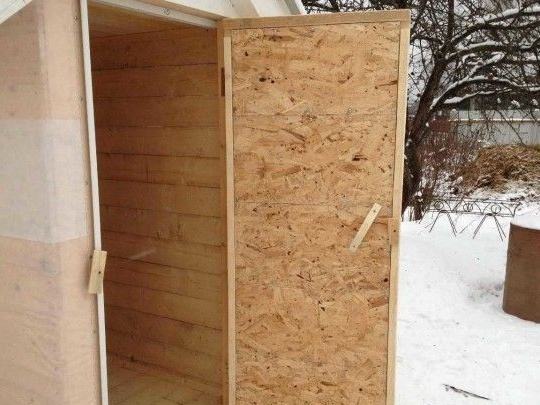
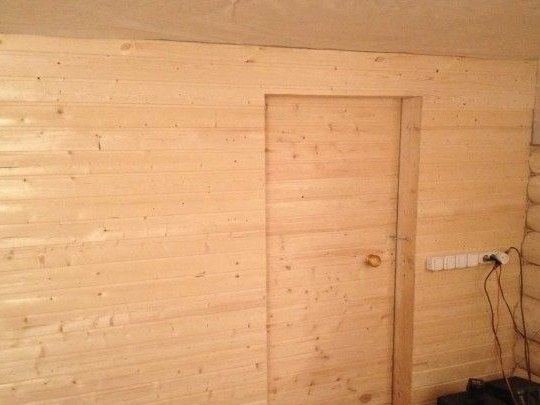
Doors are hung, here the author made it of OSB.
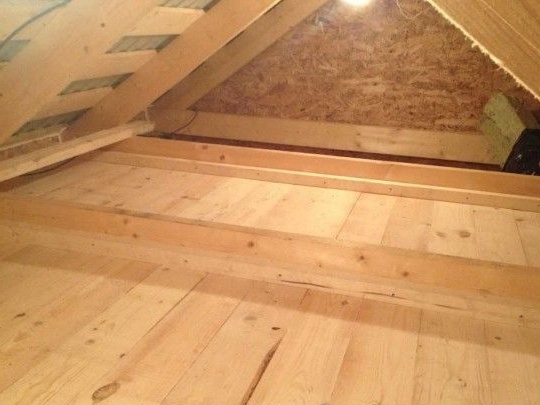
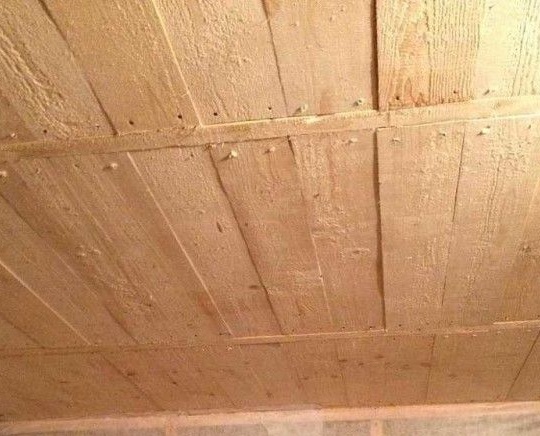
The ceiling will be sewn from the board.
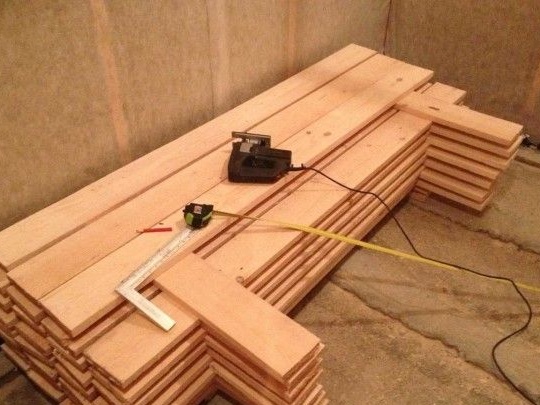
Getting to work.
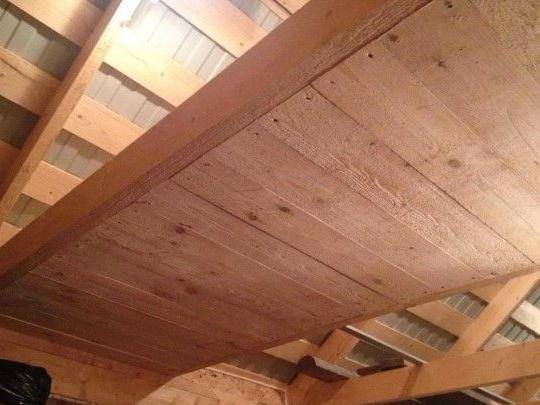
View from the attic.
And now the ceiling is completely ready.
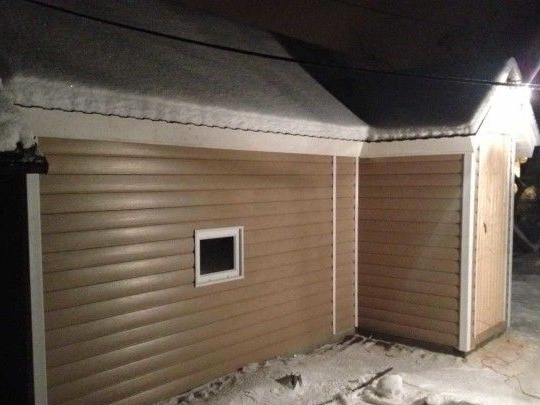
Outside the bathhouse was finished with siding.
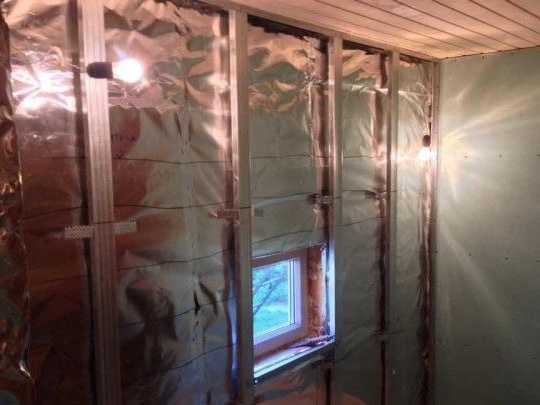
Inside, the bath is finished with foil, insulation, vapor barrier and linden lining on top of everything.
In the dressing room where the shower room will be located, the walls are finished with moisture-proof drywall.
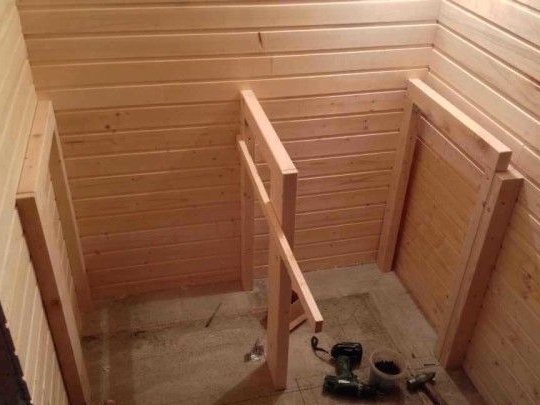
A canopy was made in the steam room.
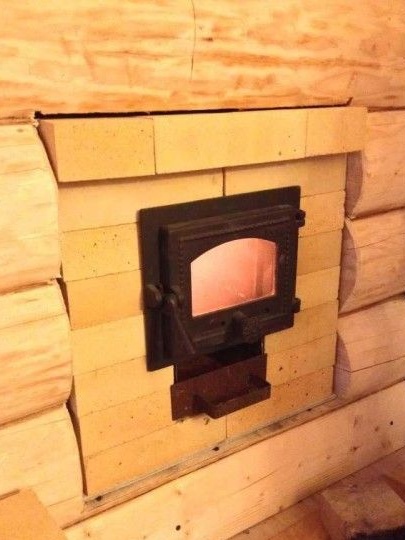
A stove is installed, the stove will be heated from the side of the dressing room, and the stove is located in the steam room, metal parts should be enclosed here to avoid a traumatic situation.
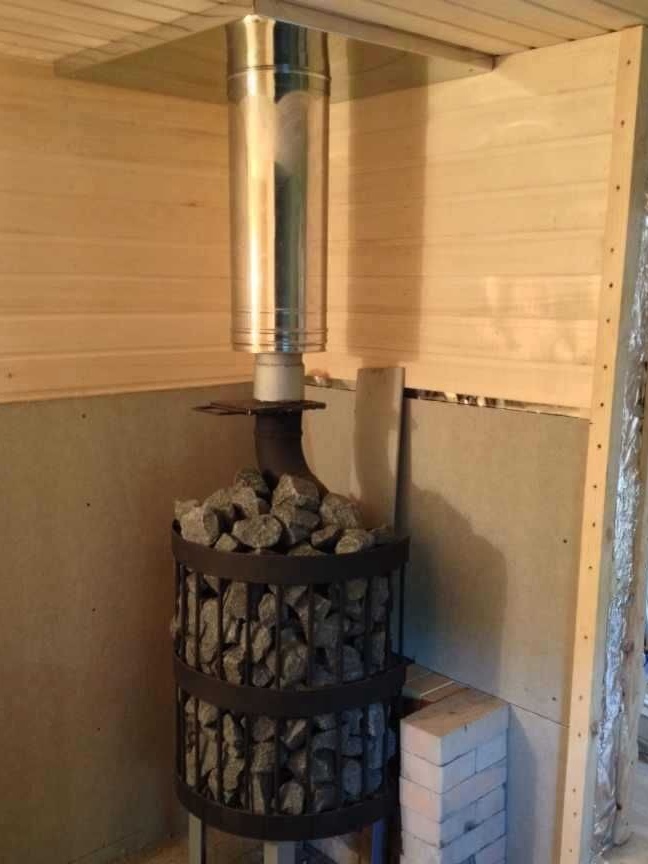
On the side of the dressing room, the stove is also lined with refractory bricks.
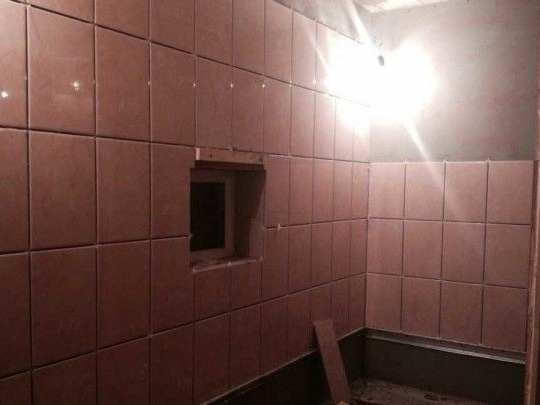
The walls of the shower are laid out with ceramic tiles.
The floor is poured with cement at an angle so that the water goes into the drain.
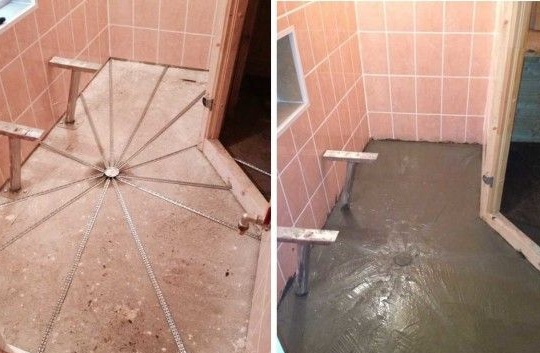
As soon as the cement dries, the laying of floor tiles begins.
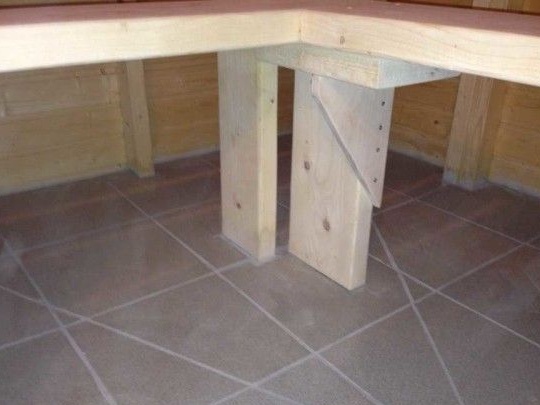
Again, in order to avoid excessive injuries due to slippery tiles, you should make a wooden flooring on top of it. That's all. Thanks for attention! Come visit often, do not miss the latest in the world homemade!
This article is for informational purposes only!