
Greetings to all lovers homemade!
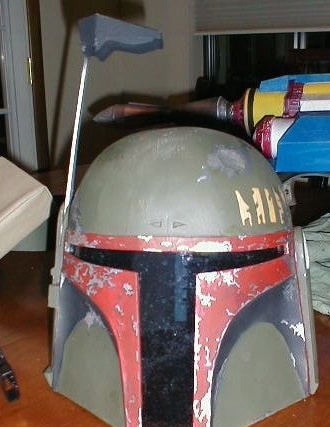
The author devotes this article to one of the characters from the movie Star Wars. Namely, the best bounty hunter of his time - Bob Fett. This work will describe the step-by-step process of creating the helmet of our hero. This helmet can be used in the future, as one of the types of hats for holidays such as: Halloween, or just “pin” friends or relatives. It can also be used as part of home decor.
To create this work, we need the following materials and tools.
Materials:
- good thick cardboard;
- putty;
- hot glue;
- sealant;
- white glue;
- paint of several colors.
Instruments:
- sandpaper;
- scissors.
- stationery knife;
- glue gun.
Abroad, true fans of "Star Warrior" hold a cosplay show. On the Internet there is a lot of information that is dedicated to this topic and this hero.
One of these people is Alan Sinclair, who made several templates, and they will be presented in this work.
Pattern 1
View online file:
Pattern 2
View online file:
Pattern 3
View online file:
They can be opened using a program such as Adobe Acrobat Reader. We select one of several presented templates, then turn on the printer and print. Next, cut out all the parts (dimensions are given in inches) and glue them on cardboard.
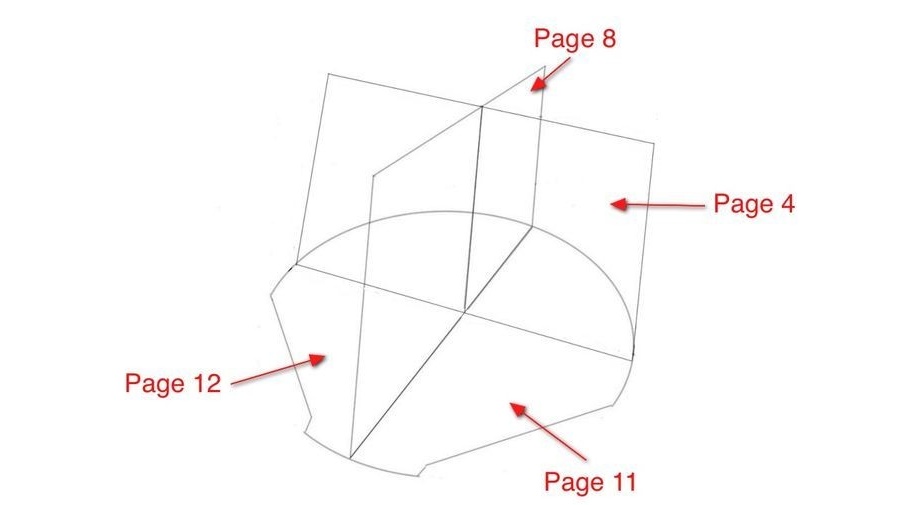
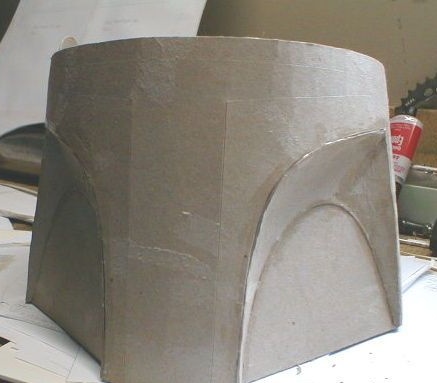
We begin to make a helmet shape, take the templates from the following pages: (4, 8, 11, 12). Next, you need to glue together the remaining fragments from pages 4 and 8, cutting out the opening along the center lines on each of them. Now you need to connect the fragments from page 11 and 12 and glue them to 4 and 8.
Next, you need to cut and glue the templates of such pages: (18, 14, 17, 13). The result should be the inner surface of the helmet, wrapping around the circumference of the base. You can moisten the cardboard a little, then it will be easier to bend. We take epoxy glue and grease the joints.
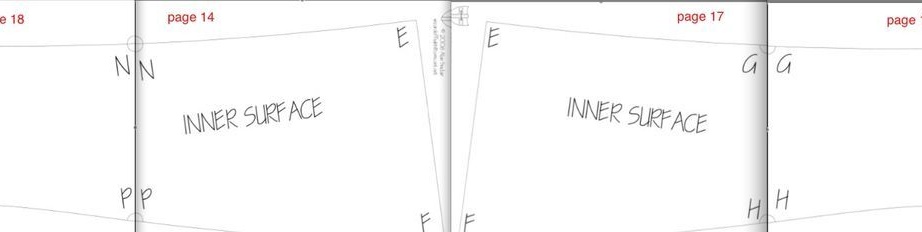
In exactly the same way, you can make another surface by carefully gluing it.
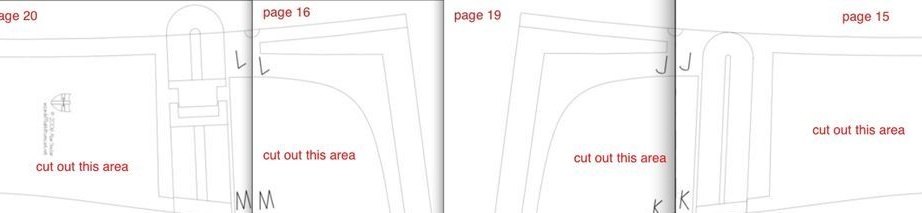
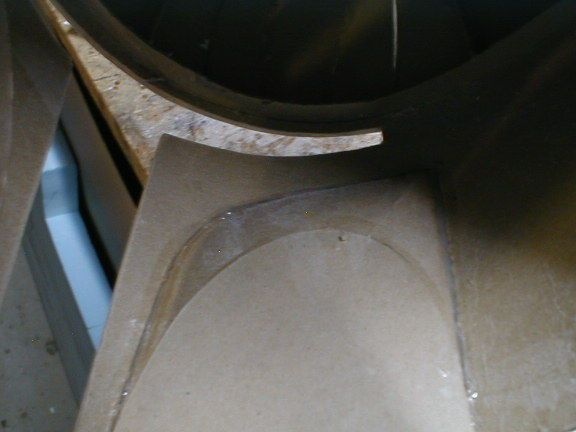
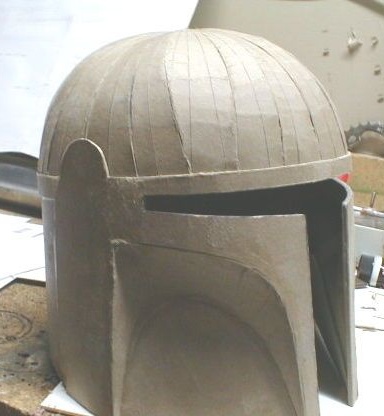
Then we cut out the recesses for the cheekbones and glue to the corresponding parts from the templates, lubricating the inside with hot glue, and the outside with white.
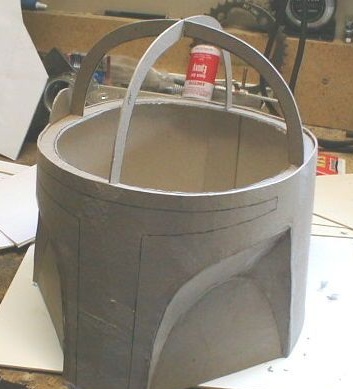
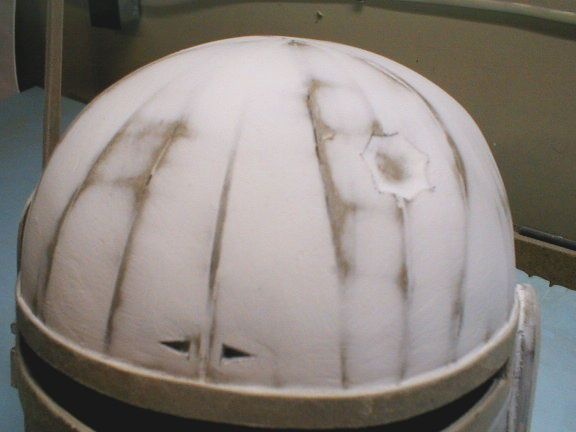
The next step will be the process of creating the upper part, namely the dome.
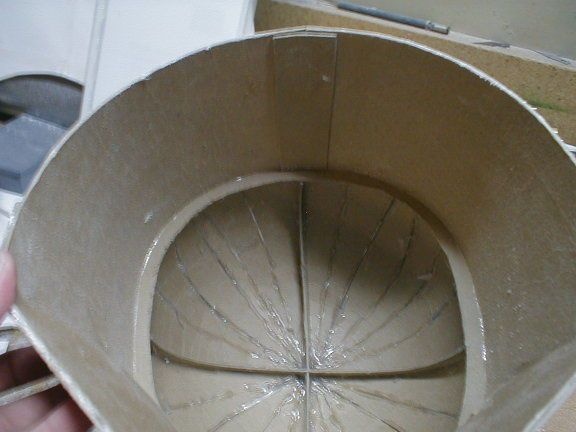
We make a round ring of cardboard, and cut into equal parts. We glue the resulting half rings. They will serve as the supports of the dome, an example in the photo.
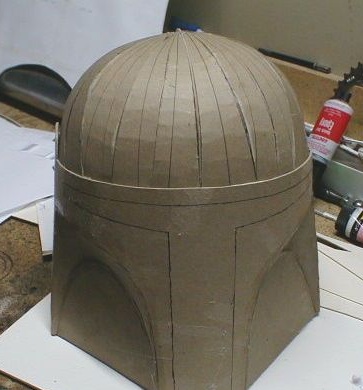
We continue. Now it will be necessary to cut out the elongated triangular stripes, which we will connect to the supports of the dome, and fix with glue from a heat gun. We glue cardboard strips until the helmet takes on its natural shape. Next, we take, lubricate all compounds using white glue from the outside.
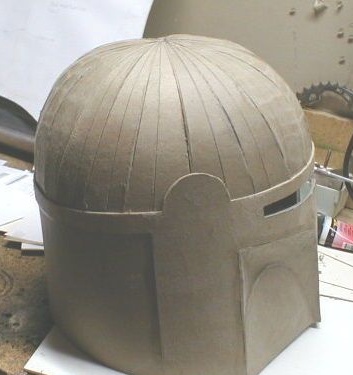
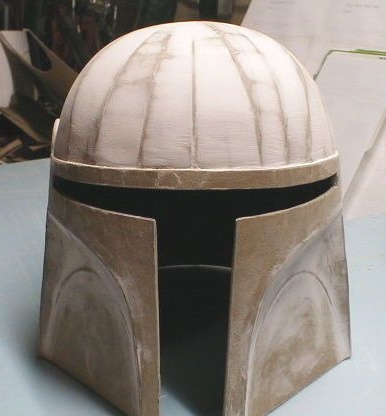
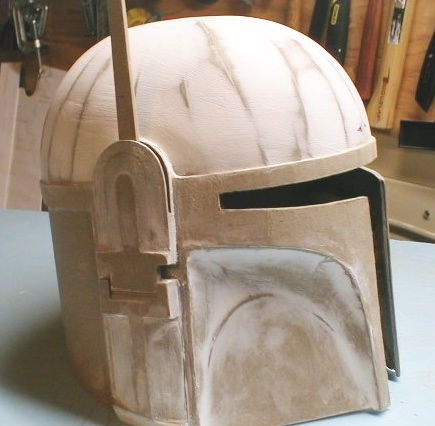
The next step is to shape the helmet.
We take putty, a small spatula and evenly cover the entire surface of the helmet. After everything is dry, you need to remove the excess and grind the helmet with sandpaper with fine grain, as a result it should turn out beautifully and accurately (example in the photo).
Gradually proceed to completion. We have to finish a few details.
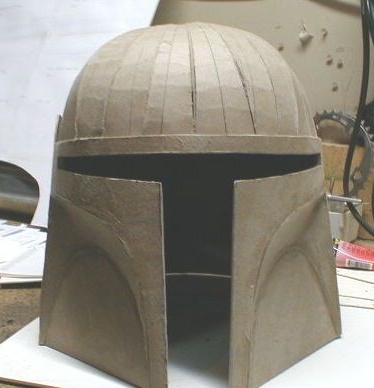
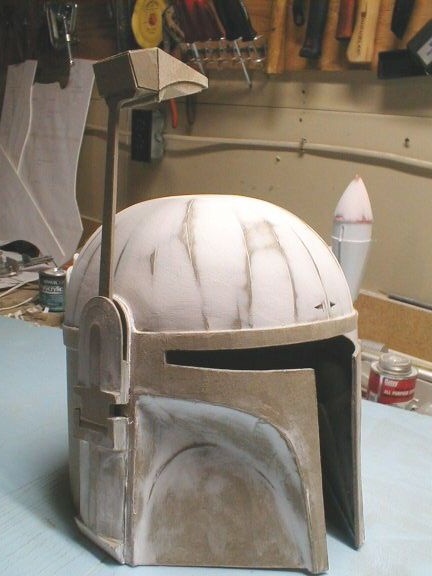
Making the ears. Cutting them out of laminated cardboard and sticking to the helmet.
Next, cut out of the cardboard two small triangles and glue them at the upper base.
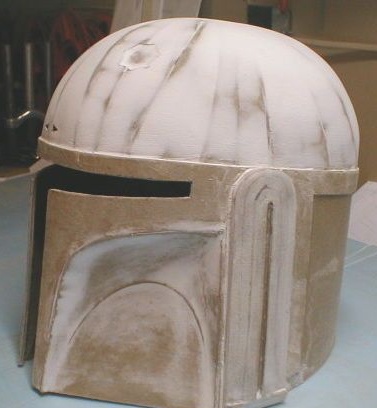
Now we will make a dent in the upper side of the dome. Cutting it out of cardboard and glue it inside. At the end, putty and rub with sandpaper.
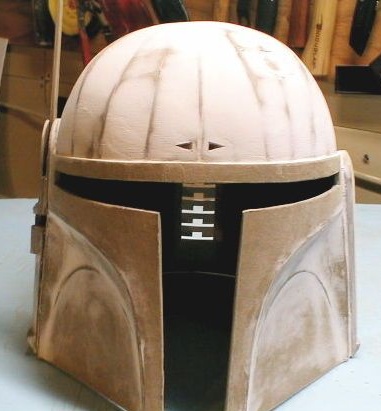
On the opposite side, you will also need to make rectangular slots, an example in the photo above.
When we have finished with the helmet completely, we carry out paint work.
Before starting the painting, we lubricate the surface of the helmet with a sealant or polyacrylic gel in order to make the helmet more waterproof. Then we apply a primer layer and paint with the color we need. Trying as much as possible, will repeat the original hero. Subsequently, we cut out and put the tinted plastic on the front side.
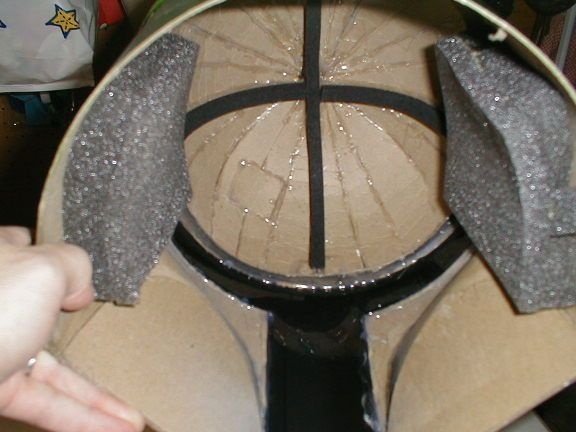
In order to conveniently wear a helmet, in the area of the ears on the inside, glue pieces of foam rubber.

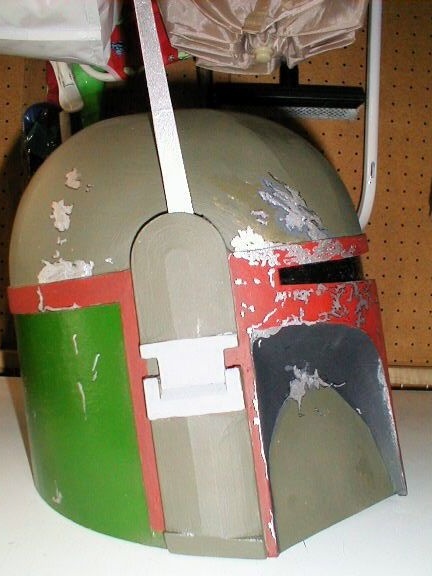
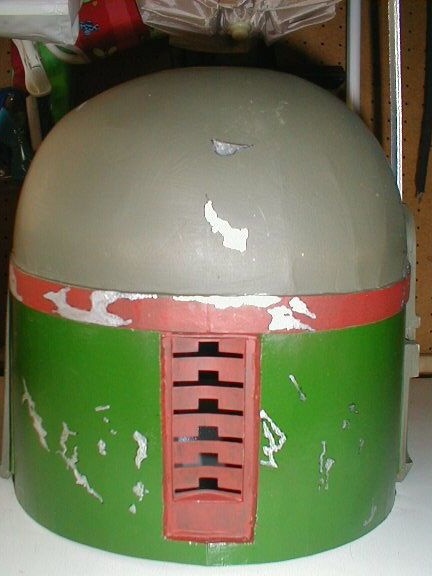
As a result of all the actions we get a helmet close to the original of Bob Fett.
That’s probably all. Thank you all for watching this article.
May the force come with you!