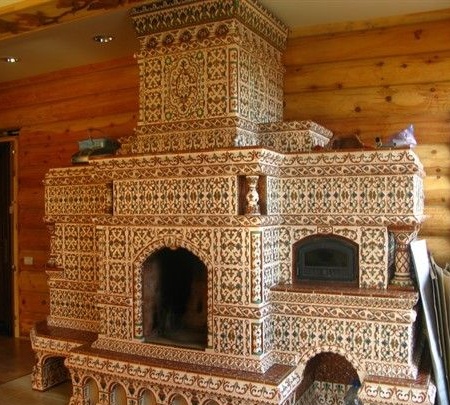
The history of the construction of stoves dates back more than one hundred years, at first the stoves were heated in black, that is, there was no chimney and the smoke came out through vents and the doorway, but with the development of mankind came up with a chimney and began to burn the stove in white. Further, people began to whiten stoves, decorate them with patterns and ornaments, and the rich Princes lined the stove with ceramic tiles, with Russian paintings and Gzhel. Today there are many cladding materials available, which, if desired, can finish the furnace do it yourself, how to do it? see further.
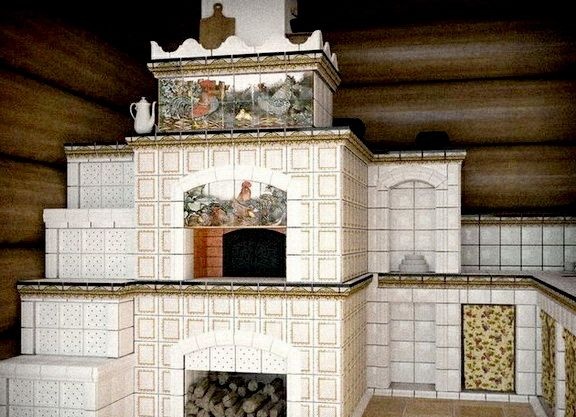
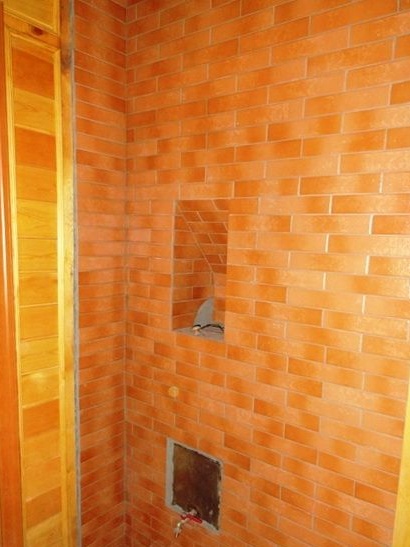
The process of facing the stove with ceramic tiles with your own hands. A red brick oven in itself looks statistically and very beautiful, the brickwork itself is mesmerizing for an hour, but it would be doubly beautiful if it were faced with ceramic tiles with a pattern, or one color.
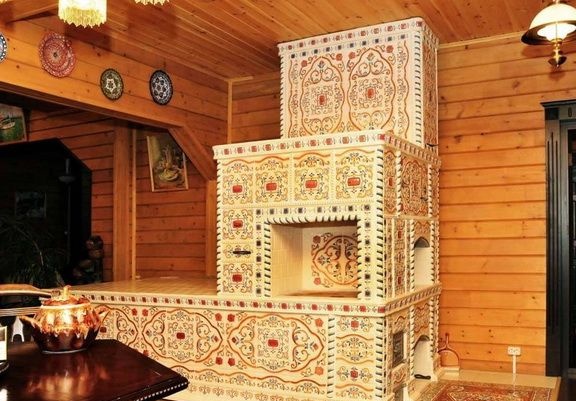
In ancient times, it was considered chic to have a beautifully finished Russian stove in your tower or palace. She looked fabulously in the house, filling the house with the warmth and aroma of the cakes and bread baked in it. And what rich cabbage soup and borscht are cooked in the oven, the taste is breathtaking.
Folklore has more than a dozen fairy tales, songs and poems, where the Russian stove is indicated, to recall at least Emelya dissecting along a country road.
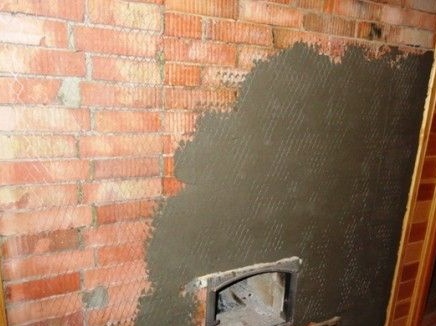
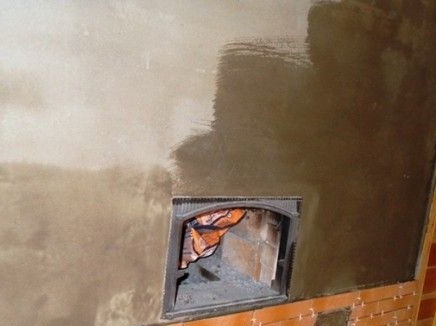
And so in order to finish the brick oven, the author will first need a brush to clean the surface of the excess mortar and accumulated dust. Then the master fixes a reinforcing mesh on the surface of the furnace.
A solution consisting of cement clay and sand is applied to the resulting surface.
It is applied over the entire area and leveled.
After leveling, you should wait until the surface dries.
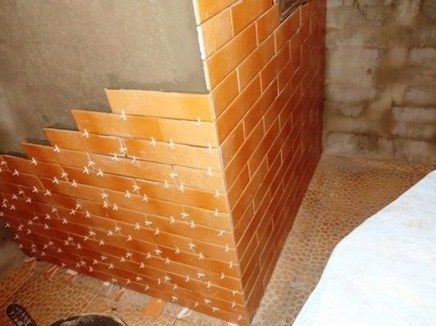
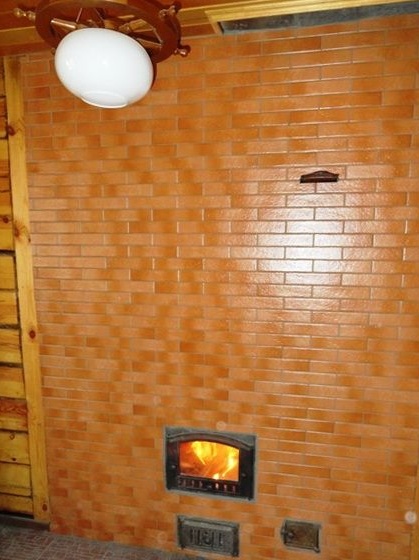
Next, the author proceeds to the laying of ceramic tiles, the color was selected plain, to save the budget.
When working with tiles, plastic crosses should be installed - this is necessary so that the distance between the tiles is exactly the same, and after the tile is laid out they simply are removed.
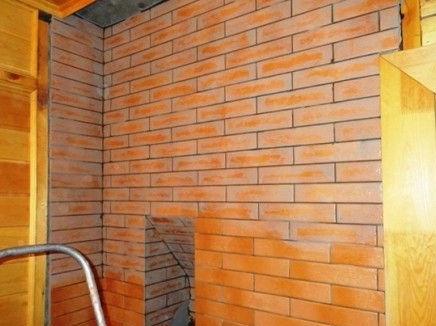
Then grout is applied - this is necessary in order to fill the gap between the seams.
And then just the entire surface is wiped with a cloth, removing excess grout.
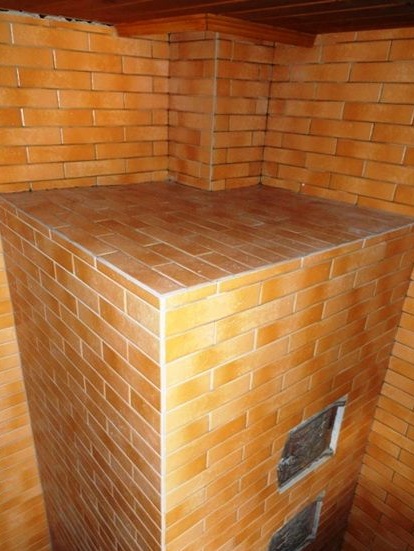
And now the author’s oven is ready, look what a beauty.
That's actually all I wanted to say. Thanks for attention! Also, a video from professional tilers is presented to your attention. Happy viewing.
Come visit often, do not miss the latest in the world homemade!