
Hello !
We begin our article from a small excerpt from Ivan Andreevich Krylov’s poem Dragonfly and Ant.
Summer, summer, but there is another fabulous and beautiful time of the year - winter. It brings us cold and frost, snowstorms, as well as half-meter snowdrifts. But, at that very moment, it gives us joy and fun, makes it possible to throw snowballs, and most importantly - to ride a sled. Winter is a favorite time for many people and children, and every year we expect it no less than summer.
The author of the article devotes this work to this period of time. Here he will tell you in detail how to make original sledges. do it yourself!
A little background:
It all started with the fact that winter came on the street, which meant that the time had come, the time when it was time to take the sled and go for a ride from the highest hill, but at that time, due to certain circumstances, they simply weren’t there. You could just go and buy them. But there was one small minus in this idea, it was an inflated price tag in local stores, and the uniformity of models. But since the hands were from the right place, it was decided to make them yourself. Available material and tools, as well as free time allowed to do this.
There are such types of sledges:
Wicker;
Wooden;
Metal;
Inflatable;
Plastic.
In this work, the author opted for a wooden sleigh, since wood is an available material, and it is easy to work with it. Moreover, they can be made from the remnants of unnecessary wood, while using a minimum of fasteners.
We will need it.
Tool:
- electric jigsaw;
- hammer;
- angular ruler;
- hacksaw for wood;
- sandpaper;
- a pencil;
- a chisel.
Material:
- board 40 mm thick;
- nails.
- crown;
- drill.
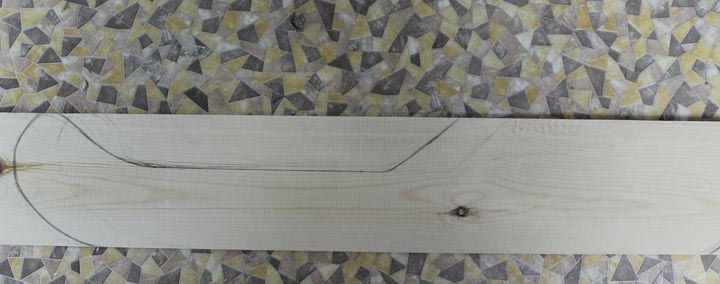
To begin with, take a board (40 mm) long at your discretion. Next, take a pencil and draw a contour of future runners on the surface of the board. It turned out something like this.
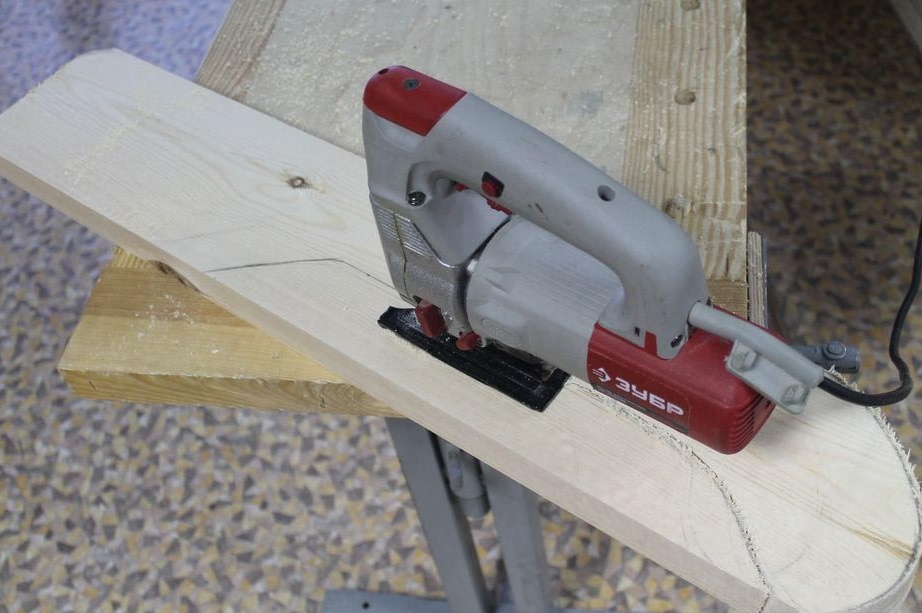
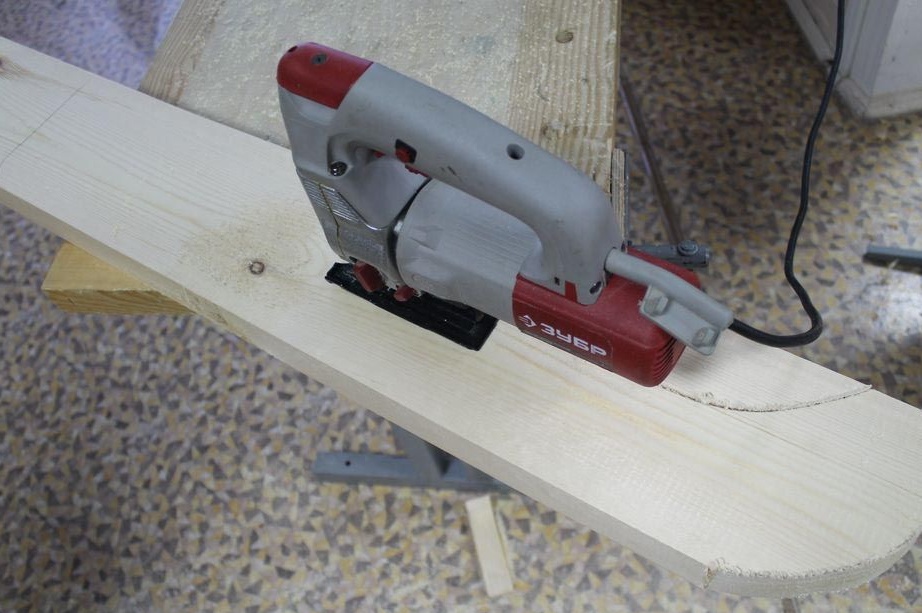
Then the author takes a jigsaw, which begins to cut out the shape, according to the drawn outline.
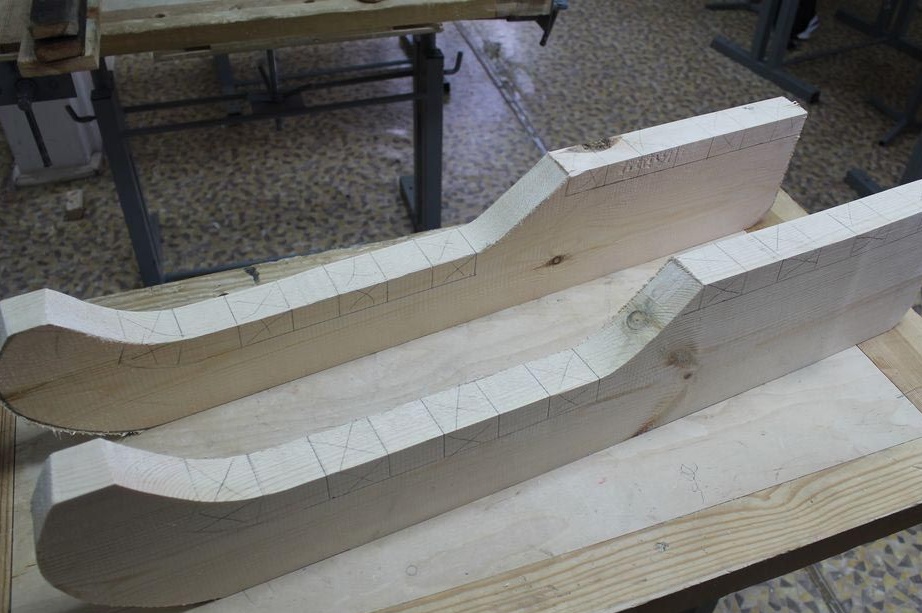
Now that the first part is ready, we will use it as a template, simply fitting it onto the second workpiece, drawing along the contour from the beginning to the end.
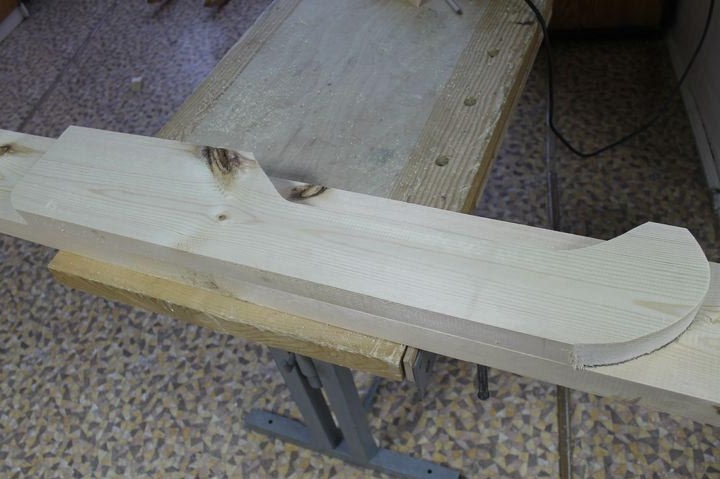
And then, in the same way, we cut it out with an electric jigsaw.
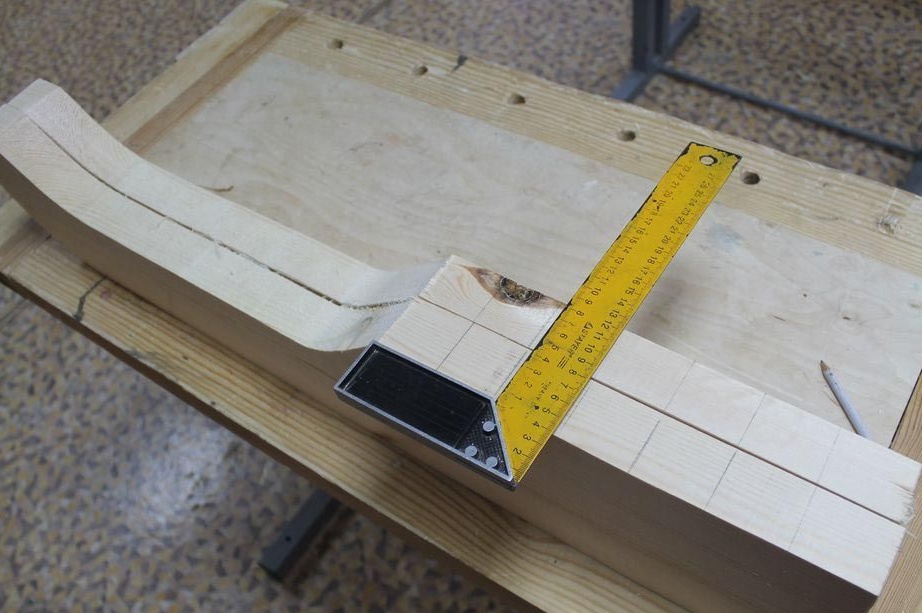
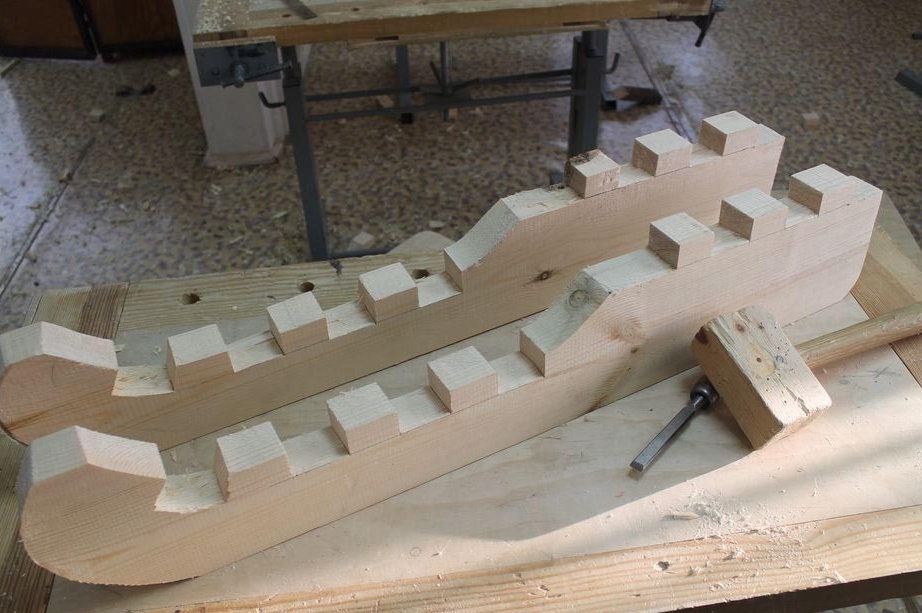
Now you need to take two finished parts and attach to each other. Thus, we will mark the width of future grooves, where in the future we will install horizontal slats. Through one we make small notations with a cross. These are the places that will be directly deleted.
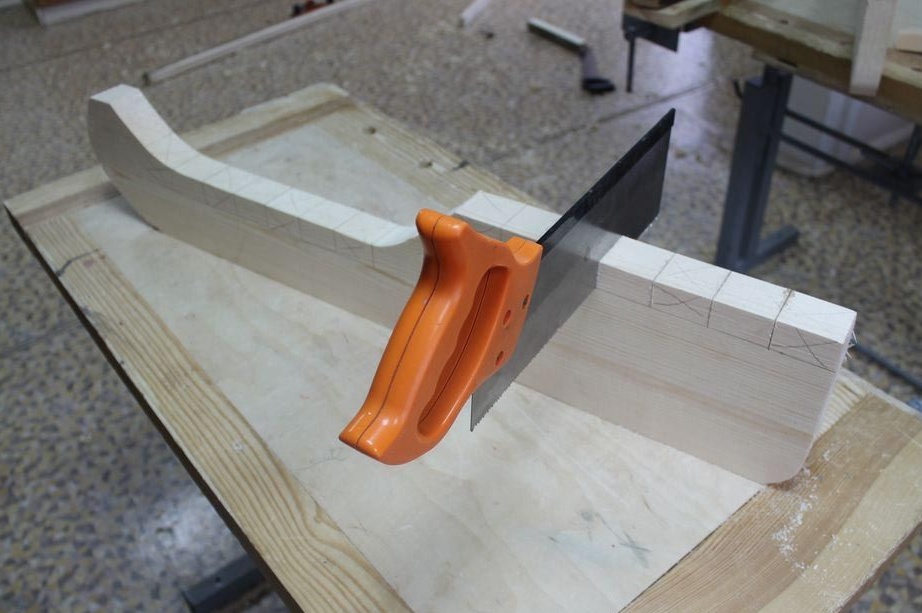
Further along the marked area using a hacksaw we make cuts of a certain depth, an example in the photo.
When everything is ready we take a chisel and remove the cutting part. Now the grooves are ready.
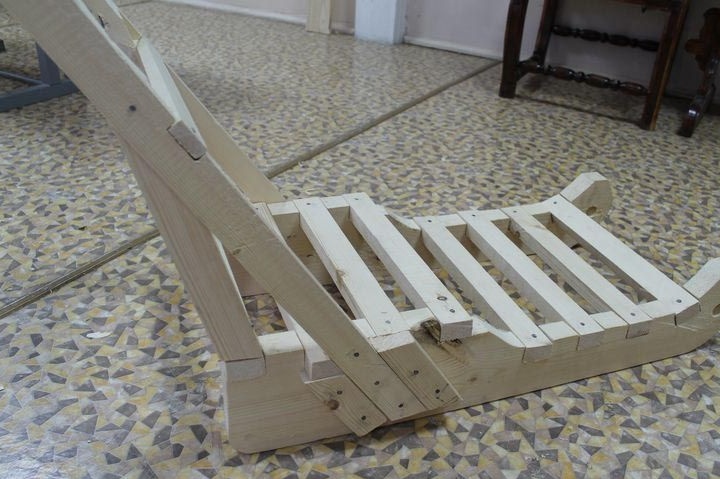
Then we take a rail 25 x 40 mm and saw it into 8 equal parts. Next, install them in the finished rifled grooves. Fasten with nails or screws.
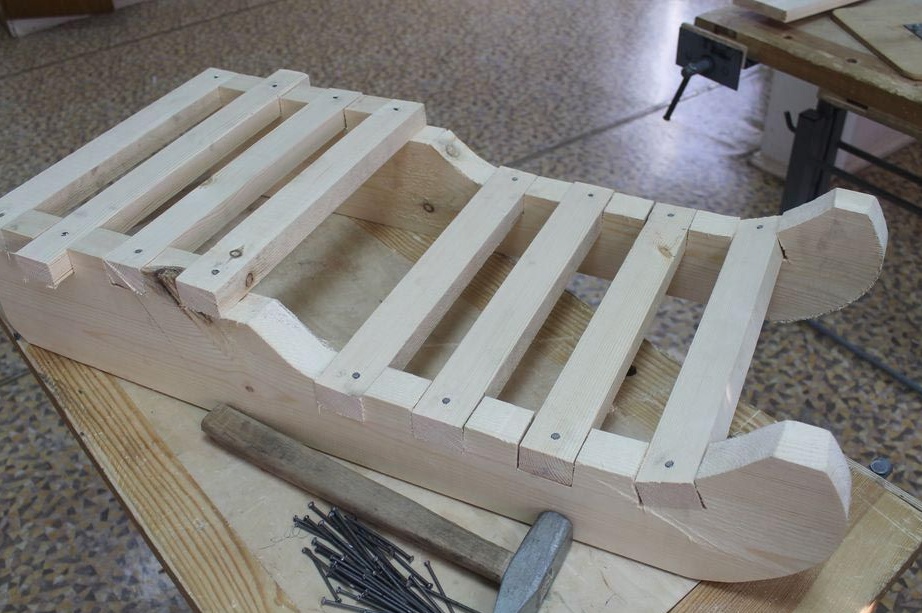
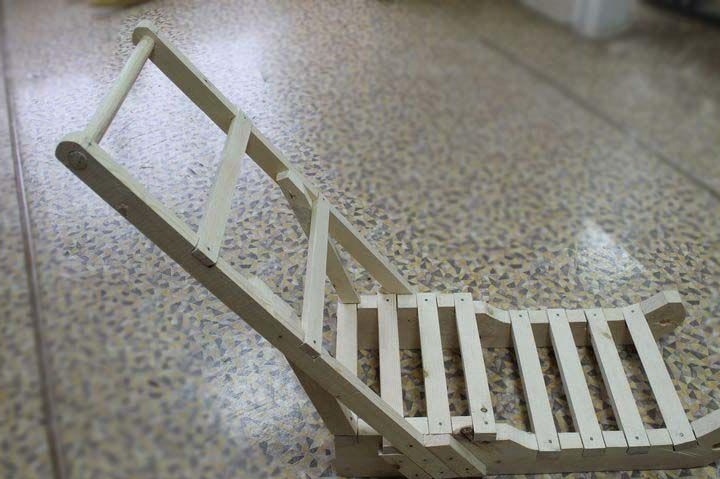
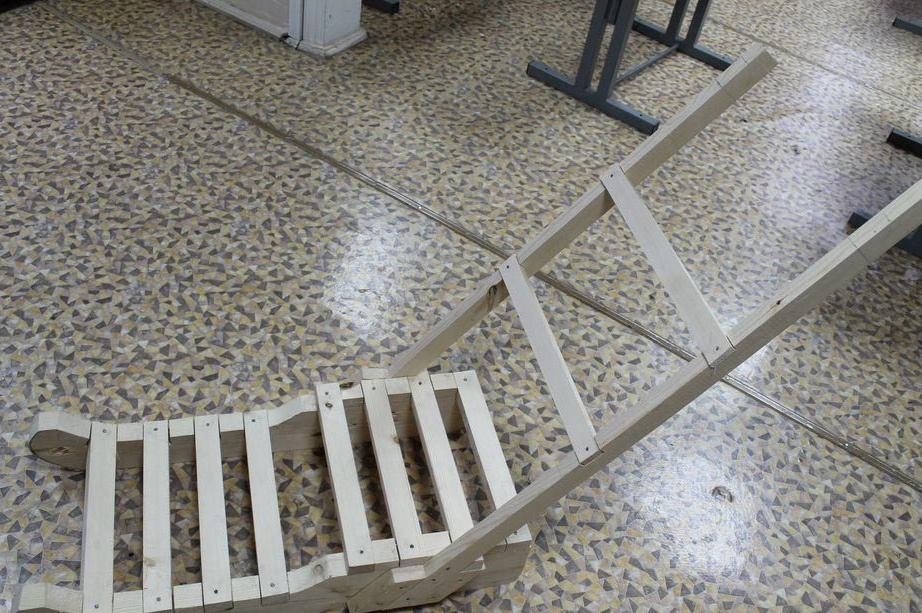
Now we can assume that the main part of the design is ready. It remains the case for small - we will form the back. It was decided to make her high. Thus, it will be possible to use it as a support when moving the sled from its place and further movement. We use a similar material - a 25 x 40 mm rail, 90 cm long on each side. We fix vertical slats on the sides of the runners with nails or with self-tapping screws.
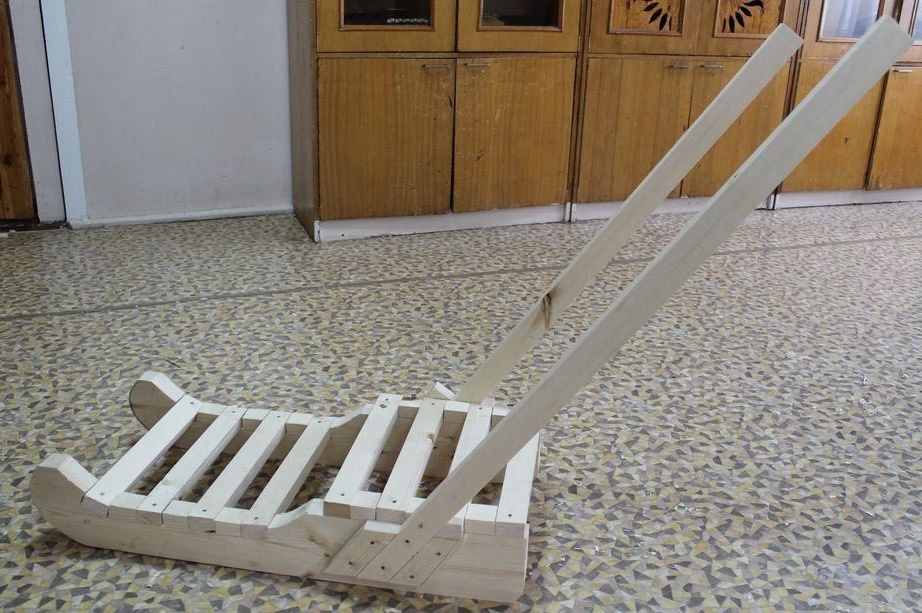
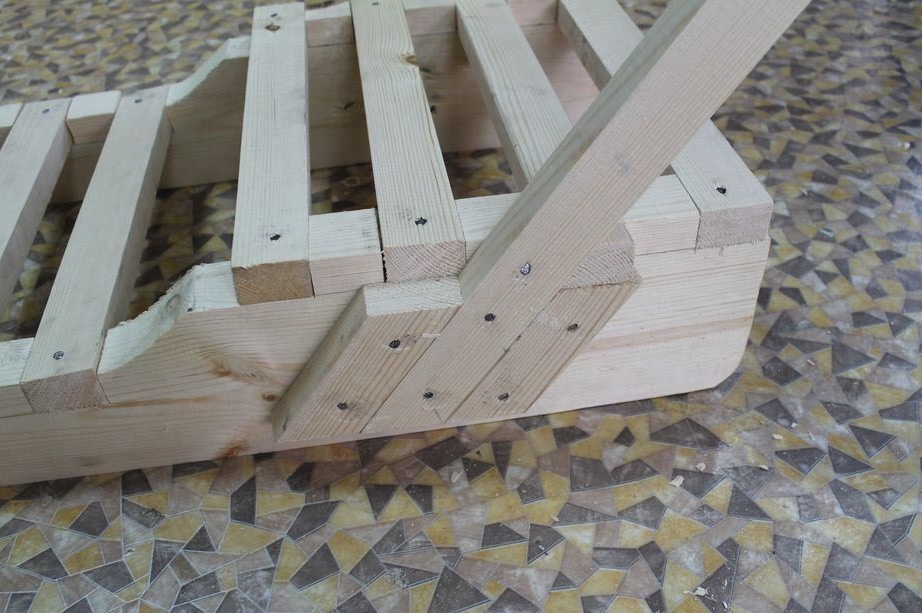
We strengthen them a little with the help of two short rails on each side. Thus, additional structural rigidity will be achieved.
Now we make several grooves where we install two horizontal slats, according to the resulting sizes of the width of the sled.
We make several holes with a small crown in the upper part of the back. Attacks are still a couple of similar holes in the beginning of the skids for the rope.

A cylinder-shaped handle was made in advance, which we inserted into the hole.
To handle can withstand good pressure on it, you need to strengthen two vertical rails in the lower part. According to the example in the photo.
Now it remains to slightly treat the surface with sandpaper. Since bumps could remain, there is a sharp edge that can cause injuries.
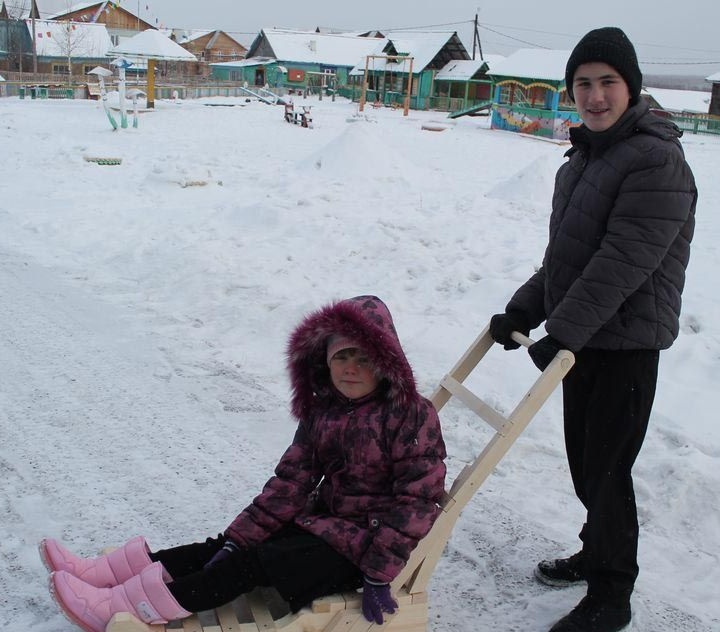
Here, in fact, everything is ready.
We go to the highest hill and roll in a wooden sled, bringing joy to ourselves and others.
Thank you all for reading this article.
All fun and naughty skating.