
Hello to all lovers homemade. As you know, working in good conditions is always pleasant, especially when there are necessary fixtureswhich I’ll talk about today. In this article, I will explain in stages how the author made a multifunctional case, it is intended more for those who are a radio amateur or beginner in this field. The creation of this device does not require hard-to-reach materials, so everyone will need everything for assembly.
In order to make such a functional case, you must:
* Two outlets.
* Regulator for the same footprint.
* Plywood 6mm thick.
* Electric fretsaw.
* Square.
* Drill with a crown.
* Hot melt adhesive and PVA glue.
* Wires.
* A small number of screws.
* Two knitting needles or a strong wire.
* Two nuts and studs for them.
That's all the materials necessary for the manufacture, now you can proceed.
Step one.
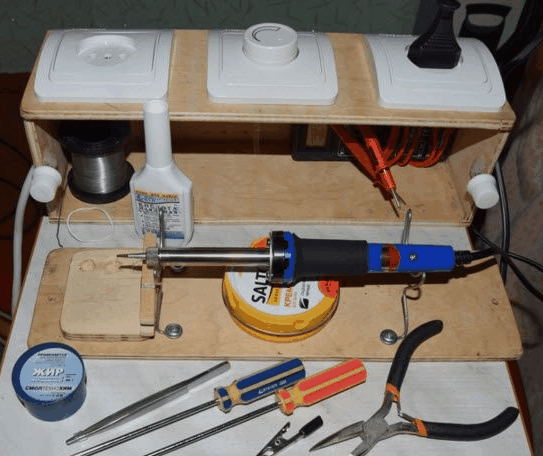
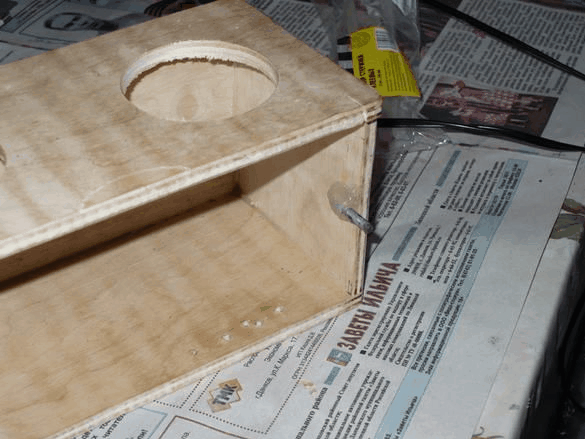
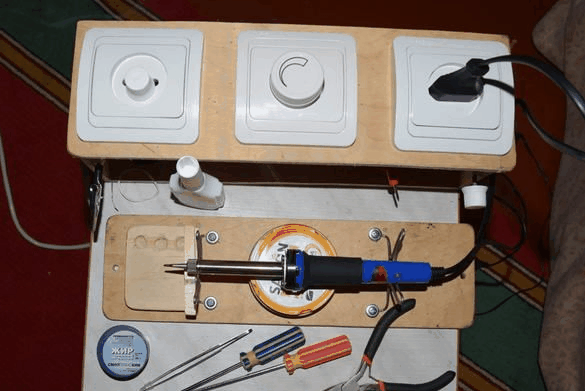
First of all, you need to determine the size of the future case, they will differ due to what you want to store inside. It was decided that the size of the case 31 * 10 * 10 would be quite sufficient, considering that inside you need to fit a multimeter, a small soldering iron, a couple of screwdrivers, pliers and a crocodile for clamping.
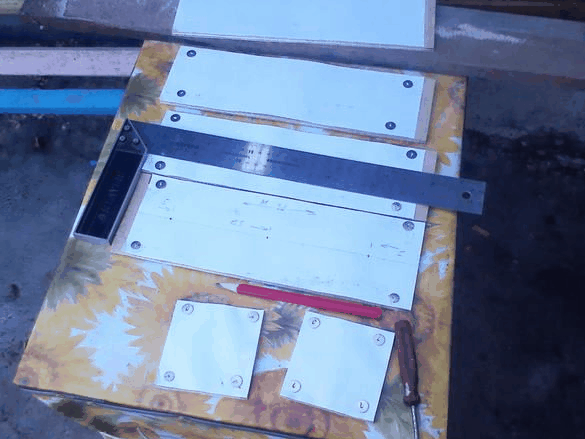
After choosing the size, you need to make a drawing, you can make templates on a computer and attach it to plywood, as is done in our case.
The dimensions of the individual components are as follows: the top cover is 31 * 10, the bottom is 31 * 9.4 and the size of the side is long 31 * 8.8, and the side ones at the end are 8.8 * 8.8.
Step Two
Now work behind a jigsaw, when working with a power tool, observe safety measures using safety glasses and just be careful.
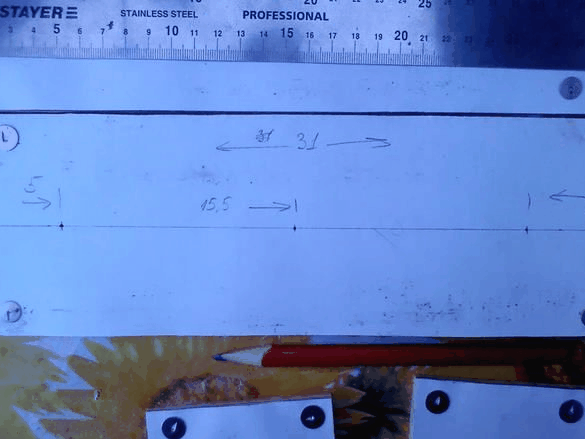
We draw straight lines with a square and saw them already, the result of the work will depend on the evenness of the saw cut.
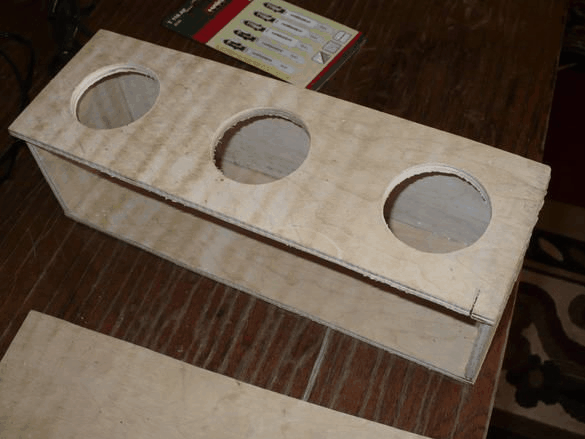
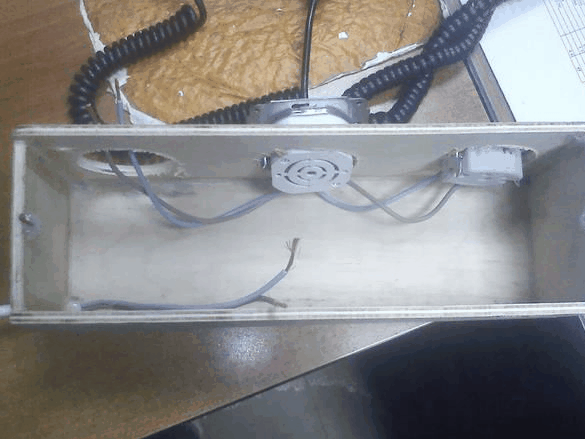
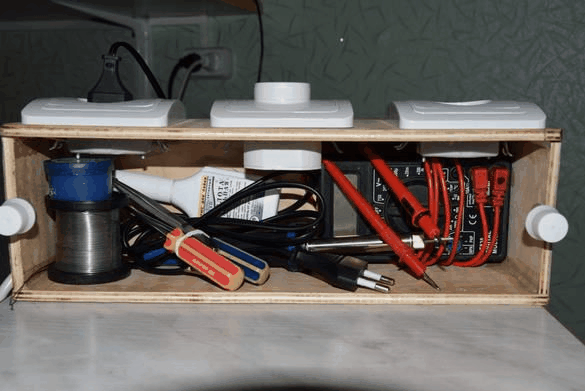
In the top cover there will be sockets at the edges and in the middle of the regulator, connected from one to another outlet so that the input has a current of 220V, and the output 0-220V, that is, with the possibility of voltage regulation.In order to place the sockets in plywood, you need a drill, with its help and drill bits of a suitable diameter, drill holes, 5cm away from both edges.

Step Three
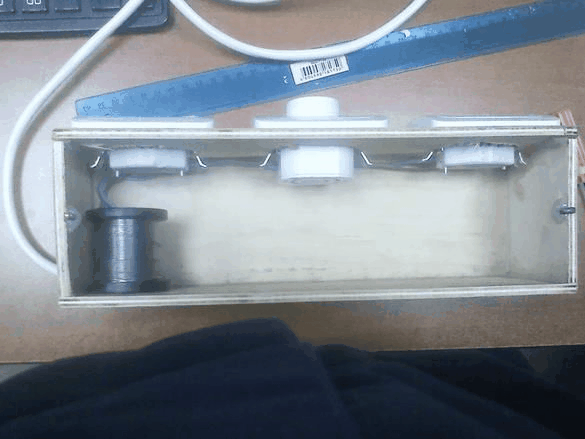
So all the parts of our devices are ready, now you need to place them in the right order and glue them. We glue on hot-melt glue with the help of a hot gun, for greater reliability of the construction we coat joints with PVA glue.
And so the insides are placed, where the supply wire goes to the first outlet, and after it to the regulator and to the second outlet.
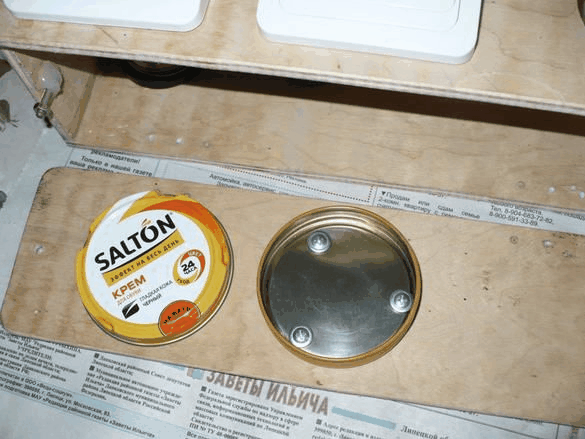
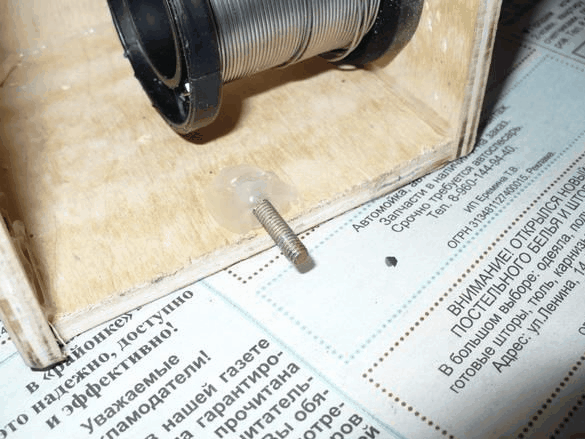
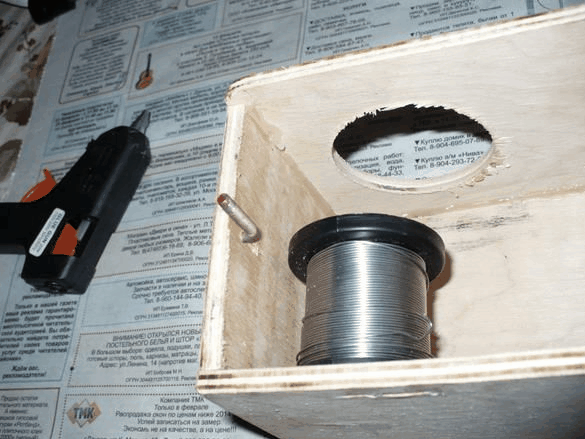
Inside we place the tin on the coil, fasten it with a long self-tapping screw to the body, the idea is not bad, only you need to come up with a quick replacement of the coil in the future, but for now you have to remove the socket for this purpose.
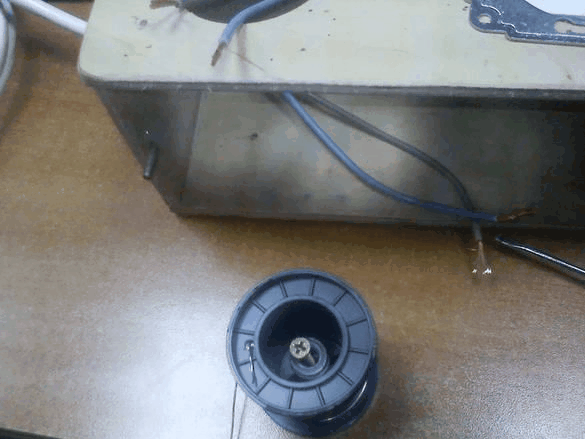
A fixed tin coil looks like this.
Step Four
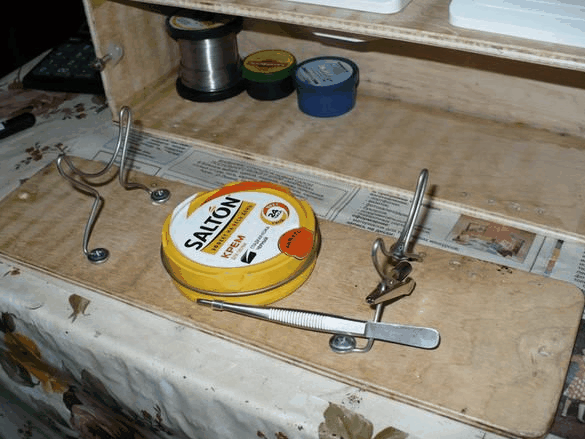
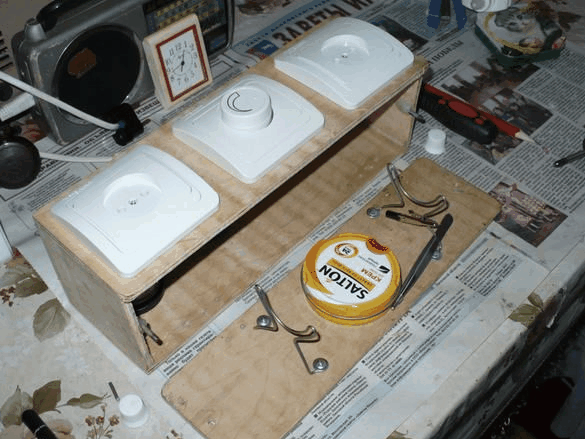
And now let’s get the beautification of the soldering iron’s workplace. We glue the soldering pad onto the PVA glue, and then fasten the jar of the shoe clamp to the screws on the stand for the soldering iron on the screws.
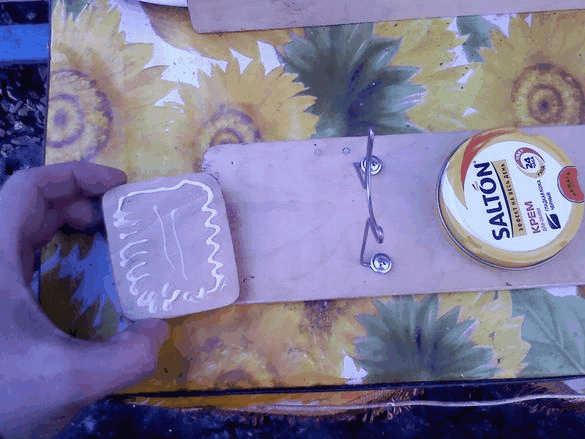
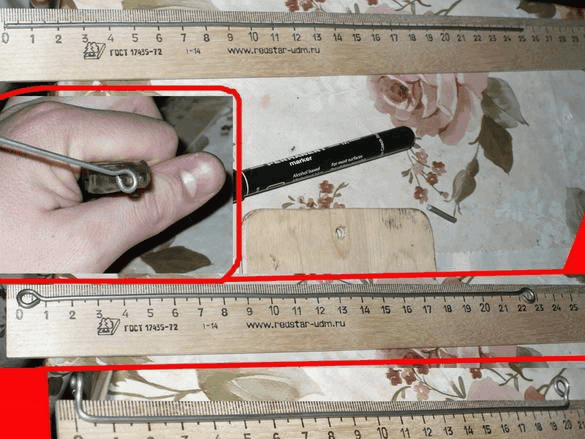
But how will the soldering iron stick, you ask. For this we will make special horns from wire, which we then screw on the screws to the base of the stand.
Step Five
In order for the structure to open, a rather interesting idea was invented. In two caps from bags of condensed milk, pour hot melt and squeeze on a pre-twisted nut and washer, after which we wait for the glue to dry and the nut remains in the cap, with which the case will be closed.
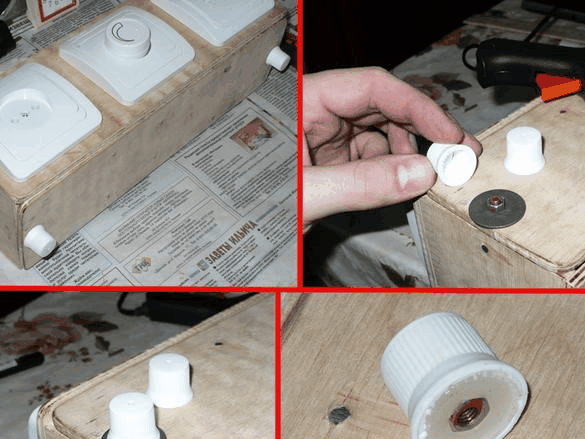
On the sides in the middle we glue a hairpin with hot glue, on which our cover will be wound.
This homemade case is ready, in addition to a few more photos of improvements, of which three holes on the stand for rosin, fat and tin and a convenient "third hand" made of crocodile and clothespins.
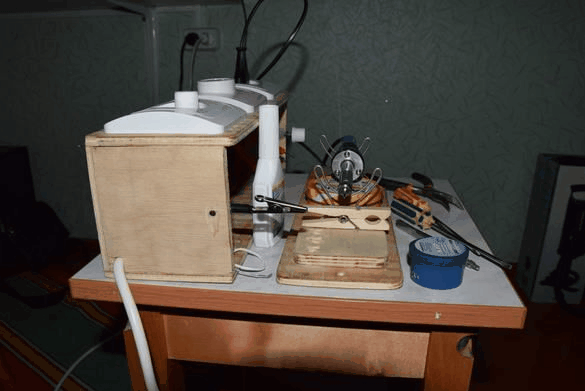
So all the insides were placed.
Thank you all for your attention and good luck in the new homemade products.