
Hello to all lovers homemade. Many radio amateurs know that the fumes released during soldering are hazardous to health, which is not good. In order to protect themselves and others, the author decided to make an extract for a soldering iron. The design is quite simple and easy to repeat.
To make a hood do it yourself will need:
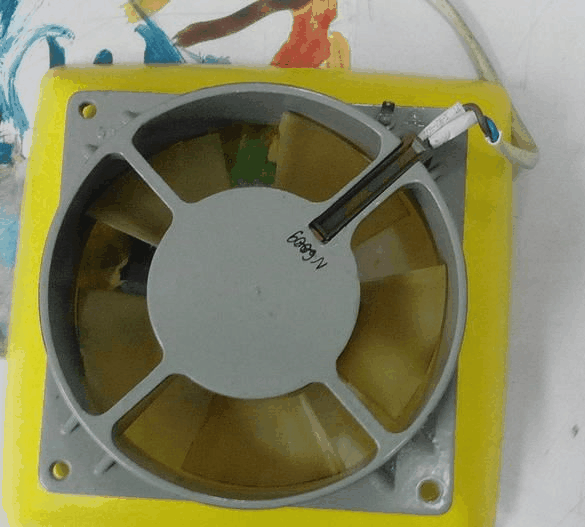
* Fan, 12 or 220 V of medium size.
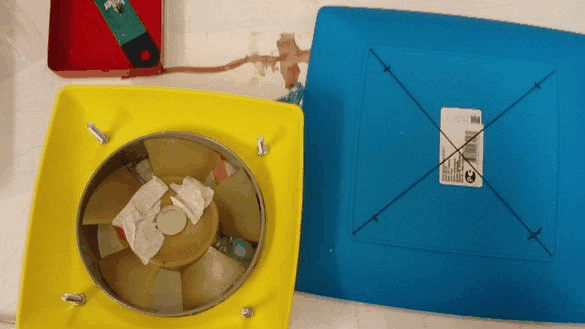
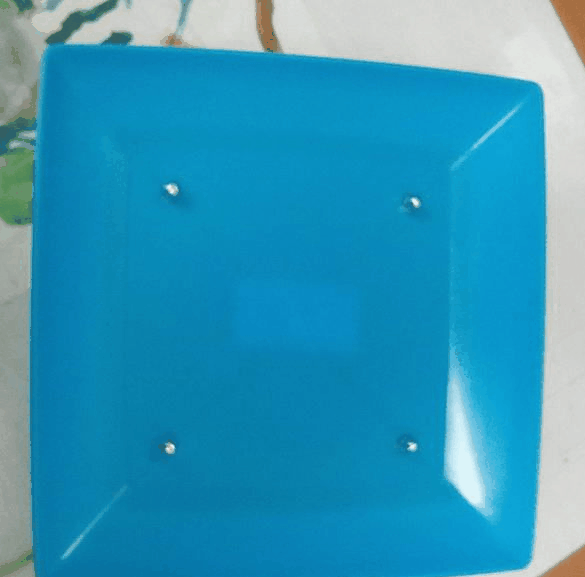
* Two plastic bowls with dimensions 225 * 225mm and 165 * 165 mm.
* Copper wire.
* Soldering iron.
* Stationery knife.
* Rubber hose.
* Steel wire.
* Charcoal filter for hoods.
That's all you need to assemble the hood, you can collect.
Step one.
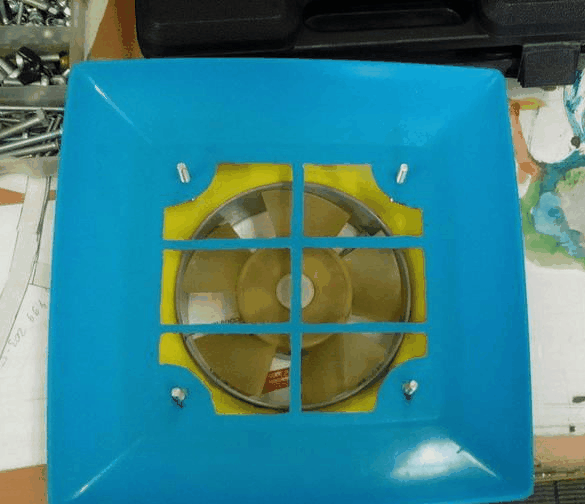
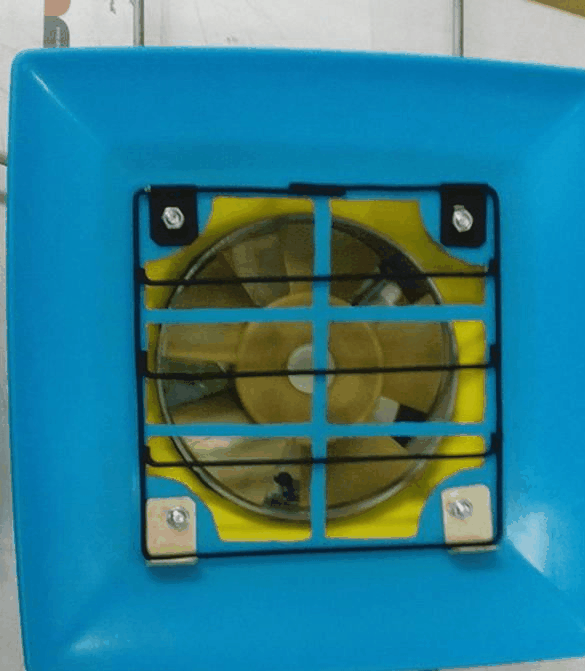
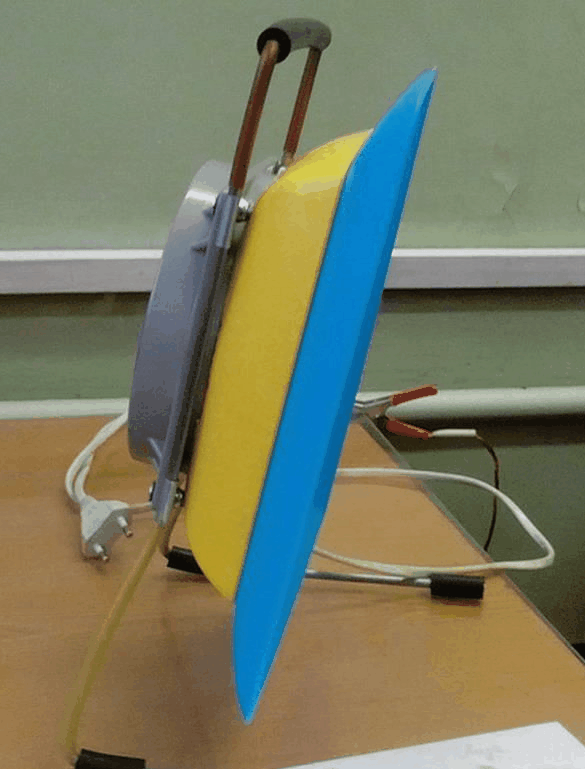
First you need to make the design of the hood, the most suitable was to take two bowls of different sizes and install a cooler in one of them.
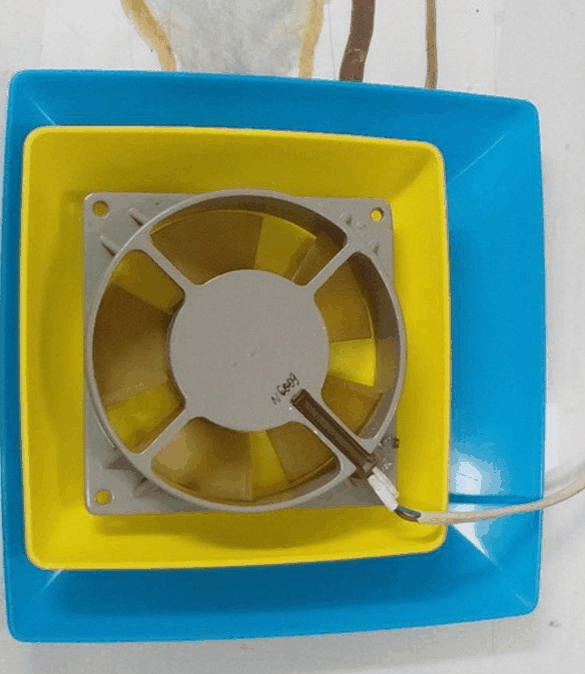
In a bowl bought in a store, we cut out a hole for installing a motor with a vetilator using a clerical knife. When working with a stationery knife, be careful and wear gloves for safety.
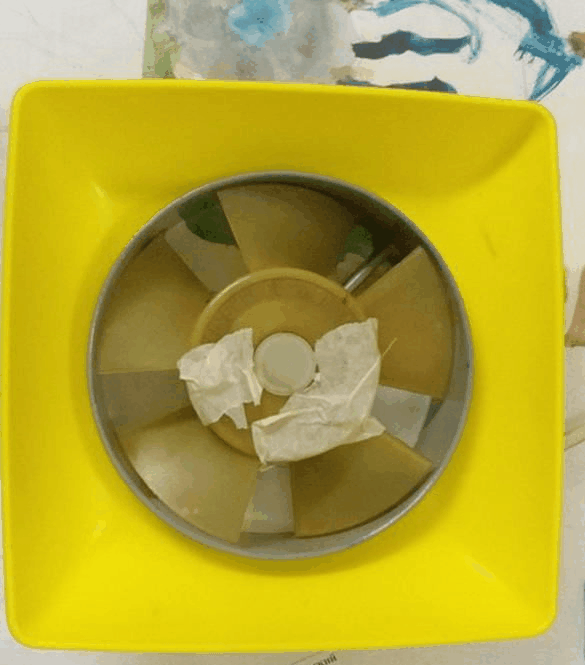
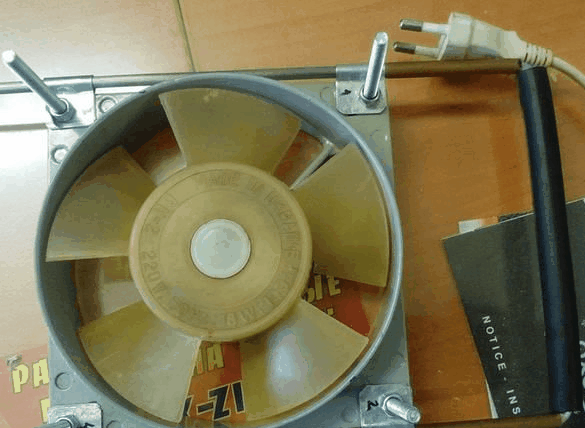
The fan was removed from this fixtures.
Then we fasten the fan with four screws.
Step Two
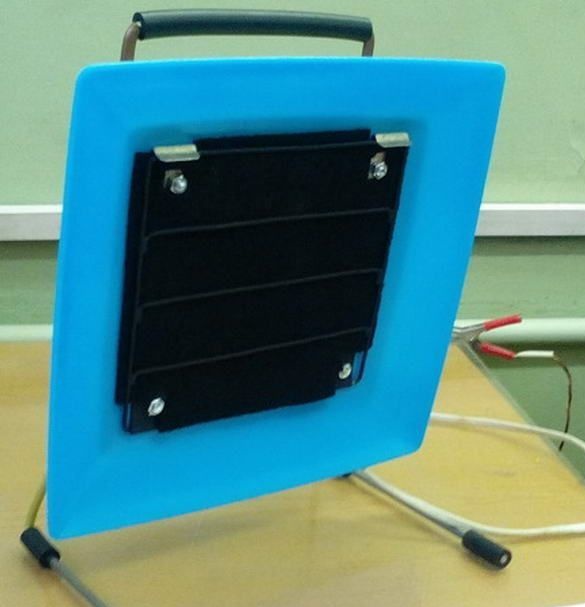
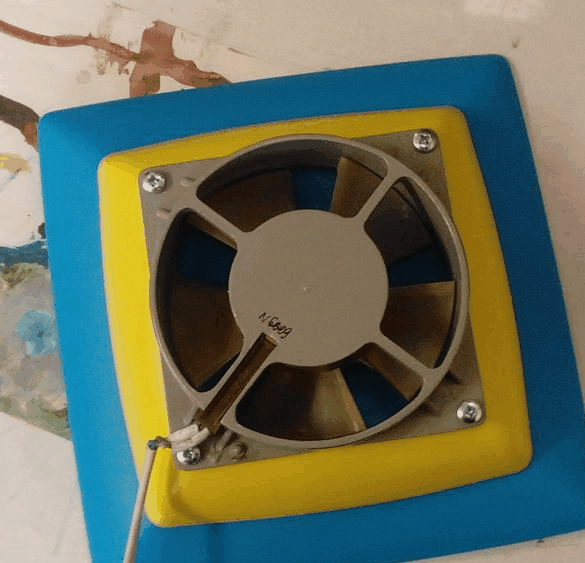
In a bowl, which is larger, make the grate at the base. Then we fix a small bowl with a fan with a large one using screws.
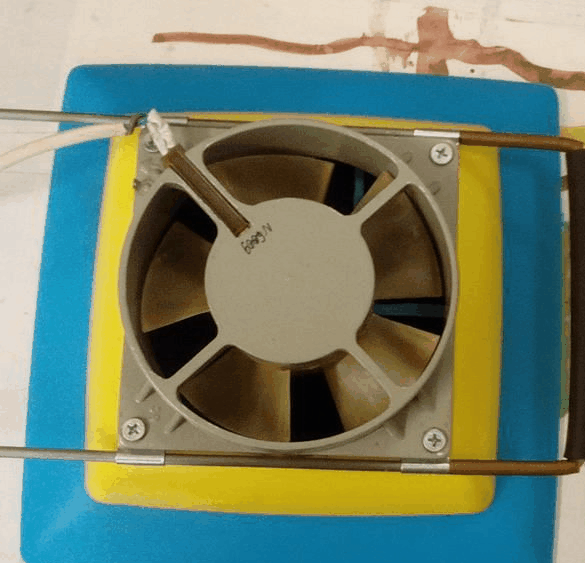
We make clamps from galvanized iron to attach the handle with legs to the fan.
The legs are made of steel wire with a thickness of about 4 mm, which will give the structure more stability. We bend the wire, having previously worn a rubber hose, stretching it strictly in the middle. The width of the legs should match the width of the fan. And now we fix the legs to the fan using the clamps made earlier.
Step Three
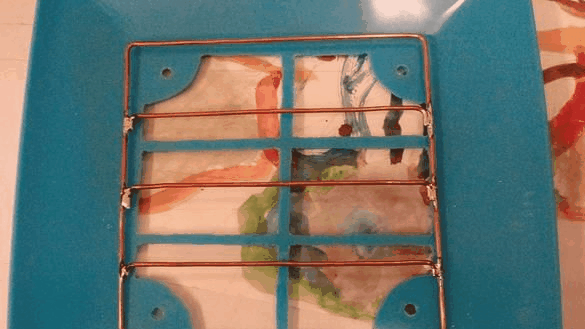
It's time to make fasteners for the filter element, which we will make of wire. We take a copper wire and use a pair of pliers and a soldering iron to create a square grid. We make fasteners from galvanized plates, after which we paint the grill.
Step Four
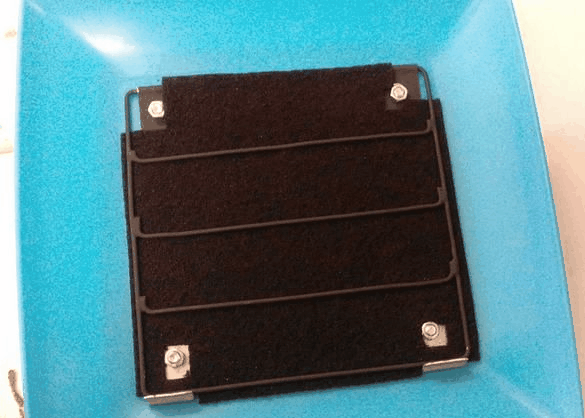
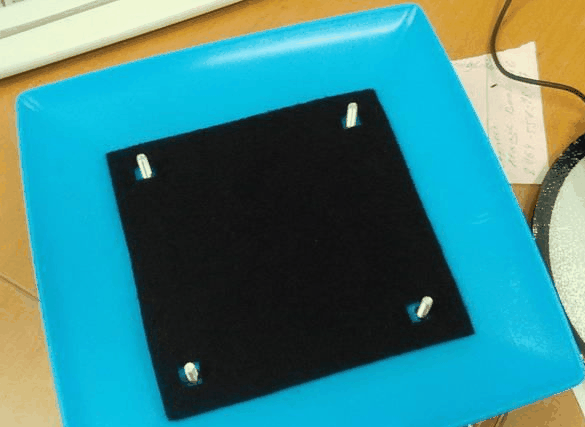
Install the filter.
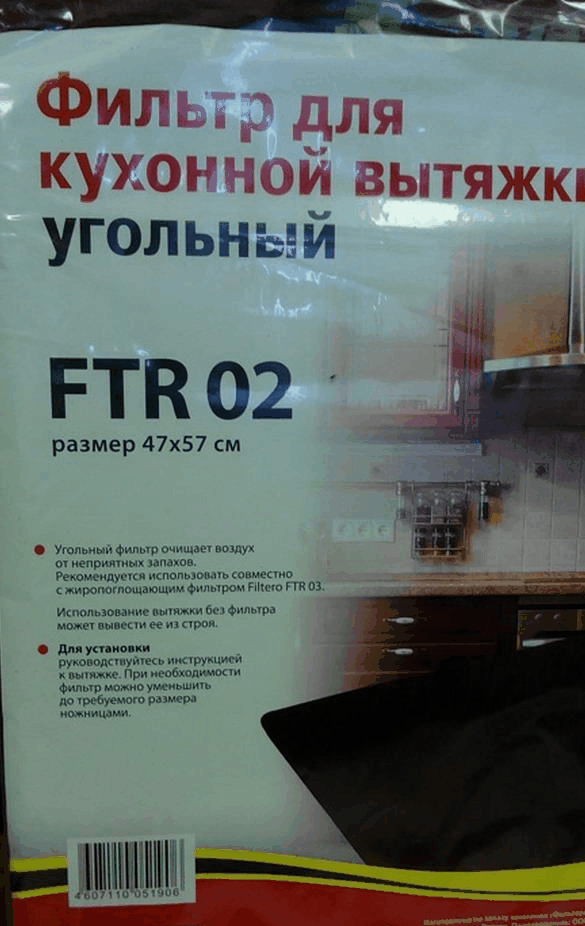
To do this, unscrew the screws and put the filter in place, after which we install the wire grate and twist.
Step Five
At the end, we bend the legs so that the structure is stable, and in order to prevent the hood from slipping, we put a rubber hose on the legs, and then solder the fan power wire.

The hood is ready for this, now soldering work will be much safer for health.
Thank you all for your attention.