
Today, a very developed suburban construction, summer cottages grow like mushrooms after rain, everything is determined by the rather inexpensive price of land, though there are no conditions on the new land, gas, water, electricity.
All the benefits of civilization are brought later, when already most of the houses are built. So, so that the house becomes warm and where it is possible to cook a hot and tasty dinner, it is necessary to build a brick kitchen stove with a stove.
To build this plate, you will need very little brick, ingenuity and skillful hands. And so let's look at how the author put the stove in his kitchen in the country house and what he needed for this.
Materials
1. red brick
2. refractory brick
3. metal pipe (chimney)
4. cast iron hob
5. cement
6. sand
7. clay
Instruments
1. trowel
2. tile cutter
3. hammer
4. mallet
5. level
6. scissors for metal
7. putty knife
The process of building a kitchen stove with hob.
It is good to have an autonomous small stove in a private house, at any time it can be flooded and cooked, or you can boil the kettle, as well as heat the room where it is located. As it was said, it will not take a lot of brick to build it, because the base will be poured from concrete and raised to the level of the belt, according to the author, materials such as metal and wood can be used to create the base of the furnace. First prepared concrete base.
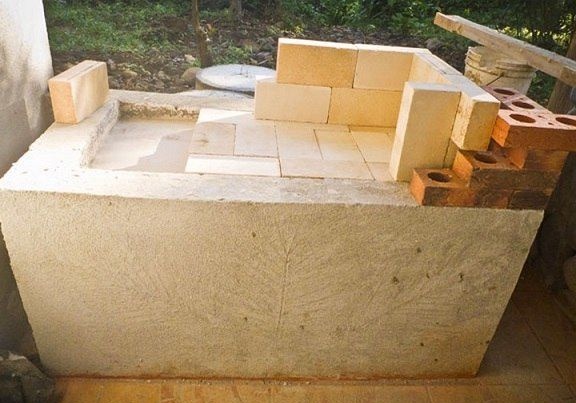
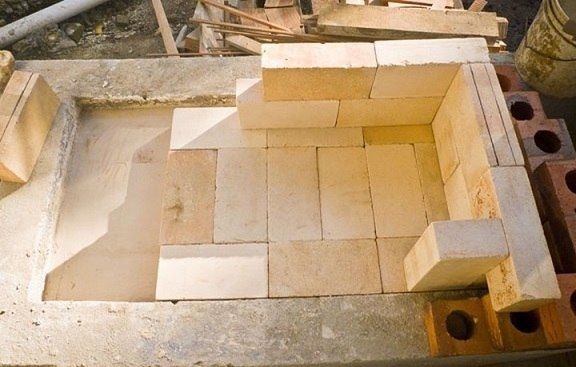
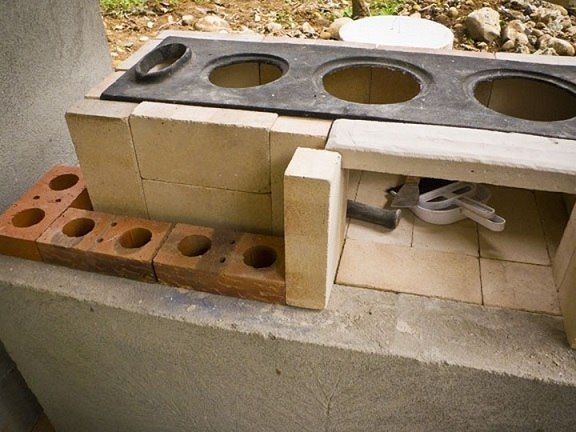
Next, the author begins the laying of the furnace chamber from refractory bricks, first without mortar, so that everything is measured and no mistakes are made. The solution must be made of clay and sand, and clay should first be soaked, at least for a day, so that all the solid lumps become soft and dissolve during mixing.
Further, the author begins to surround the resulting camera with red brick.
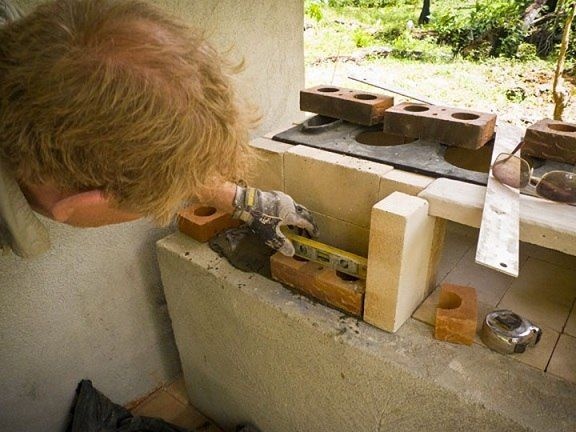
In the process of laying, the master also tries on a cast-iron hob so that everything fits perfectly without blemishes.
And so the walls of the furnace are almost ready.
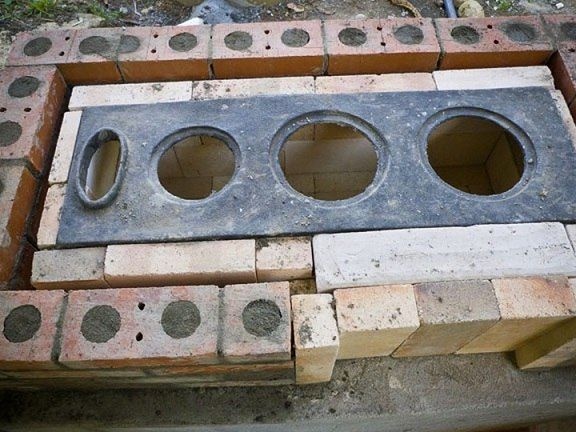
The main masonry work is completed, here is the result.

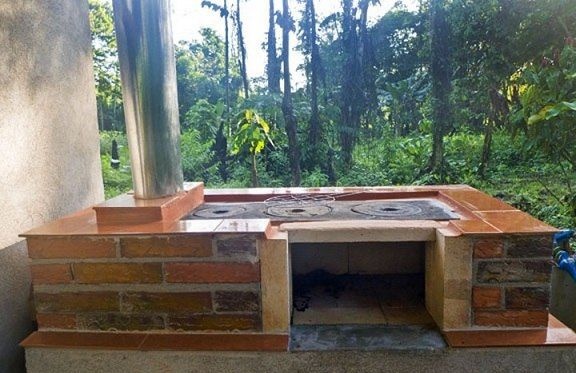
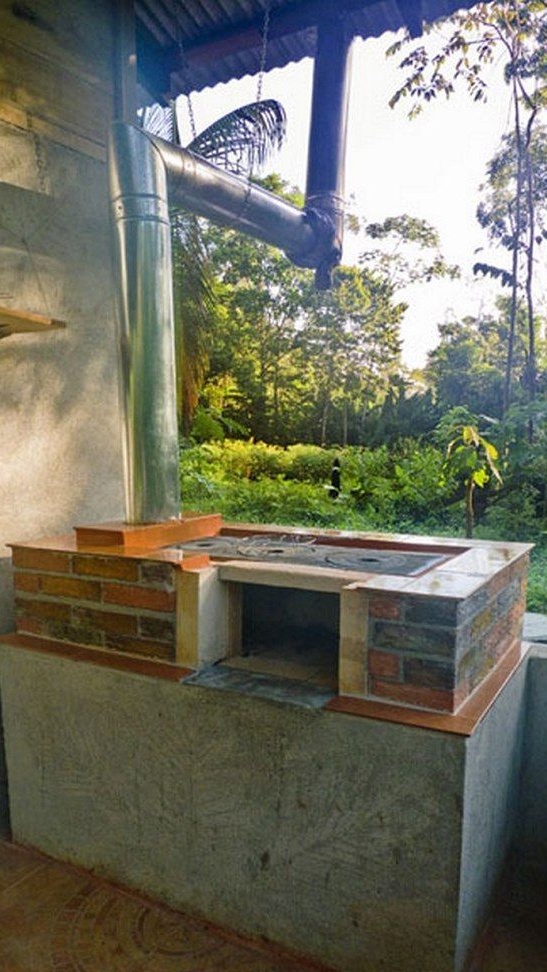
For facing the furnace, the author uses ceramic tiles.
This is how the stove looks in its final form.

Also, the master, installed a chimney from a metal pipe on the stove.
And now the basic work on masonry and cladding is completed, it remains until the oven dries and can be tested. The author is very pleased with his stove. Now he is not afraid of turning off the light or gas, he has an autonomous stove that will warm on cool days, and the owner will also be able to cook dinner and boil a seagull.
This concludes the article. Thanks for attention! Come visit often, do not miss the latest in the world homemade!
This article is for informational purposes only!