
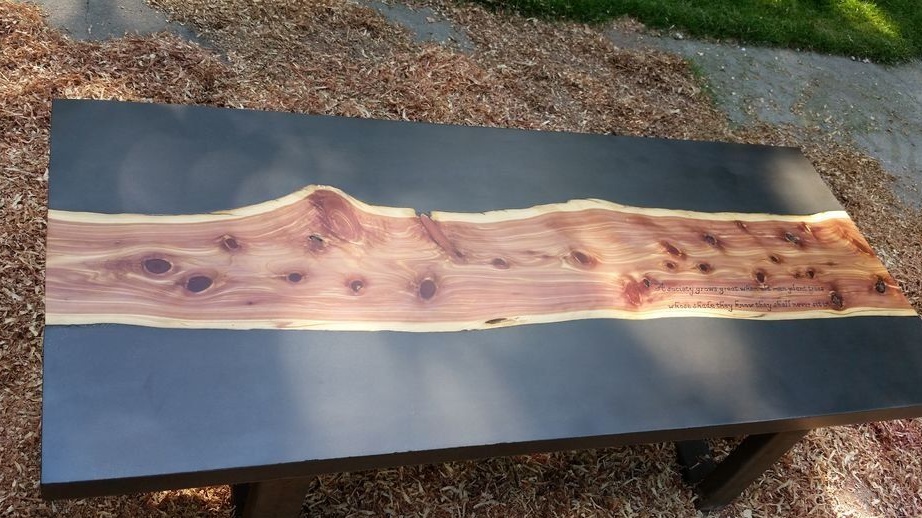
There is a huge variety of types of countertops, they differ both in appearance and in shape. Masters have learned to combine practically incompatible things into one whole. In many interesting works, materials such as (wood, glass, metal and concrete) are used and combined. In this work, the author will use three main elements, this will be wood, concrete, and metal, as the element will serve as the internal structure of the future countertop.
In order to make a similar countertop do it yourself we will need:
Tool:
- saw;
- a clamp;
- level;
-putty knife;
- sponge;
- grinder with grinding discs;
- gas-burner;
- sandpaper.
Materials:
- log;
- steel reinforcement;
- stainless steel bolts;
- pigments for painting concrete;
- wax for polishing concrete;
- polyethylene film;
- epoxy resin;
- lumber;
- the base of the table.
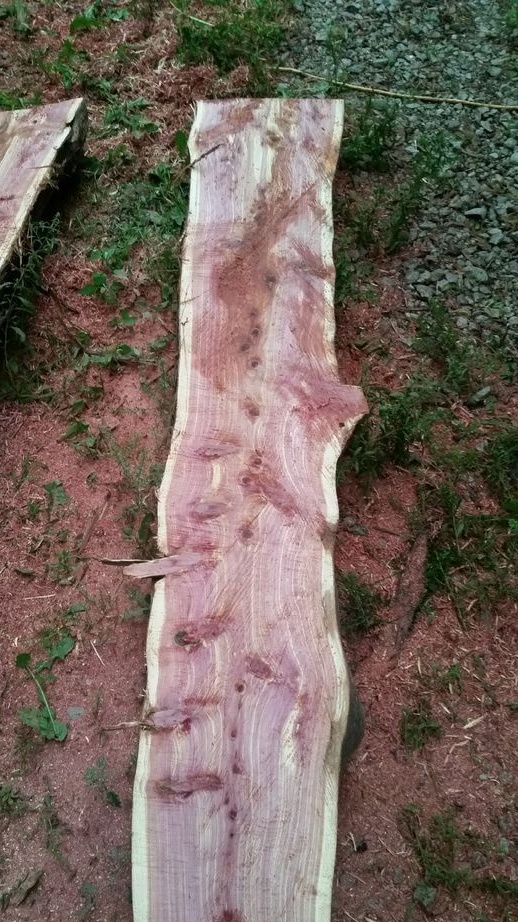
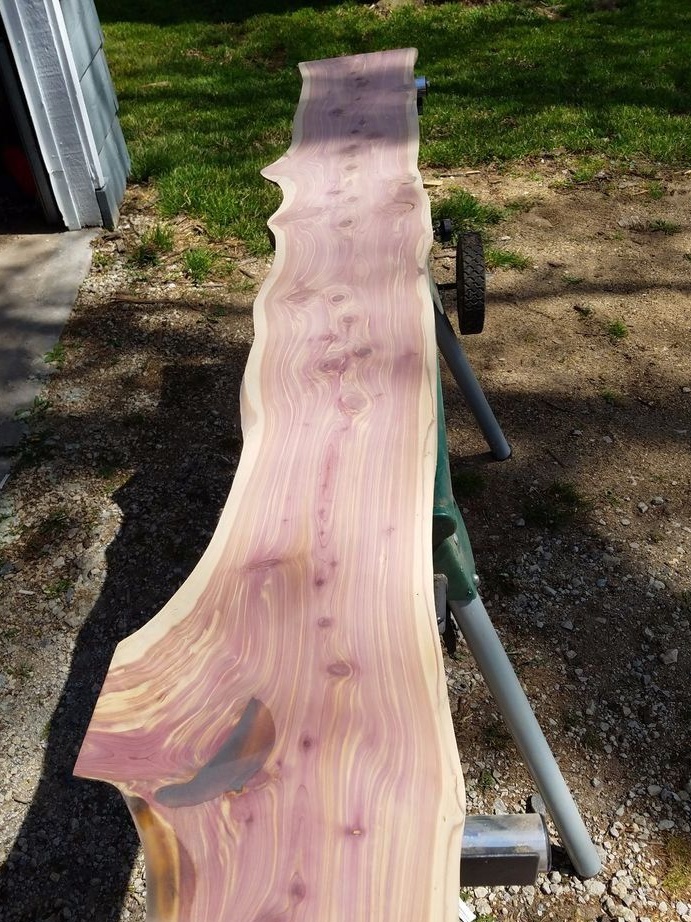
The first step will be to select the wood. You can choose any breed that you like, or one that is available. The main thing is that the tree is strong and pre-dried.
We take a log and cut a board. In this article, a wood grade such as Cedar is selected with wood material. We leave all the uneven side edges of the board, they are needed in order to convey the natural beauty of wood.
The thickness of the board can be used five to seven centimeters. If you do not have suitable equipment and skills for cutting wood, it is best to order this workpiece in the nearest sawmill.
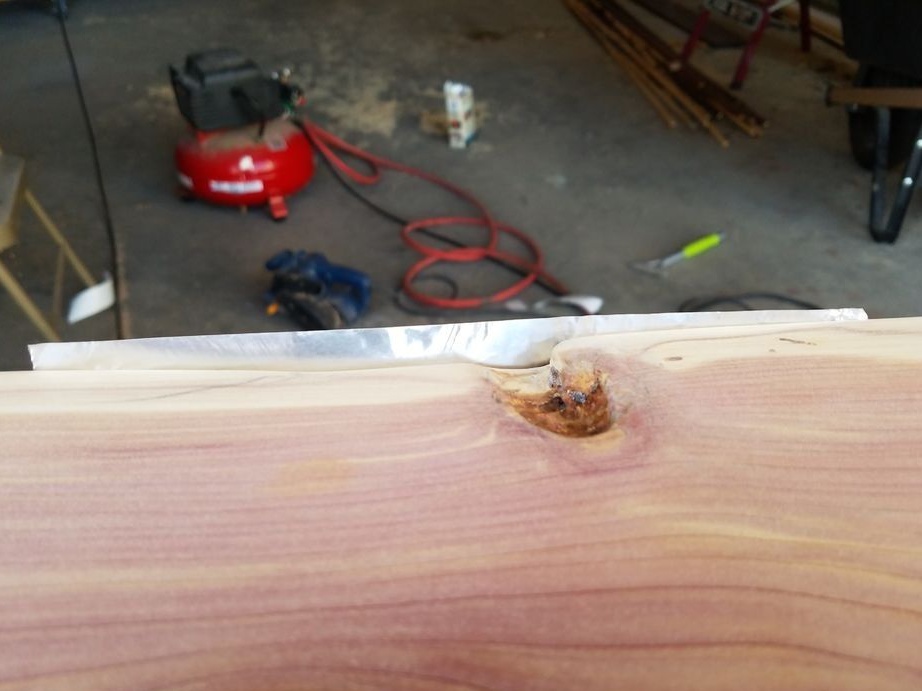
When the board is ready, you need to carefully grind the surface. If there are any irregularities and surface grooves, they must be filled with epoxy. In this case, you must be as careful as possible so that there are no air bubbles in the process.

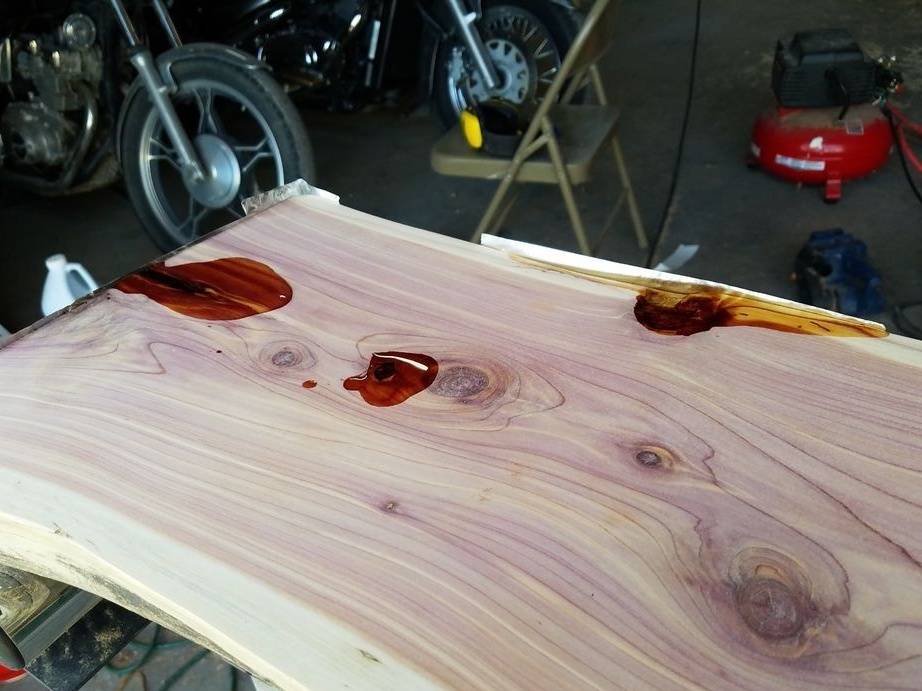
If nevertheless bubbles appeared, you need to use a gas burner. We bring and warm the surface, while trying not to hold it in one place for a long time, as you can spoil the wood. Leave the board and wait until the resin dries.
When the surface is dry, you need to take sandpaper with a grain size of 220 and walk along the surface. Then polish with wax.
The next step will be the manufacture of the tabletop frame.
To do this, you need to take lumber and build an invented shape. The design should not be overall, since in the future the finished product can turn out to be heavy, but we do not need this. The inner side of the frame must be treated with a special composition, this is so that the frozen concrete subsequently easily lags behind it.
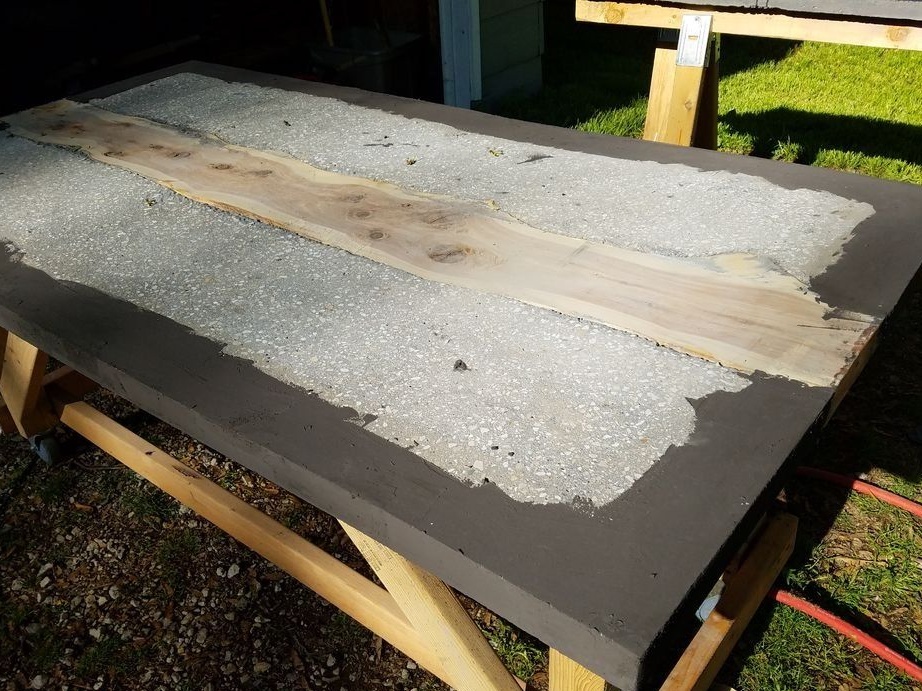
We take the board and put it in the center of the frame. We screw stainless steel bolts on the sides of the board, this is so that there is maximum fixation of concrete with wood.
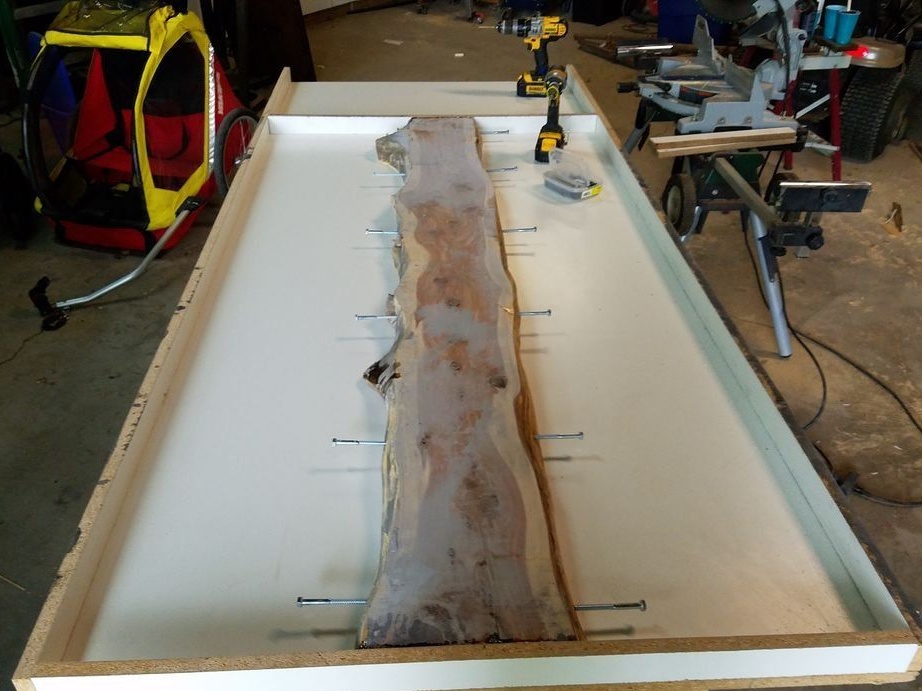
At the bottom of the frame we put reinforcement of a certain length along the board, this will also serve as an additional strengthening of the product.
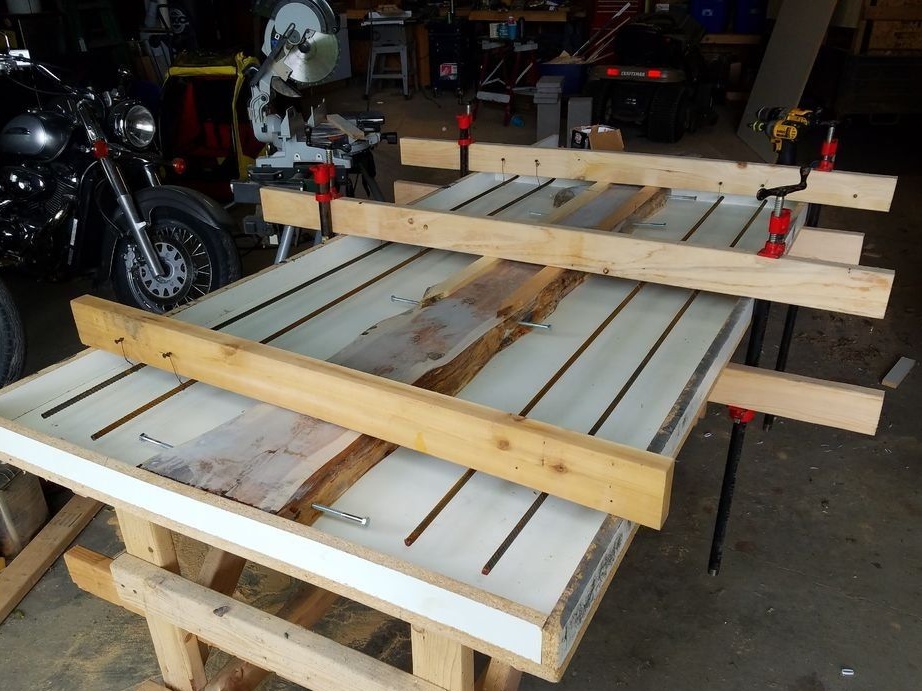
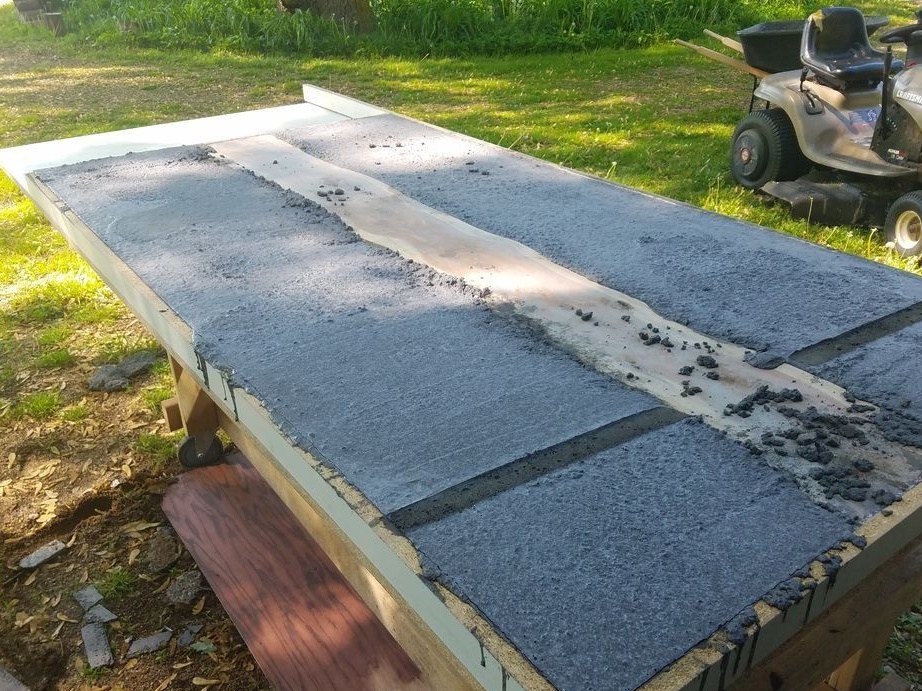
Next, we dilute a high-strength concrete mortar, while adding a special coloring pigment to it, it should dissolve evenly. When the solution is ready, pour it into the finished form. This must be done very carefully. It is necessary to exclude air as much as possible. There should be no gaps between the board and concrete. In order for the concrete mortar to sit best - we pass it on the outside with a grinder, it creates a vibration, so the mortar fills all the voids.
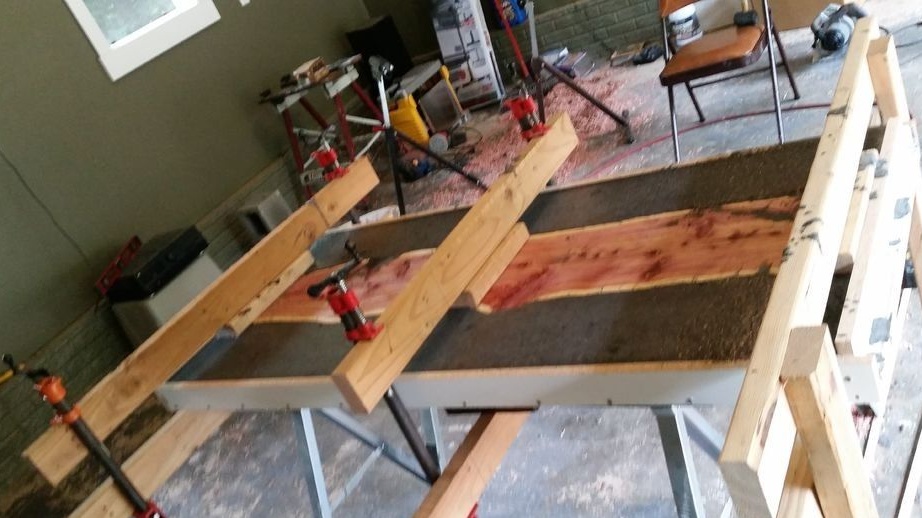
After the concrete surface has been poured, we go through the rules and level it. Leave to dry. In this case, this process should not be accelerated, just cover with polyethylene. In hot weather, it is advisable to wipe the surface with water using a sponge.
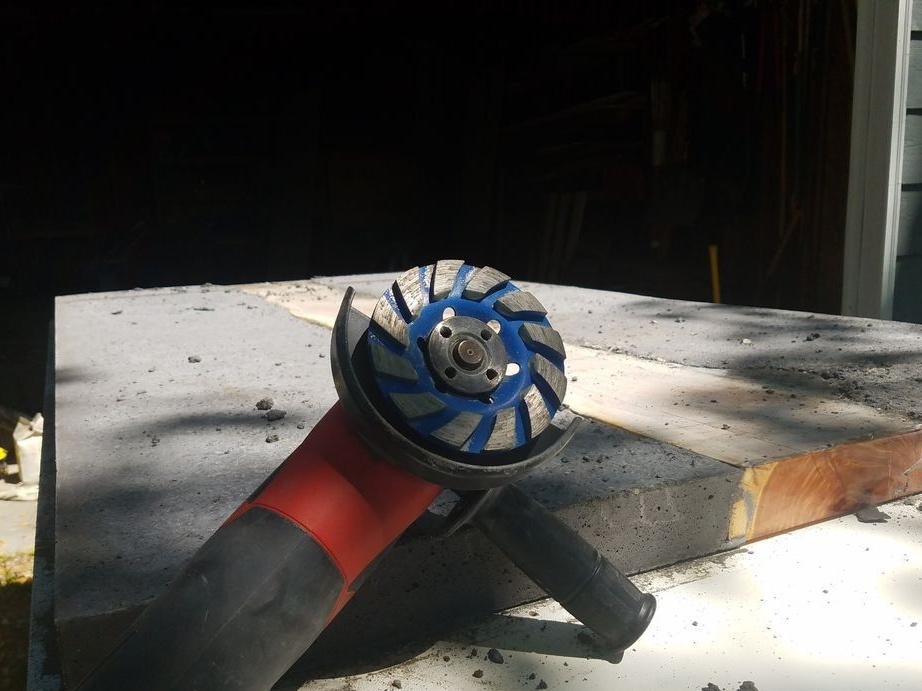
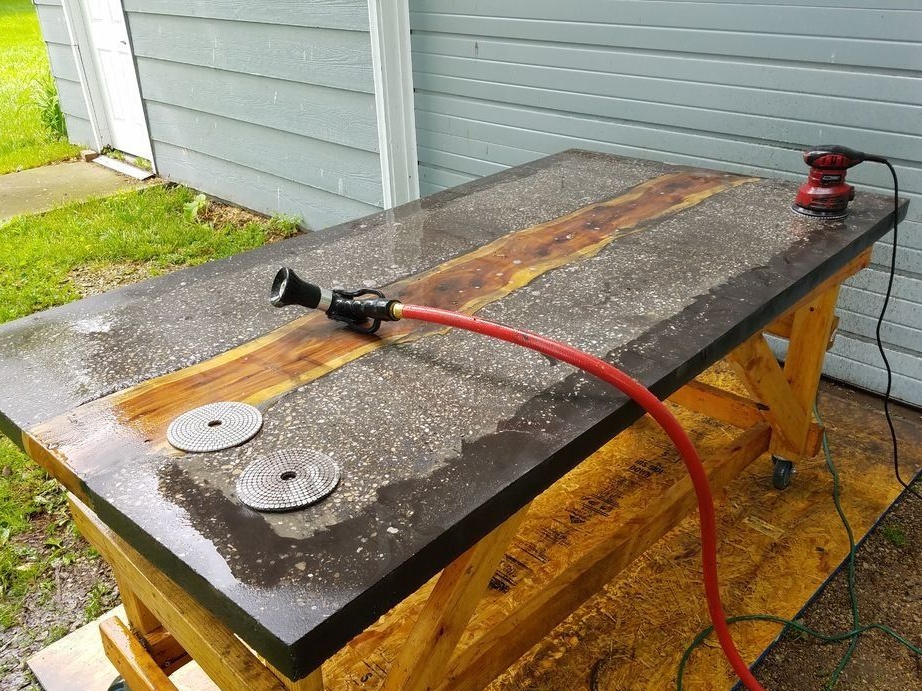
When the concrete has finally hardened, remove the box and grind it with a grinder with different nozzles. From the largest, we gradually turn to small.
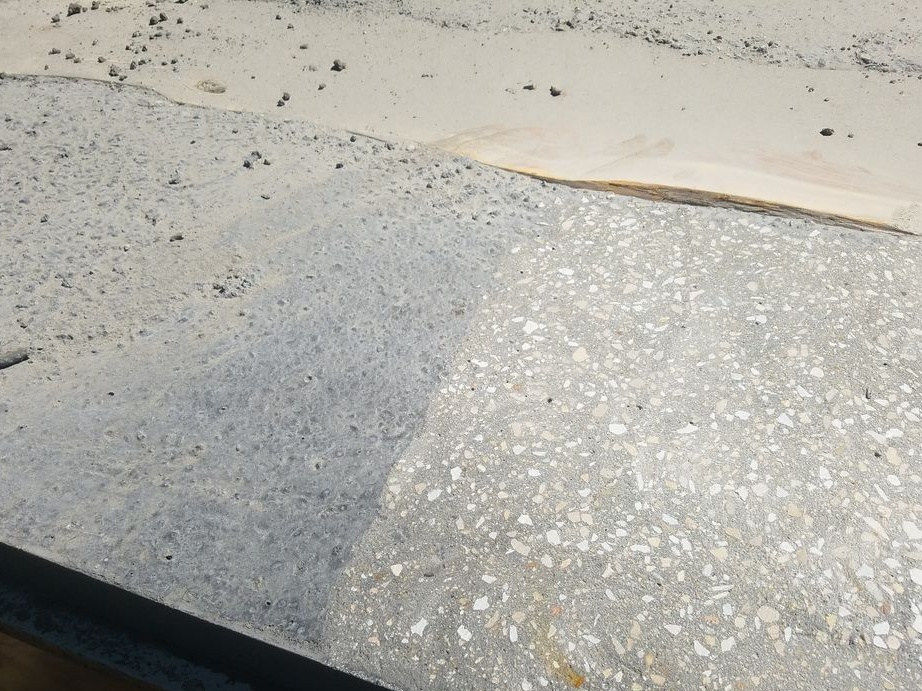
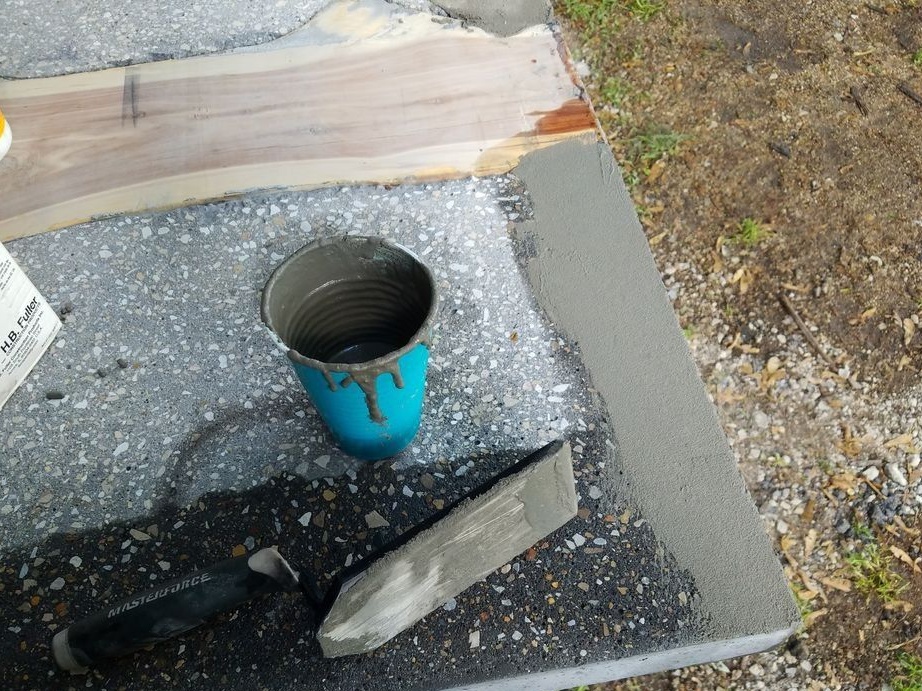
After grinding on concrete, small depressions may form, which means that air has entered the pouring process and bubbles have remained. All these cavities are simply filled with a concrete solution and allowed to dry, and then grinded again.
Now we carry out wet grinding, that is, we wet the surface with water and grind it. Since the surface is slippery you need to be as careful as possible, do not forget about safety measures.
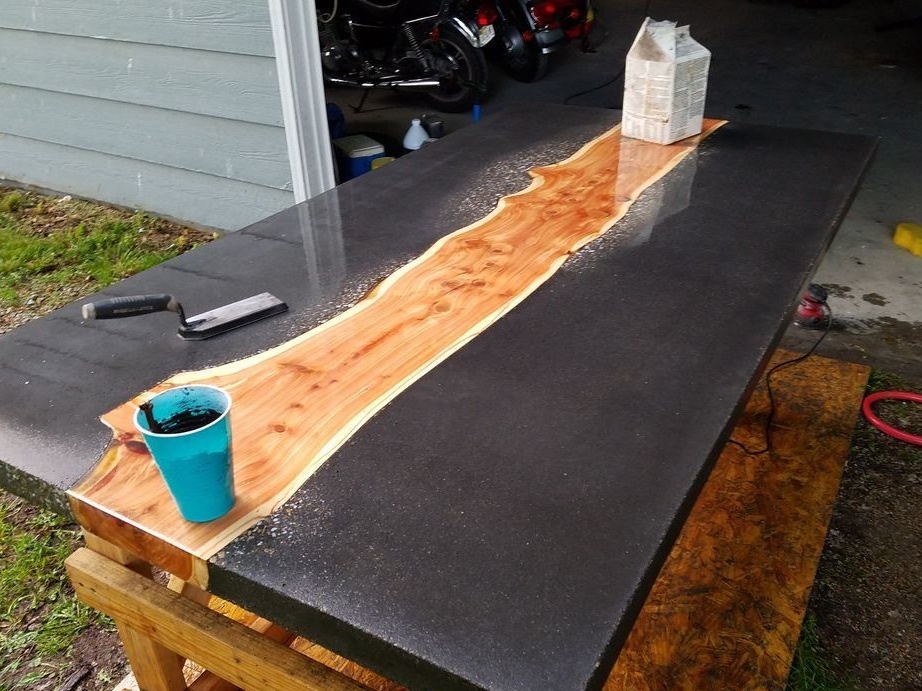
The final stage.
We cover the countertop with wax and carefully polish it.
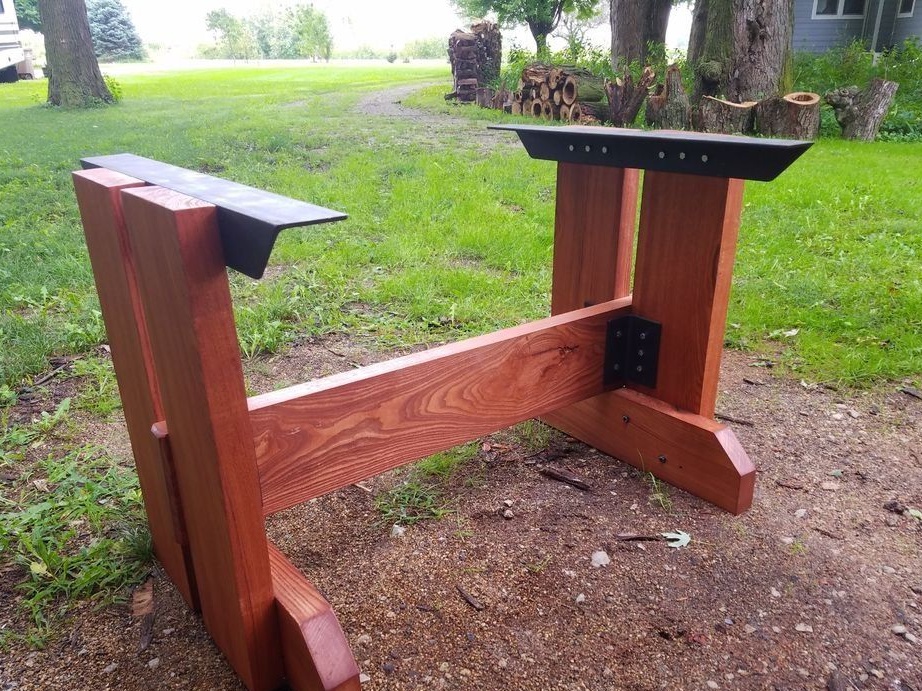
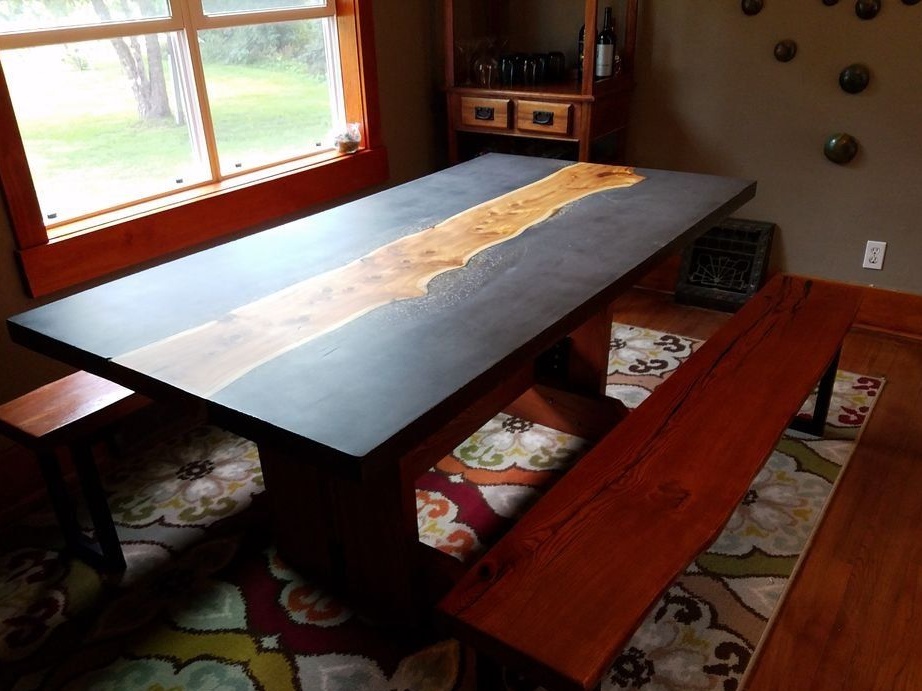
In conclusion, we take the countertop and set it on the finished base of the table. It is worth noting that it must be strong and could withstand the entire mass of the finished countertop. In this case, the base of the table was assembled from a thick timber in conjunction with metal corners as a fastener.
Now the only thing left is small - we determine the very place in the house where the exclusive dining table will stand. We install and make ourselves and guests happy with this product.
Thank you for reading this article.