

Hello to all lovers homemade. It sometimes happens that in some places there is not always a stable connection, in my case the Beeline operator, since the tower is far away and nearby trees interfere with quietly transmitting the signal. I didn’t want to make any antenna for the phone, I came up with a simpler one, this is a phone stand, which could be placed in a place where the connection is stable and does not depend on weather conditions. And I’ll tell you how to make a phone stand in this article.
As in any other homemade product, we need to decide on the necessary materials.
In order to make this stand you will need:
* Parquet.
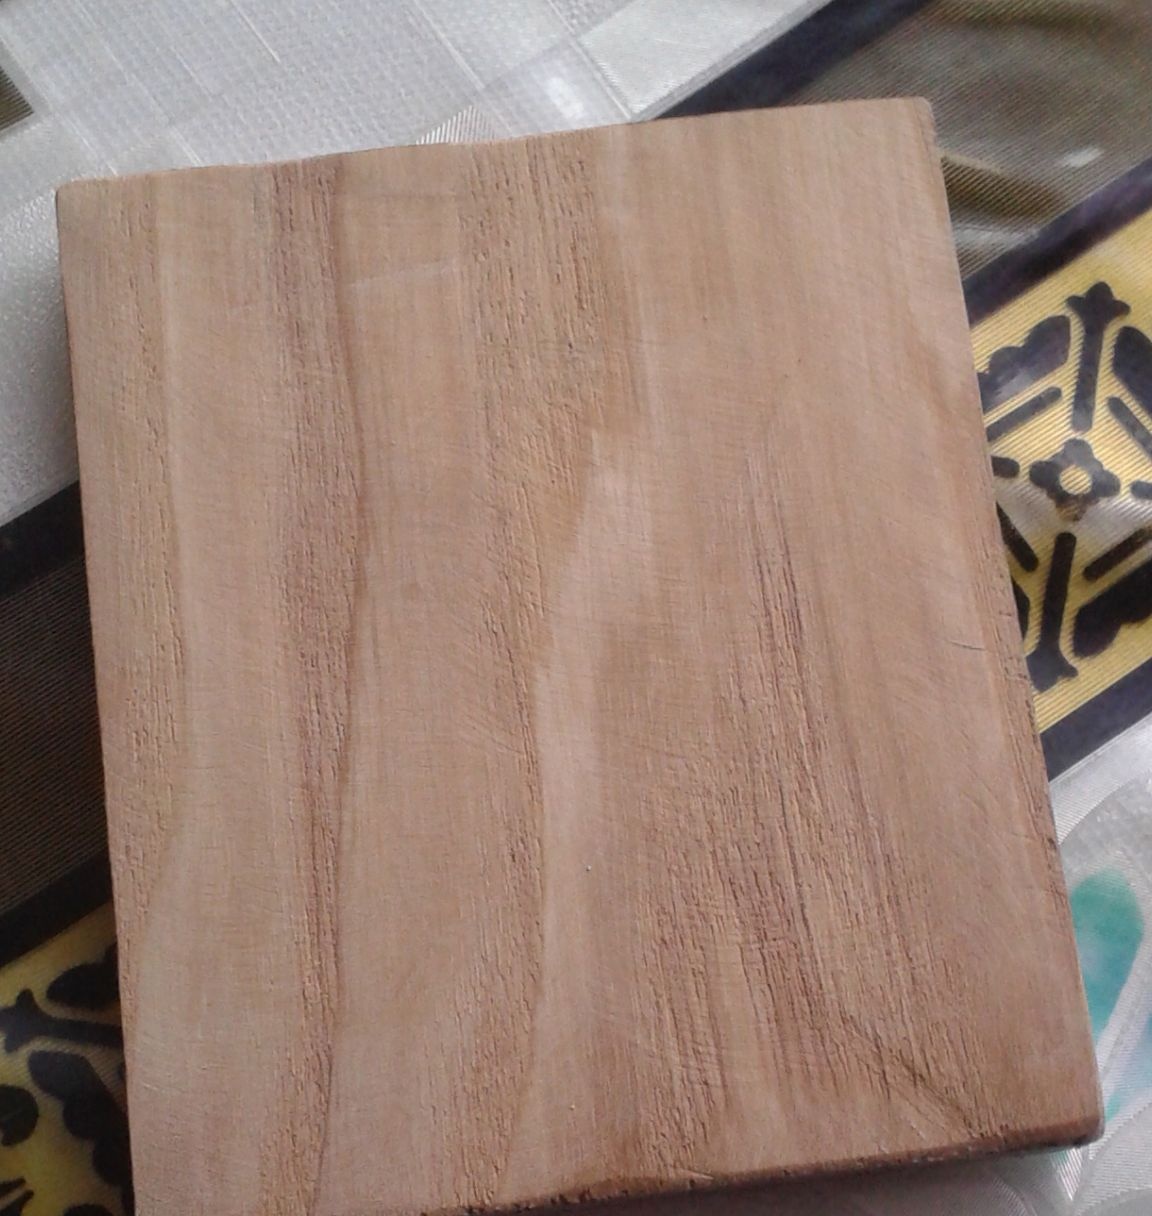
* Board 8cm wide.
* Epoxy adhesive.
* Threads, matches.
* Felt black.
* Hacksaw for metal.
* Drill and drill for it with a diameter of 3 and 6 mm.
* Coarse and fine sandpaper.
* Screw length 55mm.
That's all the materials that we need, which is not difficult to access, but if there is no flooring, then any strong board will do.
Now you can proceed to the gradual manufacture of the stand.
Step one.
First of all, you need to determine the dimensions of the future stand, for this we measure the dimensions of the phone that you want to install in the stand in the future, do not forget to measure the thickness.
In my case, the thickness of the phone turned out to be large enough for the current time, still 1.5 cm for the phone in 2017 is not enough, but all this taking into account the fact that the phone has a protective bumper.
For convenience, we make a drawing on paper or in a program, as I did.
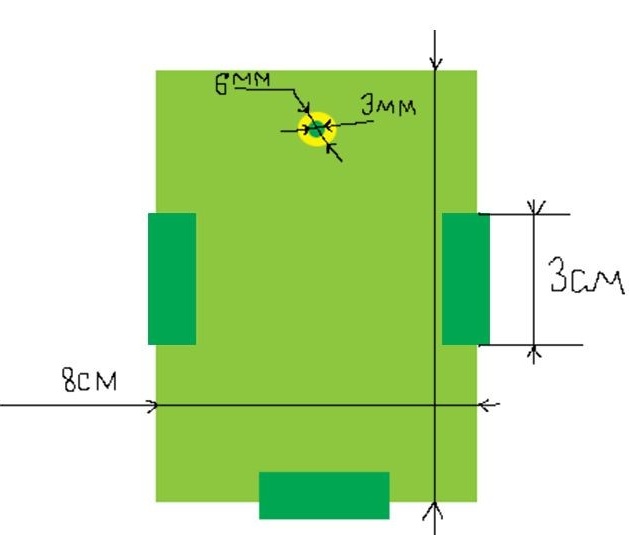
Step Two
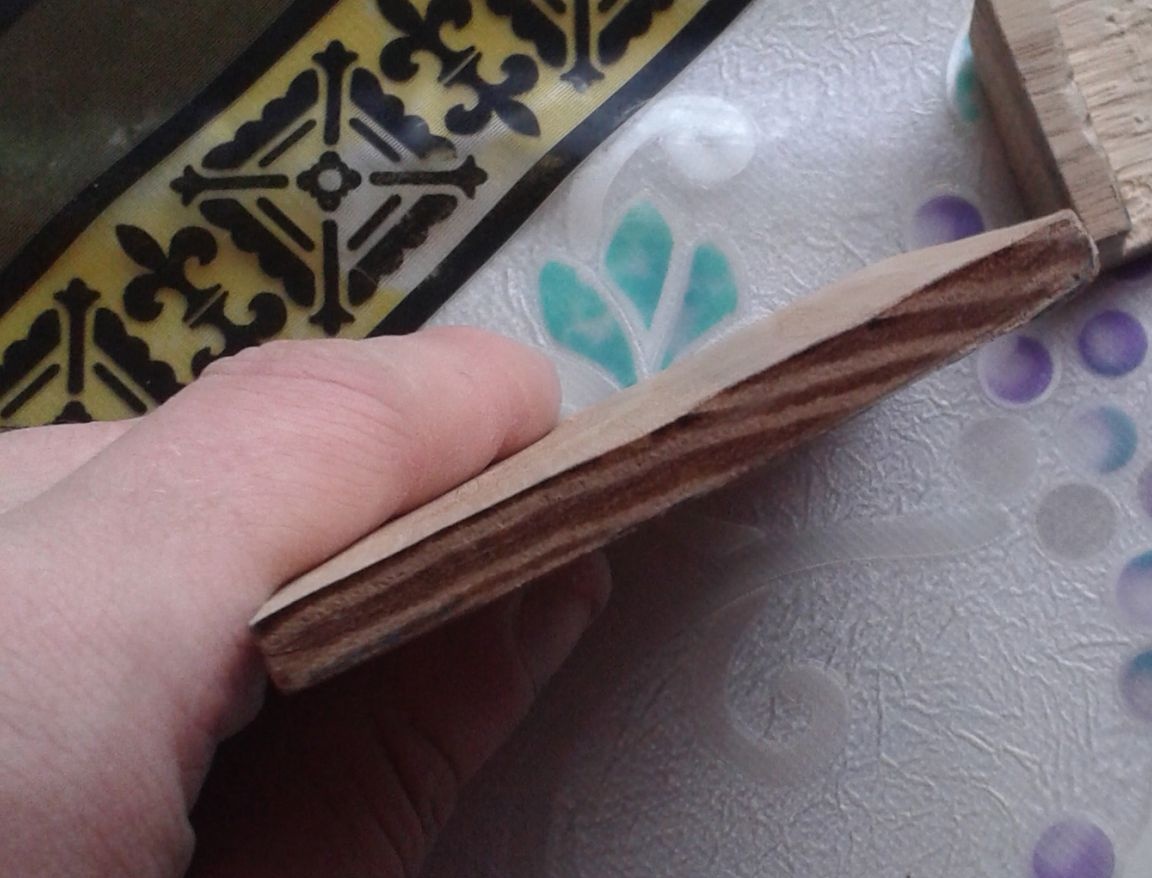
After you have decided on the dimensions of the stand, you can take on the tools and cut out the main part. The base in the stand is its so-called back, the dimensions of which are 8 * 9cm. We take the thickness of the base 5 mm, no more and no less, since I do not want the stand to be heavy or because of the lack of thickness it is too fragile. To do this, I sawed an already cut 8 * 9 board across, reducing the thickness from 18 to 5 mm.
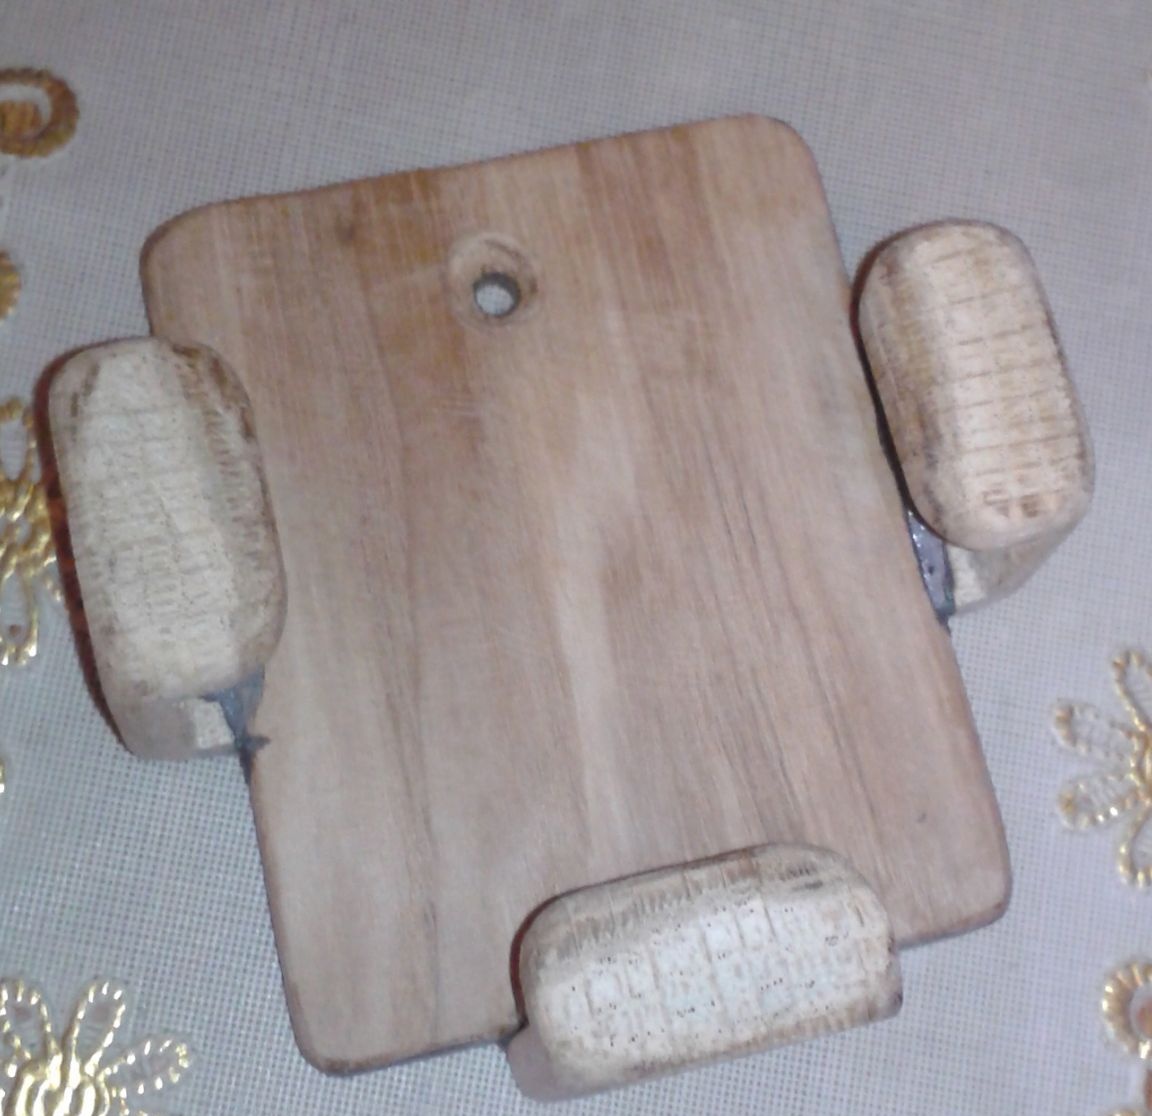
Now you need to drill a hole for attaching the stand to the wall, first we drill with a 3mm drill, then 6mm, but not through, in order to hide the screw head. Then we round the corners with sandpaper.

Step Three
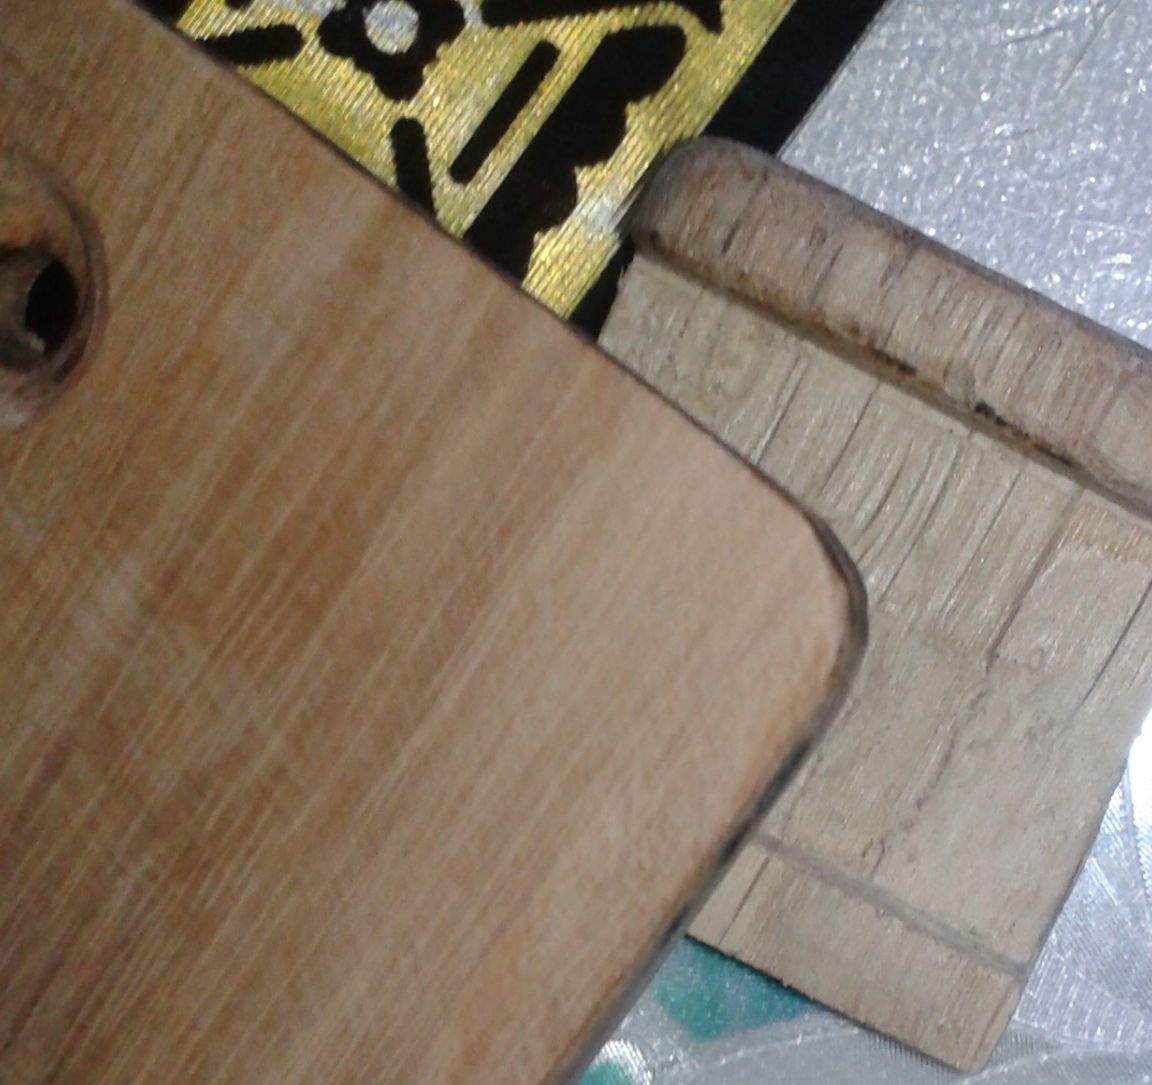
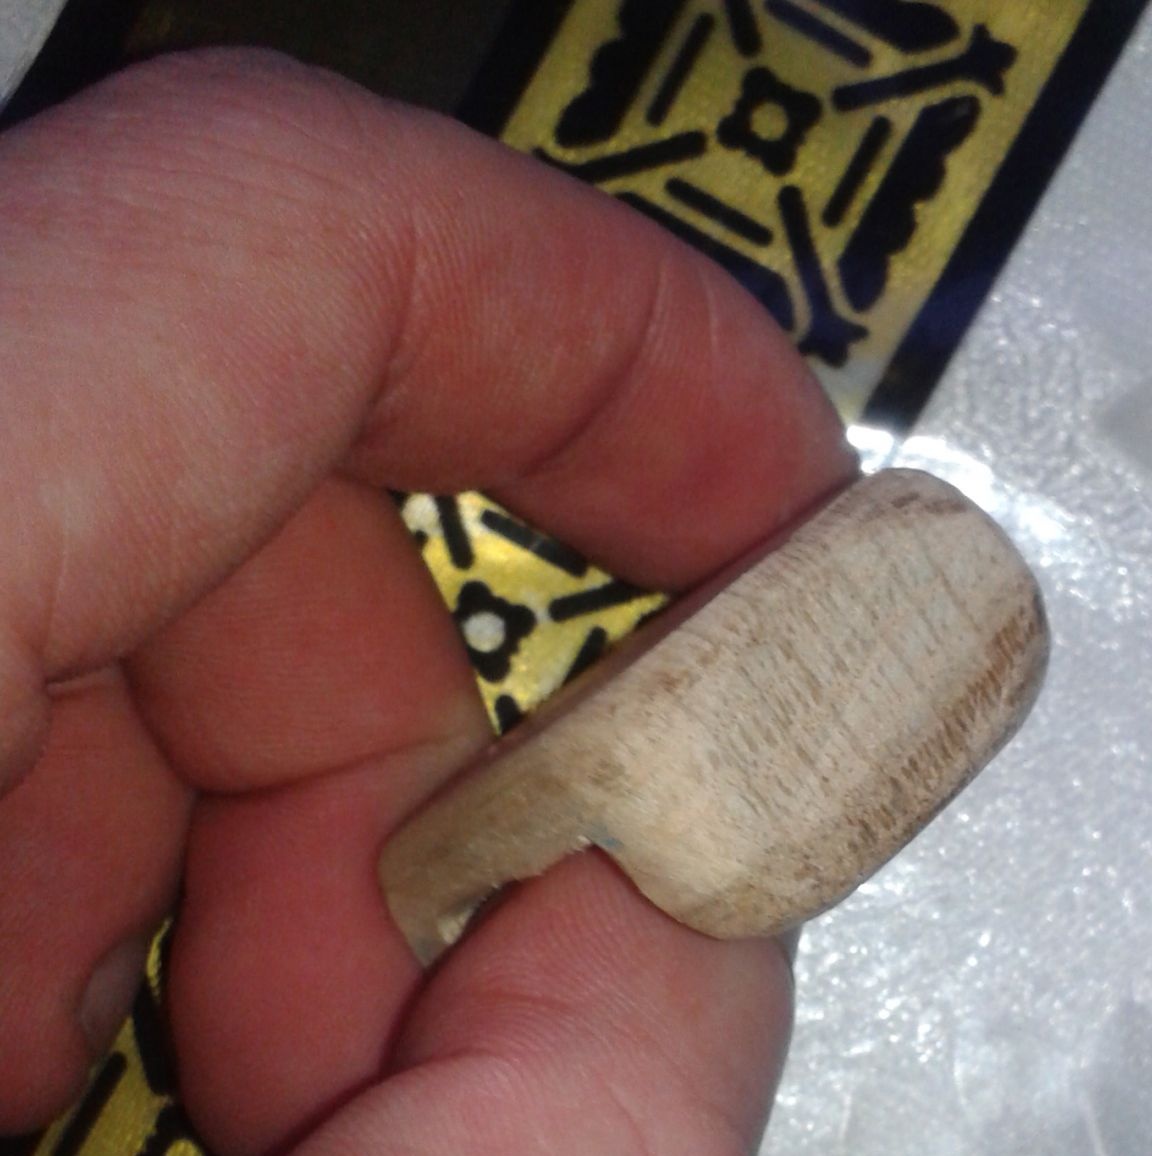
When the base is ready, you can begin to manufacture the legs, which with their design will not let the phone fall.
To make paws, as it seemed to me, is best from the parquet, which I found in my the garage.
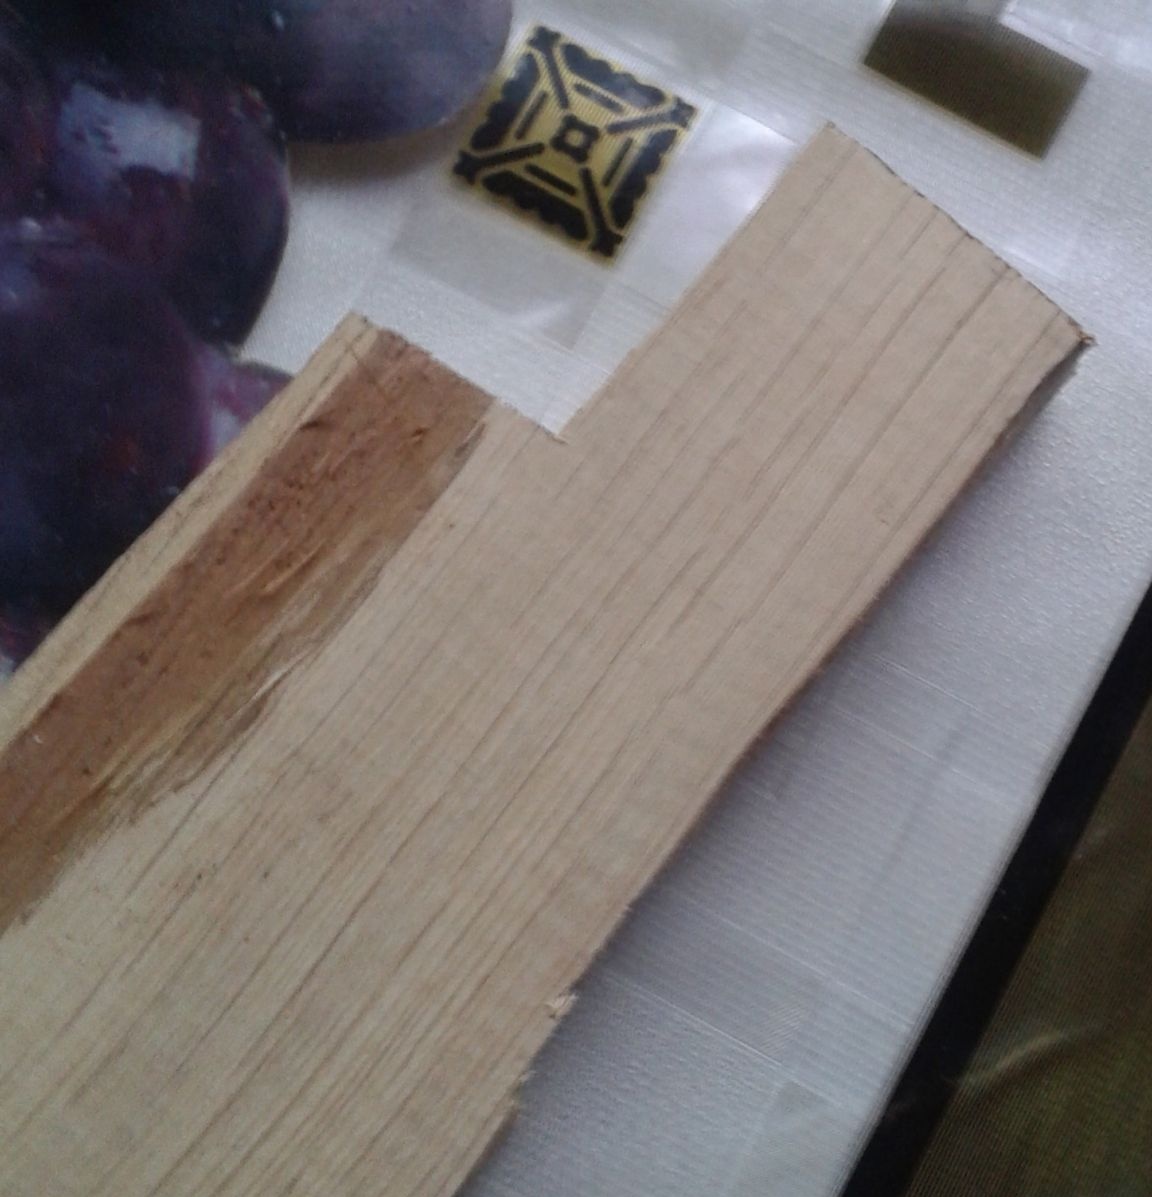
At first, it was conceived so that the paws were composite, that is, assembled in two parts.
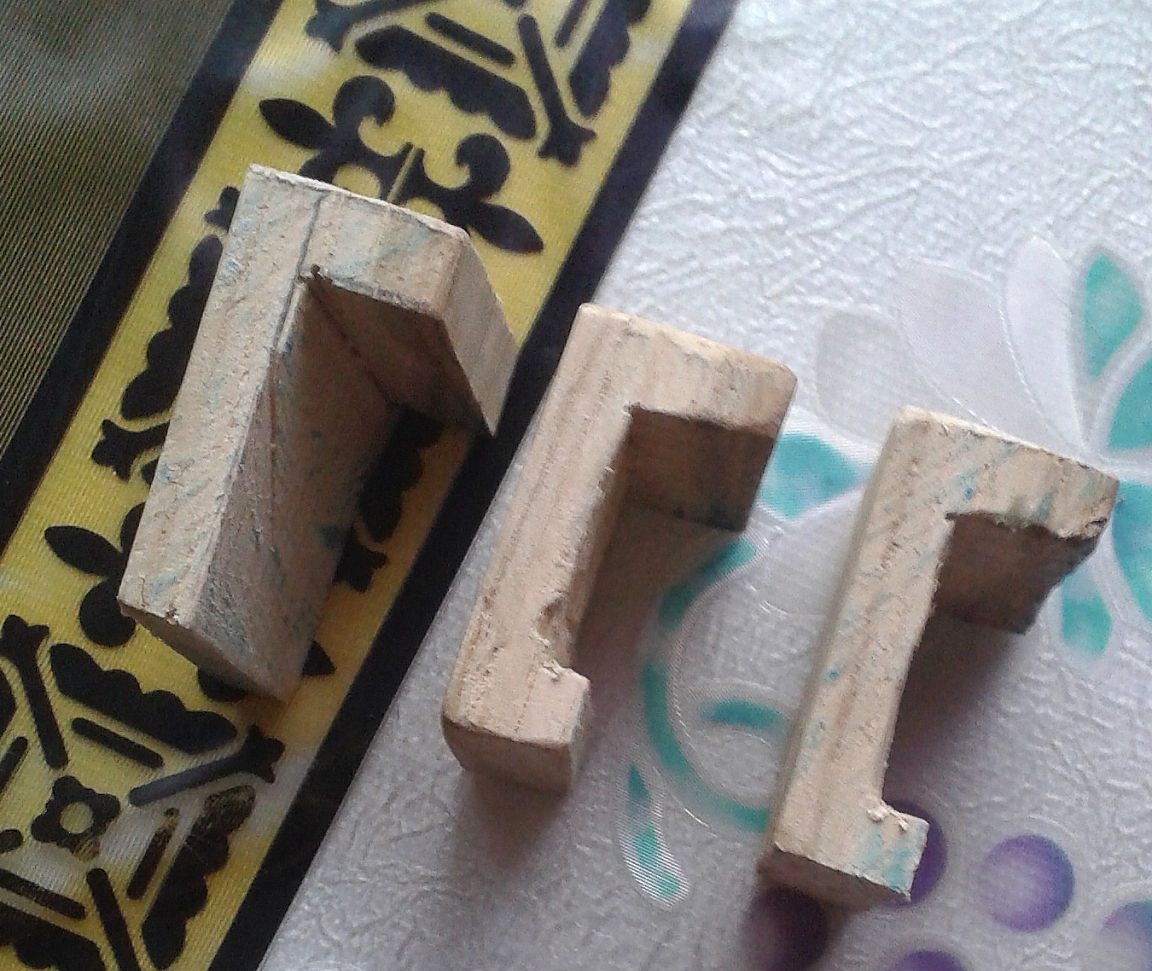
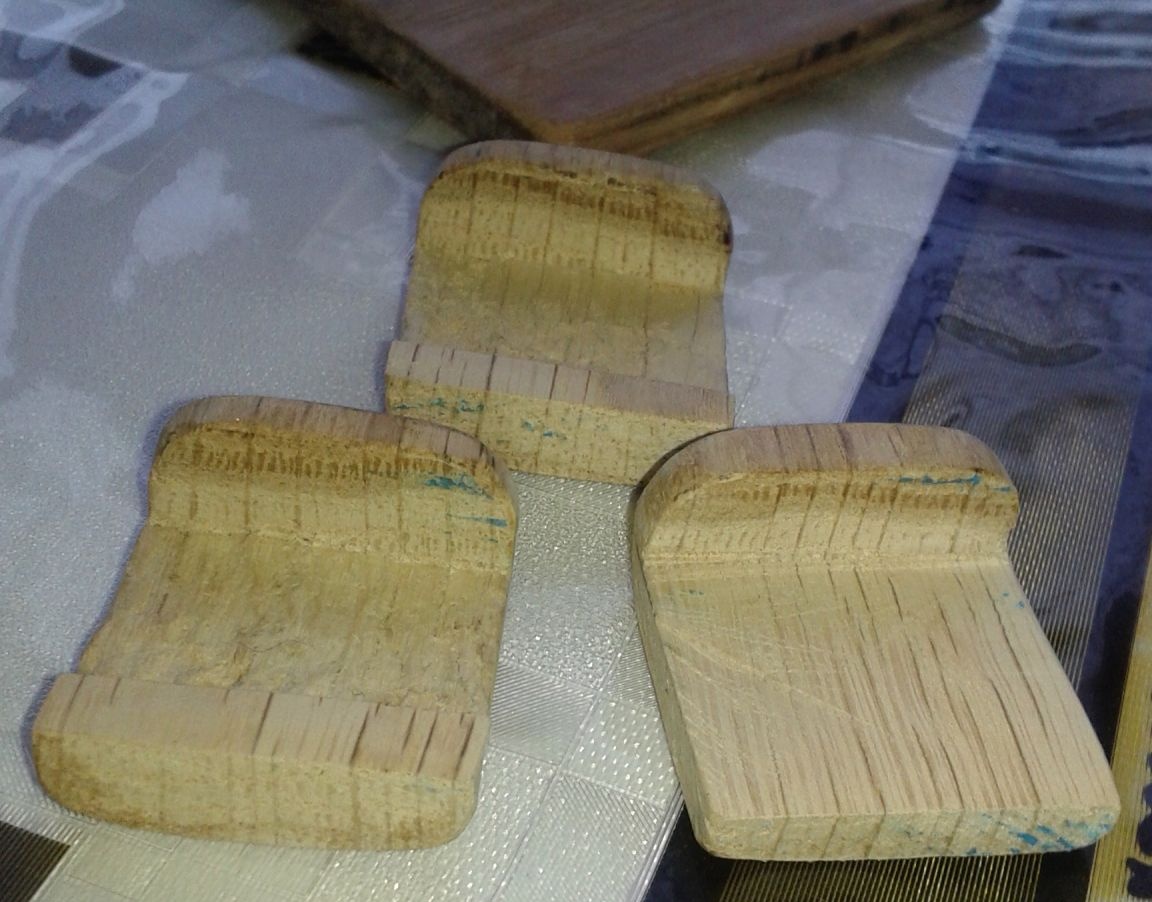
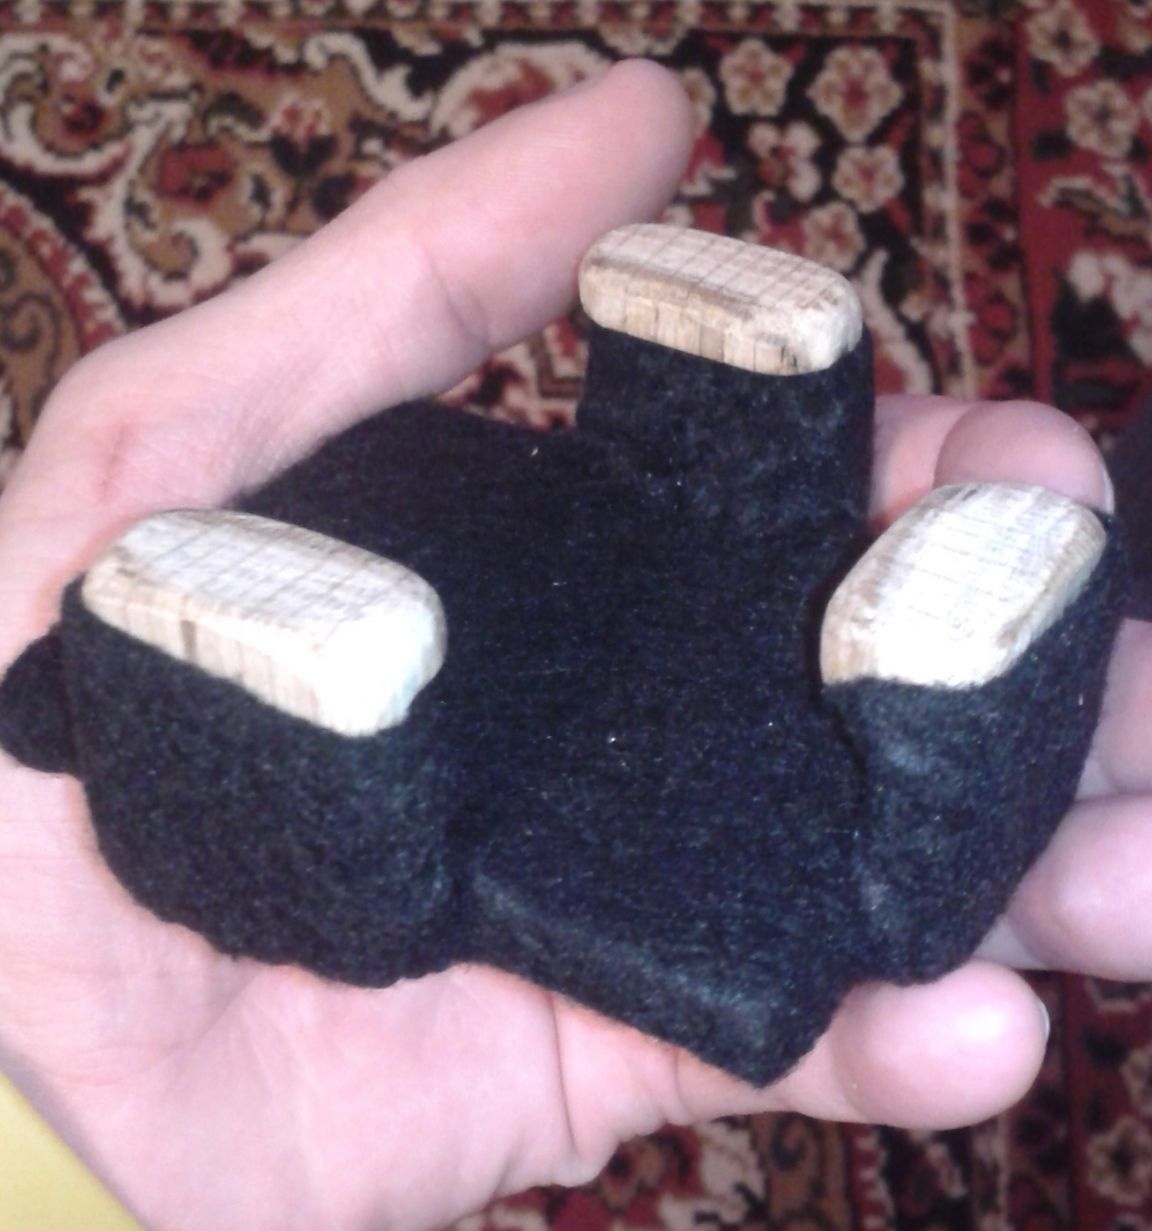
But due to the loss of strength with such a connection, I decided to make them whole. The result is such a foot in the form of the letter G.
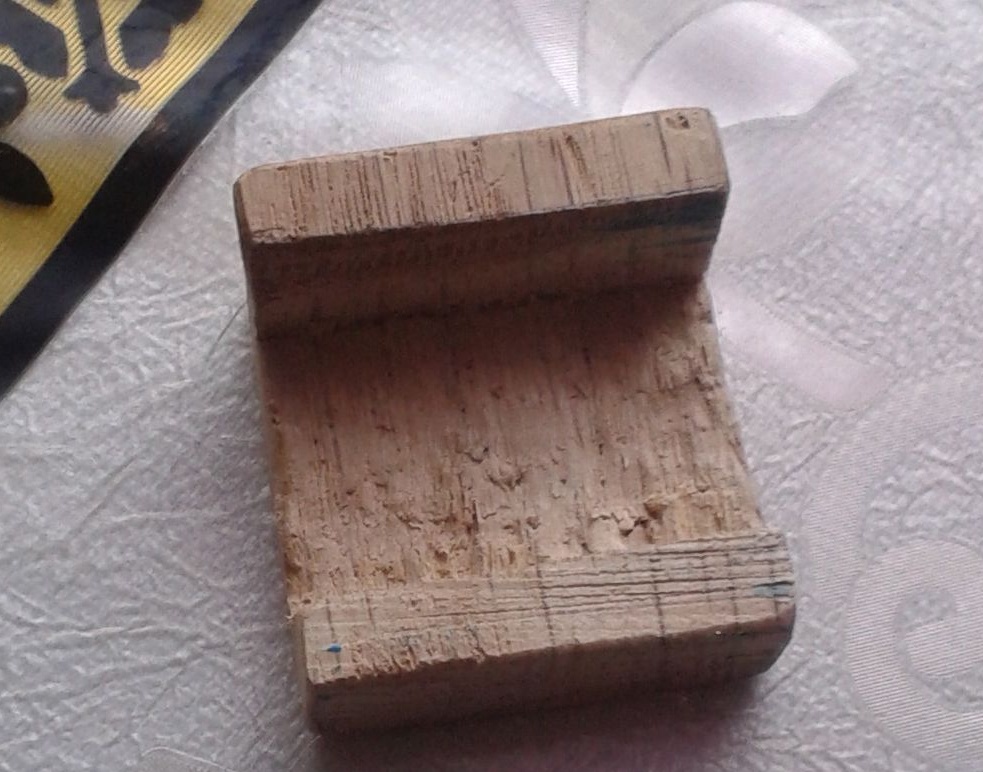
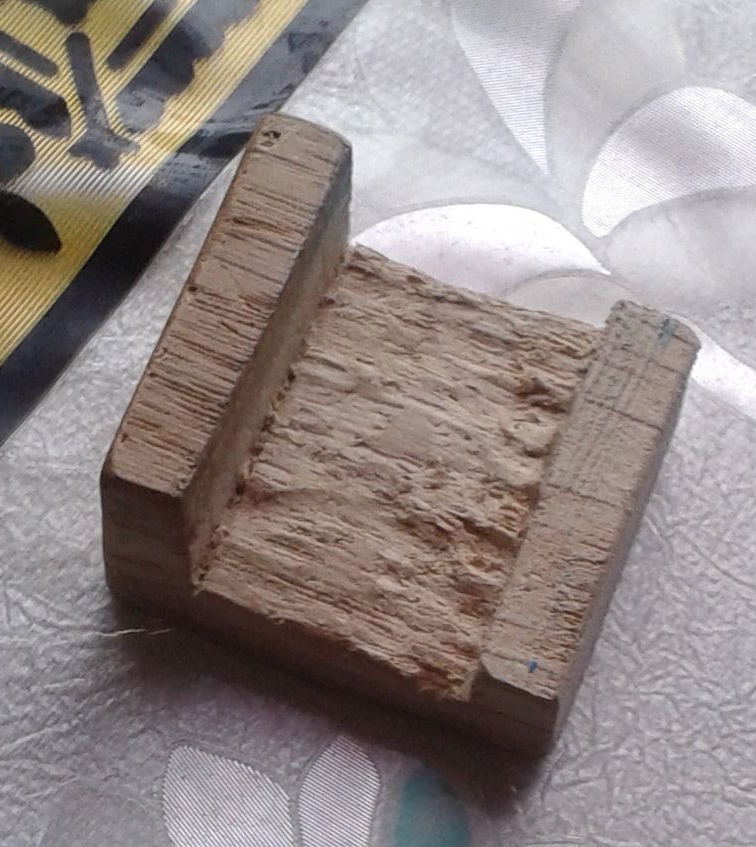

In my design there are three of these legs.

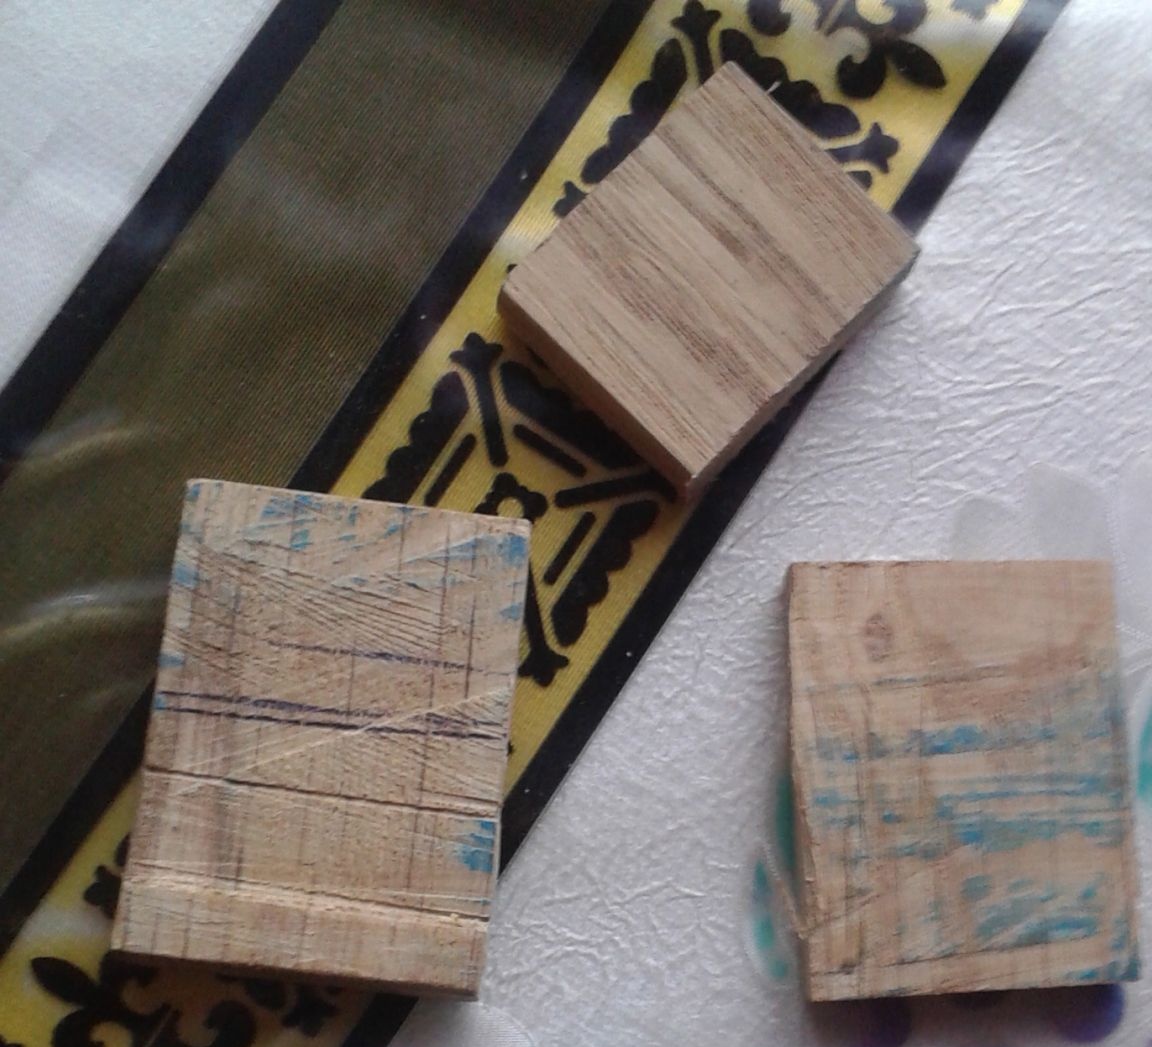
Step Four
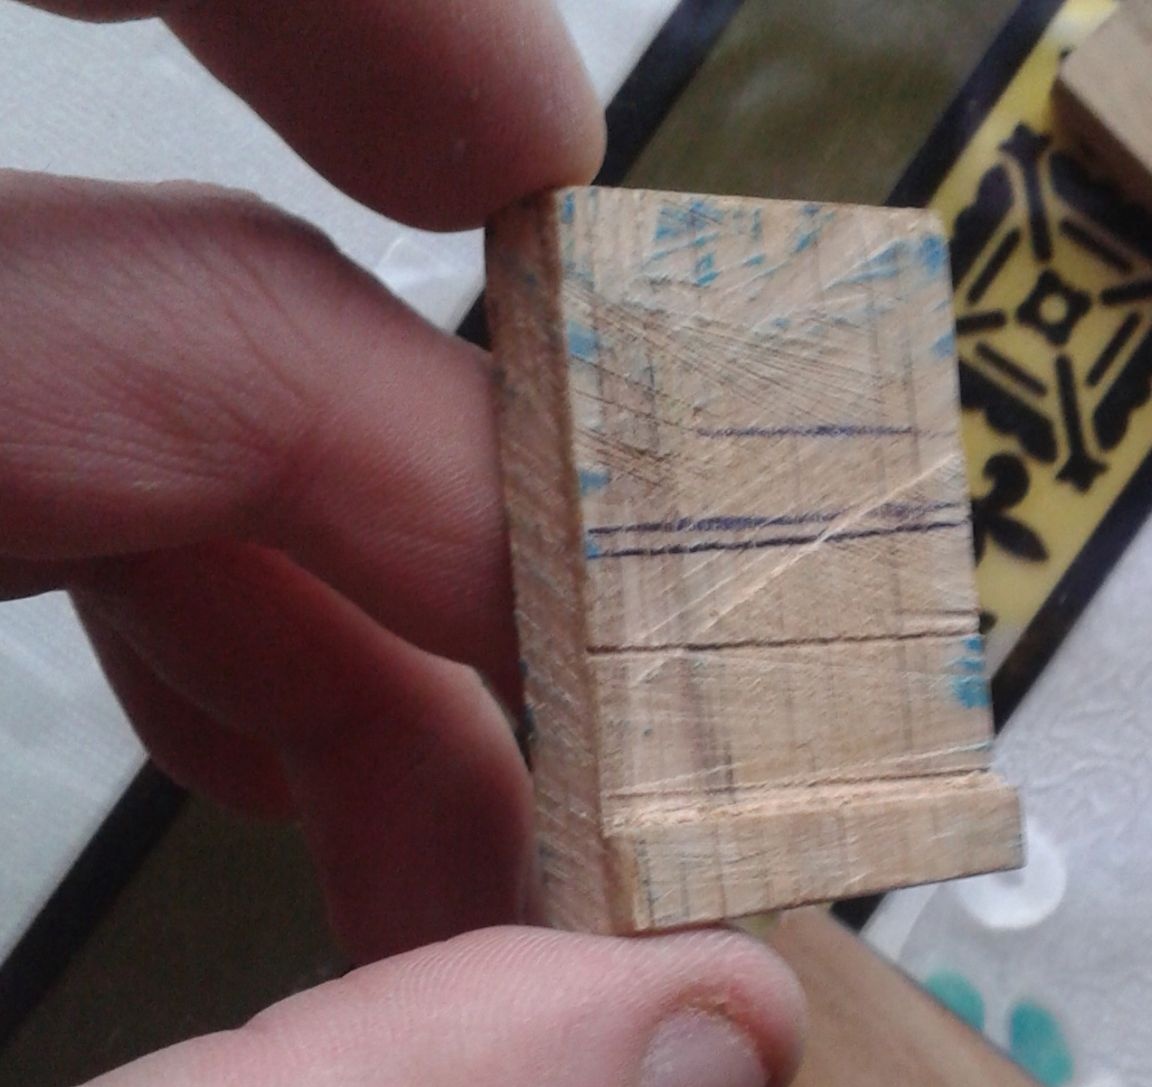
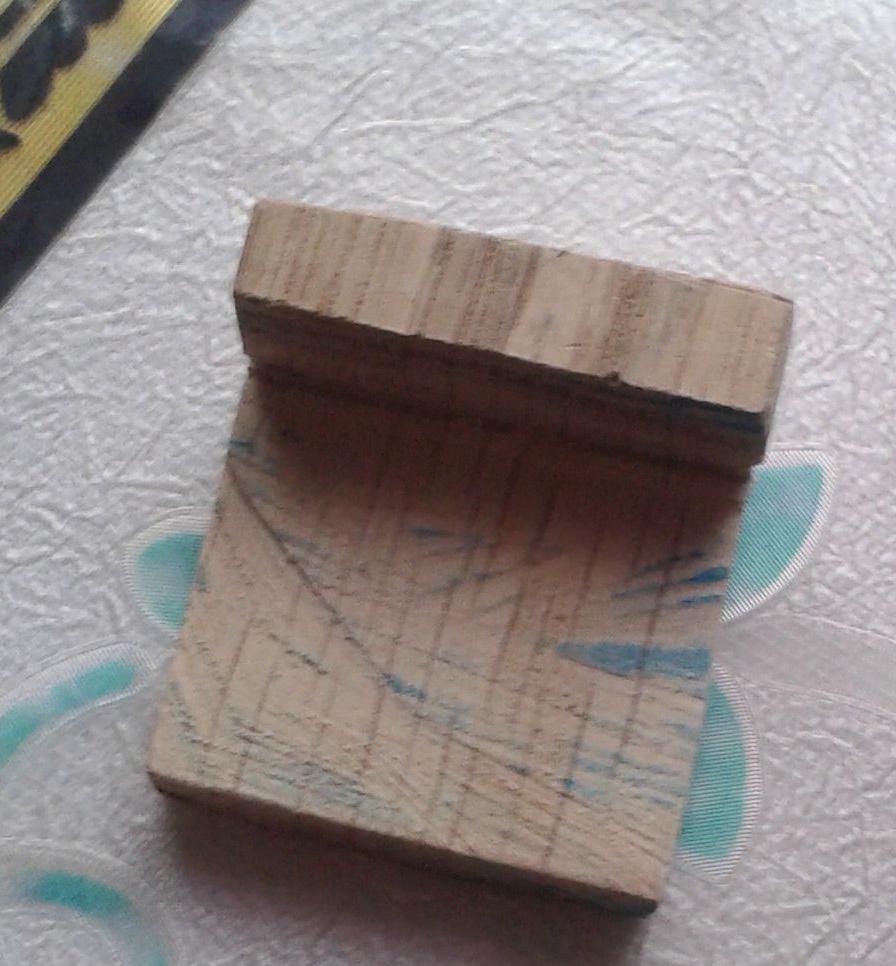
At the beginning, I did not attach much importance to the appearance, but during the manufacturing process I realized that all sharp edges should be rounded, which I did.
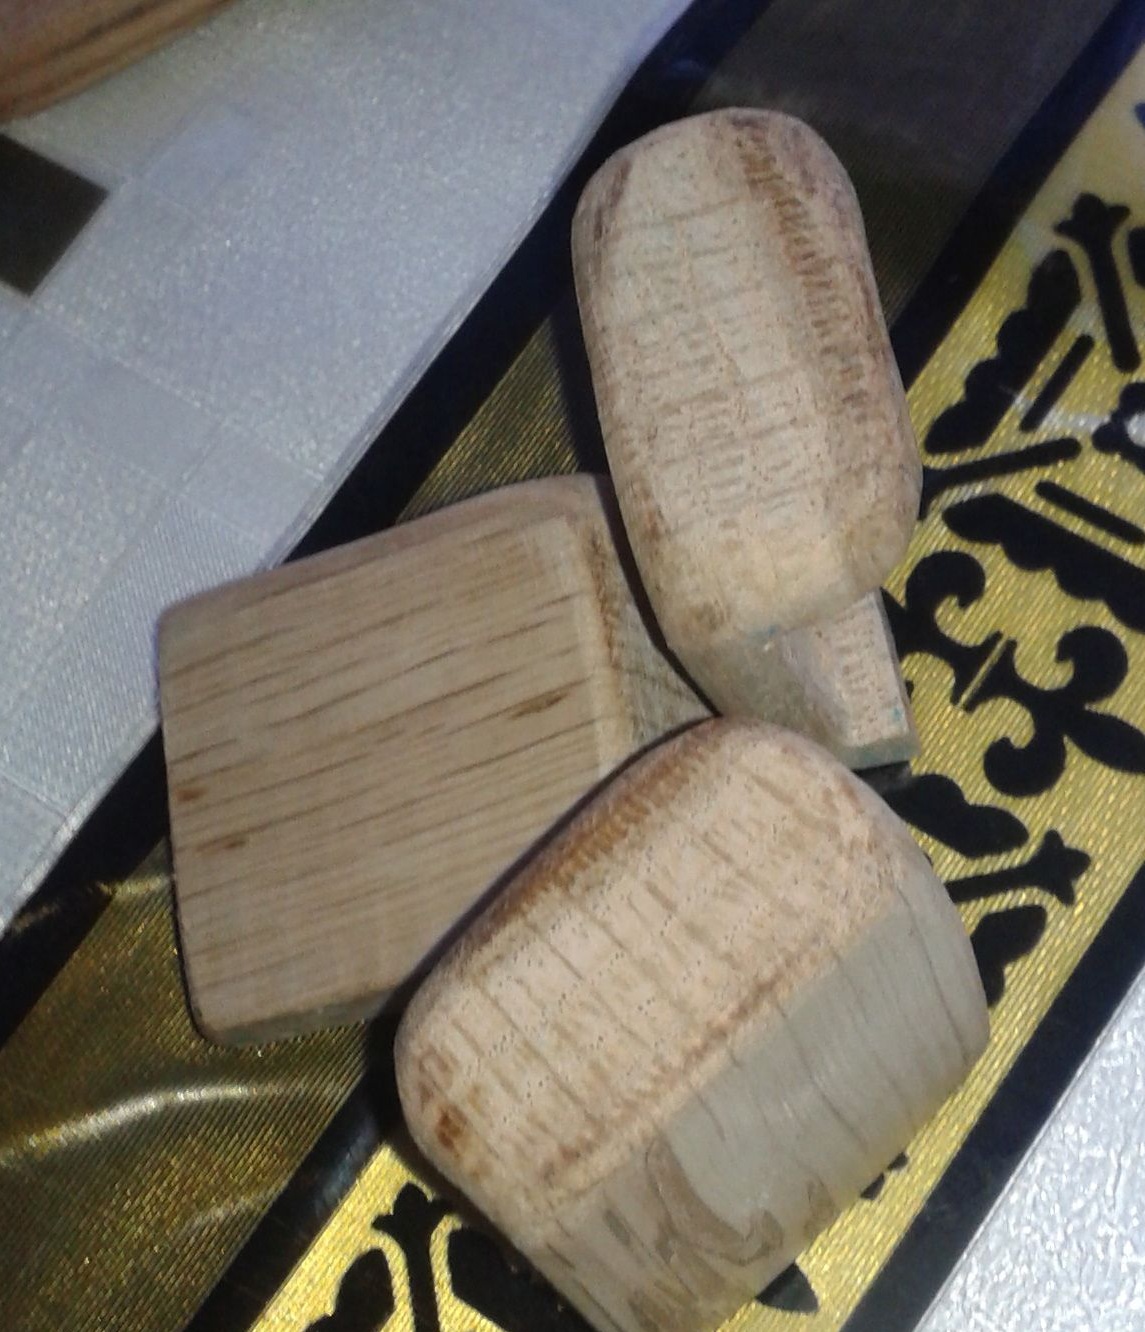
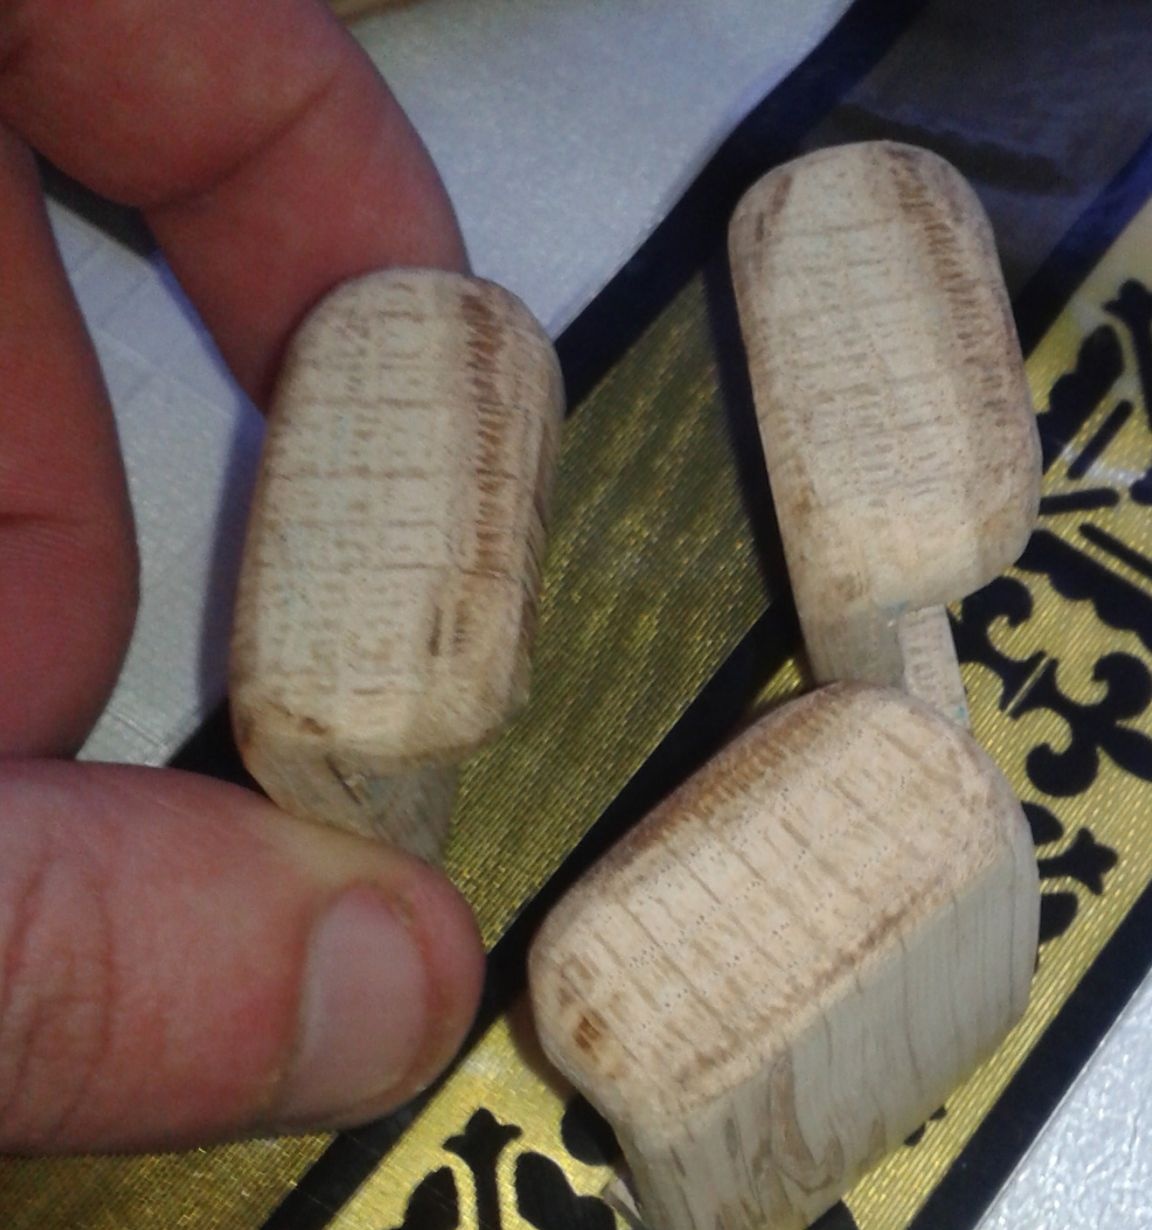
Rounding off sharp edges is best done with coarse-grained sandpaper. Upon reaching the desired result, grind smaller grit to remove all badass.
Also, do not forget to polish the main part, since the touch surface with the phone should be flat.
Step Five
After all the component parts are polished, you can proceed to fixing them on the base.
For these purposes, epoxy glue is best suited, which I have been tested repeatedly and has established itself as high strength.
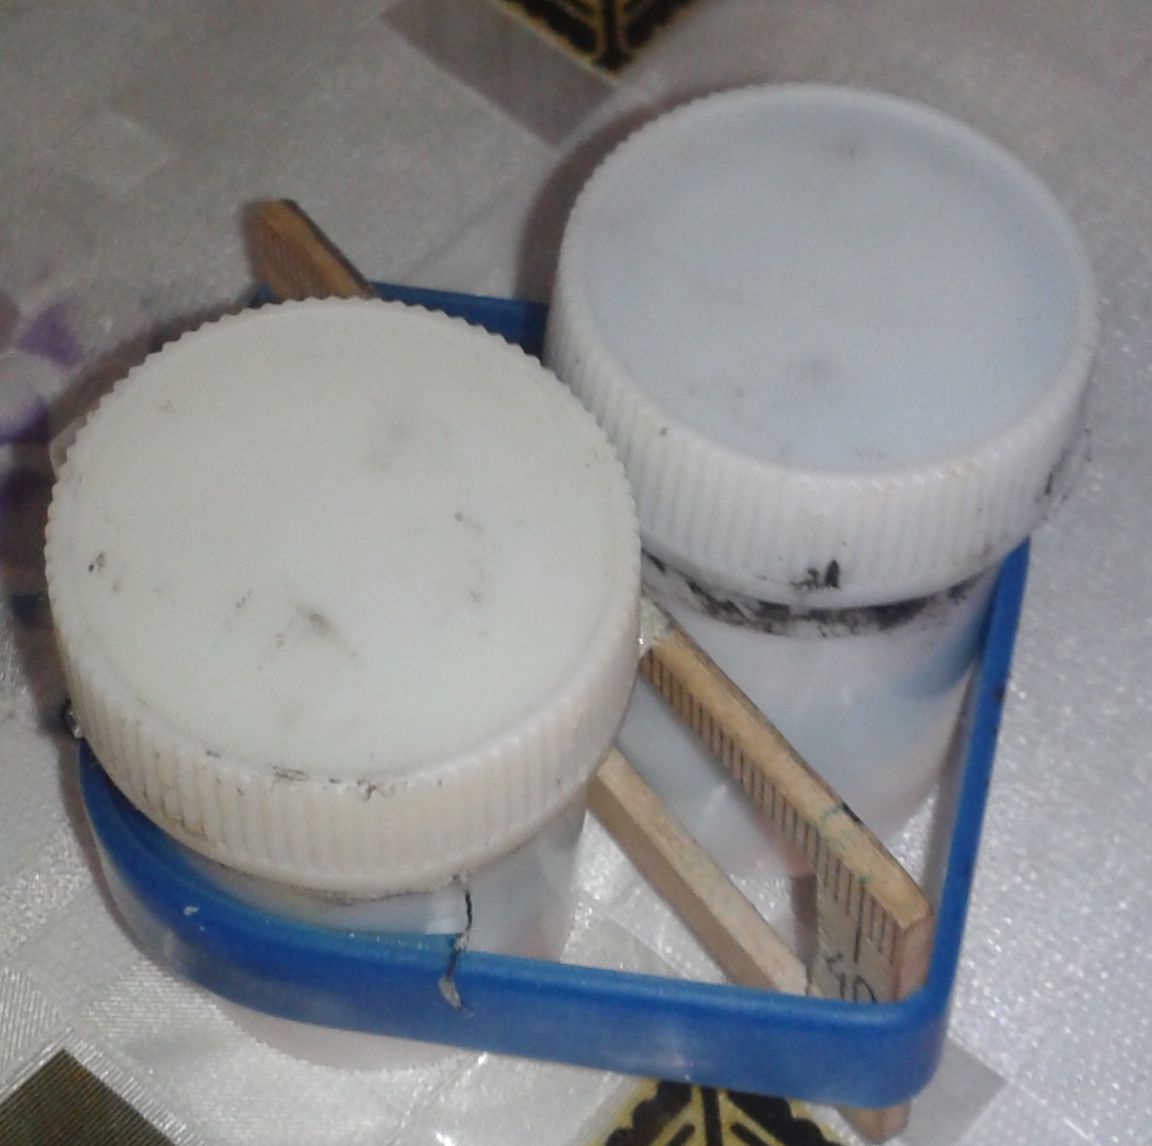
We mix the necessary amount of epoxy glue with matches one to one and spread the places where the paws will be placed.
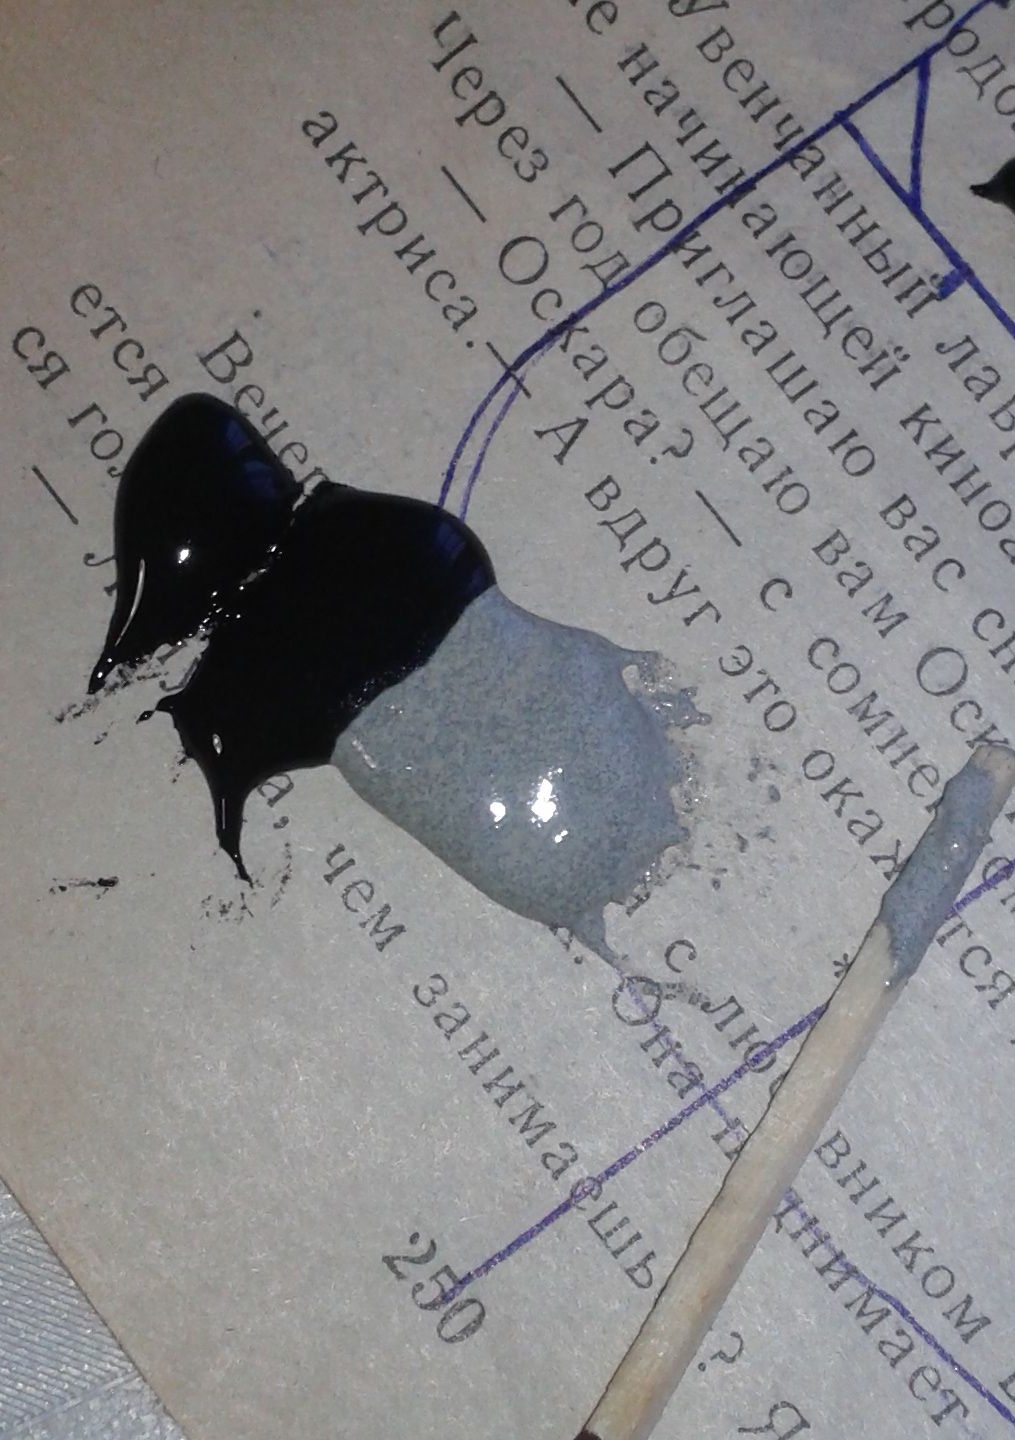
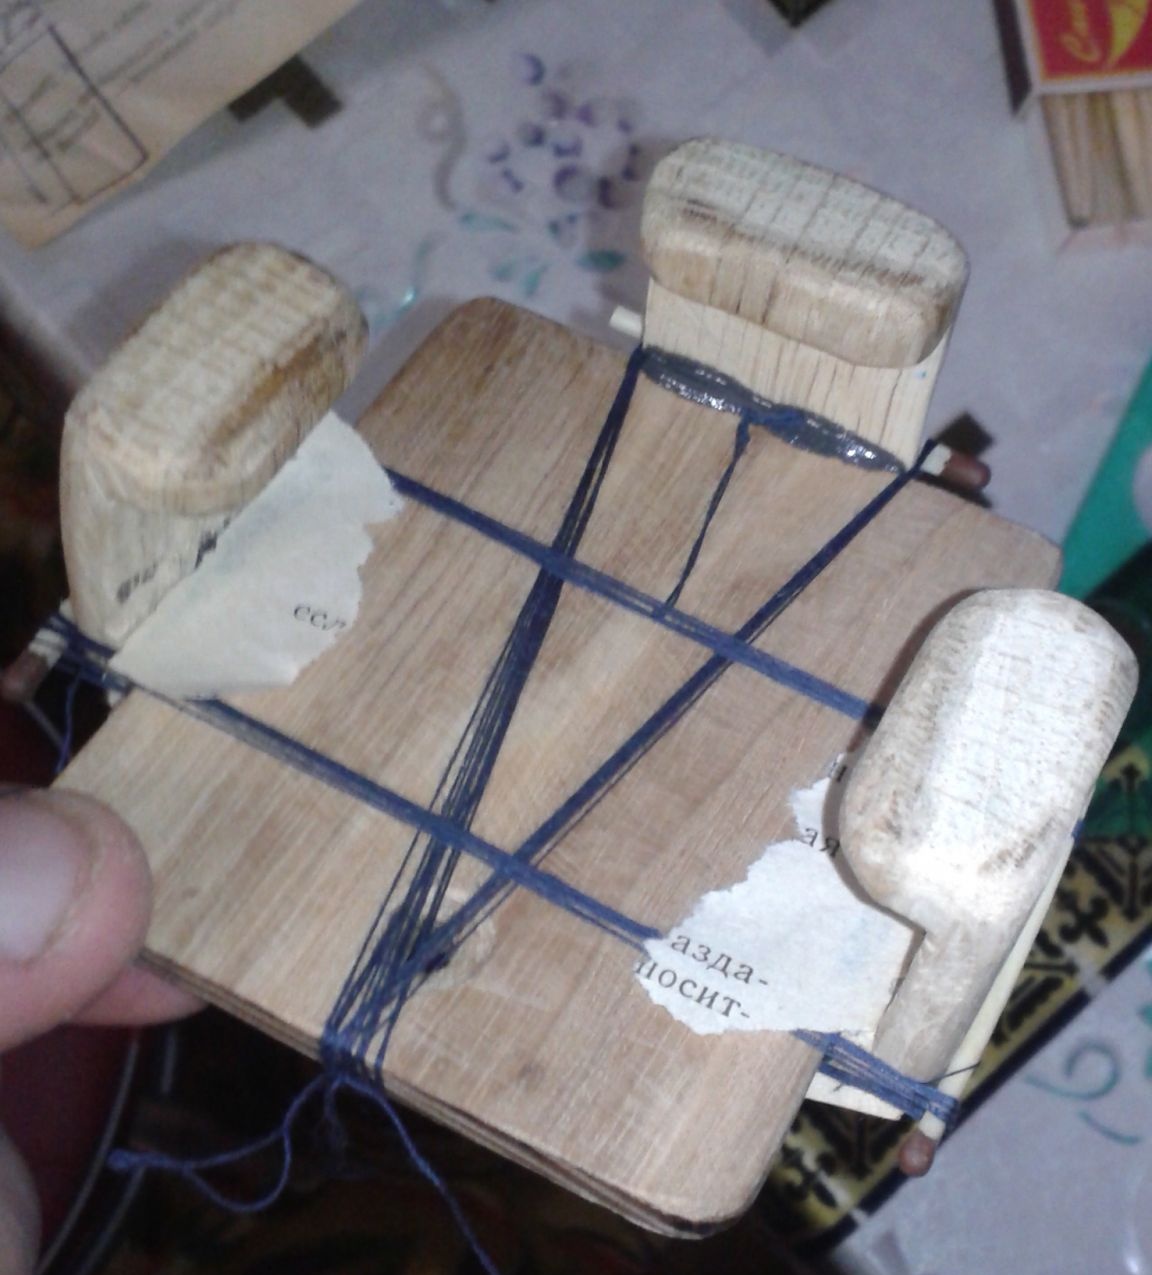
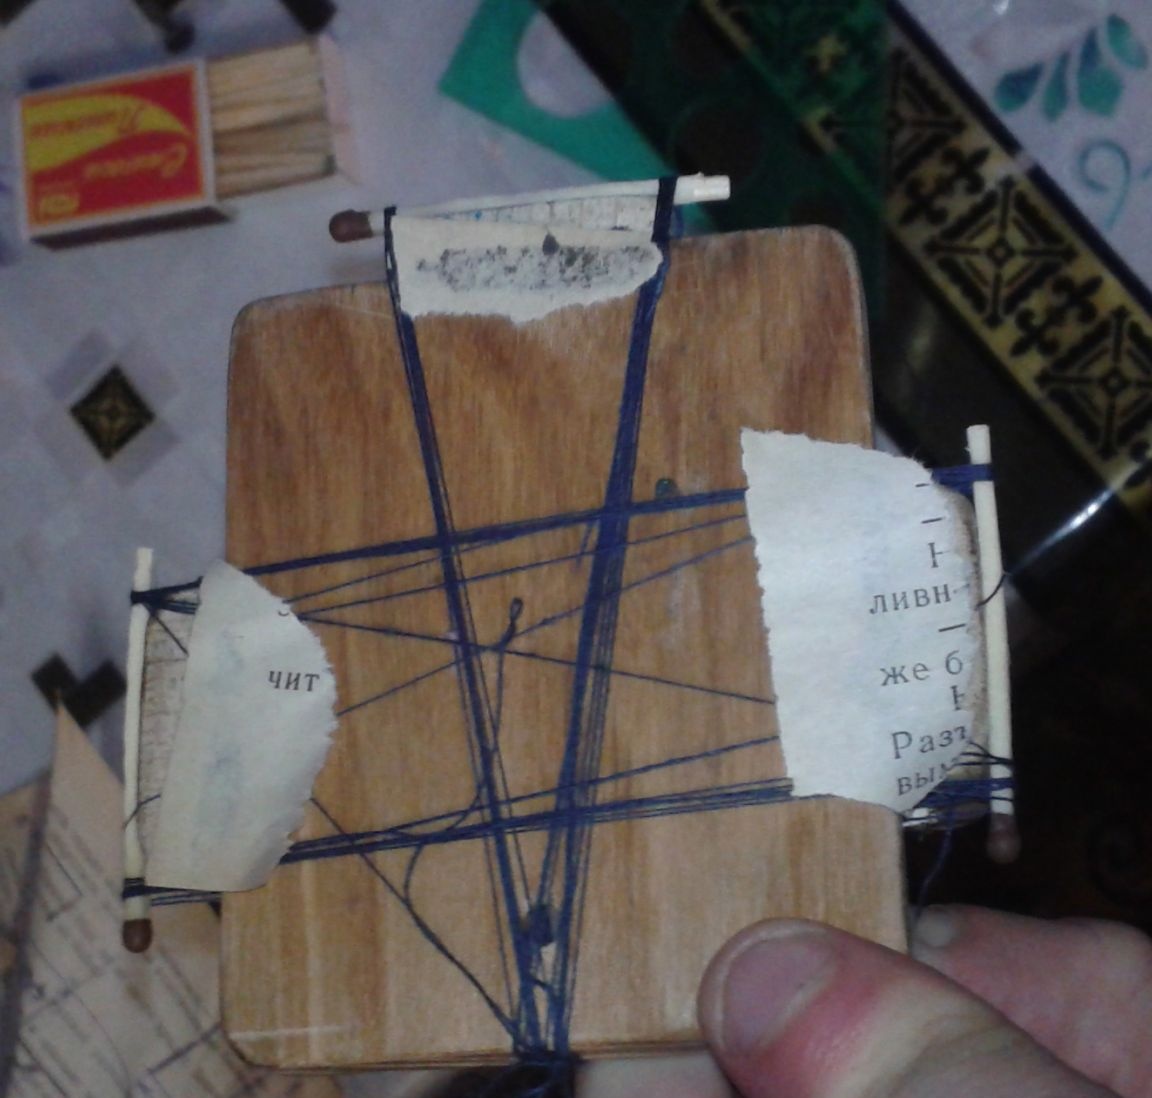
Epoxy glue dries out for a long time, but keeping your hands on glued parts for a long time is simply not enough patience. Without thinking twice, I decided that this design is easiest to fasten with a thread and matches, wrapping a dozen turns around its edges. Due to the large number of turns of the thread, everything holds securely, and most importantly, the parts are pressed tight enough.
First we glue the lower foot in the middle, and then two side ones.
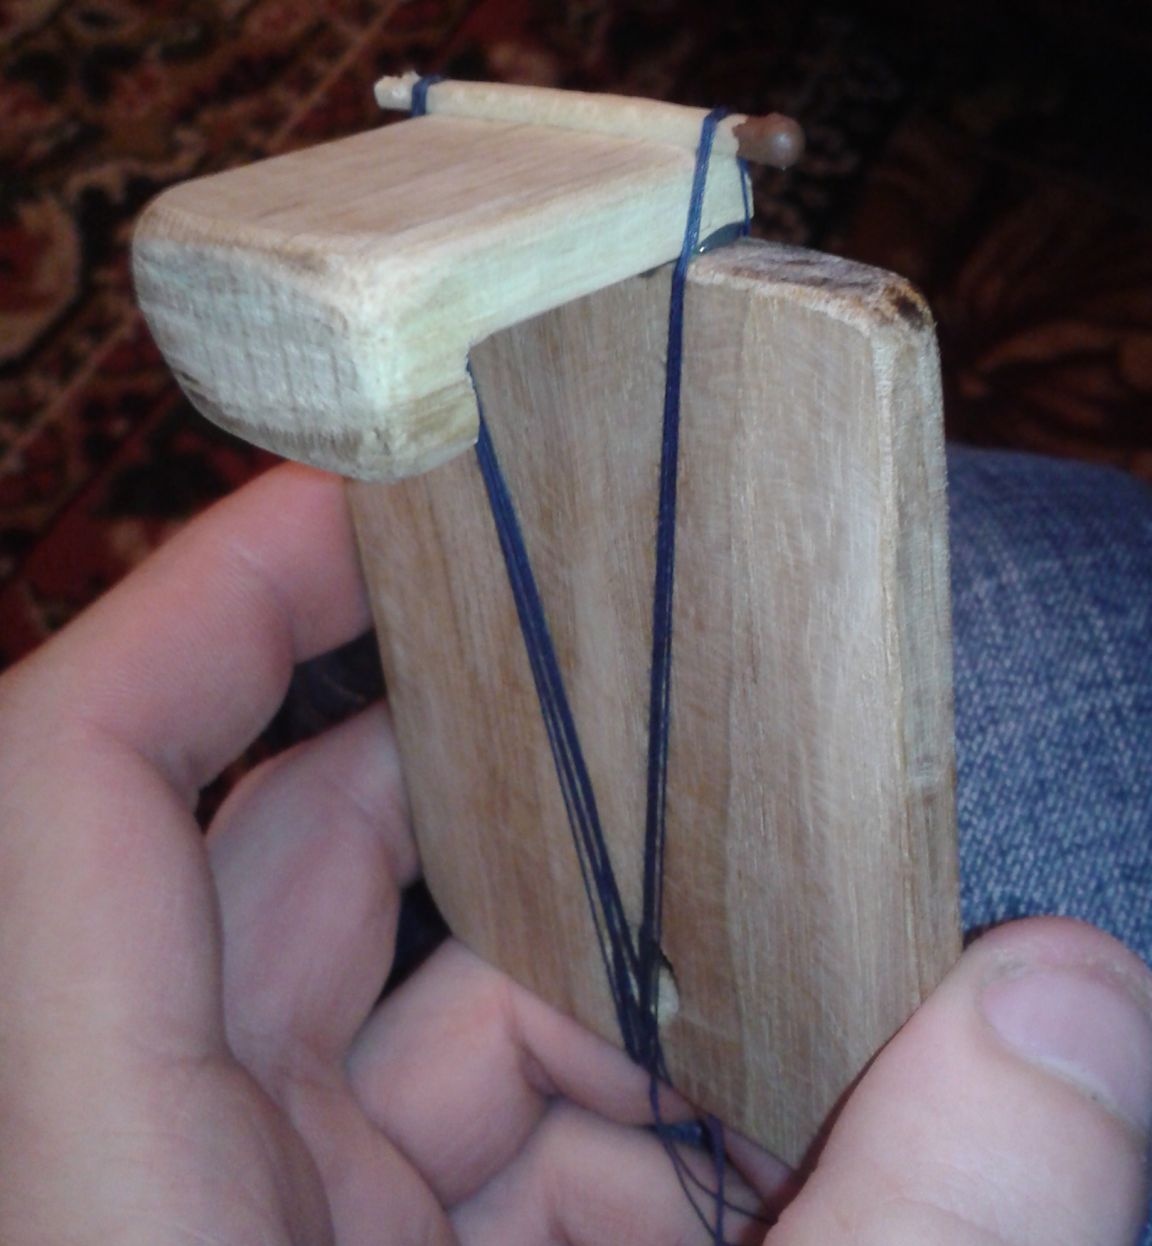
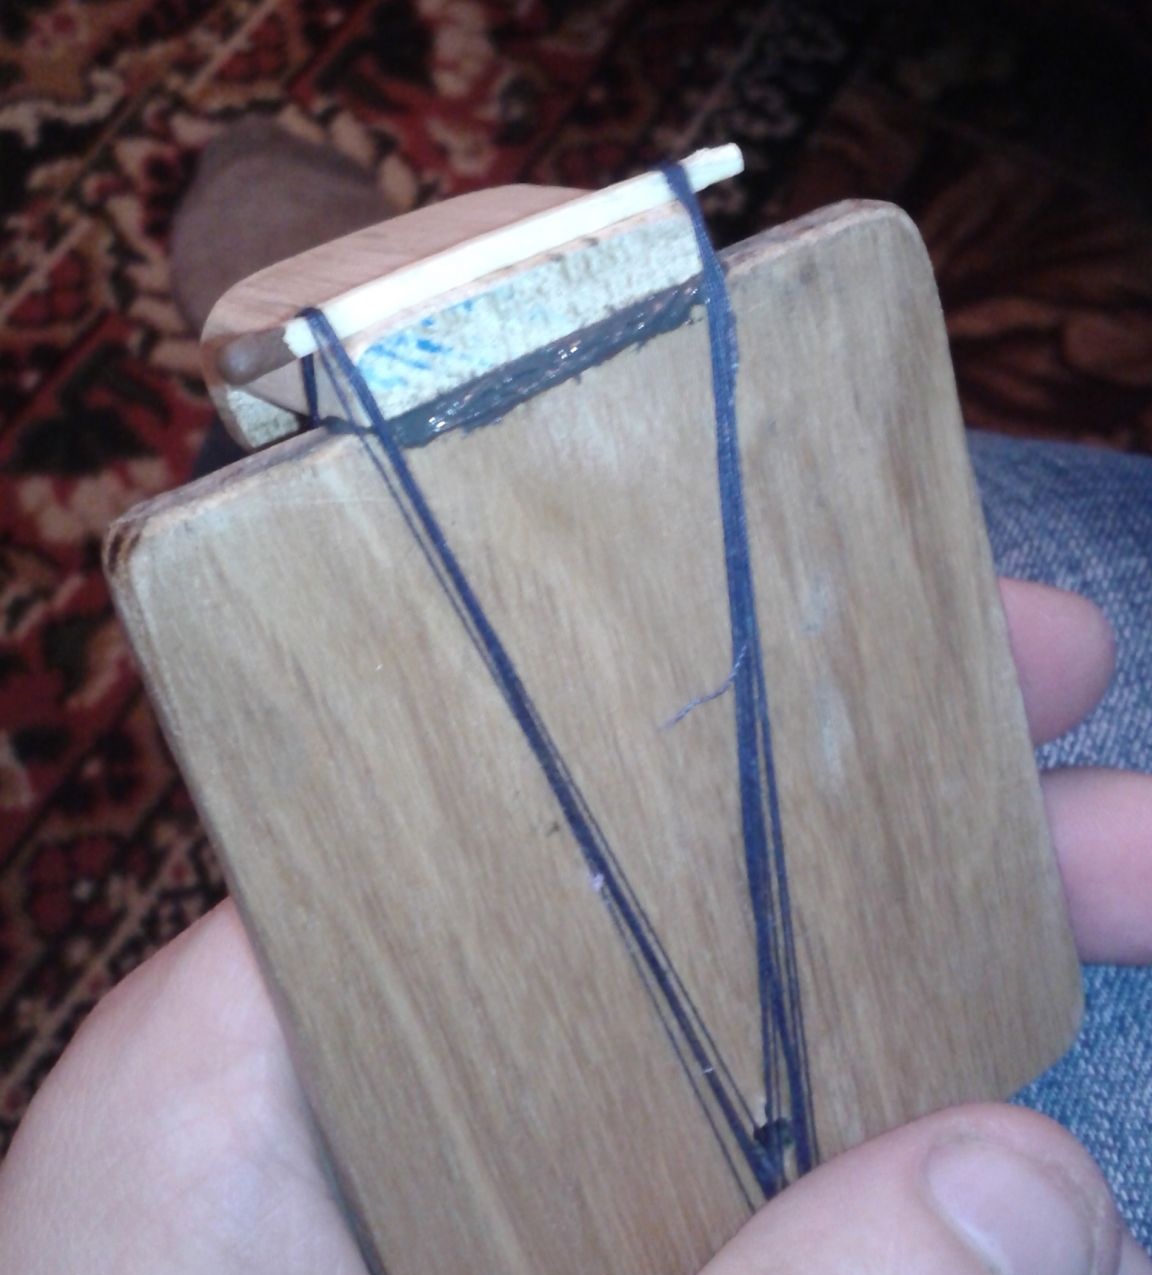
I had to tinker a bit with the side ones, in this case it would be better to ask a friend to help, since two hands were obviously not enough to hold two parts, so I also had to thread it all around.
Leave everything to dry completely.
Step Six
Epoxy glue has dried up and despite the fact that the width of the touching plane of only 5 mm of the foot is very tight.
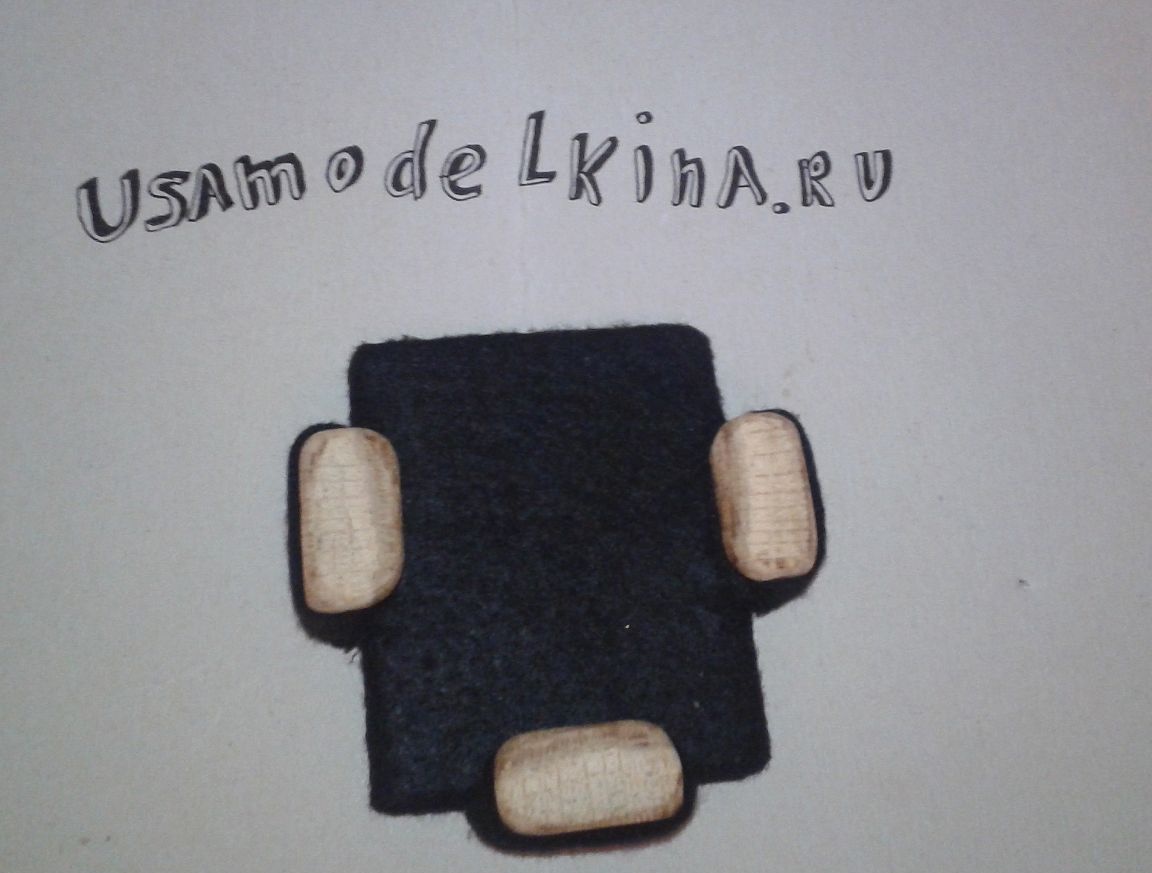
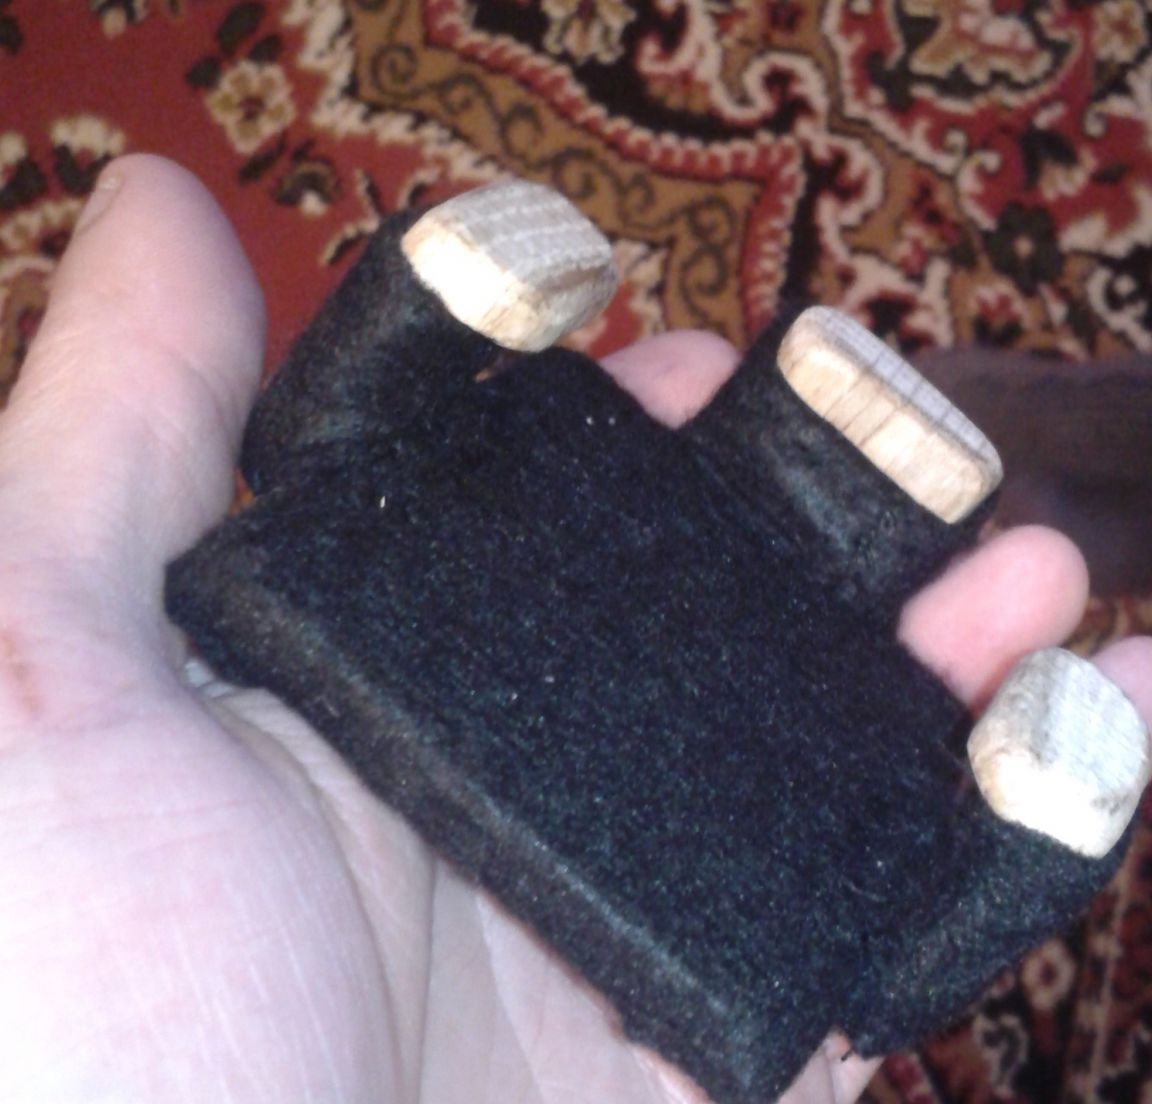
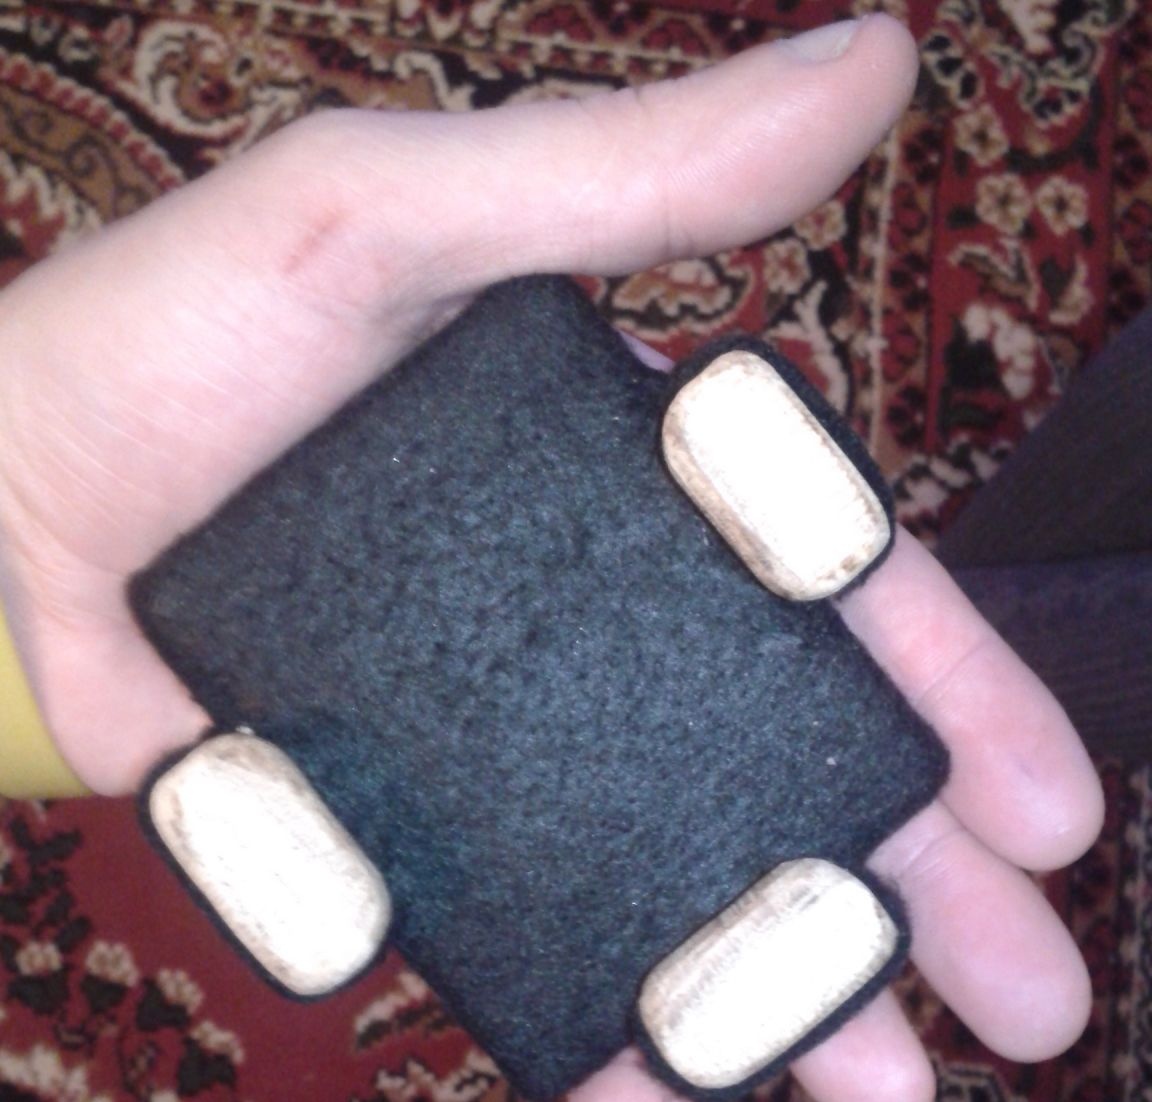
It's time to transform the stand. We sheathe it with black felt, first we do it with the back, and then go to the legs.
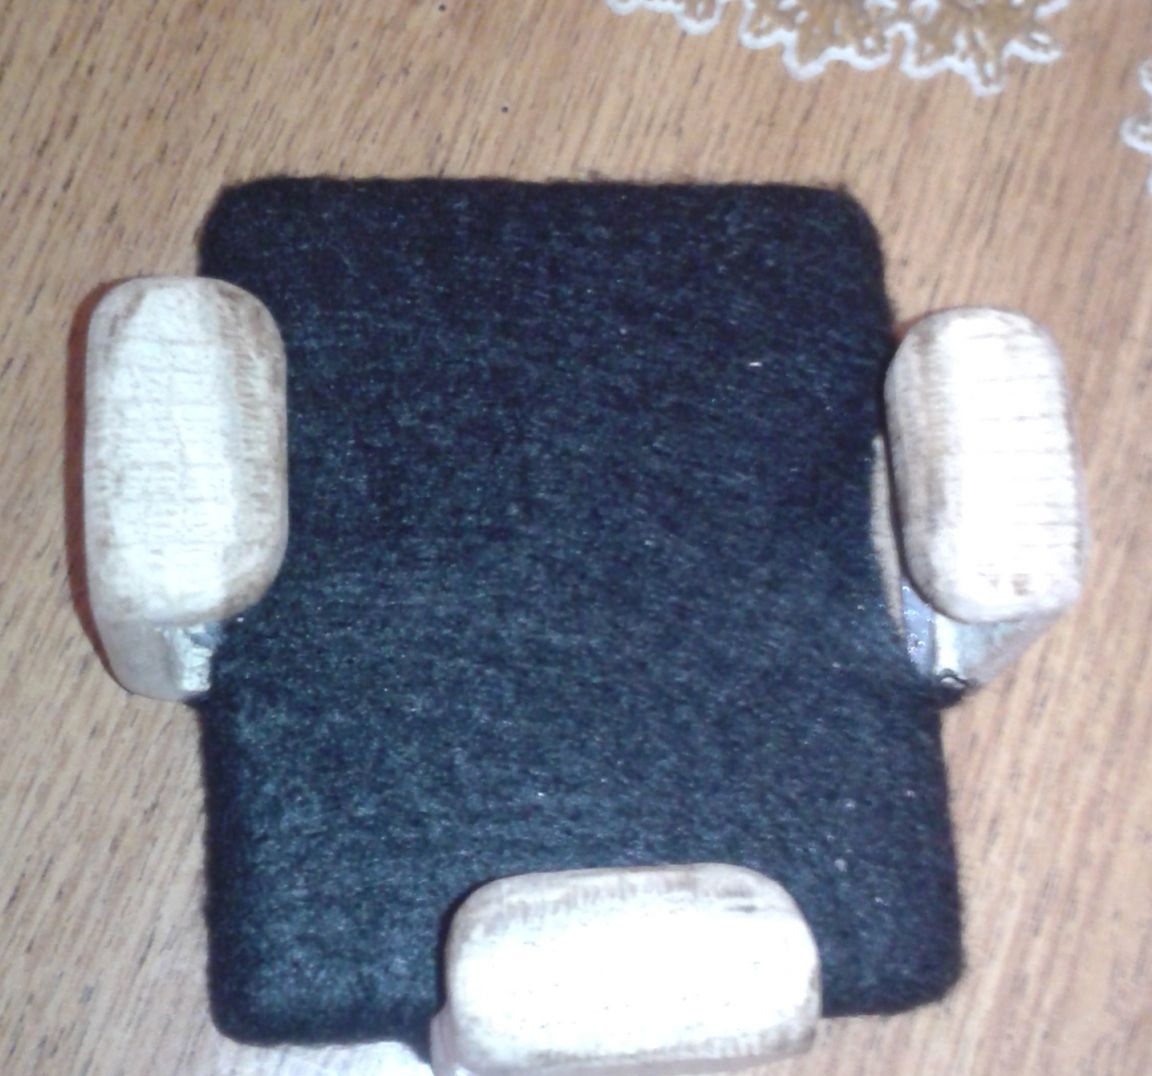
It looks like a fully completed phone stand.
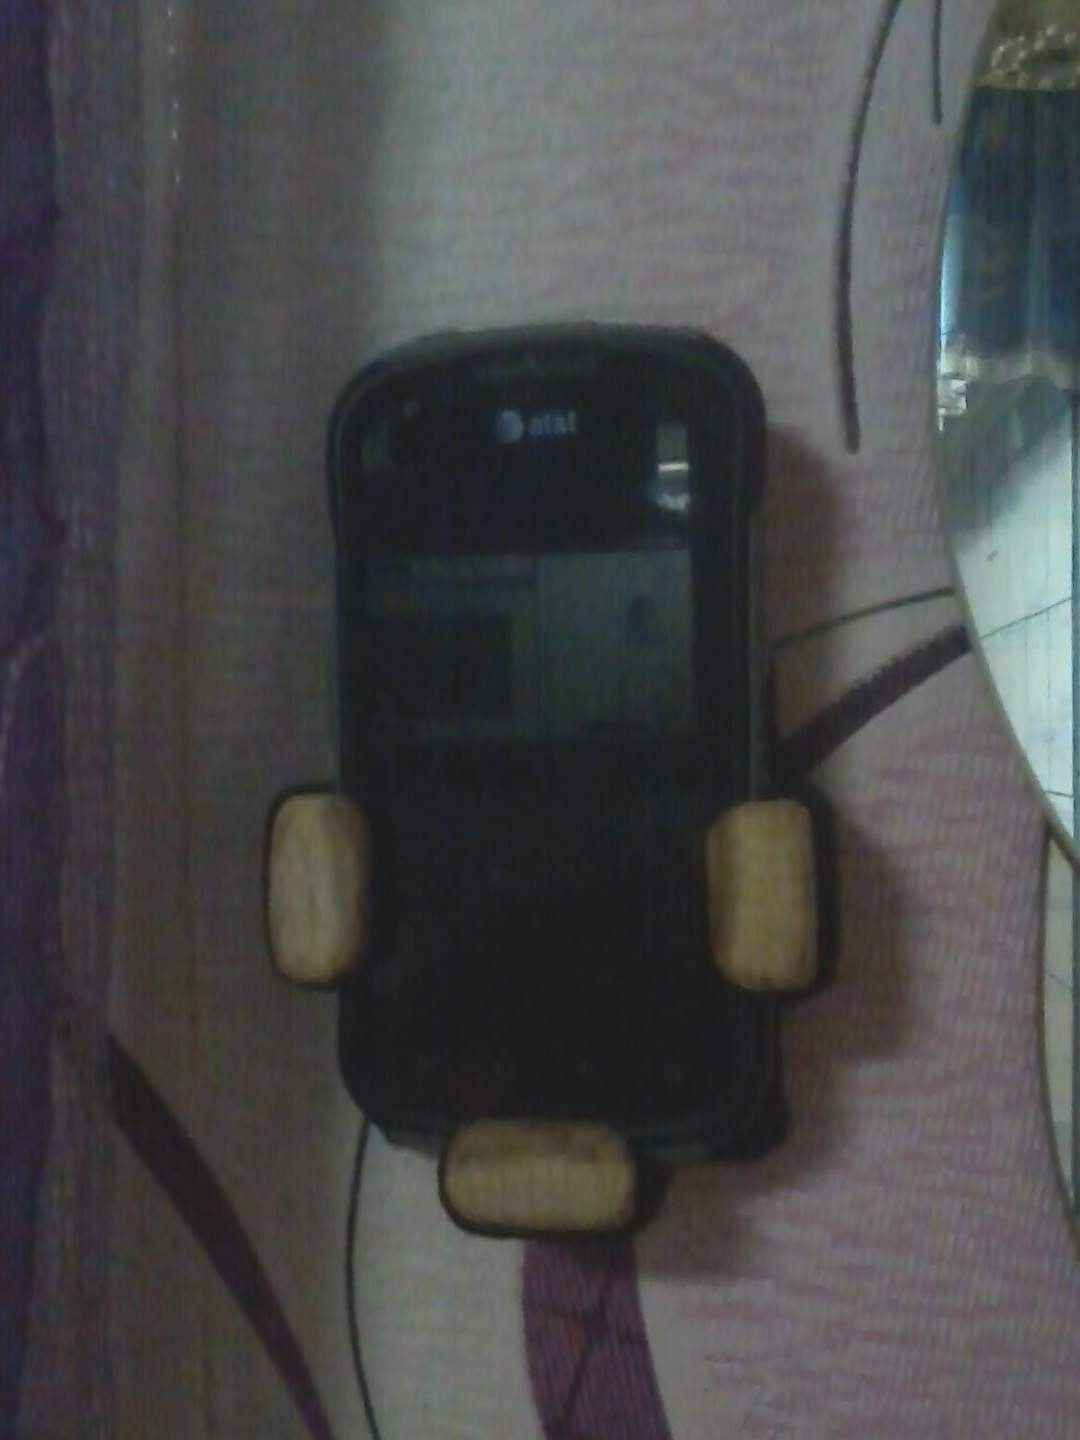
In the end, I fixed the stand on the wall with a 55mm screw. The connection check was successful, the phone is no longer discharged due to the constant search for the network, and all those who wanted to get through earlier can now not worry about the lack of communication on the other end of the wire.
That's all, I was satisfied with the result.
Thank you all for your attention and more useful ideas in making life easier.