

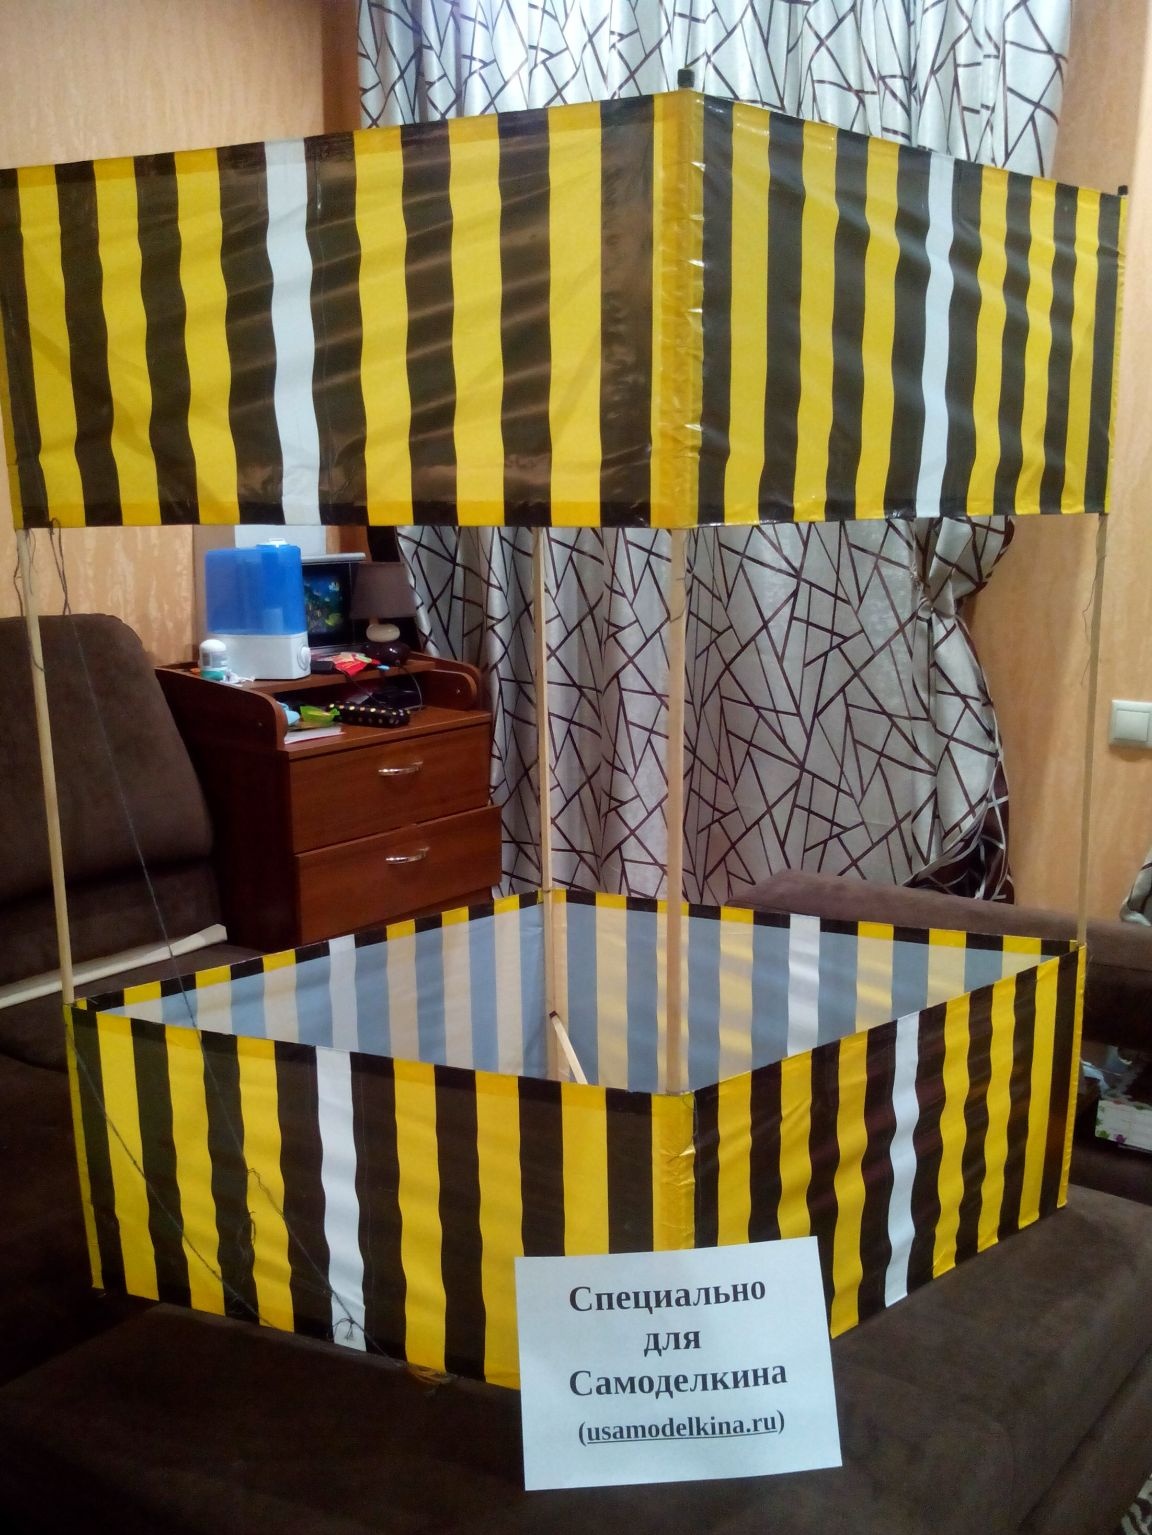
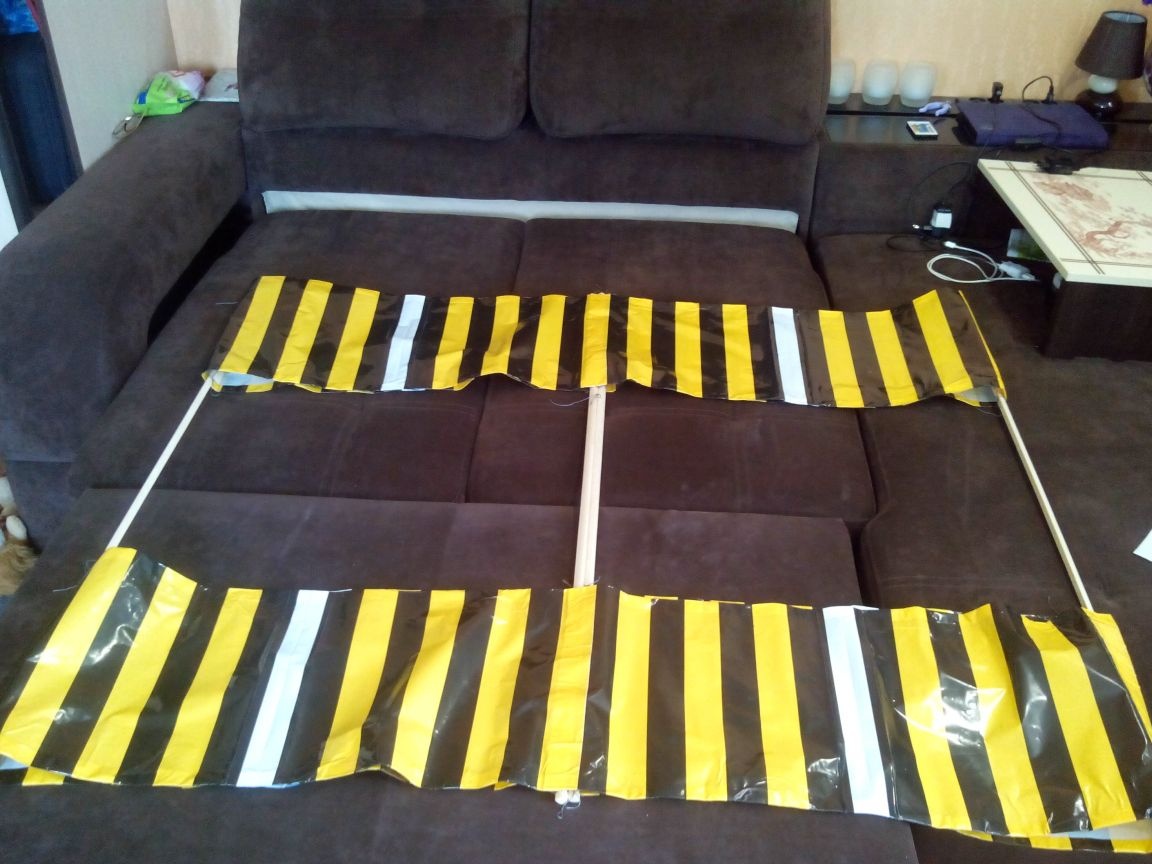
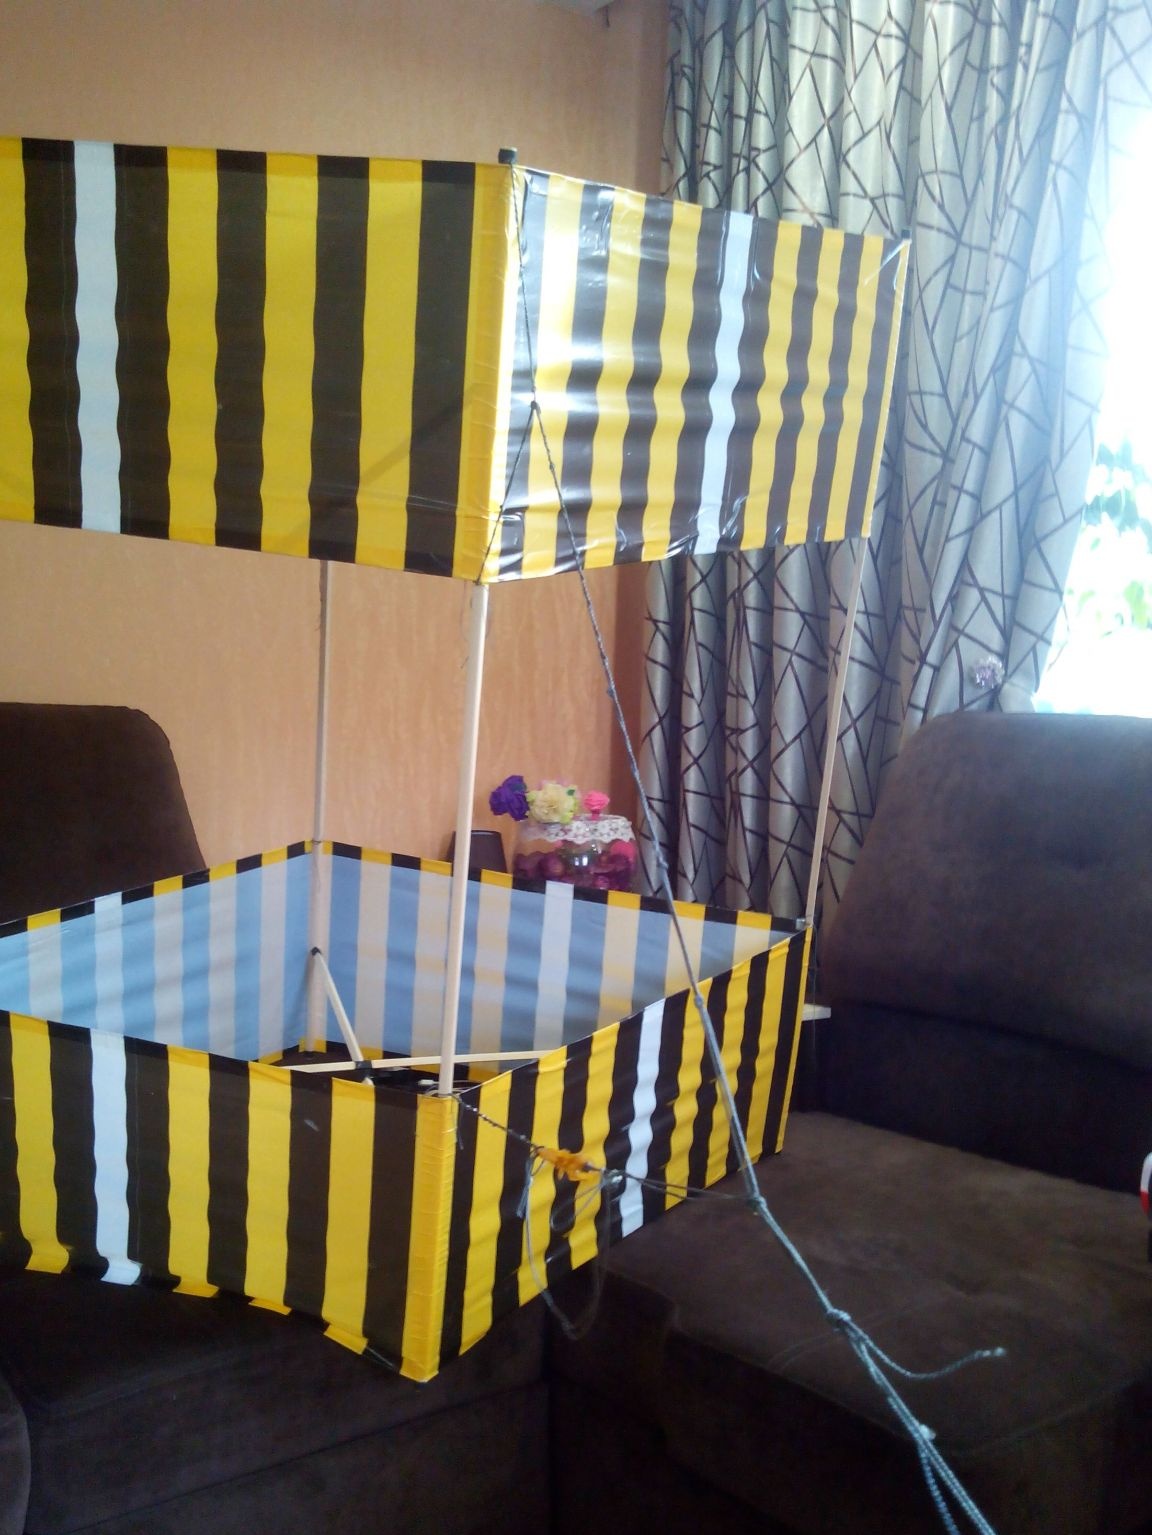
This article describes how to create a collapsible box snake from available materials. You can make such a snake in one evening. And if you find an assistant, then on the same day you can test the snake, if the weather permits.
Materials and tools:
- packages with handles - 8 packages (borrowed at work)
- window glazing beads - 1500 mm long - 8 pieces (available in any hardware store)
- transparent and double-sided tape
- strong kapron thread - 1 skein
- thick threads - 1 skein
- marker for disks
- PVA glue
- rubber bands for money - 9 pieces
- paper clips
- thick fishing line (from fishing stores)
- Fishing Reel
- scissors, cutter, metal ruler, screwdriver with a thin drill
- in addition, you need a fairly large working surface (for example, a fiberboard sheet on the couch)
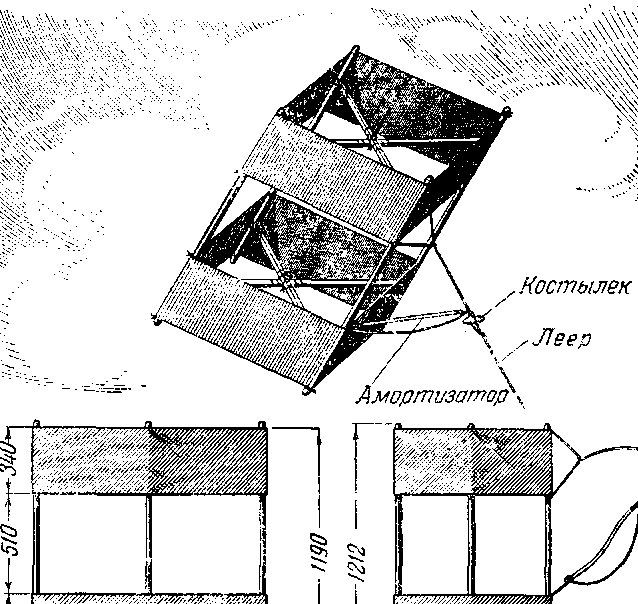
Kite Size:
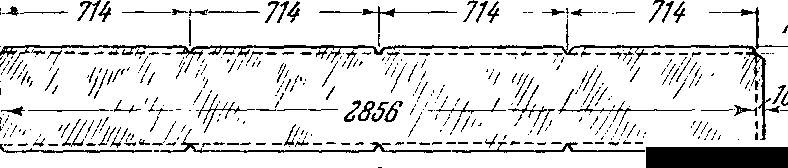
Cover pattern:
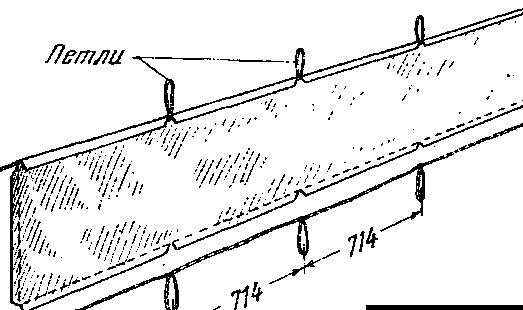
Close-fitting thread and loops:
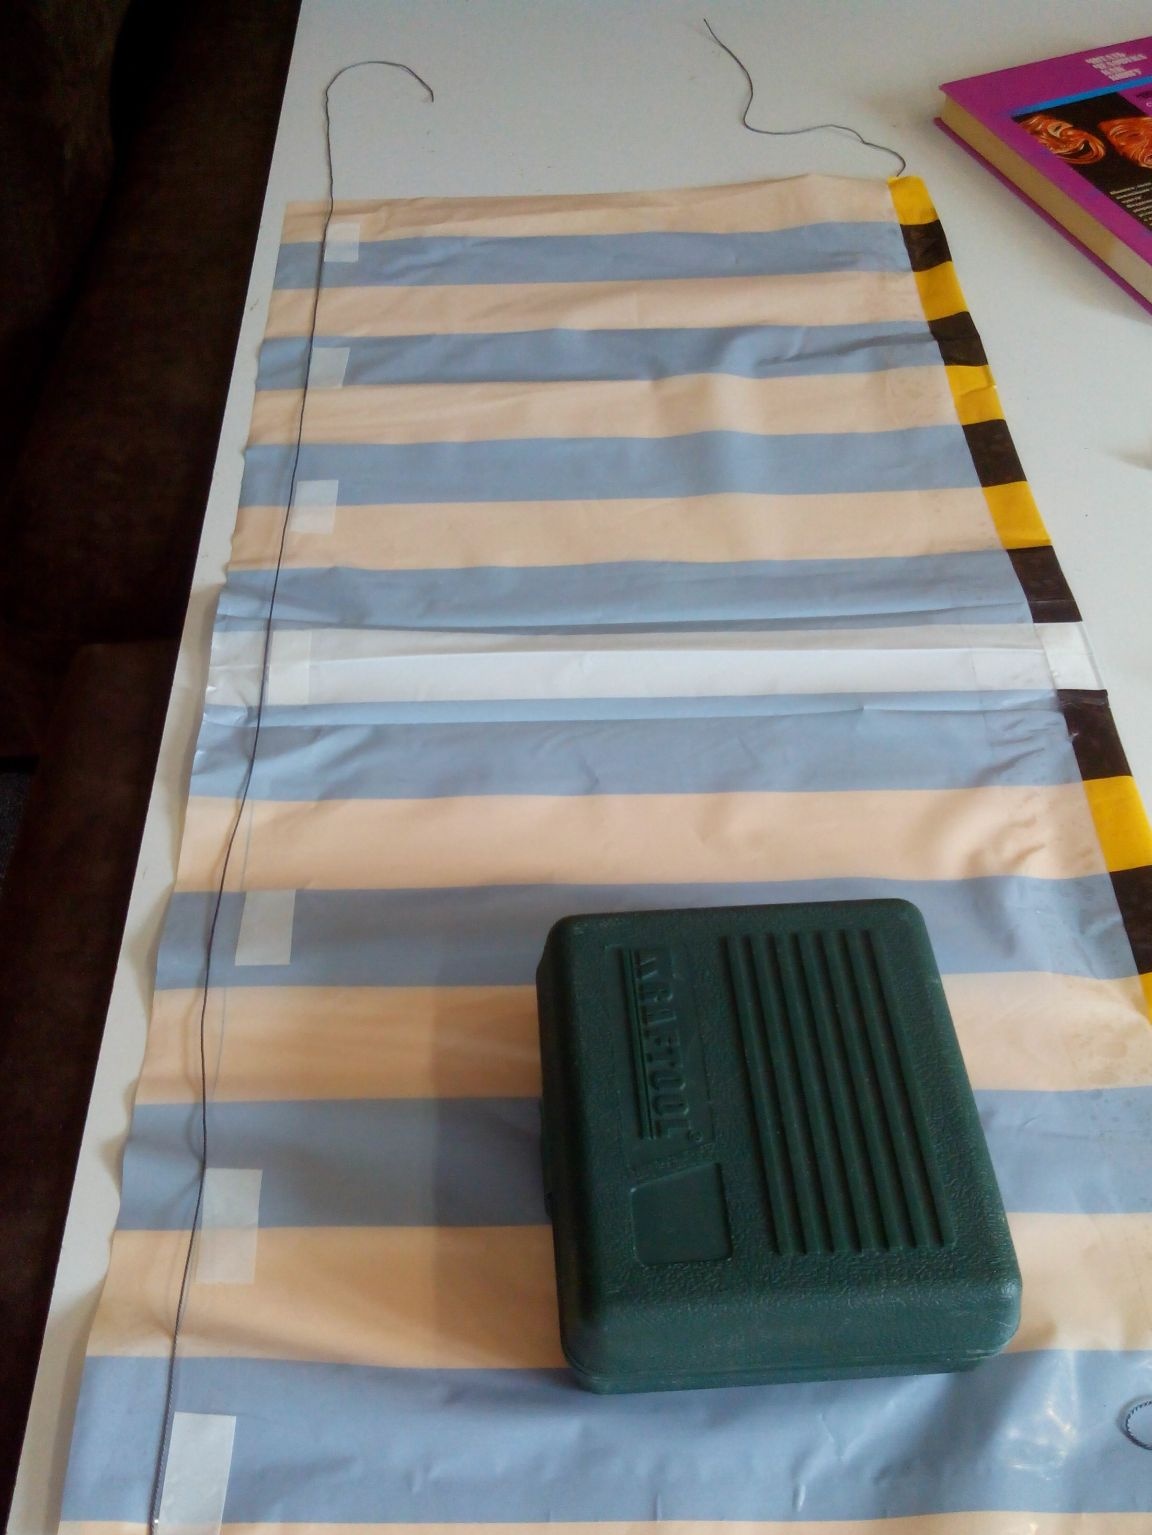
Step 1. Cut the packages.
We cut the packets with a cutter along the edges, indenting by 1 cm, and straighten on the surface. Handles are not cut off yet.
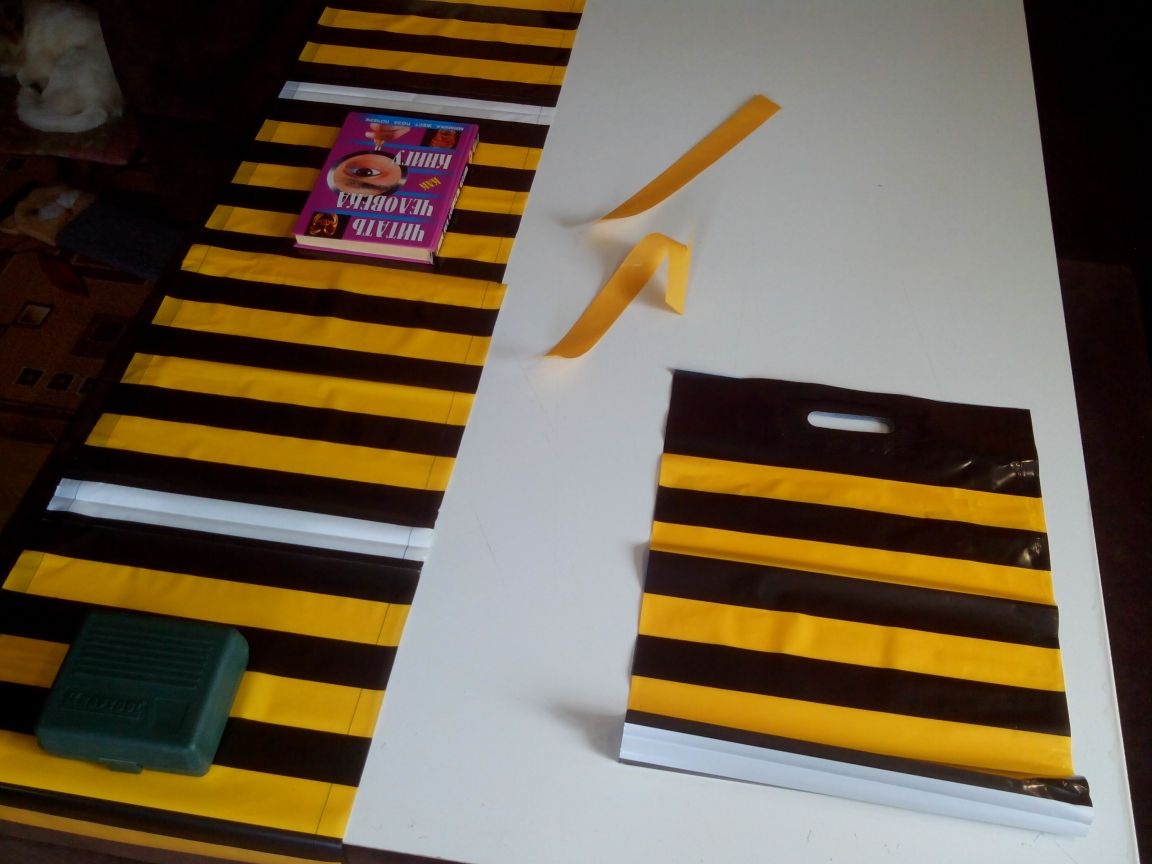
Guided by the handle, we determine the central axis of the packet, and draw lines along which the thread will pass and the packet will be bent (the distance between the lines is 340 mm). We cut off part of the bag with a handle, measure 714 mm, draw a line and glue a strip of double-sided tape outside this line.
This part should be 714 mm long, but the width of the adhesive tape is added to it, therefore, the total length of one such part will be about 750 mm.
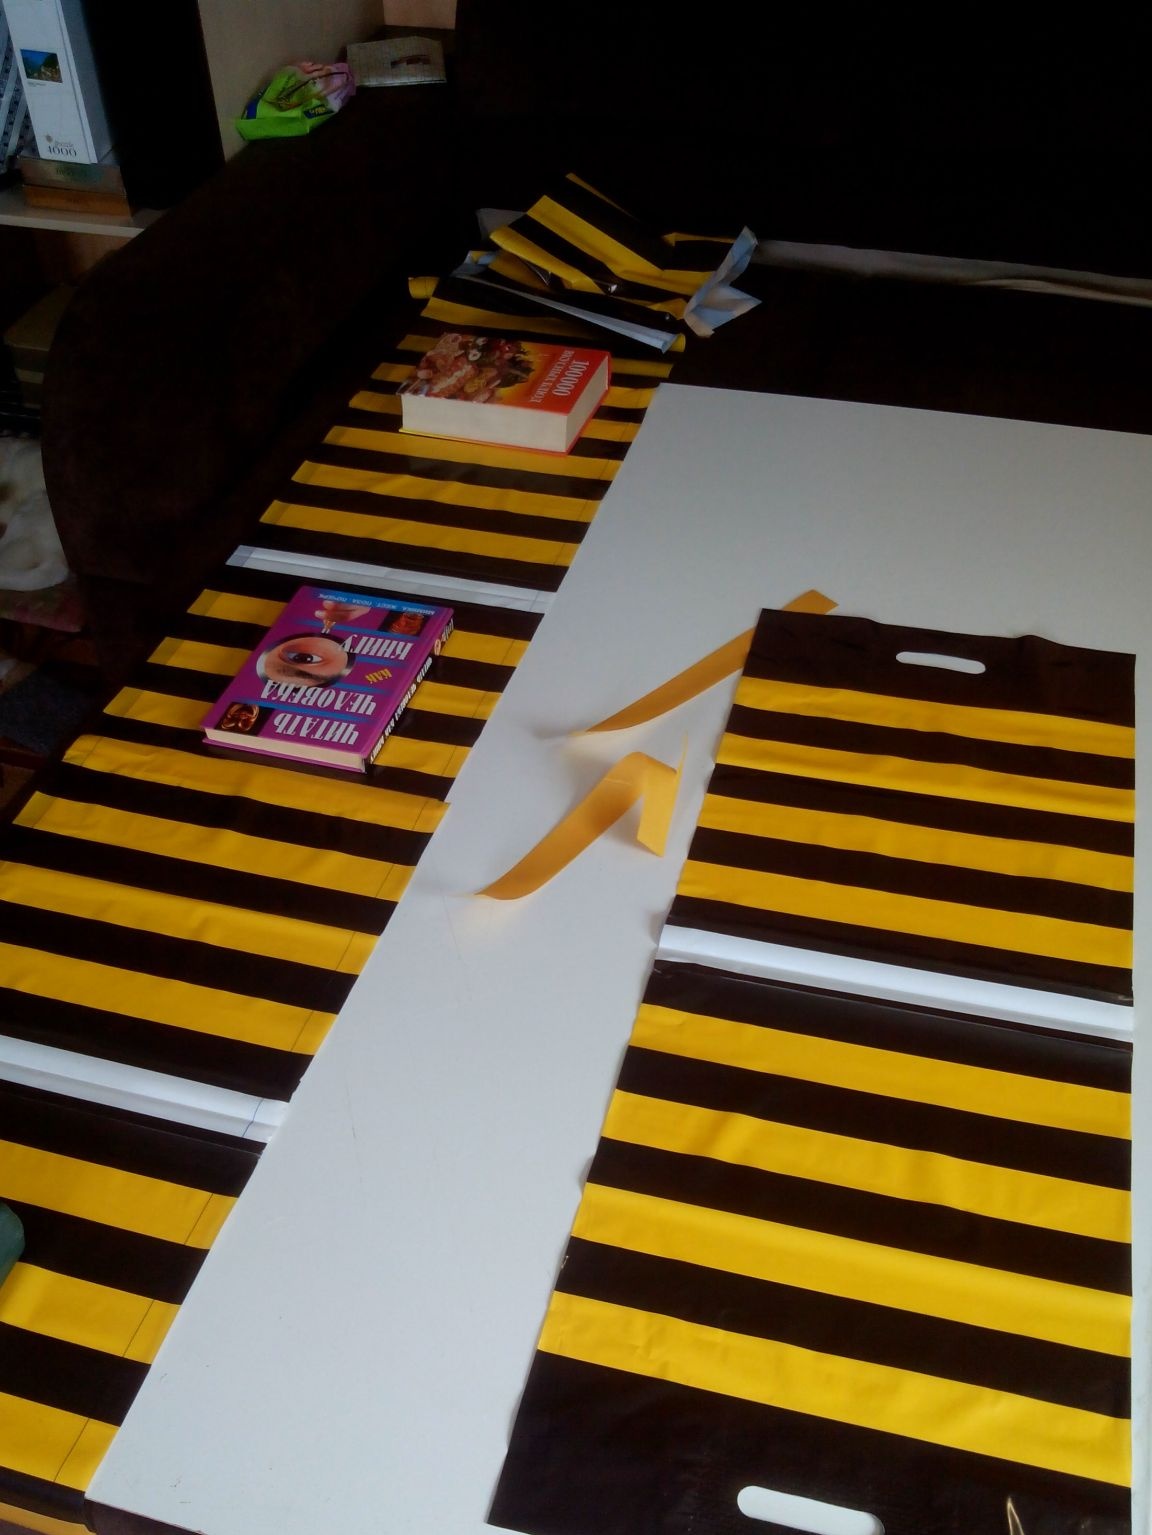
Such parts need to be made eight pieces.
Then we connect 4 parts together, gluing two long sheets, as in the drawing.
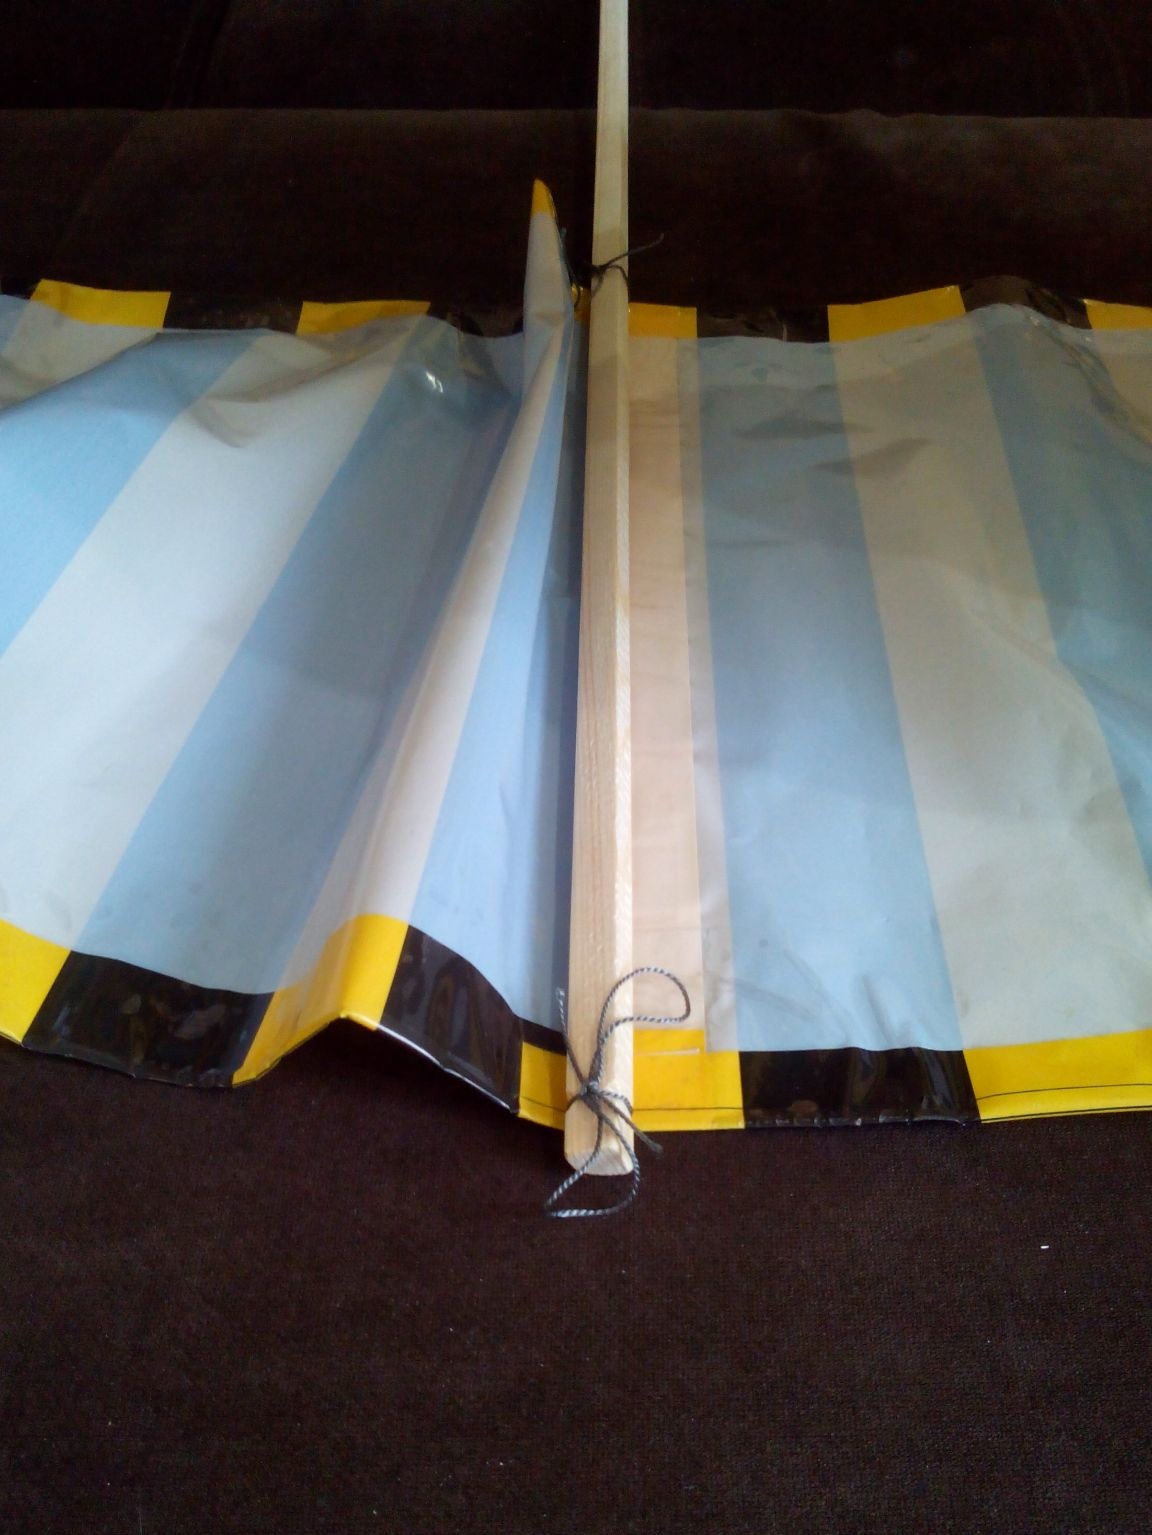
On each sheet in the middle of the seam connecting the packages, draw a line along which the spar will run. In addition, the thread nodes will be located in this place.
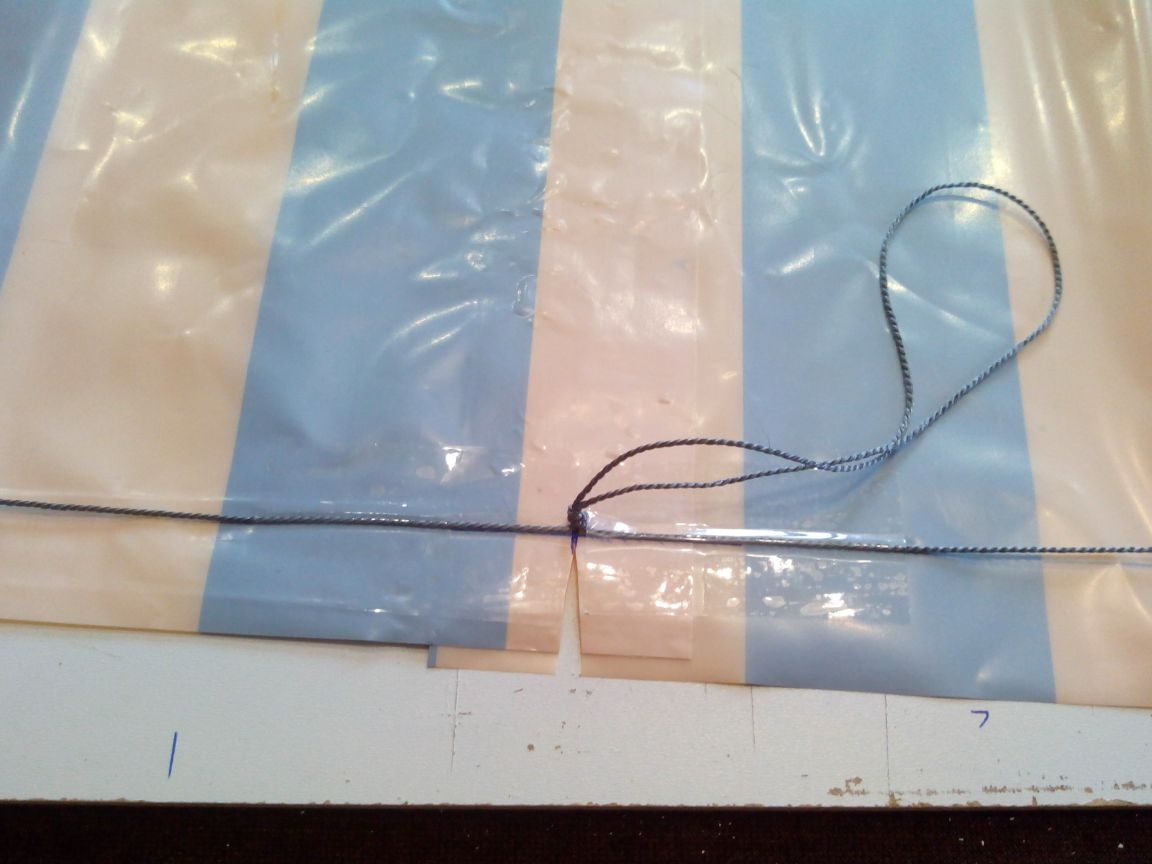
Step 2. Pasting the thread.
We lay the kapron thread.
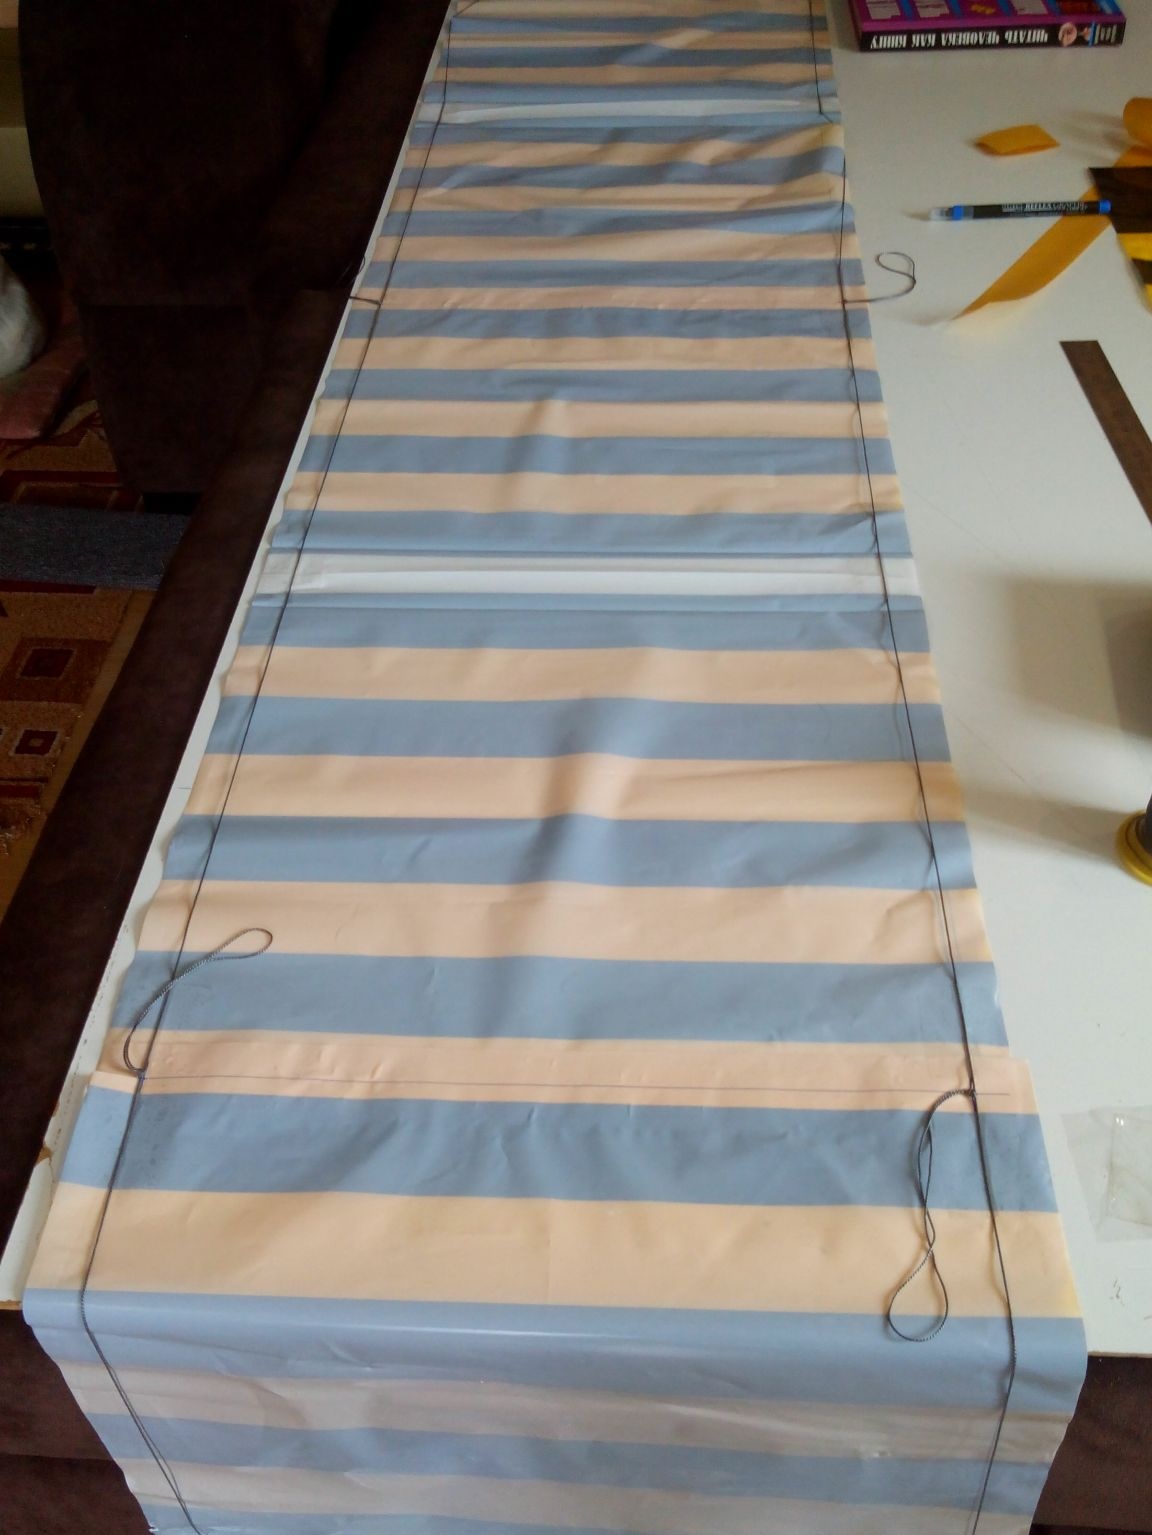
Knots must be tied neatly and accurately so that they are located exactly along the line, otherwise the snake will be skewed. When all the knots are tied, glue the thread in small pieces of tape.
The edges of the packages are bent along the thread inside. We glue them on double-sided tape at regular intervals. The canvas is better to fix with magazines, books or a tool.
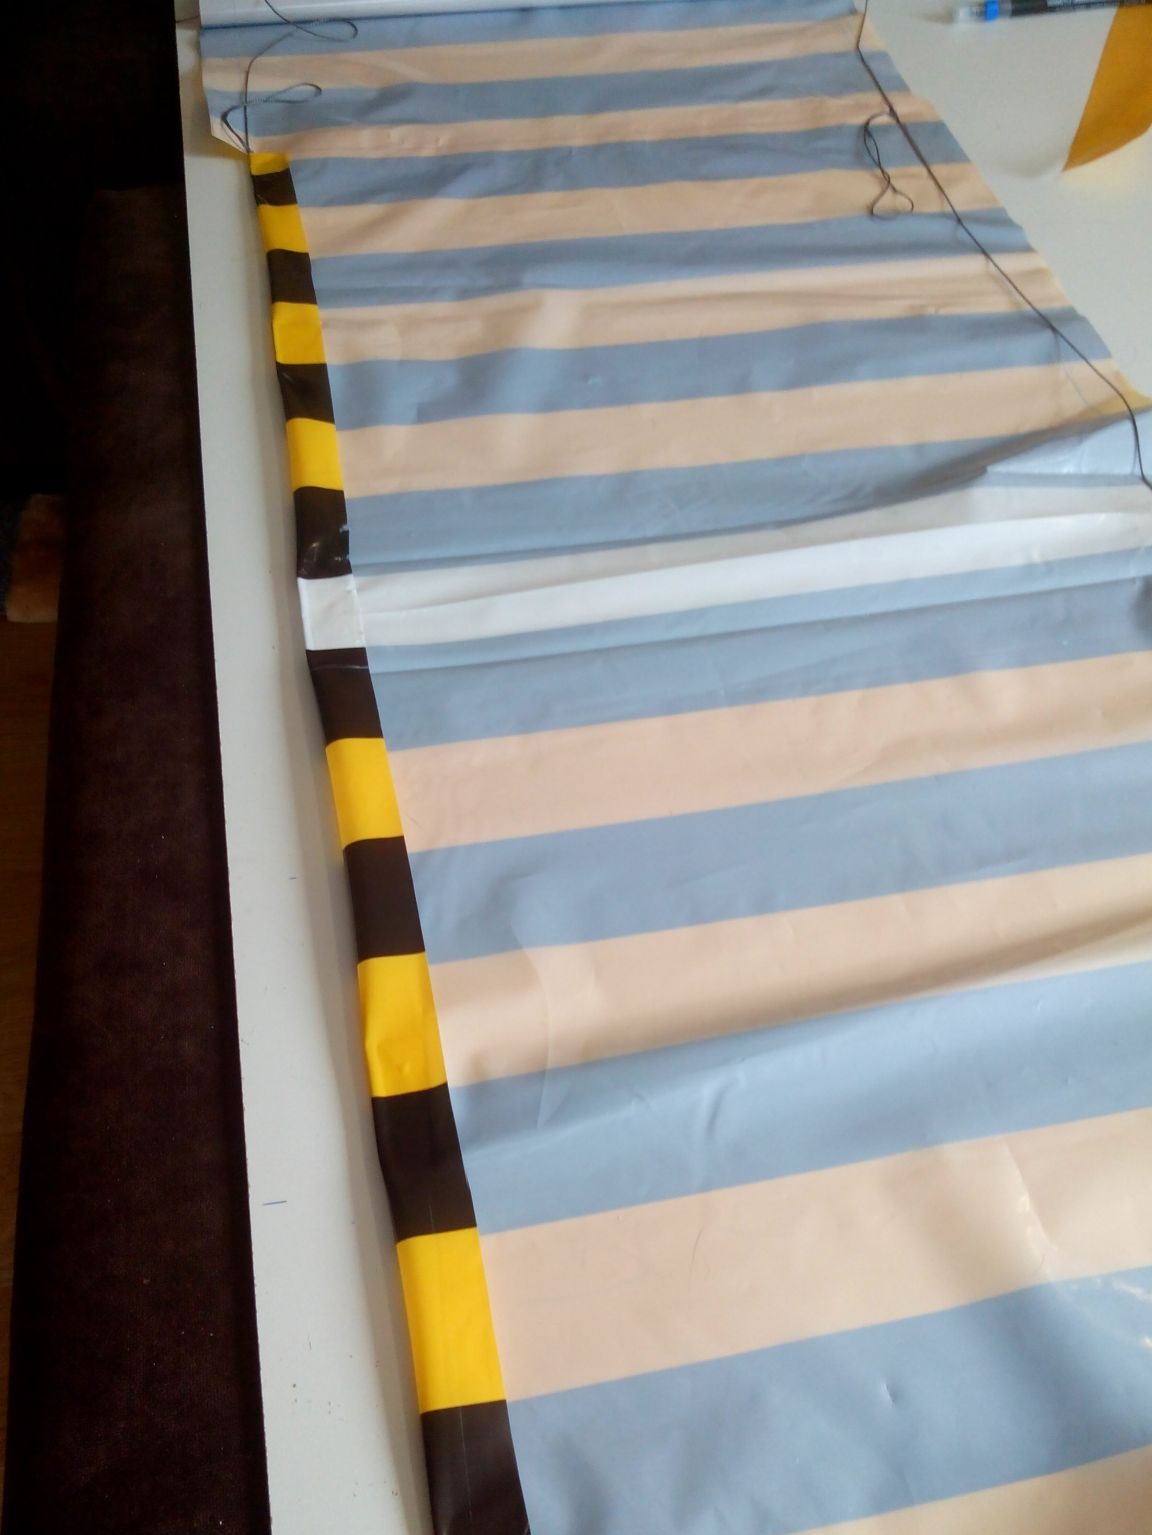
In places where there is a knot on the thread, we cut the canvas. Glue the thread with tape, preferably closer to the nodes.
After both threads are glued and the edges are glued on both sides, we fix the edges along the entire length with an additional tape to make the edges of the fabric more durable.You can connect the canvas in a ring (on double-sided tape). Similarly, we make the second lining ring and proceed to the manufacture of side members.
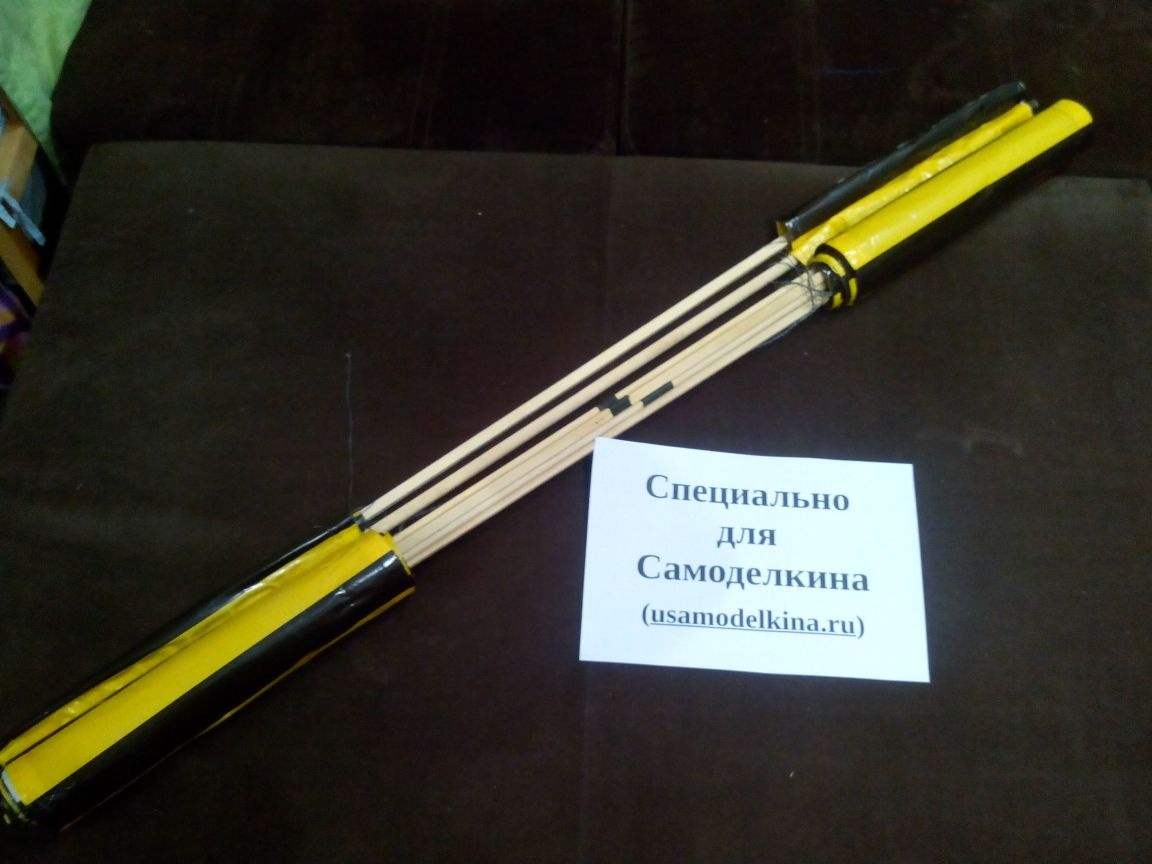
Step 3. Spars.
We take 4 straight lines, without knots, glazing bead, 1212 mm long.
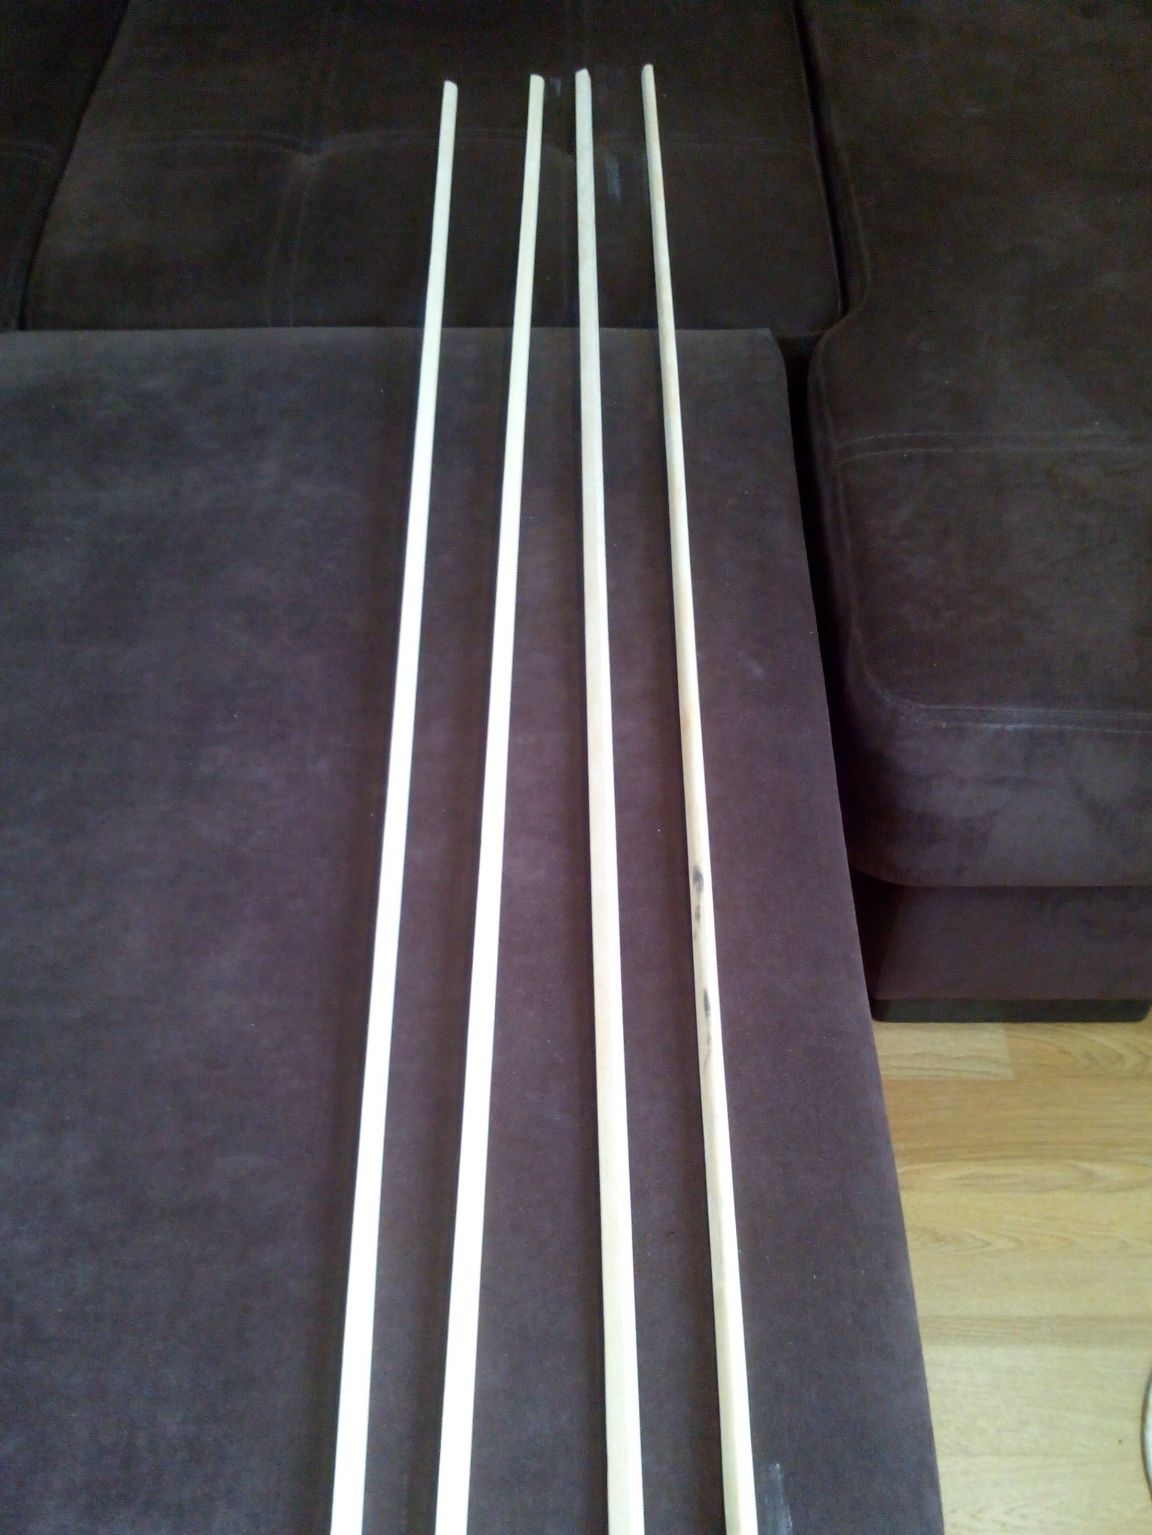
I bought glazing beads with a rounded edge, since there were no others.
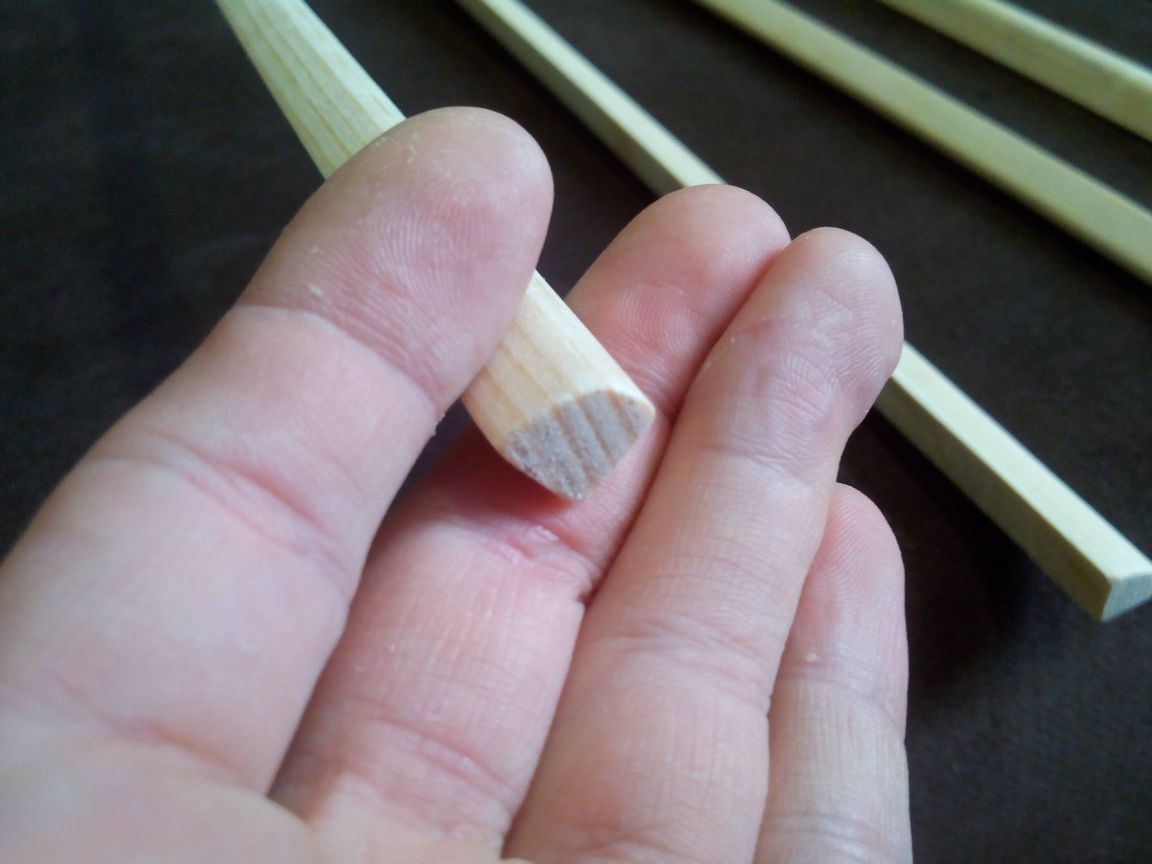
In the places of fastening of the trim on the glazing beads with a knife, we make small cuts along three sides, so the trim will better hold, and we tie the thread into two knots. I recommend smearing with PVA glue the location of the thread and the threads themselves too - so as not to untie.
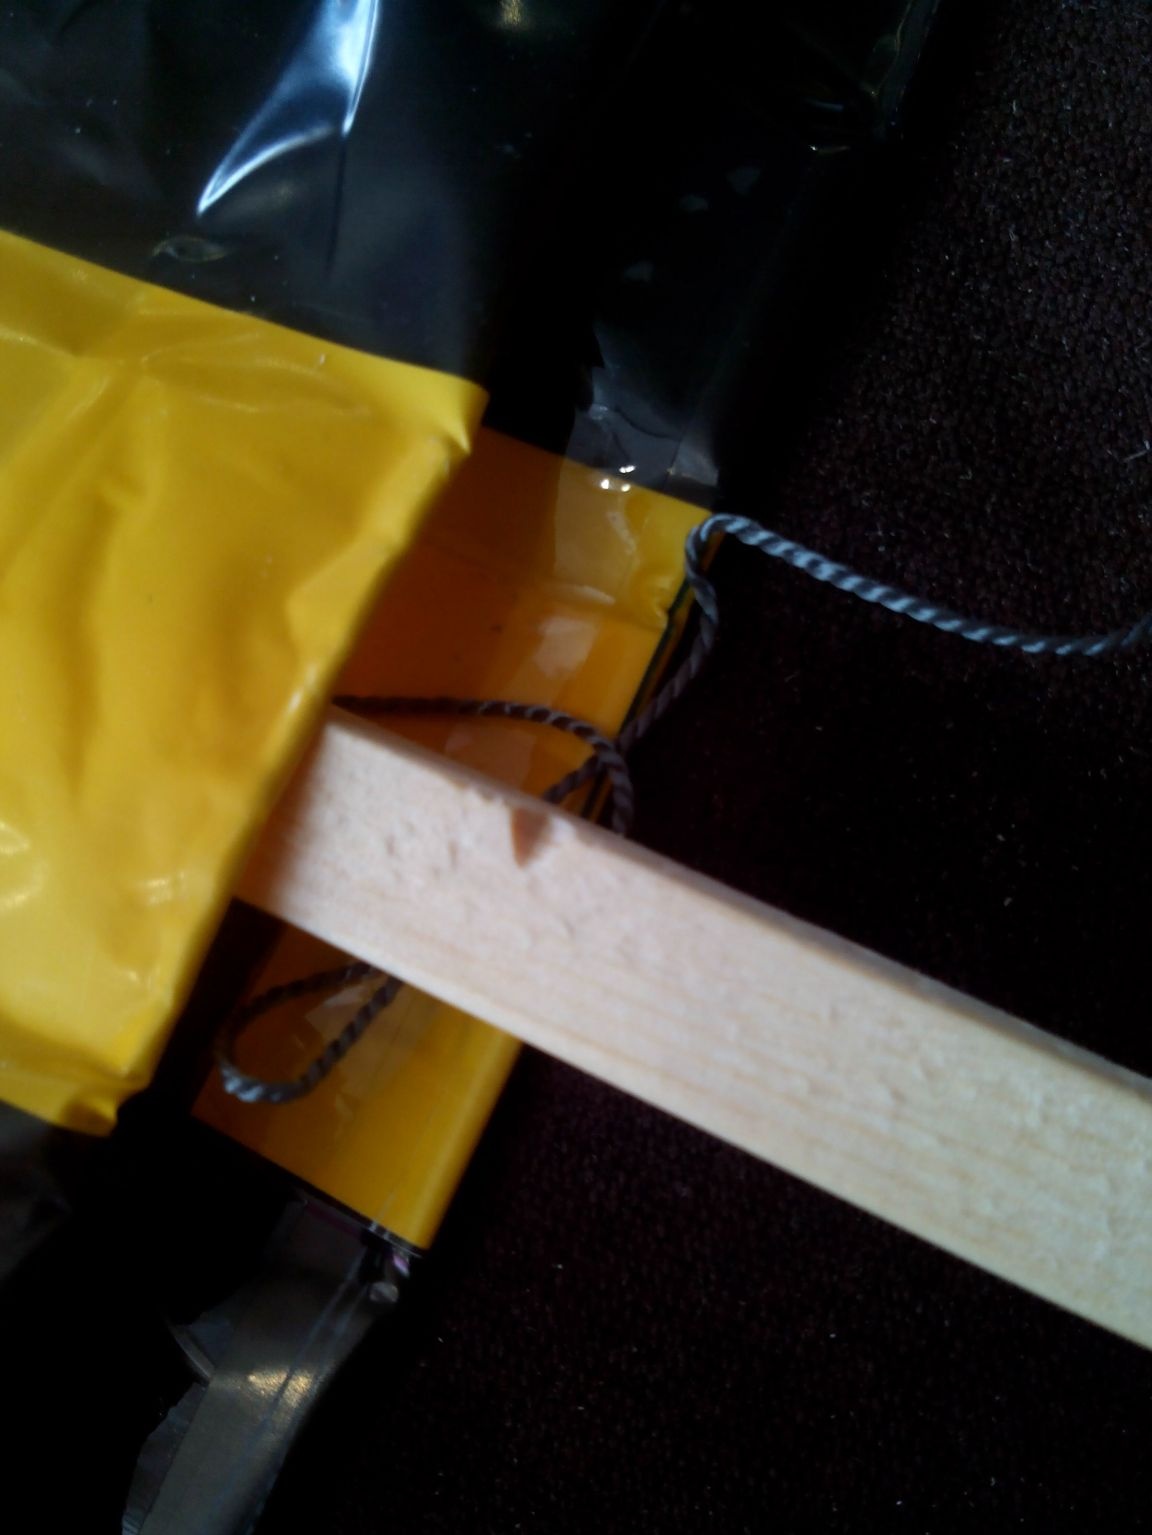
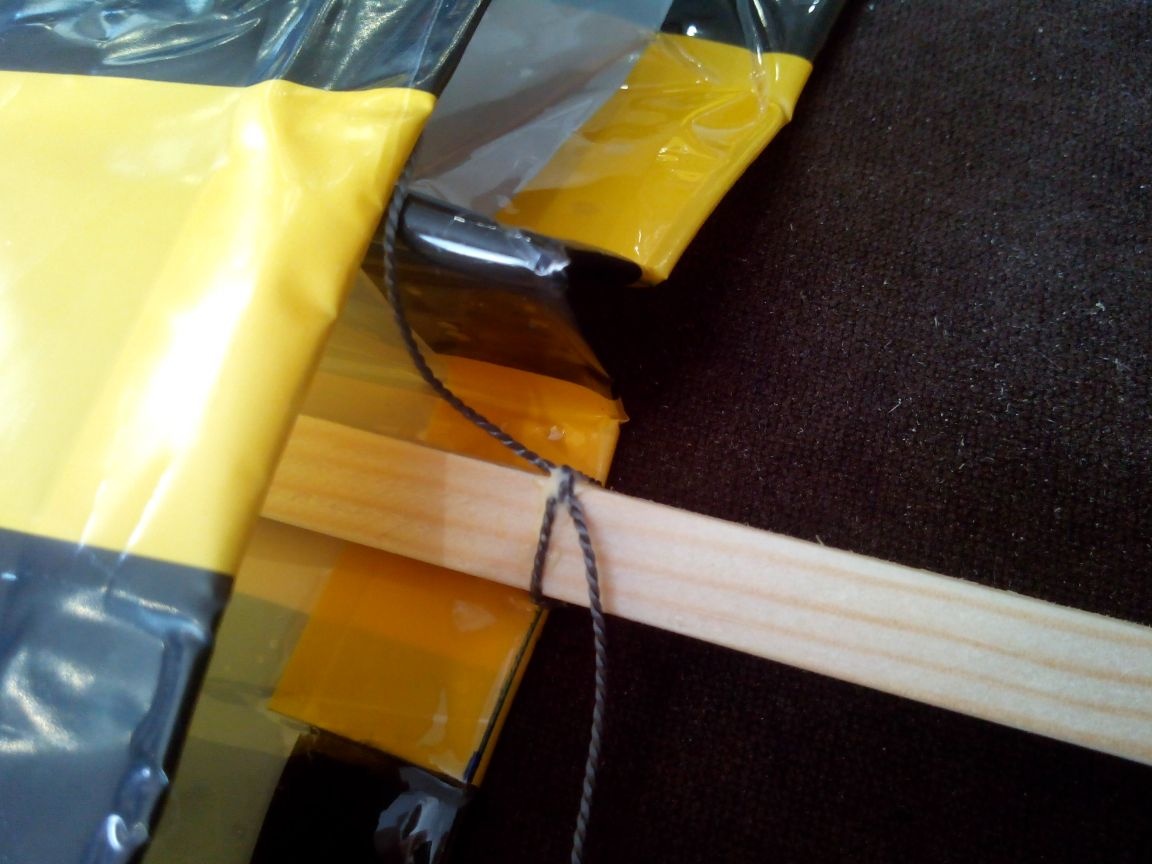
After fixing the casing on all the side members, apply PVA glue and wind the thread, thereby fixing the casing threads.
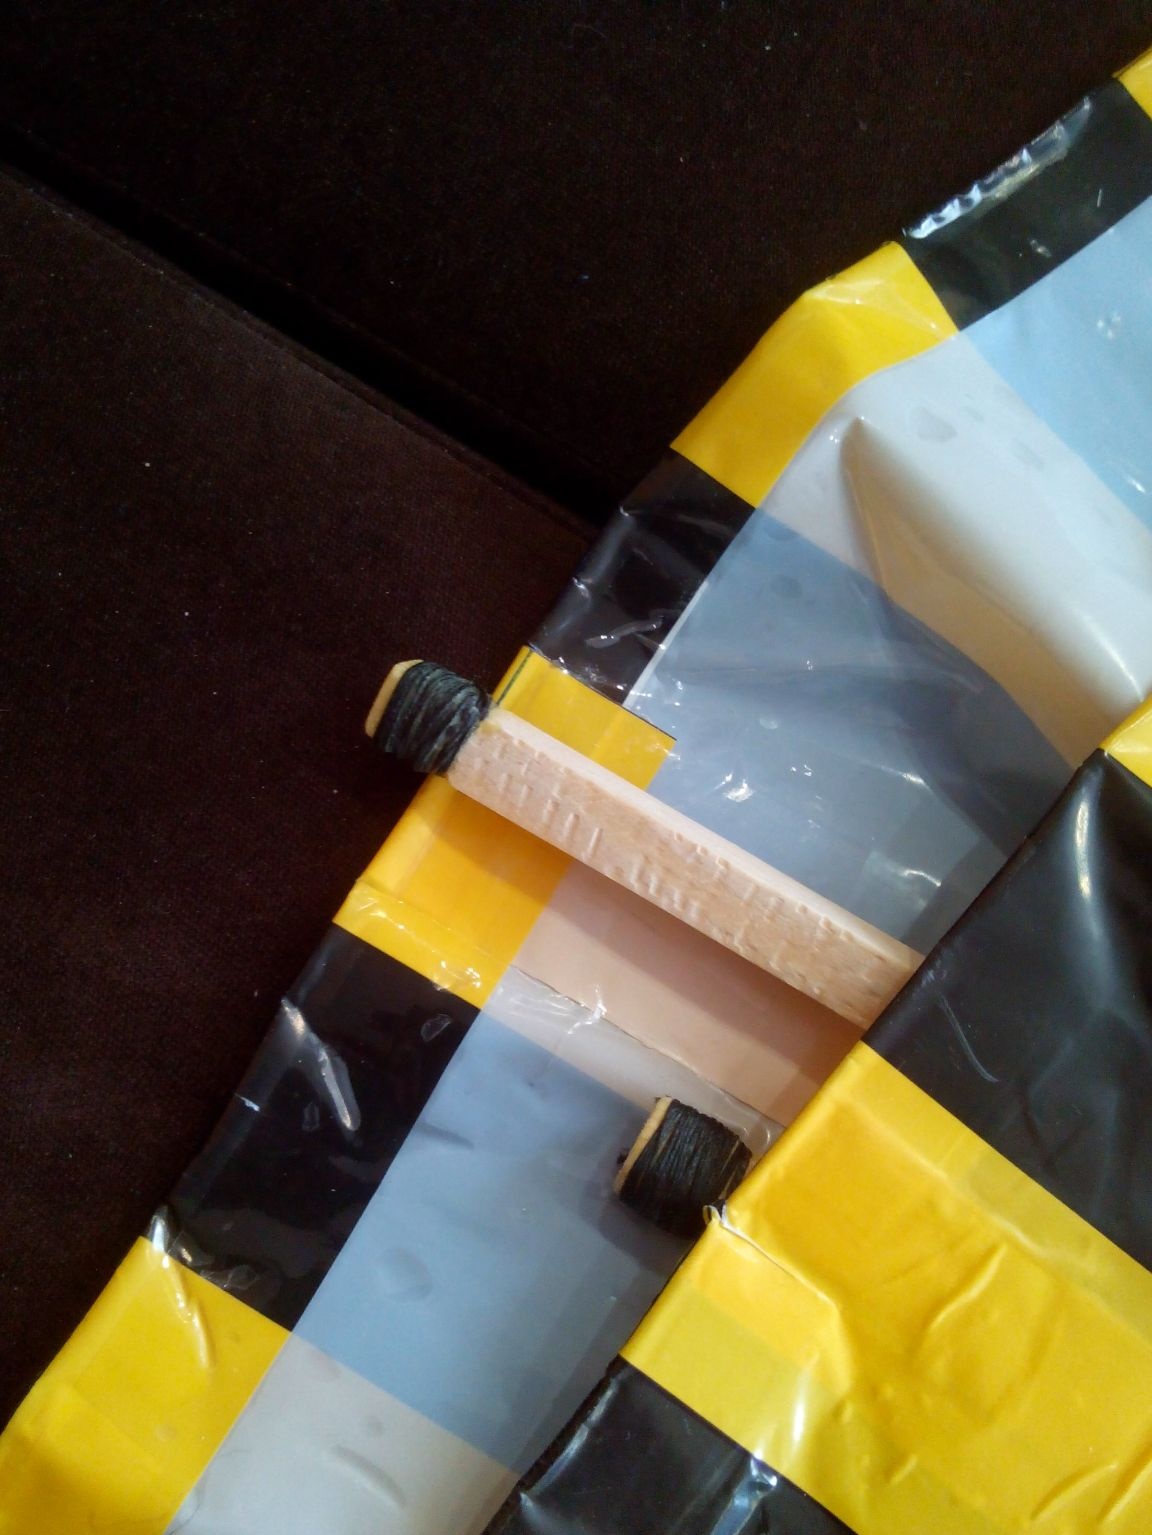
Set aside to dry the glue and proceed to the manufacture of spacers.
Step 4. Spacers.
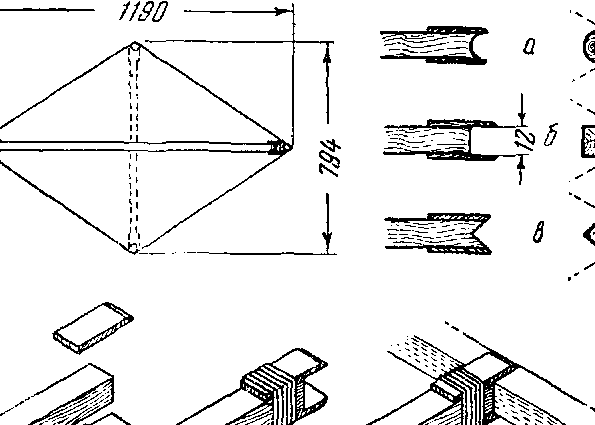
We start with long cross struts. We take the glazing beads 1190 mm long and cut out at the ends of the recess as in the diagram below the letter B. At the end of the spacer we put PVA glue and wrap it in two layers with thread. In the center of each of the spacers, drill a hole with a thin drill and wind it around the hole with thread on the glue, inserting a piece of paperclip into the hole before it, so as not to accidentally cover it with thread.
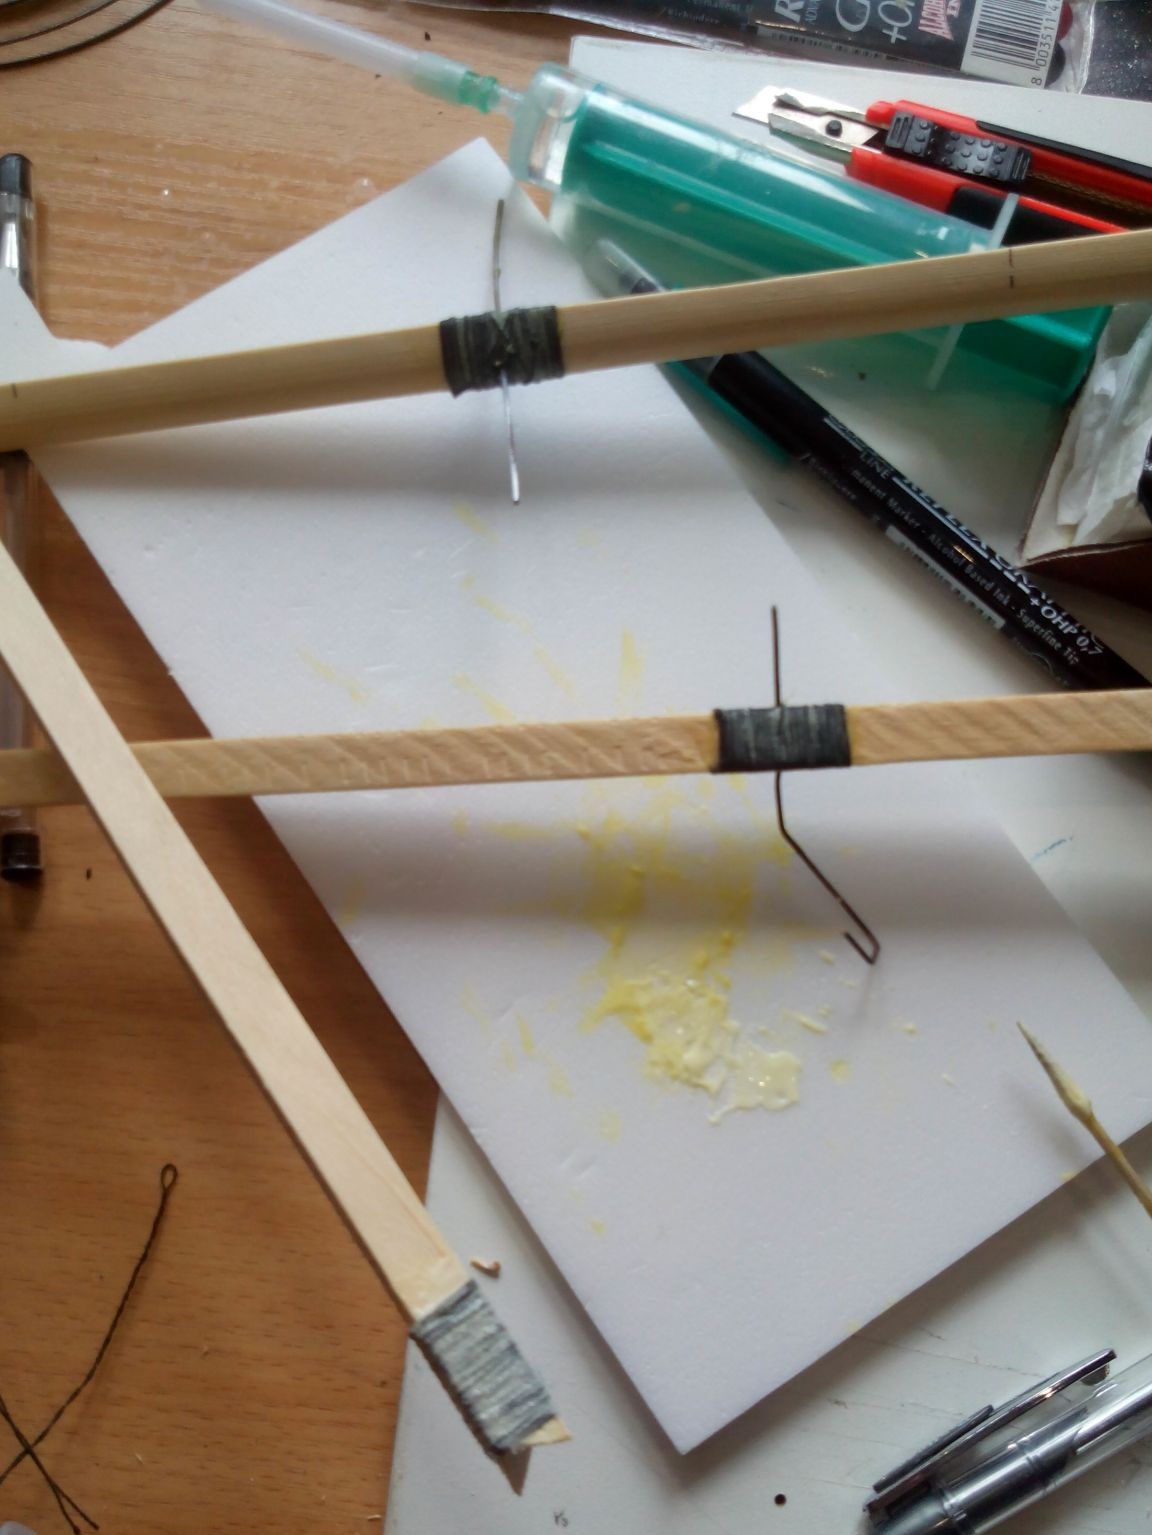
These holes in are necessary for fixing the spacers between themselves:
Short longitudinal spacers are best sized, as they may be slightly smaller than in the diagram. It is very difficult to do this alone and you can tear the close-fitting one, so call the assistant at this step.
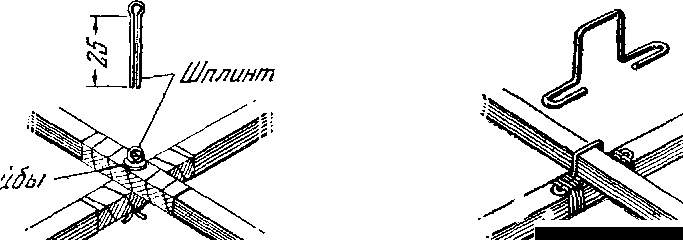
Step 5. Build the snake.
When the glue dries, proceed to the assembly of the snake.
We call an assistant to help hold the snake, and first insert a long strut inside. Then we take a short and cross-on-cross, insert it, stretching the skin with your free hand. To prevent the spacers from bending, insert a straightened paper clip into the central holes and bend its ends from the outside. There is no need to fix the crosspiece anymore - if the dimensions are chosen correctly, the sheathing tension will fix it.
Turn the snake over and repeat these steps at the other end.
Step 6. Bridle.
We make a bridle from a kapron thread, it is desirable to weave several threads to increase strength. We fasten it to the side members similarly to the casing - lubricating the mounting points with PVA glue, and wrap the threads on top. Do not forget to make a shock absorber - this is a kind of loop of rubber bands for money in the lower part of the bridle, so that with strong gusts of wind, the bridle stretches and the kite changes its angle to the air stream.
Everything, the snake is ready. We tie the fishing line to the bridle and go to the field. I highly recommend taking an assistant with you, because with a strong wind it is still possible to lift this snake alone, but to lower it is very difficult.
It is better to tie the fishing reel, for example, with nylon ties, to a small stick-handle, for convenience.
When folded, the snake takes up very little space and fits easily in the trunk of a passenger car.
A small video of the flight (there was one in the field, I shot it as I could):