Hello!
If you are a fan of Victorian England interiors, and love retro-futuristic objects and designs, then this will be of interest to you.
It will be about all of us familiar steampunk style. The author of the article will tell you in detail how to do do it yourself lamp in this style.
The idea of construction, as the author says, arose very quickly, and without thinking twice, he went to one of the construction stores where the cheapest domestic corners, tees, etc., plumbing were purchased fixtures.
And now about everything in detail!
We will need:
- 6 plumbing tees;
- 8 corners;
- 6 short barrels;
- 1 long barrel;
- 2 medium barrels;
- 2 nipples;
- 4 lampholders;
- paint;
- electrical cable .
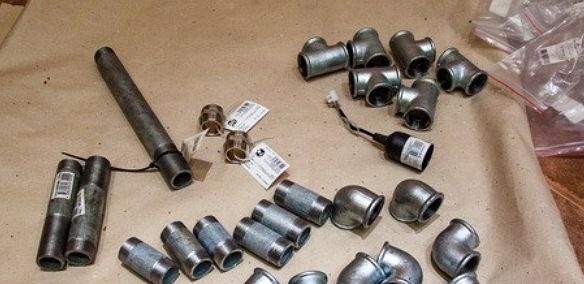

In order for the image of the future design to mature, the author sketched a drawing on a sheet of paper. So it was easier to understand what actually happened. Well, let's start assembling the puzzle.
We arrange all the plumbing parts in order and start twisting everything.
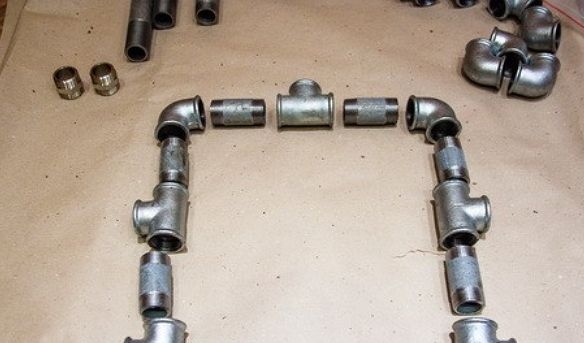
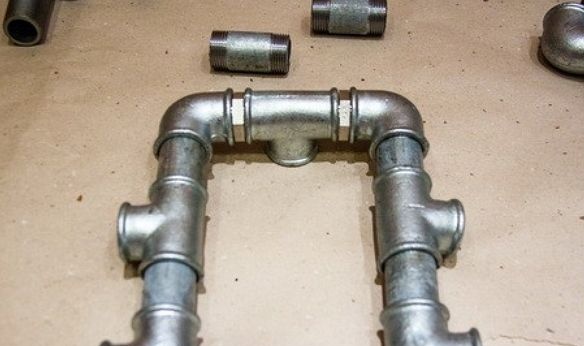
As it turned out, the whole structure was hanging out, because, clamping the parts to the end, they became in an unnecessary position for me, that is, they looked in different directions. In order to fix them as needed, a little fabric had to be wound on the thread. You can use tow. Thus, the author achieved the position he needed.
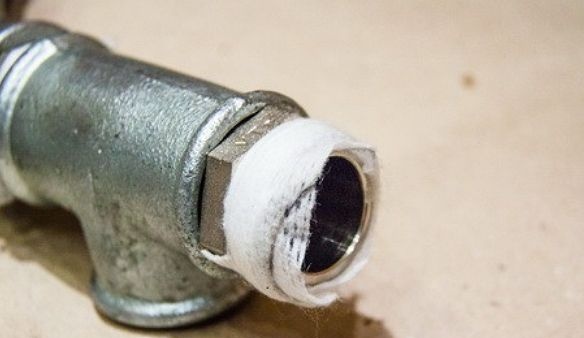
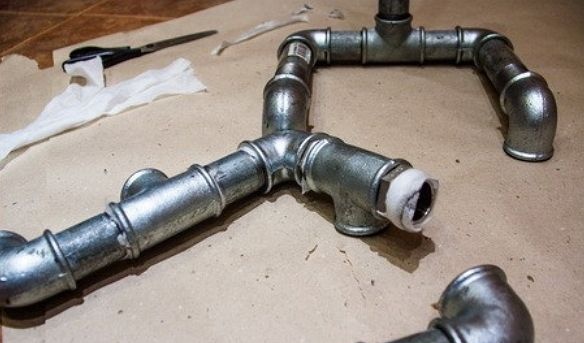
It turned out pretty scary brainchild, called a lamp, but this is not the end of the work.
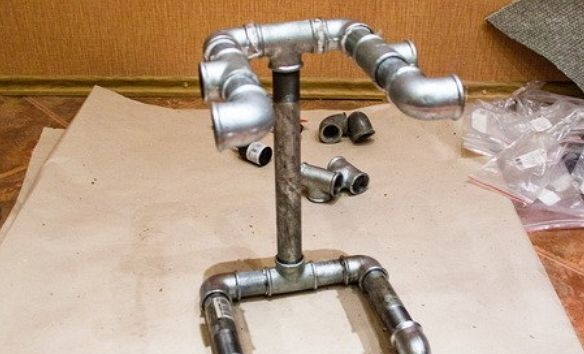
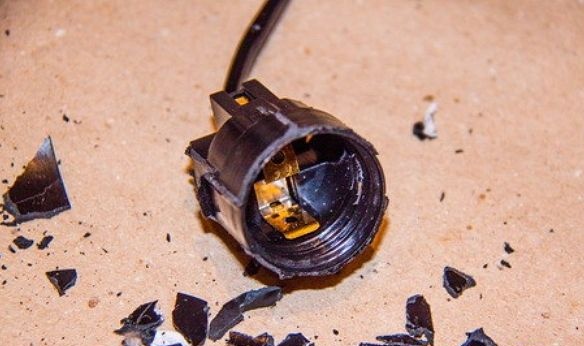
Further, the author took lampholders for lamps with a base type E27. This standard is used for lamps in a vintage style, called - the Edison lamp. But, unfortunately, this cartridge did not fit the plumbing adapters in internal size, for this I had to slightly cut the cartridge case. It turned out approximately the following.
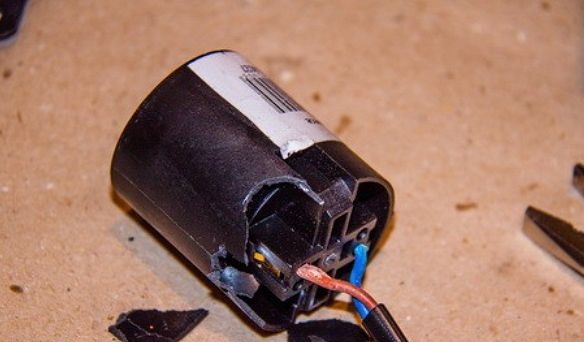
It's time to do the wiring. Initially, I wanted to make it outside, but then changed my mind and decided to hide it inside. To do this, drilled a hole in the bottom of the lamp in the area of the tee. Through it, wires will start.

Set four cartridges in their places. To my surprise, they went perfectly.Then I connected the wires and isolated all the connections.
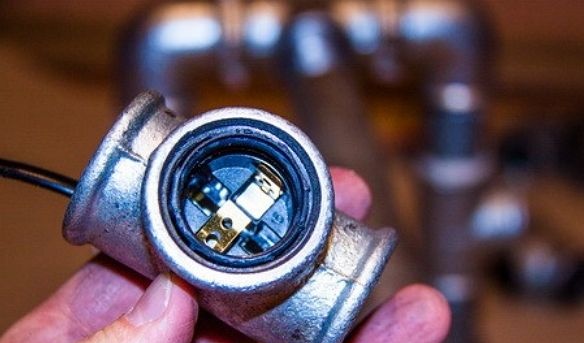
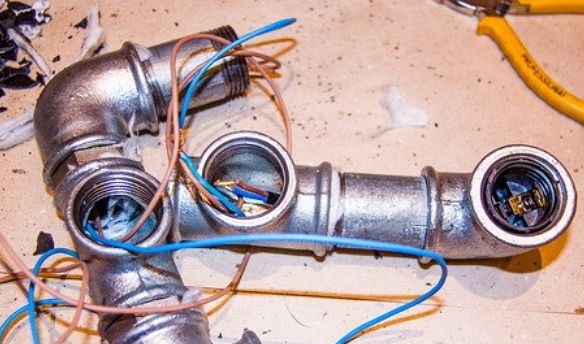
Then he assembled the entire structure together, holding it tight. Since the parts were all lubricated, they had to be degreased in order to be painted further. Conventional acetone was used as a degreaser.
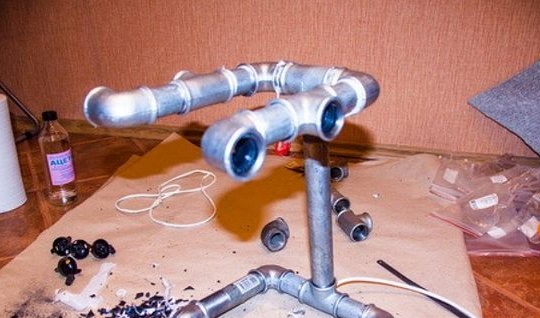
Next, apply a primer and paint the structure in black.
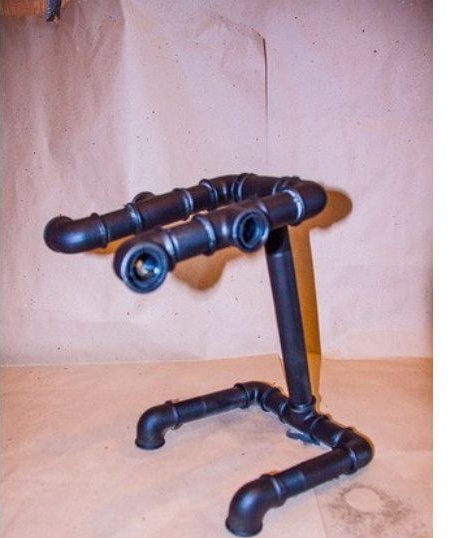
In order to give a unique antique style to the product, we additionally paint everything in bronze color using a spray can.
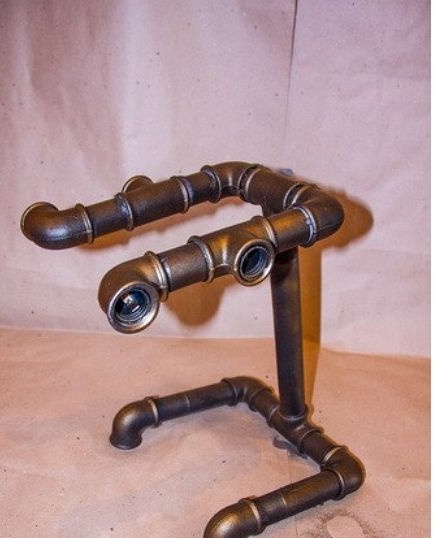
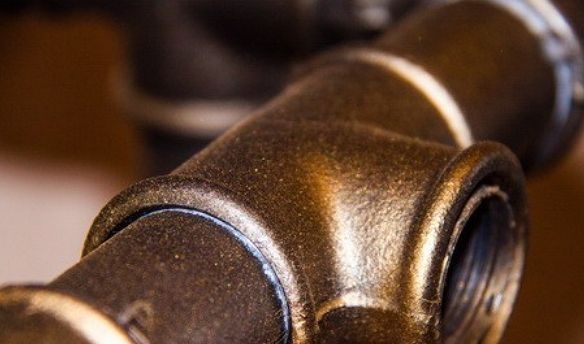
The lamp base had to be insulated a little with electrical tape due to the fact that earlier we had slightly shortened the lampholder by cutting off the upper edge. This is so that we do not grab the bare part and we are not hit by electric shock.
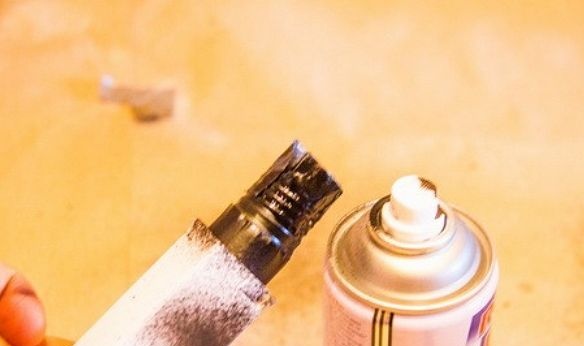
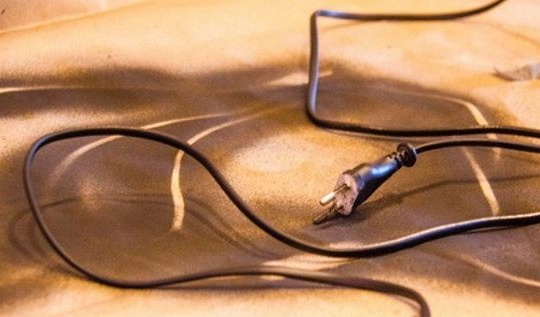
It was white, and I didn’t want to look for another; it was decided to repaint it in black. So he harmonized better with the overall color of the structure. Next, wait until the entire structure dries.
Now it’s up to small. We take the futuristic lamp and put it in the right place for us, in this case, on the bedside table.
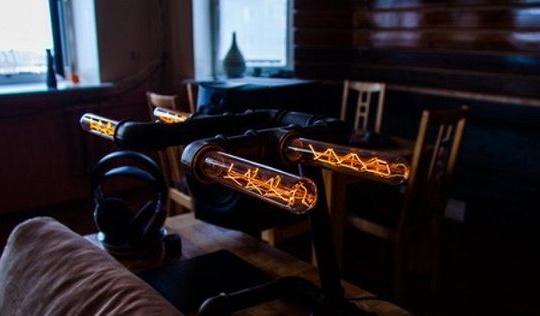
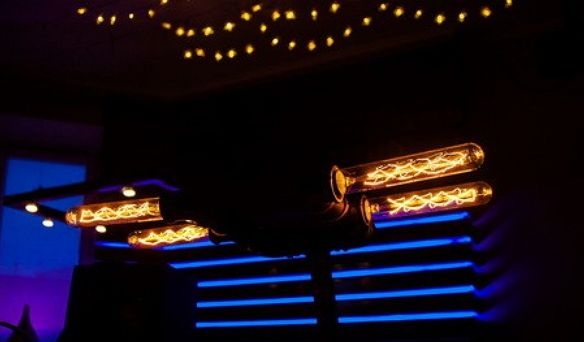
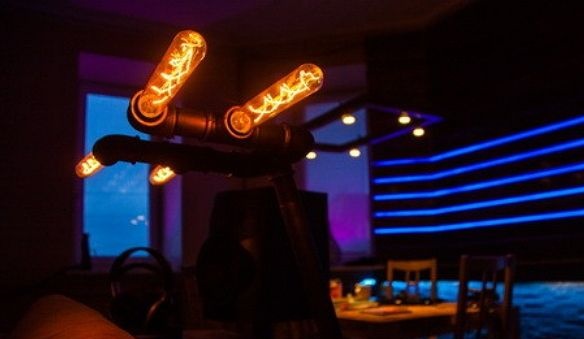
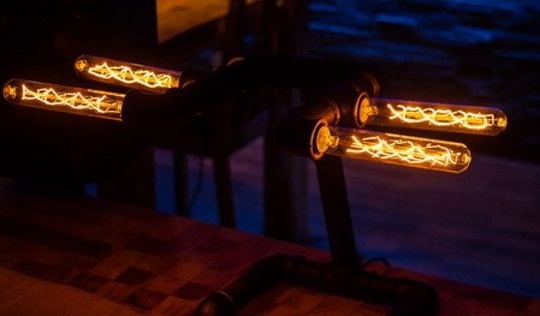
An example of how the lamp looks in the evening.
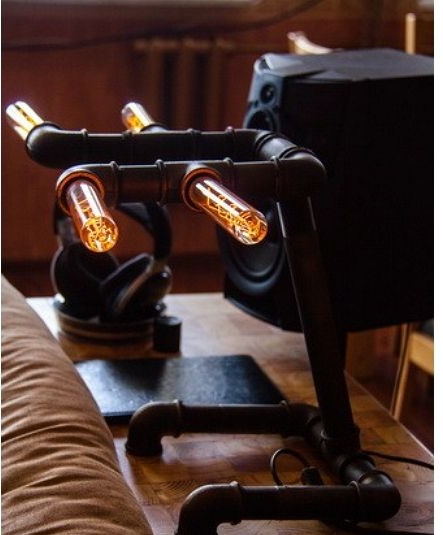
And this is when it is already completely dark.
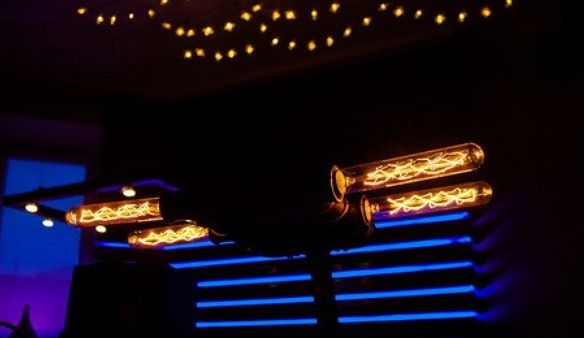
The author really liked the light emitted by these lamps. They give a pleasant feeling of warmth and coziness. Additionally installed a dimmer, so that you can adjust the brightness.
This concludes my article.
Thank you all for your attention, and let each house be warm and comfortable.
