

Good day to all! If you are an electronics lover, you have a controller arduino, as well as an unnecessary plastic box lying around somewhere, do not rush to throw it away! Indeed, from it, with the help of your arduinka and a set of LEDs, you can make a very attractive toy for a child!
And so let's go!
What we need:
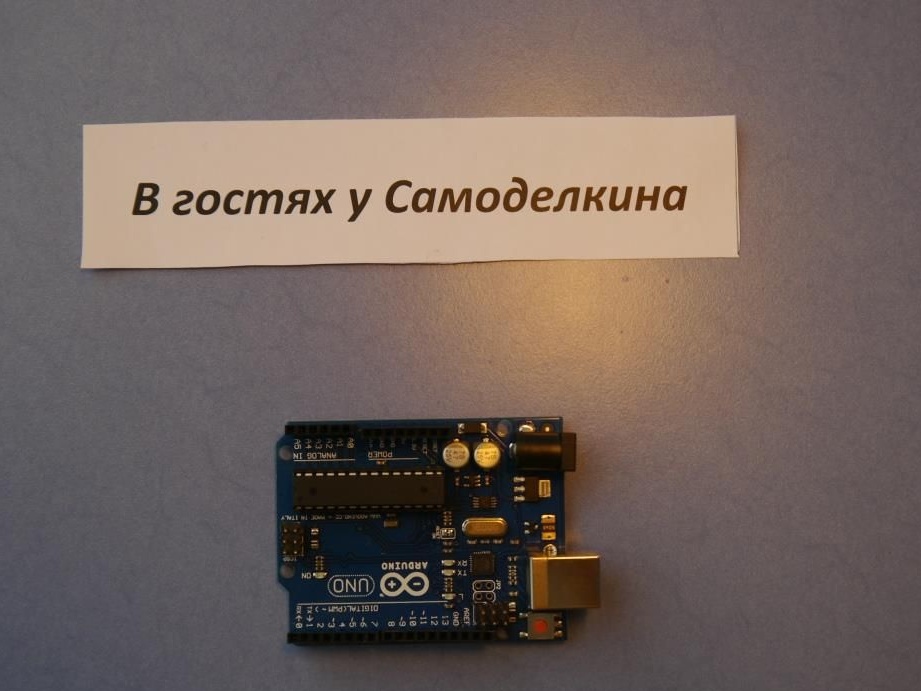
Arduino platform
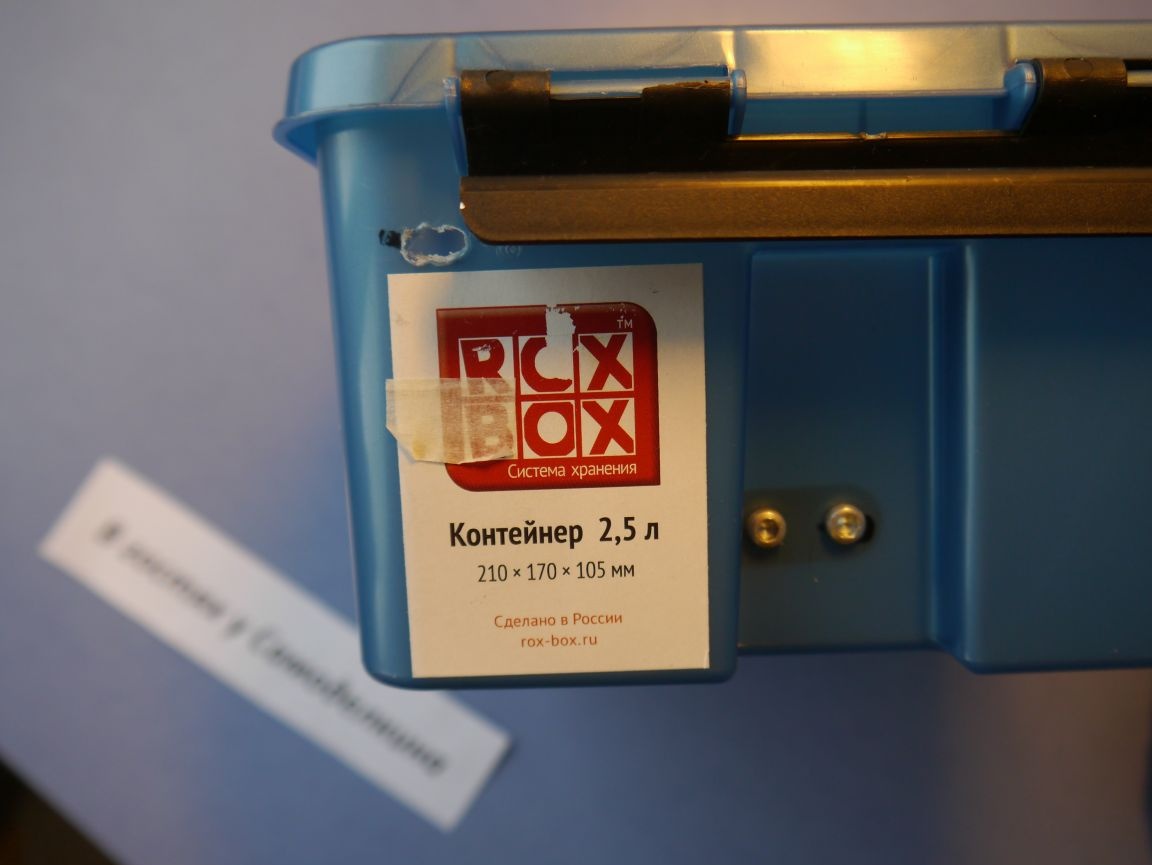
Plastic box
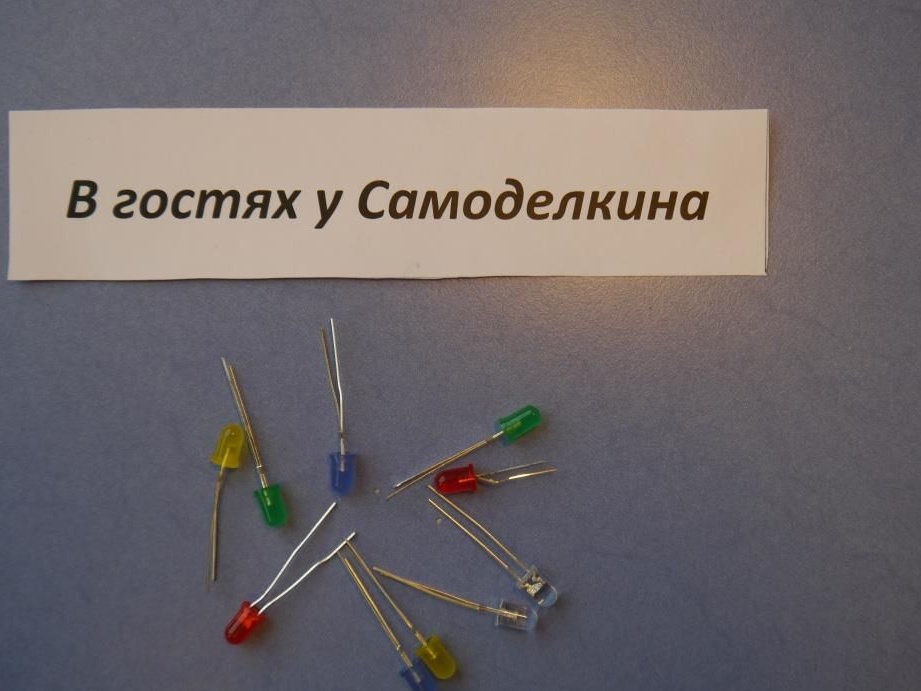
LED Set
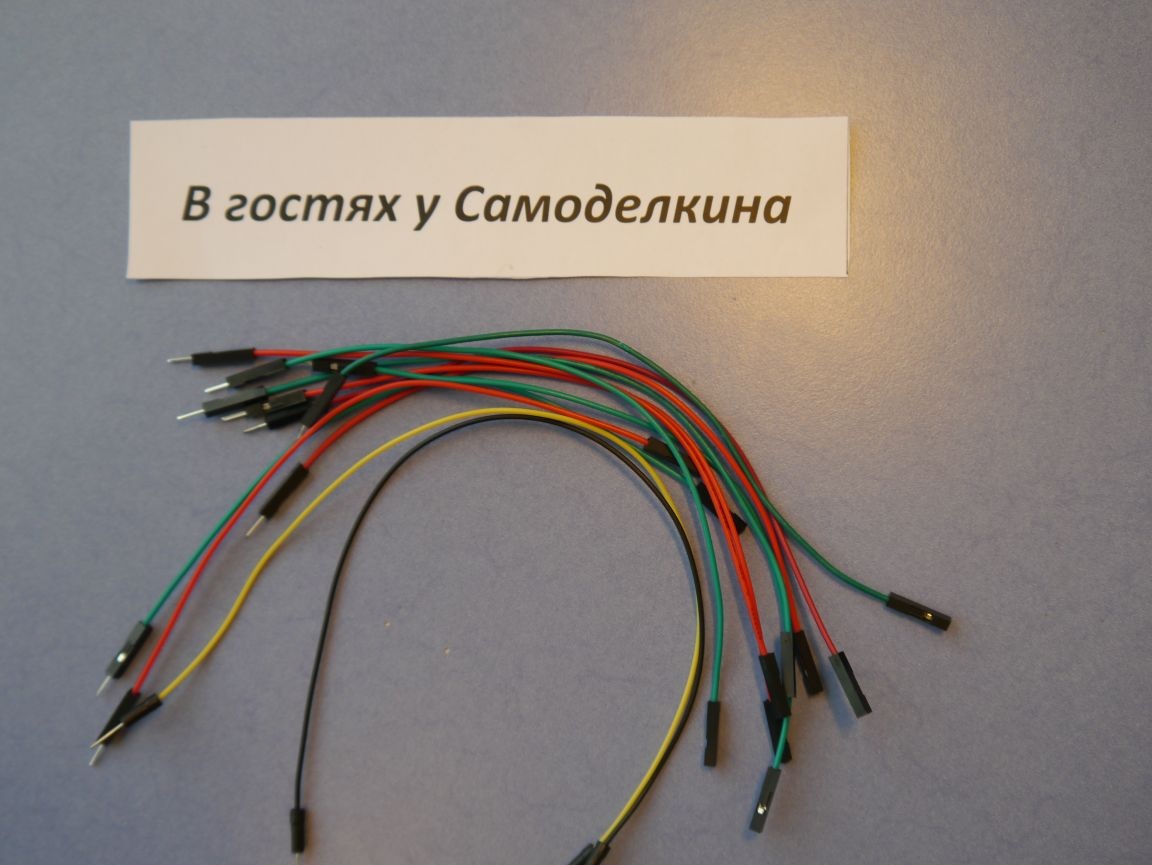
Wires (dad mom, dad dad)
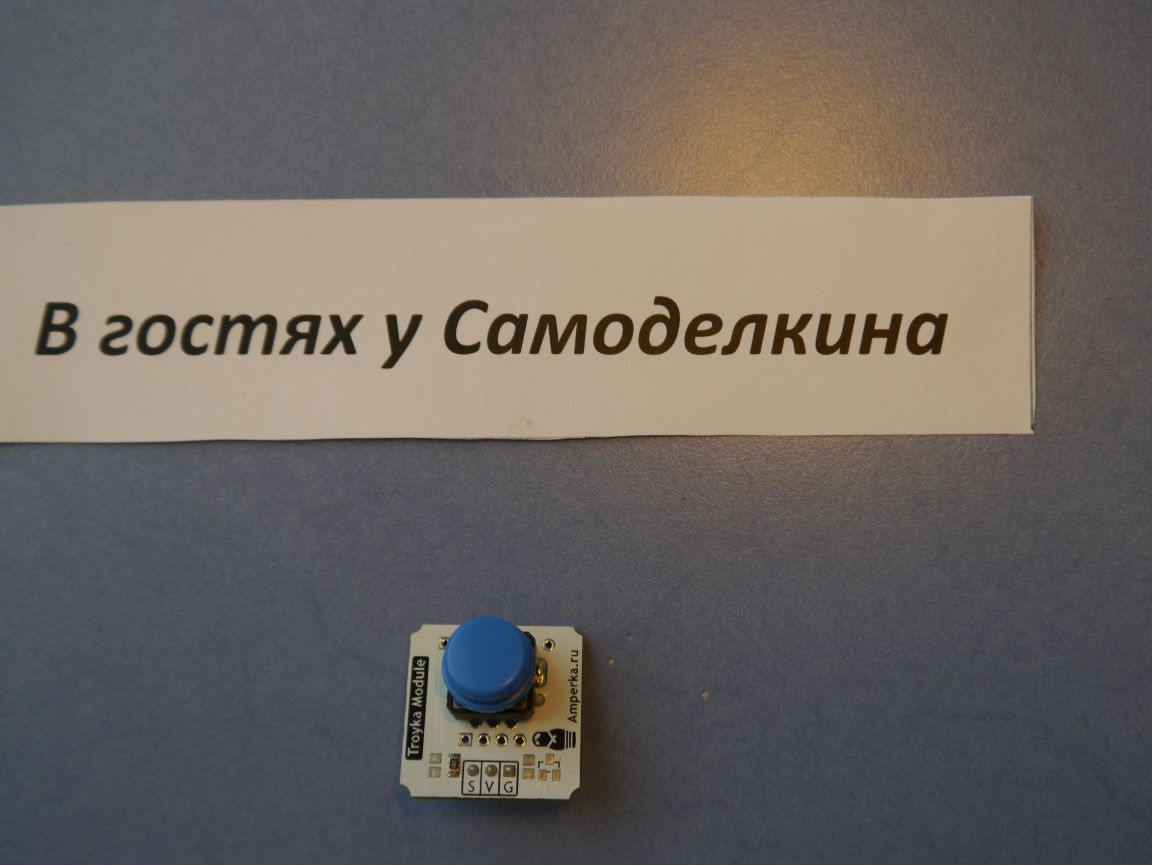
Button
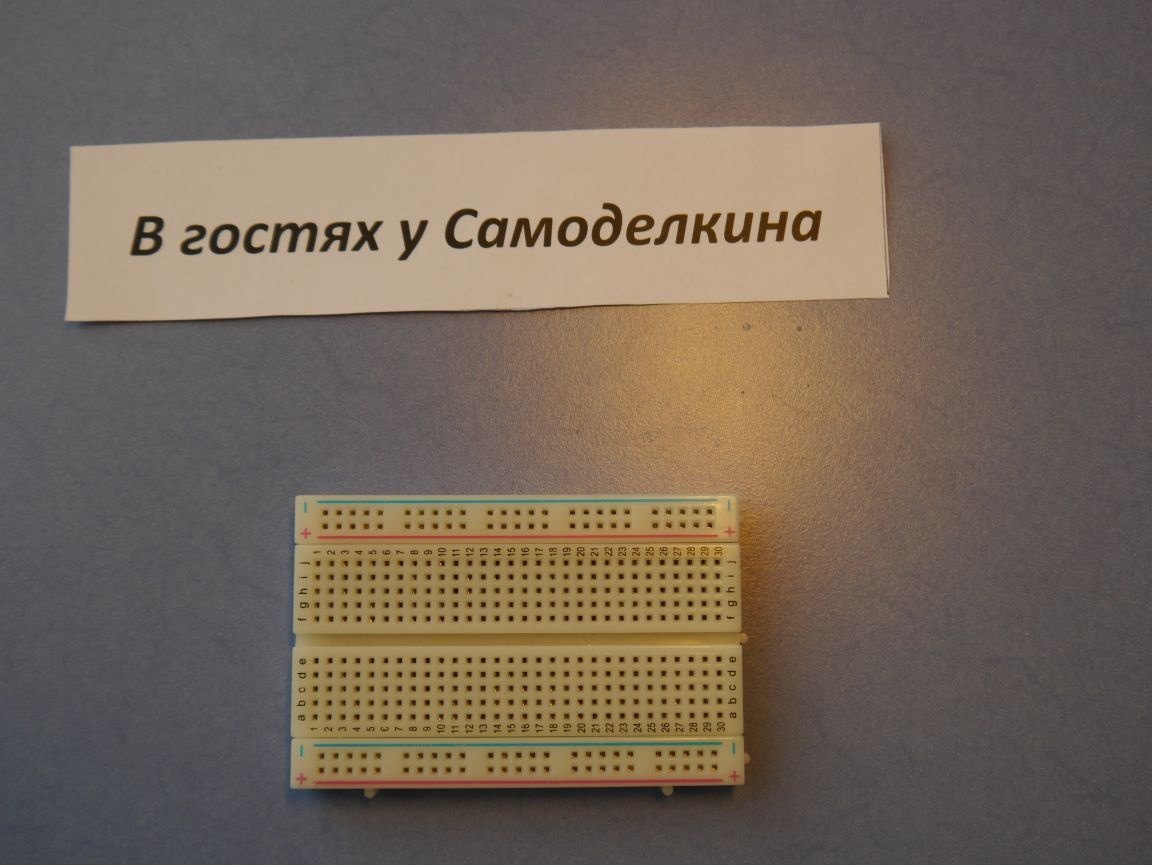
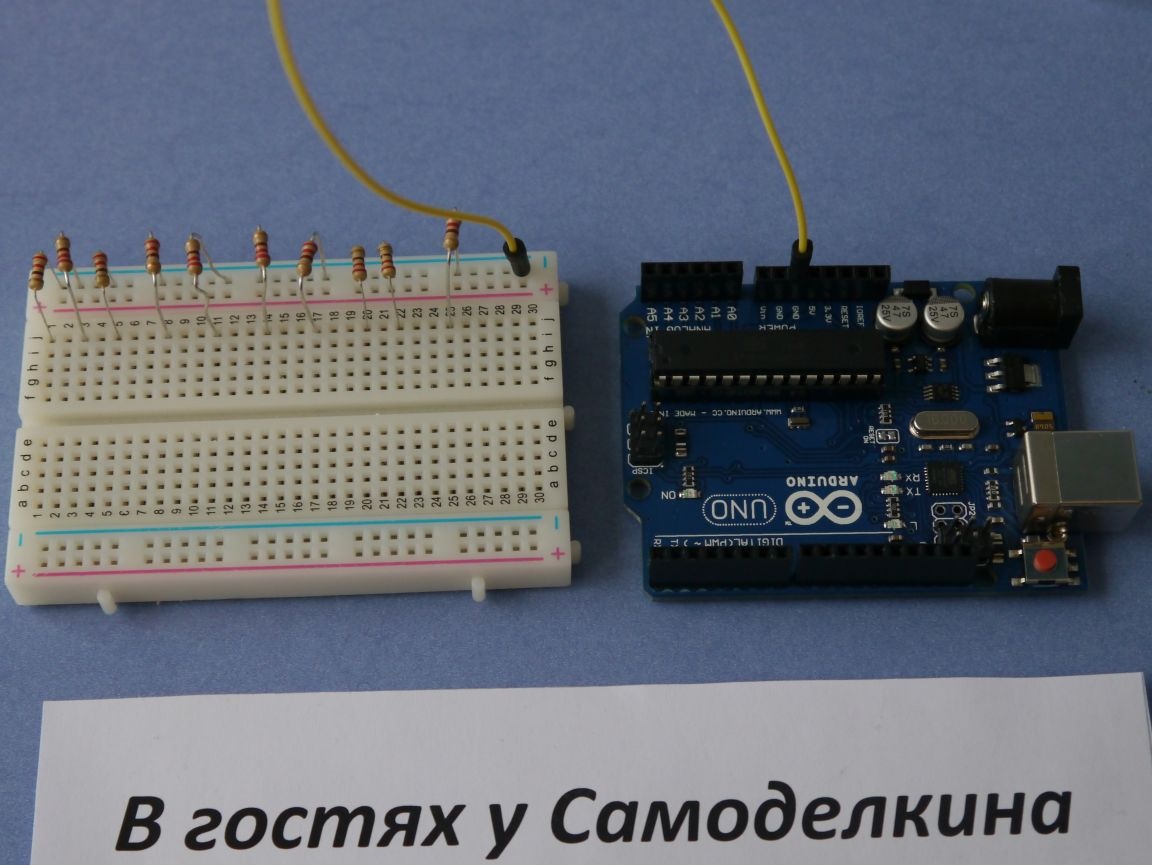
Bread board
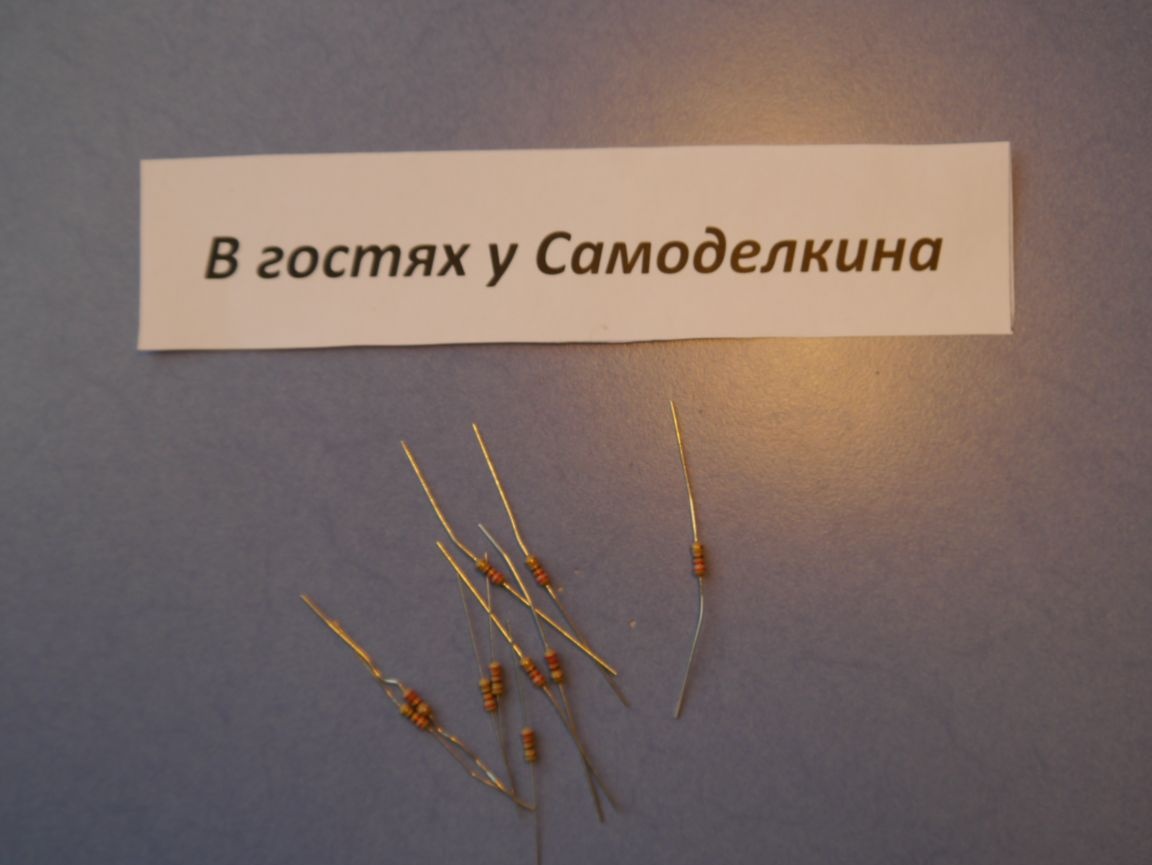
Resistors (220 Ohms)
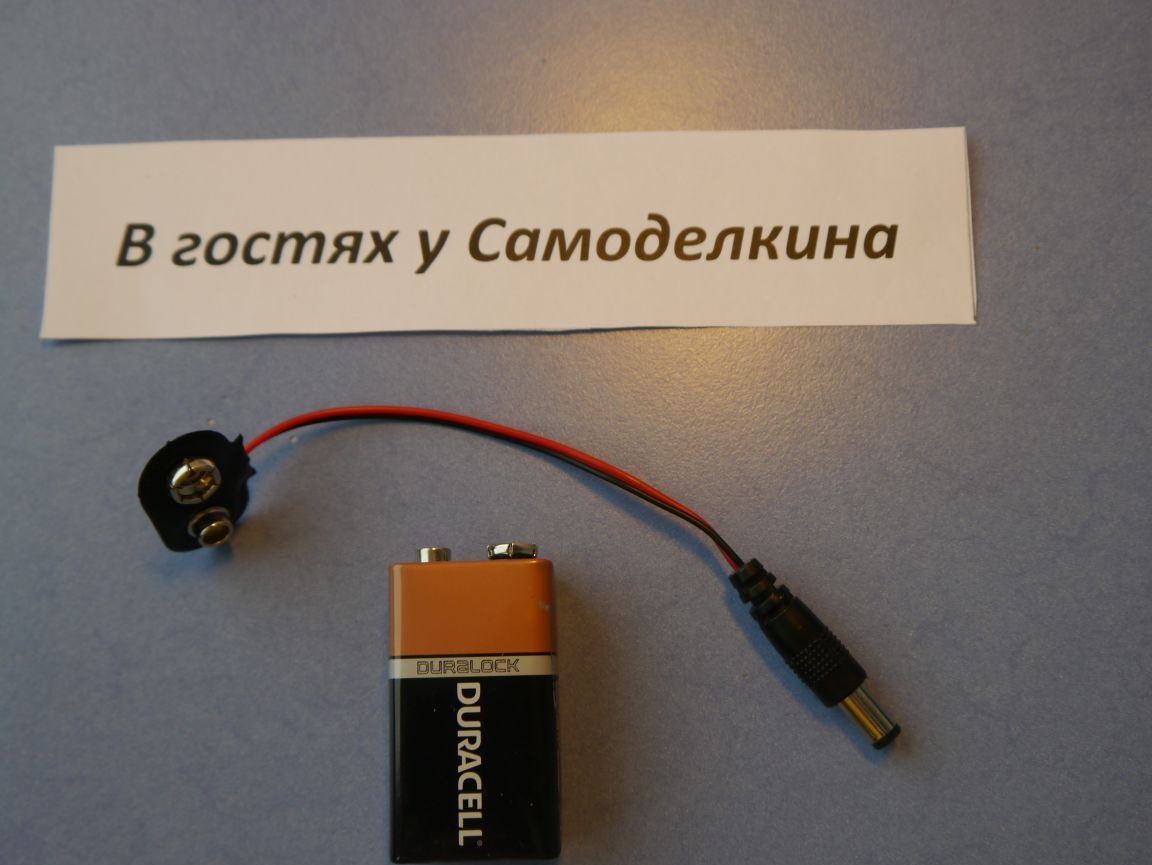
Crown battery (we will power the arduino, it is also possible via a usb cable)
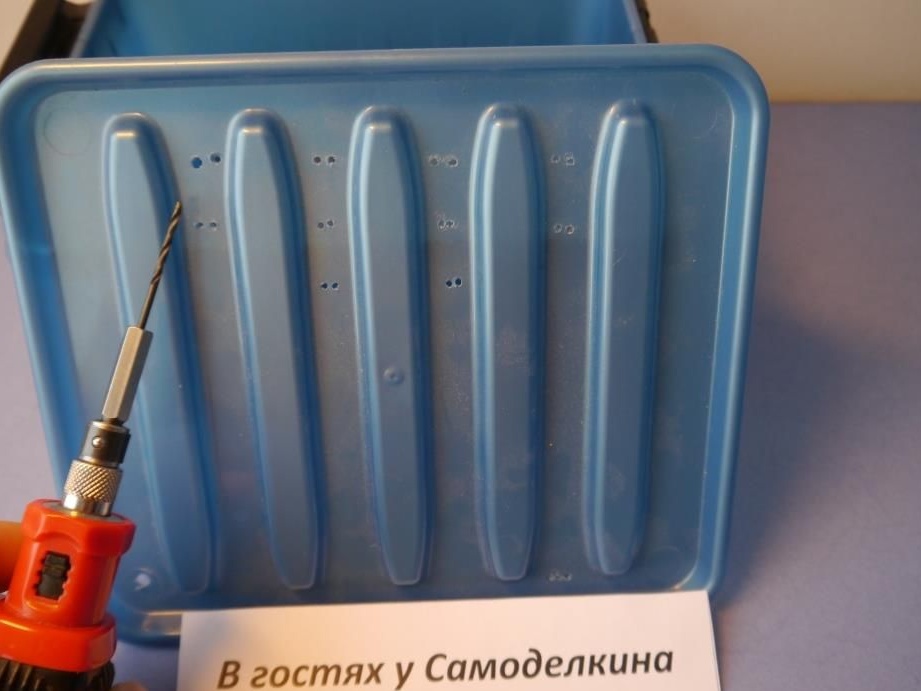
Of instruments we will use only a screwdriver.
Step # 1.
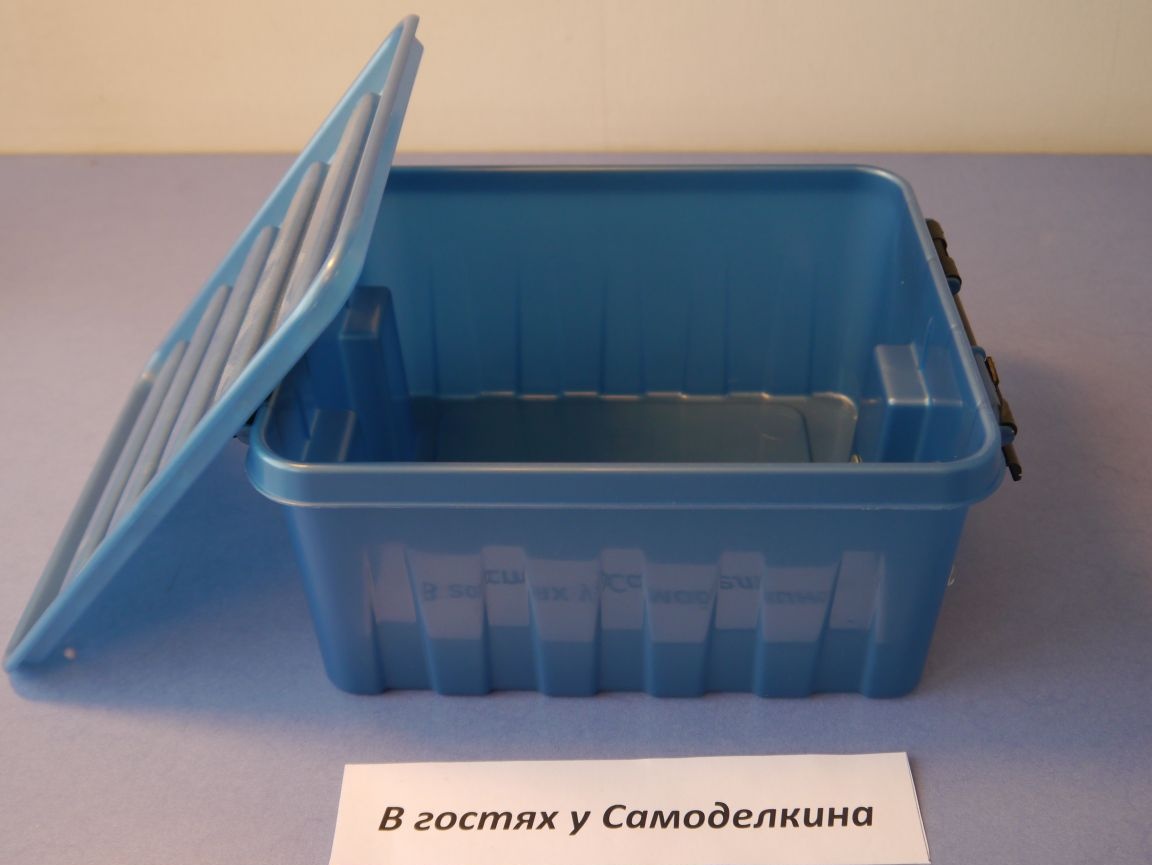
On the side of the box, make a hole for our future button.
Then, on the cover, we make 10 pairs of holes for the LEDs (we take a distance of 5 mm between the two holes)
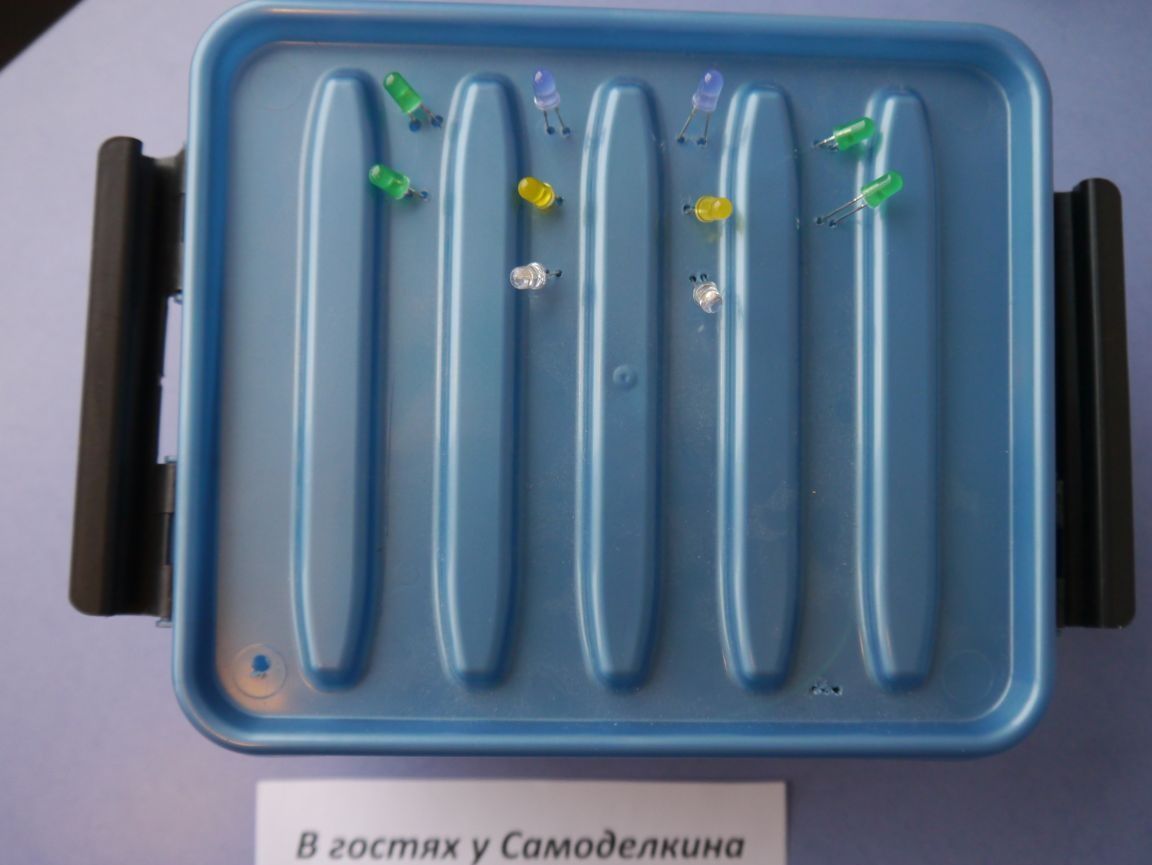
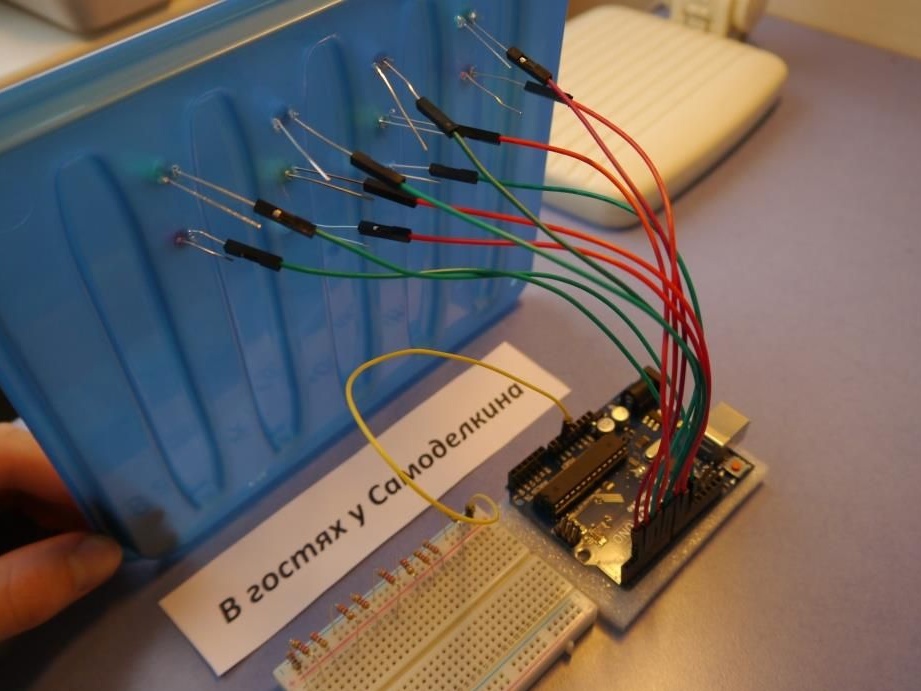
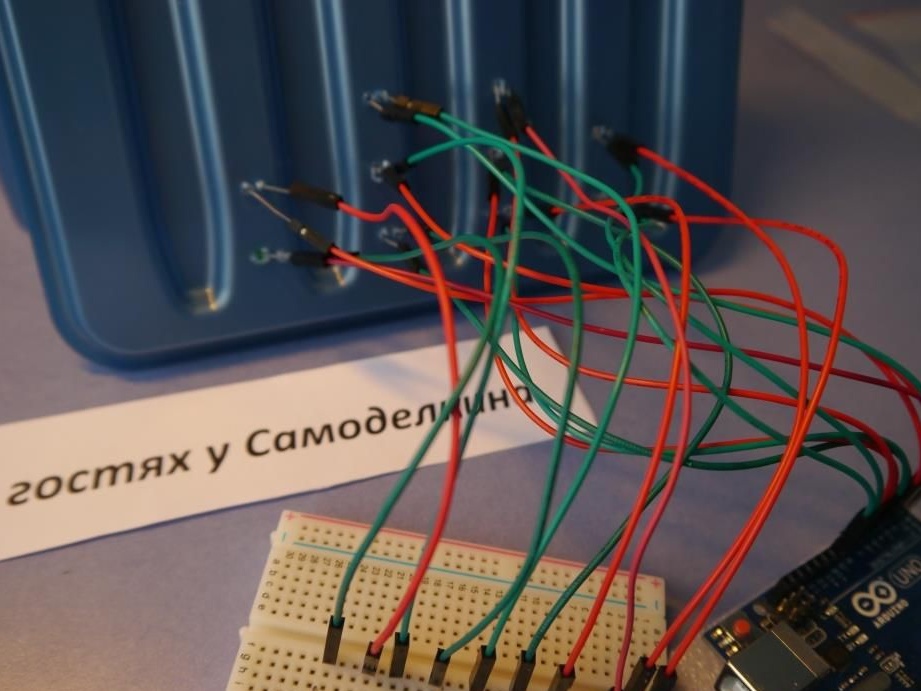
Step number 2. We insert our "lights" in the prepared places
Step # 3. We install 10 resistors on the breadboard, connecting them to the ground. The ground of the breadboard itself is also connected to GND on the microcontroller.
Step # 4. We connect 10 wires of the controller (from 2 to 11) with the anodes of the LEDs with wires (mom-dad). The anode is a longer leg. If you reverse the polarity, nothing will burn.
Step # 5. On the breadboard opposite each resistor, insert another 10 wires.
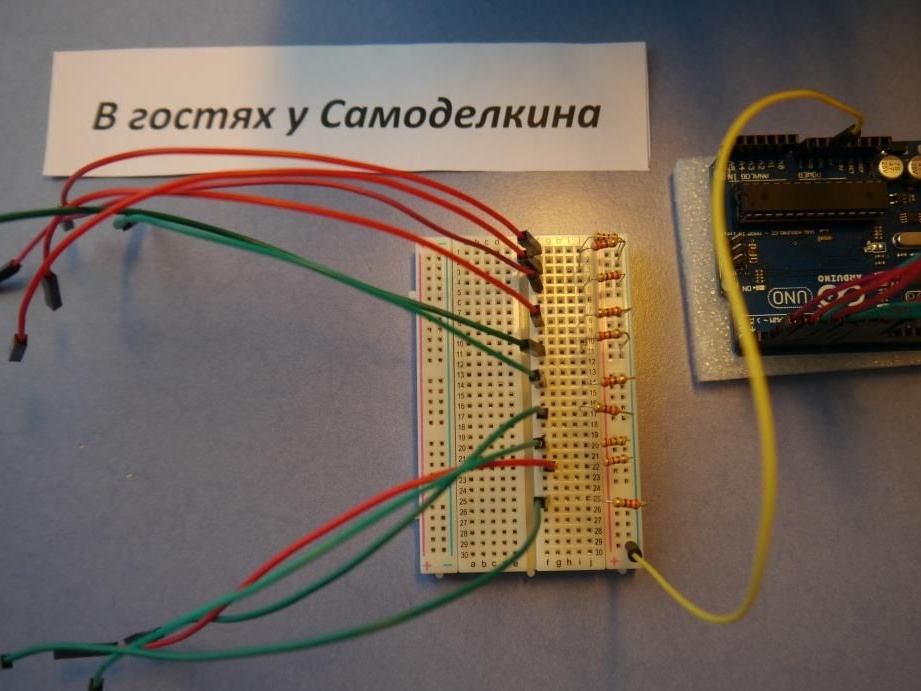
Step # 6. We connect the wires to the remaining legs of the LEDs. (This is their land!)
Step number 7. Connect the button to arduino. She has three wires: ground, power and signal. The latter is connected to the 12th input of the microcontroller. We fix the button on the side of the box.

That's it, now our device is assembled. It remains to connect arduino to the computer and fill in the following sketch:
void setup () {
  for (int i = 2; i & lt; 12; i ++)
  {
   pinMode (i, OUTPUT);
  }
  pinMode (12, INPUT);
}
void loop () {
 int b = digitalRead (12);
 if (! b)
  {
    for (int a = 1; a & lt; 20; a ++)
    {
    for (int i = 2; i & lt; 12; i ++)
     {
     digitalWrite (i, 1);
     }
      delay (500);
     for (int i = 2; i1; i--)
    {
      digitalWrite (i, 1);
      delay (100);
    }
    for (int i = 2; i & lt; 12; i ++)
    {
     digitalWrite (i, 0);
     }
   }
  }
}
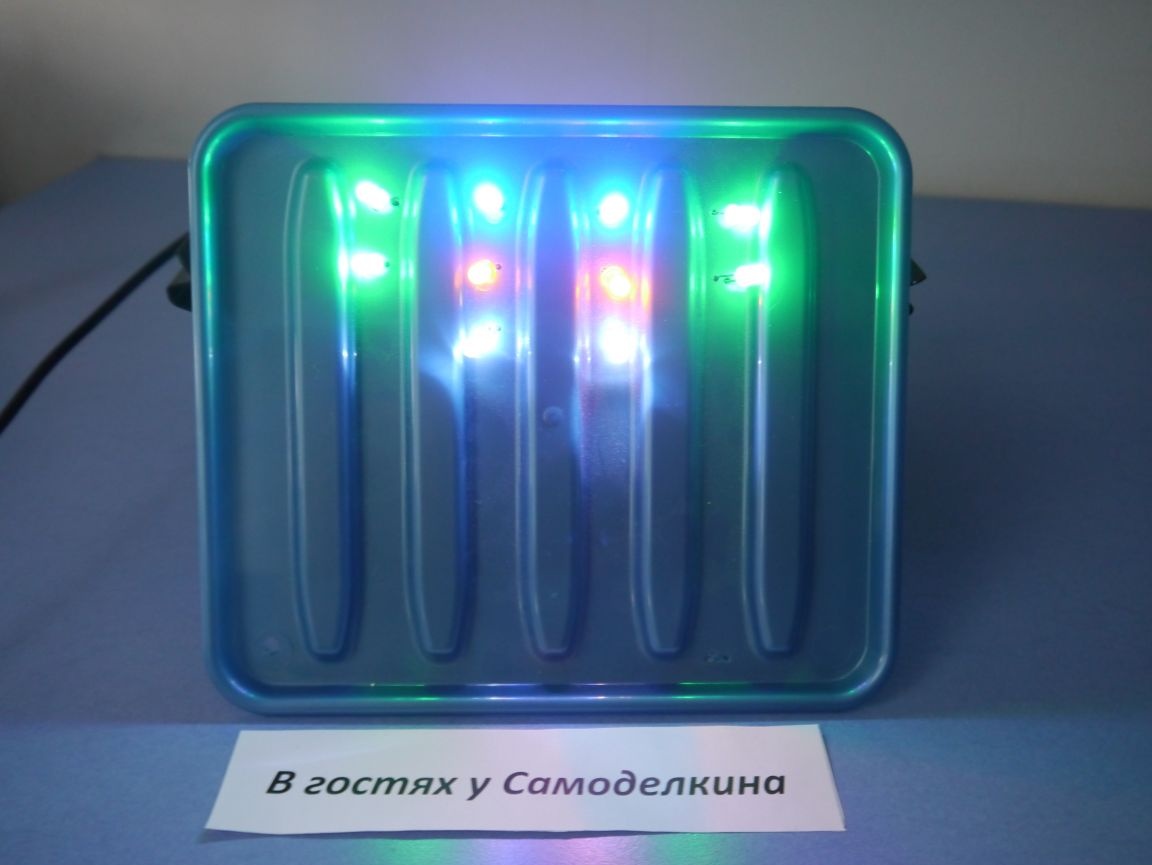
As a result, we get a box with a button, when you click on it, the LEDs will light up in the sequence we set.
I hope you enjoyed mine homemade! Do it! Evolve! Know - inventing it is cool and interesting!