

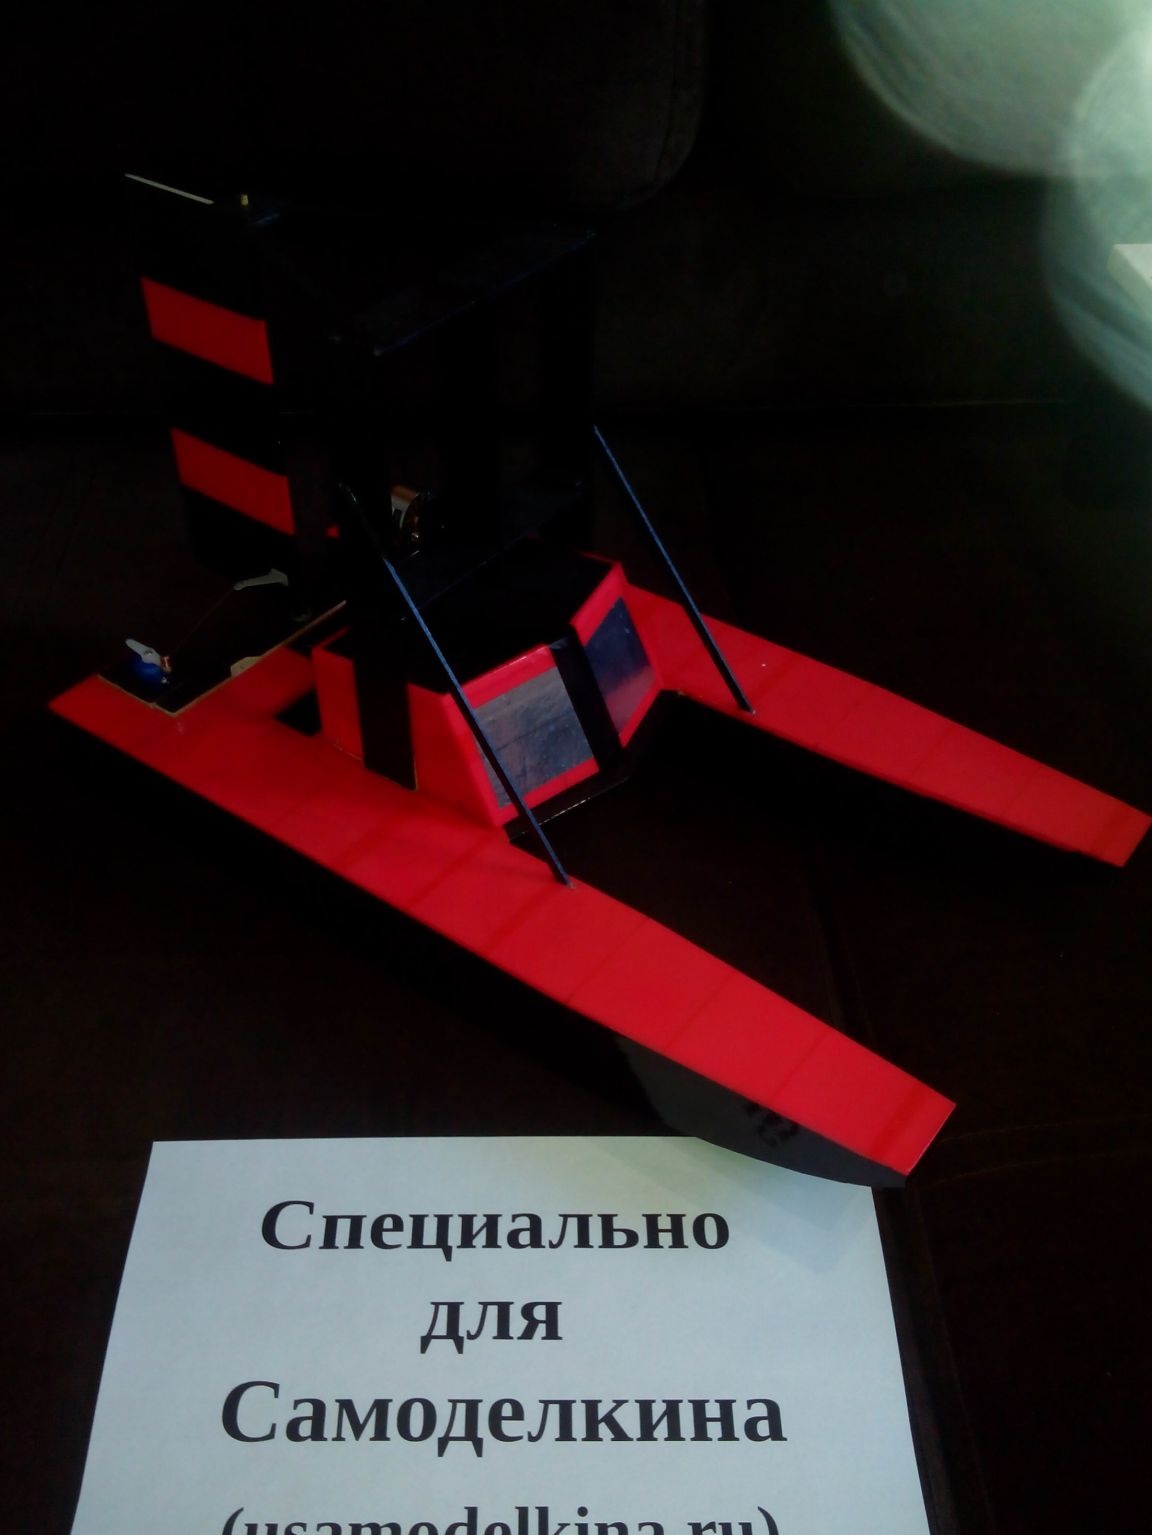
I present to your attention an article about the manufacture of small snowmobiles. This model well suited for beginner modelers or for those who temporarily decided to change the "sky" to the "earth". It’s better to run these snowmobiles on a flat platform without hillocks, then you don’t have to run to it after the coups.
Materials:
- Ceiling tile
- Colorful tape
- Wooden rulers
- Bamboo skewers
- steel wire
- Glue for ceiling tiles
- PVA glue
- Acrylic paints
- Acrylic lacquer
Instruments:
- Stationery knife
- Metal ruler
- Square
- CD marker
- scissors
- Jigsaw
- Sandpaper
- Clothespins
- Syringe for glue
- electrical tape
- Screwdriver with drills
Electronics:
but you can take 8 inches
- you can take 3S (three-jar)
- or any other from 4 channels and above
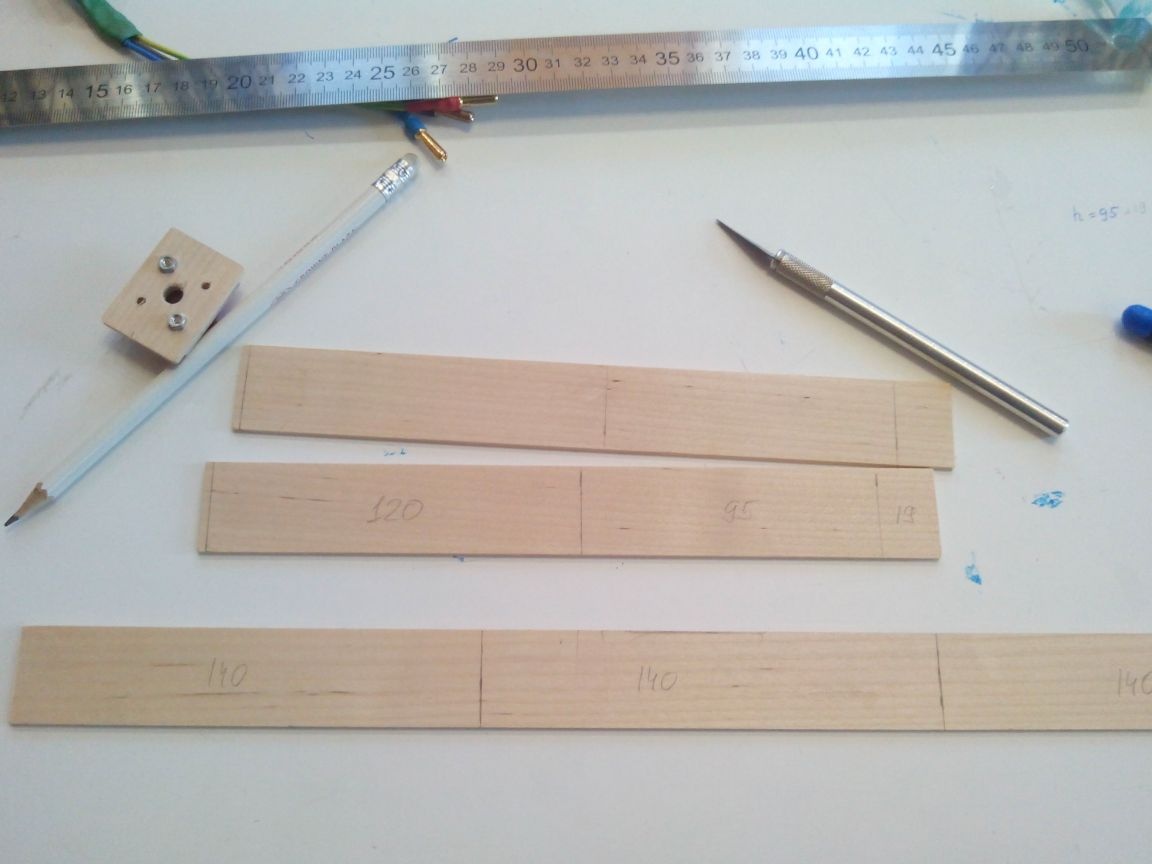
Step 1. We prepare the details.
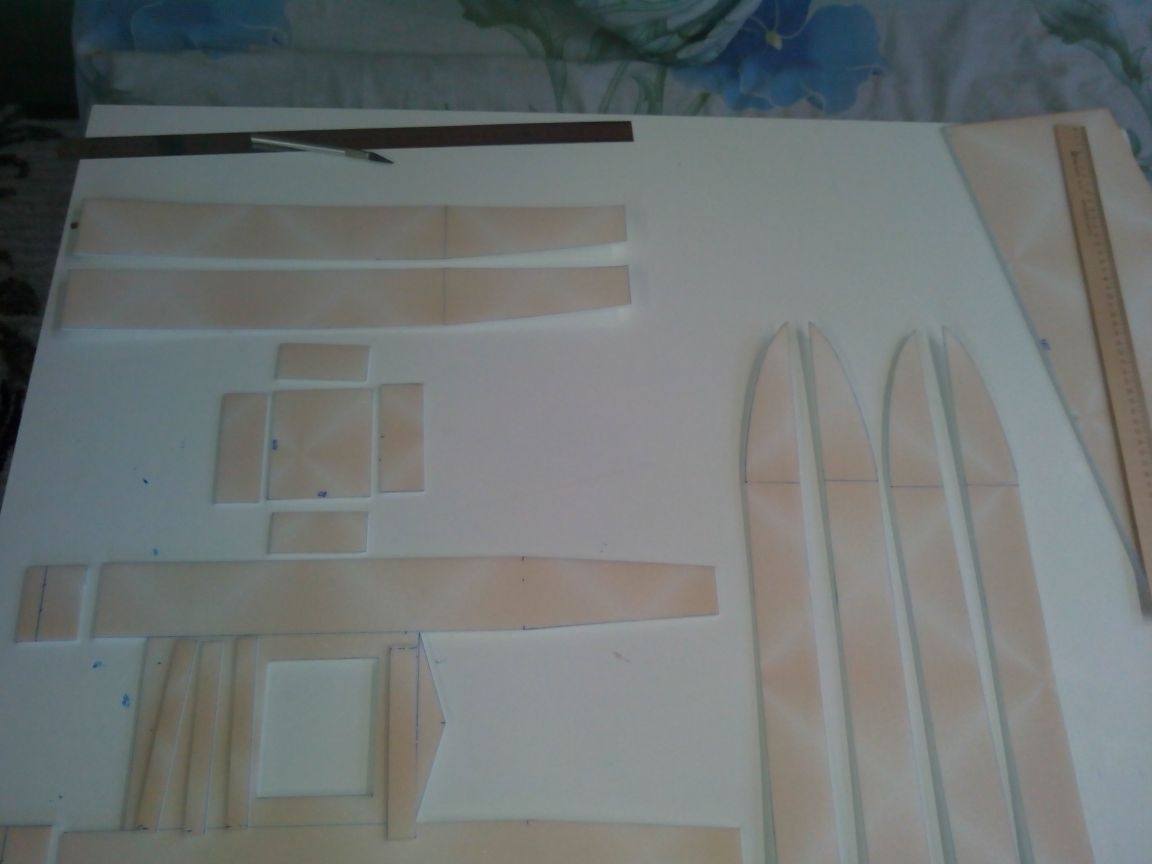
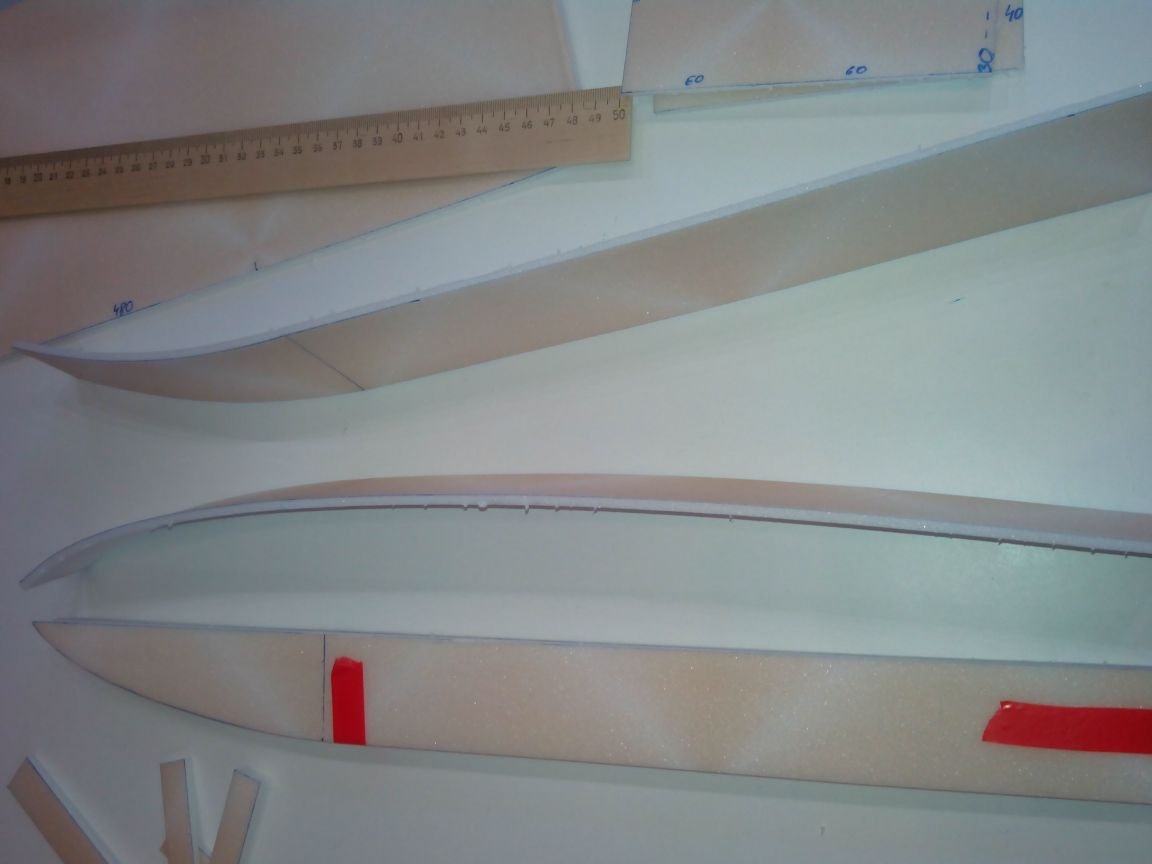
First, we draw all the necessary details with a marker for disks on the sheets of the ceiling. Since the details are quite simple, it makes no sense to look for a drawing and print it on paper. Two sheets of 50 by 50 cm ceilings are sufficient for all parts. Dimensions are in millimeters.
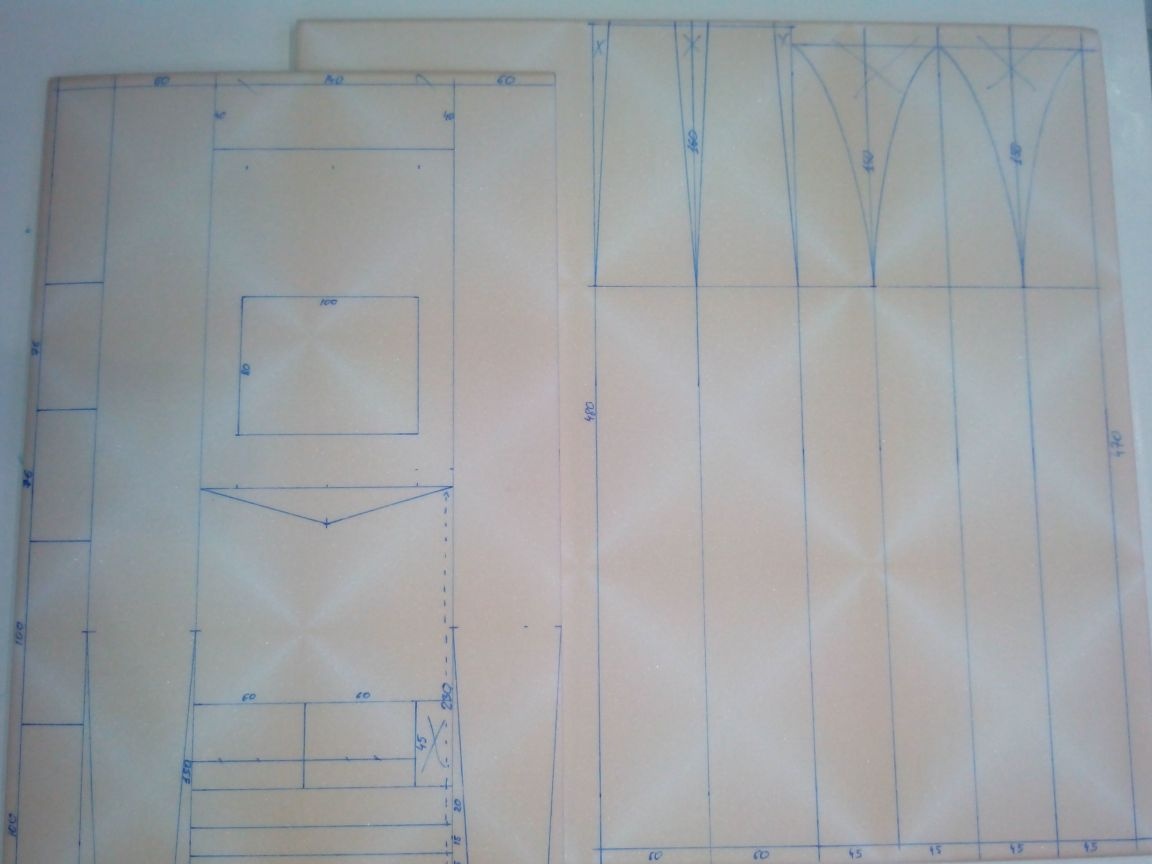
Cut the parts with a cutter in a ruler.
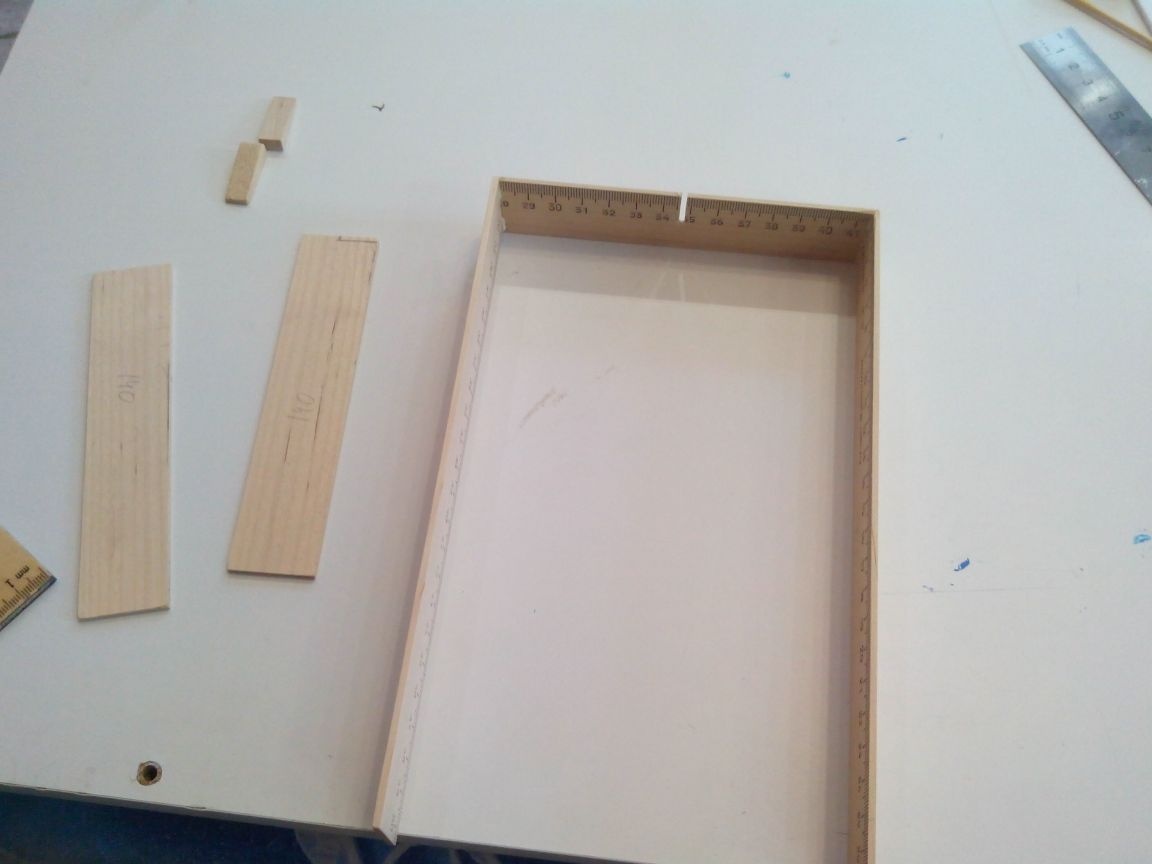
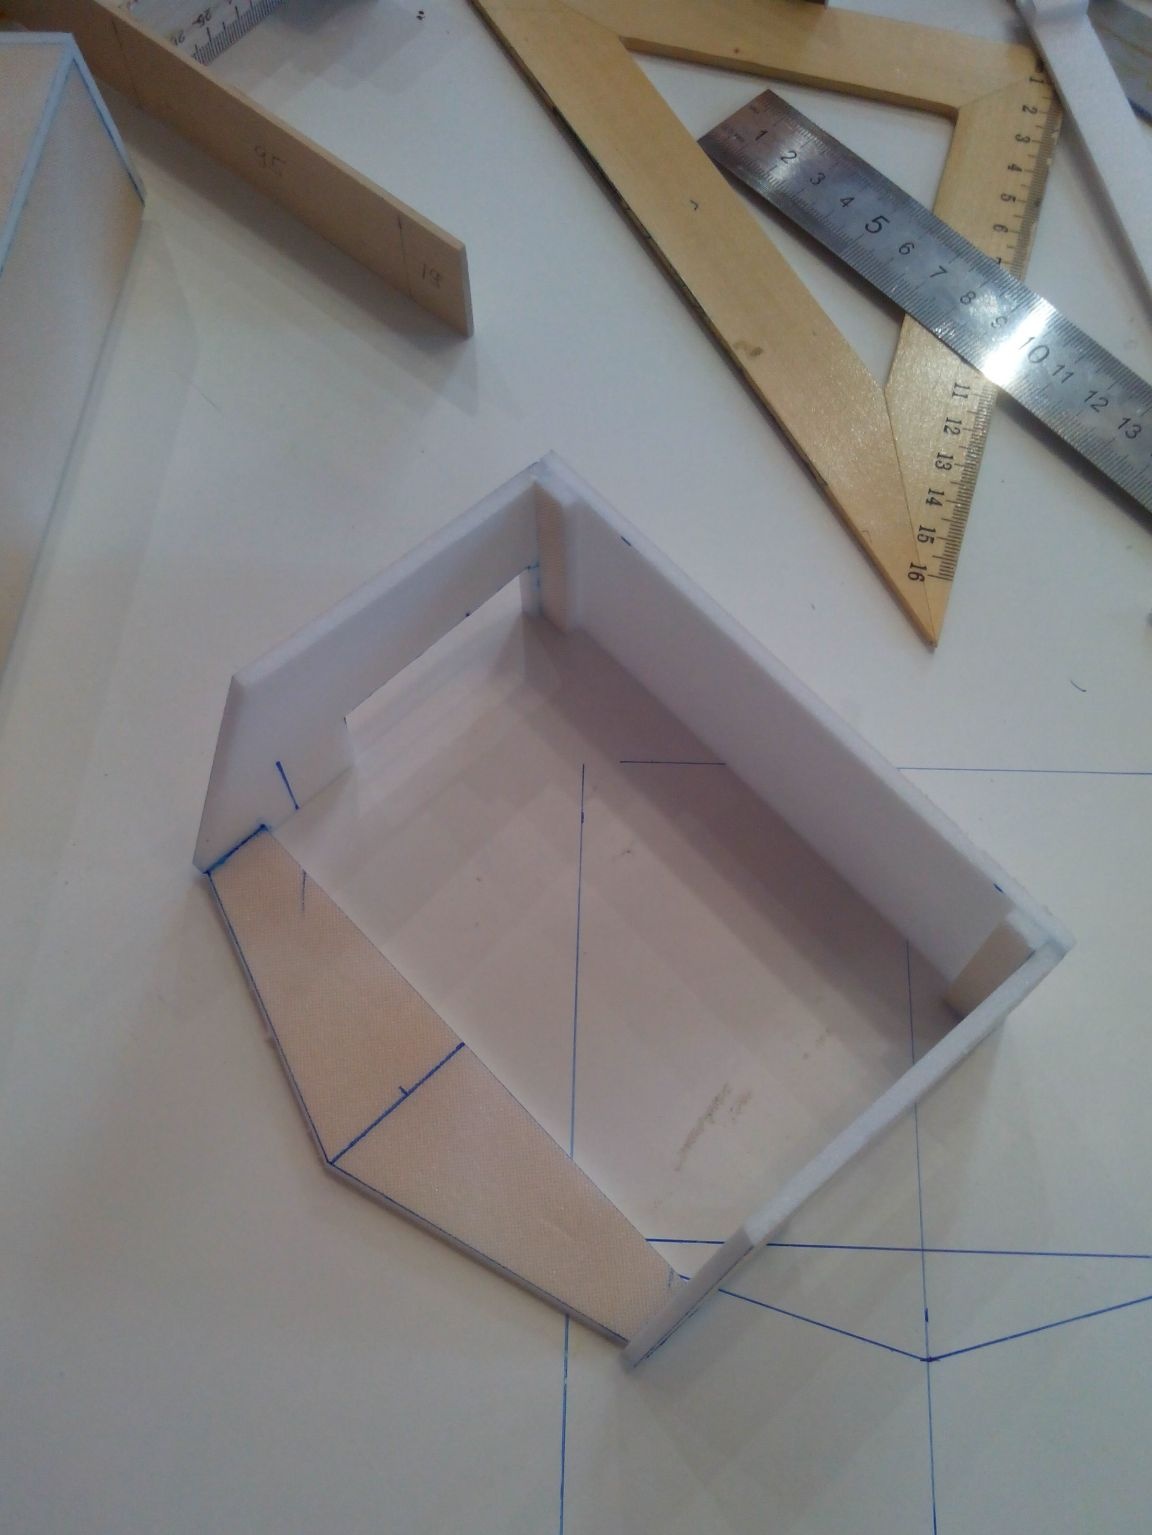
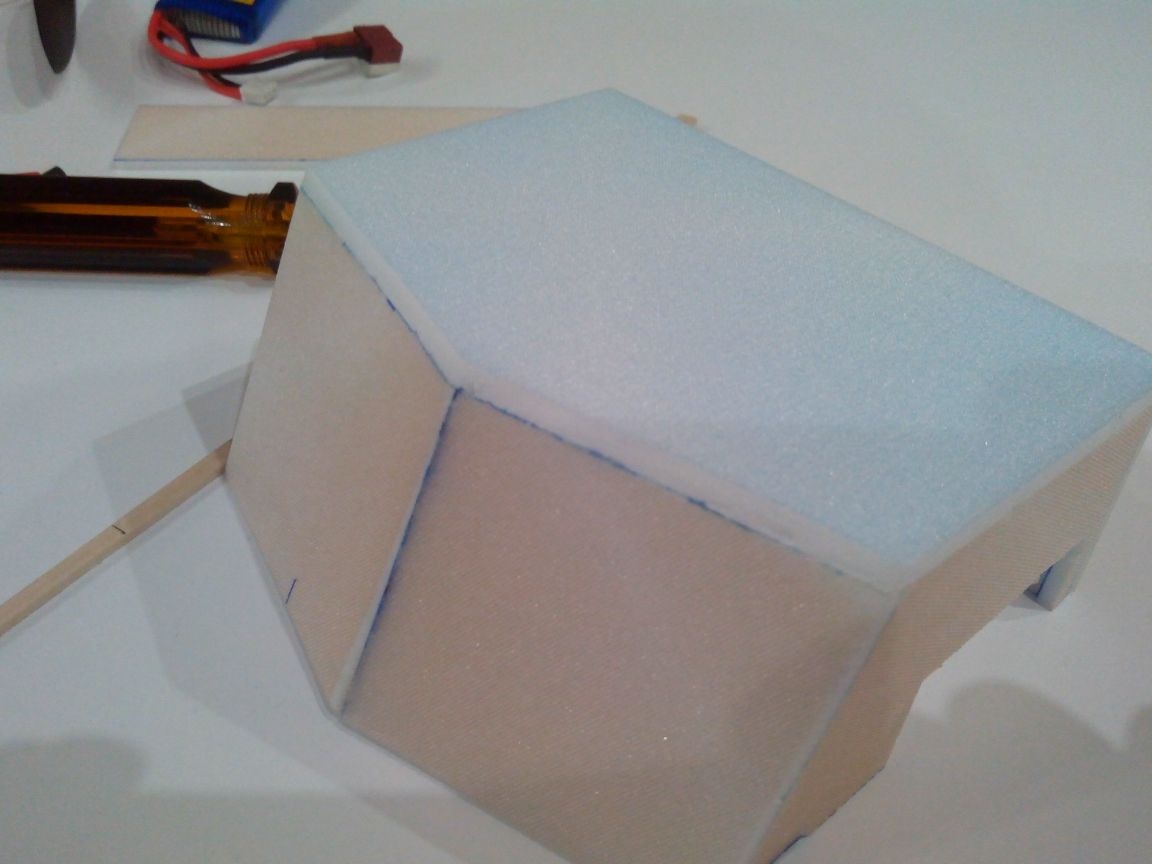
Step 2. Basis.
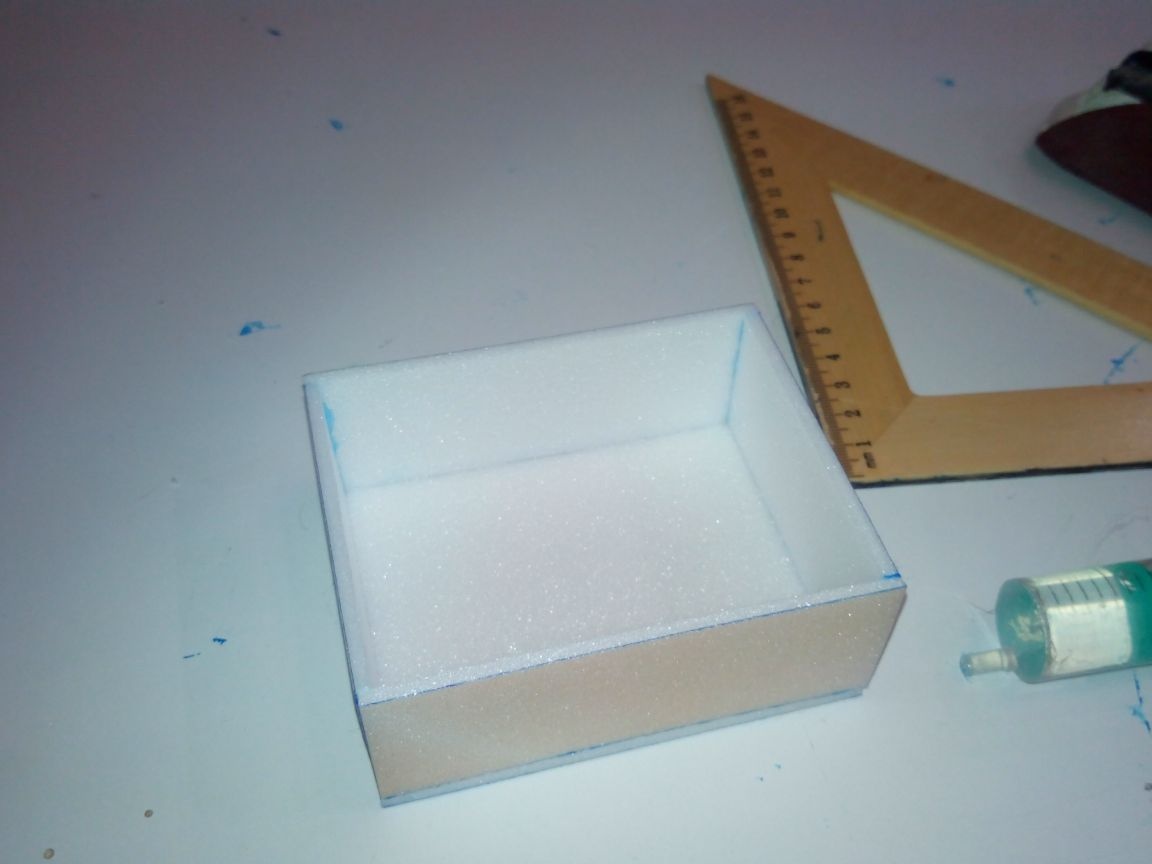
We glue the lower part of the cab (all the electronics will be located in it).
The sides of the skis are collected in a pack and processed with sandpaper to make them the same. Bend the lower sliding surface of the ski on the edge of the table.
Glue the processed side parts of the skis to the base, glue the frames and the back. It is not worth gluing the skis completely at this stage, because then it is more difficult to stretch the wires from the servo.
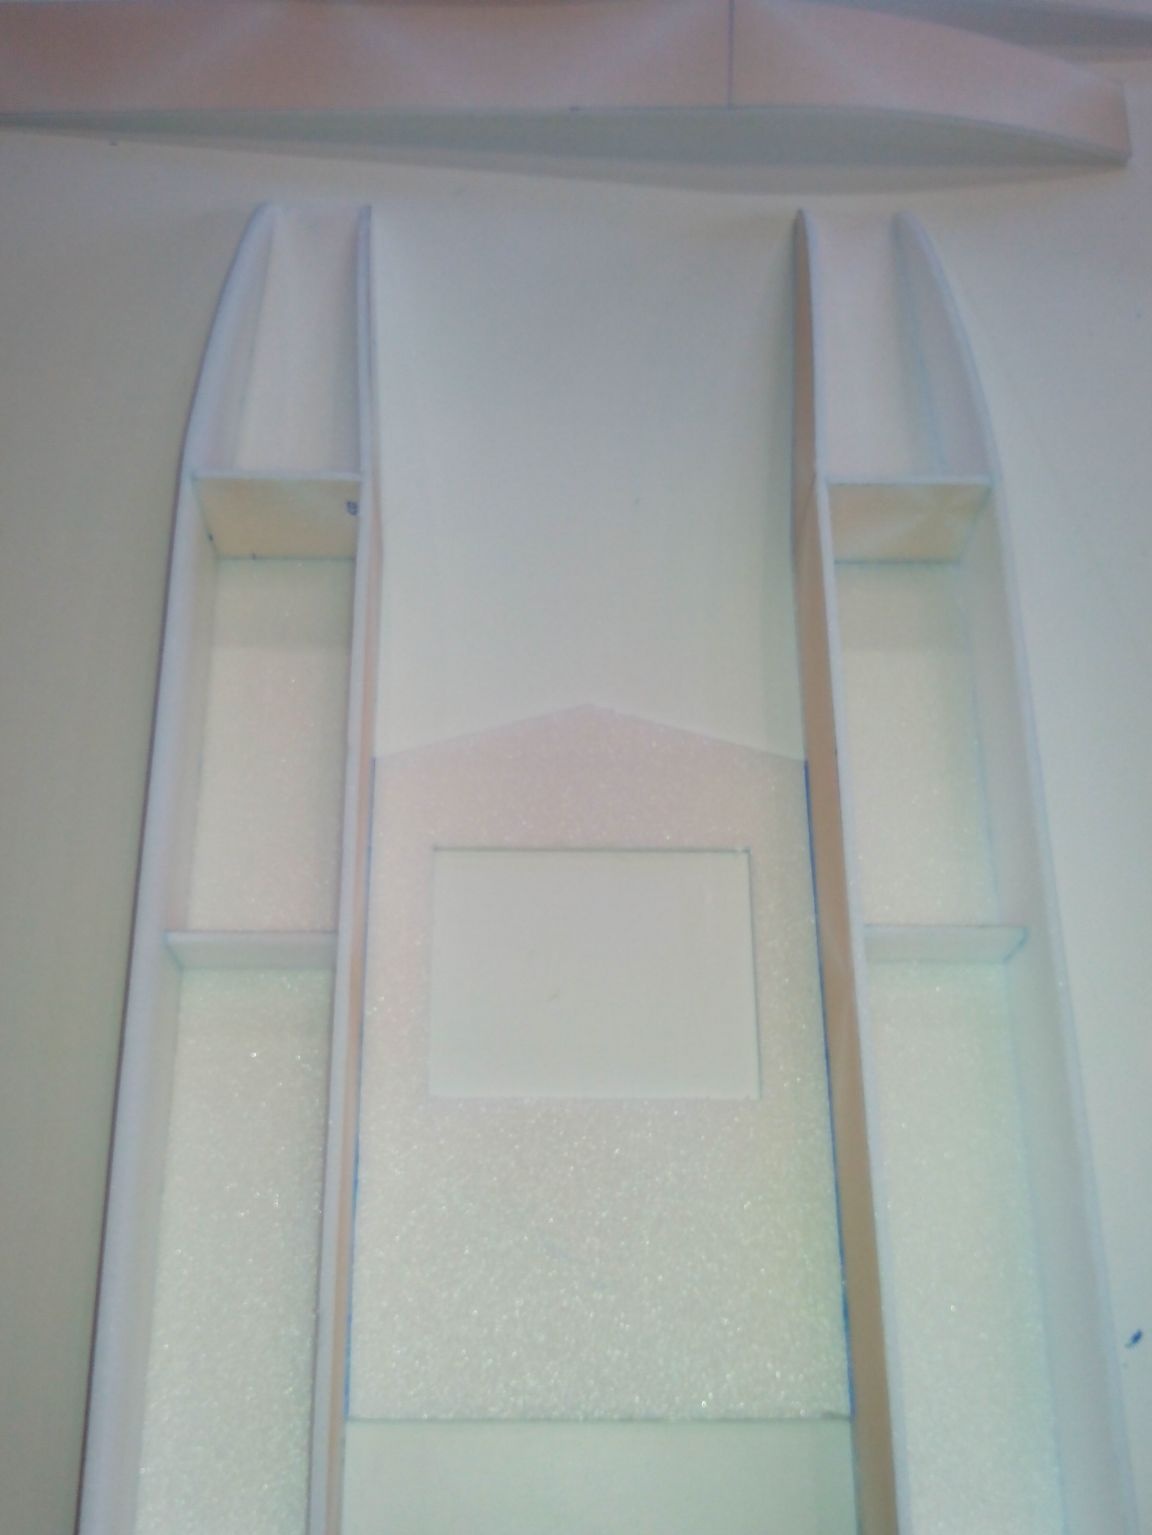
We glue the lower part of the cab to the base and glue the stiffened ribs.
While the main frame dries, we proceed to the manufacture of motor frames and frames from rulers.
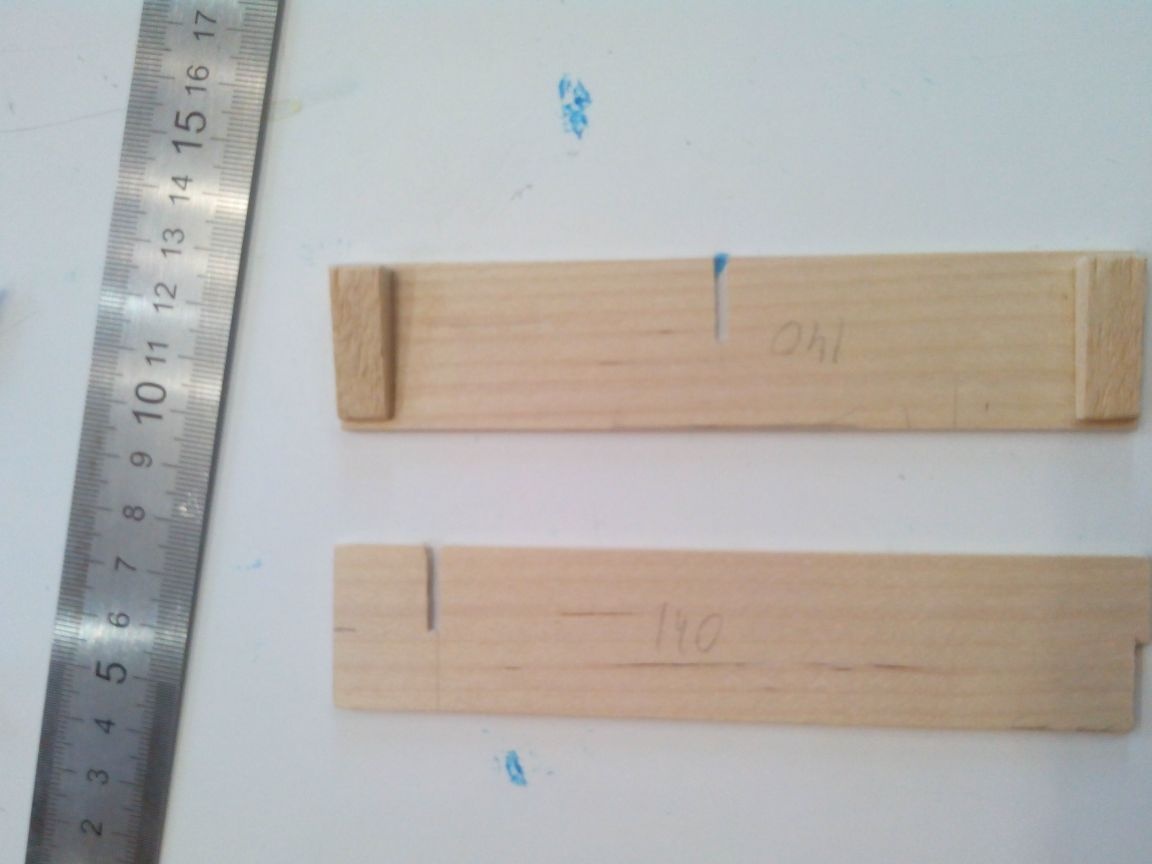
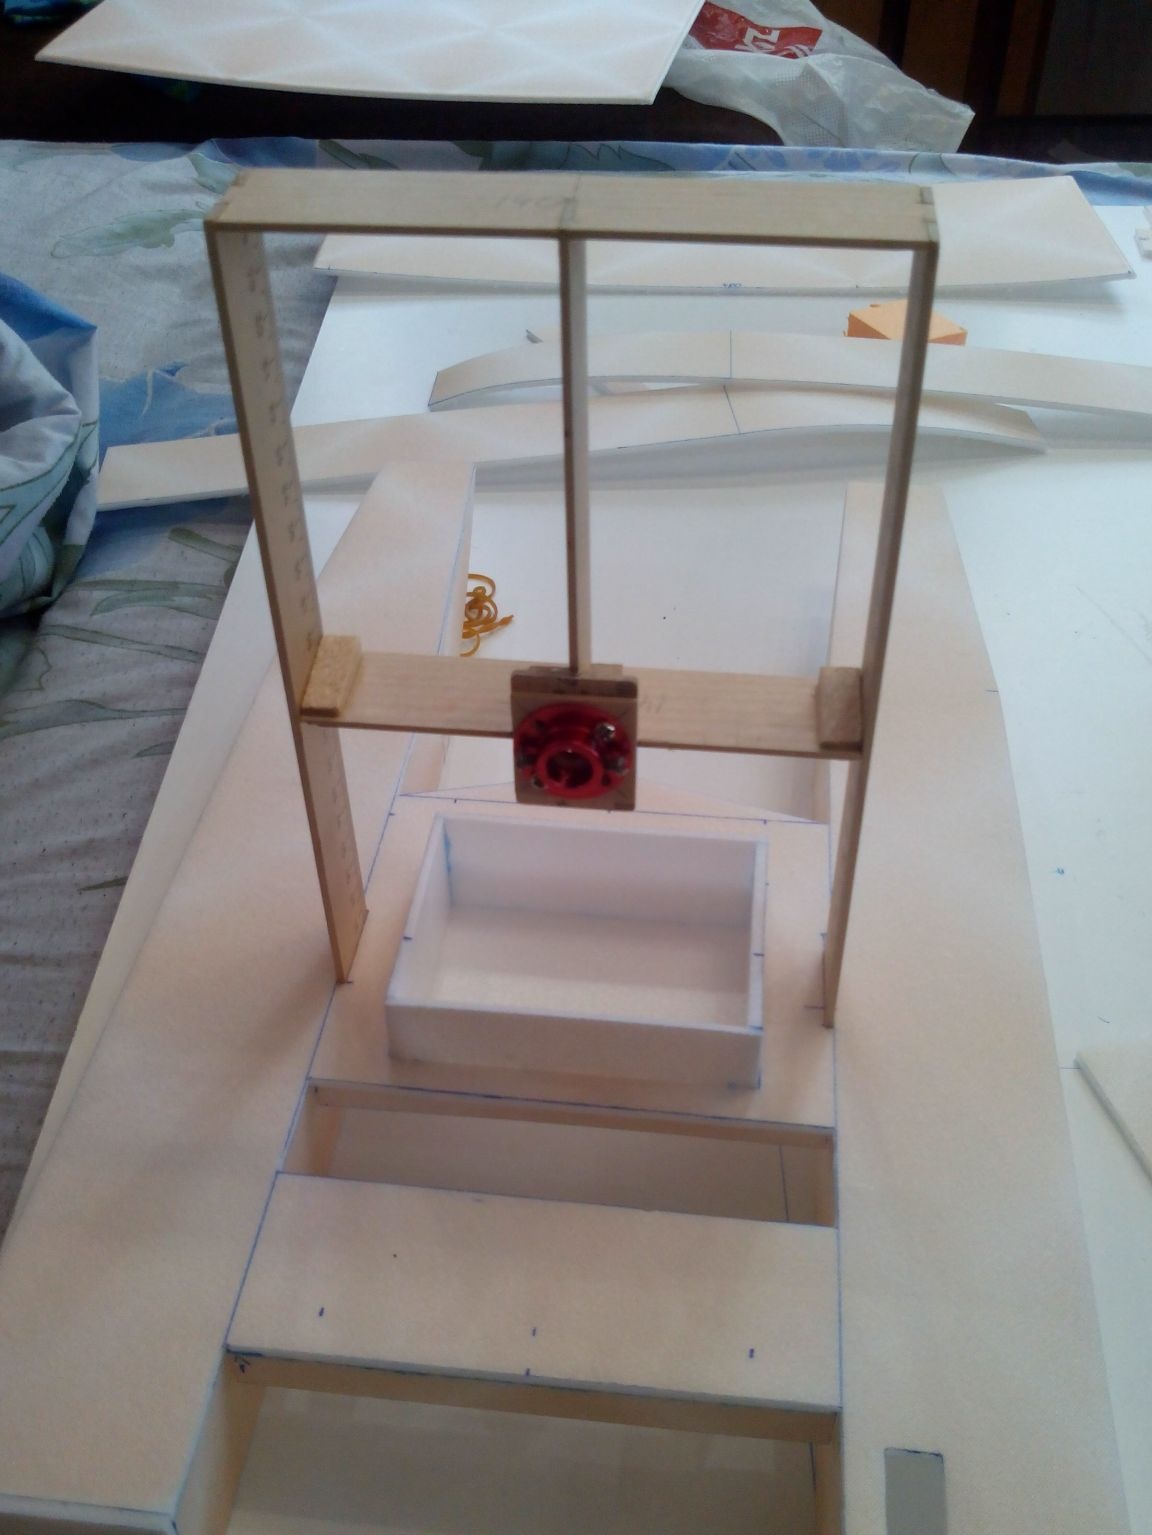
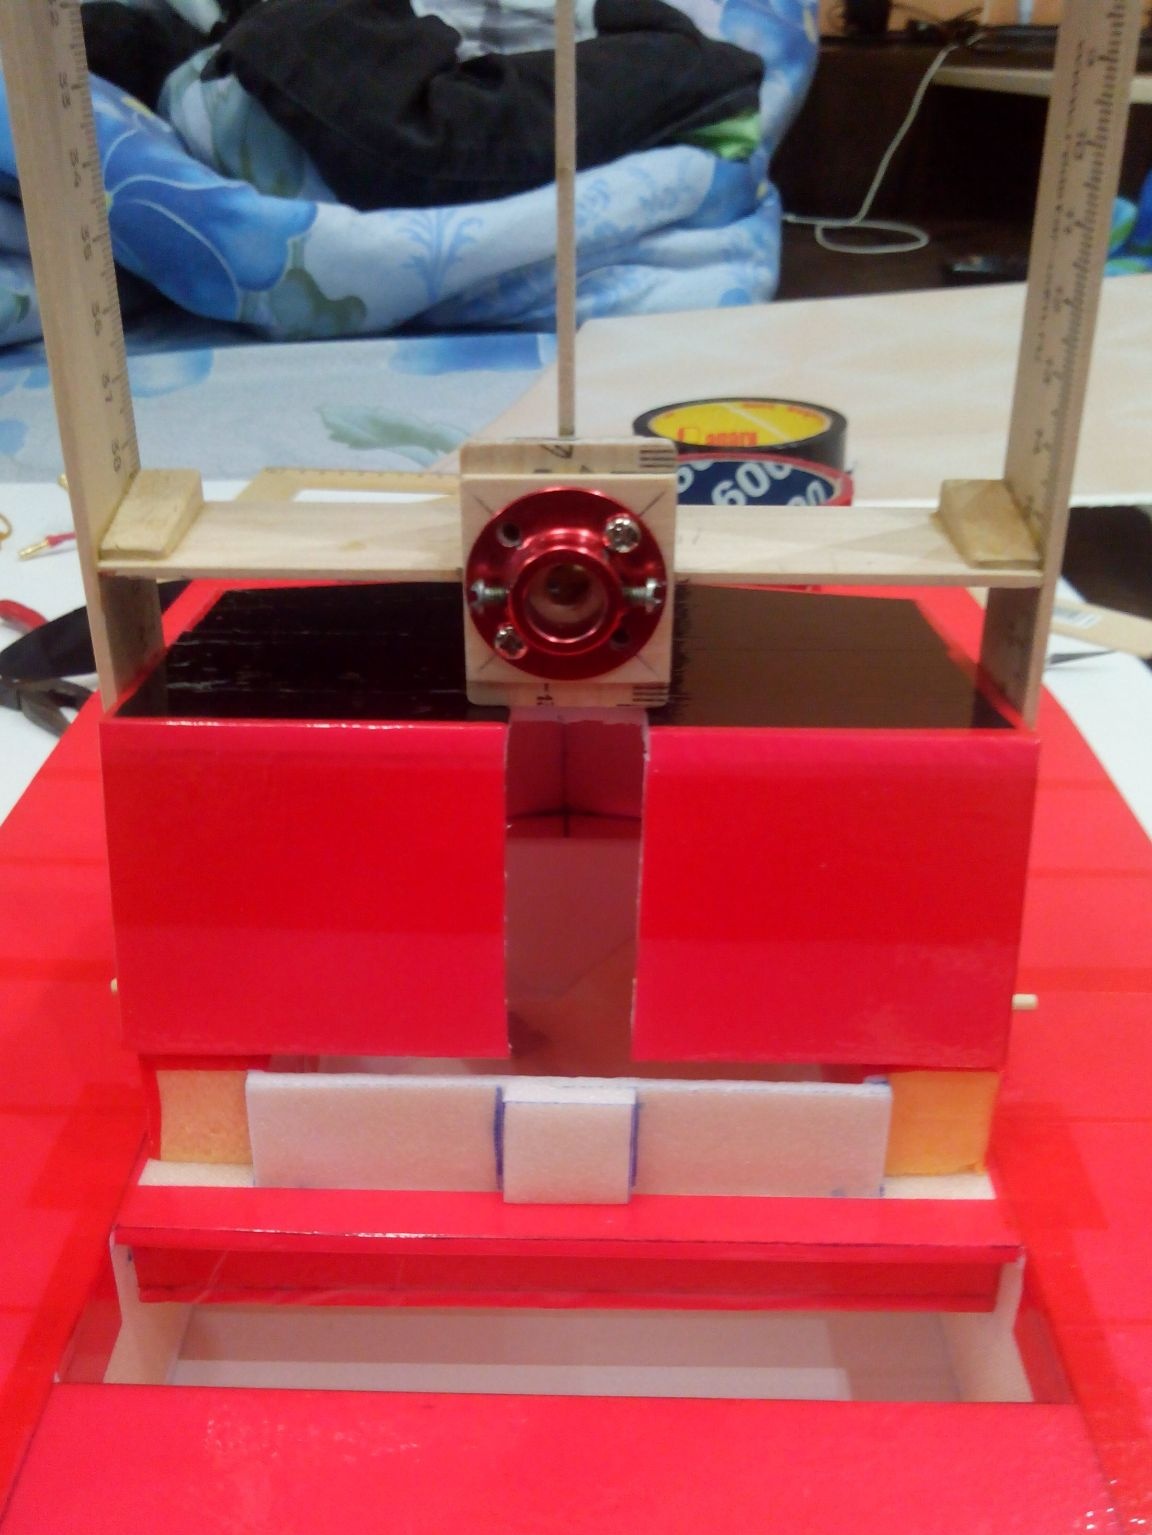
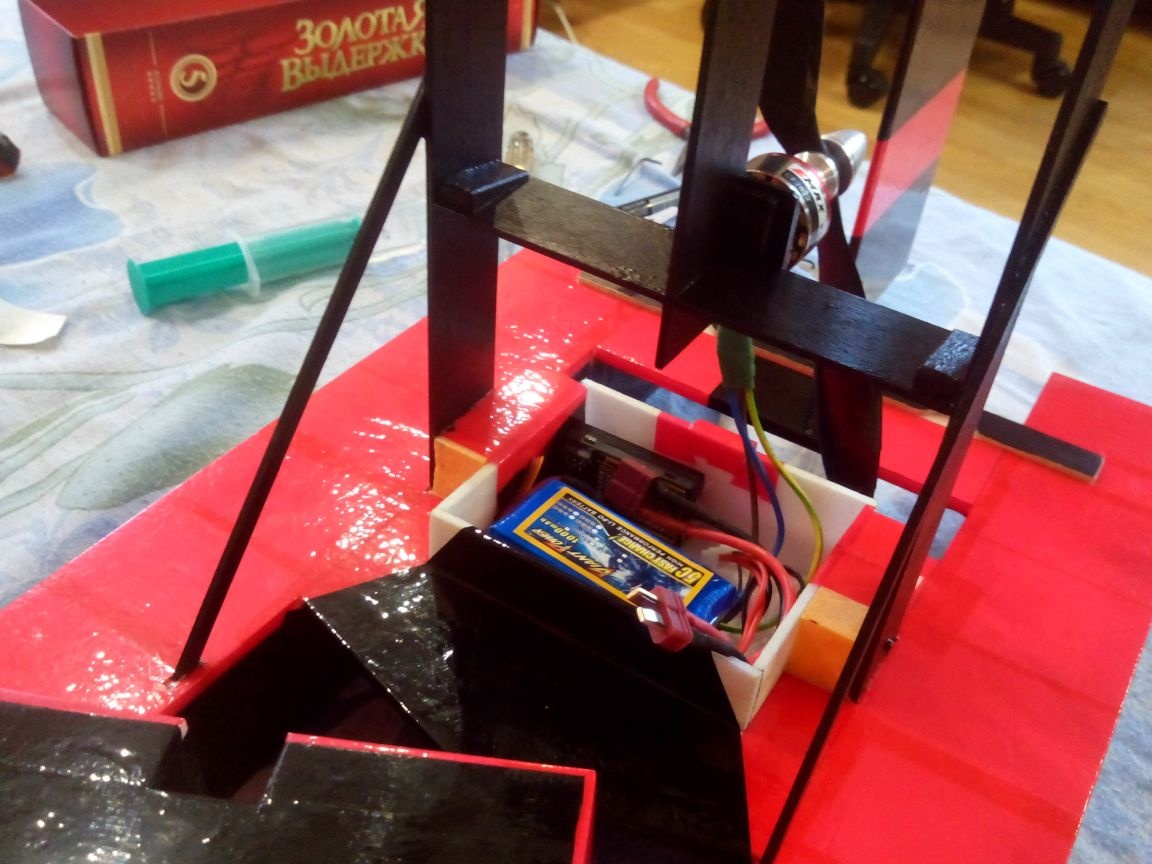
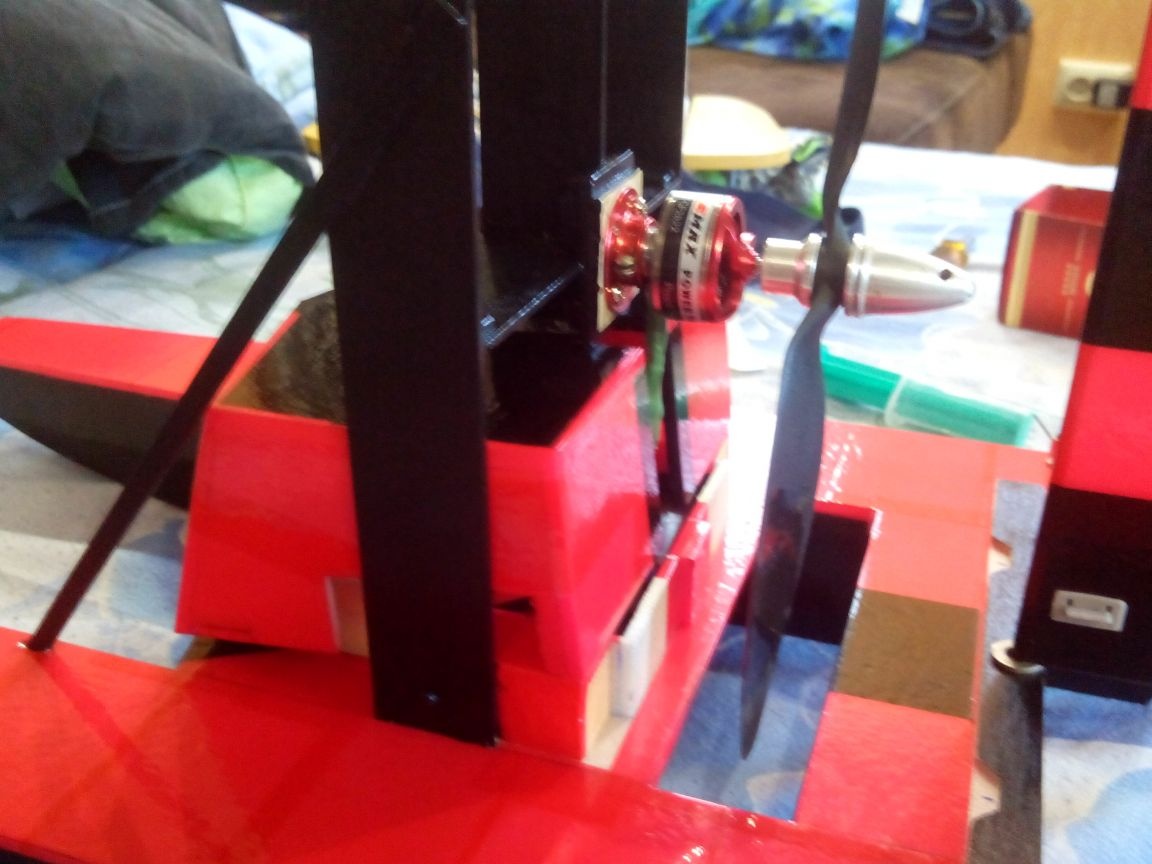
Step 3. Motor frame and frame.
From two pieces of the line we glue (fibers crosswise) with PVA glue for the motor mount, but you can also take a piece of 3 mm plywood. We immediately fasten the motor base to it, so that it is easier to navigate in terms of the location of the nuts.
We cut out the parts for the frame from the rulers.
Glue the frame, tighten with elastic bands and leave to dry.
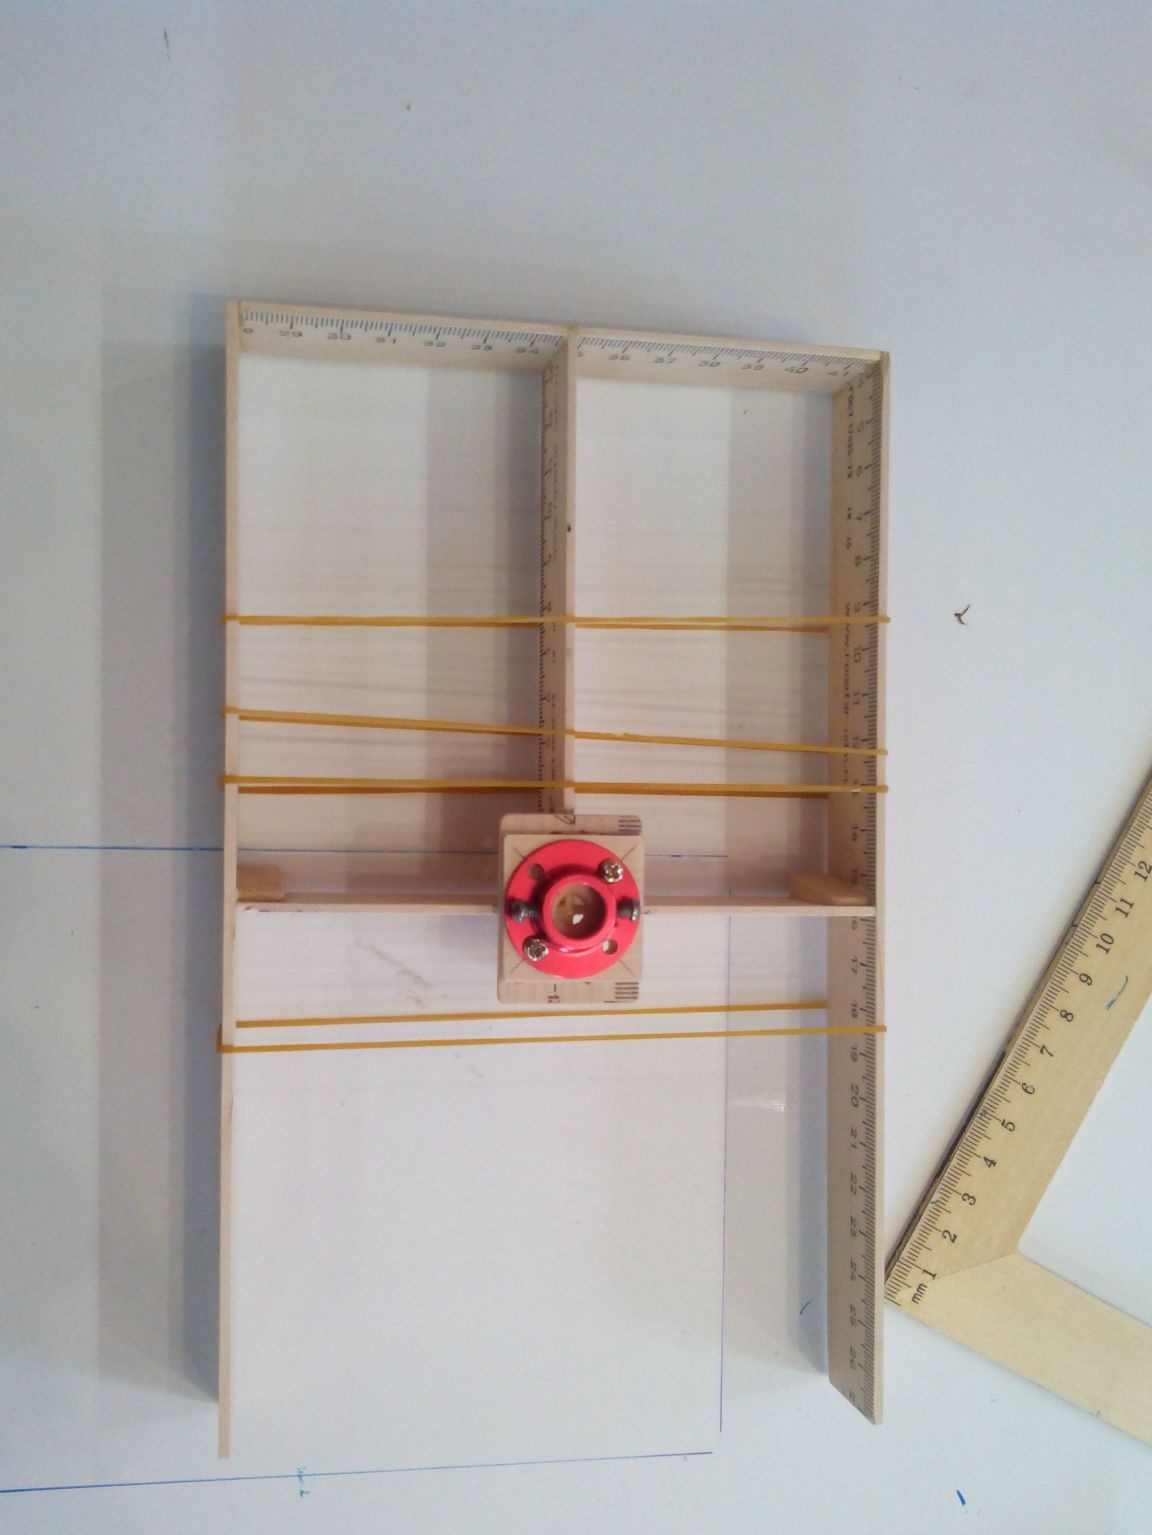
We cut out the slots for the frame at the base, insert the frame with the motor screwed on and cut the propeller slot at the base. Since motors and propellers can be used differently, we perform this step based on our electronics and screw size.
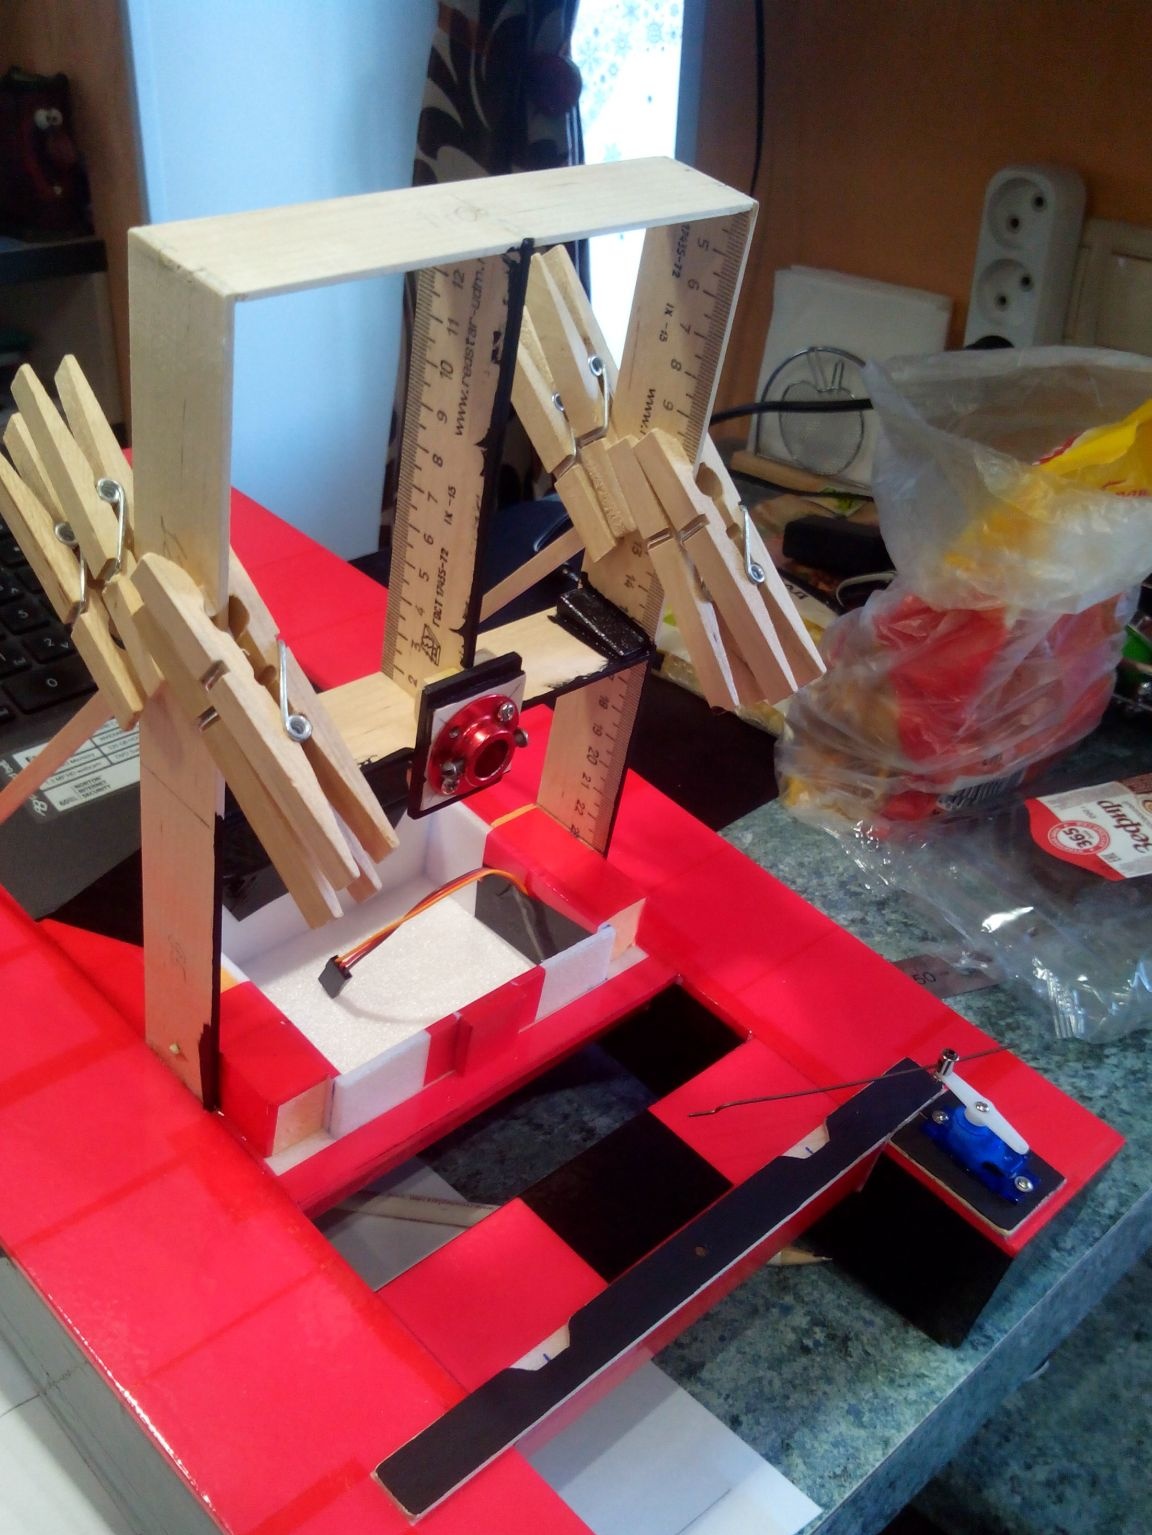
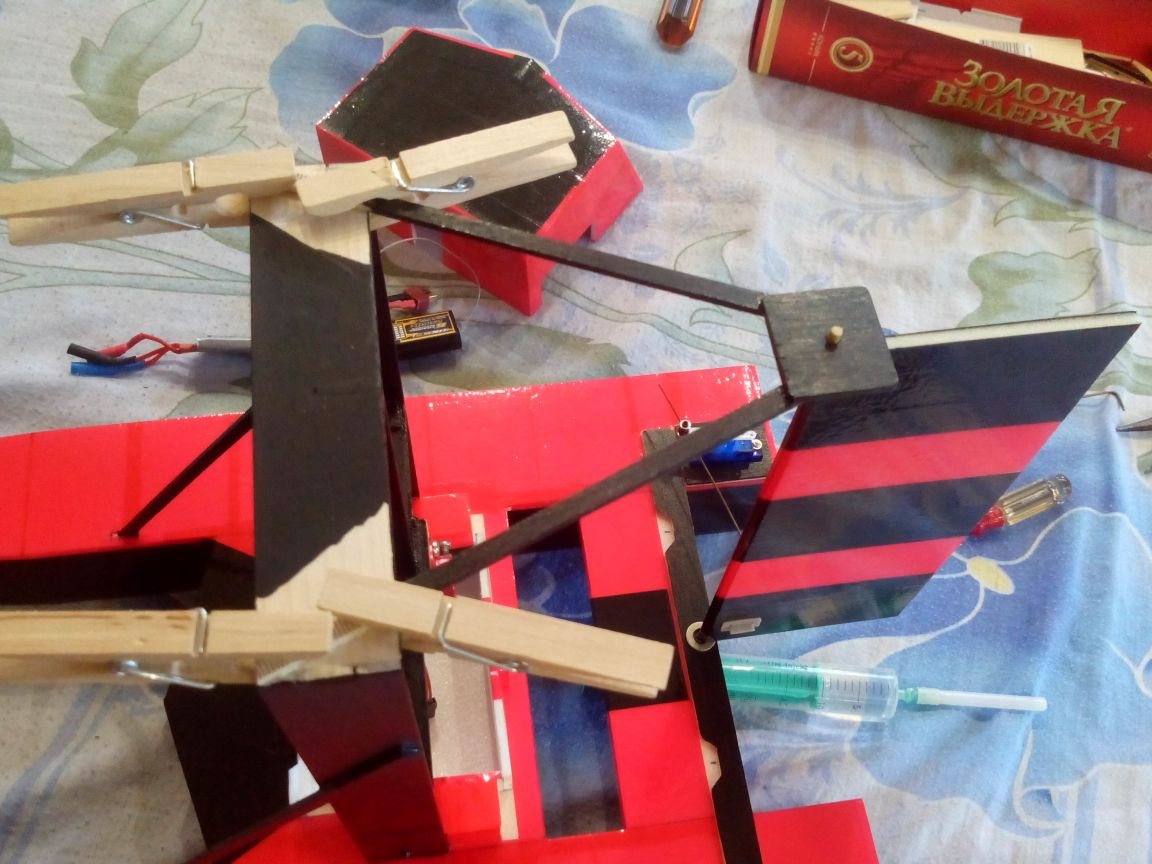
Step 4. Servo and base of the steering wheel.
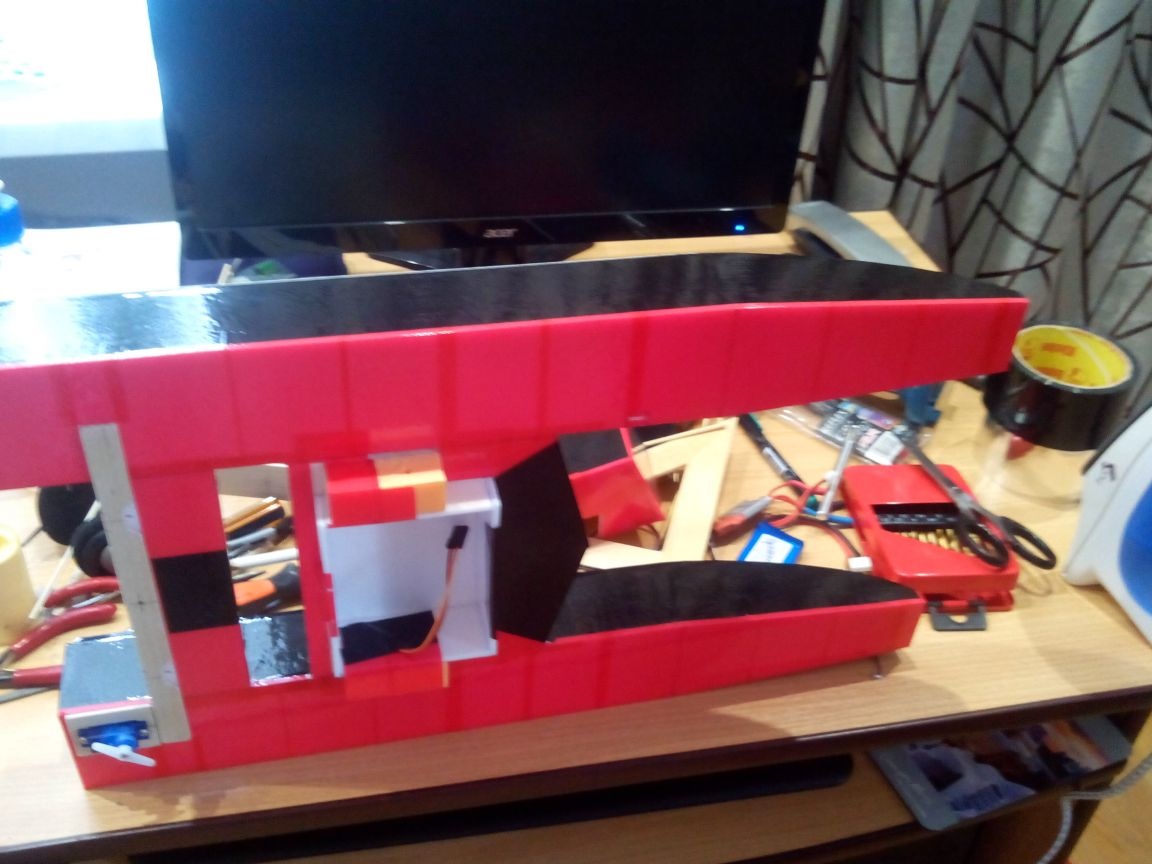
From a piece of the ruler, we cut out a frame for the servo drive and a pepper rail on which the steering wheel will be mounted with a jigsaw. In the right ski, cut a hole for the servo, glue the frame, put the servo in place and stretch the wire to the cab, making a hole in the right place.
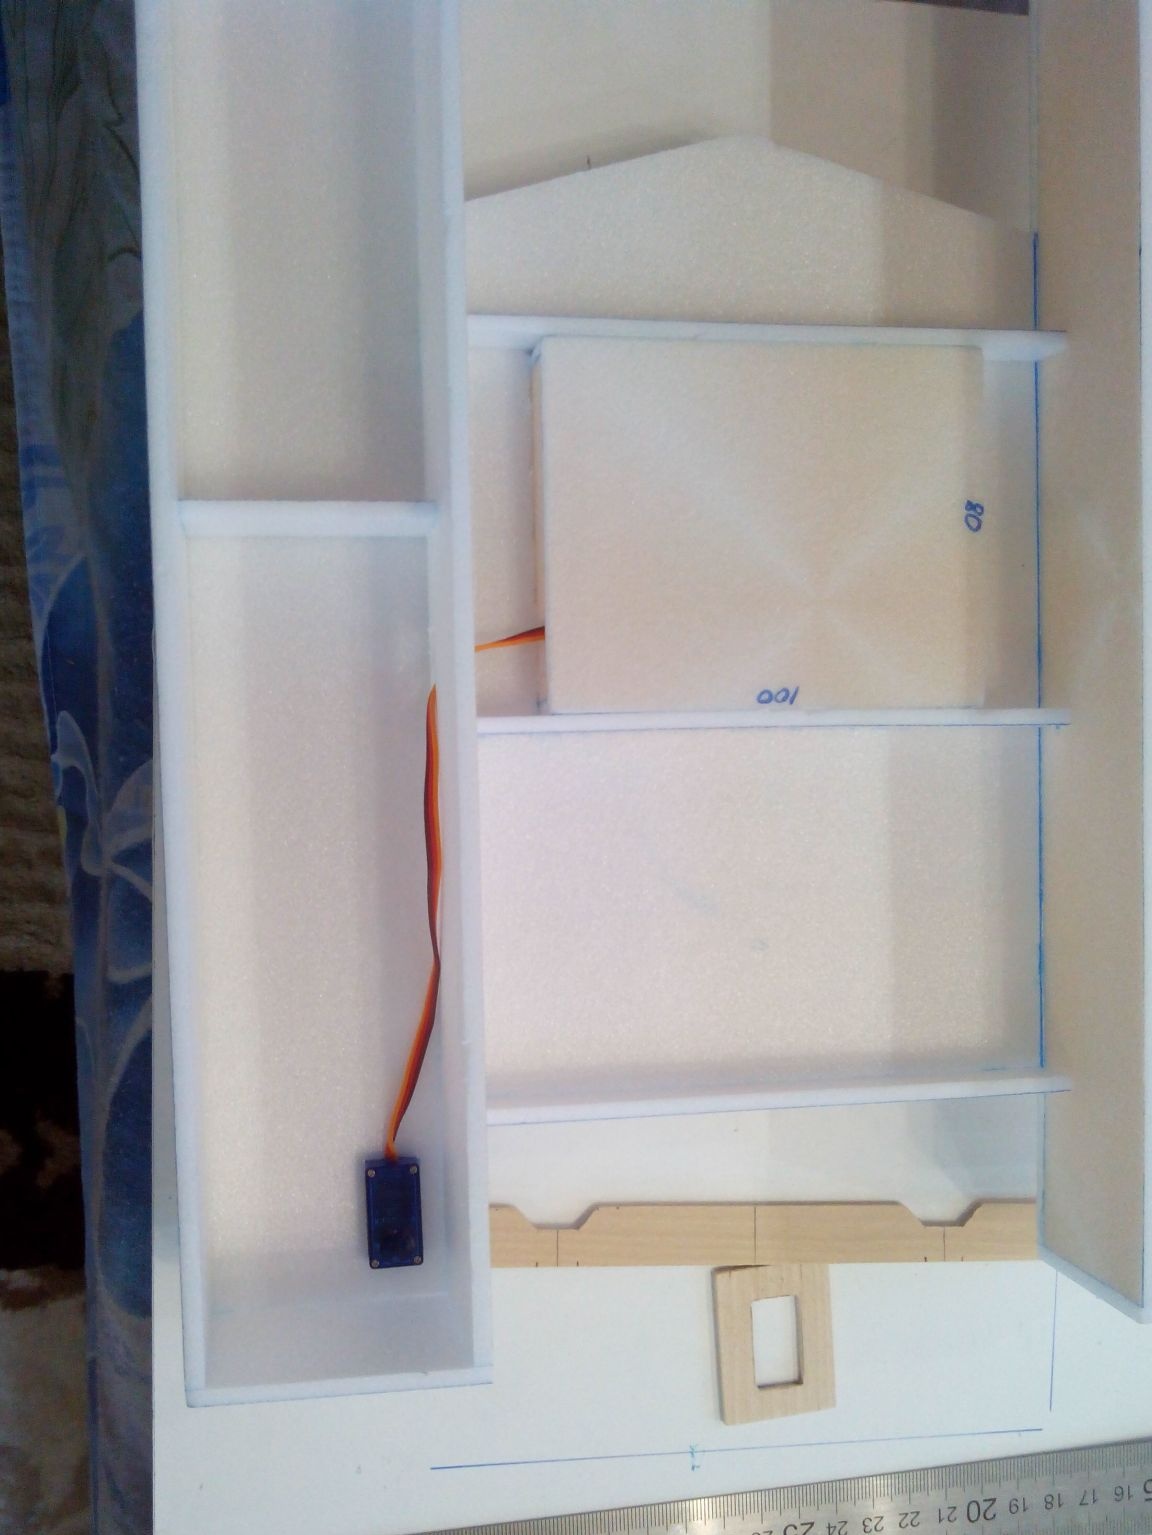
From below, we seal the cabin and stiffeners with a ceiling so that snow does not accumulate when driving.
On the ceiling glue, we plant the rail-base of the steering wheel, fasten the servo drive with small self-tapping screws and glue the lower part of the skis. On the sides of the cab we glue two small blocks of polystyrene foam or polystyrene for further fixing the frame of the engine mount and fixing the cab.

Step 5. Cabin and steering wheel.
We glue the top of the cab from the ceiling, it is also the cover of the compartment with electronics. Any loops and latches on this model are not needed, it holds well without them. Dimensions and shape are arbitrary, the main thing is that the cabin is placed under the frame of the engine mount.
After drying, we process joints and corners with sandpaper.
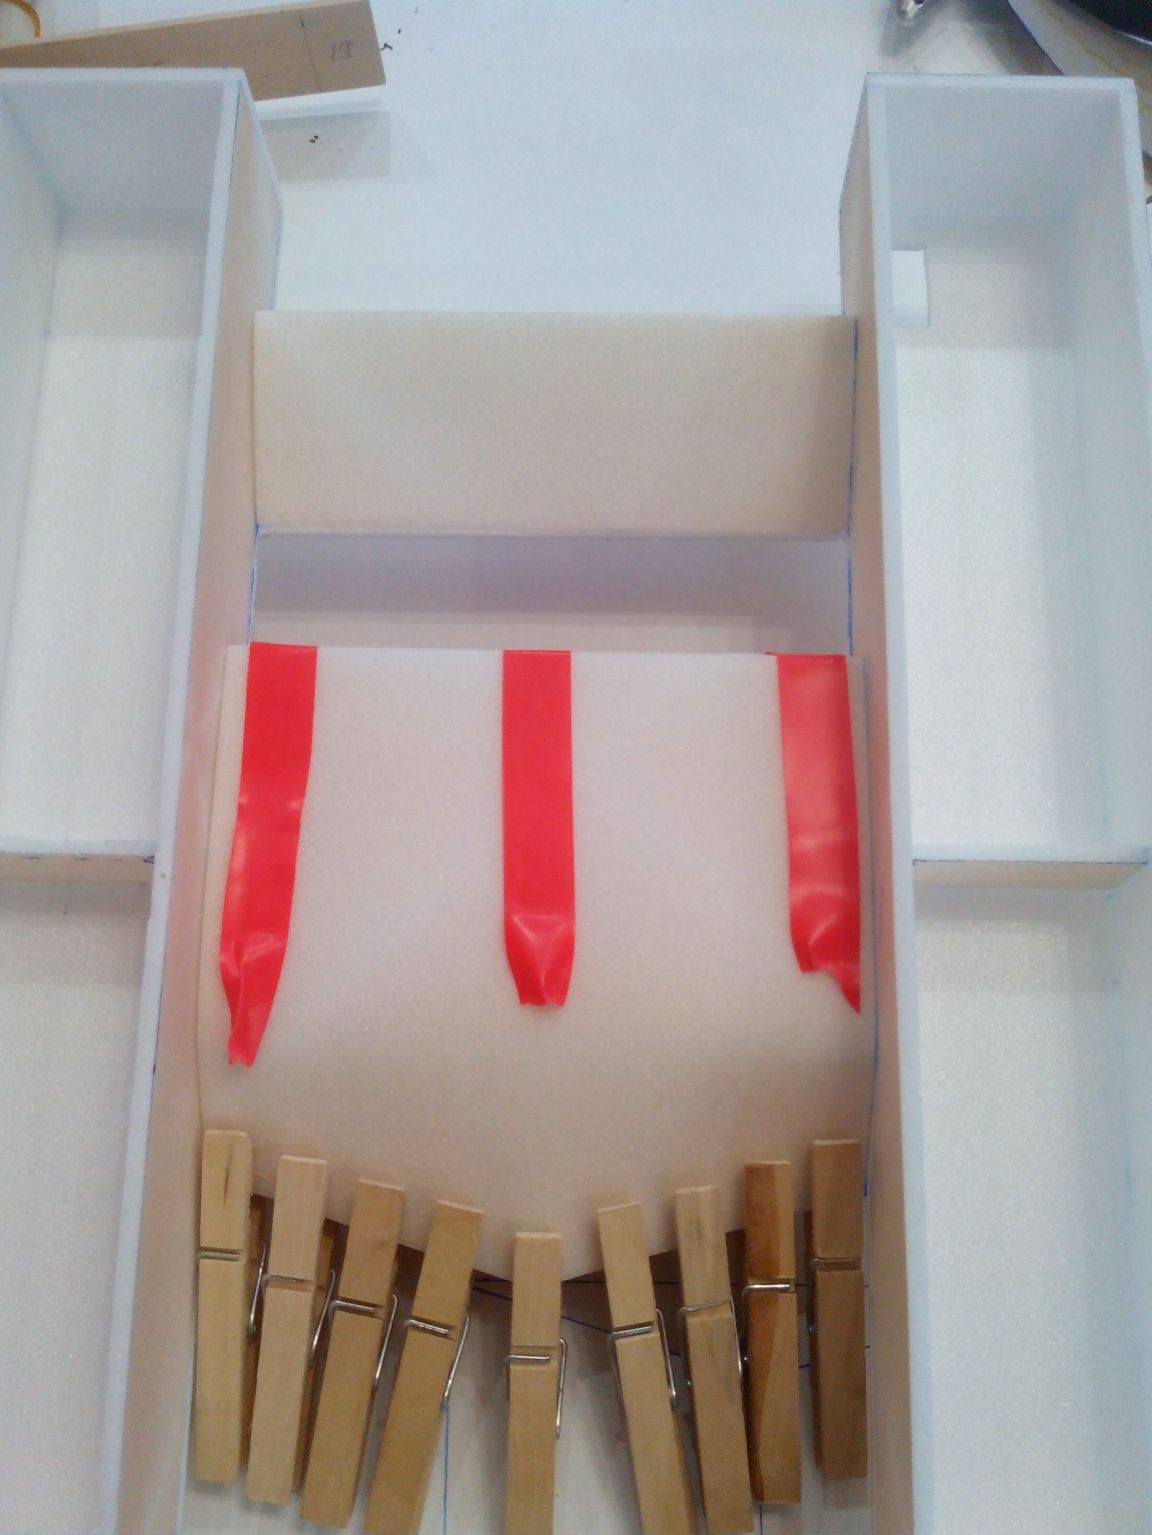
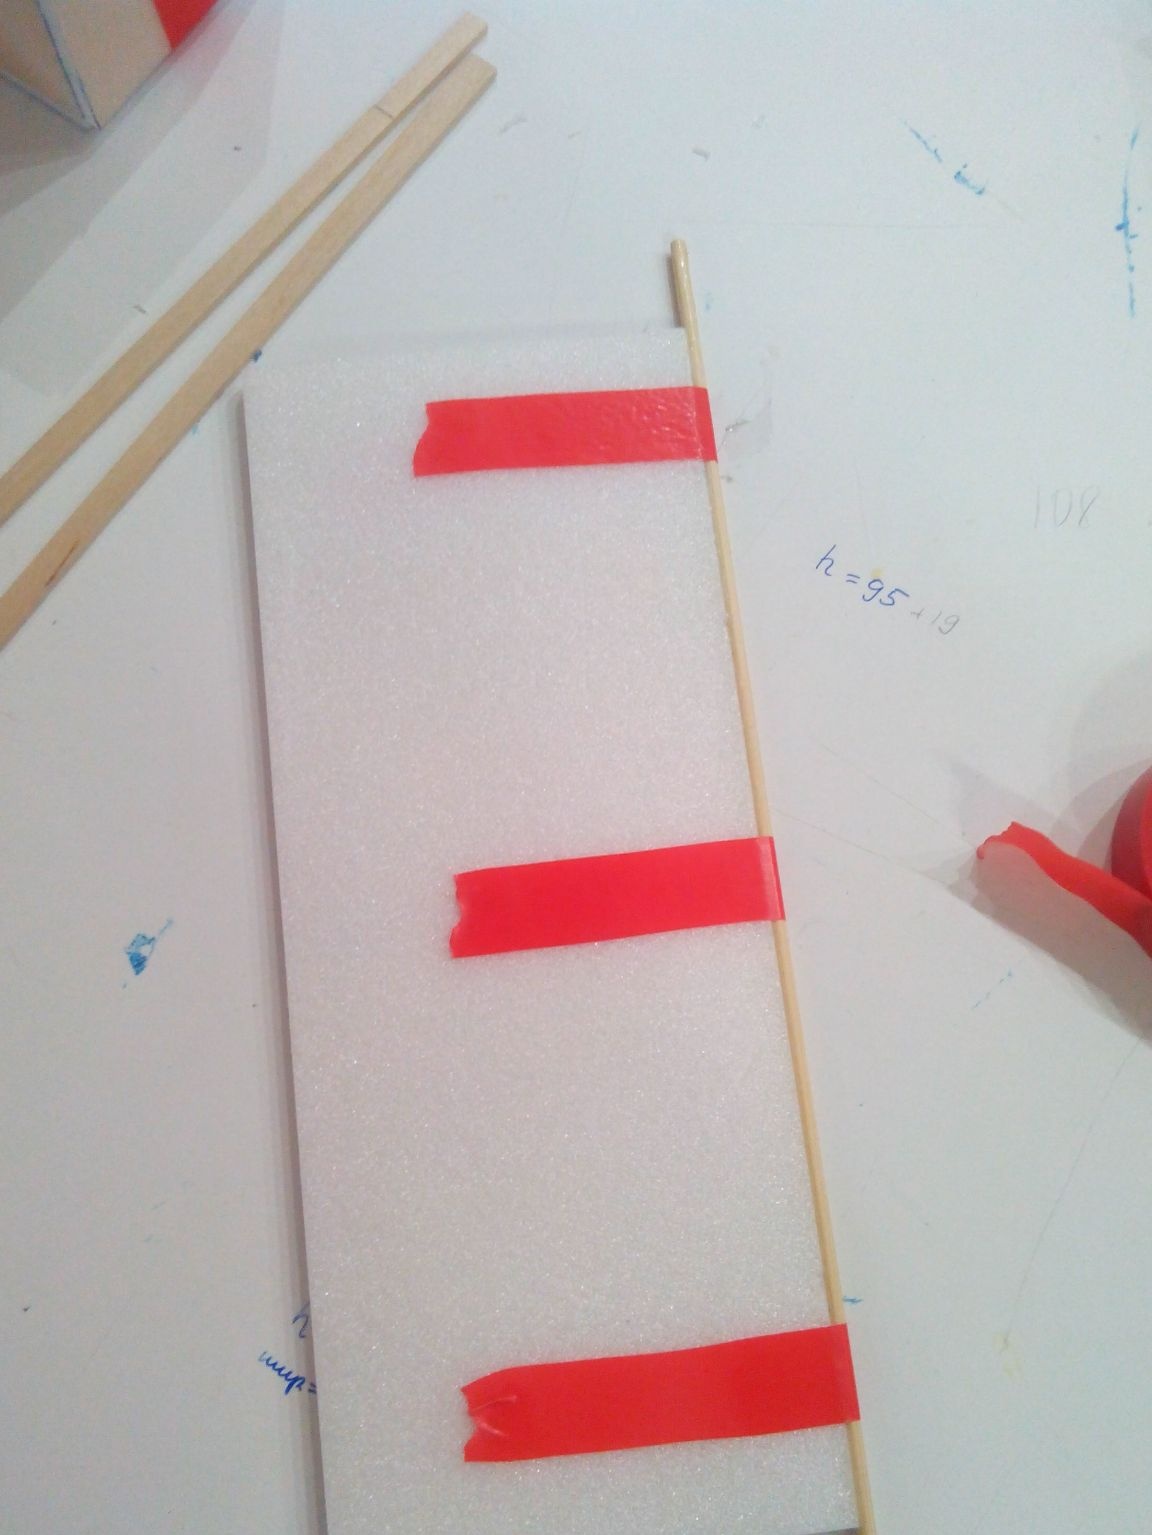
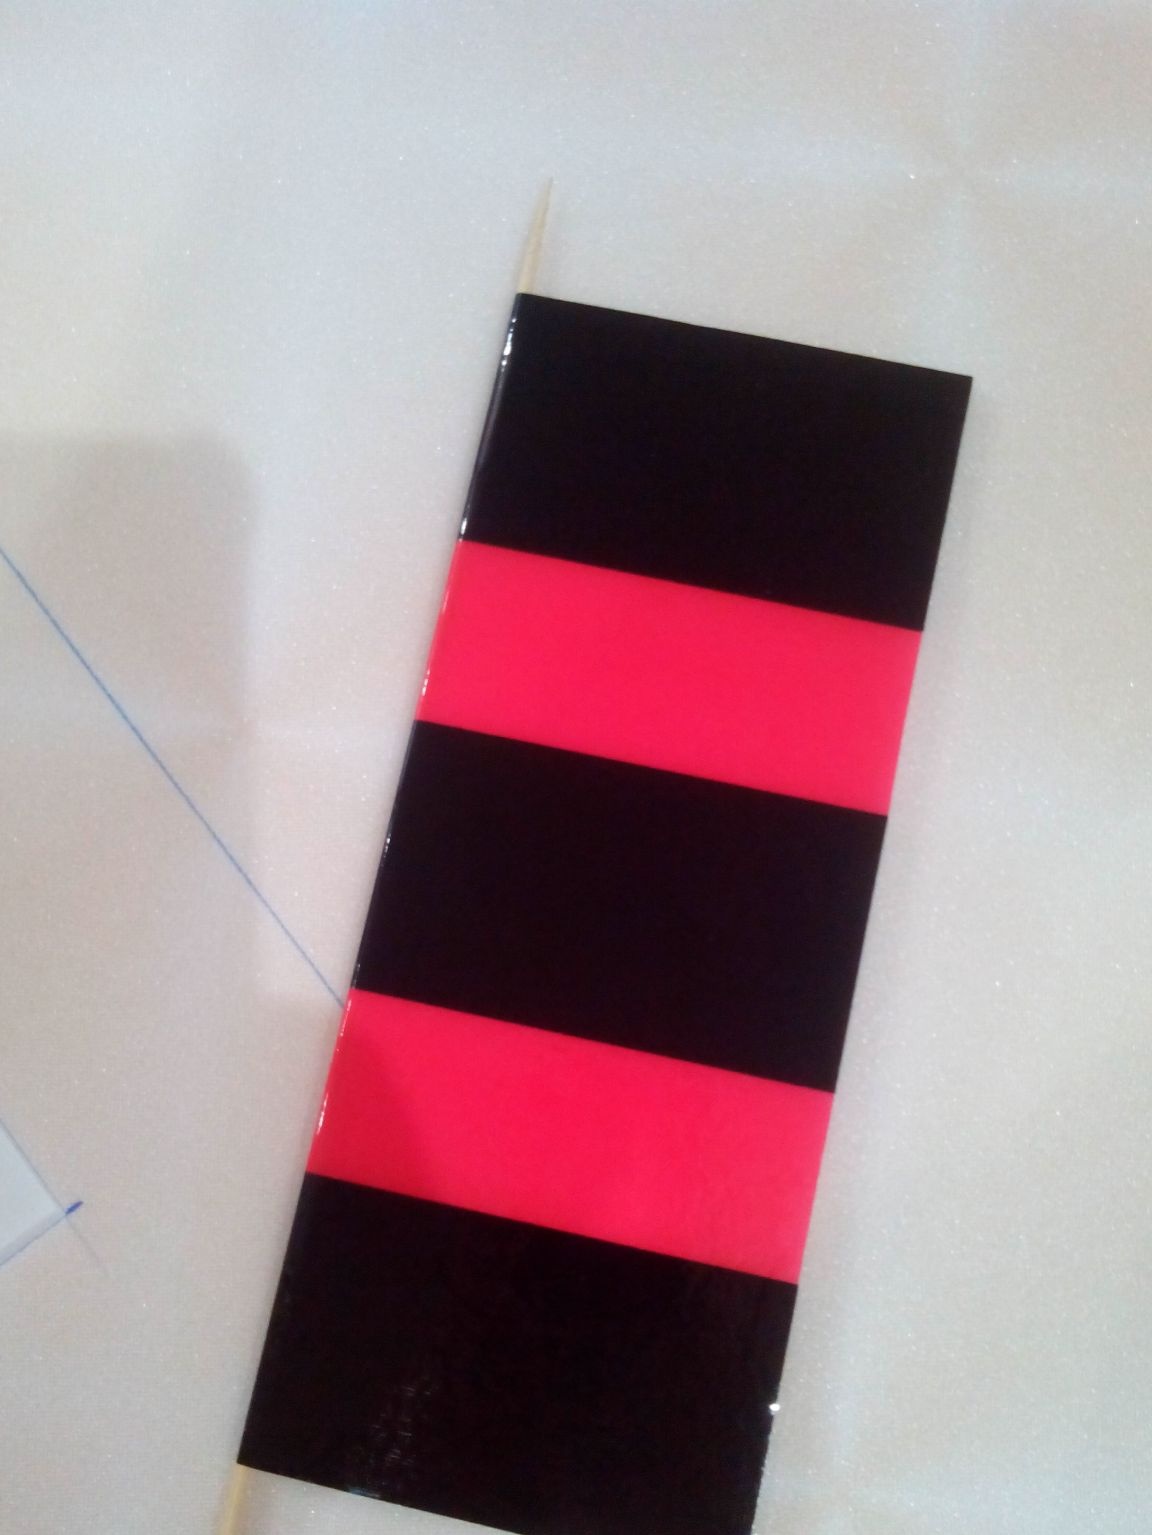
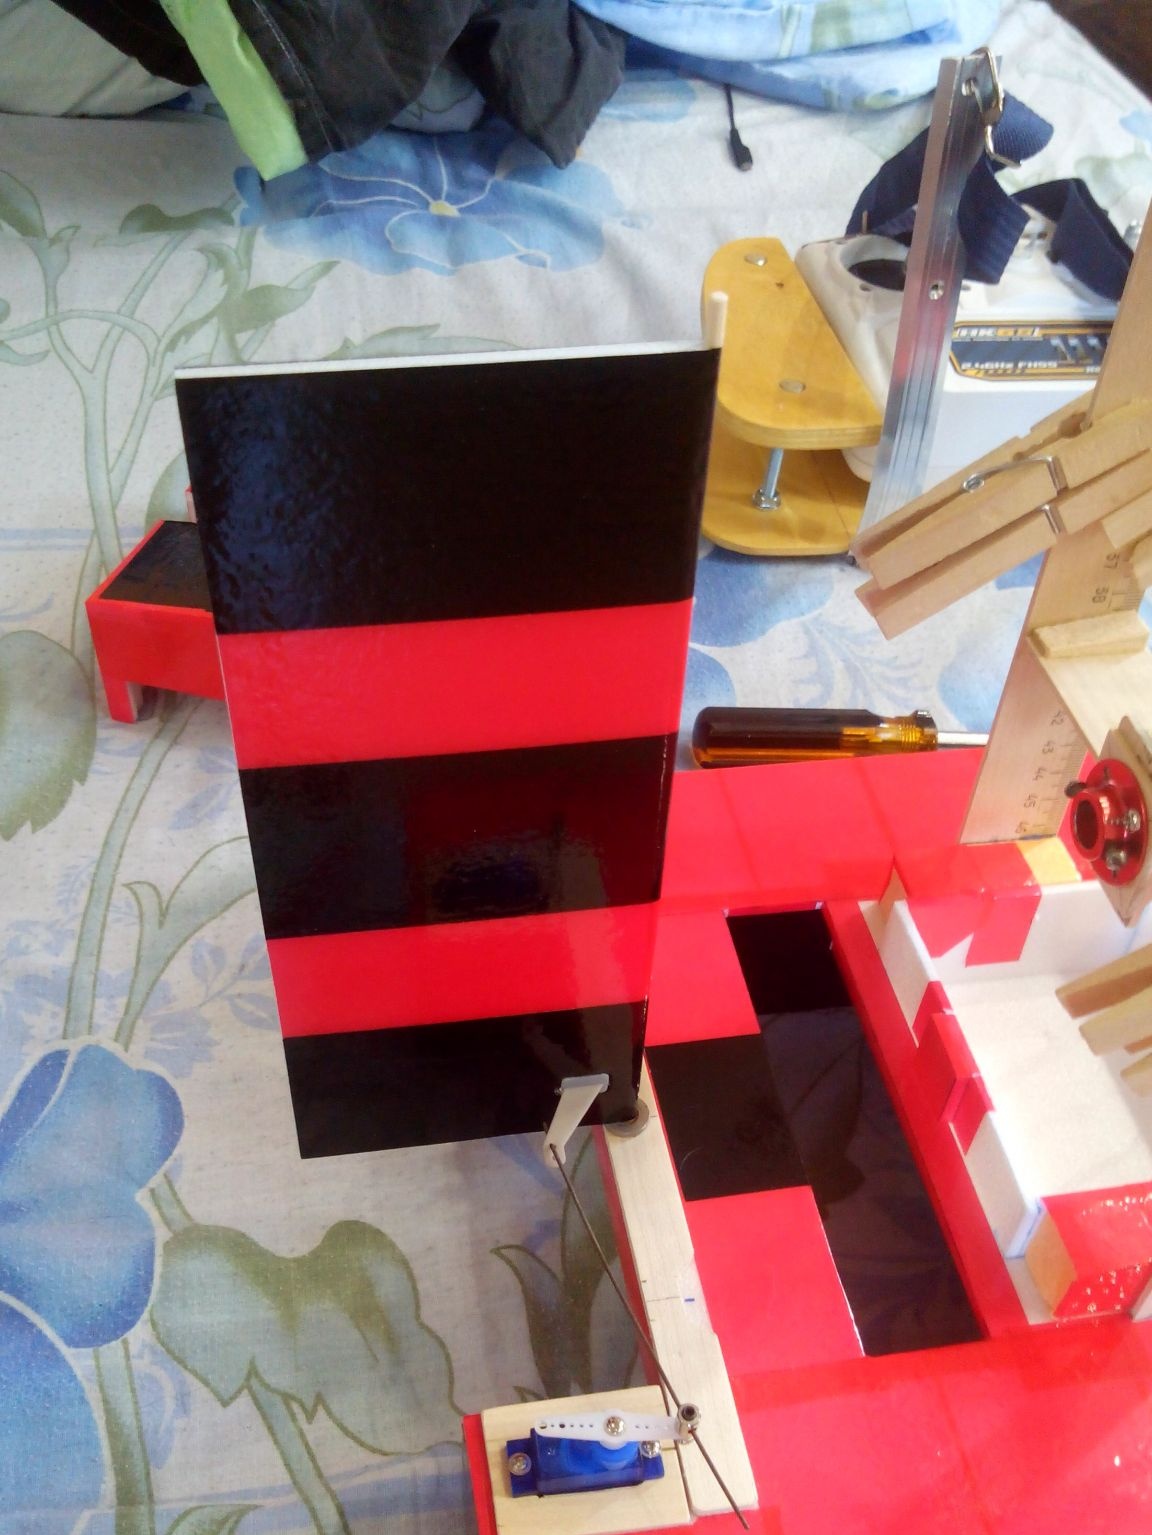
We cut the steering wheel from the ceiling (200 by 80 mm, although the frame of the engine mount and the screw used determine the height) and glue a bamboo skewer onto the ceiling glue. We fix the pieces of electrical tape.
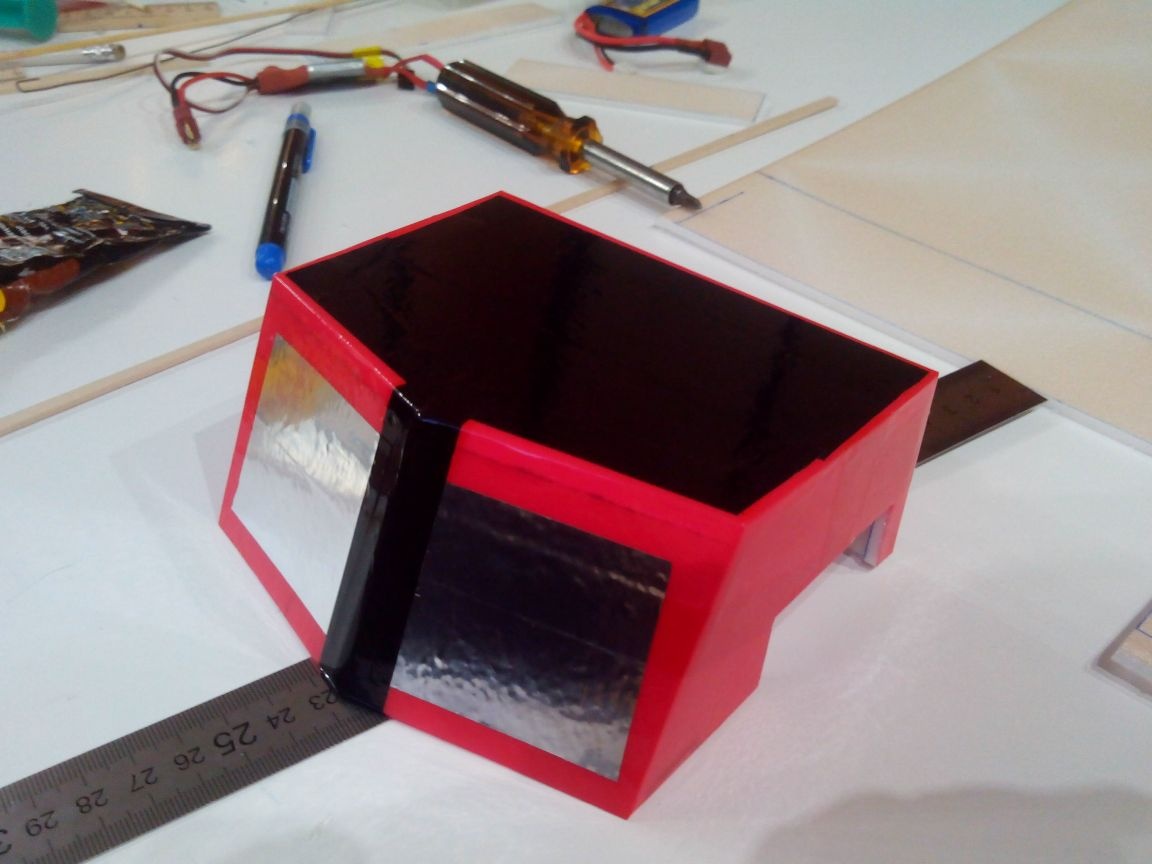
Step 6. Tape with adhesive tape.
We glue the cabin with colored tape, "pseudo-windows" - from metal tape.
When gluing the steering wheel, close the bamboo skewer-axis along the entire length.
In the back wall of the cab lid we cut out a part to draw wires from the engine to the regulator.
We glue the entire model with tape, pre-sanding the edges and corners. It is advisable to seal the bottom of the skis with the strips of tape along. Then iron the tape at low temperature to iron the tape to increase the strength of the entire model.
Step 7. Glue the frame.
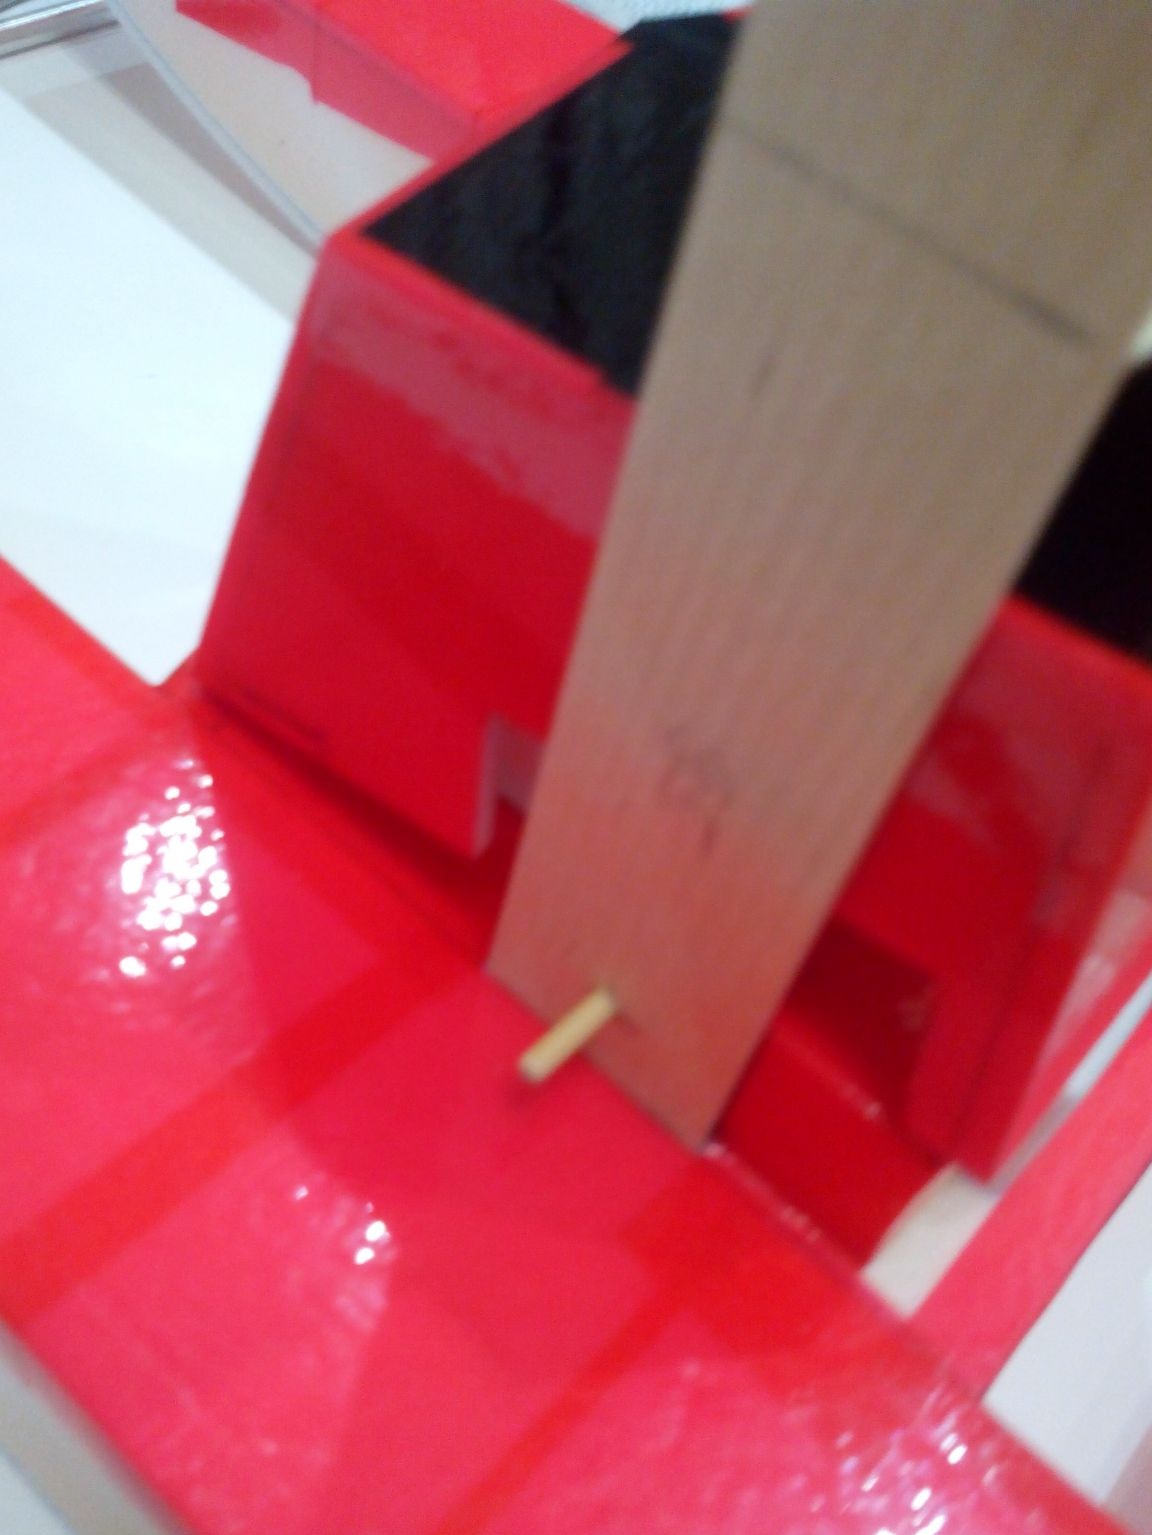
We frame the engine mounts on the ceiling glue. Additionally, we make holes in the lower part and insert pieces of bamboo skewers on the glue.
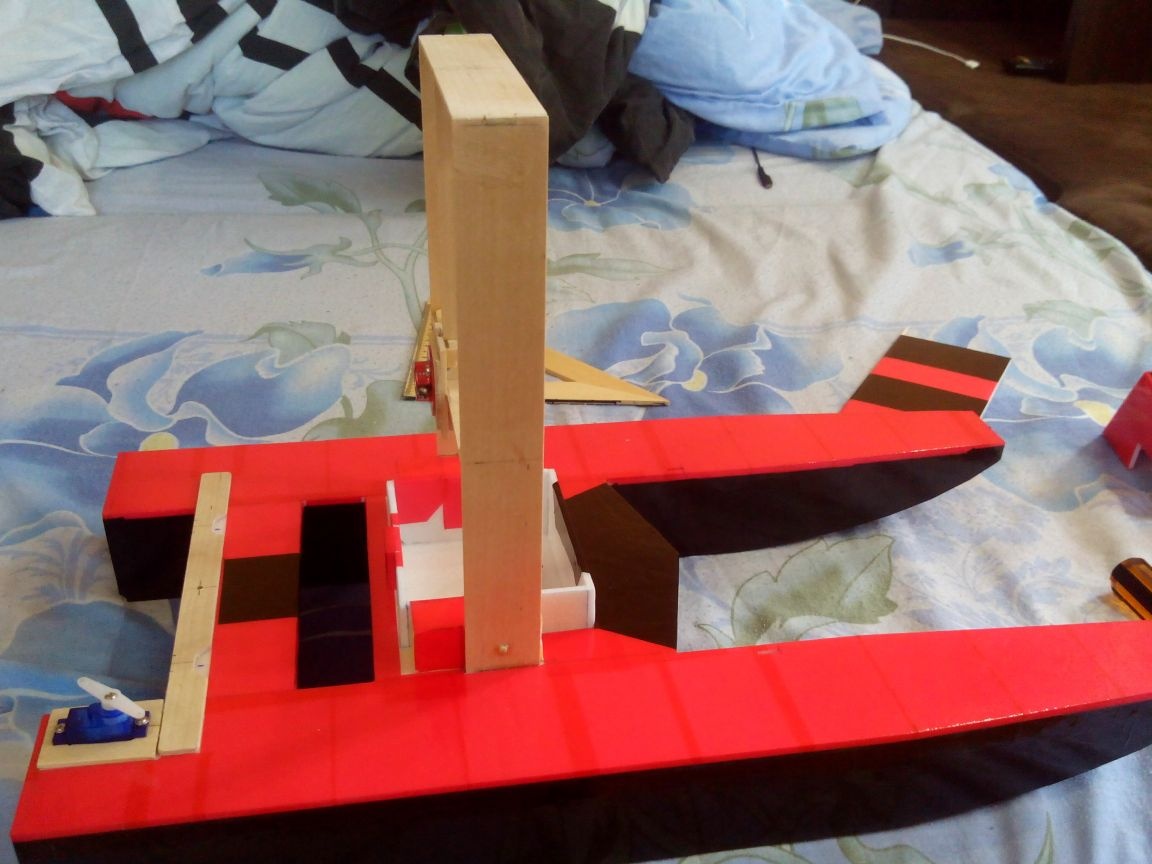
We glue from narrow rails (from the line) or from bamboo skewers of the spacer.
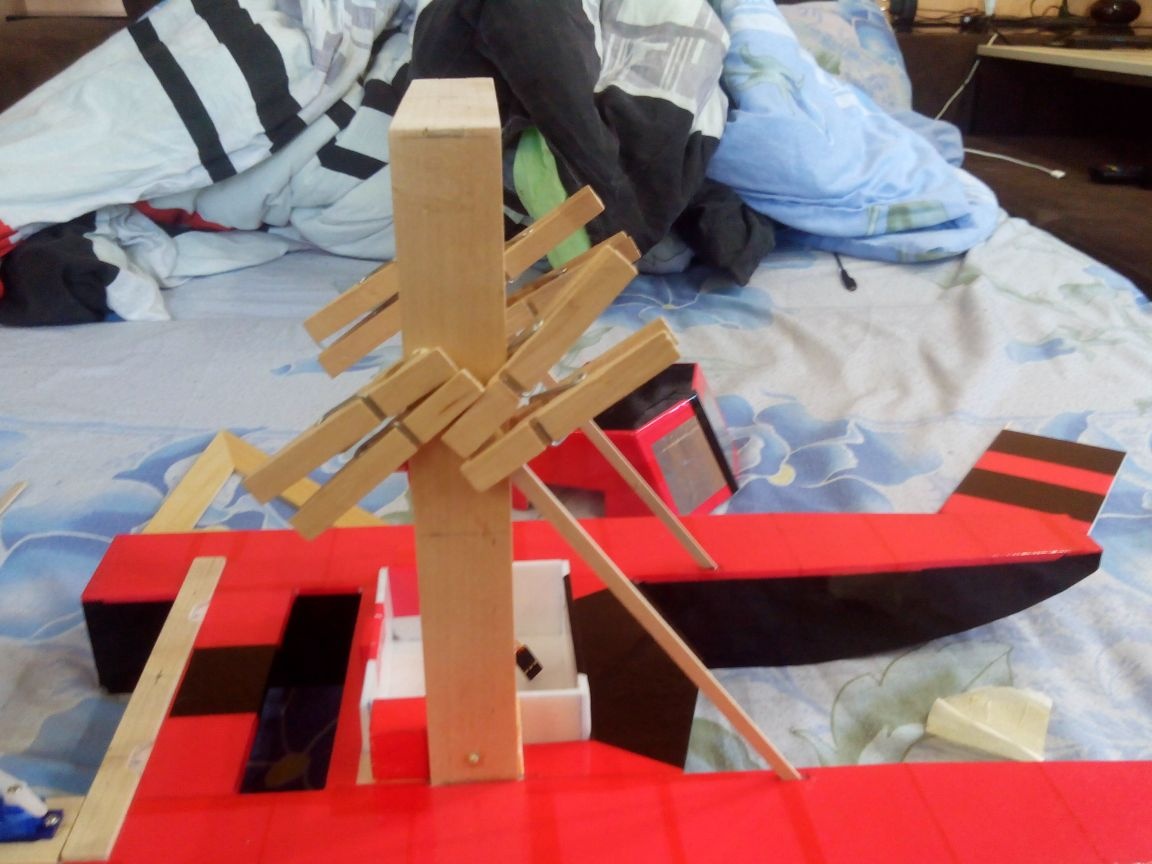
While the glue sets, we glue the upper part of the rudder mount from the rulers. Before that, it is better to draw a life-size drawing on a whatman diagram of the arrangement of the frame of the engine mount and the cross rail on the base (top view), then it will be easier to adjust the dimensions.

In the steering wheel base, we make a hole for the diameter of the bamboo skewer. We fix the boar in the steering wheel. Then we insert the steering wheel, putting the washer in the hole, cut off the wire from the wire and fix it with clamps.
Step 8. Painting.
We proceed to painting the frame of the engine mount and the transverse rail. The color scheme, of course, to your taste.
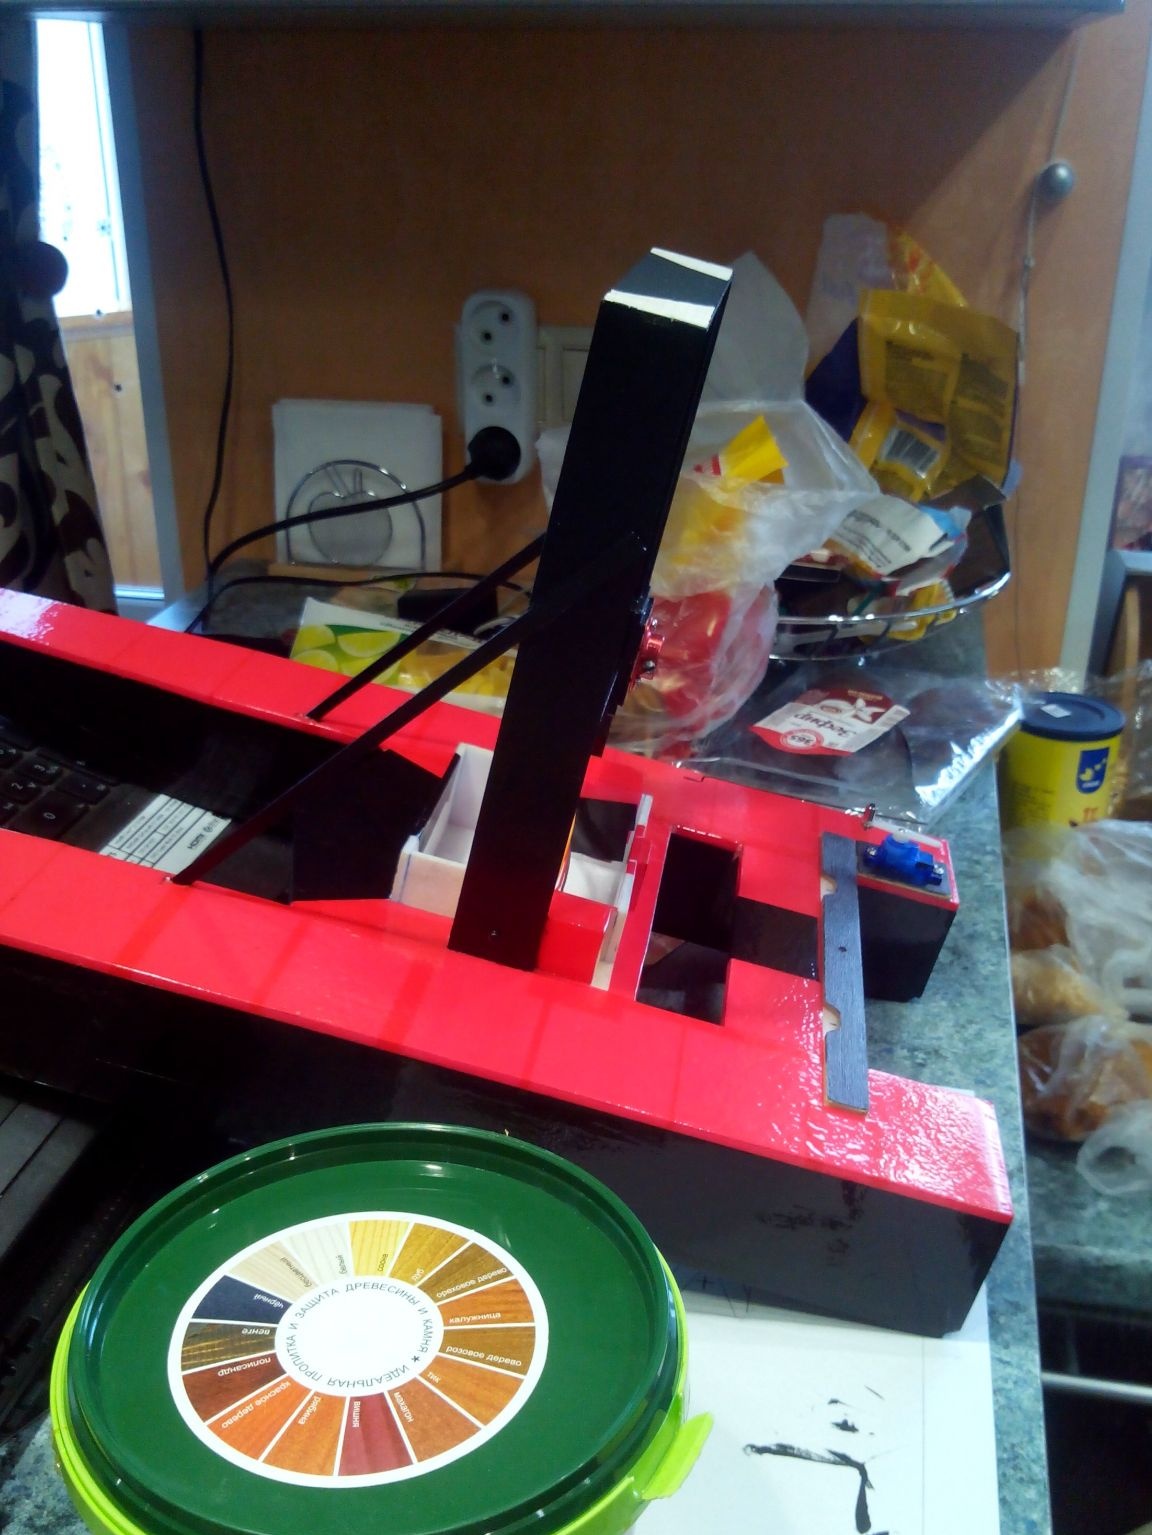
We glue the upper part of the steering wheel mount, after making a hole in it, and paint over the frame. Then we cover all painted parts with varnish.
Step 9. The location of the electronics.
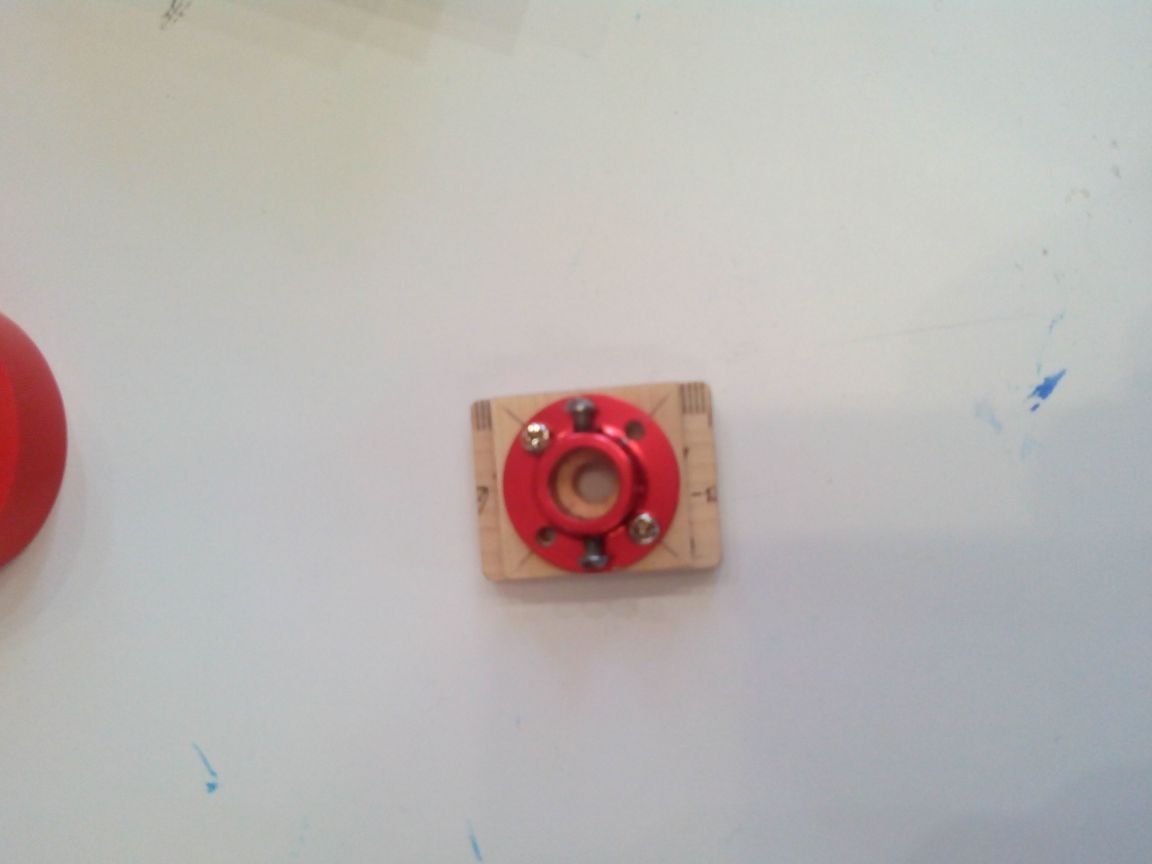
We fasten the motor, put the speed regulator, receiver and battery into the cab. Since the screw is pushing, do not forget to correctly fix the propeller on the motor shaft.
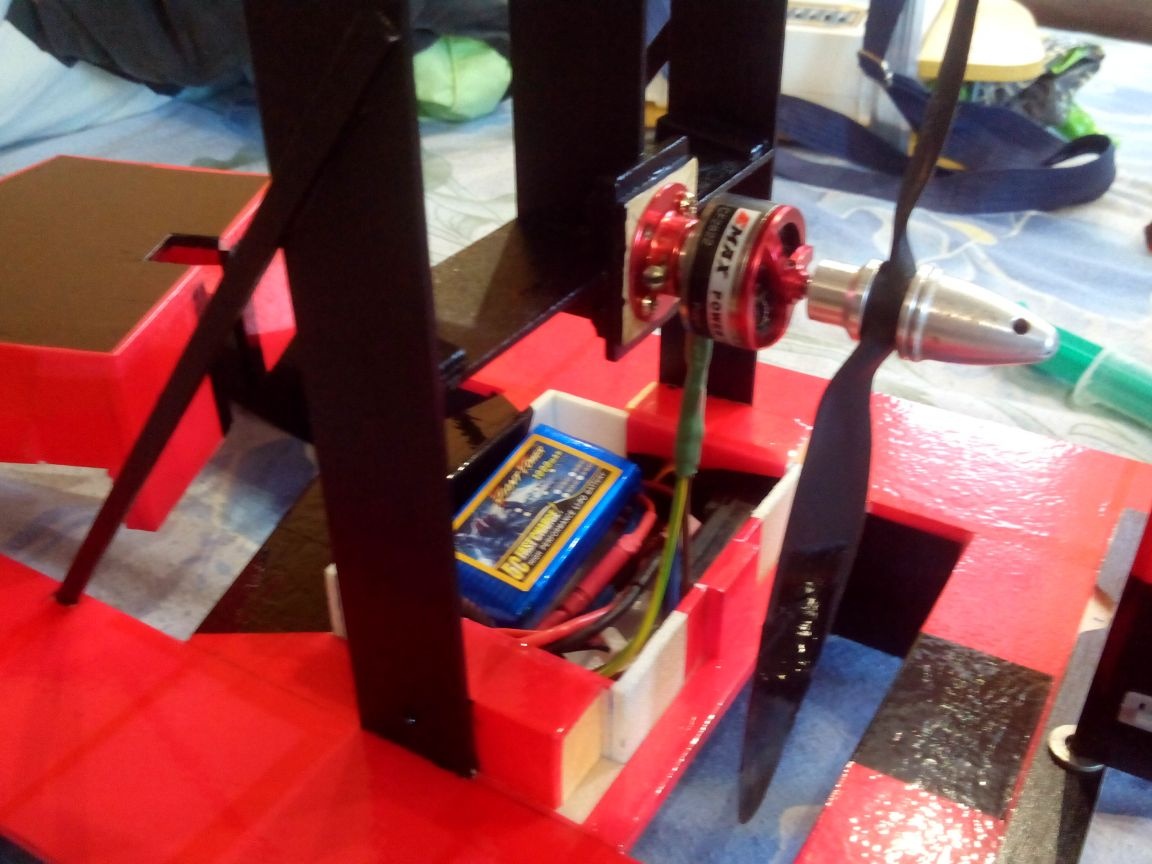
Close the cab with a lid.

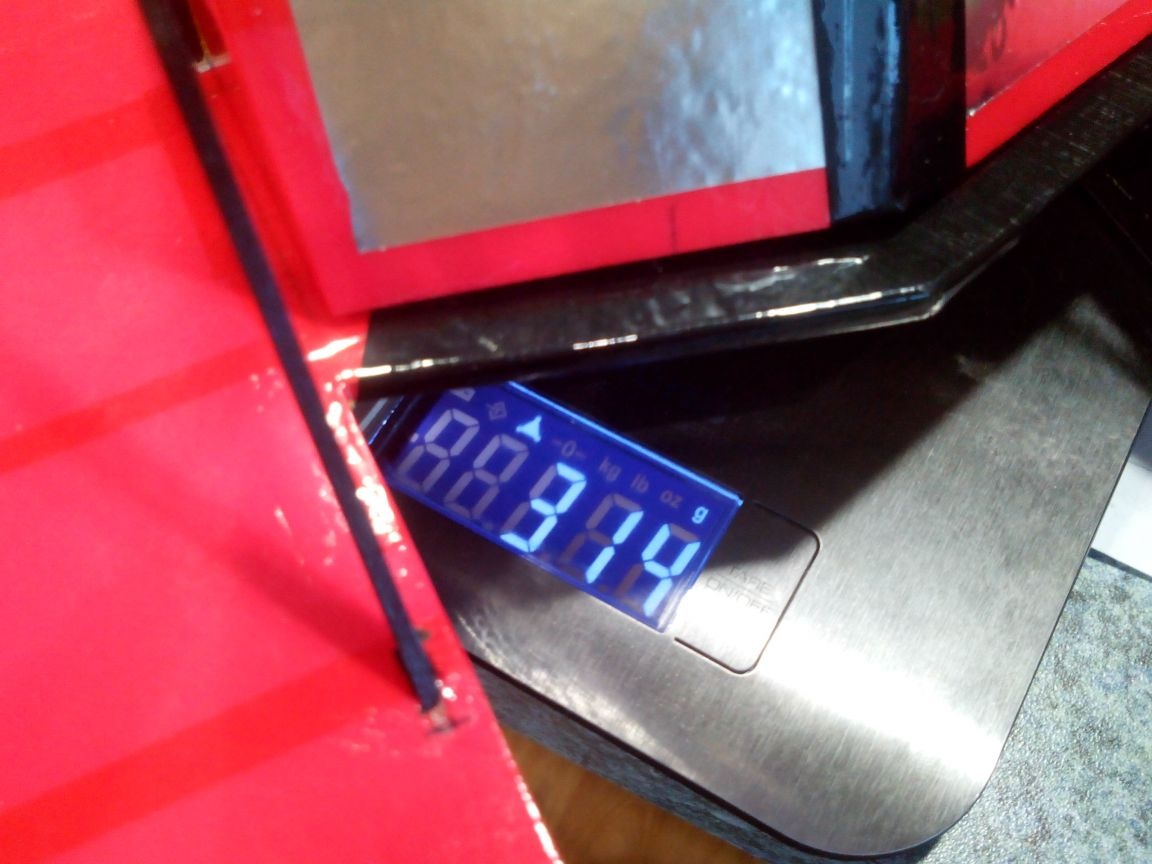
The weight of the model with a battery is 314 grams.
The model is ready. You can go on a flat platform and start the tests.
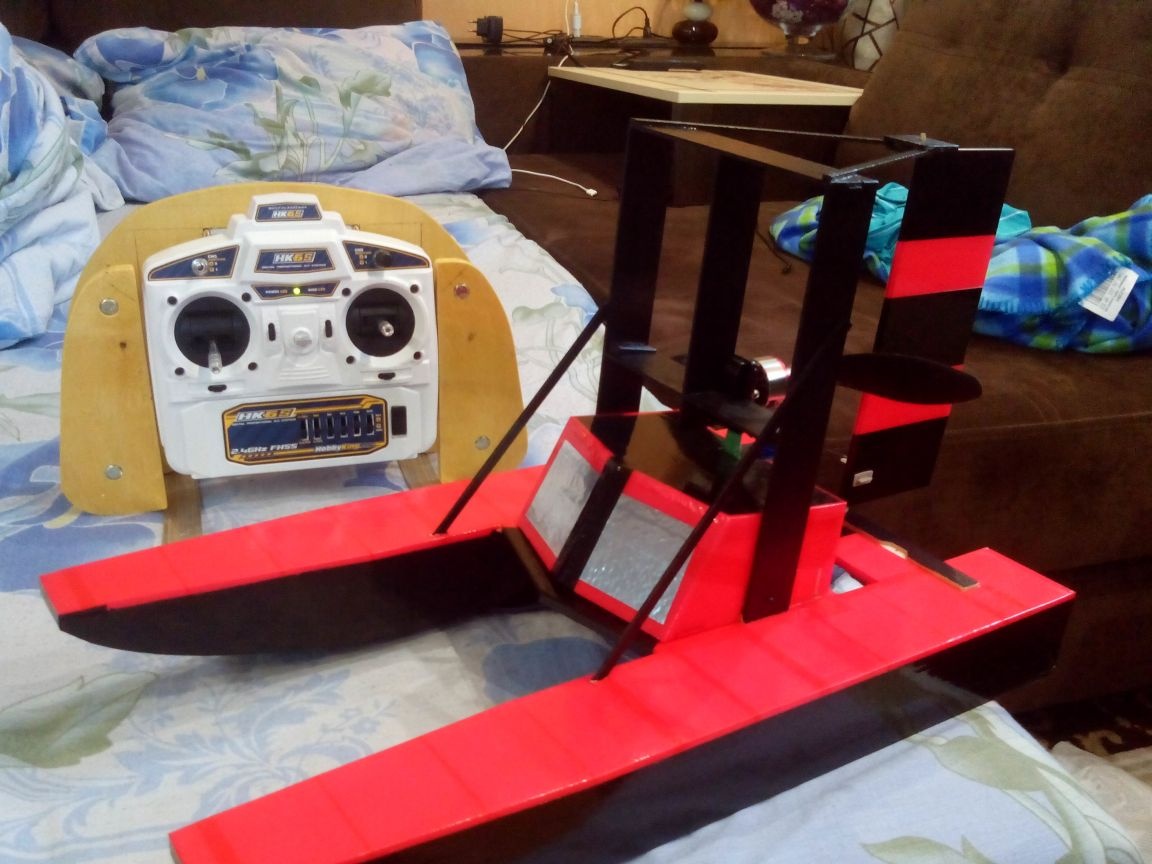
How to connect electronics: gas is best left on the third gas channel (left stick), and the steering wheel - on the first aileron channel (right stick). It’s more convenient to drive the sled because gas and control are in different hands. Moreover, if the gas is made by a third or a little more, then you can control the sled with one hand, and the second, for example, shoot a video that is lower.