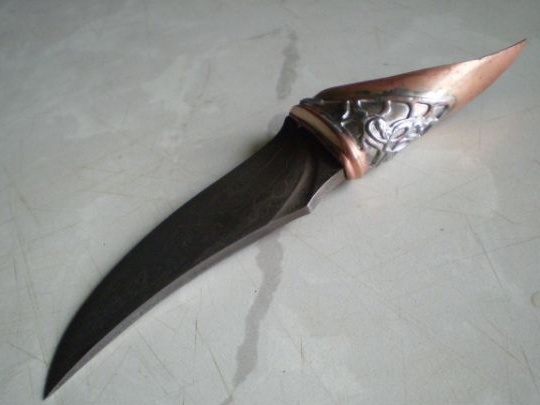
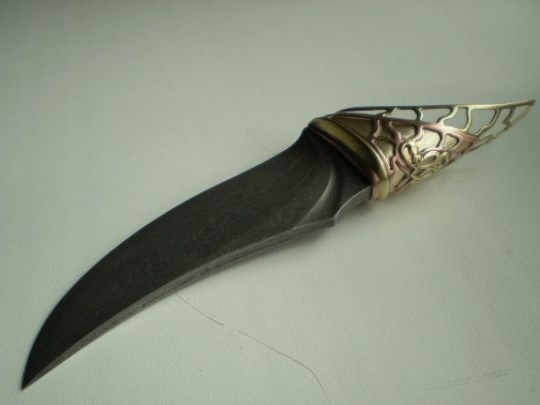
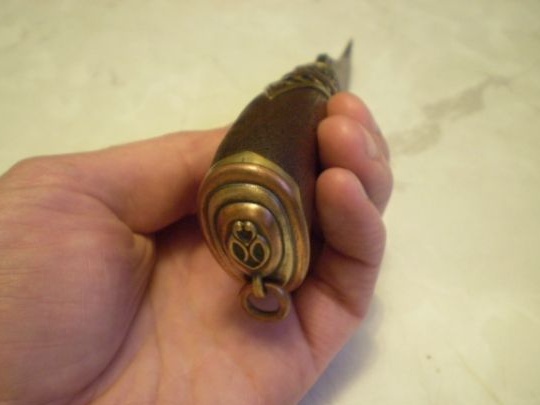
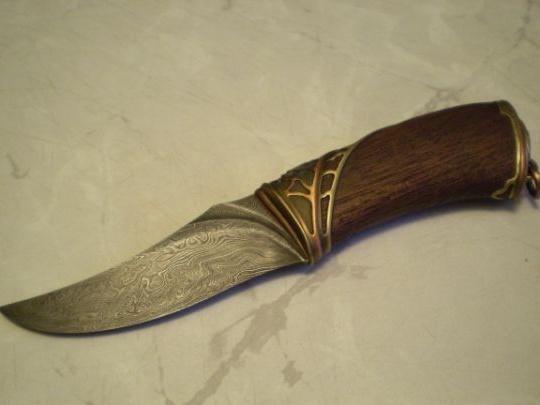
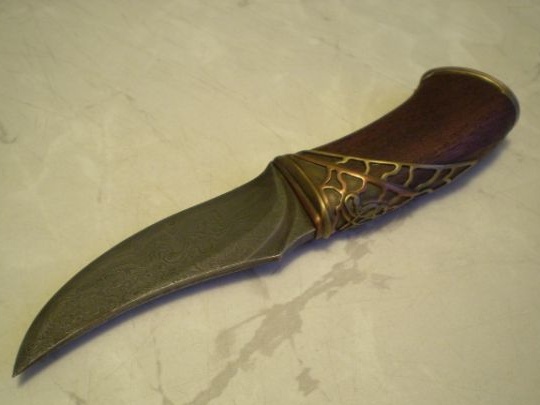
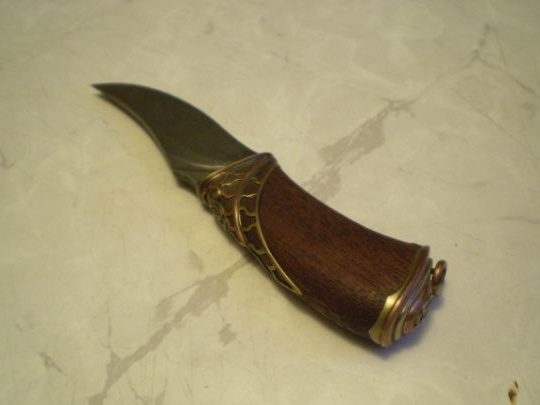
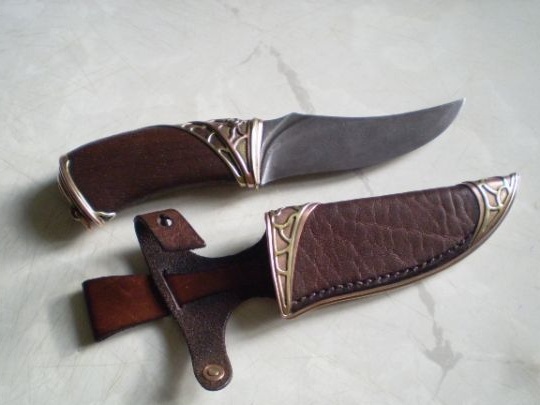
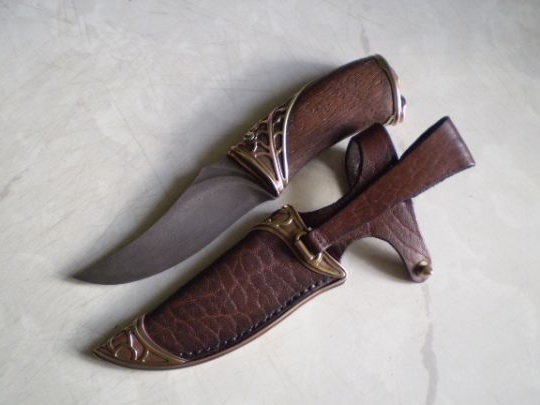
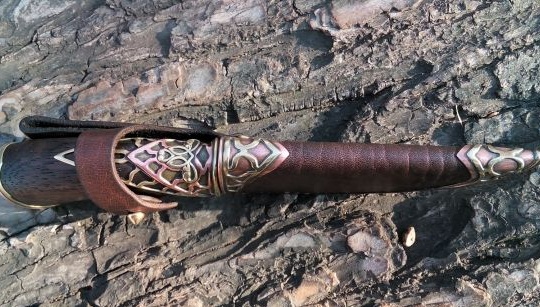
Dear visitors of the site in the presented master class, the author will tell you about creating a knife in the style
Steampunk. Having studied this material, you, too, if you wish, can make a similar blade, completely legally. Things and objects in this style have a lot of all kinds of stylistic “body kit” for a variety of gears, manometers, steam lines and other things, but the author decided to minimize the decor, and what came of it? See further.
Materials1. Blade "Rhino" (Damascus)
2. brass sheet
3. copper
4. rivet
5. genuine leather
6. silk thread
7. mahogany
8. linseed oil
9. ammonia (ammonia)
10. copper wire
11.2 component epoxy
12. plastic
13. PIC
Instruments1. hacksaw
2. burner
3. scissors
4. boron machine
5. jigsaw
6. ammonia bath
7. sandpaper
8. velvet
9. hammer
10. scissors
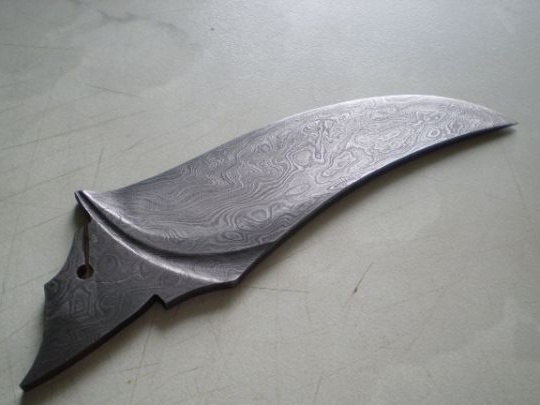
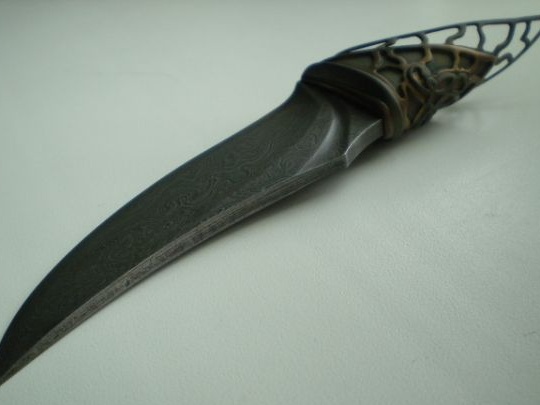
The process of creating a stylized knife.And so it was already stated above that the author tried to decorate the knife minimally so that the knife would carry its main function, cut the sausage, go for mushrooms or go fishing. The author took as a basis the blade "Rhinoceros" made of Damascus steel. This type of steel is very durable, and also has a beautiful unique pattern.
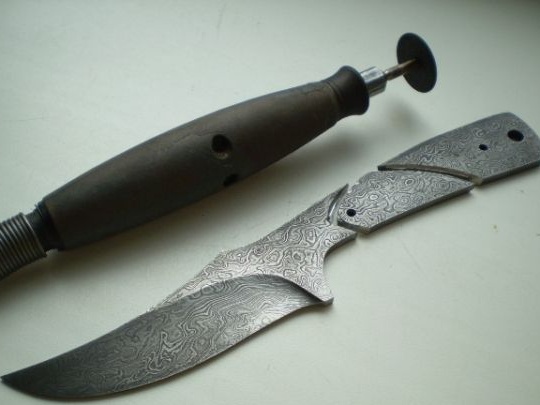
The author here removes part of the handle of the blade, because he was not going to make a false handle, but would make a solid mahogany. And first of all, the master cuts off the excess part of the blade handle, the steel is very hard and durable, because when sawing a lot of discs were spent, but still the task was completed.
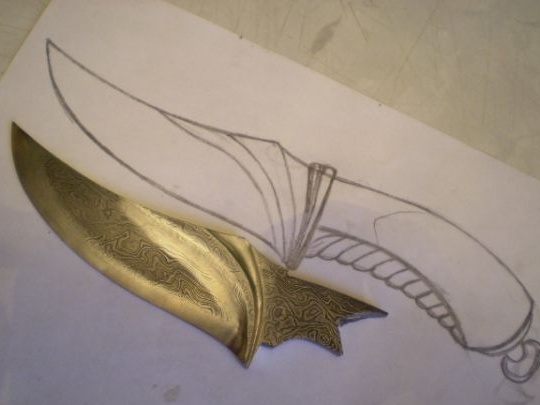
Also, a groove was grooved on the blade itself, to give a more aesthetic appearance, the author worked on it for a long time, made various sketches and drawings. And yet I decided, that's what came of it.
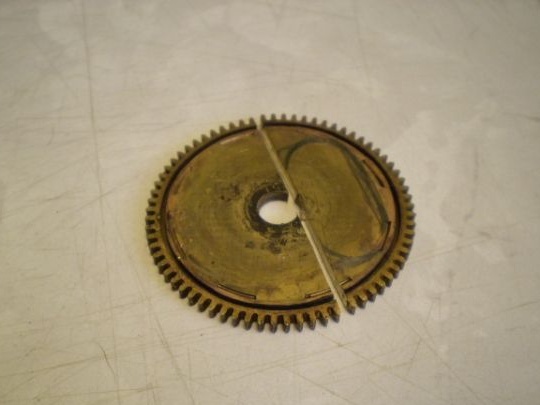
Next, the master takes the brass gear and cuts off the piece he needs from it.
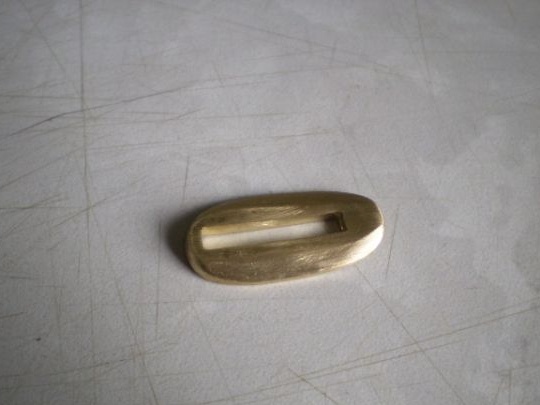
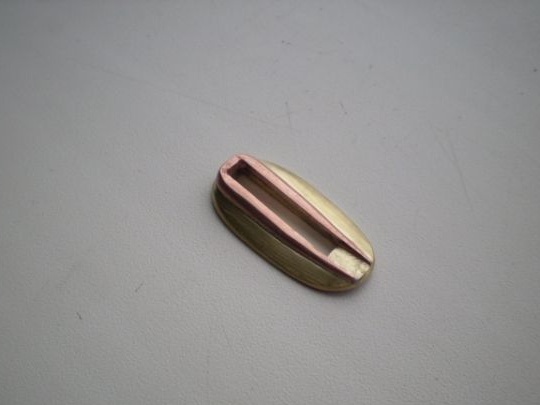
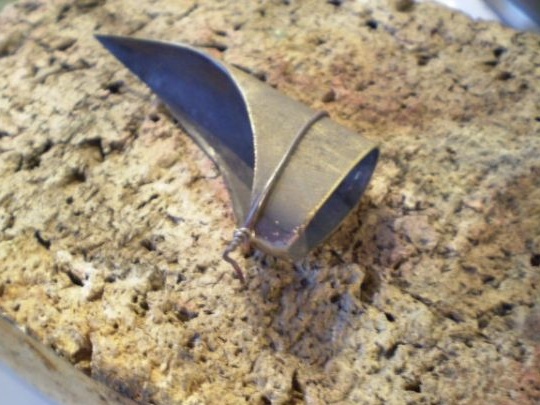
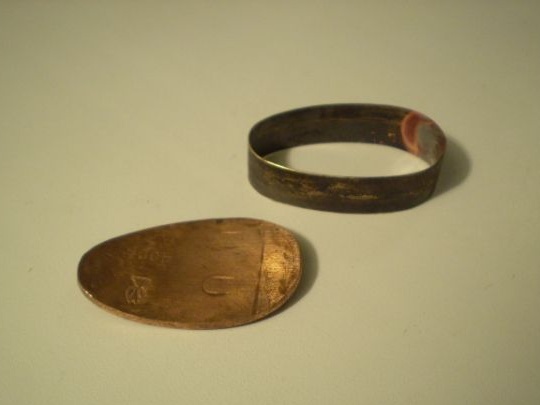
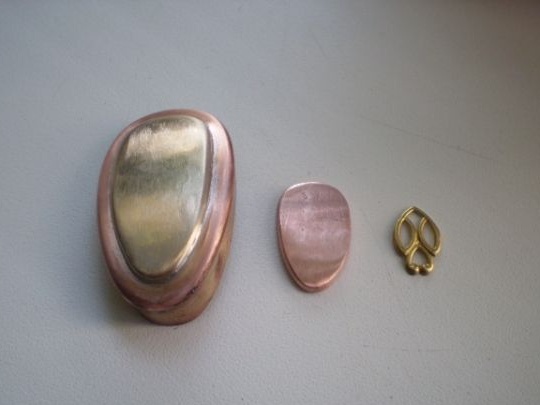
Proud is made of the resulting piece of brass.
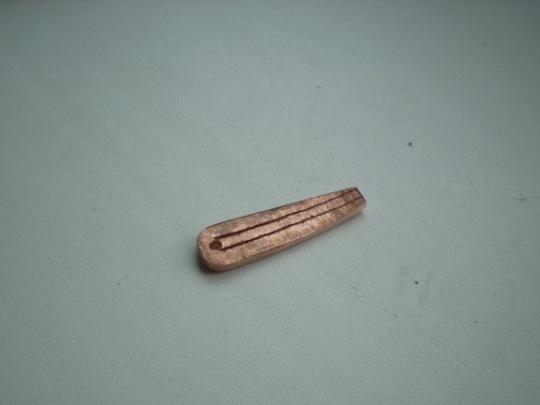
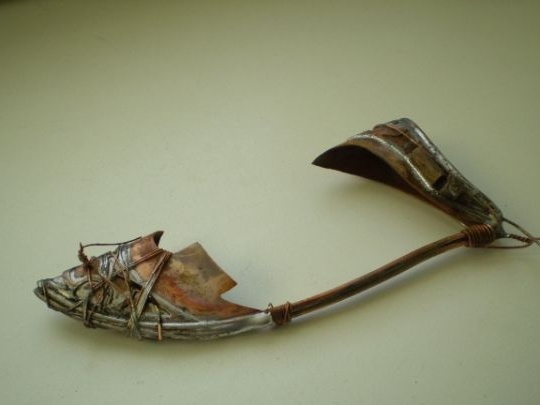
And also copper elements are added.
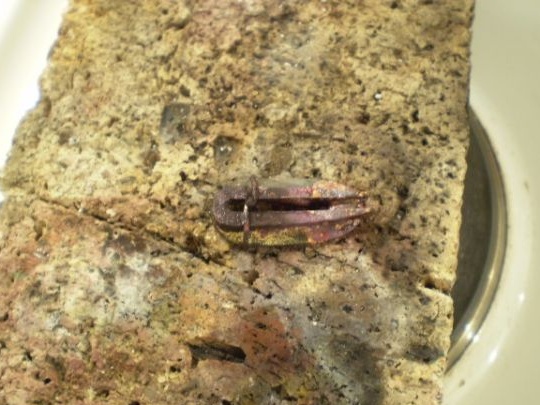
Copper and brass are soldered.
Result.
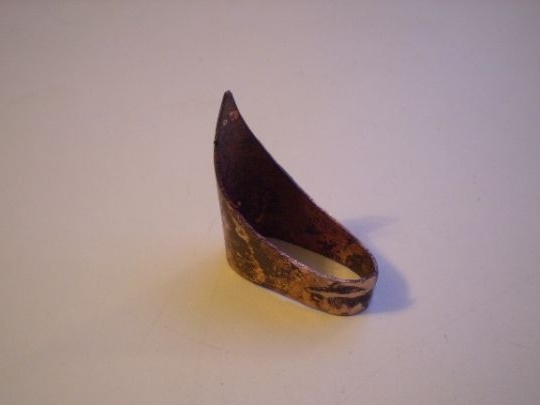
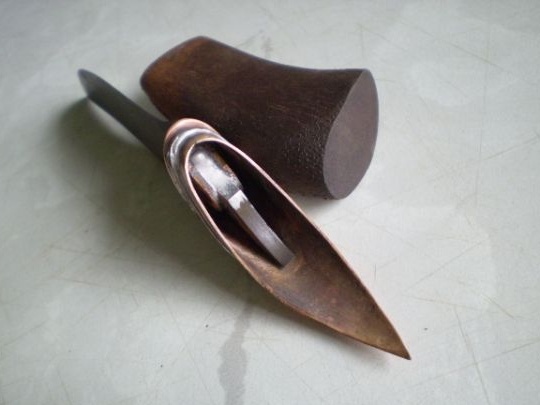
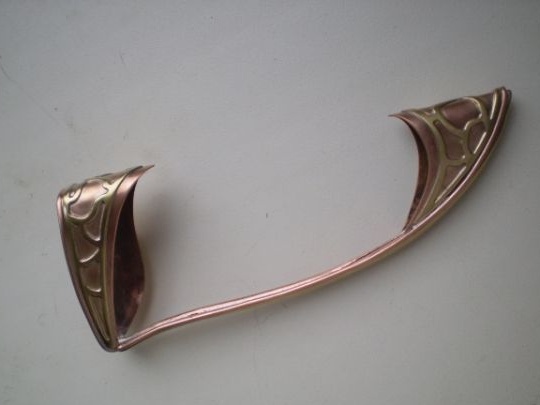
Then the master came up with such a continuation for the proud, which will smoothly pass into the handle.
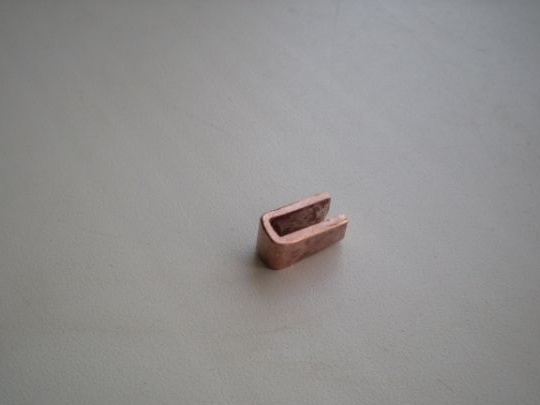
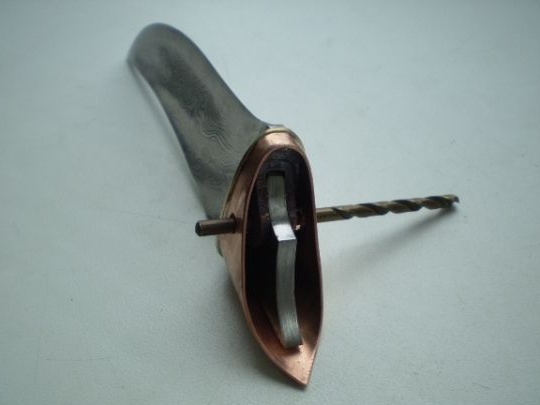
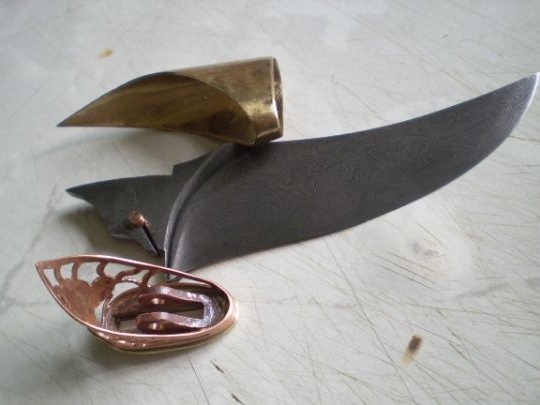
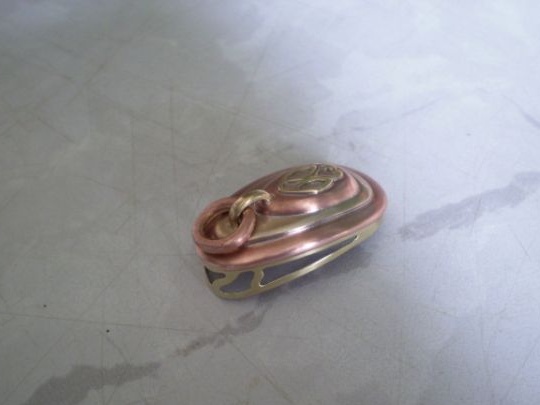
La Gorda will be attached to the blade through a copper eye.
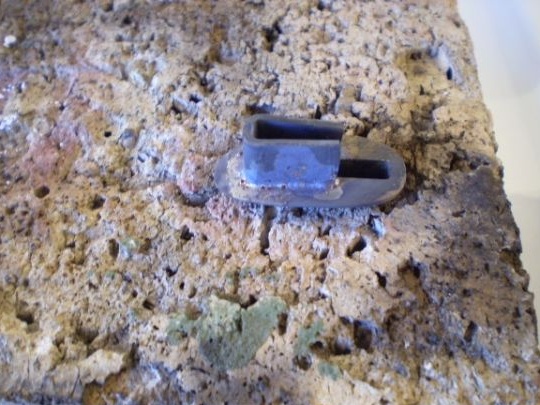
Soldering again.
Here is the result.
Trying on.
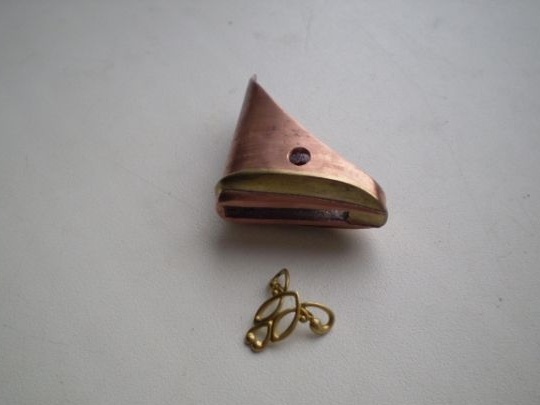
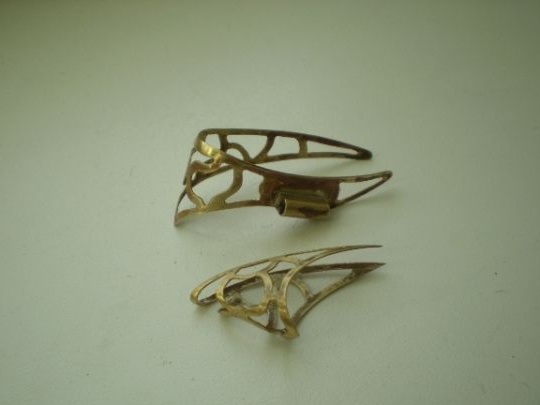
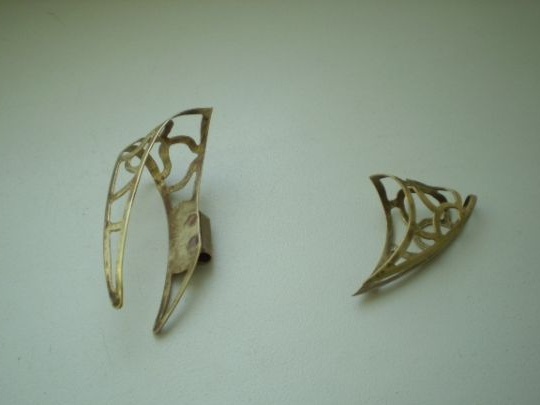
Further, the author proceeds to the manufacture of decorating elements.
Solder.
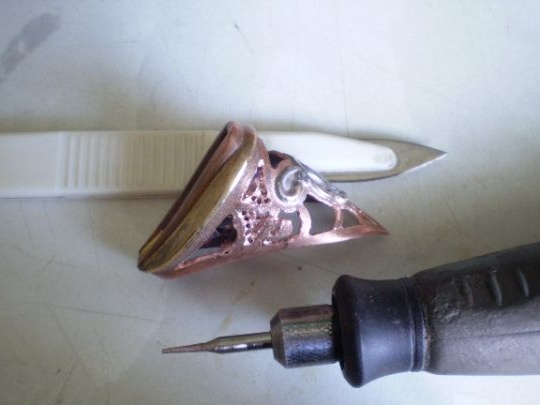
Drills and pierces.
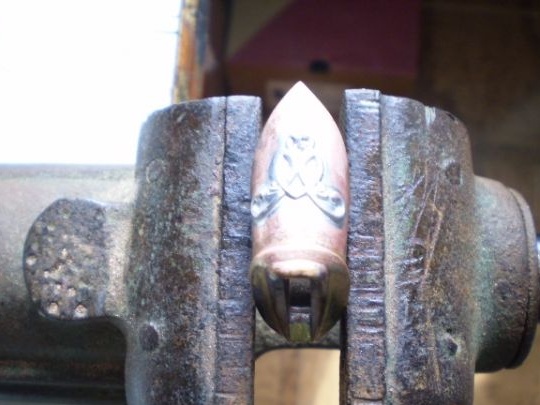
Here is the result.
After the elements are ready, the author etches the blade in H.J.
The etched blade passes very carefully with velvet.
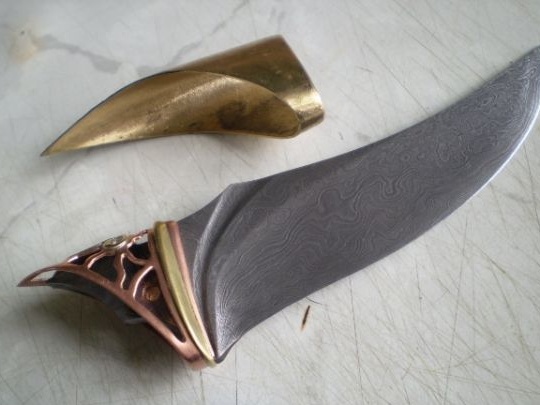
Then the master solders the blade and pride.
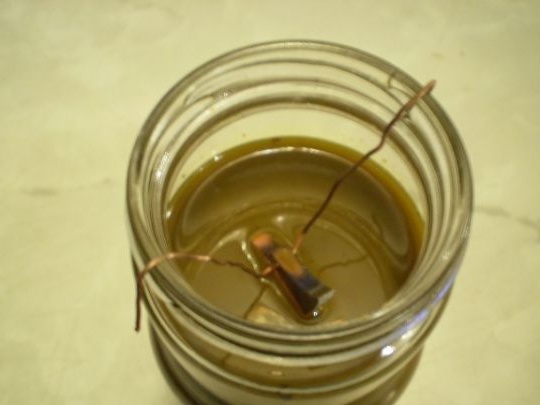
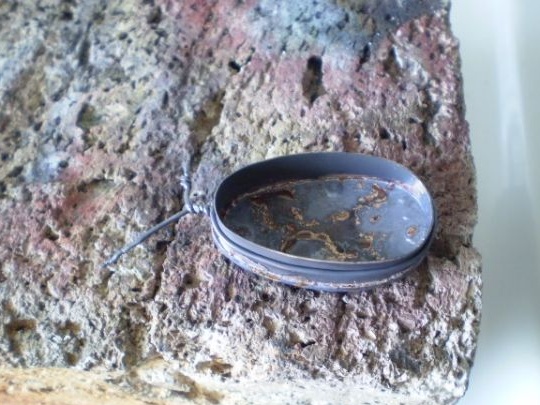
Puts in an ammonia environment and ages.
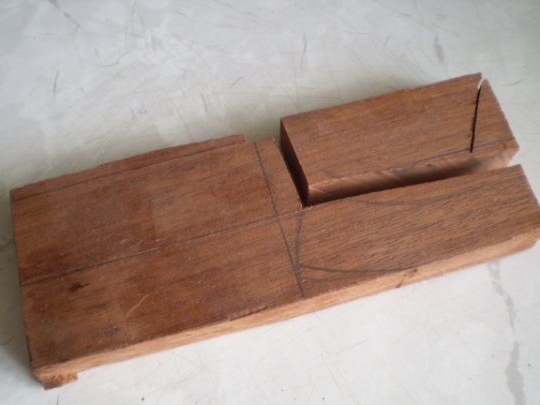
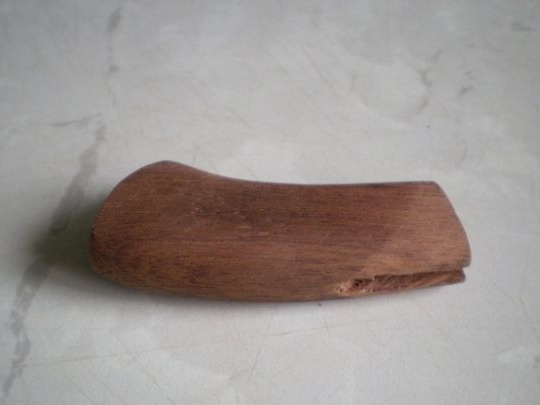
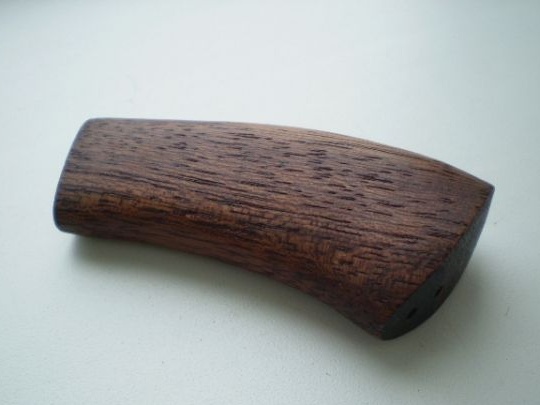
It makes the handle of a knife from mahogany, processes it well and covers it with linseed oil, after which it passes with velvet.
Further, the author makes the top of the handle.
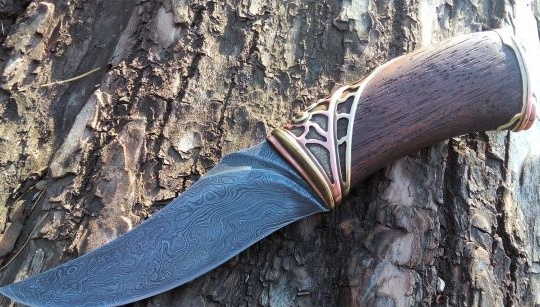
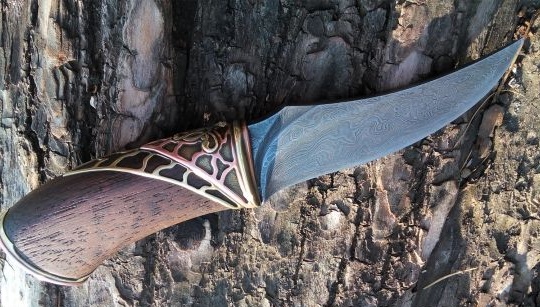
Here is such a wonderful knife in the end.
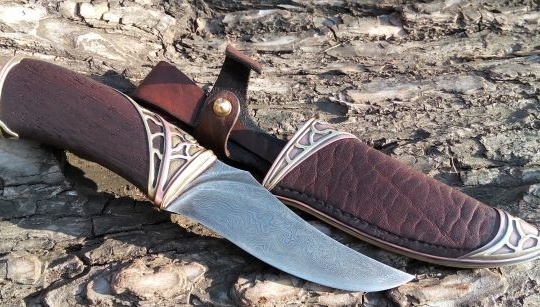
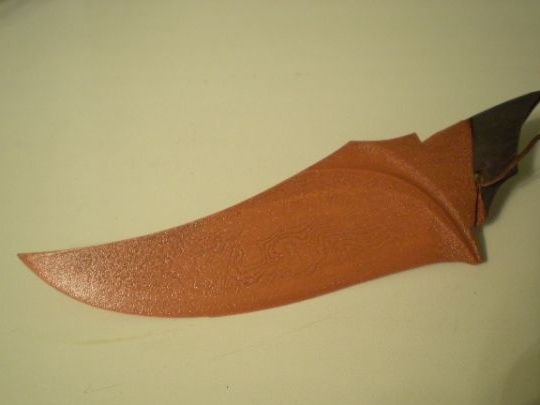
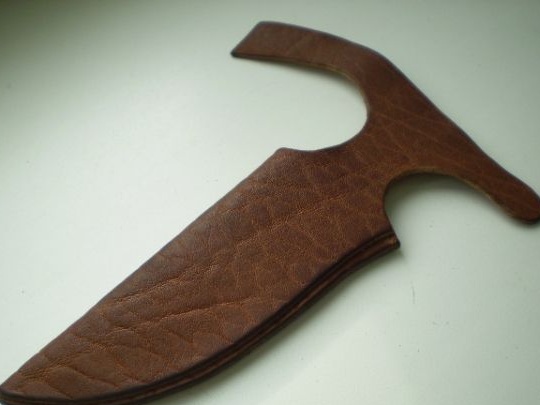
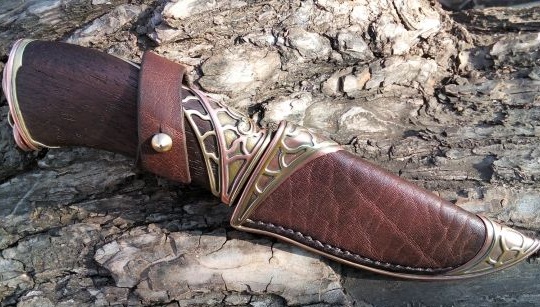
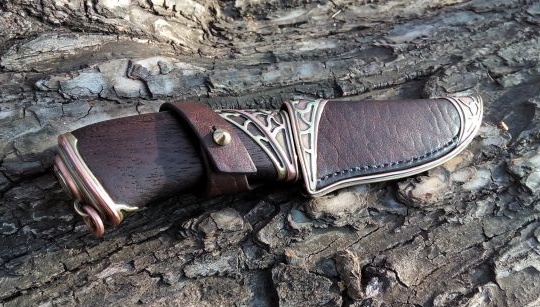
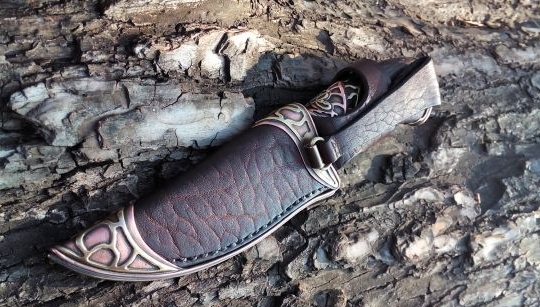
Also, the master made a sheath for his blade from genuine leather, with decorating elements.
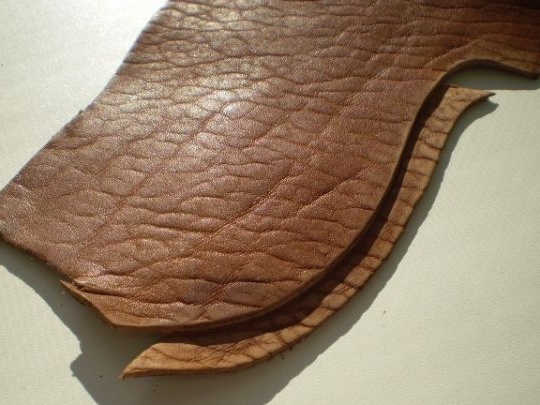
Let's take a look at the manufacturing process in detail. And so for starters, the author got a piece of genuine leather.
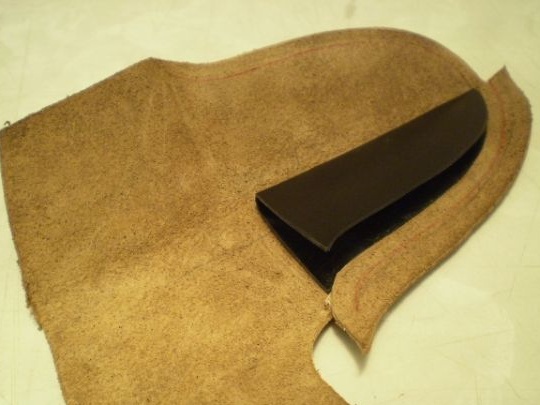
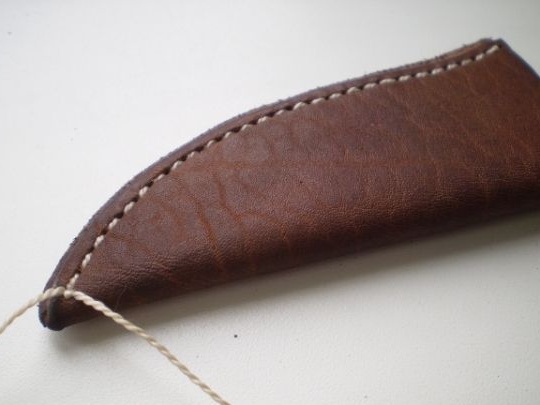
I made an insert from plastic, it is needed so that the knife does not cut the thread holding the scabbard and is not lost, but keeps it firmly and confidently in place.
Cut out by the shape of the insert.
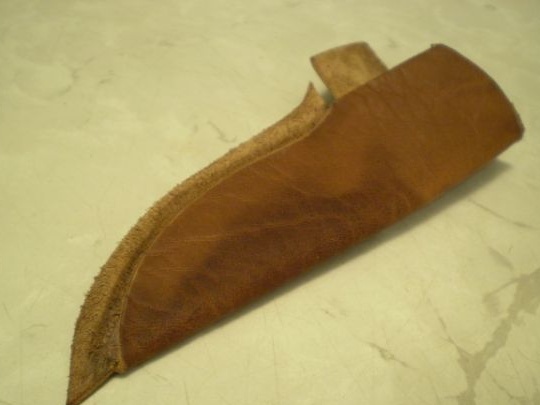
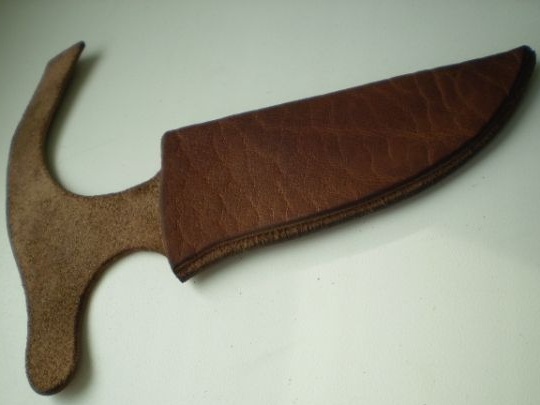
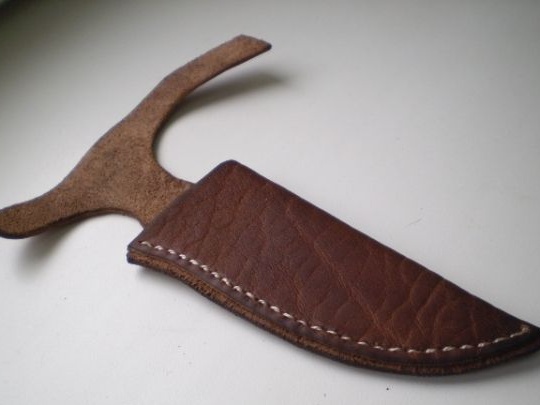
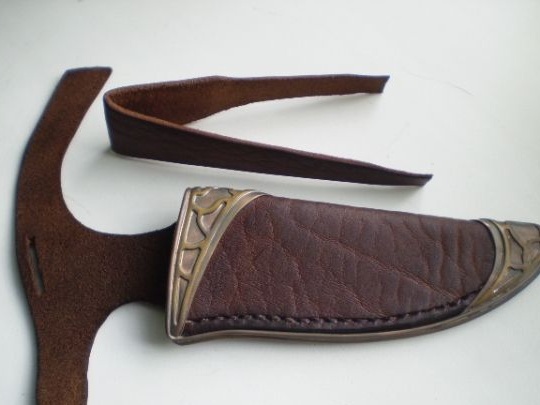
Clasp blank and belt are also made.
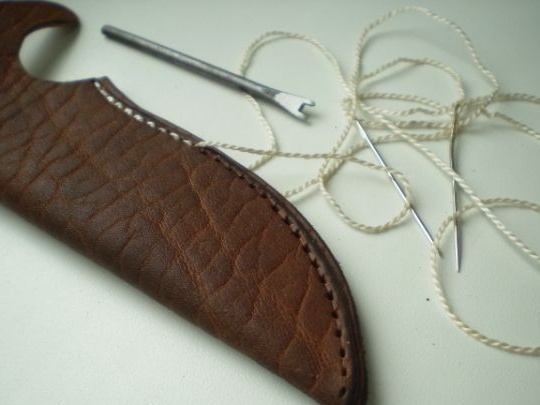
To make an even seam, the author made a punch out of a broken file, so that the seam was clear and uniform.
Here is the result.
Next, again, the decor of brass and copper.
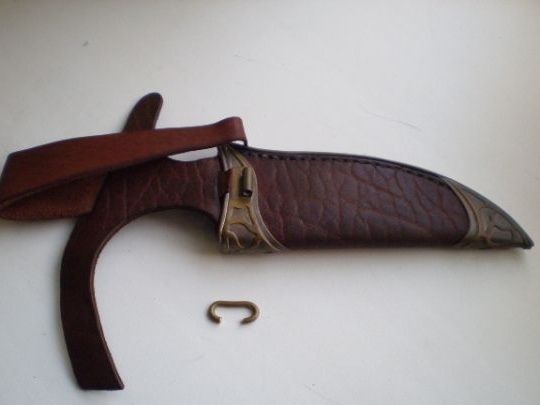
Made a strap for wearing on a waist belt.
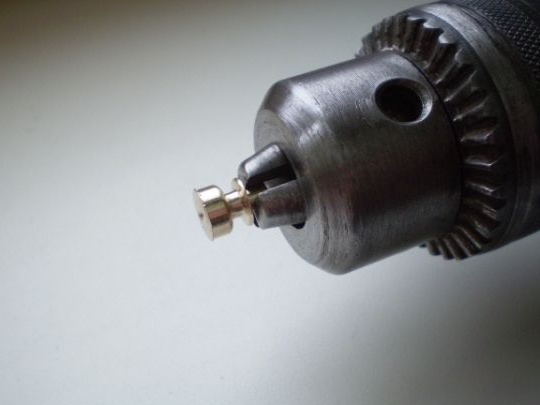
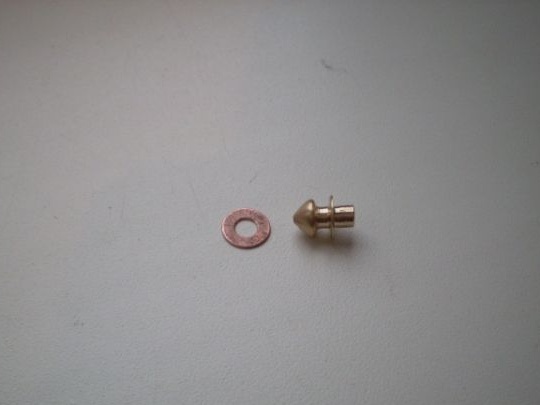
The rivet is made.
And the scabbard is ready.
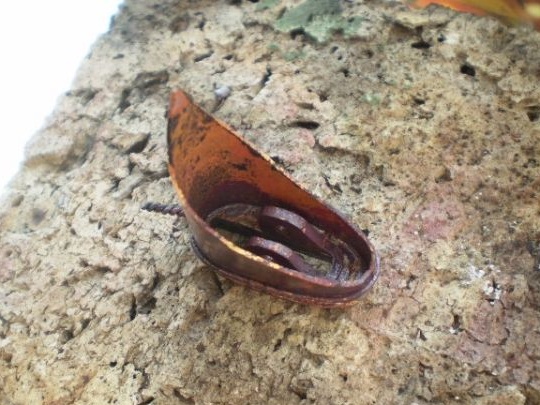
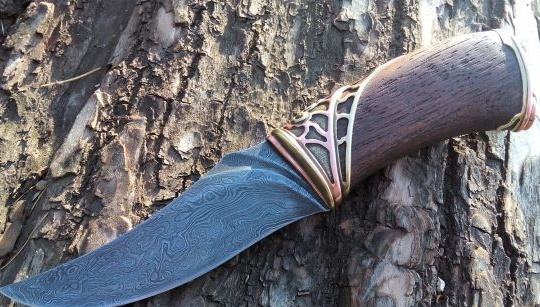
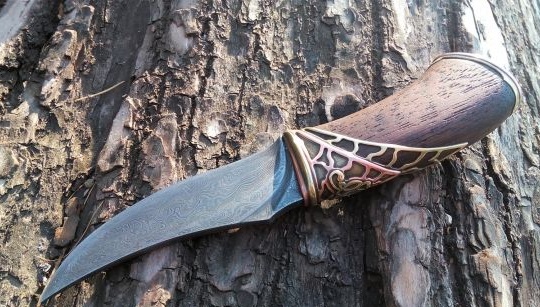
After completing work on the manufacture of a knife and holster, the author went out of town and took photographs of his product in the forest against the background of a tree bark, and it turned out very beautifully.
This master’s knife was such a wonderful one, which is why he’s very happy, because he spent a lot of time on its manufacture, and now he’s ready and pleases the author with his noble appearance. This concludes the article. Thanks for attention! Come visit often, do not miss the latest in the world of homemade goods!
This article is for informational purposes only!
