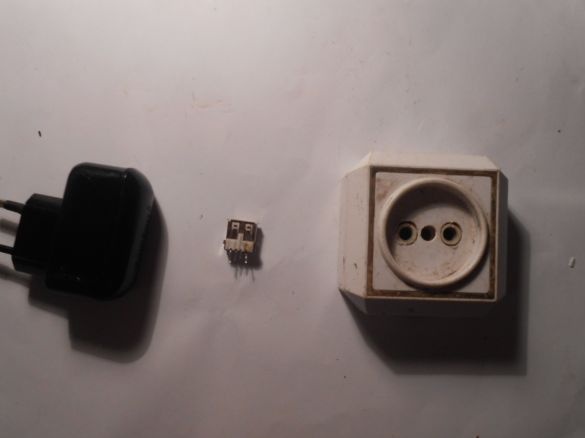
There are times when you need to connect a lamp to one outlet and charge the phone at the same time, here is a socket with a built-in usb socket for charging your smartphone.
Let's get started.
Materials:
1. Power supply (5V, 0.5A)
2. USB socket
3. Outlet
4. Postings.
Instruments:
1. Glue gun
2. Soldering iron (flux, solder)
3. Nippers
4. The knife.
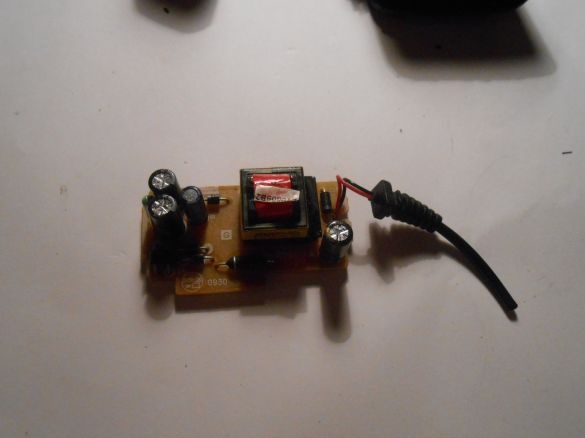
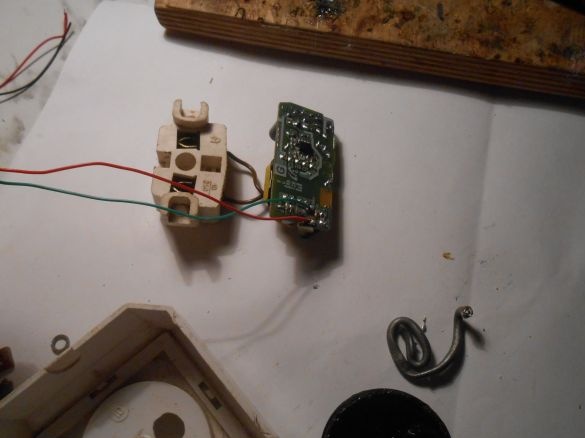
First, we disassemble the charger, and remove the power board from there.
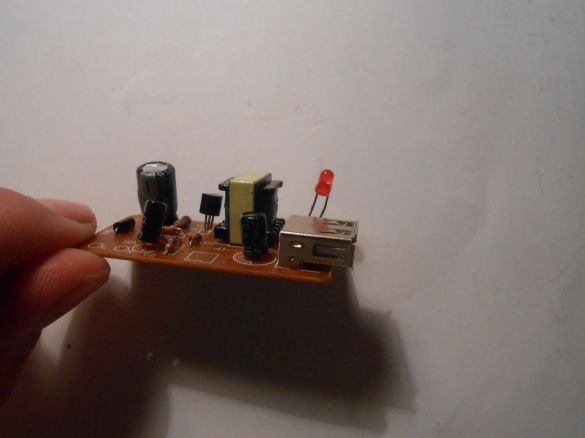
We can observe that in our power supply there is no usb socket, this board can be replaced with a ready-made one with a built-in socket such as in the photo, but unfortunately it has failed.
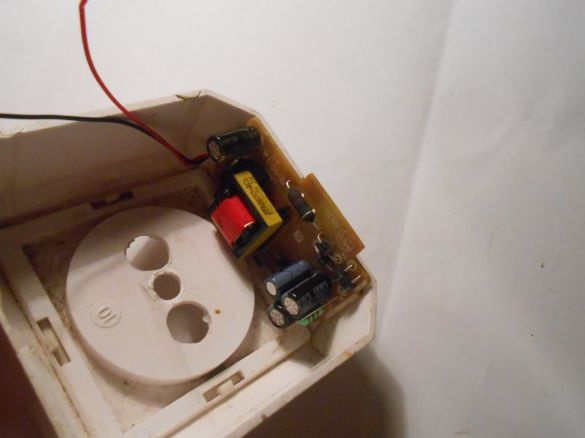
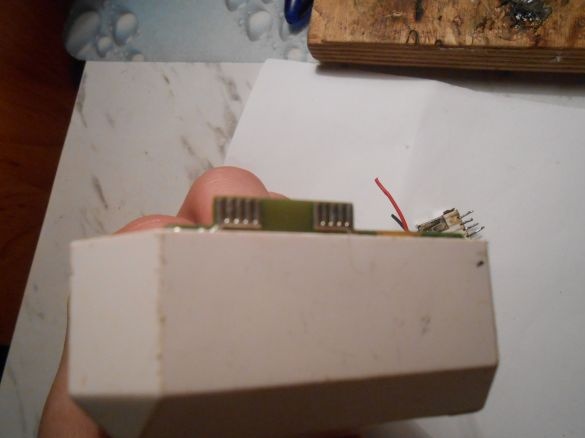
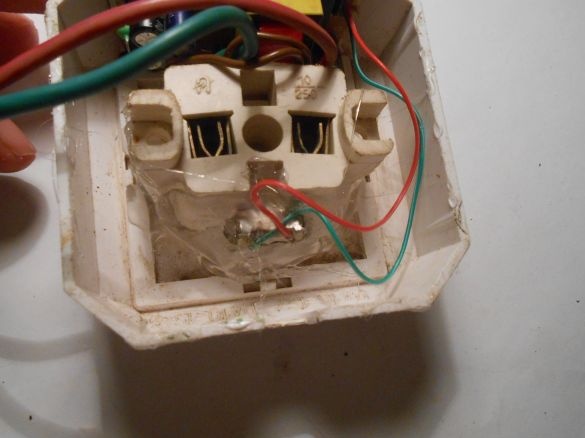
Next, we place the board in the socket housing. If you have a socket of a different shape, then you can install it somehow differently.
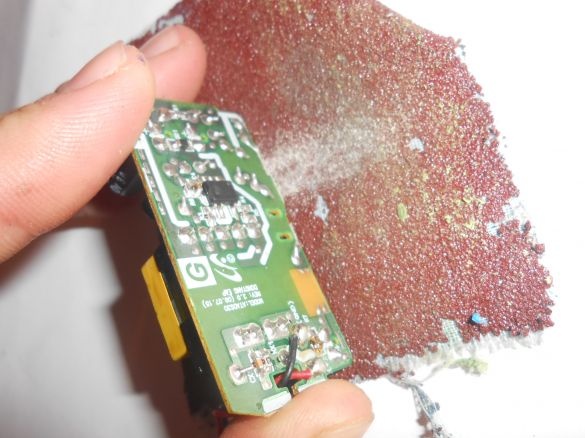
Having installed the board, I noticed that I have two protrusions that will interfere with the installation of the outlet. I cut them with the help of wire cutters, these were the contacts that go to 220V. Do not be afraid the board will work, you just have to solder the wires to another place.
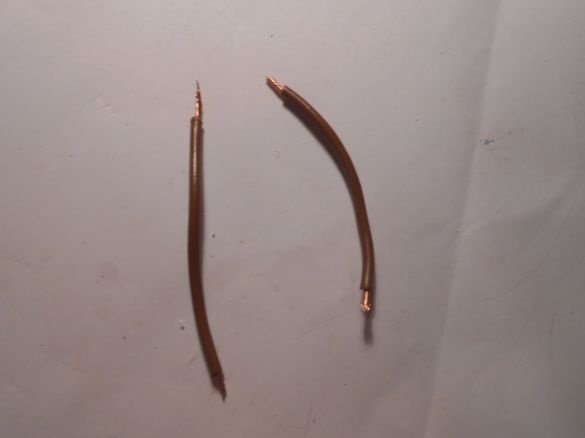
We take two wiring (5-8 cm.).
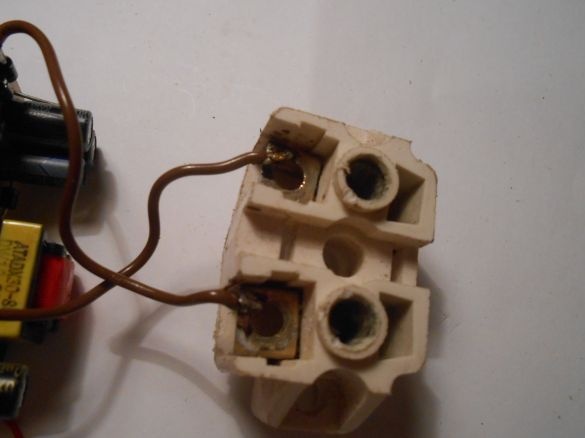
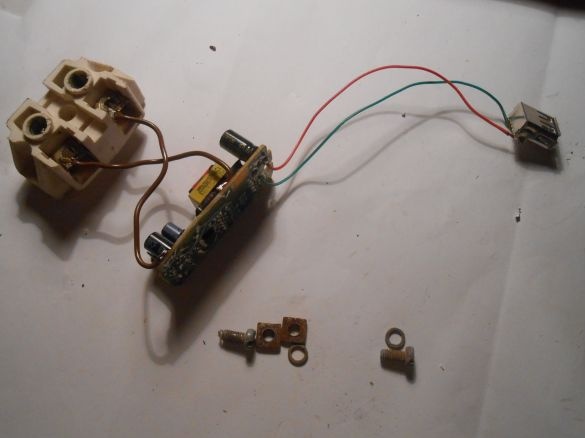
Solder these two wires from the board to the socket contacts.
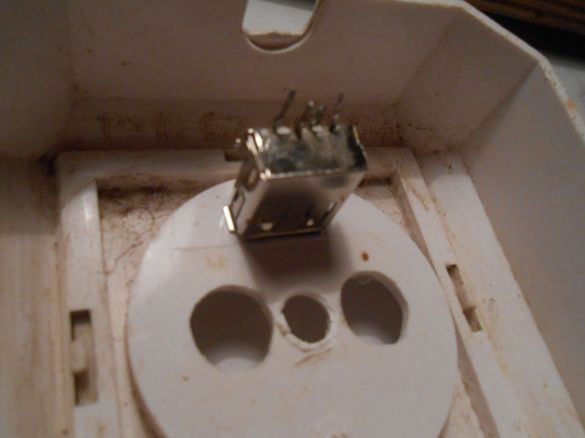
I placed the usb socket on the front panel of the outlet.
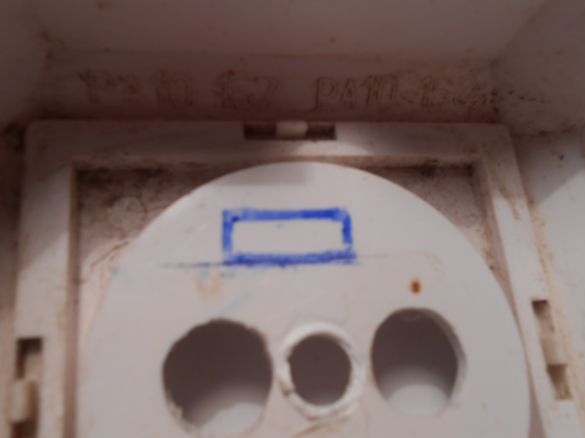
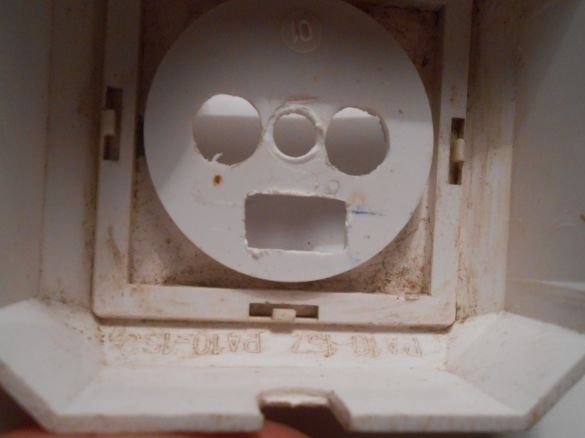
Next, do the markup and cut a hole for the nest.
I did this with a heated knife, and in the end I leveled it with a small file.
On the board, I extended the wires, since they were too short. To these wires in the future we connect the usb socket.
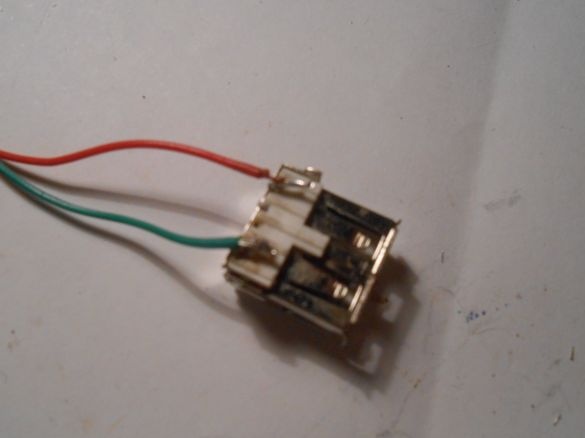
The plus contact usb is on the right, and the minus is respectively on the left. We solder.
Here we have such a circuit, which still needs to be installed inside the outlet.
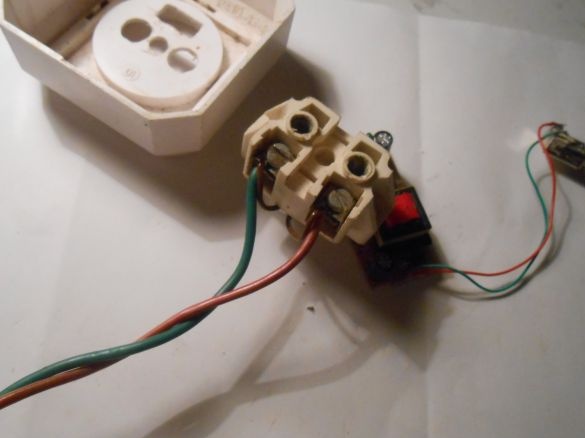
Before installing the entire circuit, pre-connect the wires that will power the outlet itself.
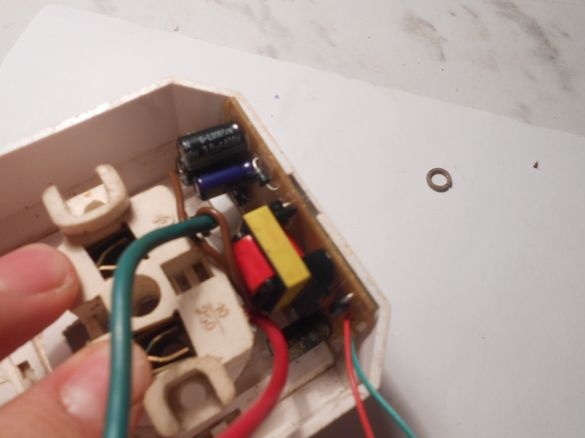
Glue the board to the wall of the outlet on hot glue.
We perform this procedure with the rest of the components.
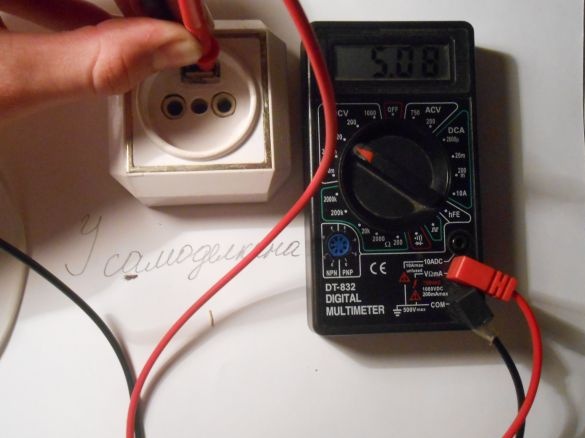
The socket with usb charging is ready. It remains only to install in your the garage or in your room. You can also add a switch to the gap so that our board does not work idle.


