

In the life of every aircraft modeller, there comes a time when you want to attach some kind of video device to the plane, so that you can then enjoy the bird's-eye view. In order not to buy a serious camera for several thousand wooden ones, you can do for the first time a remake of the old DVR.
This article will tell you how you can remake the DVR in the likeness of an action camera (although this is a very loud name, but the main thing is removed!)
Materials and tools:
- Ceiling tile (trim)
- Scotch tape
- Plastic from a bottle or packaging
- steel wire
- Tin
- Cutter
- scissors
- soldering iron
- screwdrivers
- Square
- Marker for disks
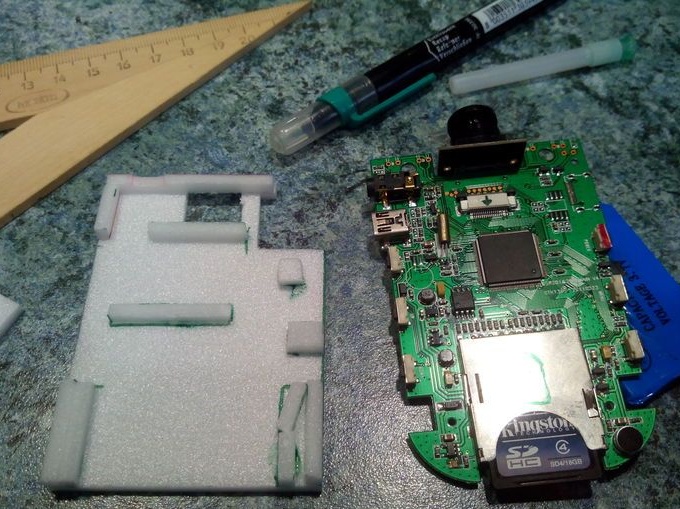
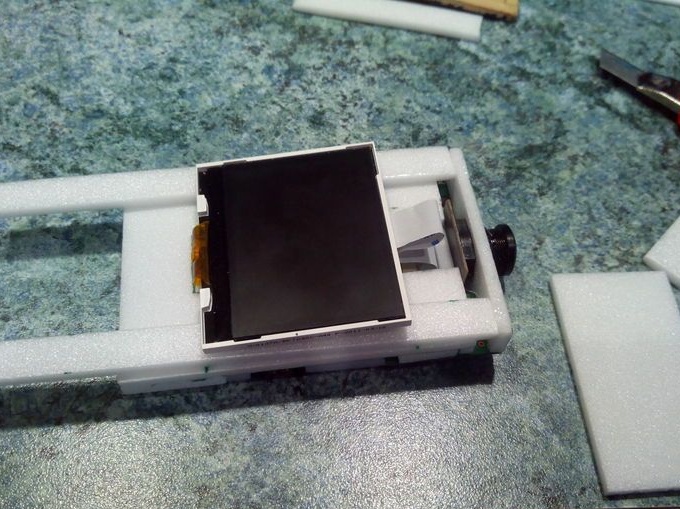
Step 1. Disassembling the registrar.
Using a screwdriver, we disassemble the recorder.
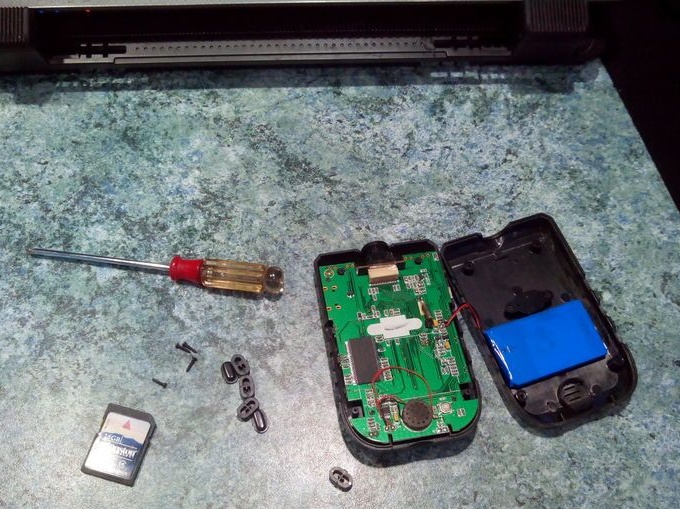
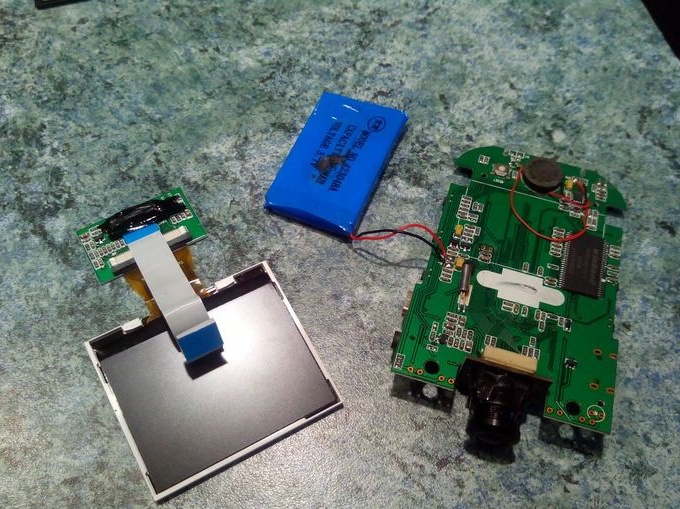
We unscrew the board and carefully separate it from the case.

We disconnect the screen and solder the battery from the board. We will use the battery native, so as not to bother with connecting to the board power.
For fun, I put together a bunch of all the plastic parts and weighed. 60 grams came out, and the whole electronics - 55 grams.
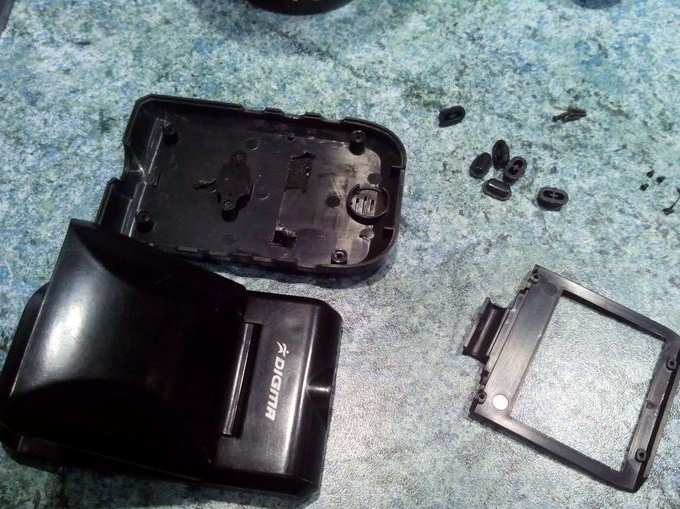
We remove all the plastic to the side and proceed to the next step.
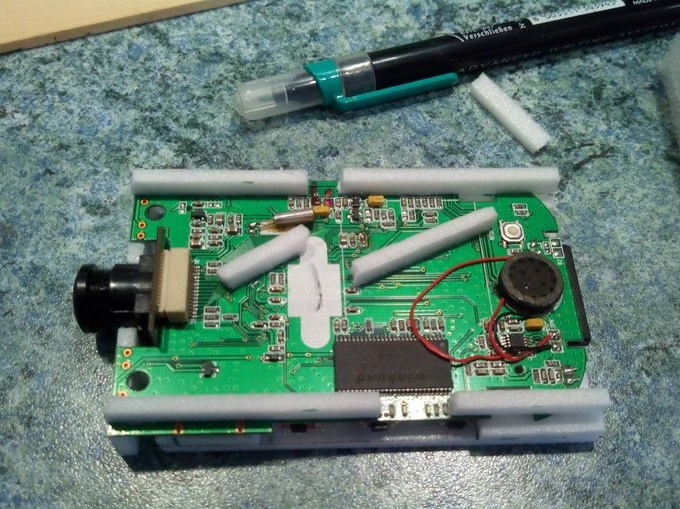
Step 2. Gluing the recorder with a ceiling.
Of course, you can just stuff the entire board with the battery in model, but the goal was to make a removable universal apparatus, and therefore try to give it a form.
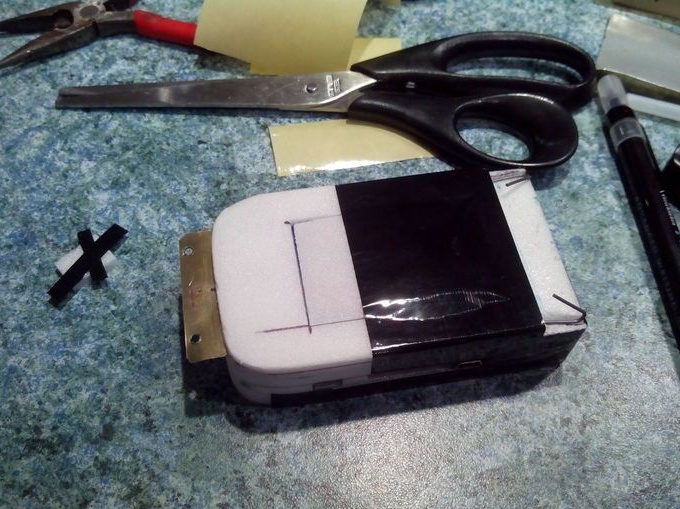
We cut and glue one wall, add small strips of ceiling at the edges and in the middle, but so that they do not fall on strongly protruding microcircuits.
On the other hand, we are doing the same thing, the main thing is not to glue the connector for the screen, the memory card slot and the lens.
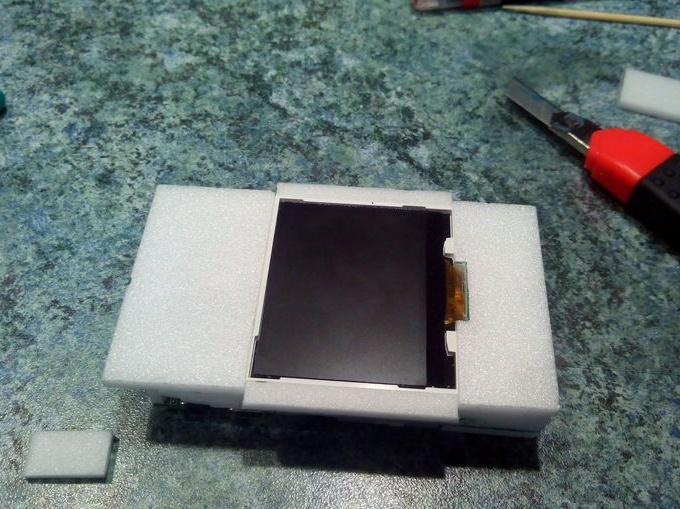
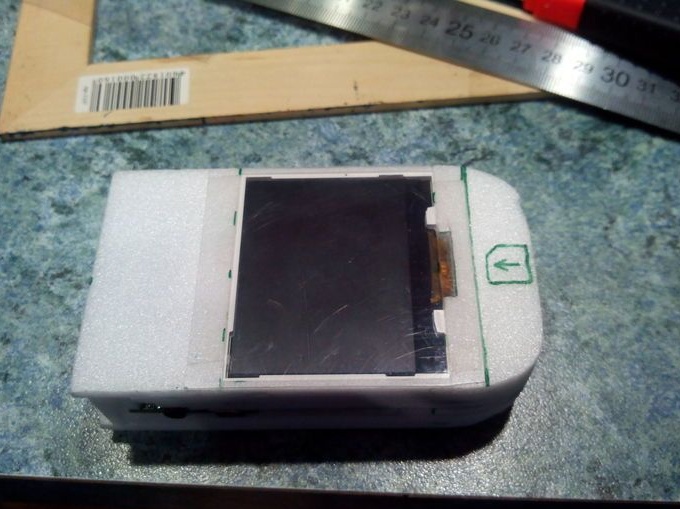
We turn the screen itself so that it points outward and glue it on double-sided tape.
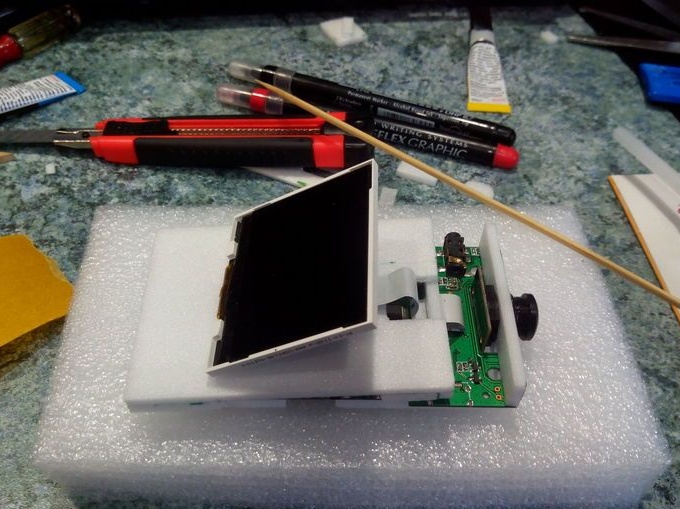
Buttons, it was decided not to stick, leaving for them on the sides of the gap. Yes, this device will be afraid of water, but we need it for flights and trips, and not to a submarine.
We glue the ceiling tiles around the screen.

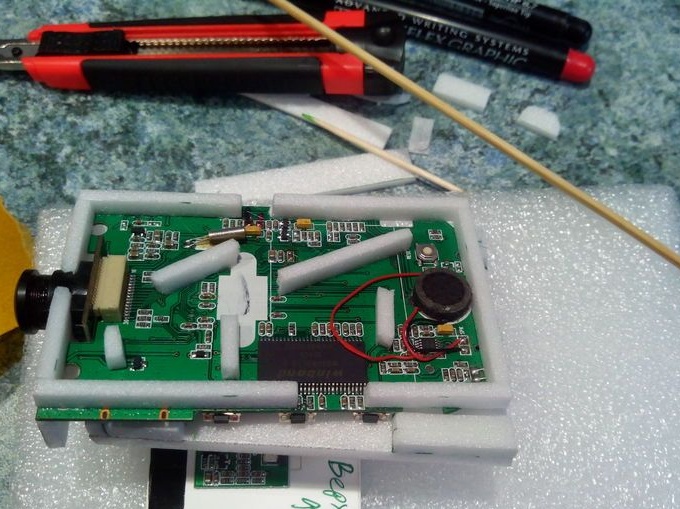
The battery in this step can be soldered back.At the same time, we check the operability of the device.
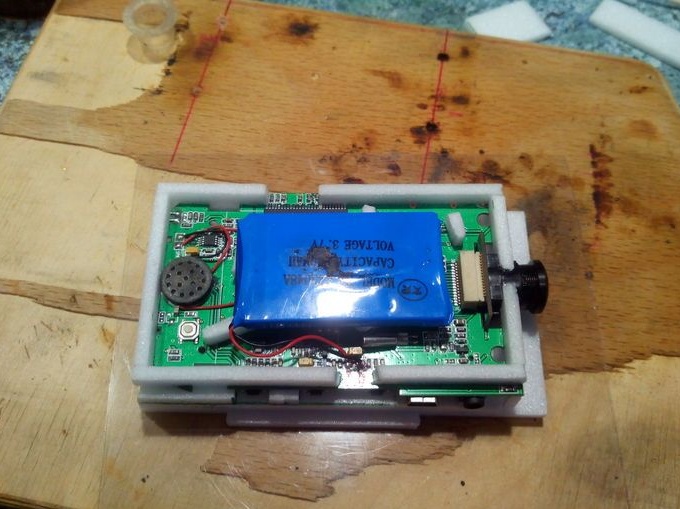
Around the battery we glue strips of ceilings, similar to the screen.
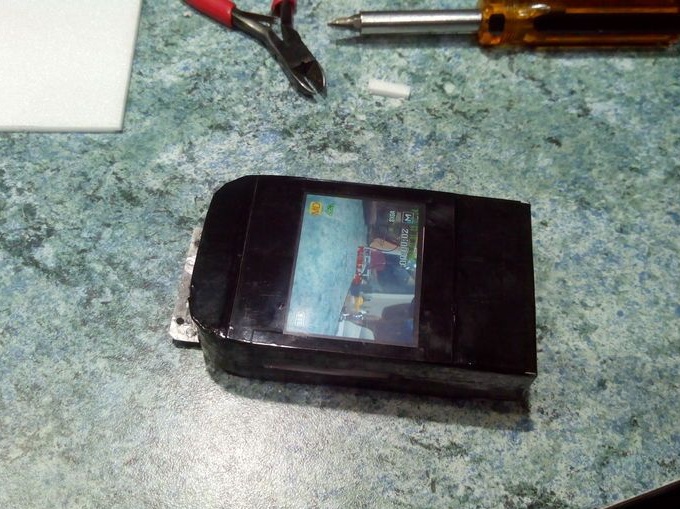
Glue a piece of transparent plastic over the screen to protect the matrix from scratches.
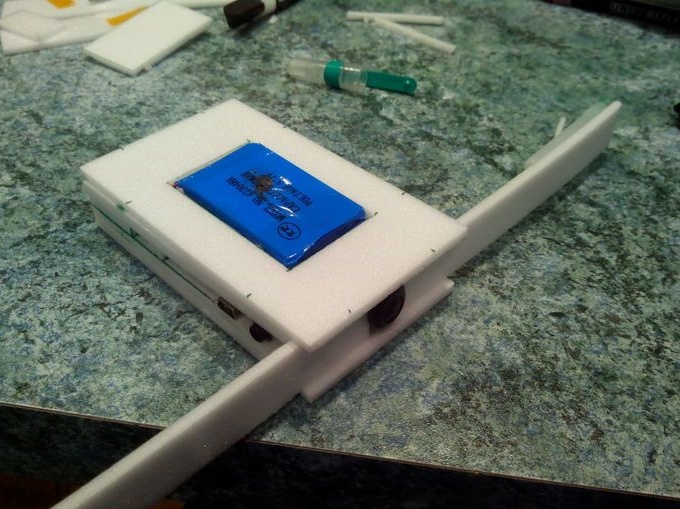
Step 3. Making attachment to the aircraft.
This step can vary greatly due to different variations of the landing gear. But the general principle will be clear in the photo.
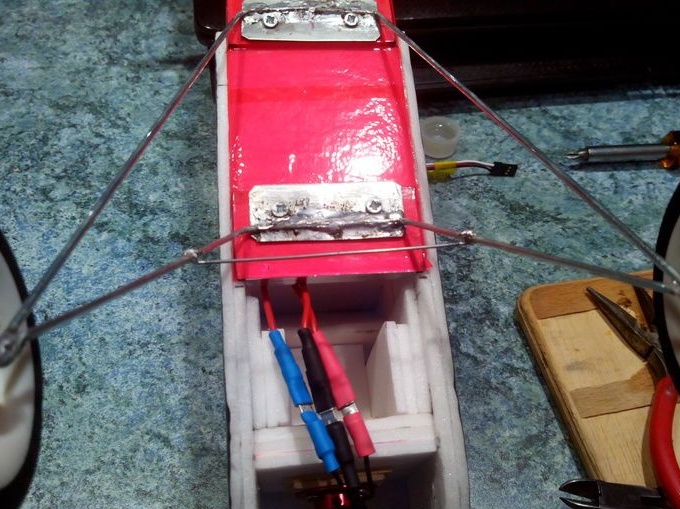
We solder a jumper made of steel wire to the landing gear.
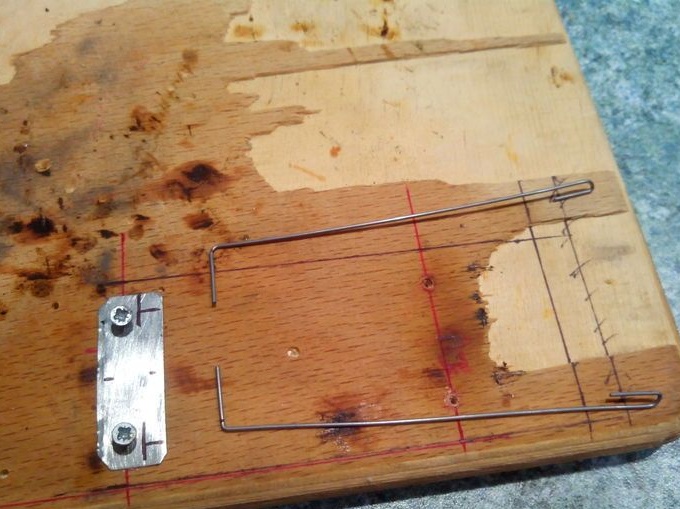
We cut out a piece of tin and make holes in it that must coincide with the holes for mounting the chassis. As an option, we make one hole, and in the bottom of the fuselage we glue a small plywood platform under a small self-tapping screw.
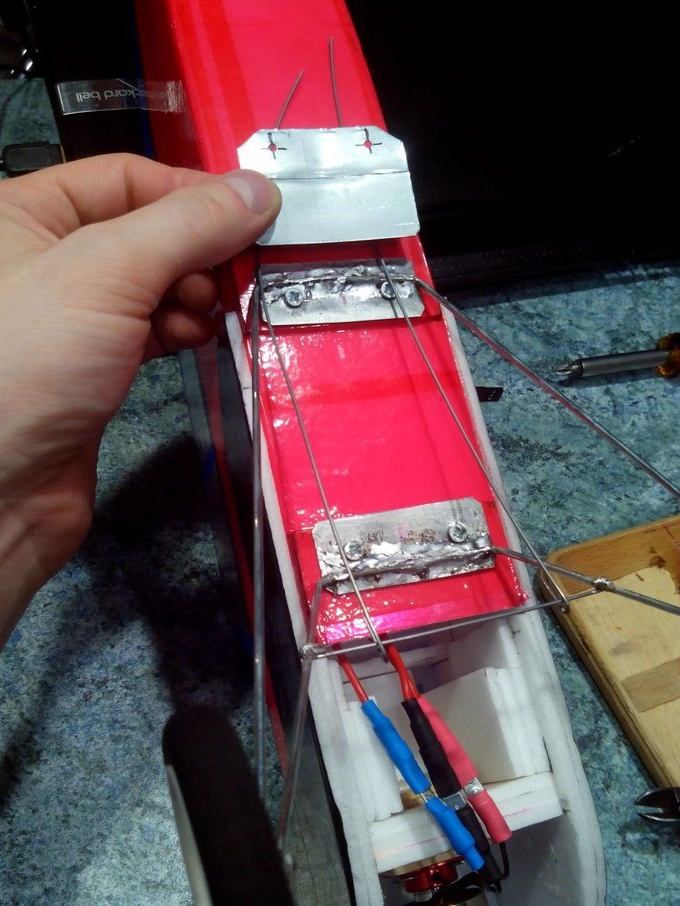
On a piece of plywood, we fix this part from tin with screws and solder two long wire hooks to it. We measure the length so that the finished structure hooks on the jumper on the chassis, and the holes in the sheet coincide with the holes in the fuselage. And, of course, so that the distance from the holes to the hook is greater than the registrar.
We attach the brazed mount to the body and make the cutter small recesses under the wire.

We put the mount in the cut-out grooves and seal it with a ceiling.
The battery can also be sealed with a ceiling.
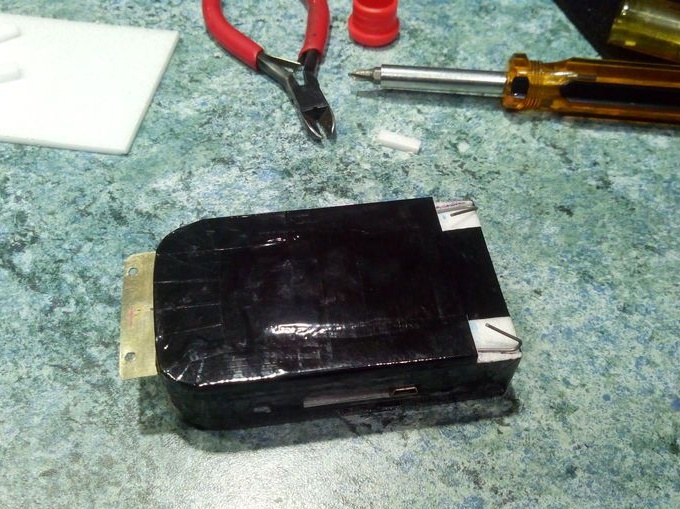
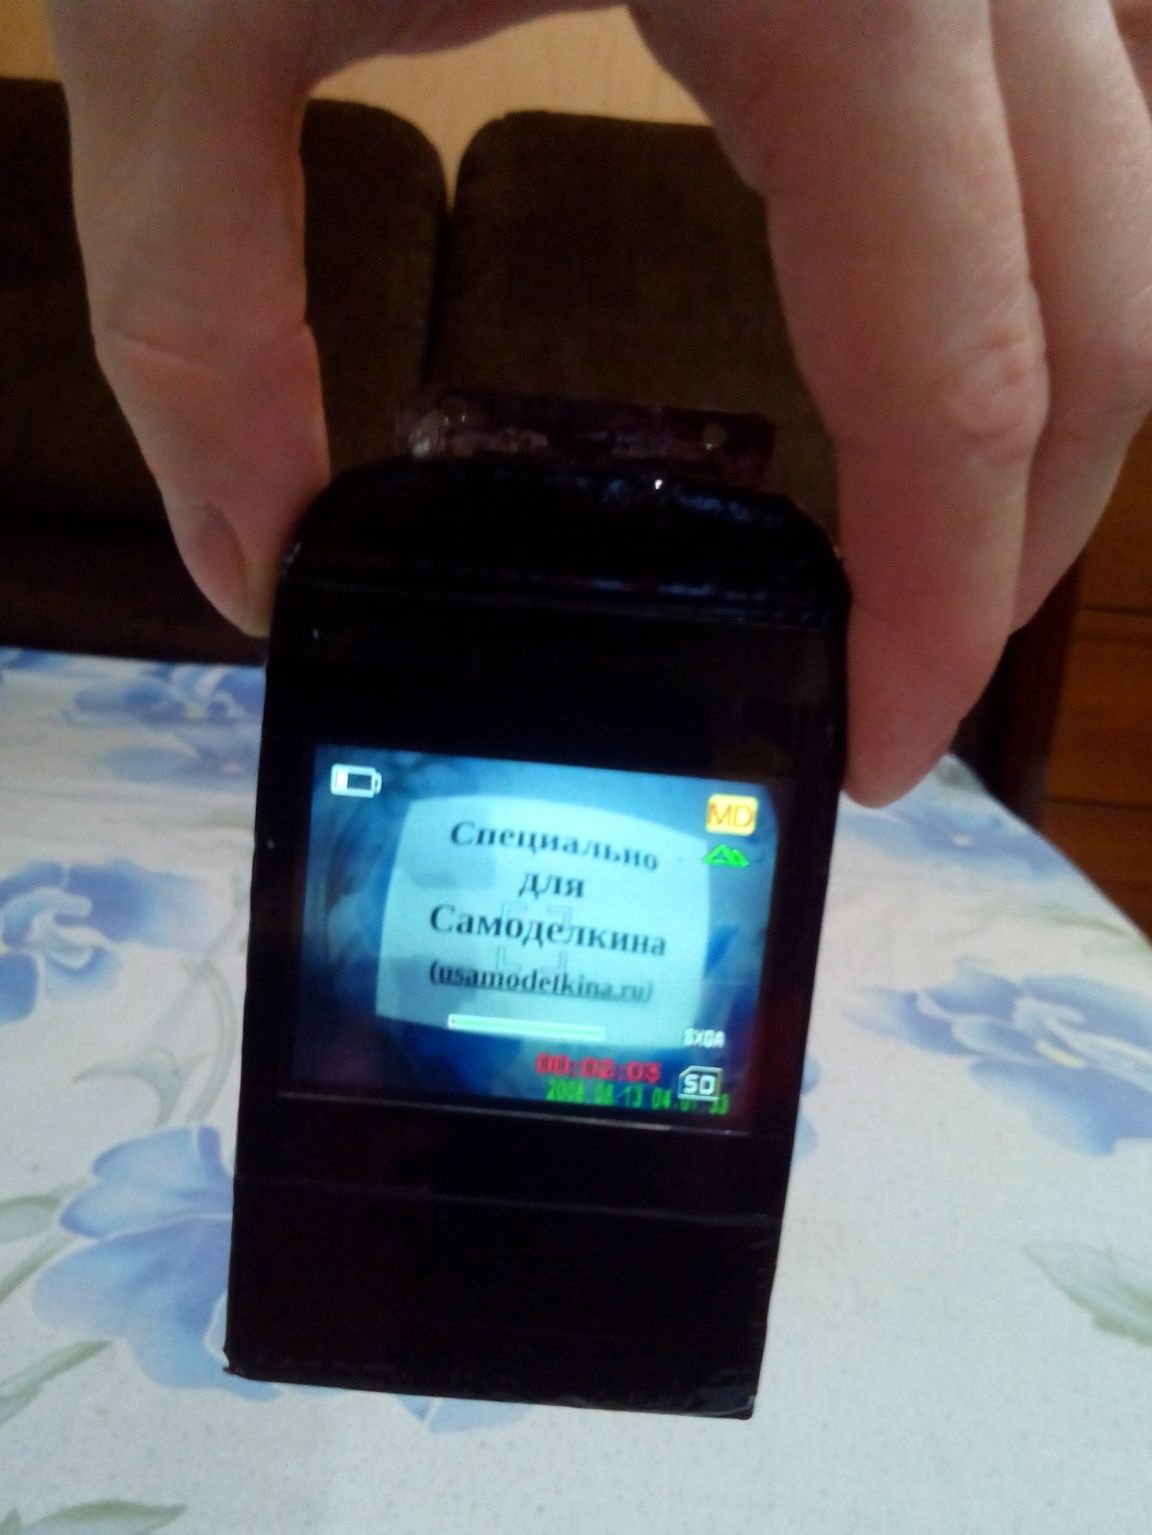
Step 4. Pasting with adhesive tape.
We begin to glue the body with tape. The color is at your discretion, but black is better to seal all the marks with a marker and slots, and therefore I settled on it.
Initially, there was an idea to make the form more streamlined, but it would be difficult to paste over with adhesive tape, and therefore the form remained close to the original.
After pasting, we check how the recorder works.
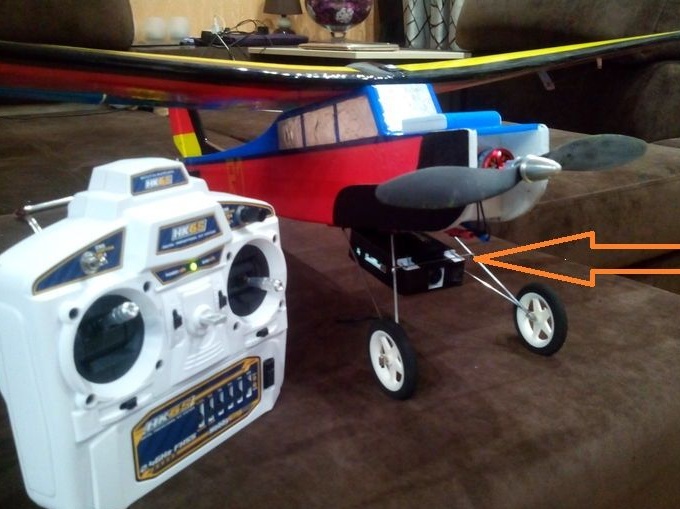
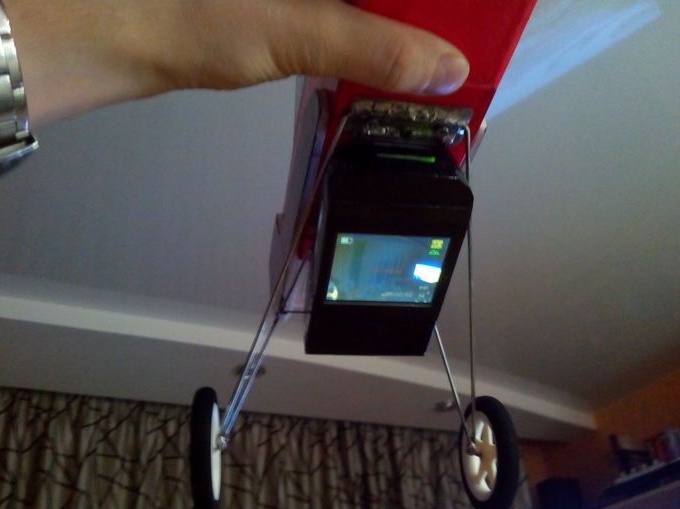
Step 5. Mounting to the aircraft.
We unscrew the back of the chassis, hook the recorder with hooks on the jumper, fasten the camera to the fuselage along with the chassis. If the chassis is of a different format, then we simply hook the hooks on the jumper and fasten it to the fuselage.
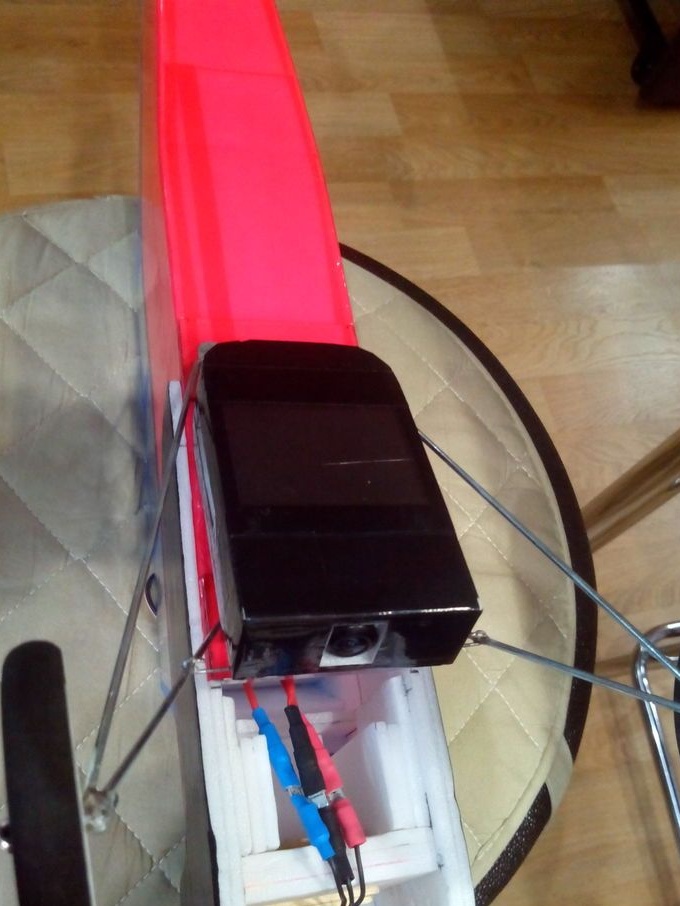
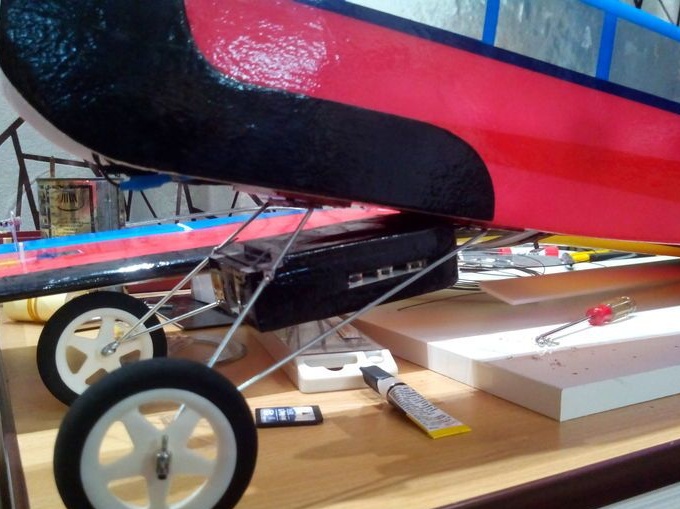
I chose the shooting angle in advance, I wanted the model to shoot both forward and down, for this I estimated the angle from the balcony. On the protractor, the angle of deviation from the horizon is about 20 degrees.
Since the model of the aircraft was made without relying on the camera, the recorder was initially decided to be mounted closer to the center of gravity. True, there was still a slight shift in the center of gravity, but it is easily corrected by shifting the battery.
The final weight of this action camera is 67 grams. Considering that 60 grams were removed from the very beginning, and after gluing, the camera grew only 12 grams thicker - it was worth it.
At the end, as usual, a couple of videos of flights and trips from the board. The wrong date and time on the video is my haste and reluctance to configure it in the recorder. And the fact that when traveling upside down is a feature of fastening on a snowmobile.
This is a camera in flight (even captured a small accident):
And this is a snowmobile camera: