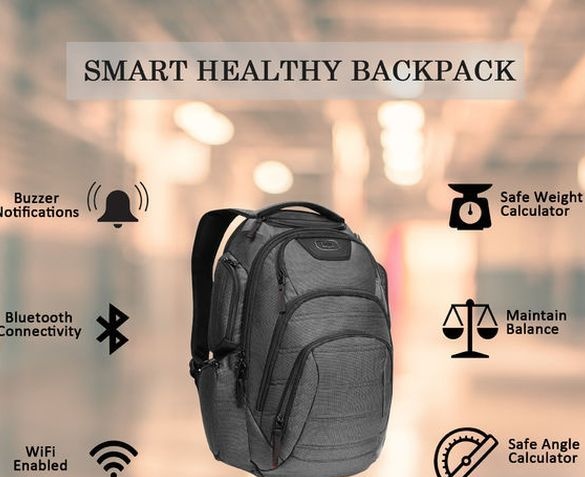

Schoolchildren, students, tourists, and even some office workers and workers carry backpacks. The backpack allows you to evenly distribute the carried load. But improper carrying a backpack, overload can cause serious health problems. The main problems can occur when: overload and incorrect adjustment of the belts, wearing a backpack for a long time, wearing a backpack on one shoulder, improper posture when wearing a backpack. How to wear a backpack so that there is no feeling of discomfort, pain and even spinal injury? The author decided to answer this question using modern technology.
The device that he made, solves the following tasks:
- calculates safe bearing weight and notifies if it is exceeded;
-balanced load distribution on the shoulders;
- warns of an incorrect position;
-notifies if the backpack filling volume is exceeded;
In addition, all data can be further collected for further analysis. In the manufacture of the author laid in the amount of about $ 40.
Tools and materials:
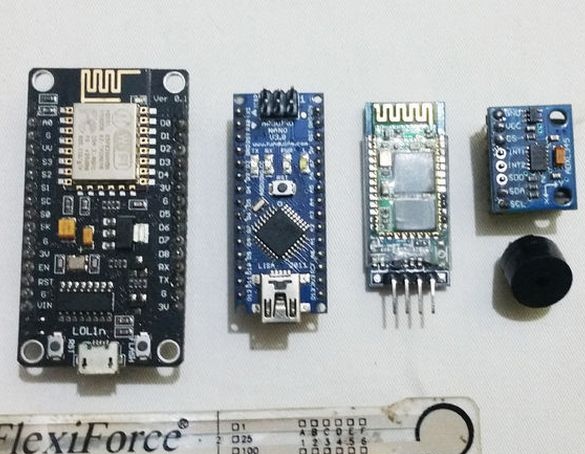
Sensitive Force resistors;
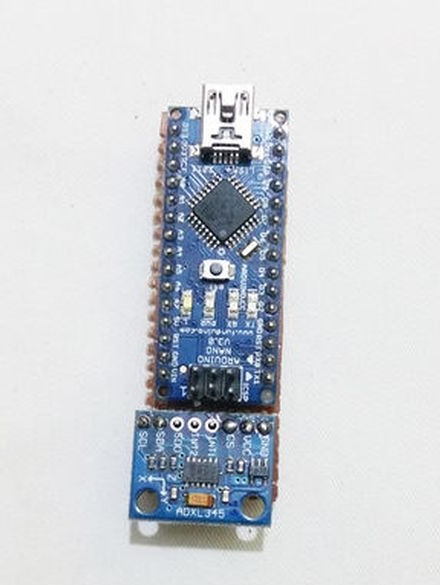
Accelerometer ADXL345 ();
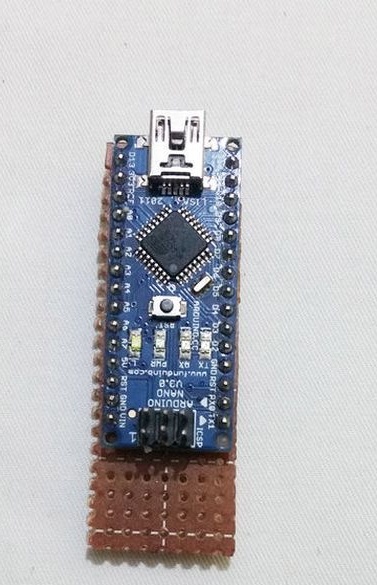
-Arduino Nano ();
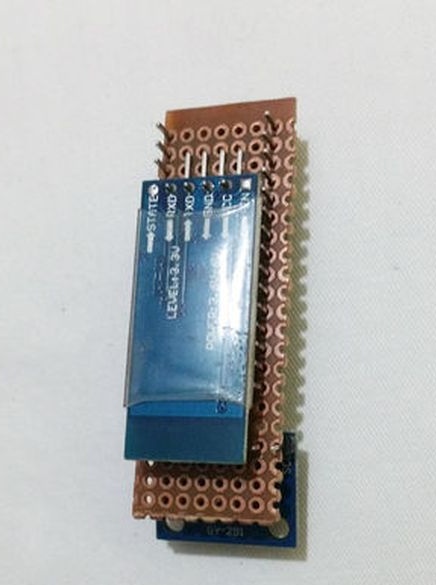
-Bluetooth module HC-06 ();
microcontroller ESP8266 ();
-buzzer;
-wire;
Step One: Sensor Placement
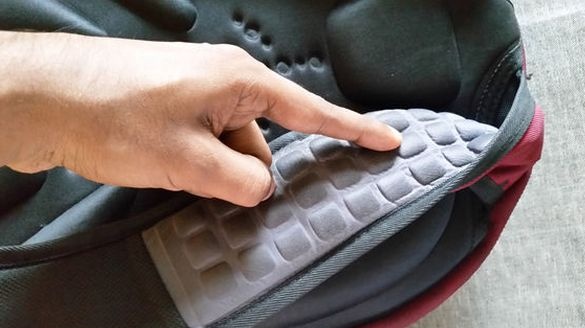
For his device, the author needed three sensors. He placed two of them on the straps. First you need to put on your backpack and adjust the length of the belts. Next, determine the place on the strap where the maximum pressure will be. It is necessary to determine such a place as accurately as possible, since an error of 2 cm will already significantly affect the result. Approximately this point is located in front 1 cm from the upper part of the shoulder. Optionally, both sensors must be equally spaced, as the code includes a calibration algorithm.
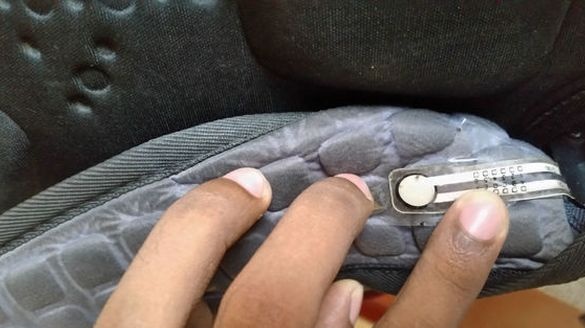
Another sensor must be placed on the back, at the point of maximum pressure. This sensor will track the filling volume of the backpack. If the volume of the backpack is exceeded, the load on the back will increase.
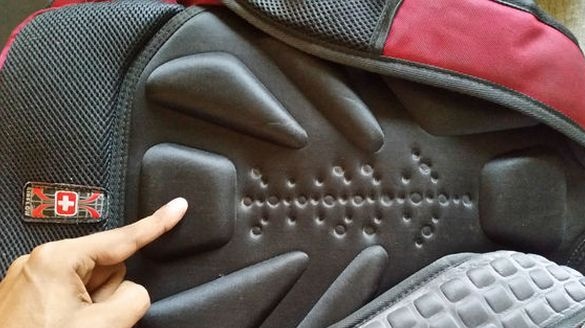
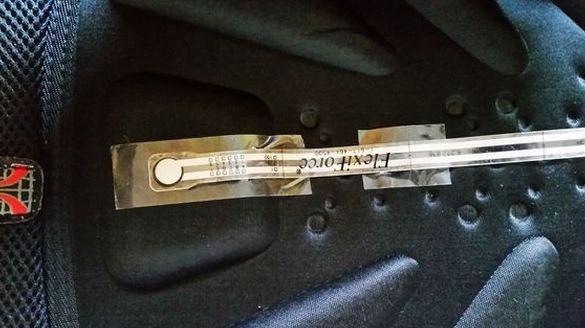
Step two: wires
Further, the author solders the wires to the contacts of the sensors. Wires pulls inside a backpack.
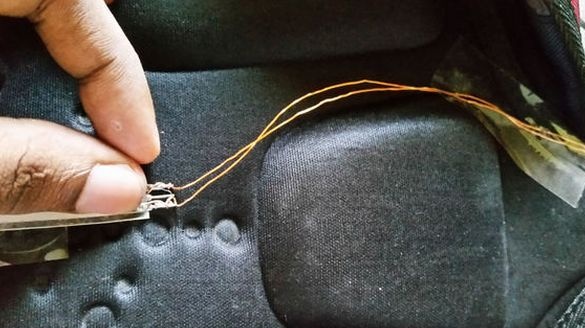
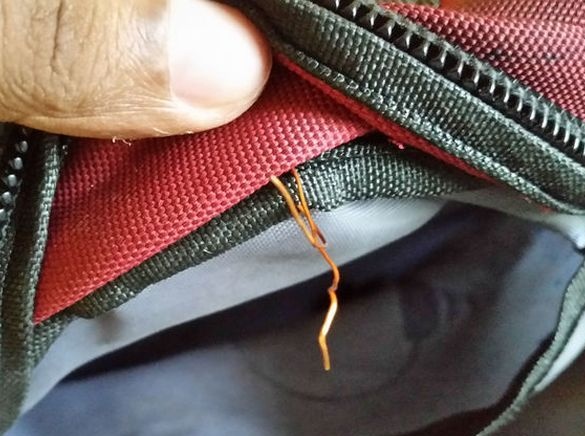
Step Three: Buzzer
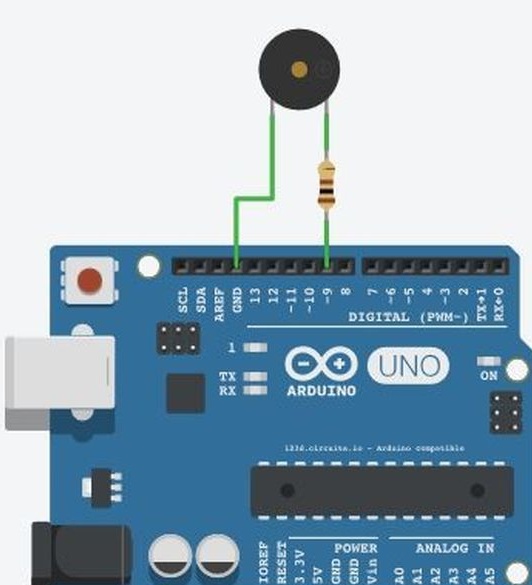
Connects the buzzer, through a 100 ohm resistor, to Arduino 9 pin.
Step Four: Connect Modules
Now you need to connect the modules. Connects Vcc (plus) of all modules to 5V, and Gnd (minus) to minus Arduino.
It then connects the SCL and SDA of the ADXL345 to similar Arduino boards. Connects the ESP8266. TX to 3, and RX to pin 2 of the Arduino board.Further, after downloading the code, it connects the HC-06 to standard RX and TX pins.
Step Four: Case
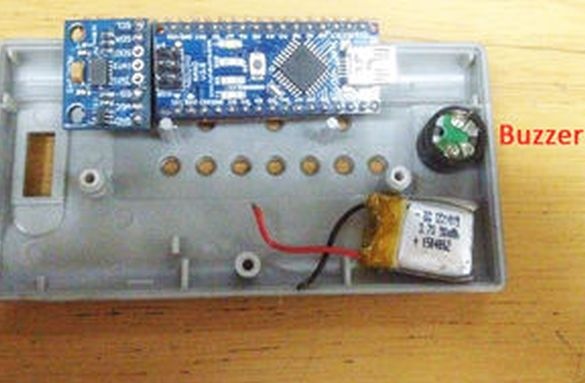
In order for the device to be as compact as possible, assembled all this in a case from a guitar tuner.
Step Five: Code Files
Uploads code files to
and to
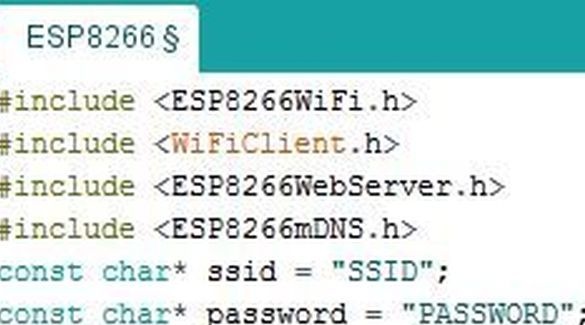
If necessary, you can change the contacts that are used to connect the components, the author defined them at the beginning of the code. It is also necessary to register the WiFi password on the ESP8266 module, as on home network.
Step six: connecting sensors to the module
Each sensor has two outputs. One output connects to a 5V network. The remaining ends: the left sensor is A0, the right sensor is A1, the central sensor is A2. For accuracy of measurement between Gnd and A0, A1, A2 connects a 22k resistor.
Now you can put the device in a backpack and do the software.
Step seven: application
For the device to work, you need to download the application from the store. After installation, import. Turn on the device and connect to the HC-06. Now you can start the interface.
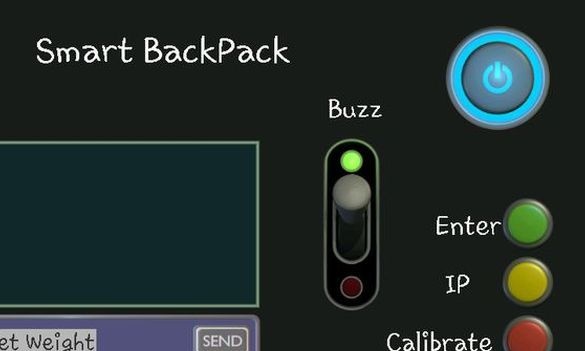
Let's analyze the notation for the interface.
-Buzz-on and off buzzer;
-calibrate-calibration of sensors before use;
-set weight-sets the user's weight (when you enter the weight, the device automatically calculates and shows the safe weight of the backpack);
-IP-to find the device address on the network (use after connecting to Wi-Fi. Using this address you can check the status of the device via the Internet);
After calibration, the device will automatically save the threshold values in the EEPROM (memory) and notify you that the backpack is not used correctly with the buzzer.
- about belt imbalance - low-frequency tone (300 Hz)
- about overweight - mid-frequency tone (1400 Hz)
- about the wrong angle of the body - high-frequency tone (2000Hz)
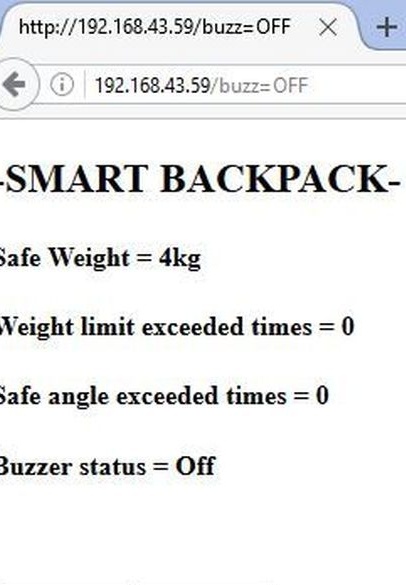
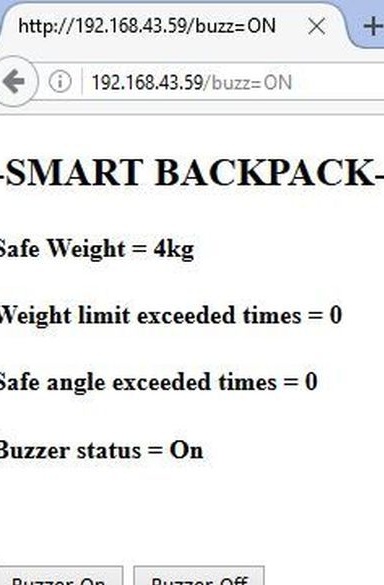
Also, the testimony can be checked via the Internet, for example, if the device is installed on your child’s backpack, and you are not at home. To do this, enter the IP address in the address bar and the screen will display the values that are read by the device’s sensors. You can also turn off the buzzer online.
And a short video about the operation of the device.
