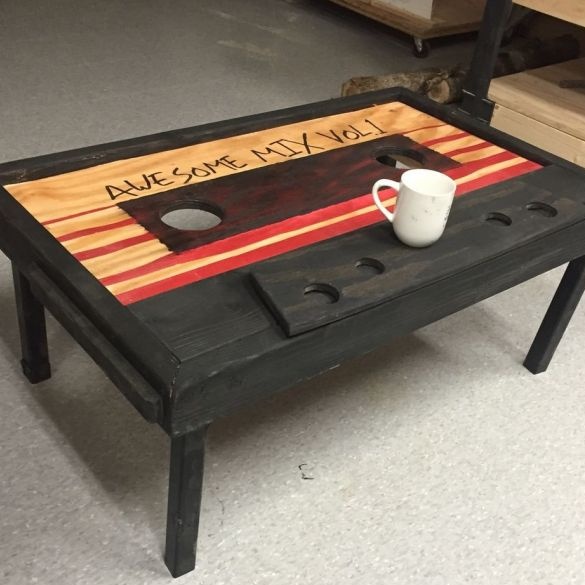
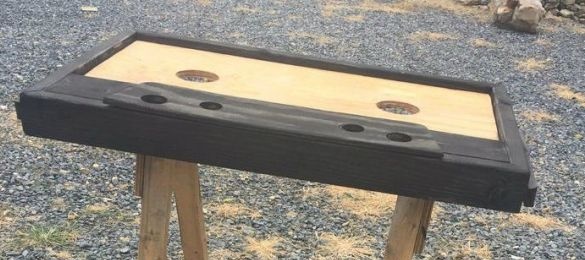
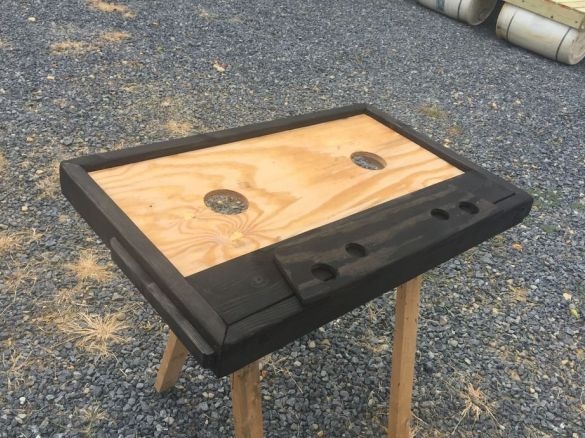
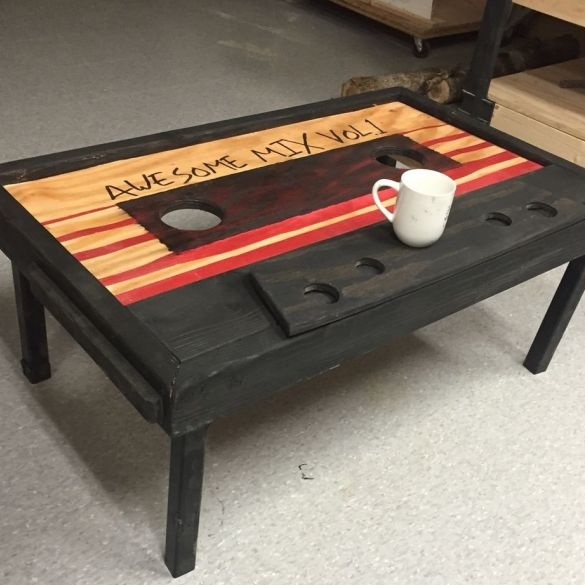
Greetings to all lovers of retro style. This article will describe how to create a coffee table that will visually look like the familiar film cassette.
We will need:
Tool:
- roulette;
- face saw;
- grinding machine, grinding discs;
- angular ruler;
- drill + drill;
- paint brush;
Materials:
- boards with a section of 5 x 10 cm;
- boards with a section of 5 x 15 cm;
- a sheet of plywood, 13 mm thick;
- paints;
- table legs;
- screws, 3 inch;
- joiner's glue;
- masking tape.
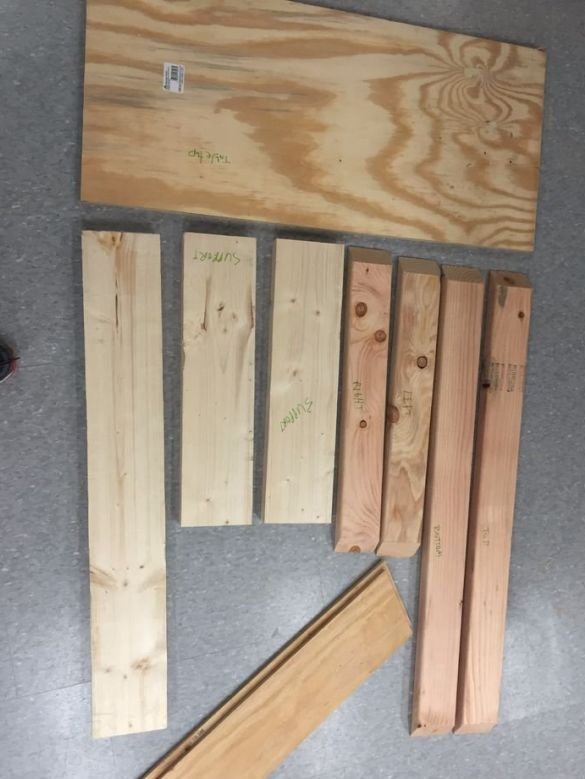
We take the prepared boards, plywood and cut into the parts we need. A board with dimensions of 5 x 10s m needs to be cut into 4 parts: 2 pieces per meter, and 2 pieces each 50 cm. It is not necessary to adhere to these parameters; you can change them as you wish, the main thing is to keep the proportions. We end up the resulting parts at an angle of 45 degrees. In the future, they will be connected to the table frame.
Next, we take the boards 5 x 15 cm and saw them into 3 parts: 2 by 45 cm, and 1 - 93 cm.
Then we take a sheet of plywood and cut out a rectangular part measuring 93 x 41 cm.
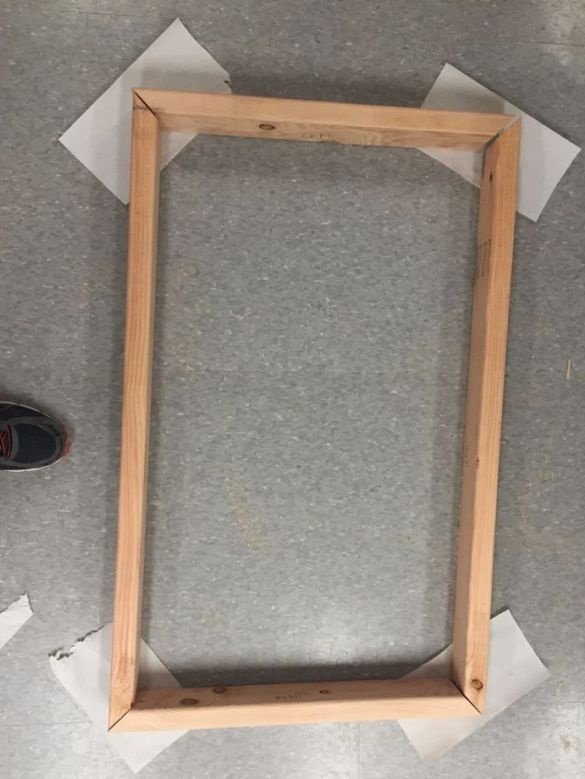
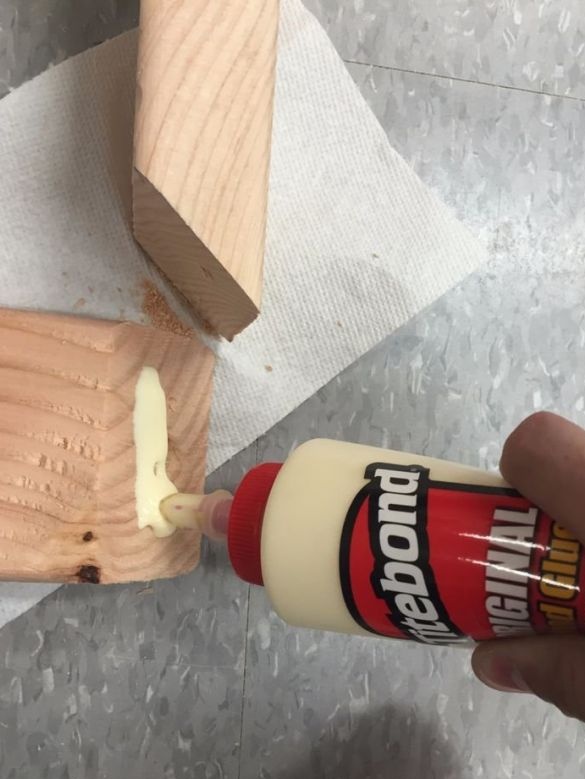
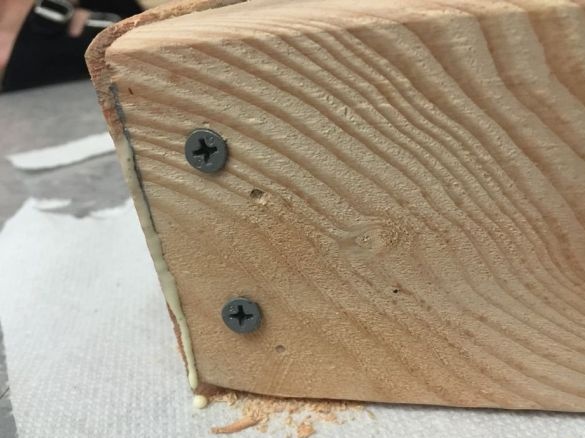
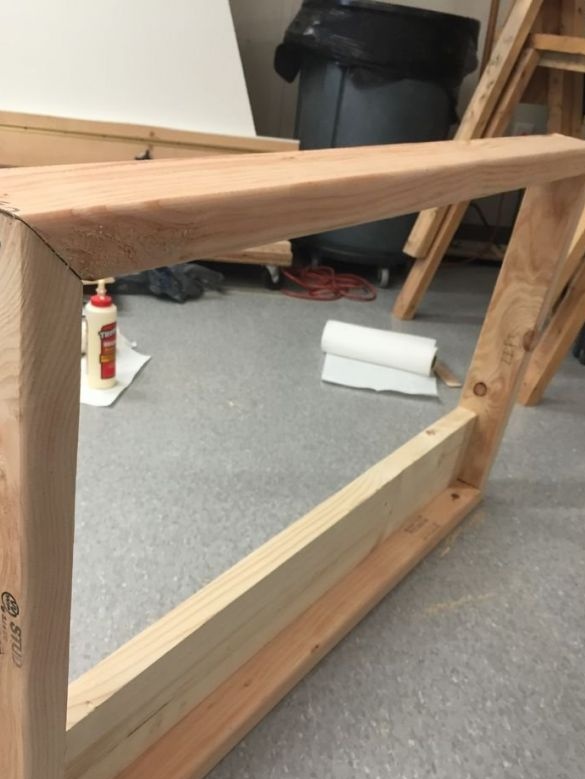
We begin to assemble the frame, for this we take the boards 5 x 10 cm and connect them together, at the same time we lubricate the joints with carpentry glue and then strengthen everything with self-tapping screws. You should get the shape of the frame.
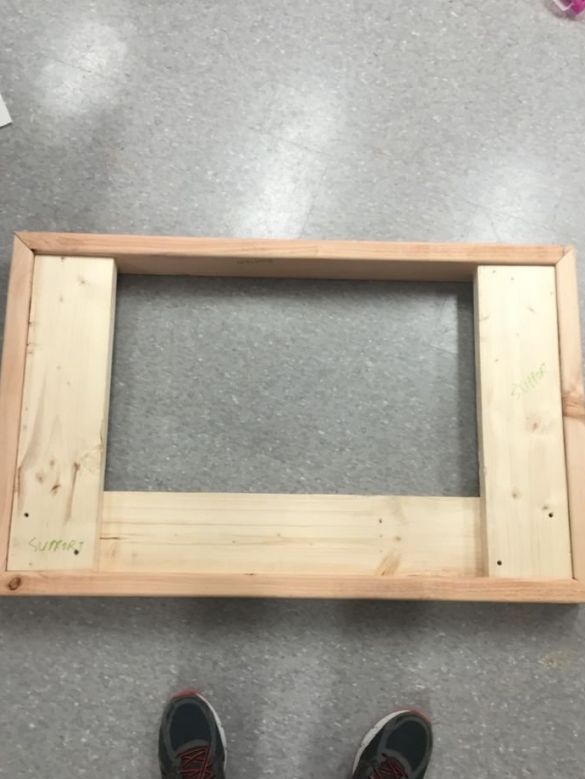
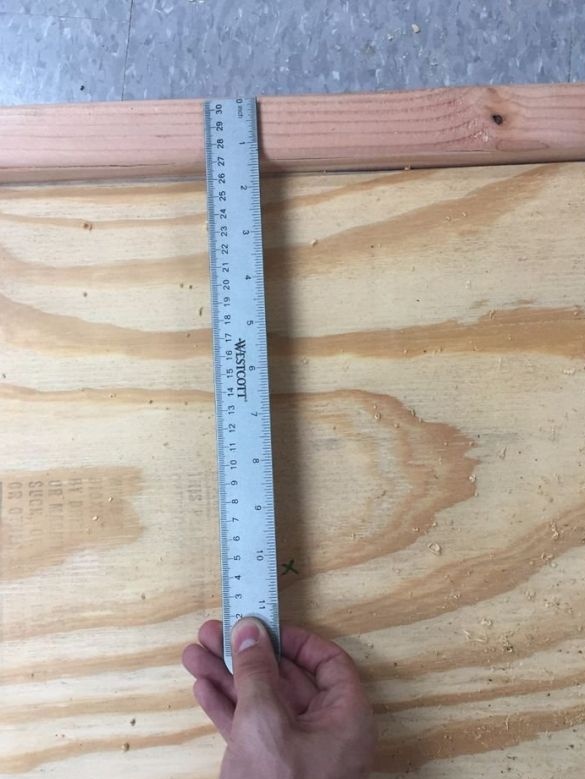
Next, we take the boards 5 x 15 cm and place them inside the frame, fasten to the screws. We put a long board on top, and put two smaller ones across the frame. See the photo for more details.
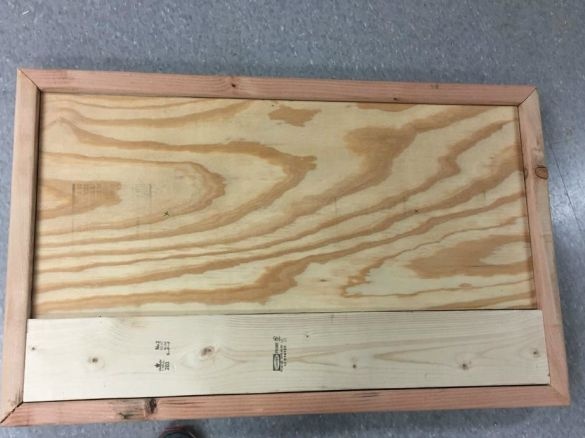
Next, take the plywood, having previously cut it in size, and put it inside the frame.
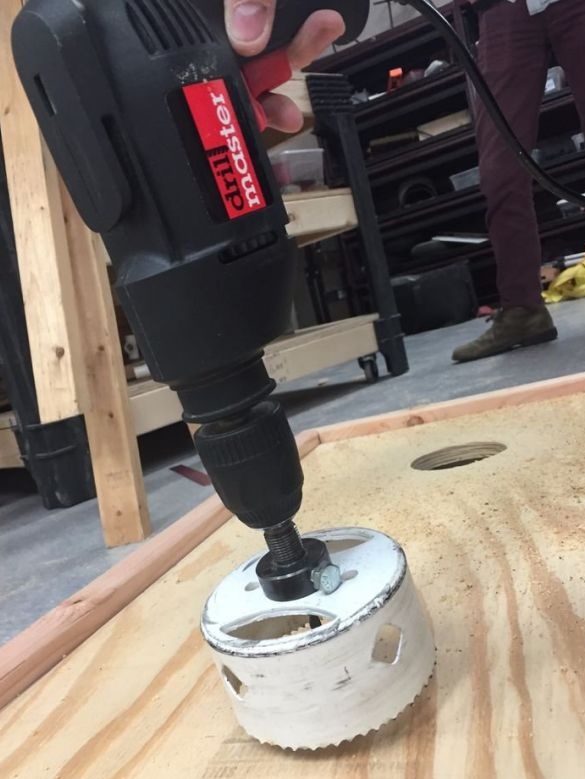
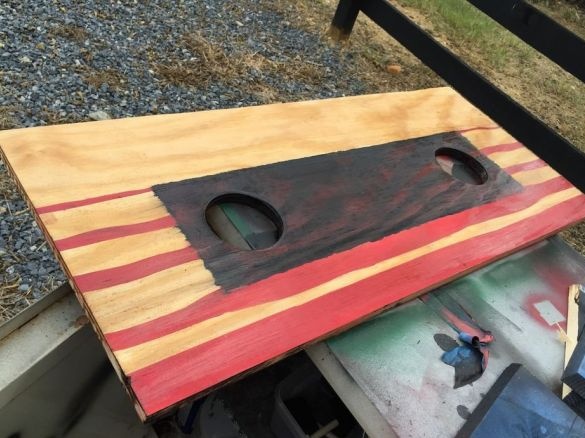
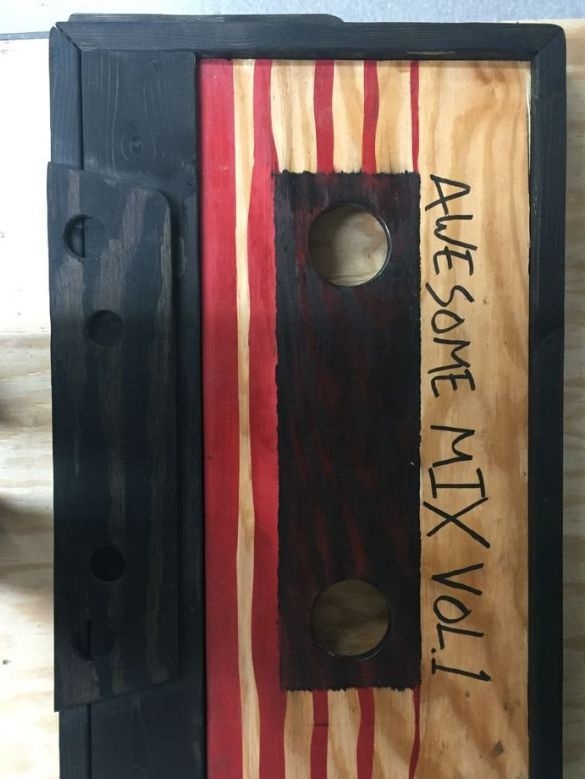
In order to visually give the tabletop an external resemblance to the cassette, we make two holes, for this we take a crown with a diameter of 10 cm, step back from the sides of the case 26 cm, mark and drill holes.
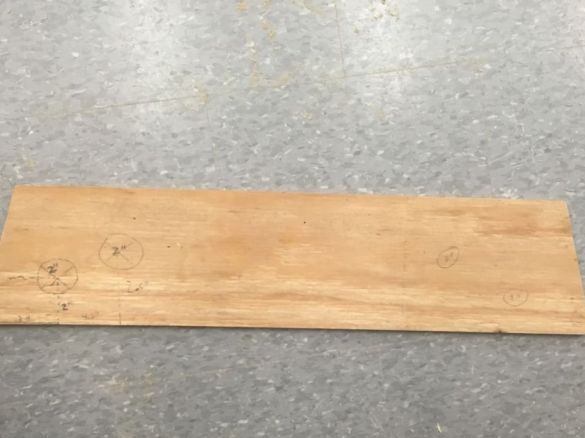
Next, we will make another detail that will be on the front side of the countertop. We take a sheet of plywood and cut a piece with dimensions of 15 x 68 cm, it should turn out to be rectangular. Next, cut the ends of the plywood at an angle of 30 degrees. Then we make 4 holes and fasten the part in the lower part where the wooden insert is located.
Further on the sides of the structure it will be necessary to install two levels, they are in order to convey the similarity to the cassette in the same visual way, these will be the so-called cassette holders. To do this, take two slats and saw them in such dimensions of 35 x 3.8 x 1.9 cm, round off the ends.
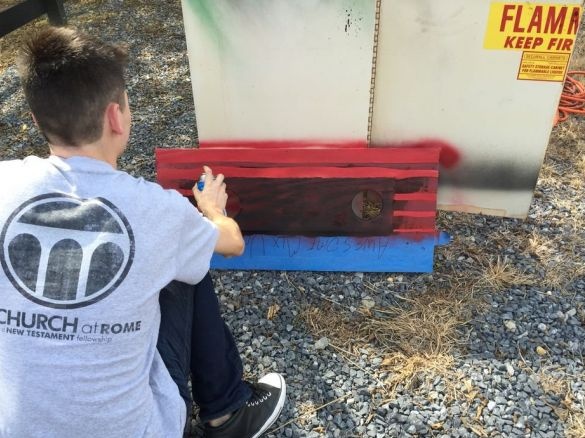
We proceed to painting the table. In order to convey the original look, it’s enough to take the cassette you have for the sample, and if not, you can just watch the samples on the Internet. In this article, the author decided to paint the body black, and the insert made of plywood, which is located in the middle, was painted with a red stripe spray can, the author decided to make the lines jagged. If you want to make straight lines for this you need to use masking tape. Next, with a brush, draw any lettering you like.
When the paint has dried, you need to slightly treat the surface, for this we use sandpaper, then we varnish it all to give an old look to the countertop.
The final stage of this work will be the installation of table legs, for this we take the legs, having previously cut them to the length we need, we paint them black in accordance with the general tone. Then we wait until the paint dries, after which we fasten them to the countertop.
The original retro table is ready!
Thank you all for your attention!

