Dear site visitors. In the presented master class from the author, you will learn how
do it yourself you can make a baby rocking horse, and at the same time save money, because today you know what prices for children's toys are, and wooden ones are generally impregnable. Our decided to help people and to prove with our own example that children can make excellent toys with their own hands. And so let's look at how the master managed to make a horse for his child.
Materials1. furniture panel
2. shank (from a shovel)
3. wooden chopiki (sticks)
4. wood glue
5. pattern
Instruments1. jigsaw
2. drill
3. sandpaper
4. pencil
5. ruler
6. milling cutter
7. brush
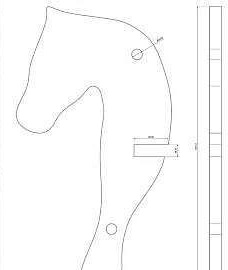
The process of creating a rocking horse with your own hands.And so, it was mentioned above that when making a rocking chair you can save a lot, here is the estimate of the author on which he made a purchase: a furniture board 650 rubles, carpentry glue 100 r, cuttings 50 r, total 800 r at a minimum price for the finished product in stores about 3000 p. Agree, a good saving is despite the fact that the author had to buy all the materials, and if you have a sheet of plywood in the zagashnik, there will always be a shovel from a good owner, but the glue should always be available. If there are all the components, then a toy for a child will be made for free. According to the author, for a long time he chose and searched the Internet for a sample, finding he made a pattern directly from a computer monitor, then he scaled them and transferred them to a newspaper.
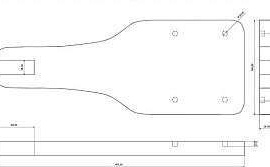
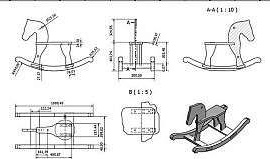
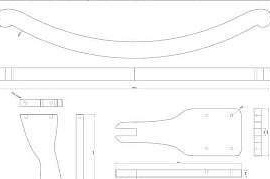
To simplify this process, you can use the drawings.
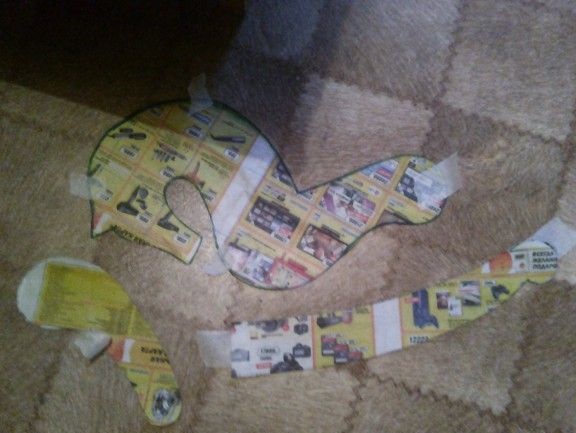
Then the master proceeds to the manufacture of the patterns, for this he uses the usual newspaper, this is what he got from it.
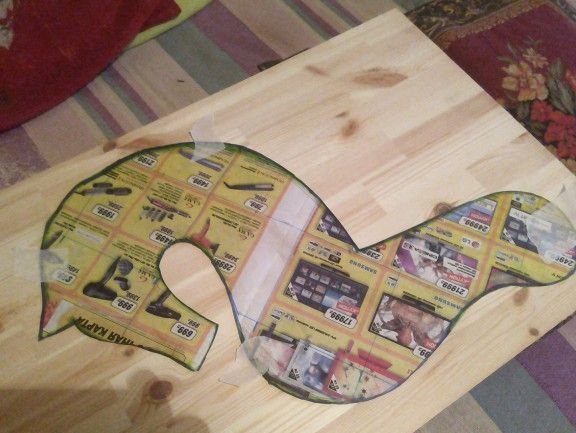
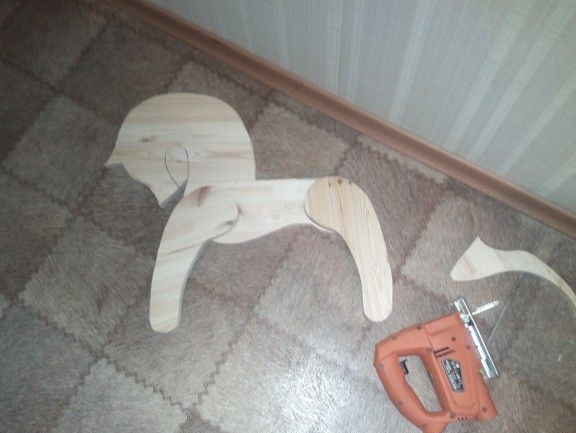
Next, the resulting patterns are applied to the existing furniture board, the outline of the future part is outlined.
After the contour is applied to the surface, the author takes a jigsaw and cuts the workpiece.
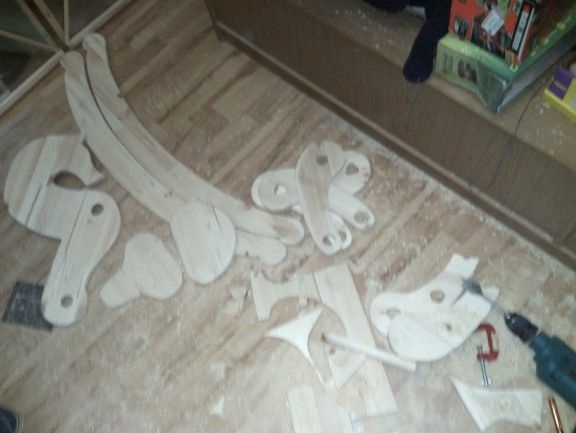
In the received details, holes should be drilled, which the master does.
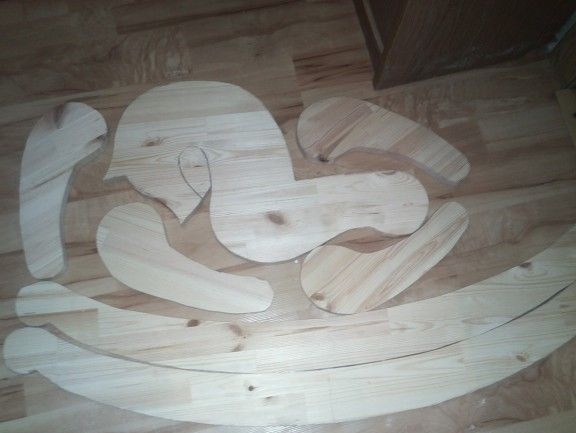
And now all the details are cut, lie in one place.
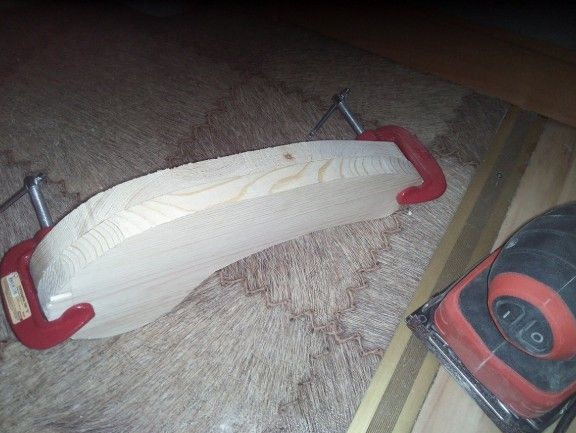
Then a caring father takes the parts and fastens them with clamps, this is necessary in order to trim and polish them.
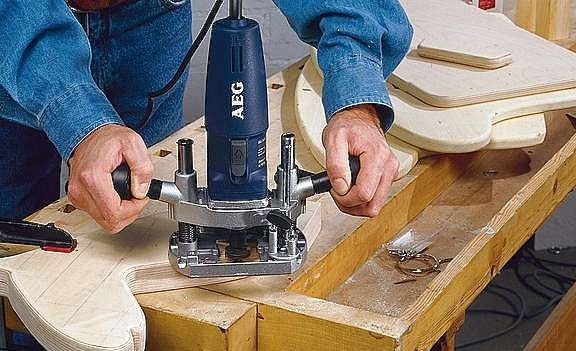
You can also use the milling cutter in order to round off sharp corners and protect the child from splinters.
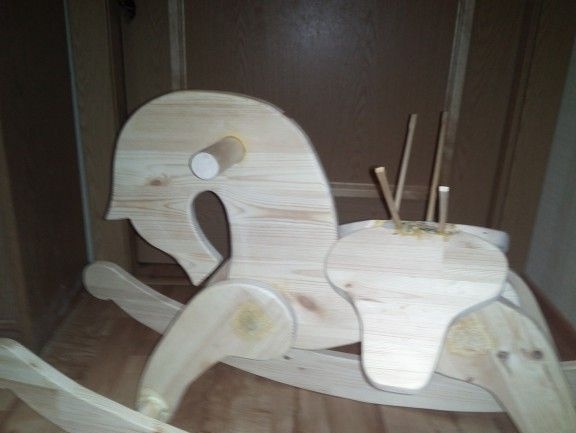
When all the parts have been prepared, you can proceed to the assembly in the overall design. Here, the author cuts the stalk into parts and inserts it into pre-drilled holes, pre-coating the joints with joiner glue. And so the assembly process.
Well, then the master fixes the seat or saddle, as you like. For fasteners, wooden sticks are used, holes are drilled, chopped sticks are smeared with carpentry glue and collected.
This photo is better seen.
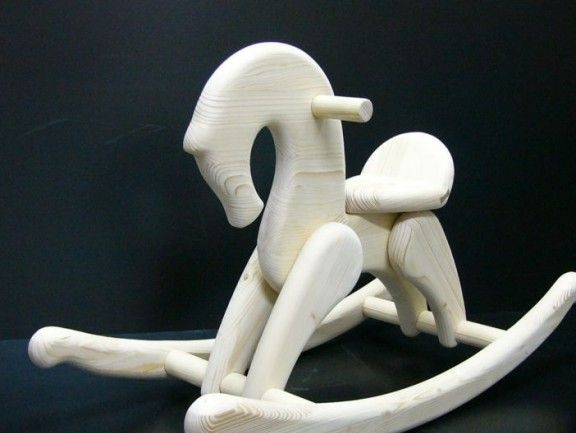
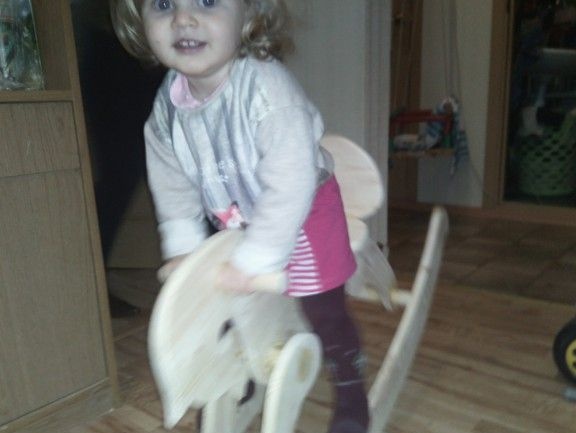
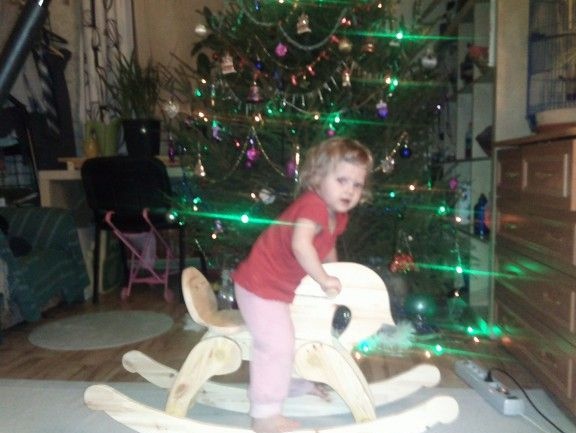
Then you should wait until everything dries and only then can the tests begin. And so let's go!
Galloped, galloped!
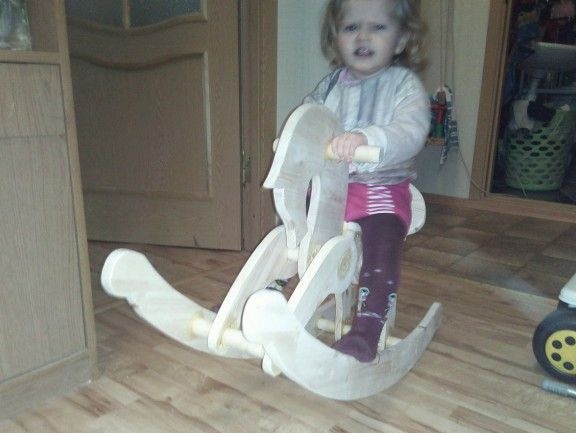
The tests went fine and the child really liked it, even the author himself tried it, everything passed perfectly.
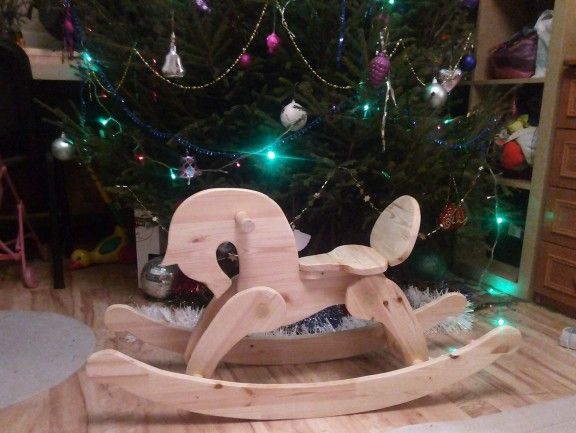
Here is our author’s rocking horse, which is why he’s very happy because he saved some money for the family budget and the child is furiously excited about his new toy. This concludes the article. Thanks for attention! Come visit often, do not miss the latest in the world of homemade goods! This article is for informational purposes only!