
Hello to all music lovers!
Today, the author of the article will please us with his master class on creating a case for a portable music speaker. The entire manufacturing process will be described in detail and shown in the photographs provided.
We will need:
Tool:
- Soldering iron;
- A circular saw;
- Voltmeter;
- Electric jigsaw;
- Sander;
- Construction stapler;
- Screwdriver;
- Clamps.
- Angle ruler;
- Screwdrivers.
Materials:
- Plywood 1.2 cm thick;
- White leatherette;
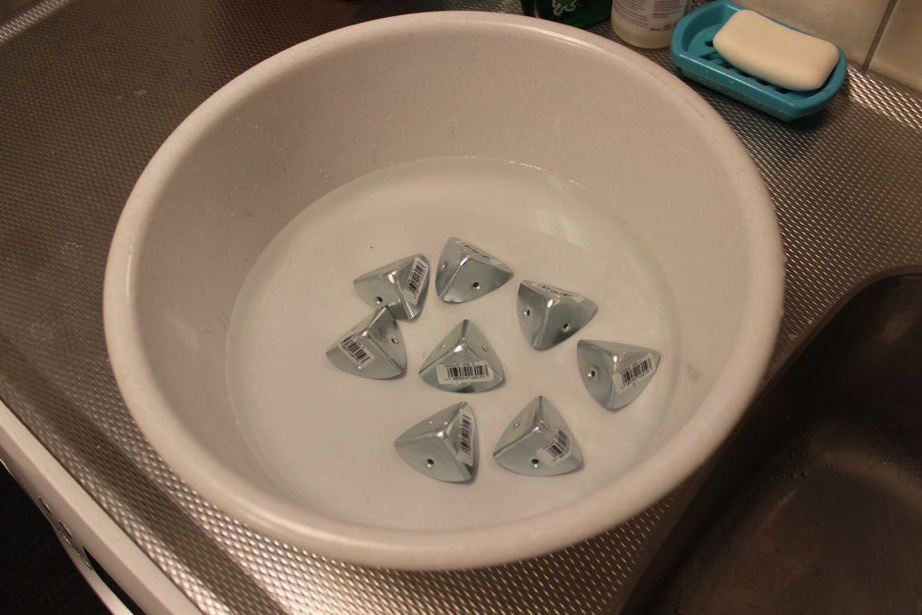
-Metal corners ;;
- Rubber bearings;
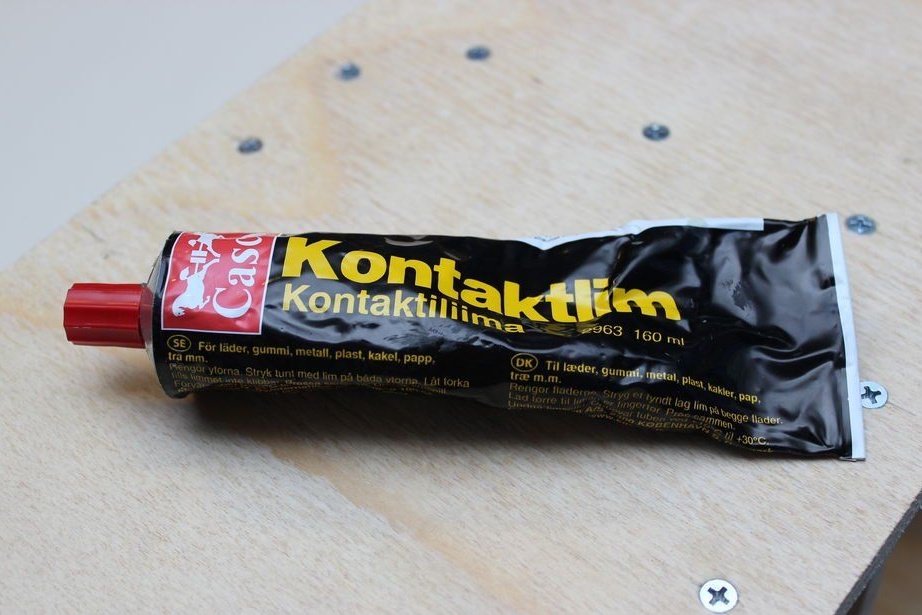
- Joiner's glue;
- Screws;
- Protection for corners;
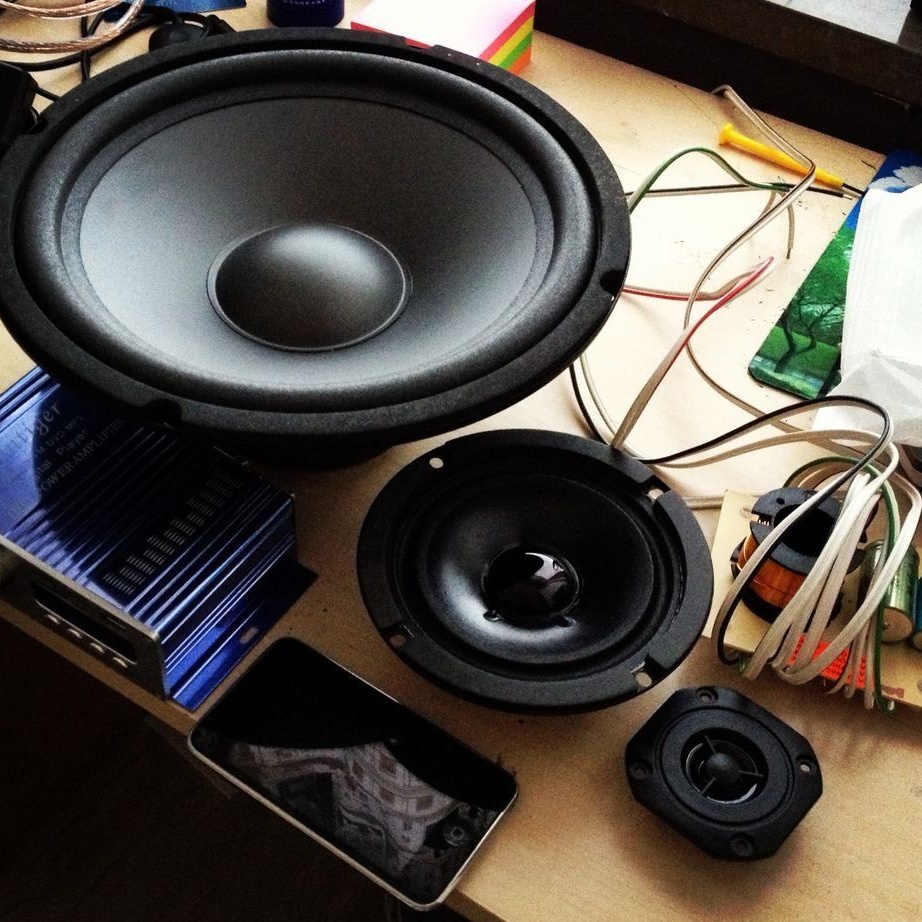
- Amplifier (2x20 W);
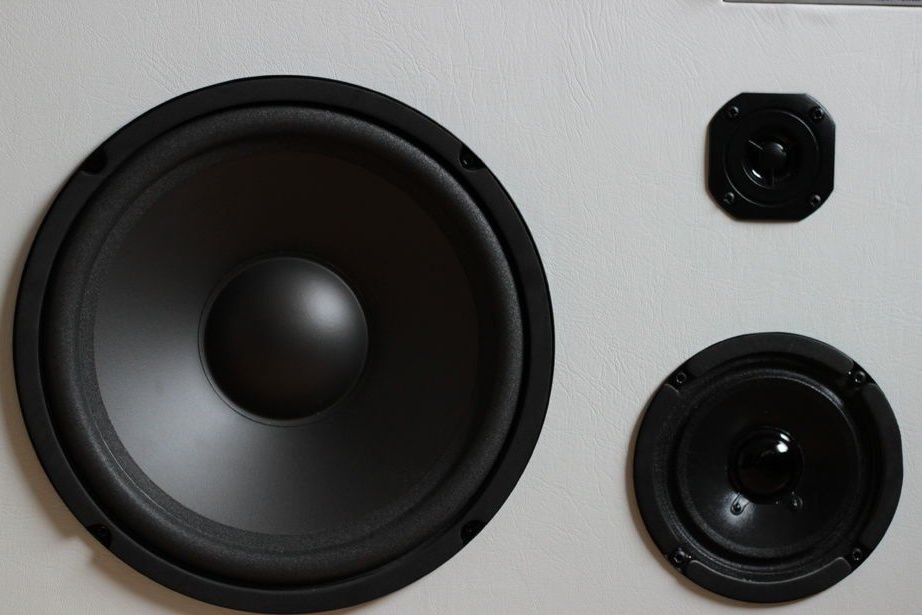
- Large speaker at 80 W / h .;
- The average speaker at 70 W / h .;
- Tweeter at 10 W / h .;
- Crossover;
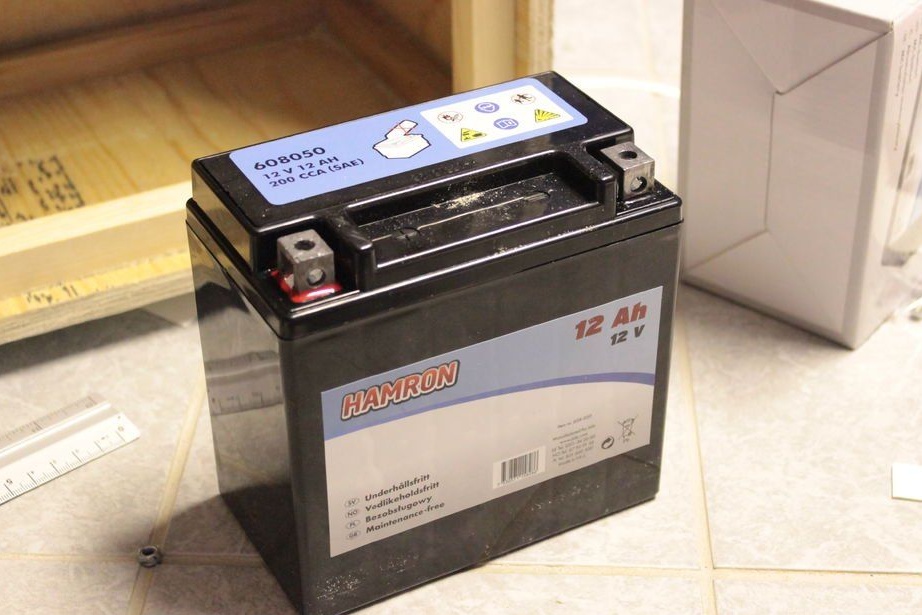
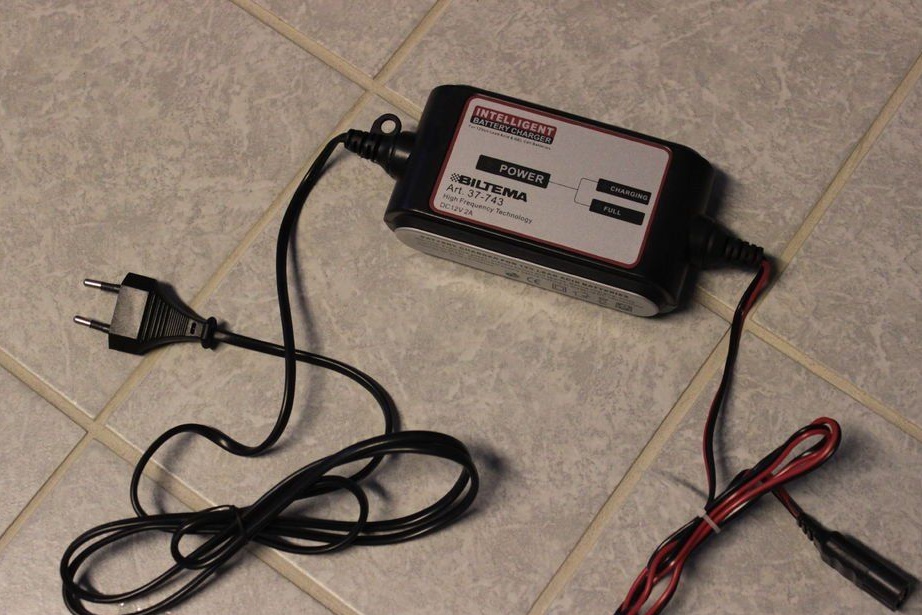
- Battery and charger for it;
- cables;
- Sound input;
- Power button;
- Resistors;
- LED strip (50 cm).
Let's start making the case.
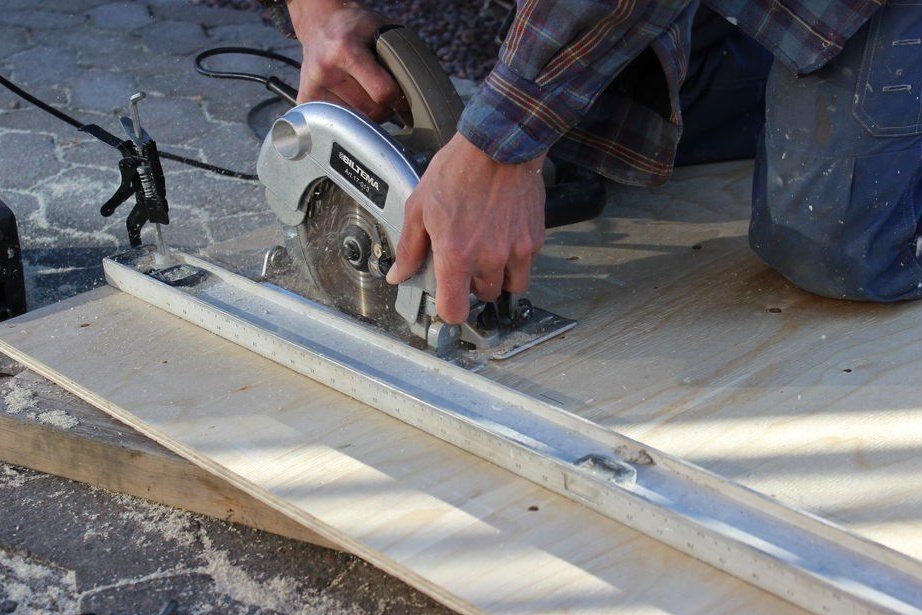
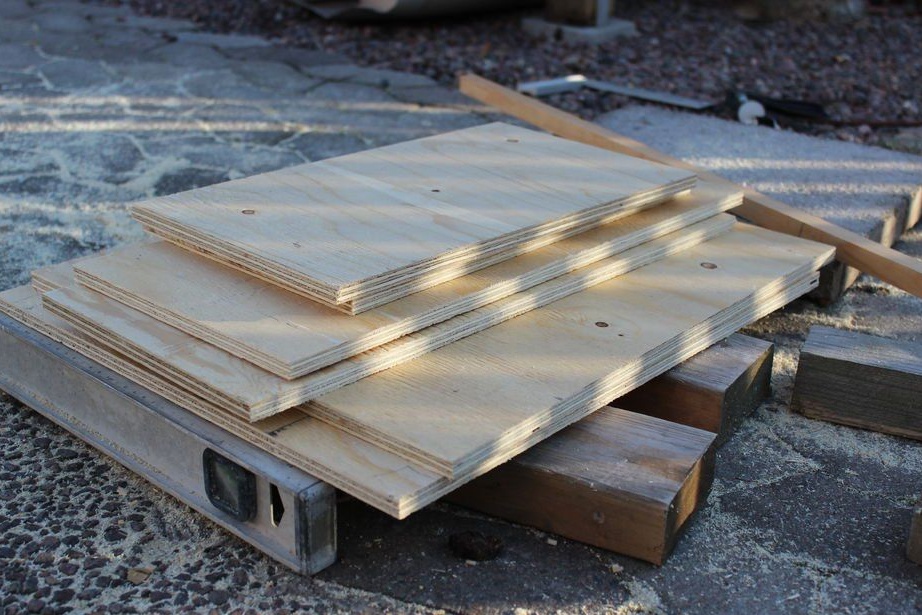
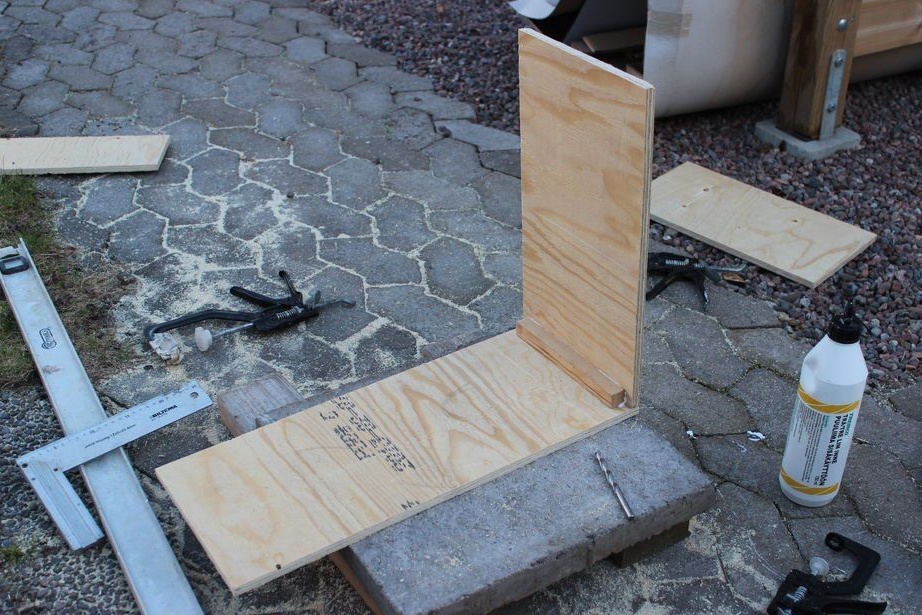
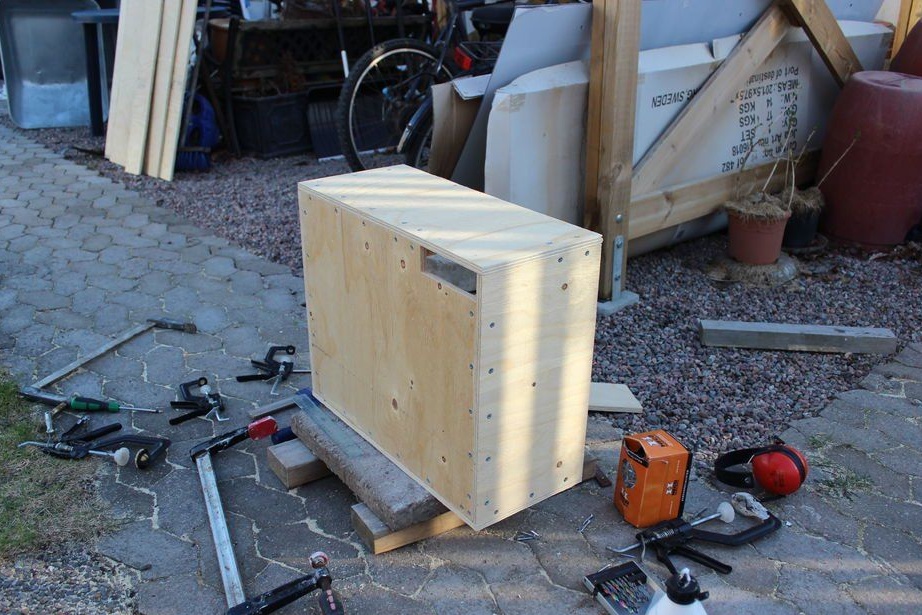
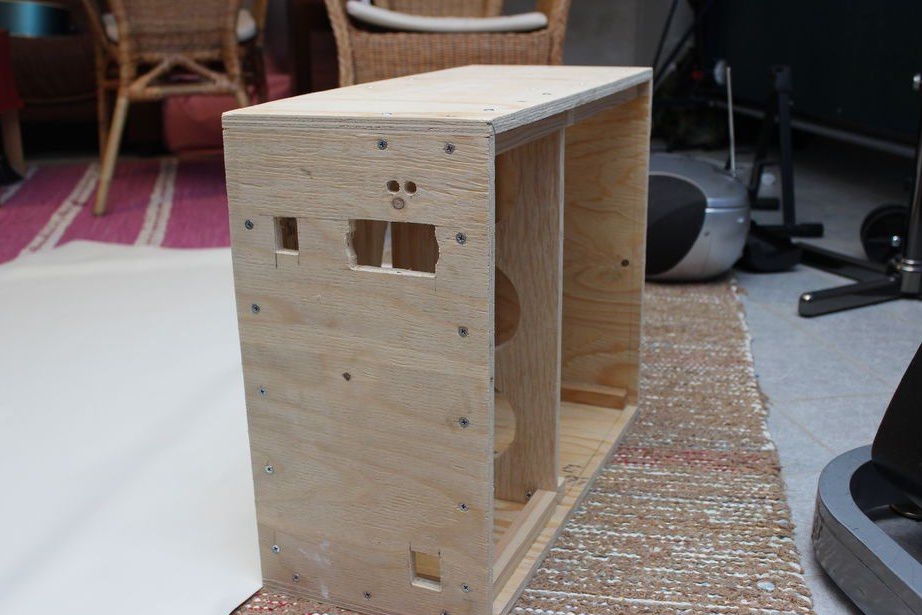
To do this, take a sheet of plywood 1.2 cm thick and cut out the outer walls of the future case, according to these sizes - 52.5 cm x 42.5 cm x 22.5 cm. We use a circular saw or a jigsaw as a cutting tool.
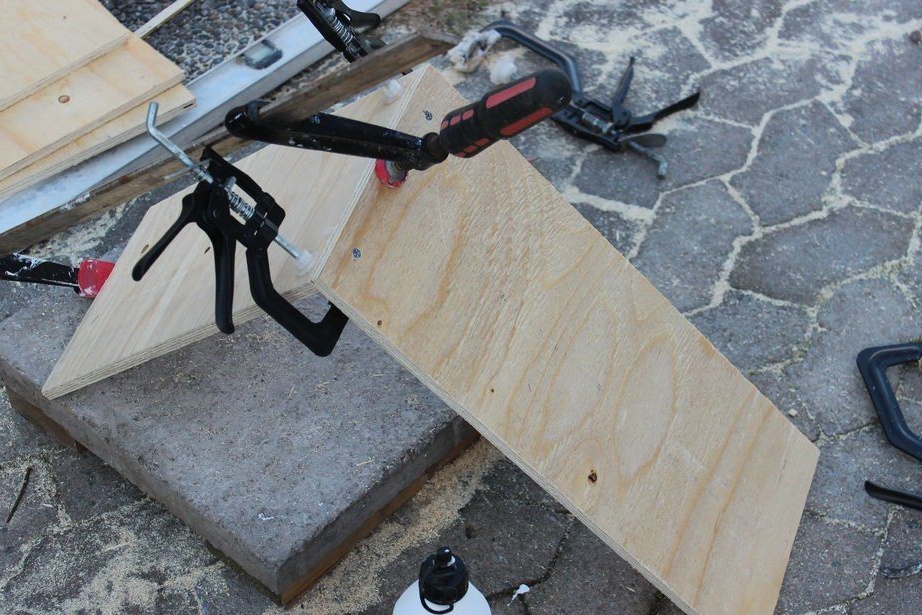
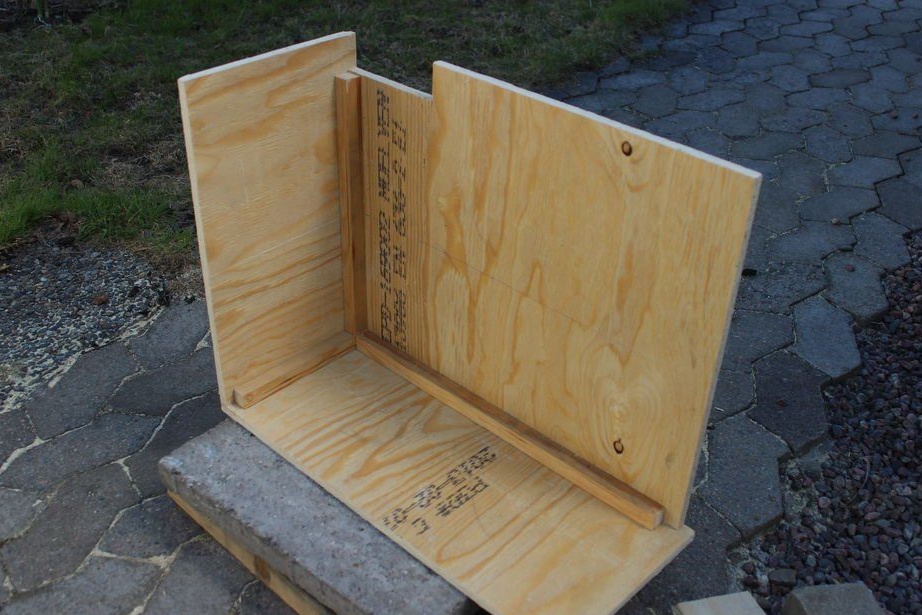
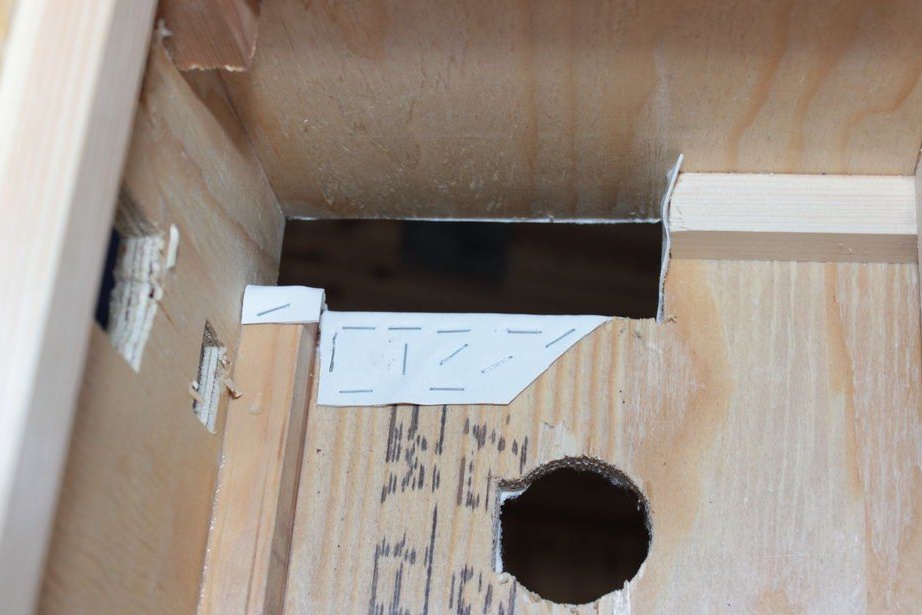
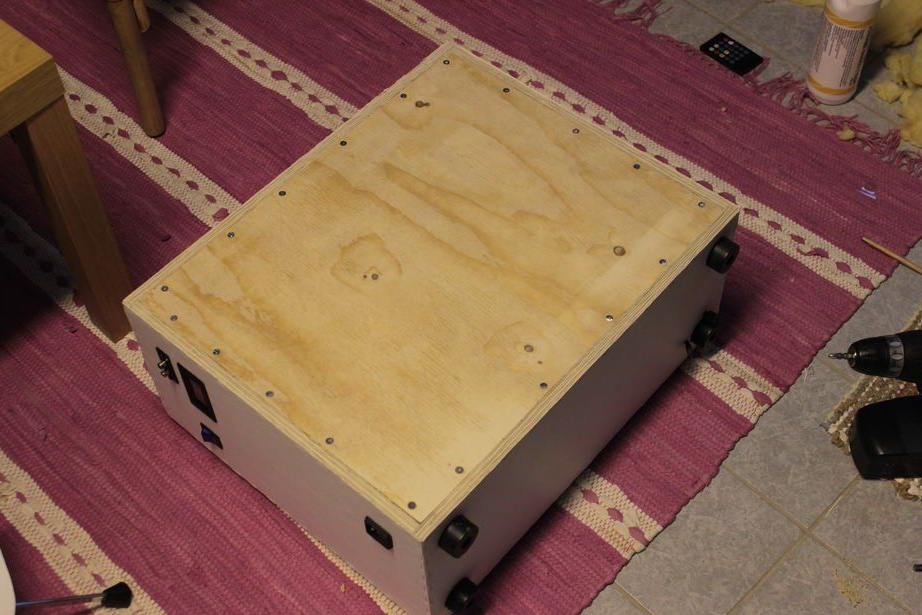
Next, we take the finished case parts and begin to glue them together, tightly fix with clamps so that there is no accidental displacement, then we additionally use screws to thoroughly strengthen the case. In the upper right corner we make a small window for the amplifier. In more detail the whole process is shown in the photo.
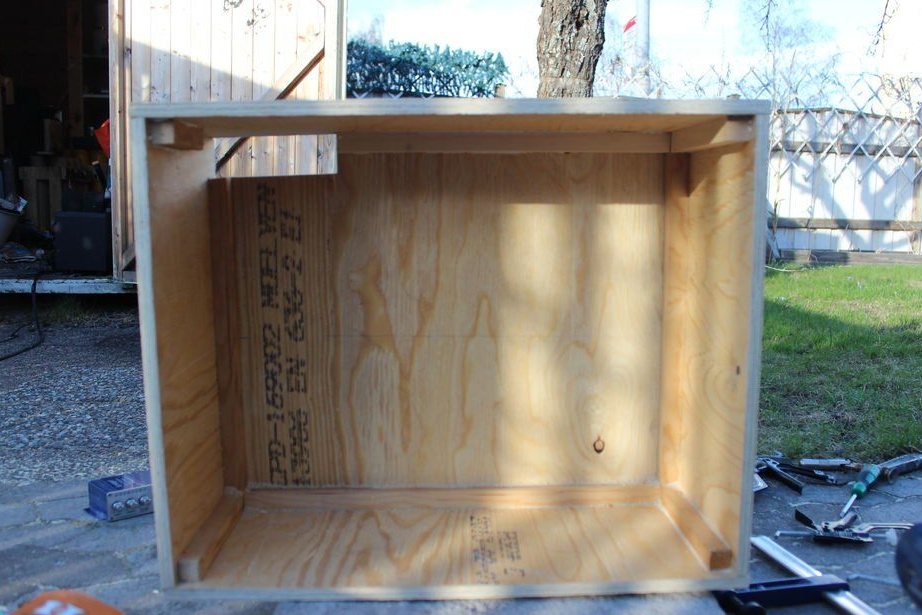
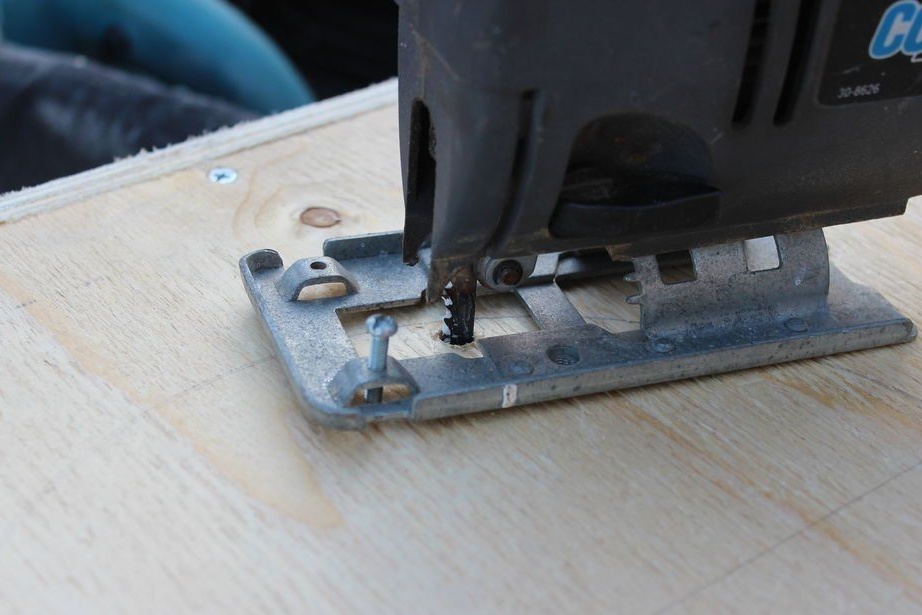
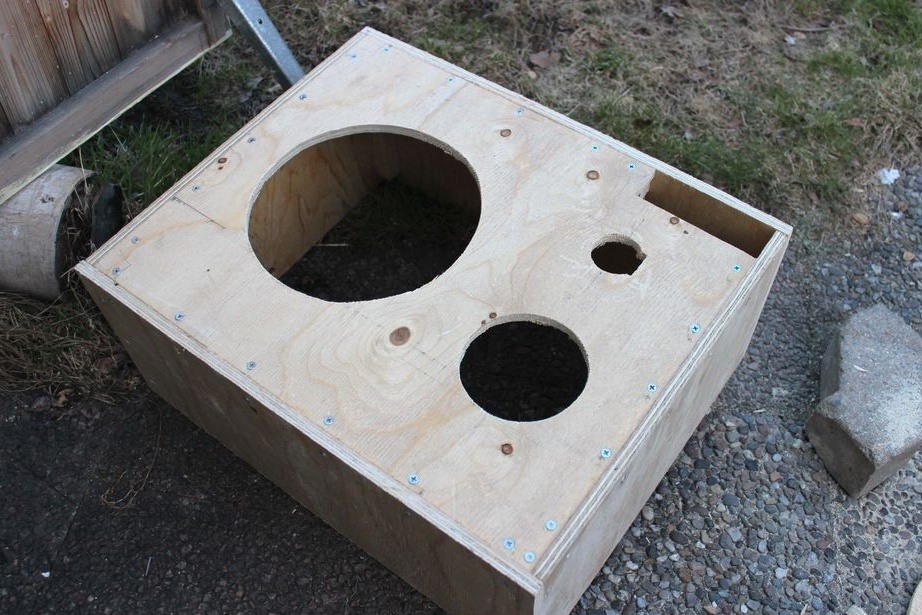
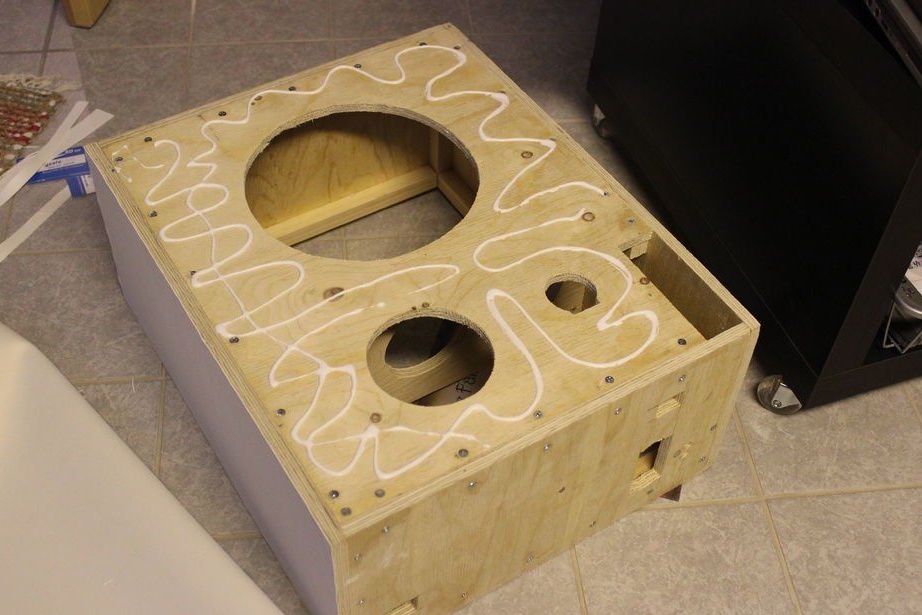
Then you need to cut a few holes for the speakers, for this we take a pair of compasses, a pencil and a ruler, determine the place where they will be located, start drawing circles according to size, then cut with a jigsaw. We also make slots for the rest of the equipment. When everything is ready, you need to grind the case, use a belt grinder, or any other grinding tool available.


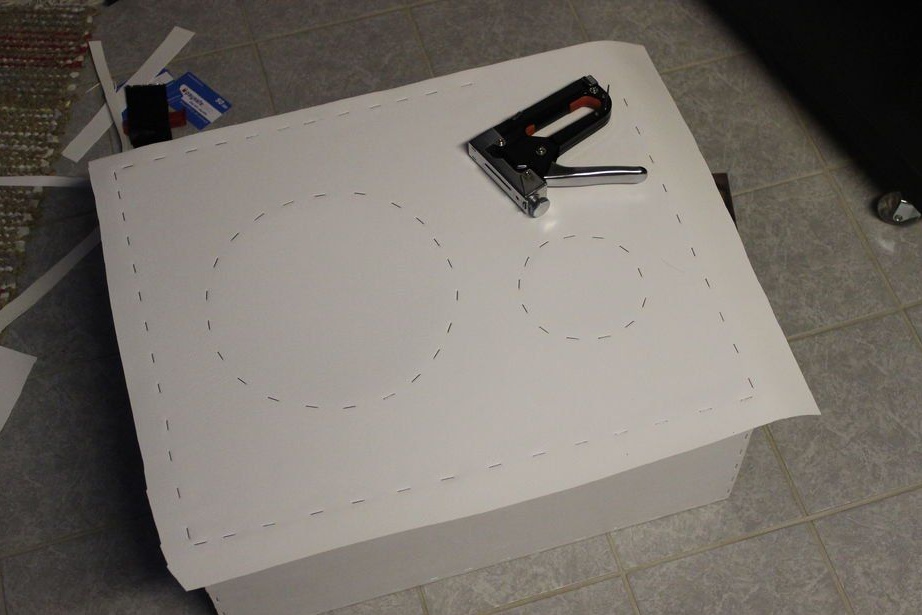
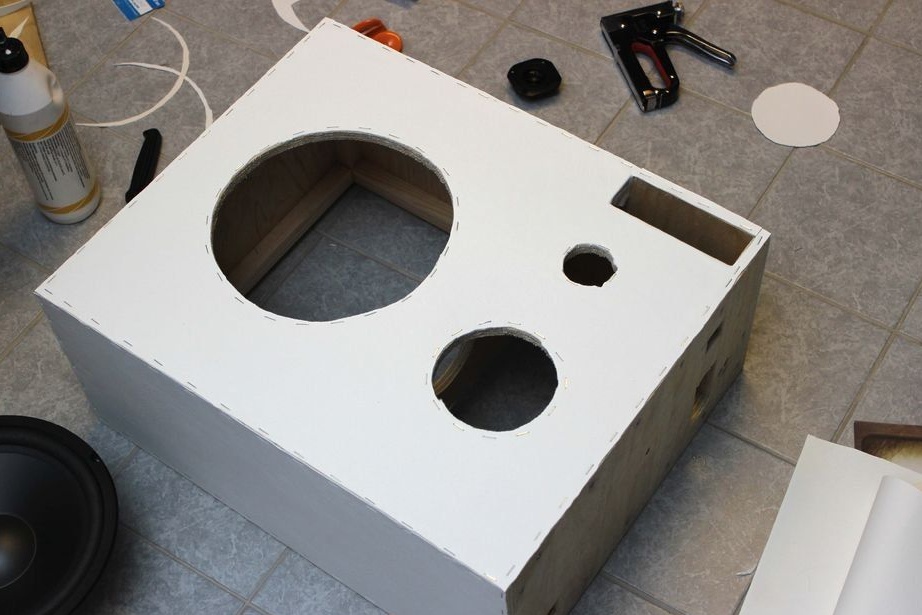
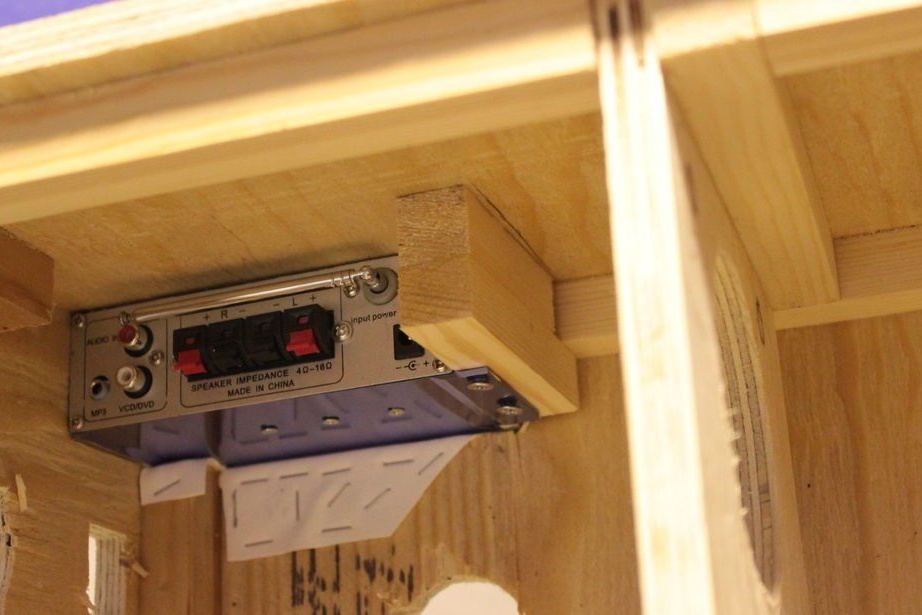
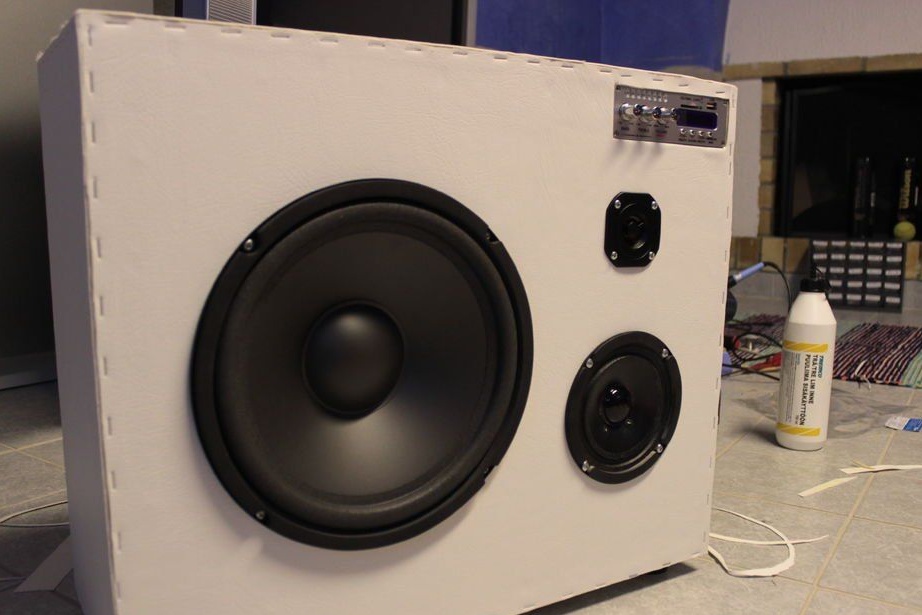
Next, we move on to decorating the case, for this we use a white leatherette, we fix it with glue.Then we go through the construction stapler around the circumference of the holes and along the borders of the housing. We fix a small piece of leather substitute in the inner part, where the amplifier will be installed in the future - this is to make it more convenient to install the device.

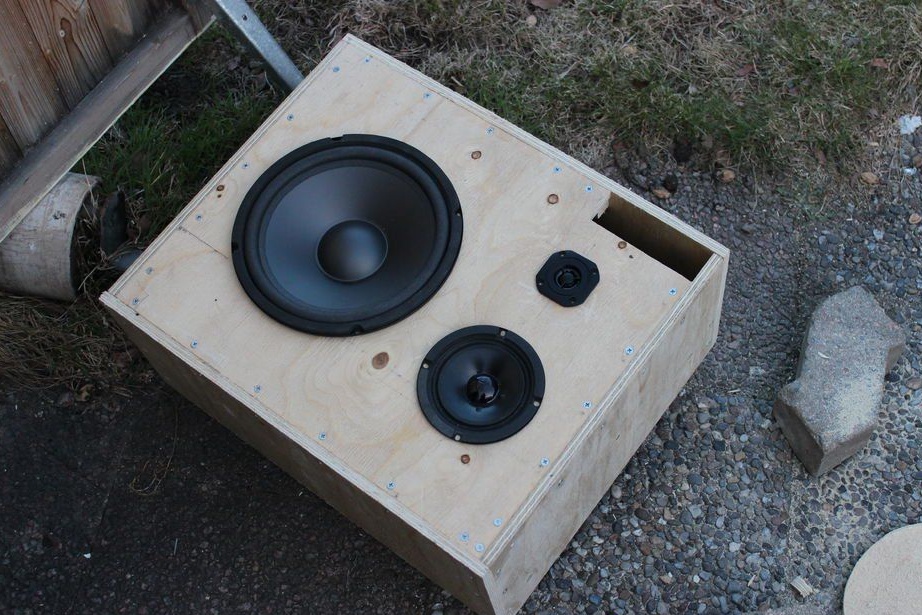
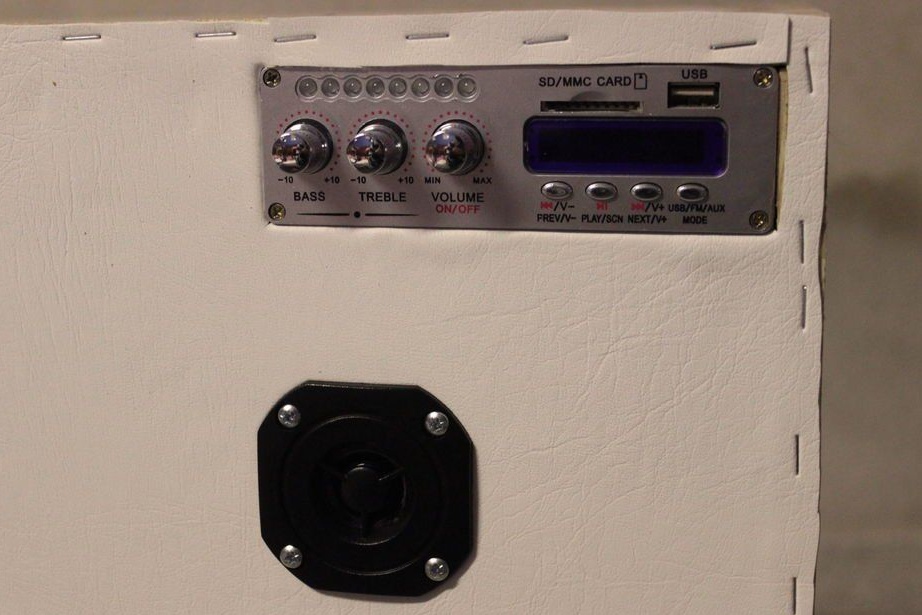
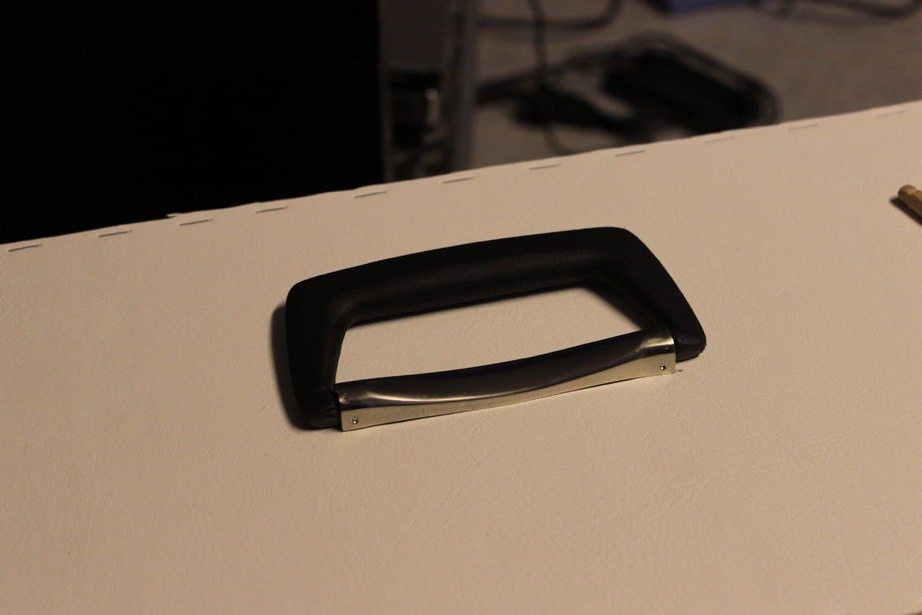
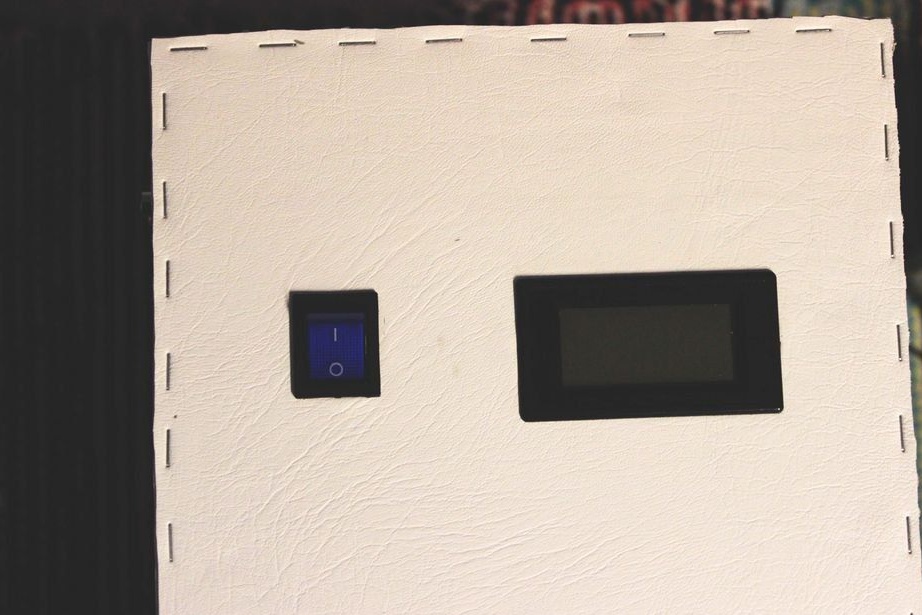
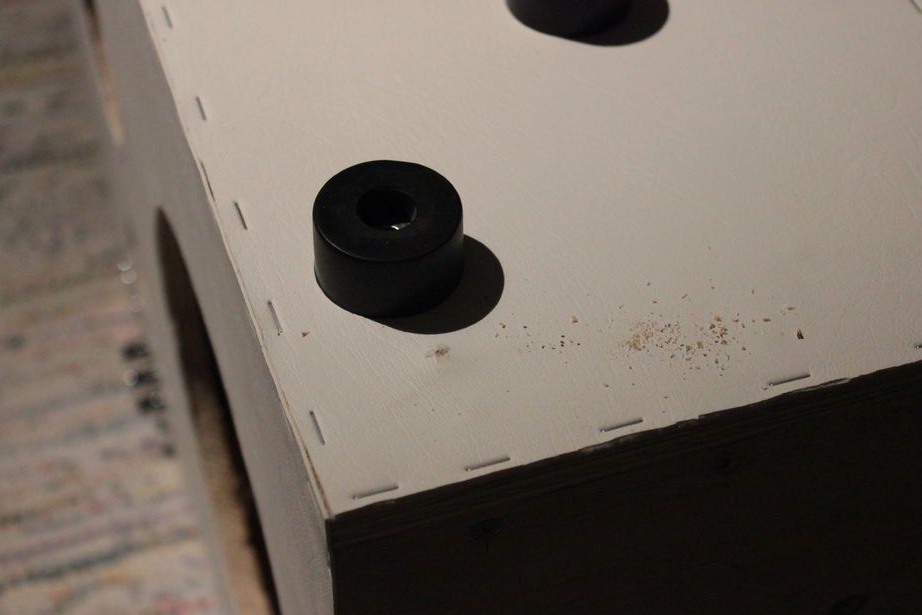
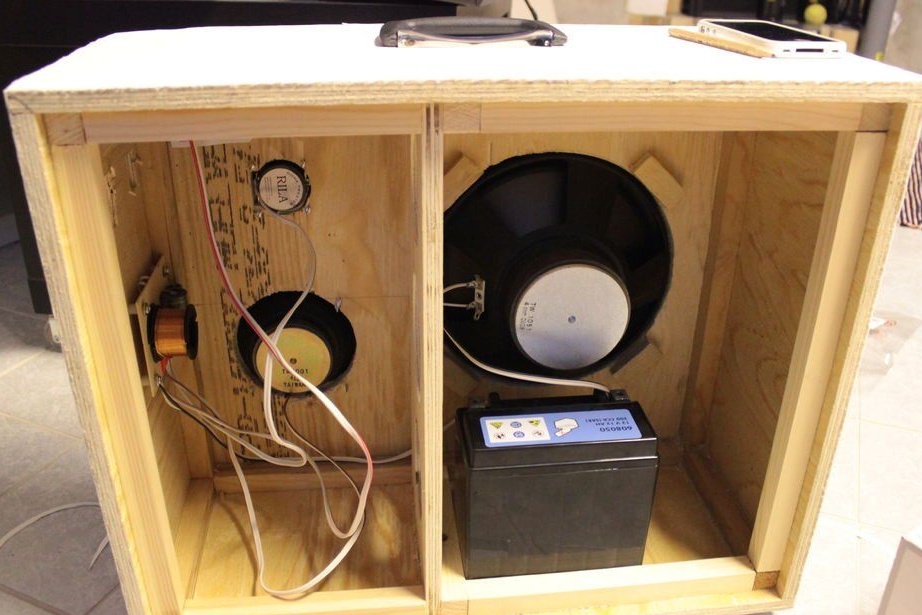
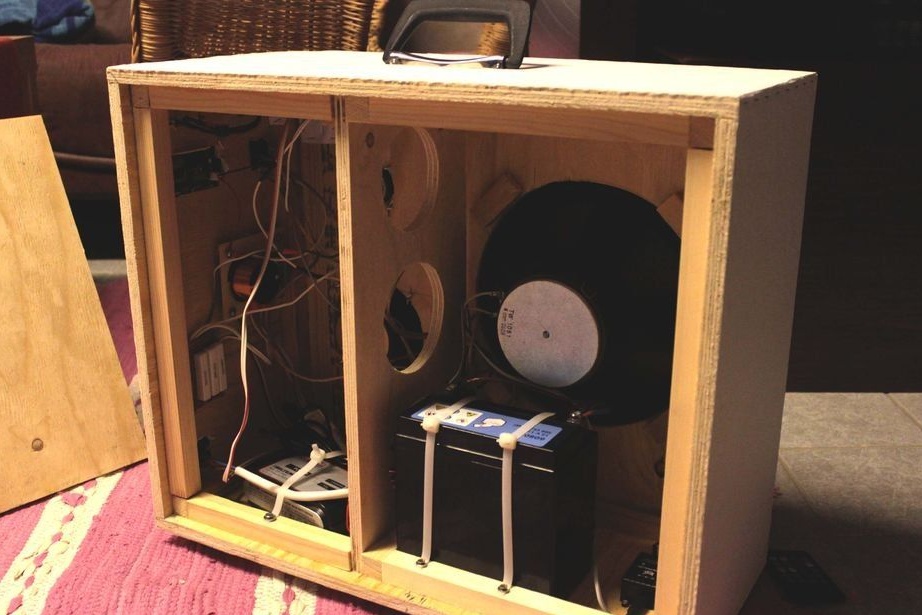
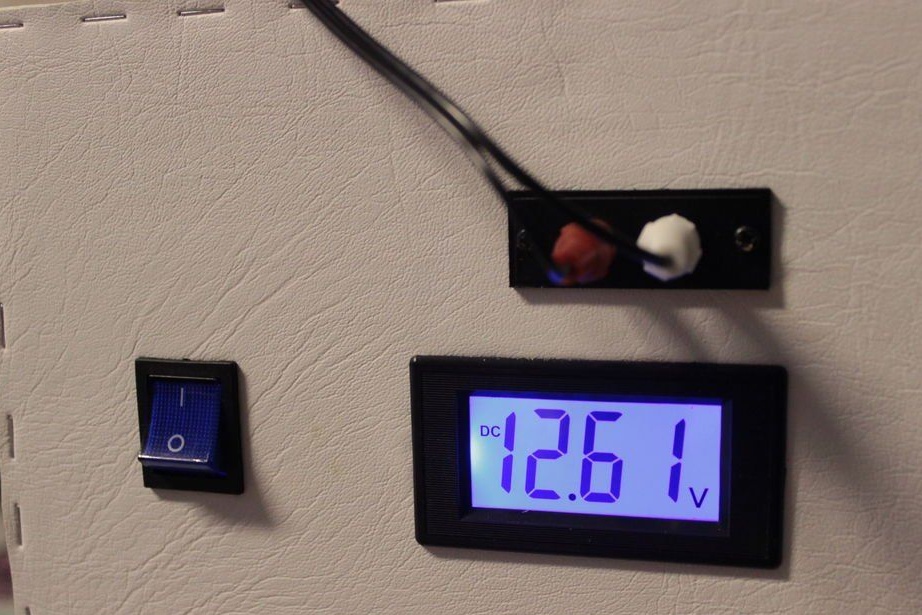
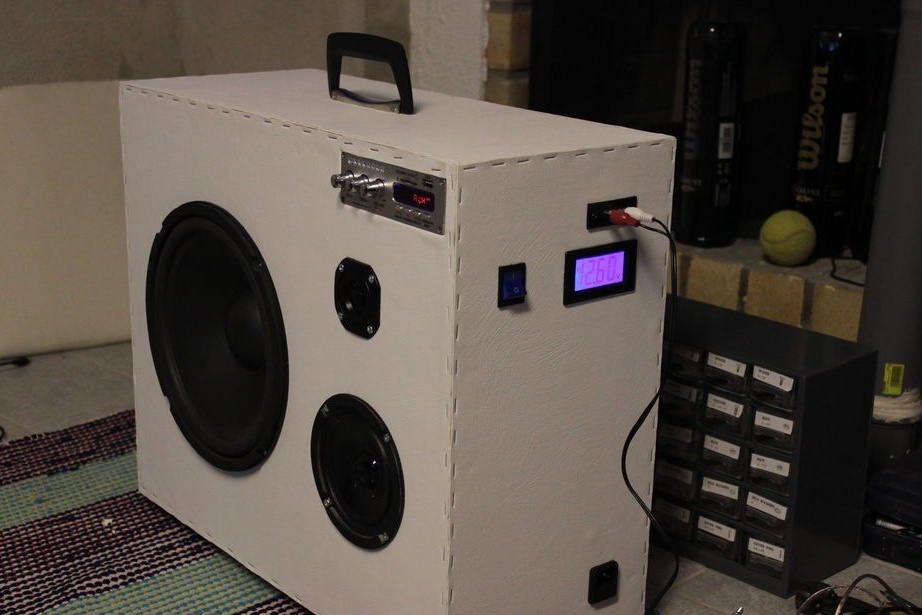
Start mounting electronic stuffing. We put the amplifier in its place, we fix the speakers, install a voltmeter, as well as a power button. In order to make it more convenient to carry the case in the upper part of the case, we fasten the handle, then, so that the bottom does not scratch in the lower part, we install the legs.
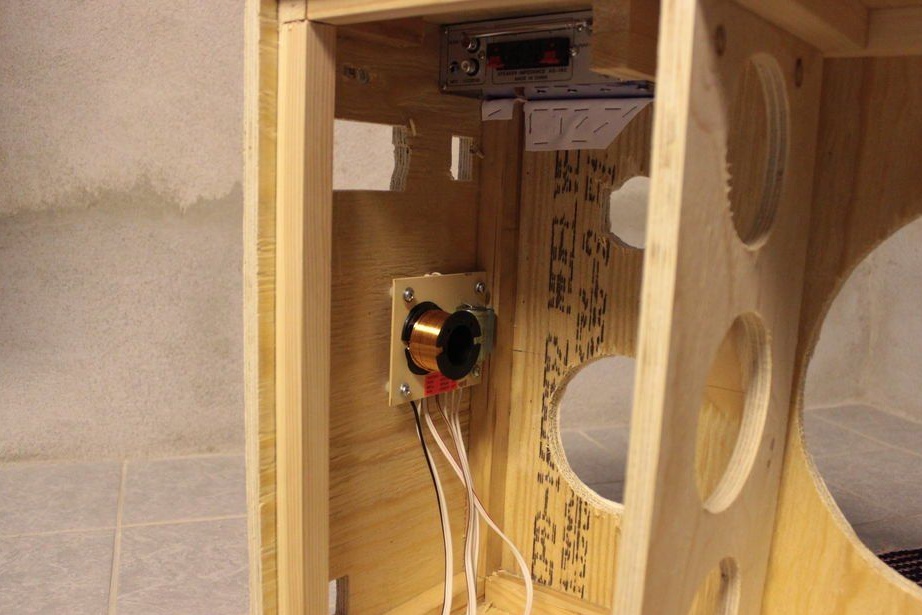
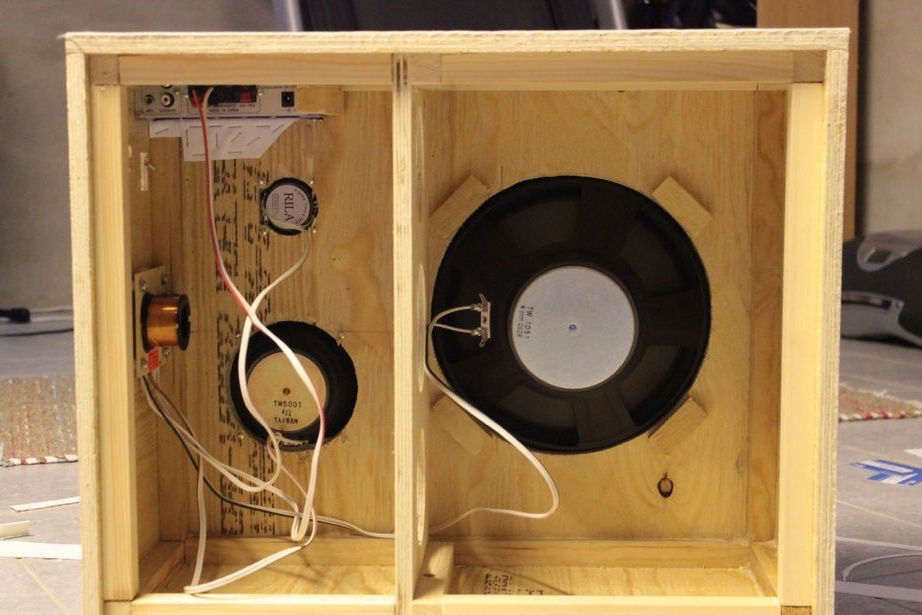
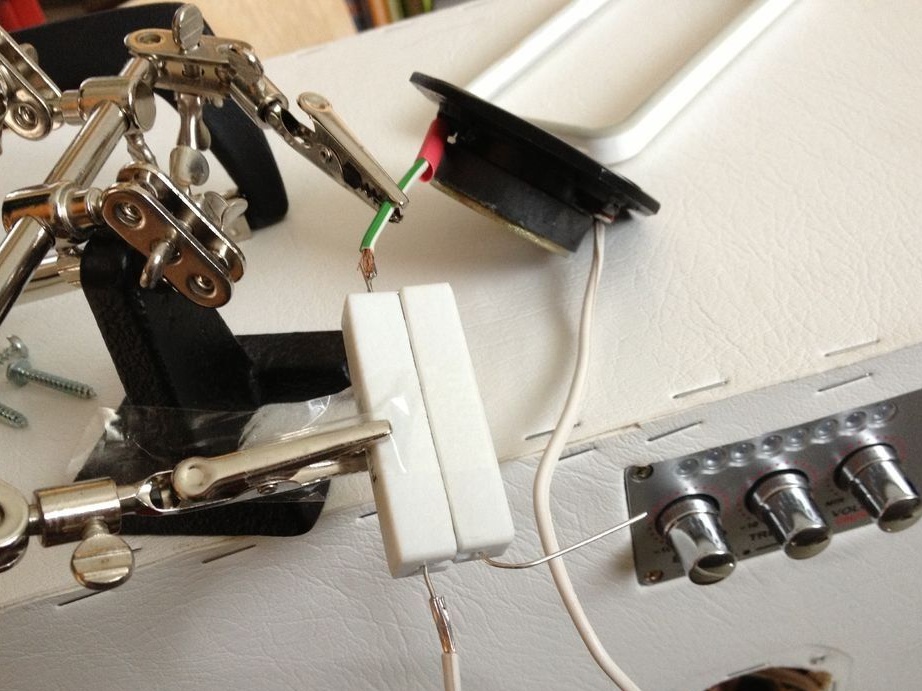
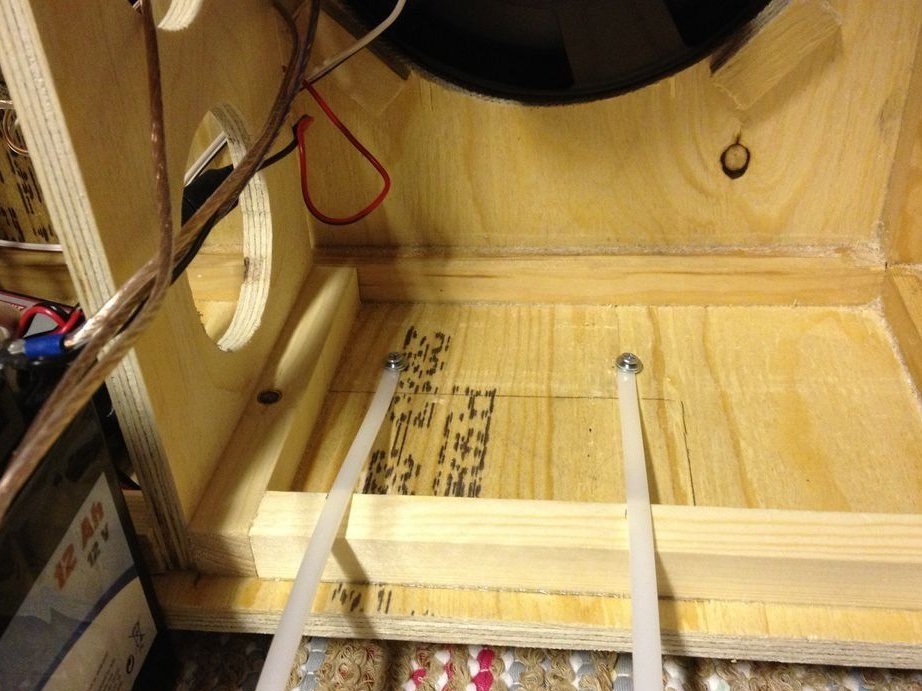
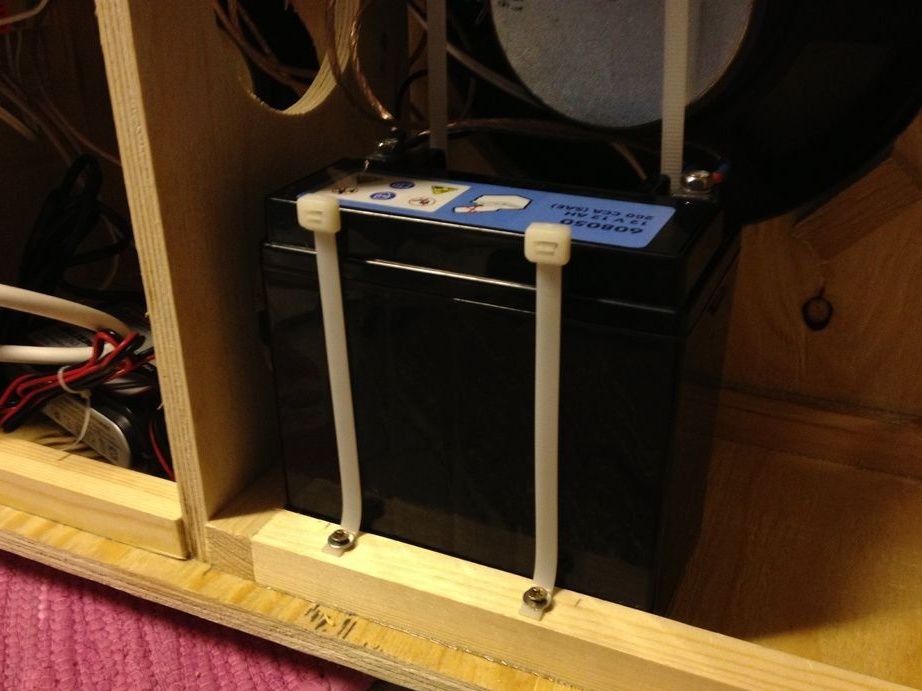
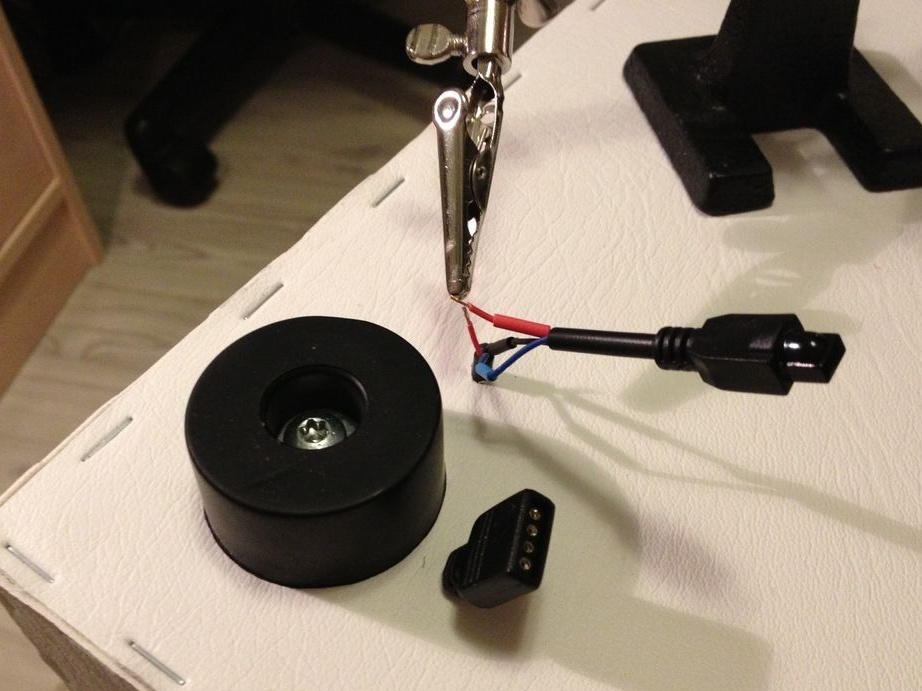
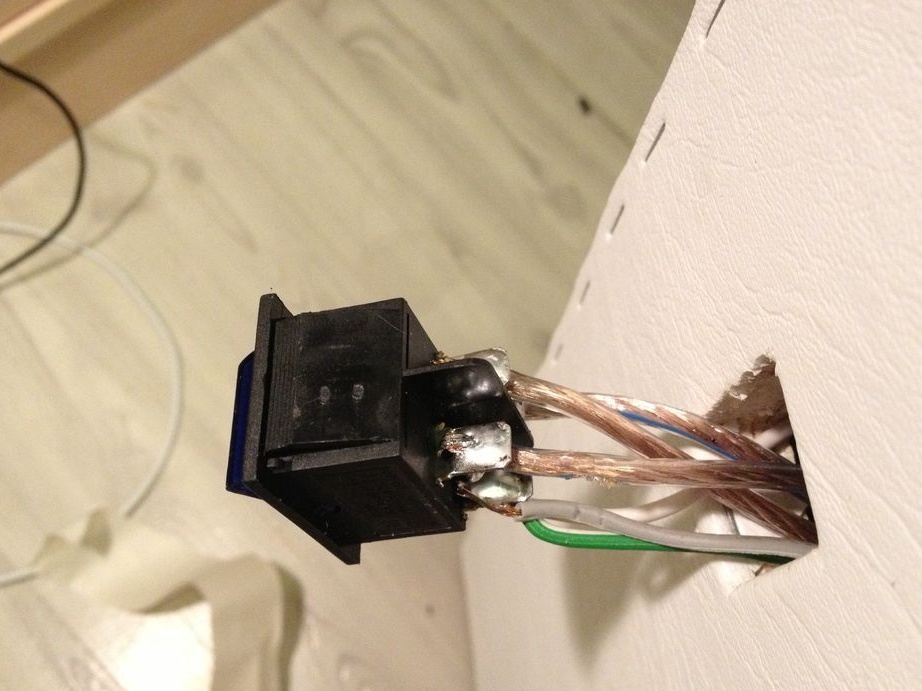
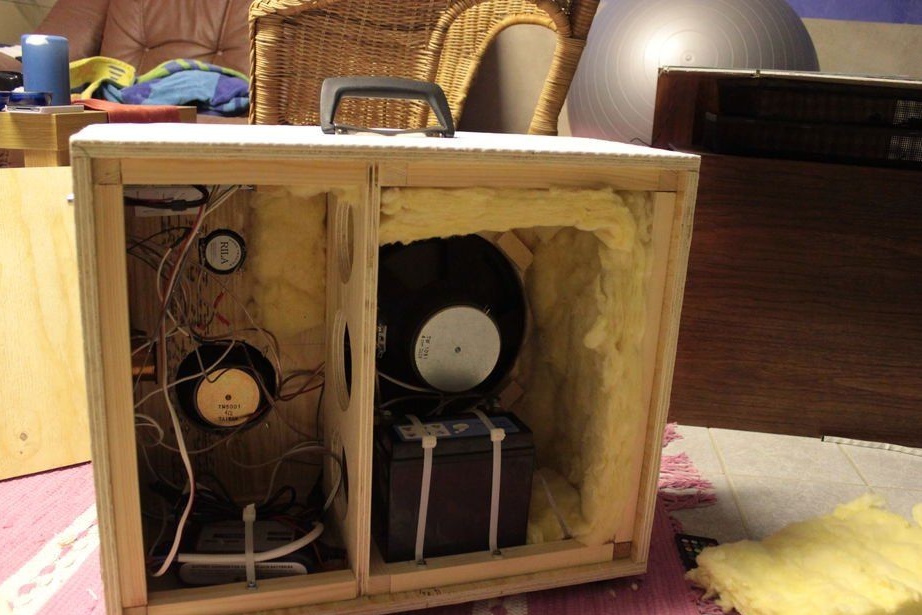
Next, solder the wires from the speakers to the crossover and connect it to the amplifier. Then, a 10 W resistor should be soldered to the tweeter wires. As the power supply, we will use a 12 V battery, connect to it an amplifier, and the rest of the electronics. In order to give even more originality to the case, on the bottom we install a small segment of the LED strip. Then we solder the wires from the voltmeter to the battery and the power button. We fix the wires and the battery with the help of special ties.
Before we close the lid of the case, you need to check all the equipment for operability.

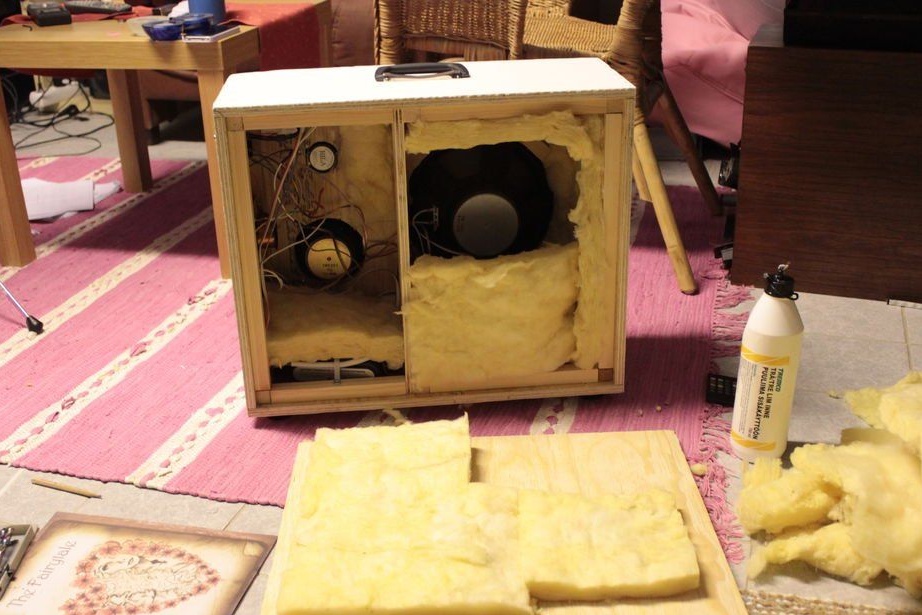
In order to improve the sound of the portable speaker inside the case, we put glass wool. When everything is ready, close the case.
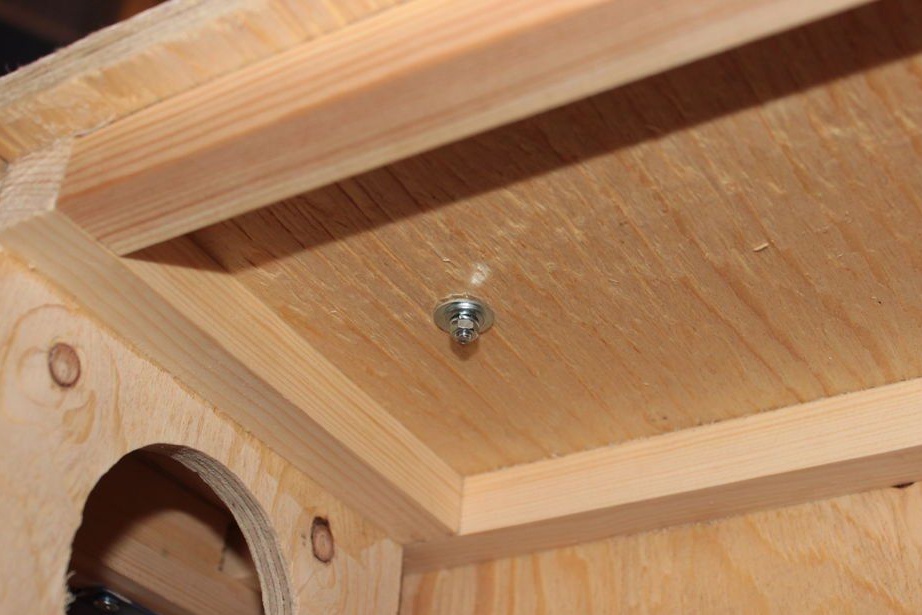
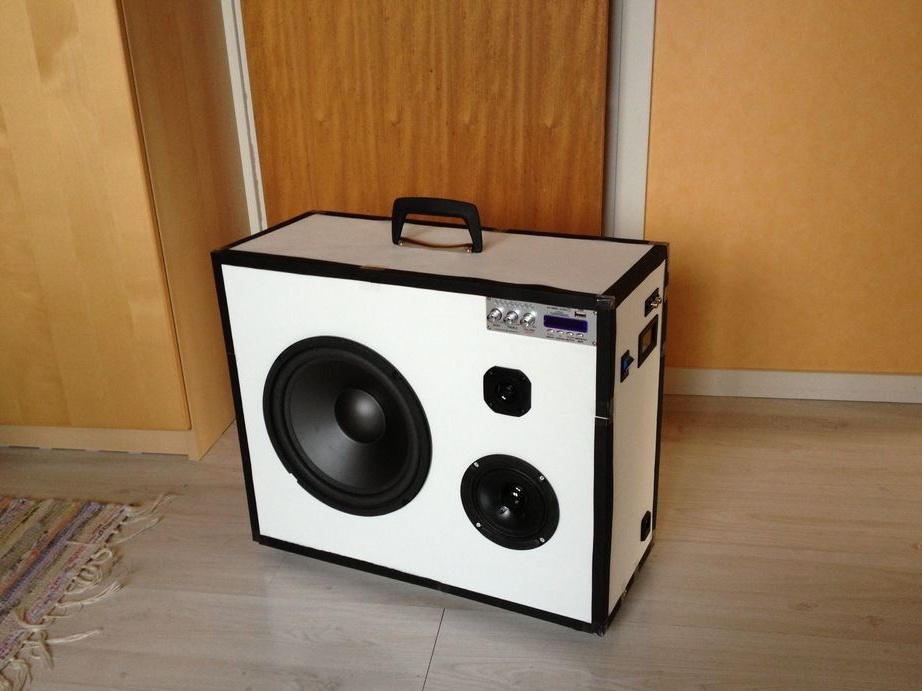
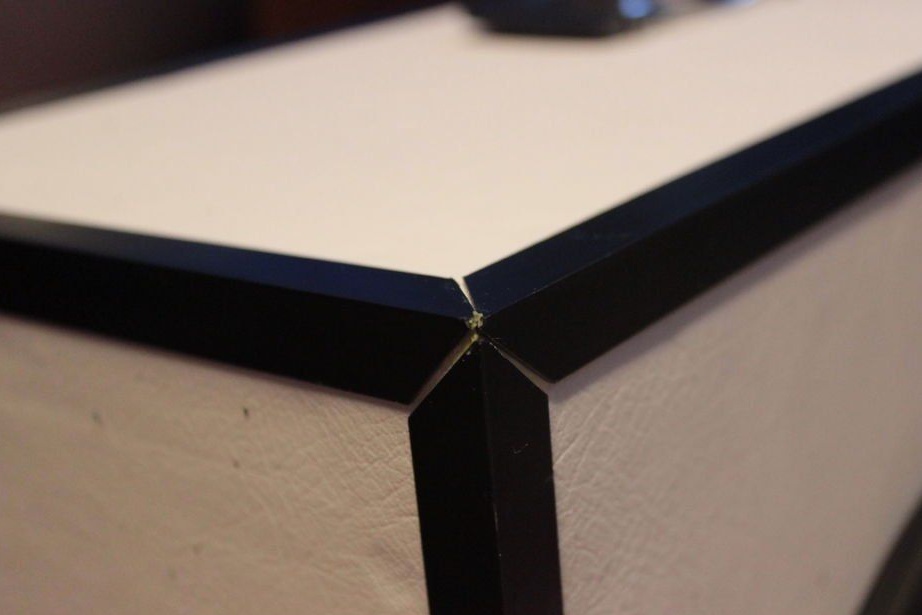
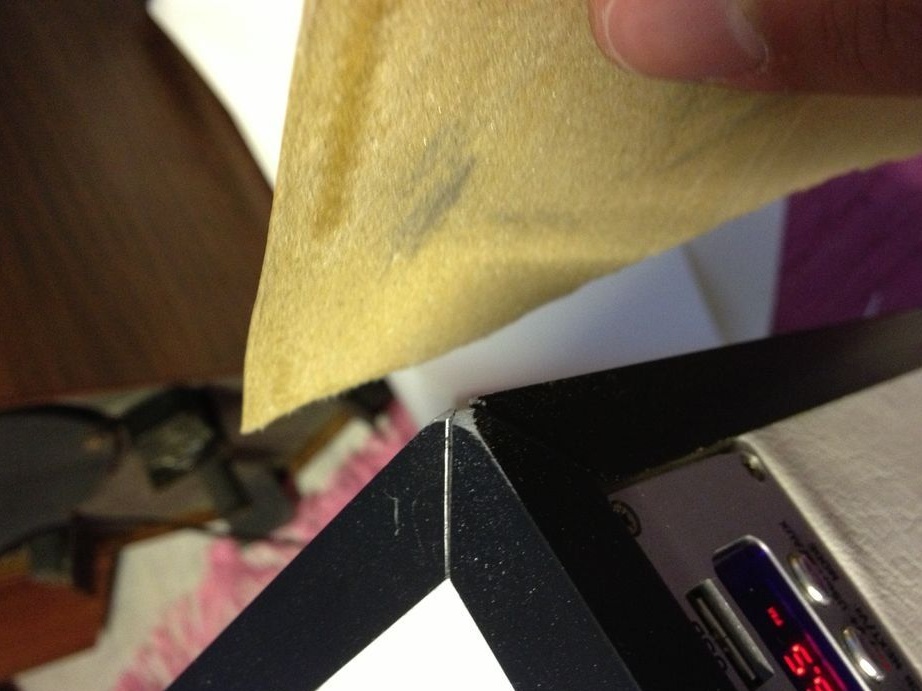
Now let's deal with the framing of the edge of the case, for this we take metal corners, the ends of which are cut at an angle of 45 degrees, it should turn out as in the photo, we fix them with glue. To close the joints - use special small corners.
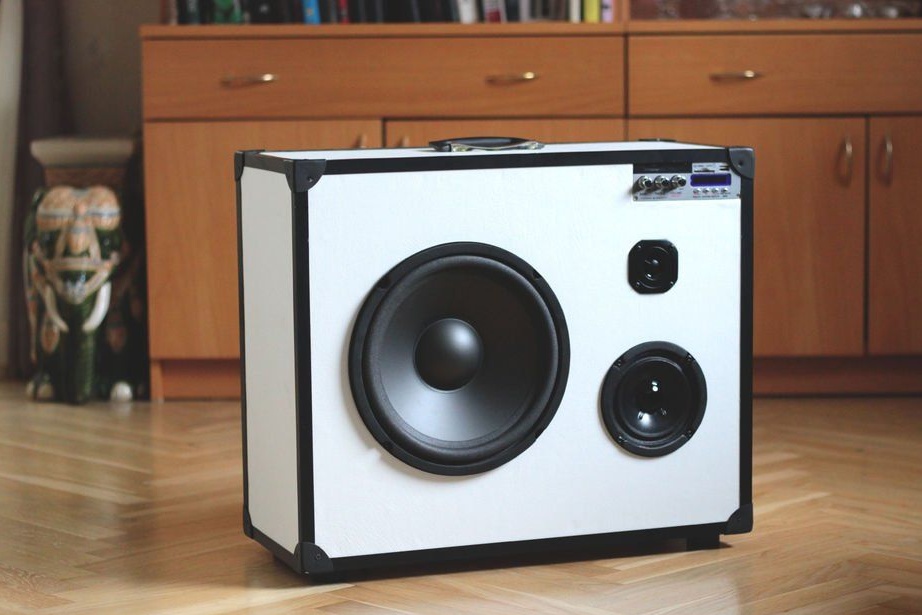
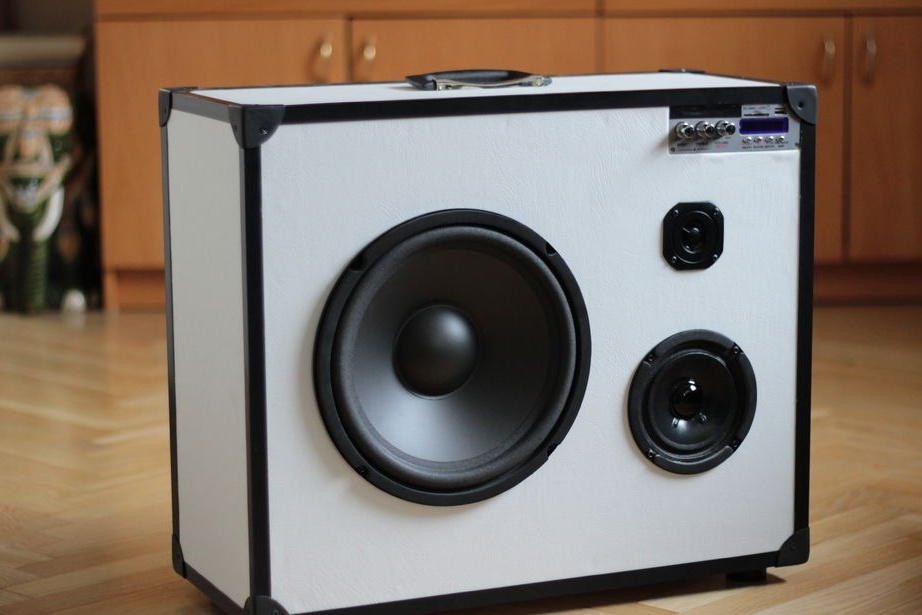
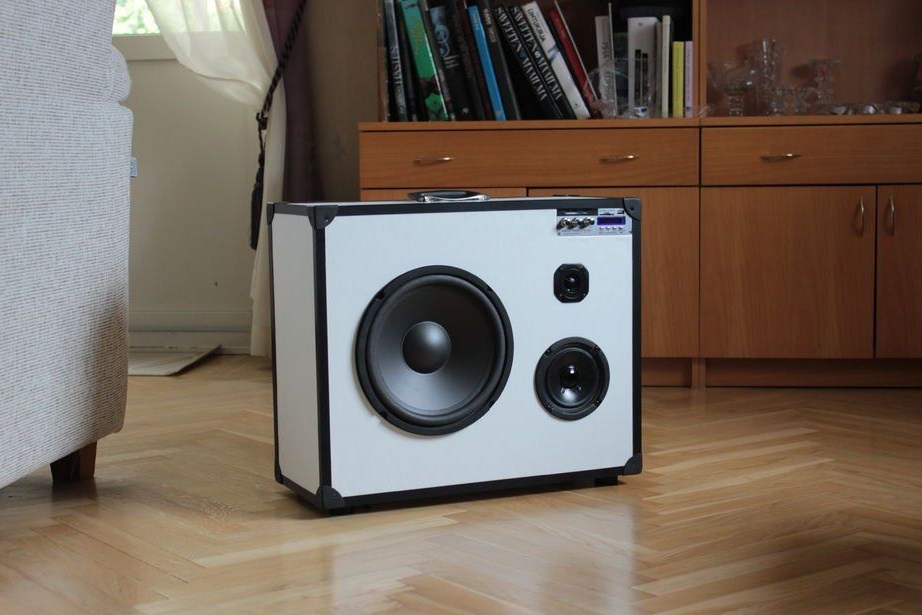
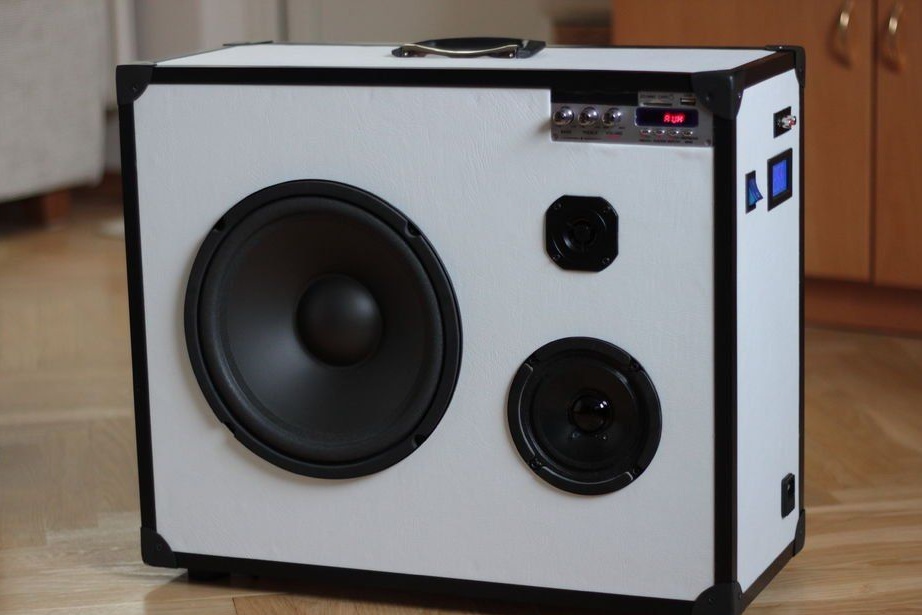
The work can be considered finished, the portable speaker is ready.
Now your favorite music will always be at hand!
Thank you all for your attention!