Many of us are tired of the monotony of iron machines, for their frequent appearance is unremarkable, and looks like an ordinary rectangular box. One of the foreign fans of modding, better known as Fychan, provides us with one of his projects, which we will try to repeat. The entire creation process will be described in detail, and shown in the available photographs.
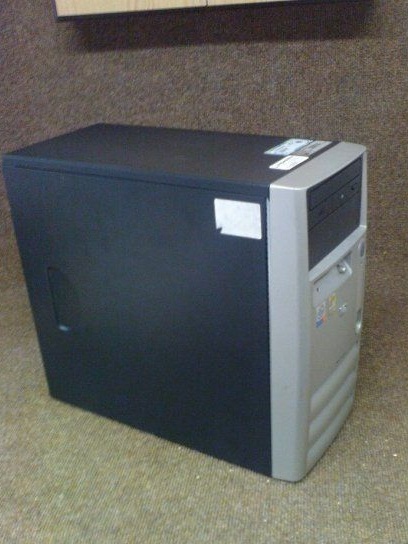
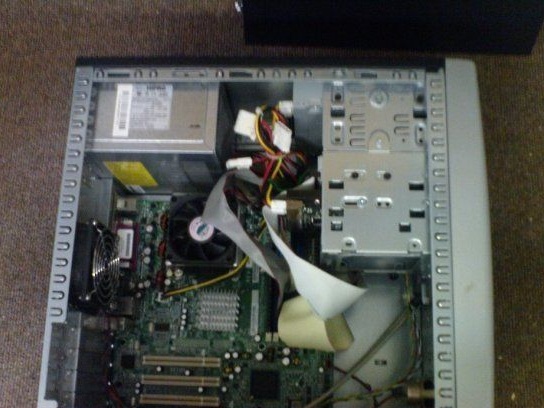
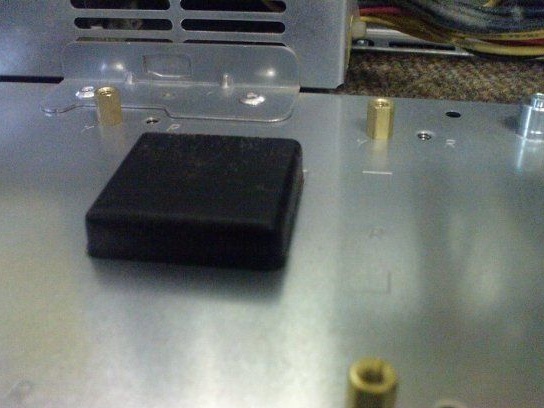
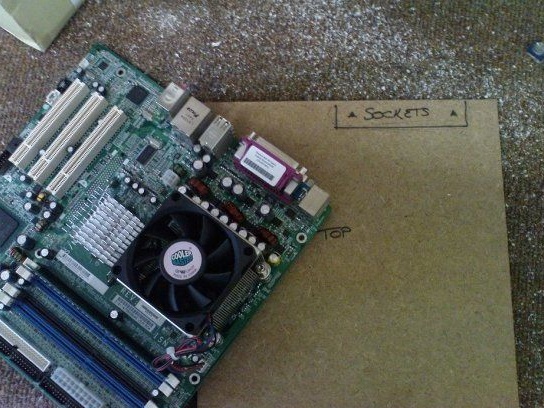
To begin with, we will analyze the home personal computer into its component parts.
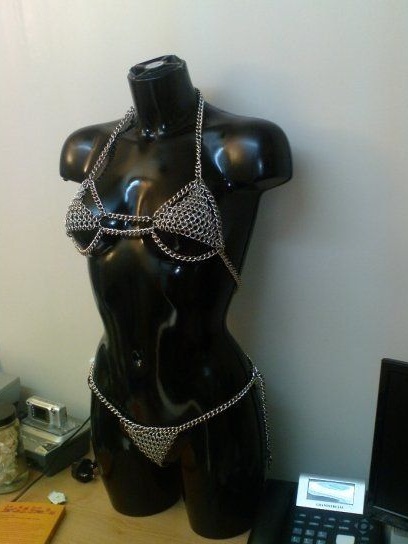
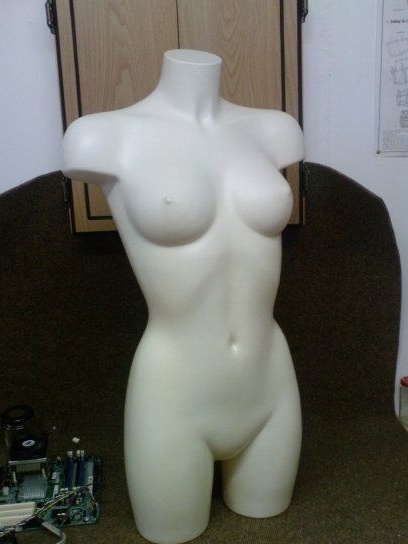
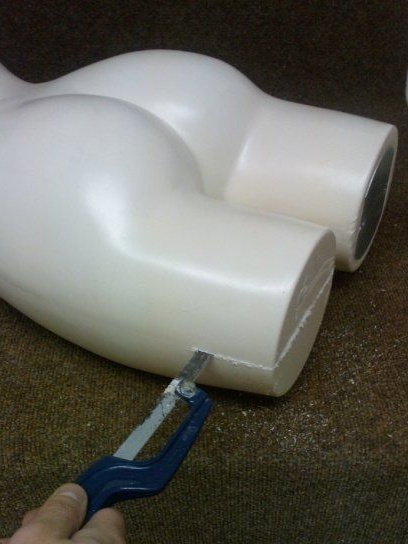
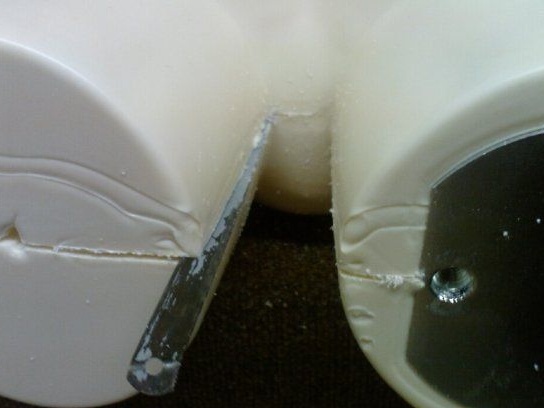
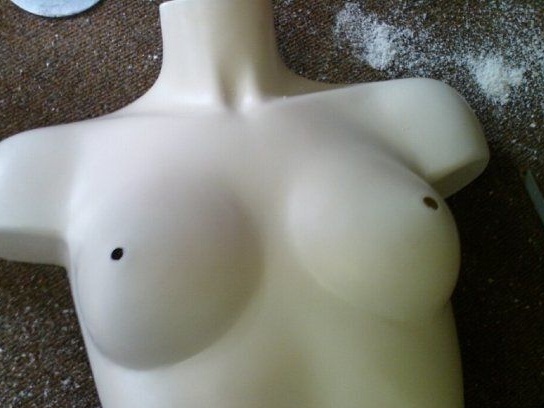
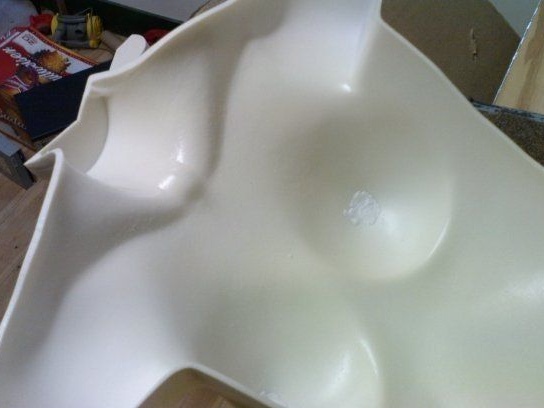
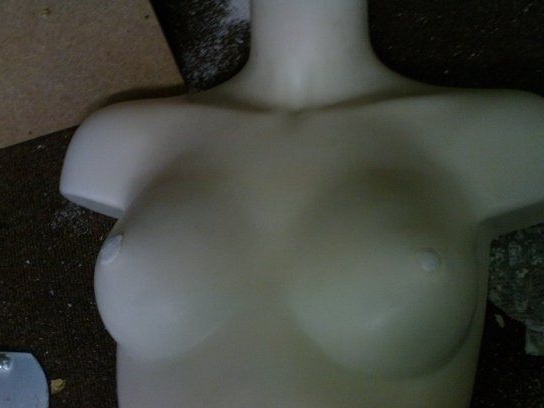
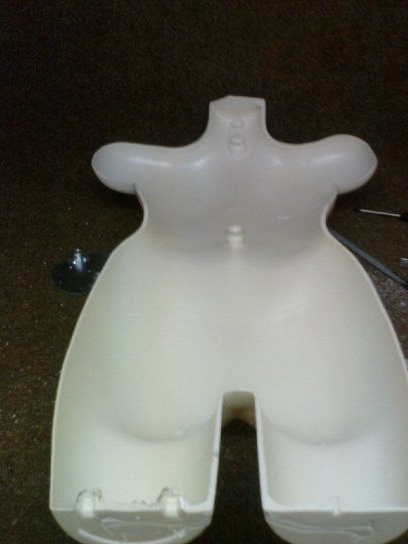
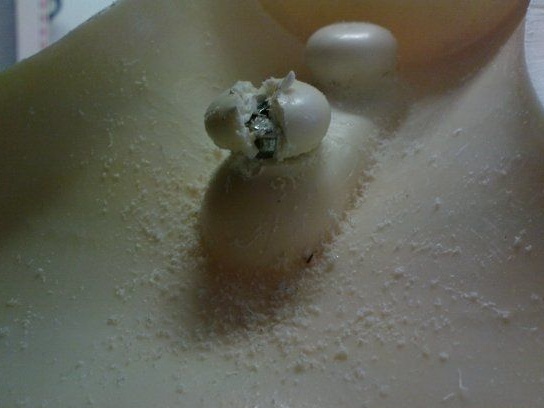
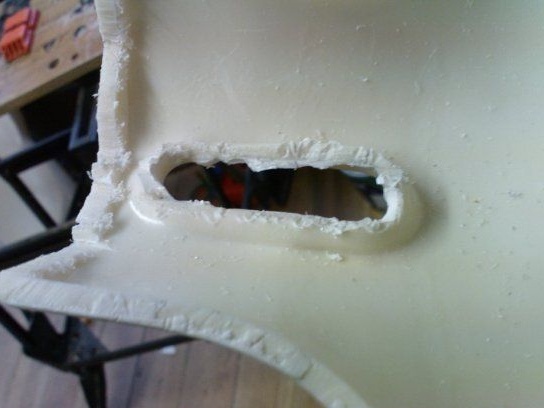
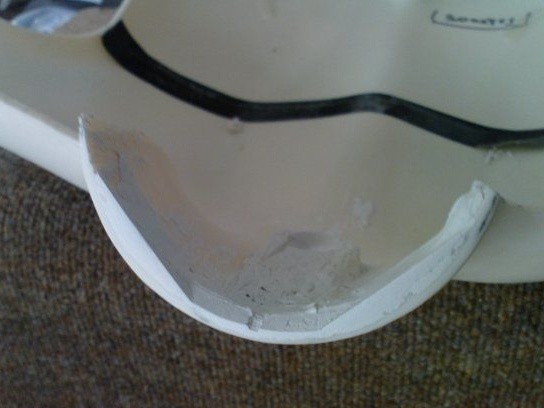
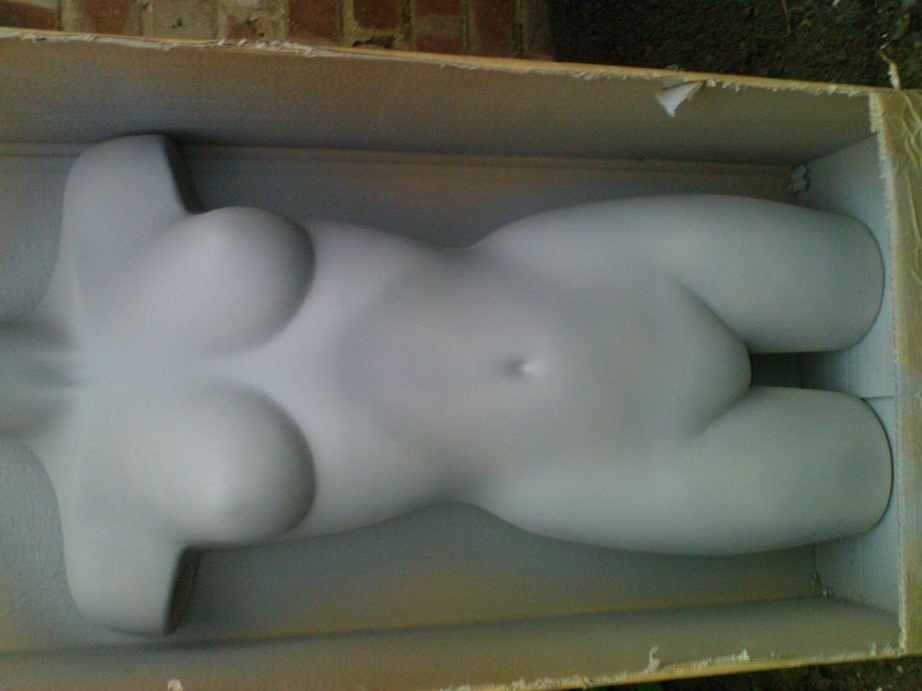
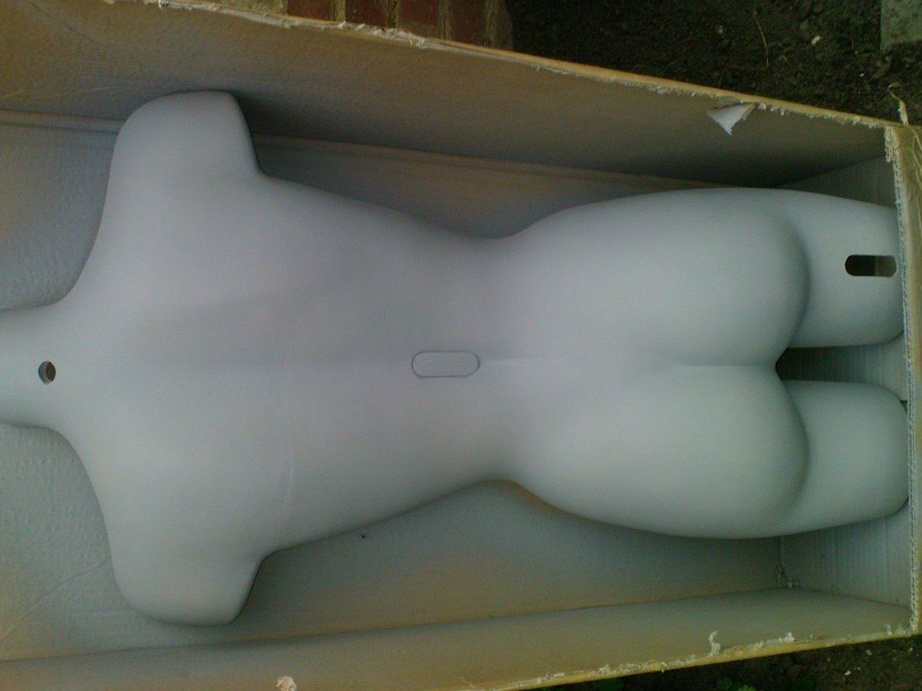
Next, we take the future building, as you probably already understood, we will use a regular mannequin as it. We begin to cut it in half, as shown in the photo, we use the most convenient cutting tool for you. The final result should be two separate halves. We clean the sharp edge with sandpaper so as not to get hurt in the future. For the inclusion button, we make a hole on the side of the neck.
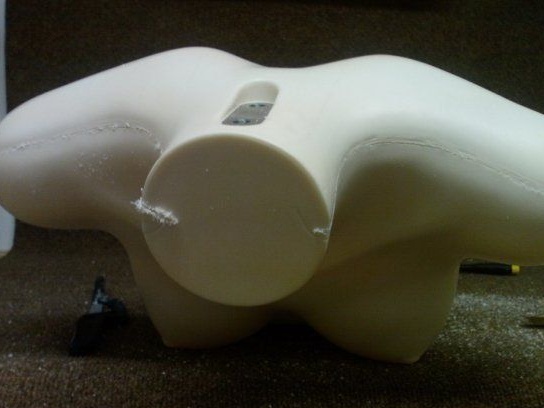
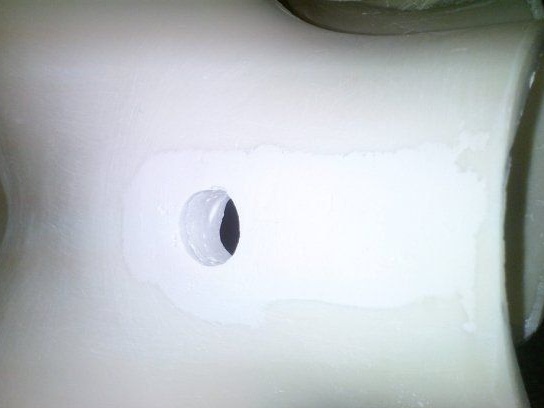
The power cable will be in the lower part of the leg, for which we also make a hole.
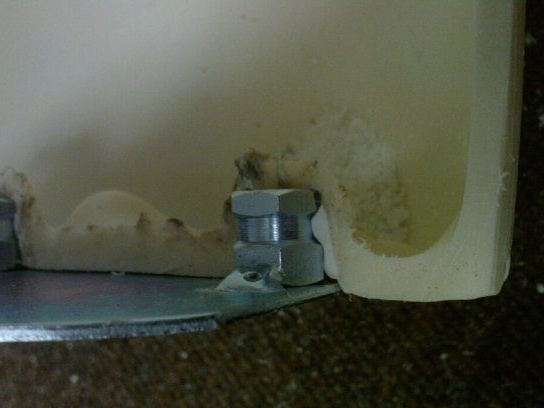
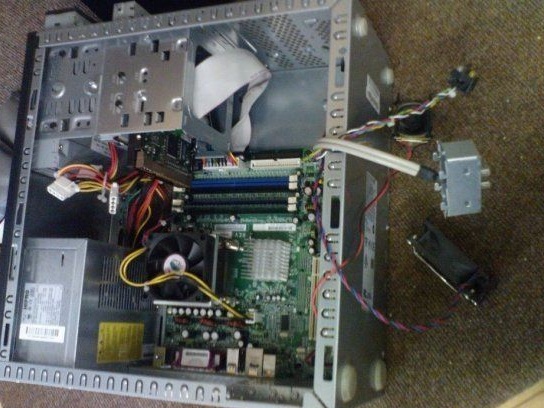
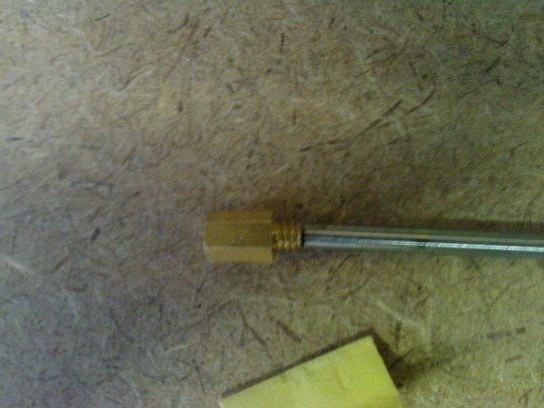
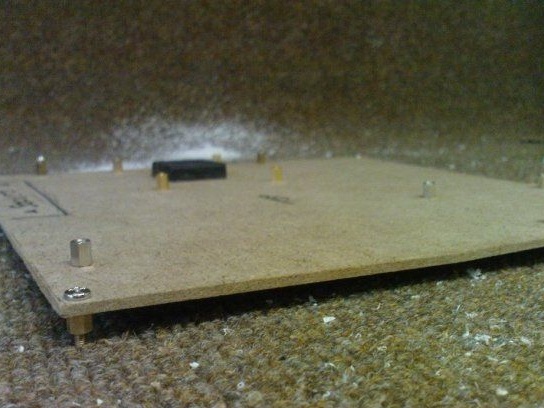
Then we take the motherboard, it needs to be prepared a little, we take a small sheet of the wooden panel and cut a square out of it, we take the sizes according to the sizes of the motherboard. Next, we drill holes, and we fix the board to the cut-out panel using hexagonal brass racks. We will install the wooden base in the case in the future, it is in order to simplify the fastening of the mat. boards.
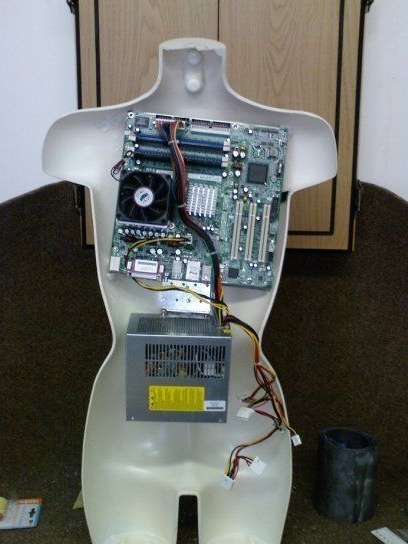
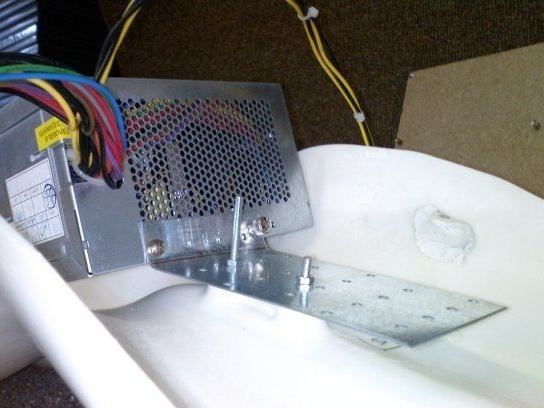
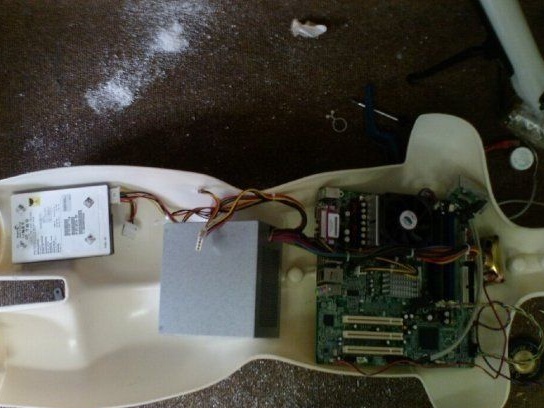
We begin to try on the insides, see what can be placed where. When we have decided on the location of the parts, we begin to fasten them, use metal plates, or any other convenient fasteners available. For clarity, see the photo report.
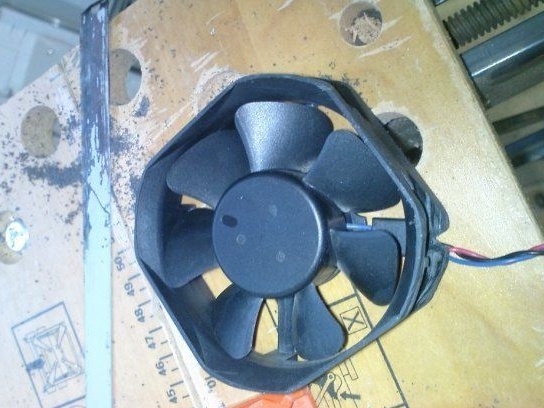
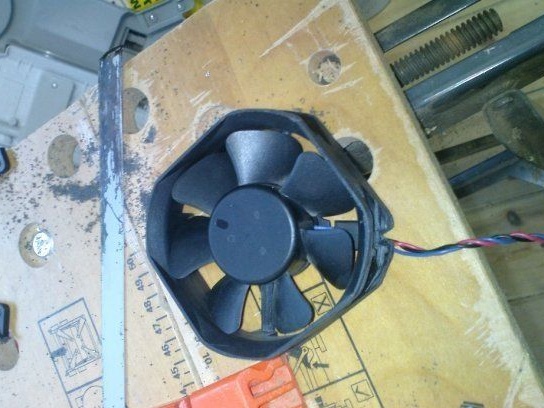
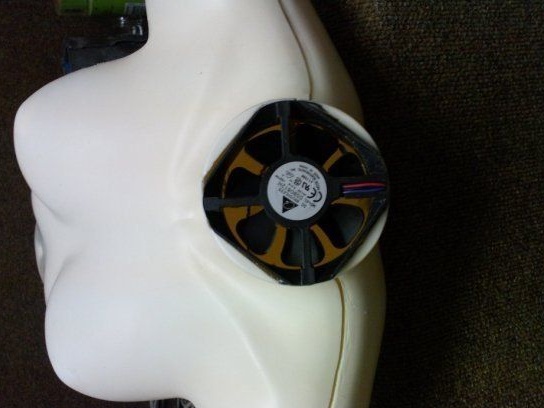
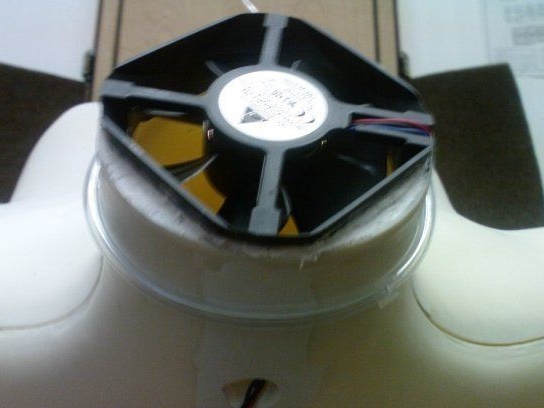
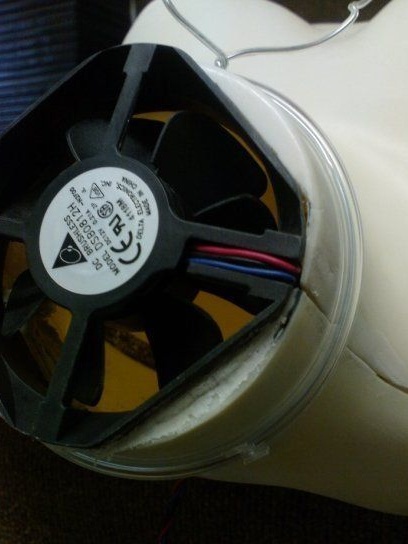
In order for the system not to overheat, you need to add cooling.
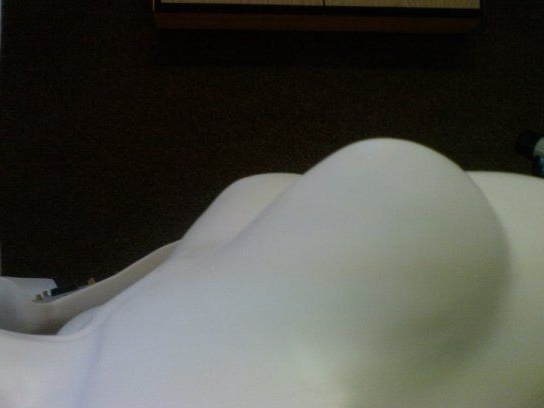
In the upper part of the neck we make a hole according to the size of the cooler, it should go there a little with effort. When everything is ready, fasten to the existing fasteners.


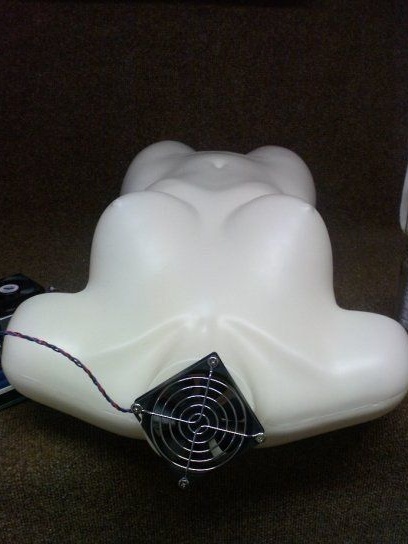
Since the factory mannequin does not have a very attractive appearance, we paint, prime, then apply black paint. Before painting, do not forget to dismantle the entire electronic part.When the paint dries, for a better effect, apply a layer of glossy varnish.
Further, when the case finally dries, we mount the entire filling back, then connect the two halves to each other. As a decoration and a fixing element we use a metallic swimsuit.

The work can be considered finished!
We put the updated computer case at the workplace, and look at the surprised faces of friends, attention and subsequent questions are provided to you.