
Good day!
Many of us are engaged building, and often, to save money, they do everything on their own. The author of this article invites you and I to get acquainted with his master class, where he will tell you in detail how to properly make masonry from cinder block, and perhaps this information will help you a lot in your construction business.
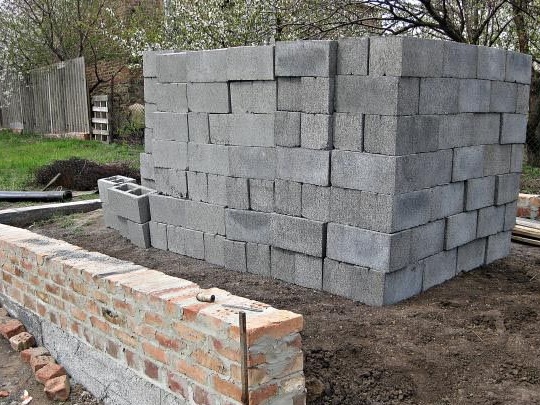
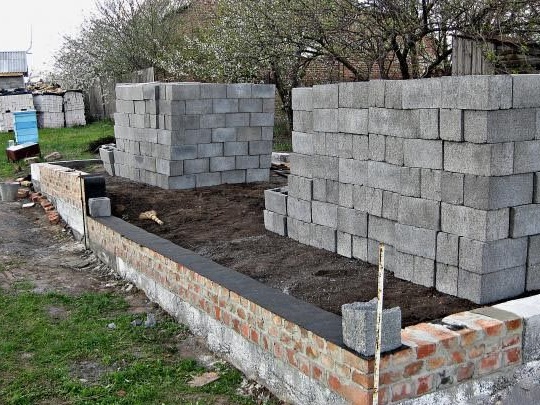
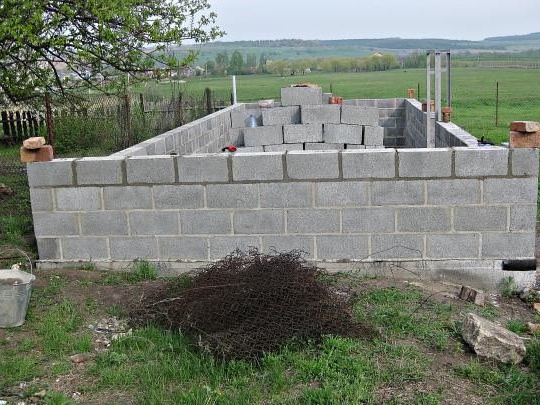
In order to begin to build walls, you need to lay the foundation, in this case, we used a kind of foundation like a strip, which was leveled in advance using brickwork.
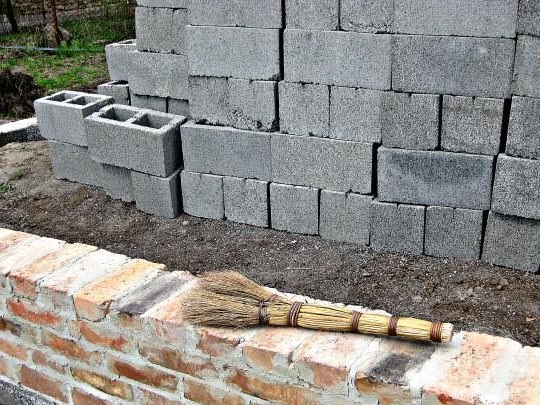
To begin with, we remove garbage from the surface of the foundation using an ordinary broom.
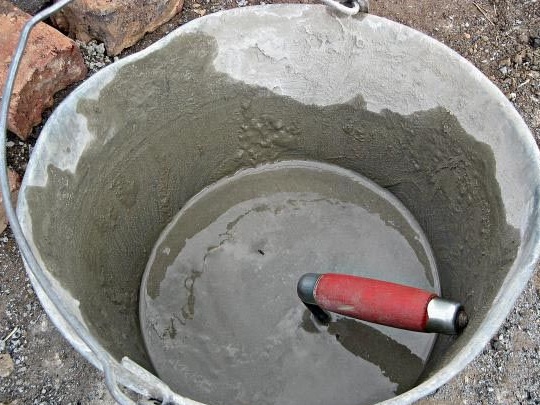
In order to remove all the irregularities that could occur on the foundation, we use a solution of a thin consistency. We use cement grade M400. Take a mixture of sand, mortar, water, and mix.
With the resulting solution, smooth out all the bumps.

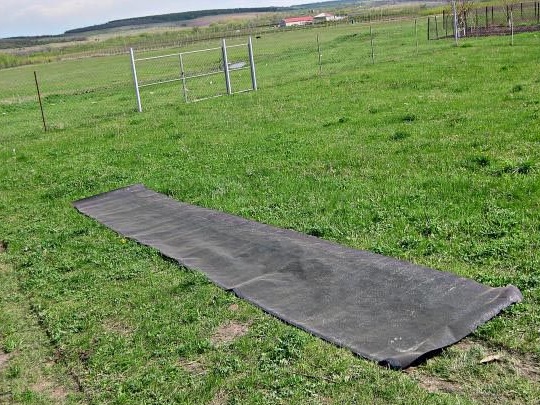
Before we begin to build walls, you need to put waterproofing on the foundation surface. To do this, take the roofing material and cut it to the required dimensions.
If you are doing this alone, it is best to use one simple method, for this we need a kapron thread and a brick.
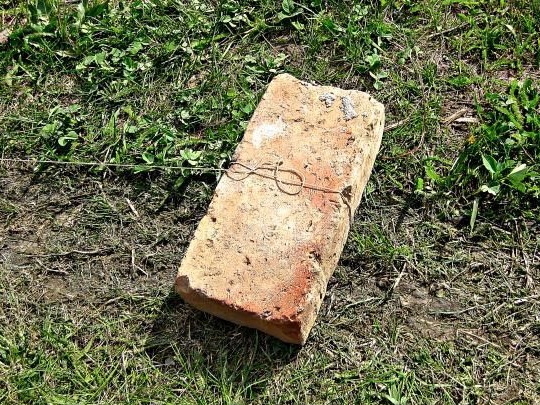
We roll out the roofing material on a flat surface, and on top of it in the middle we put a kapron thread, which is tied to a brick.
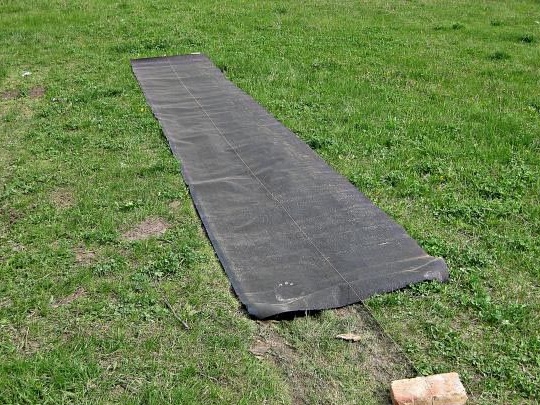
Next, you need to bend the roofing material in half, according to the sizes that we need.
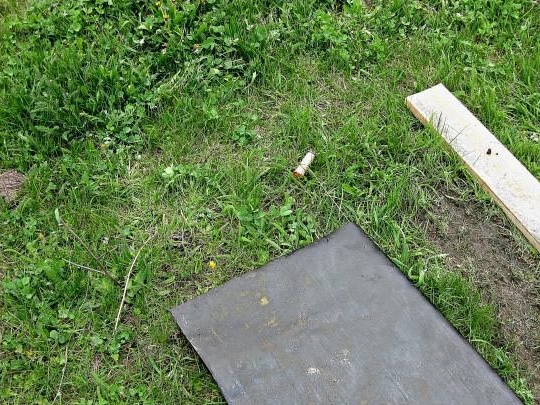
Then we take the other end of the thread in our hands, so that the rope does not cut our hands, we tie a small wooden handle.
Next, you need to step on the folded roofing material with your foot, grab the end of the rope in your hands and pull it towards you. In this way, you can cut the roofing material in half.
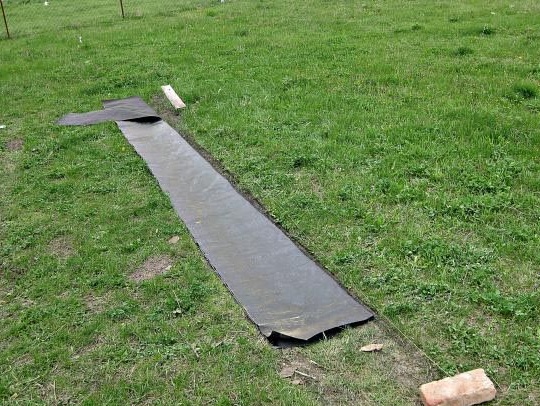
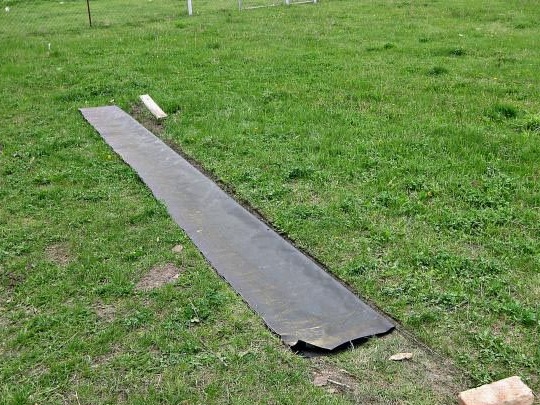
When we cut the right number of strips of roofing material, we begin to lay it on the foundation.
We fix the laid waterproofing sheet with a cinder block, just laying it on the surface, this is to prevent it from blowing off by the wind.
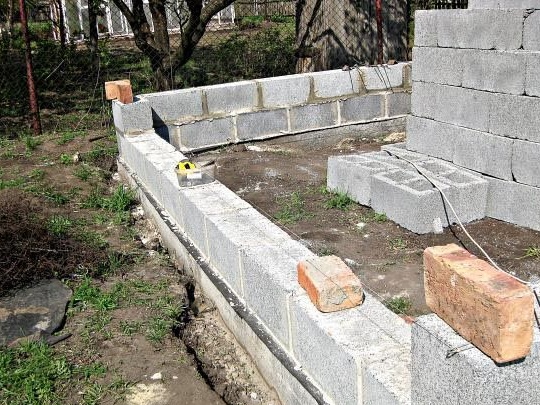
You can start laying walls, for this we stretch the twine, thereby setting the level for the cinder block.
When all the corners are set and checked diagonals, we proceed to the masonry.
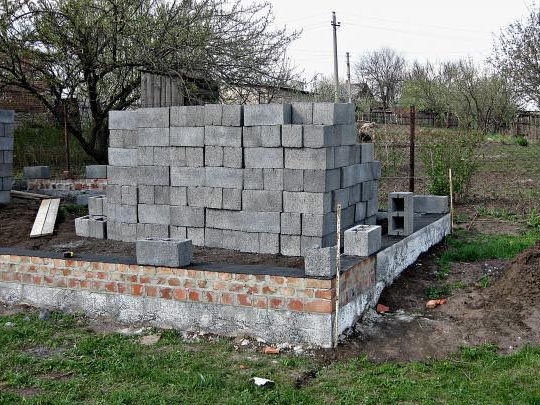
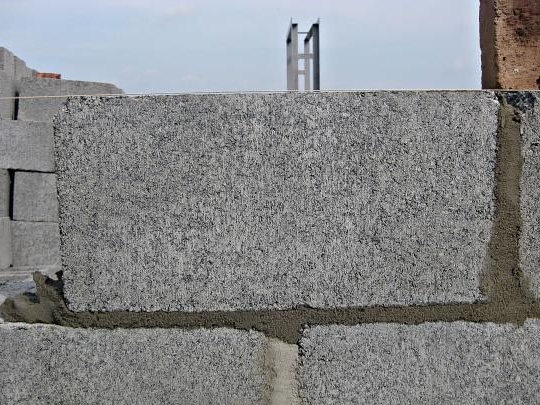
Put the solution evenly over the block.
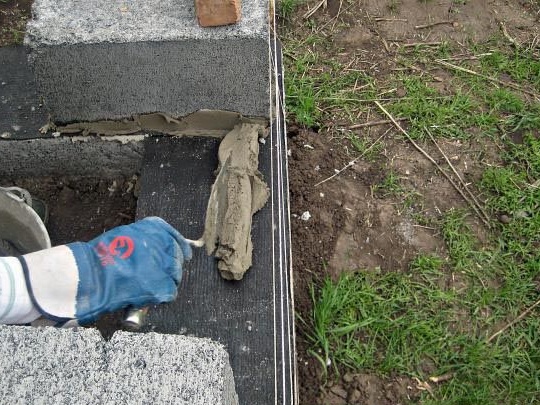
In order for there to be adhesion between the blocks, you need to put the solution on the end of the block itself, as shown in the photo.
Next, put the block on the solution and press it to another block, if necessary, you can tap it lightly with a mallet on its surface, this is to adjust the block in height and horizontal, so the block settles to the level we need.
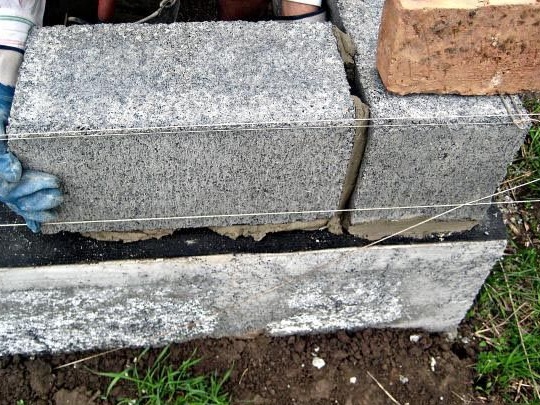
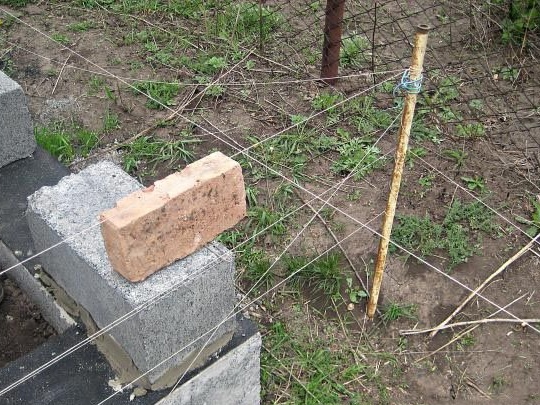
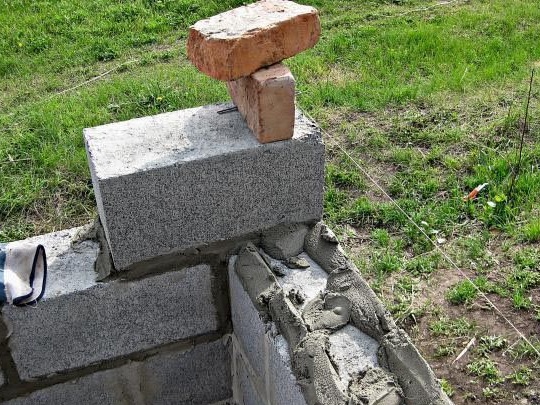
In order for the wall to come out smooth, the masonry must be laid using the so-called cord-mooring, which we fasten to a bent bracket, we make it from a rod from electrode No. 3.
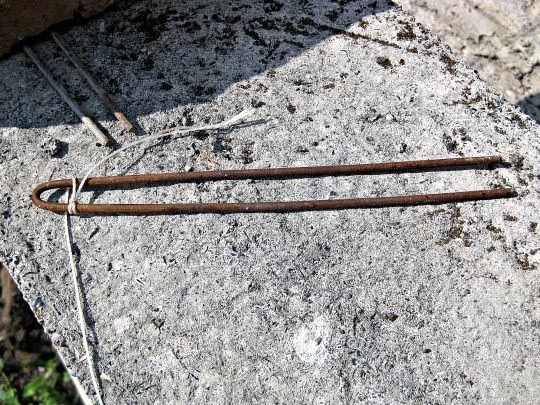
We pull the cord along the entire length of the wall, fix the brackets at the corners with a brick.

The cord should be as tight as a string.
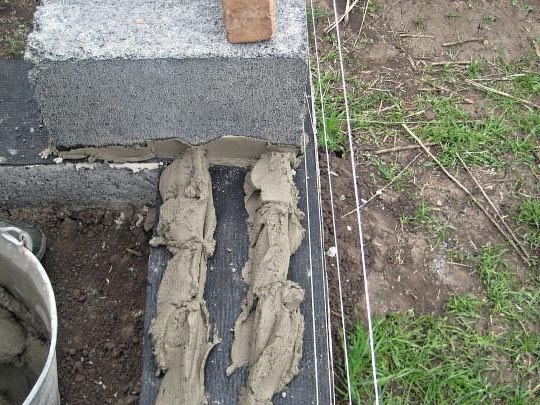
The consistency of the mortar that we use for masonry should not be too liquid, and in order to save the mortar we put it only on the area of contact of the block with the surface we need.
After we put the block, the solution itself will fill all the voids.

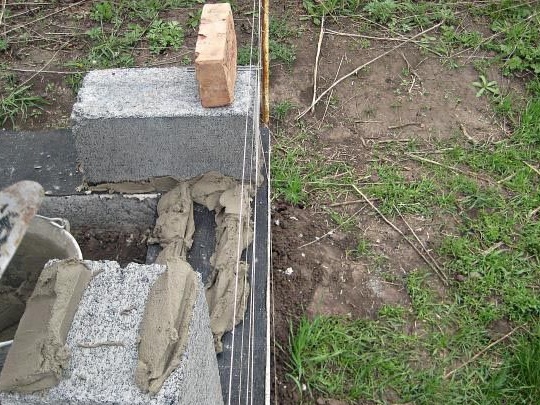
We put the next block in its place, it may happen that the block is higher than the stretched cord, this is due to the fact that the solution is not liquid.

In order to set the desired level, we use the same mallet, tap, and the block drops to the desired level, the excess solution is simply squeezed out from under the block.

We remove the excess solution with a trowel.
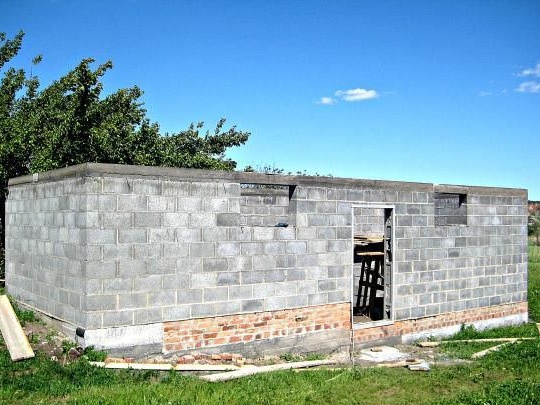
In the same way, we put block by block until we reach the wall height we need.
As a result of all the actions, we got a reliable design that will last a very long time.
Thank you all for your attention!