

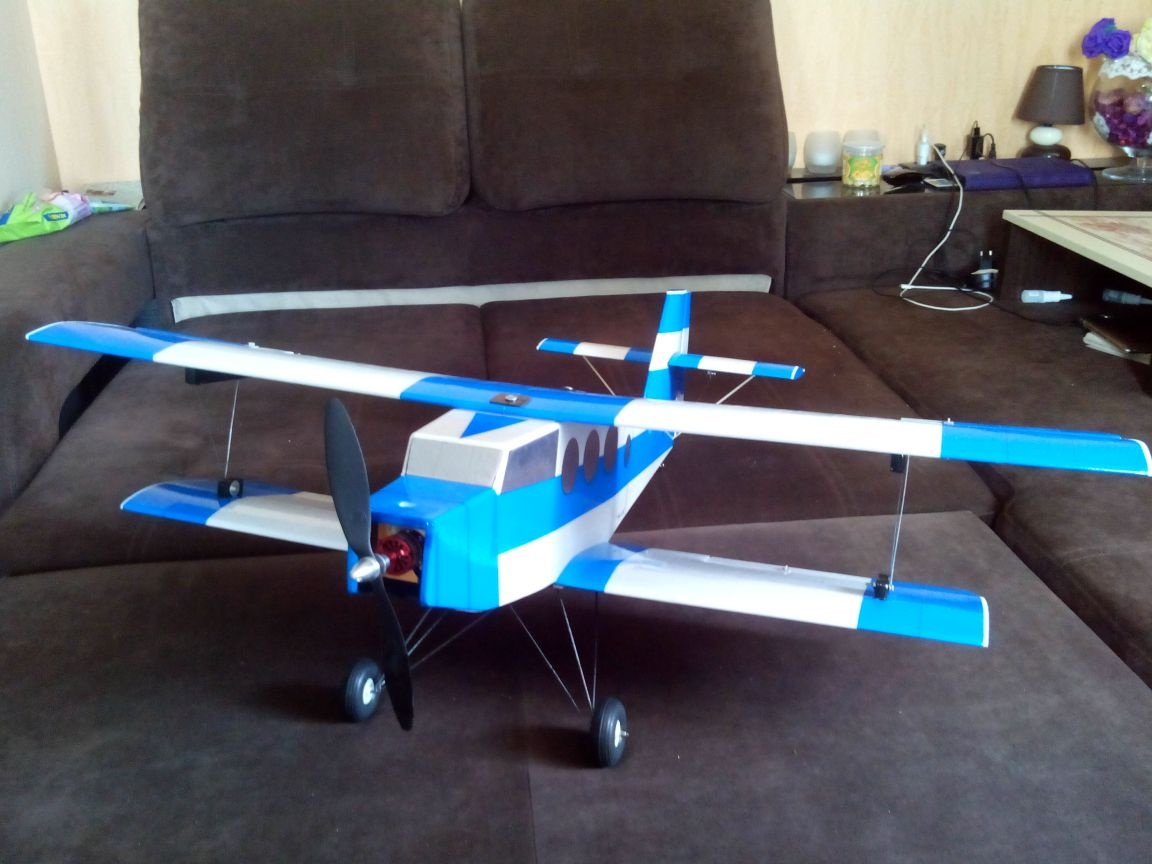
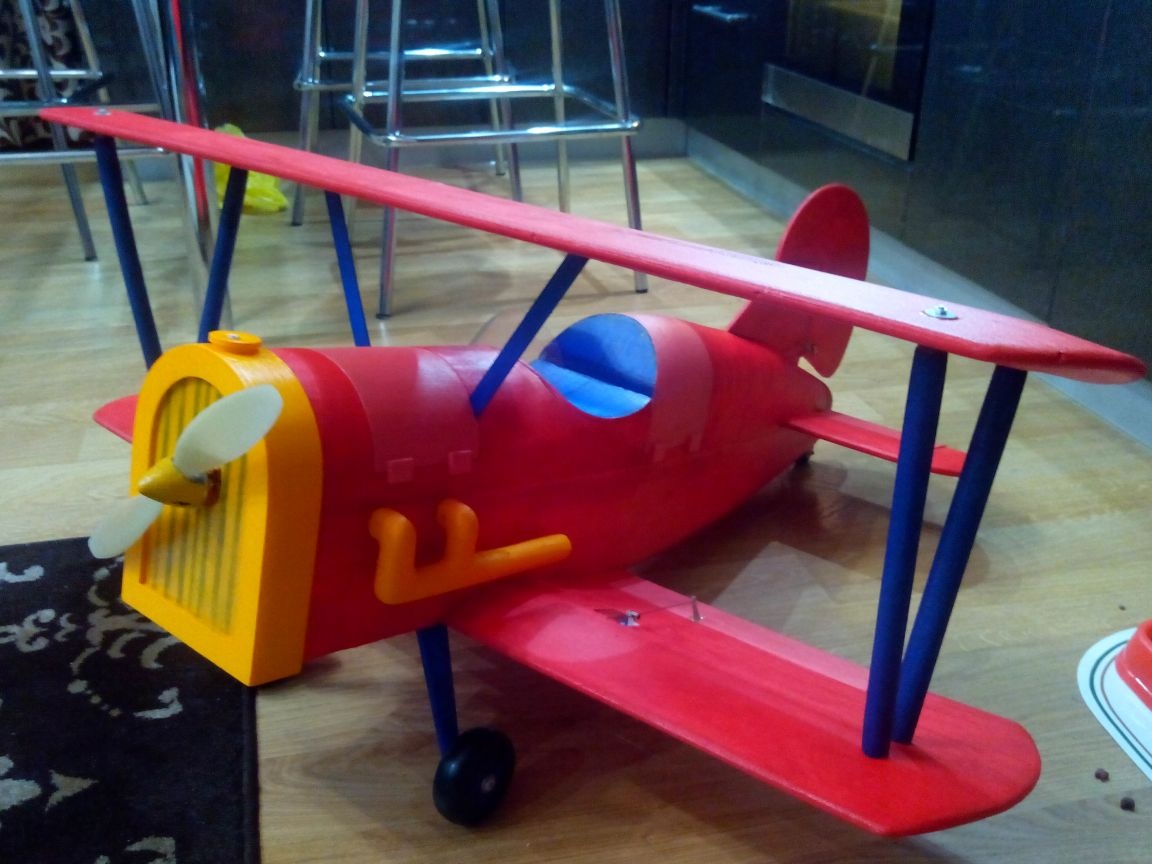
To any model of the aircraft to look more like a real plane, and even more so for practicing takeoff and landing, you need a landing gear. This article describes in detail the manufacturing process of light wheels, as well as various types of chassis for models. These are the most budget options that are suitable for both novice modelers (to save money) and more experienced ones (for making more replicated wheels).
Materials:
- Foam rubber (from packages from tablets or cases for phones)
- Plastic cards
- Ceiling tile (trim)
- Docking tape for linoleum
- Ballpoint pens
- Steel wire of different diameters
- Plywood and rulers
- Tin
- Washers, bolts
- Threads
- PVA glue, epoxy, for ceiling tiles
- terminal blocks
Instruments:
- Drill or lathe
- Screwdriver
- Drill
- Pliers
- scissors
- Soldering iron, solder, acid
- Knife
- Sandpaper
- Jigsaw
- Metal paint in a spray can
- Acrylic paints
Step 1. Wheel Making
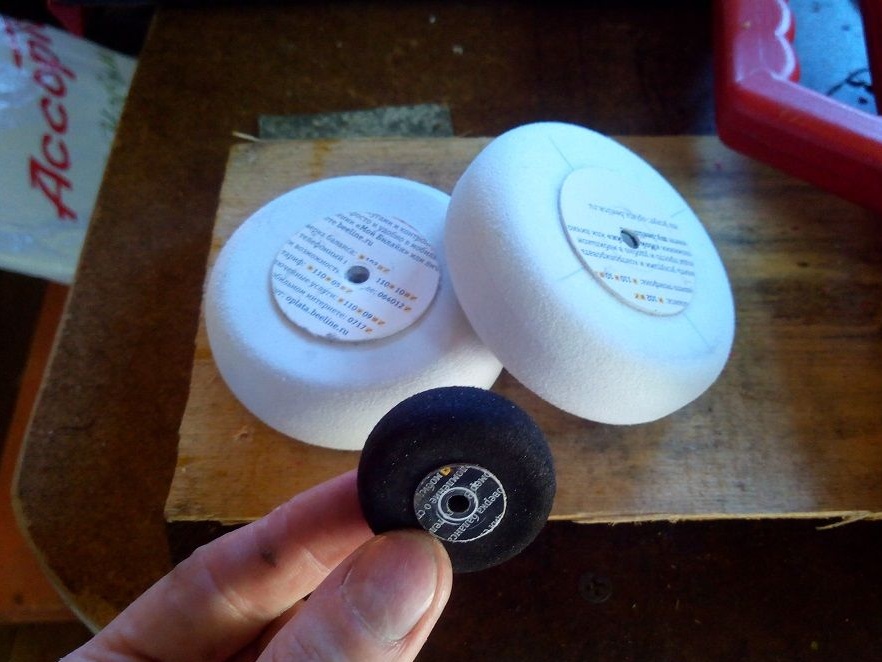
We take foam rubber plates and mark them in squares, taking into account the future diameter of the wheel.
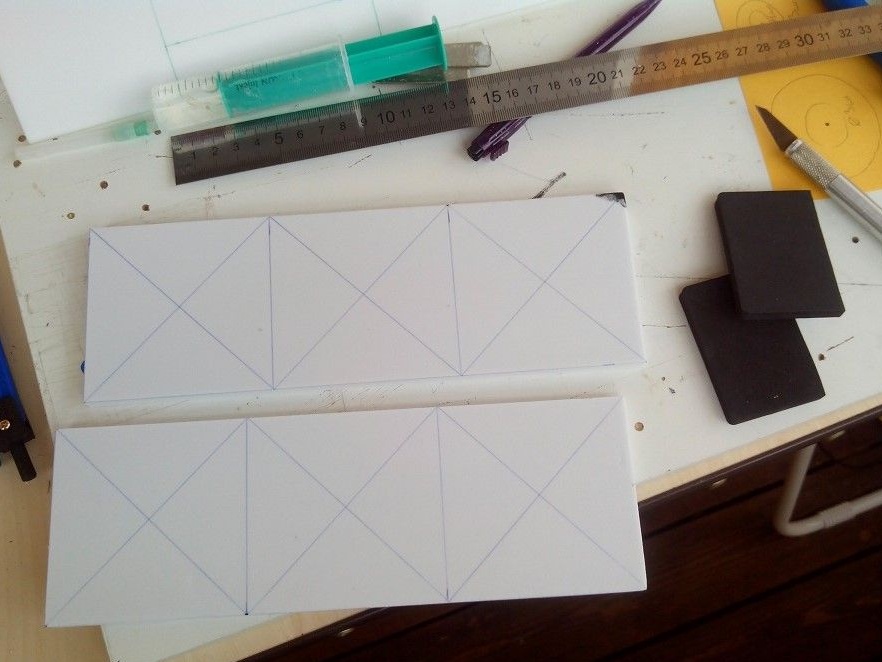
Depending on the required thickness, we glue the resulting squares into “sandwiches” with ceiling glue and leave to dry (foam rubber is not a ceiling, and therefore it will dry longer, so I recommend doing it overnight).
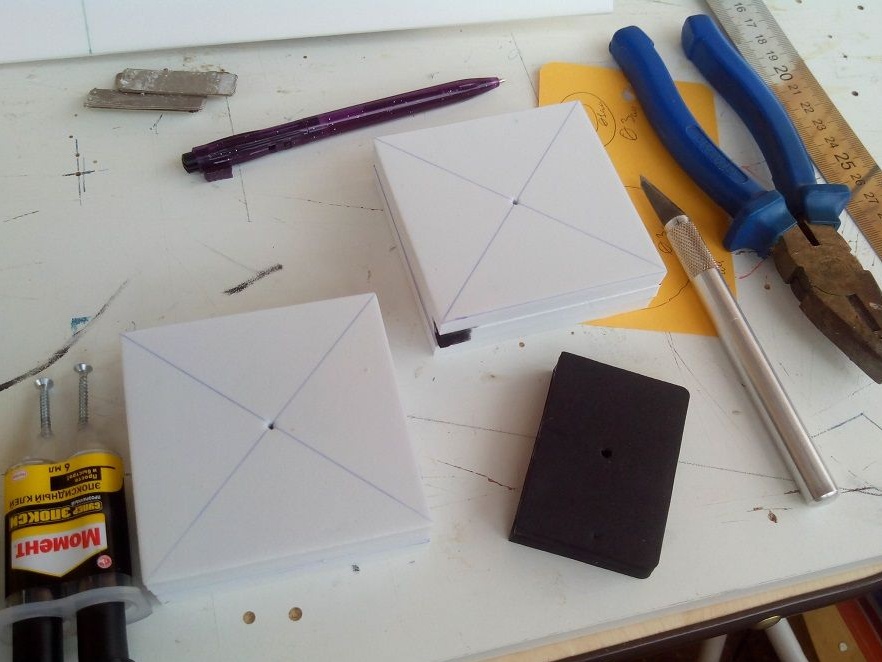
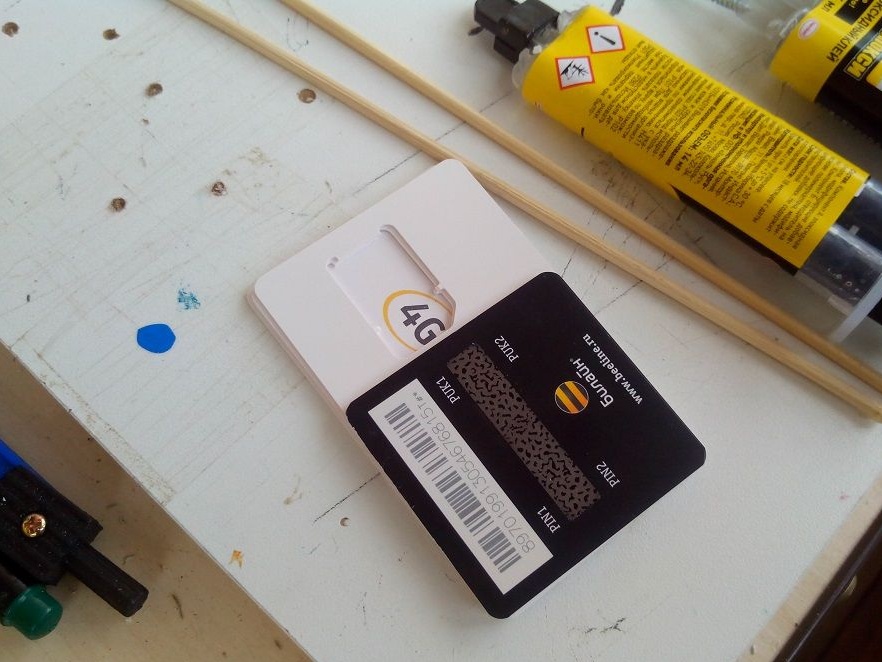
Cut out the plastic (basics from SIM cards or old discounts) circles of the desired diameter and drill in the center of the hole.
Glue the plastic mugs to the foam rubber blanks on epoxy glue. After the glue has completely dried, we insert a bolt into the hole and tighten with nuts. Then we clamp the bolt with the workpiece in the drill chuck or lathe and process it to the desired shape. After the bolt, the hole may be too large for a thin axis. For this, we need rods from handles - just glue a piece of the rod onto the epoxy into the hole, thereby reducing the diameter of the hole.
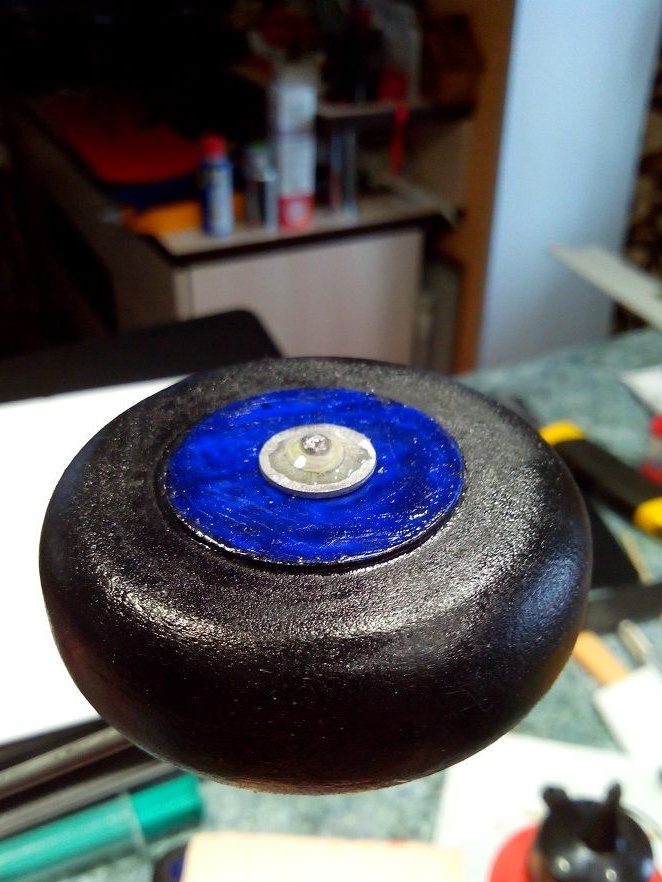
The resulting wheels can be painted with acrylics and varnished.
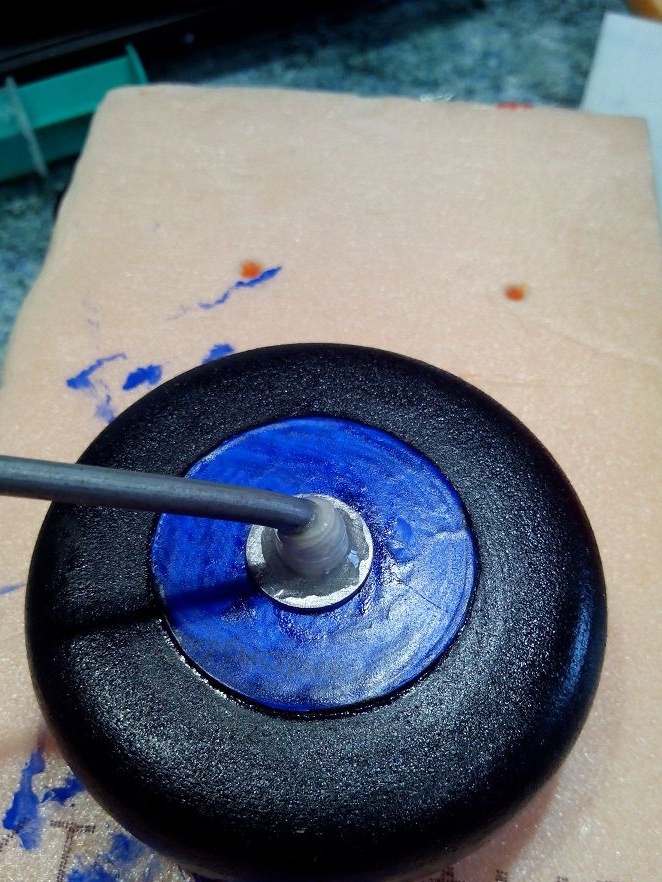
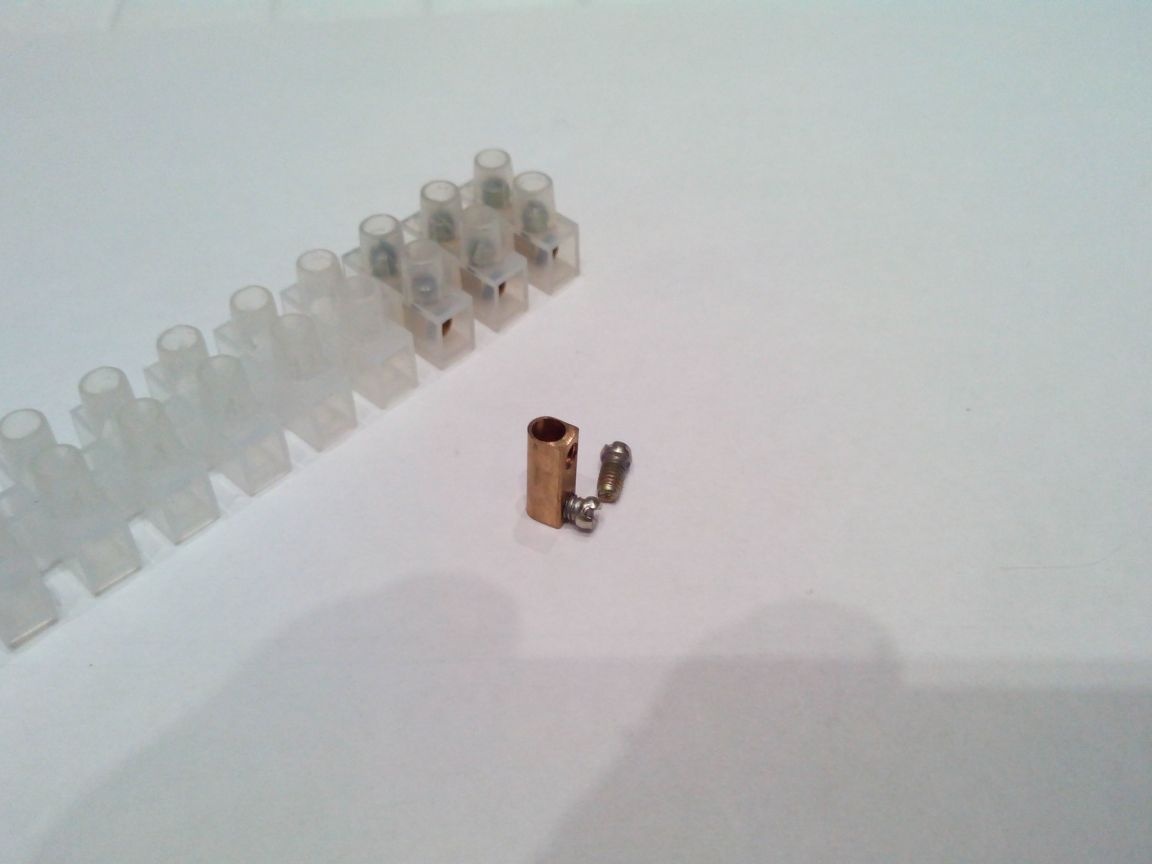
You can fix the wheels on the axle with purchased clamps, or you can use terminal blocks (in electric shops there are almost any axle diameter).
If the wheels are supposed to be non-removable, then they can be fixed with washers and threads on the epoxy.
Step 2. Making the front chassis
Option 1: Tin & Wire
We cut out two strips of tin from a tin can across the width of the fuselage.From bicycle spokes or thick (2 mm) wire, we bend the details in the form of the letter "P". Using soldering acid, we solder them to the tin (it is convenient to do this on a piece of plywood, after fixing the pieces of tin with screws).
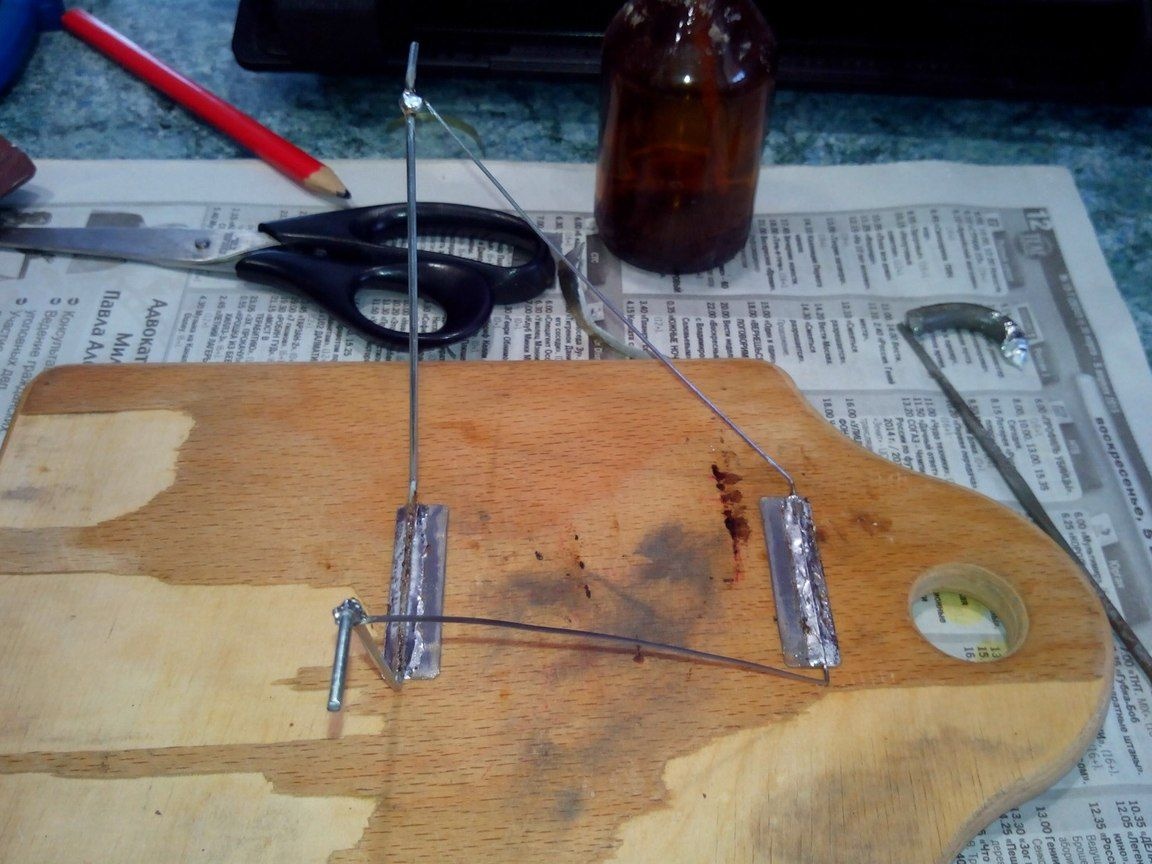
Glue pieces of rulers or plywood to the bottom of the fuselage, try on the chassis and drill mounting holes.
If necessary, you can paint the finished chassis with spray paint (I was lying around after tinting rust in the bottom of the car).
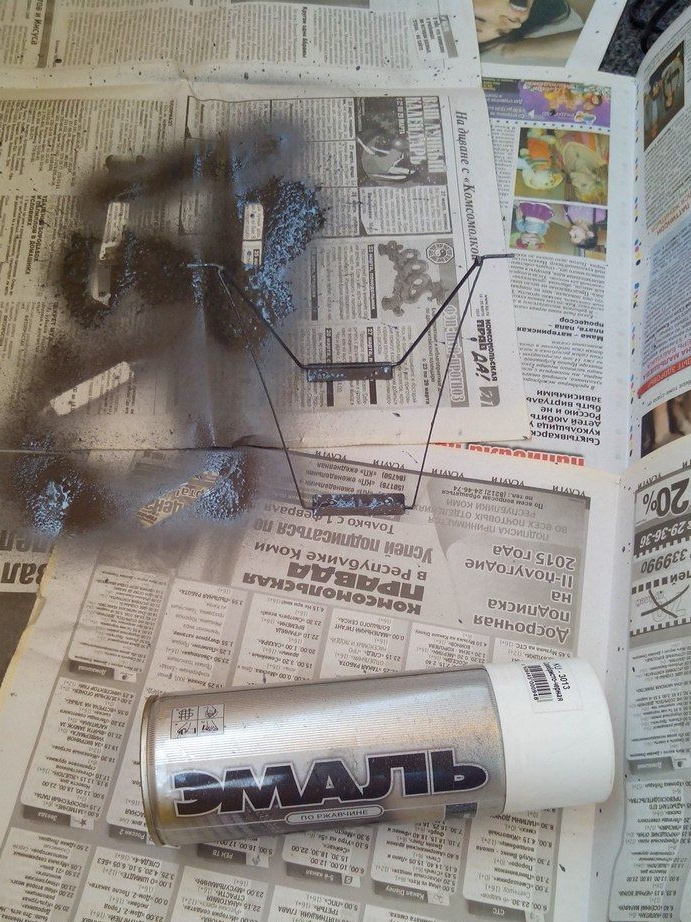
After pasting the model with adhesive tape, the chassis can be screwed to the fuselage.
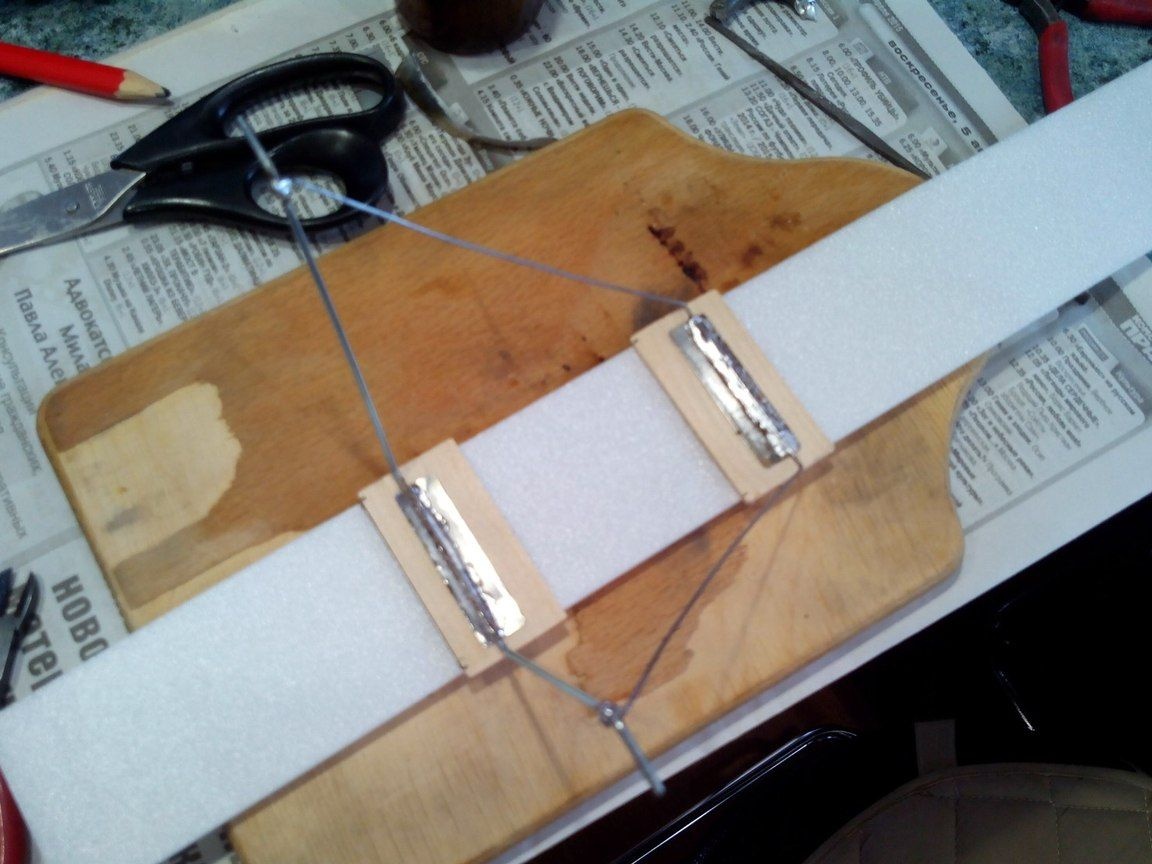
You can also add triangles from the ceiling to the chassis and seal them with tape.
For wider and heavier models, it is recommended to add two more crosswise extensions from thinner steel wire. Then the racks will be less sideways when landing.
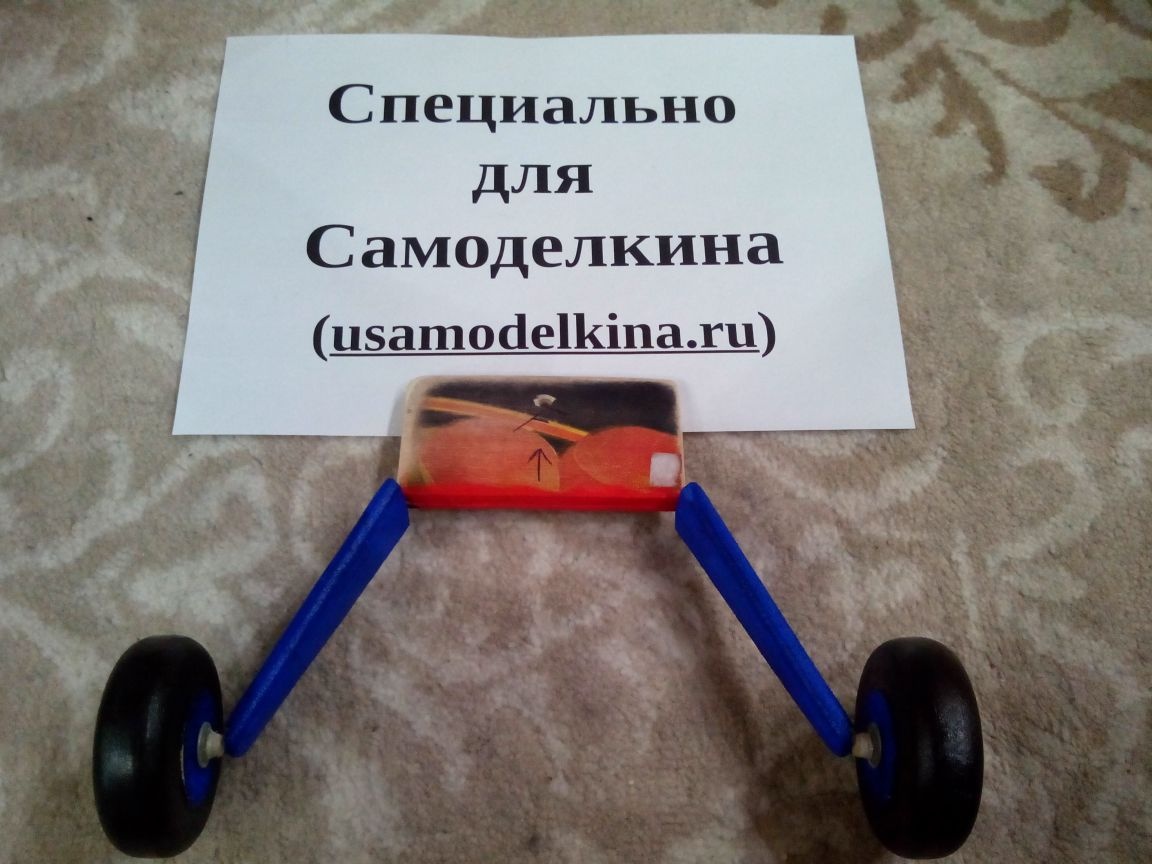
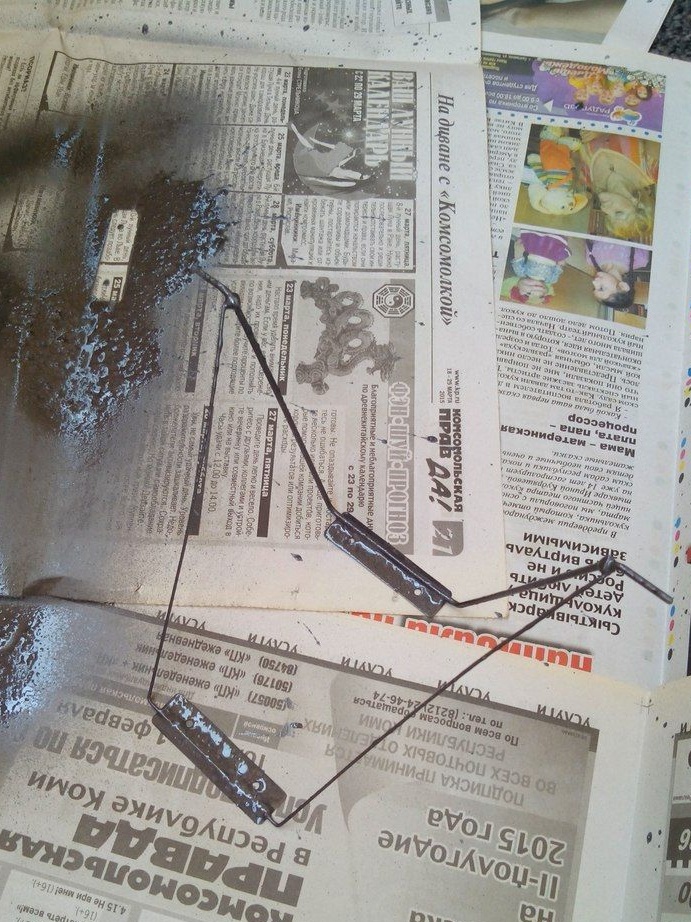
Option 2: From a thick rod and plywood
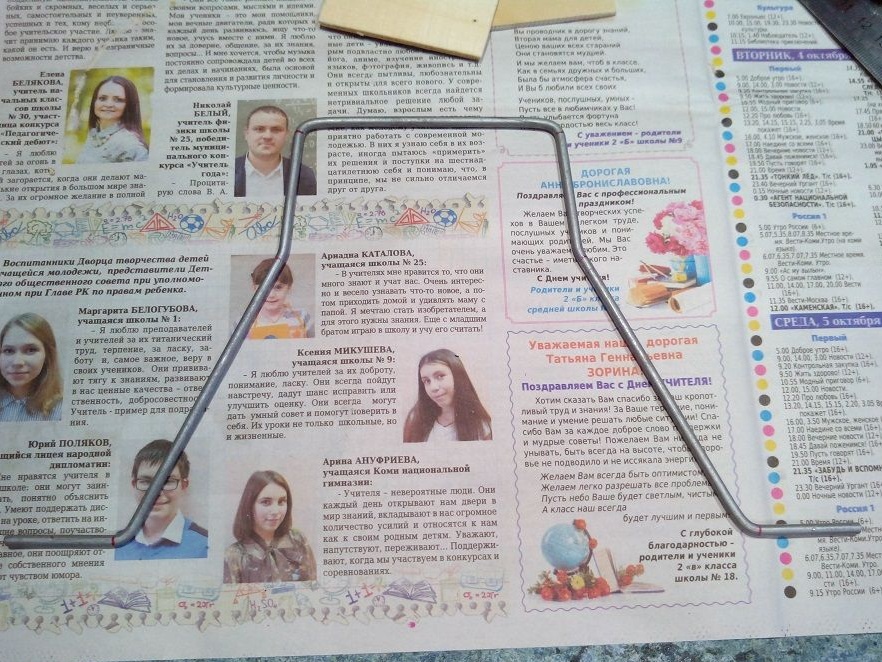
From a metal rod (4 mm in diameter), we bend the workpiece based on the width of the fuselage.
We seal this workpiece between two pieces of plywood (pieces of the ruler are also suitable on a smaller scale).
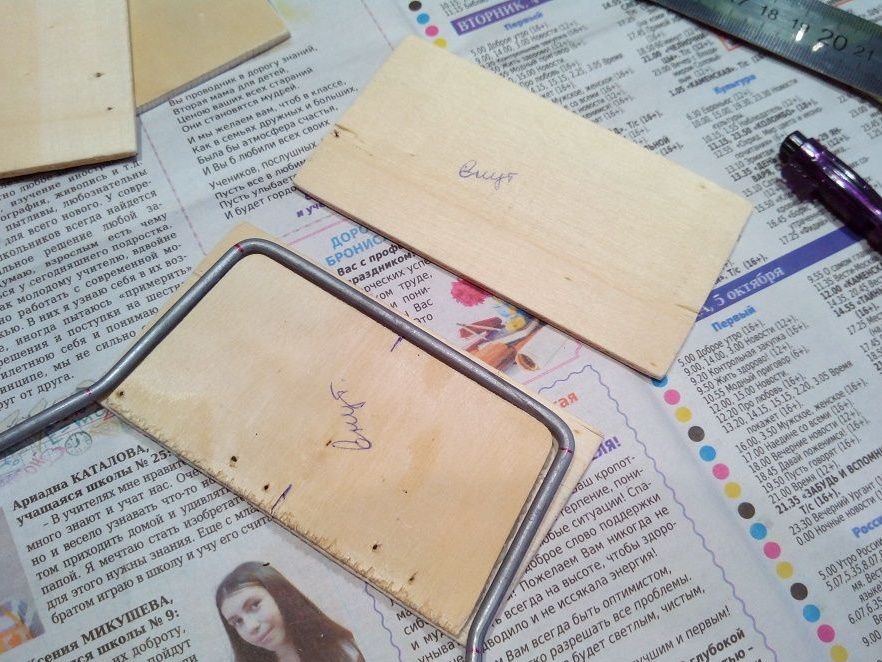
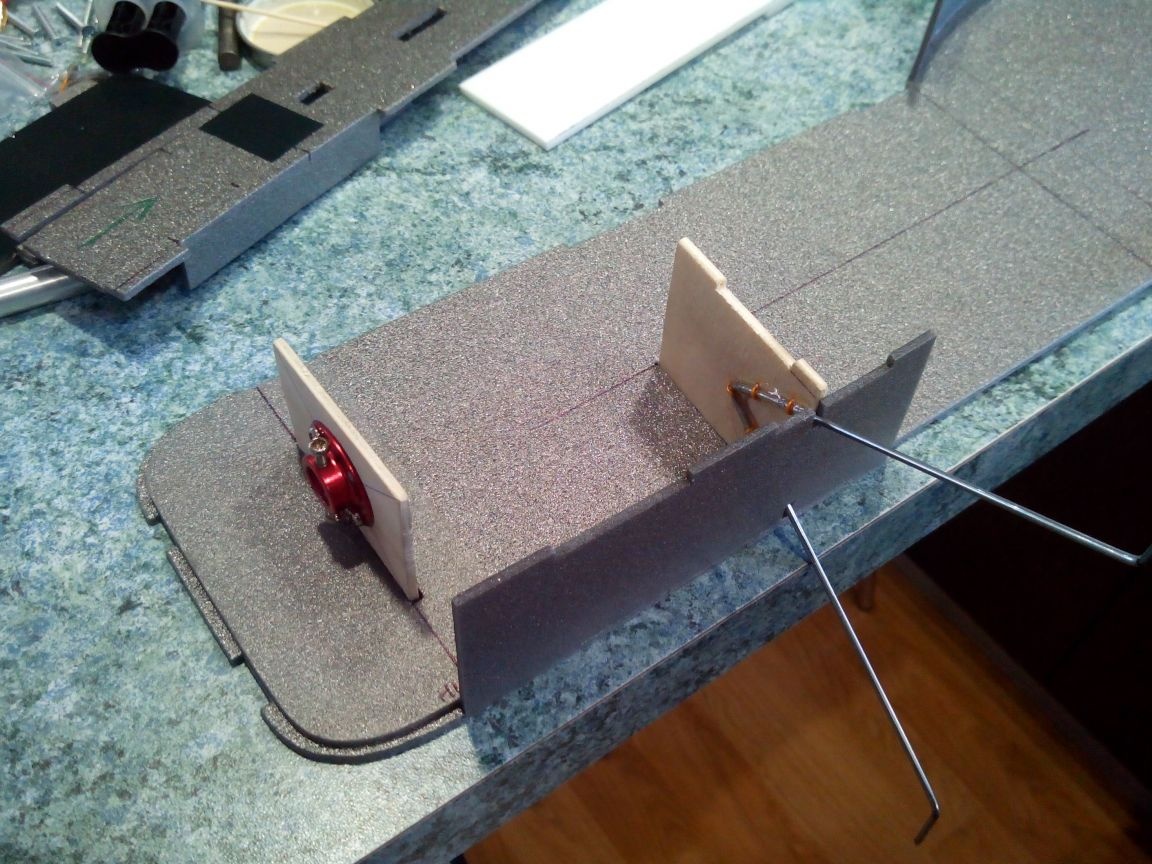
We glue a pencil case from plywood and small sticks into which the rack should fit tightly.
We drill a hole for the bolt in the center of this design and glue a nut on the epoxy.
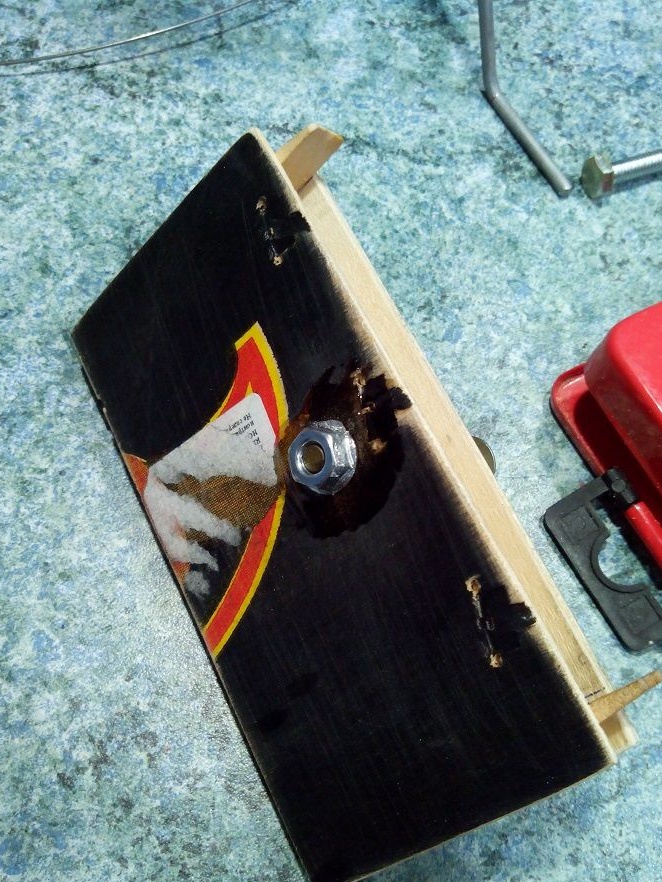
We stick the pencil case into the fuselage so that there is access from the inside to screw in the fixing bolt.
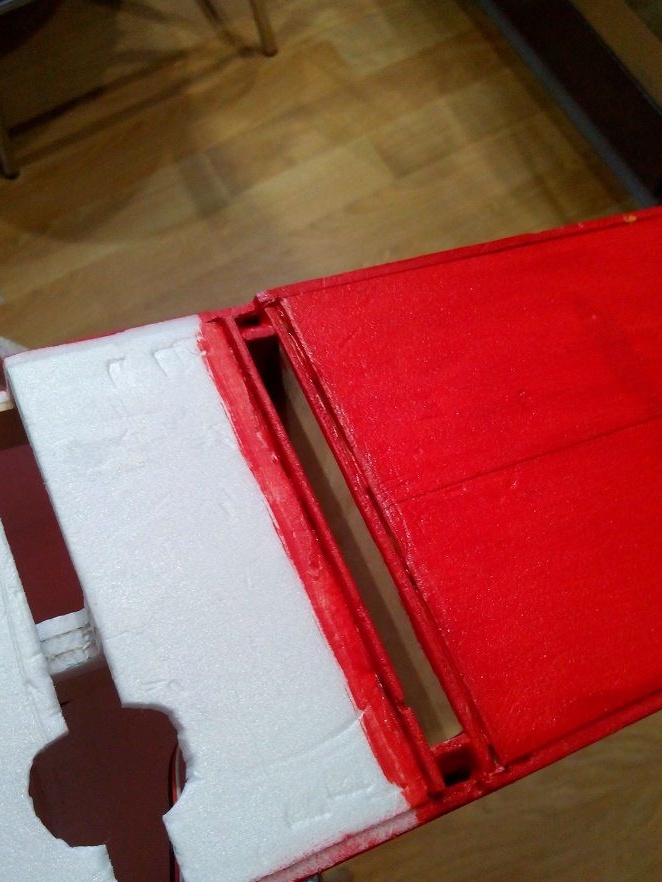
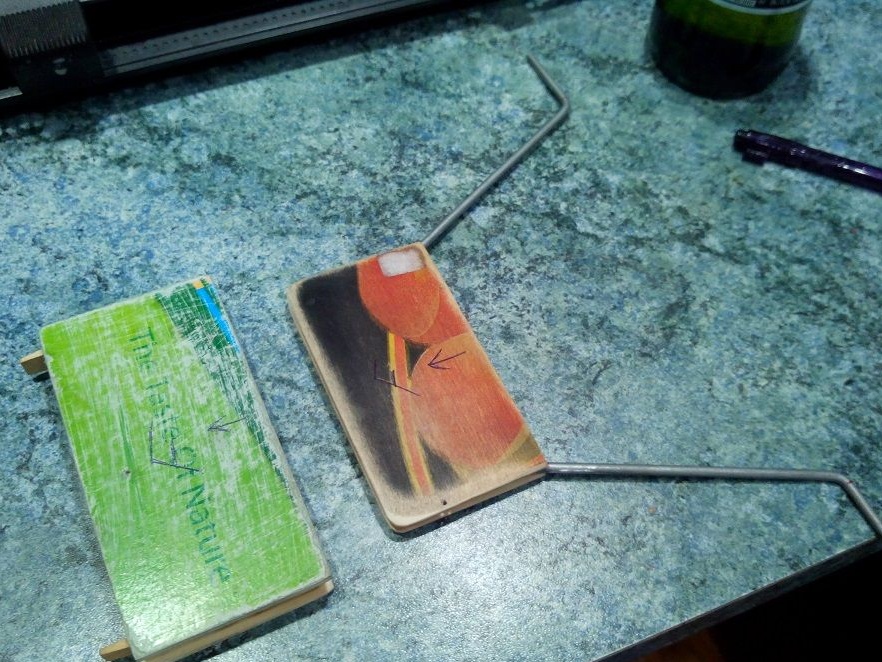
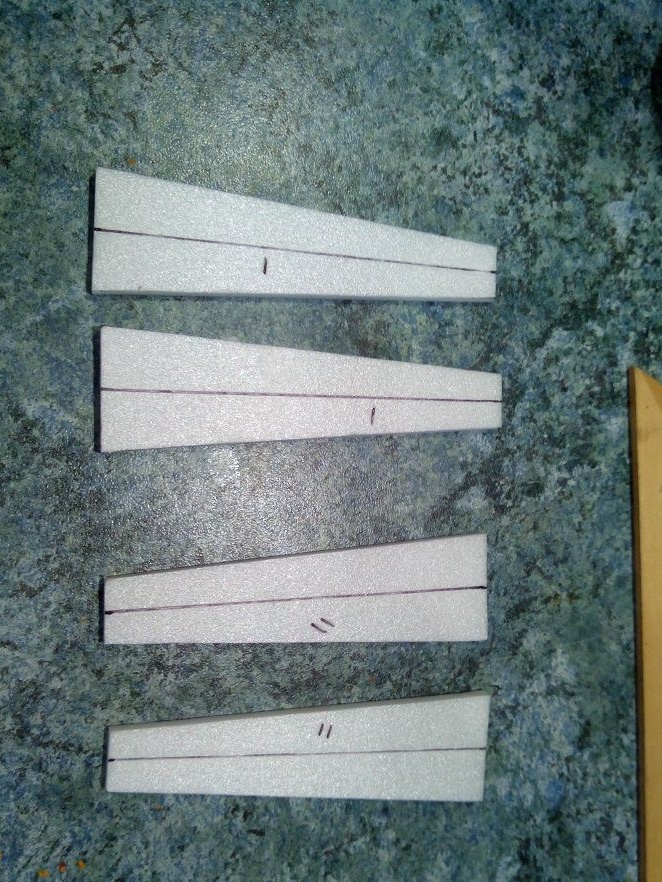
From the scraps of ceiling tiles we cut out the details for the landing gear.
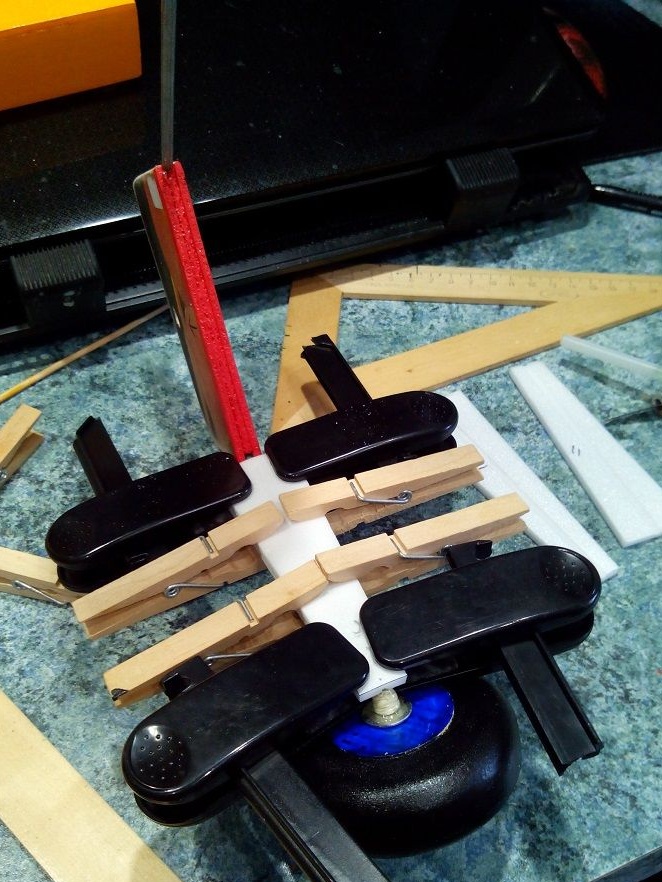
We glue the racks on both sides into the ceiling, let the glue dry under the clamps, then we skin and paint.
The chassis is ready.
If the chassis needs to be made non-removable, we cut out the frame from plywood, and bend the rack from the bicycle spoke.
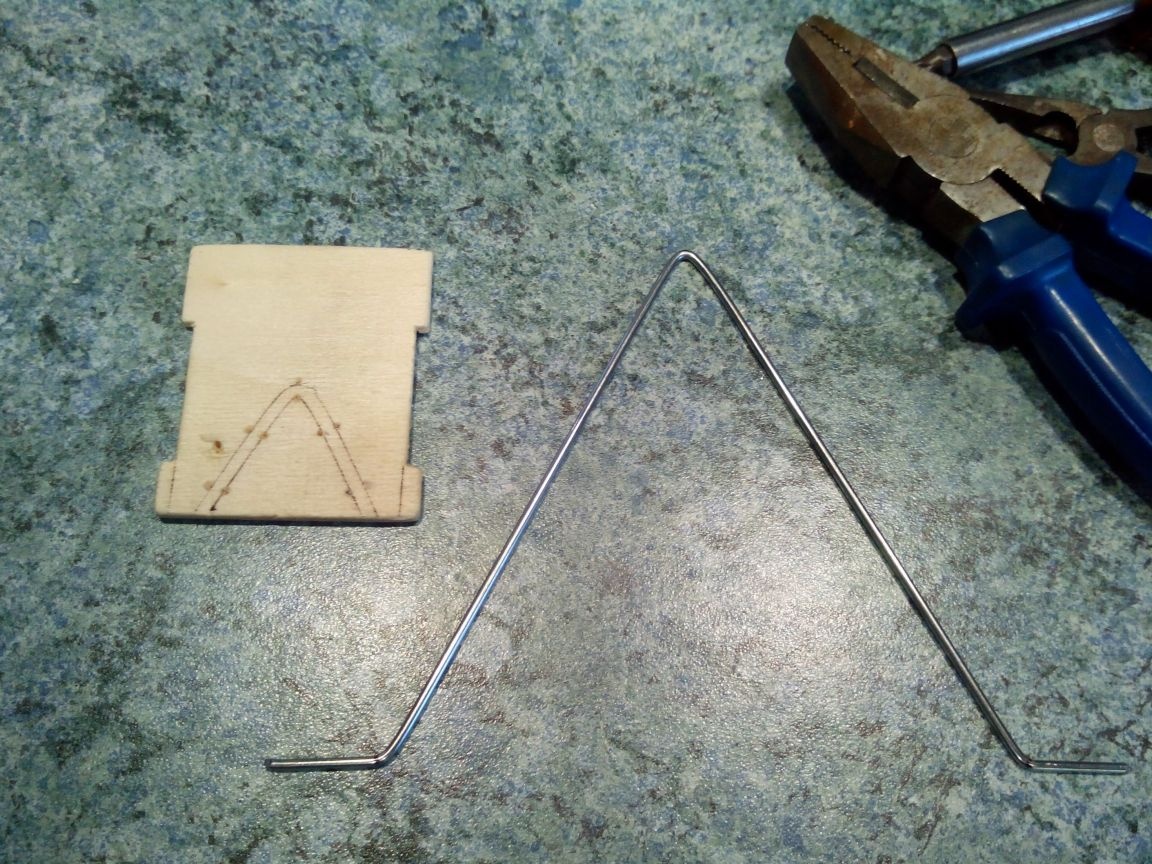
We mark the position of the rack on the frame, drill several holes and fasten it with a thin wire to the frame through these holes.
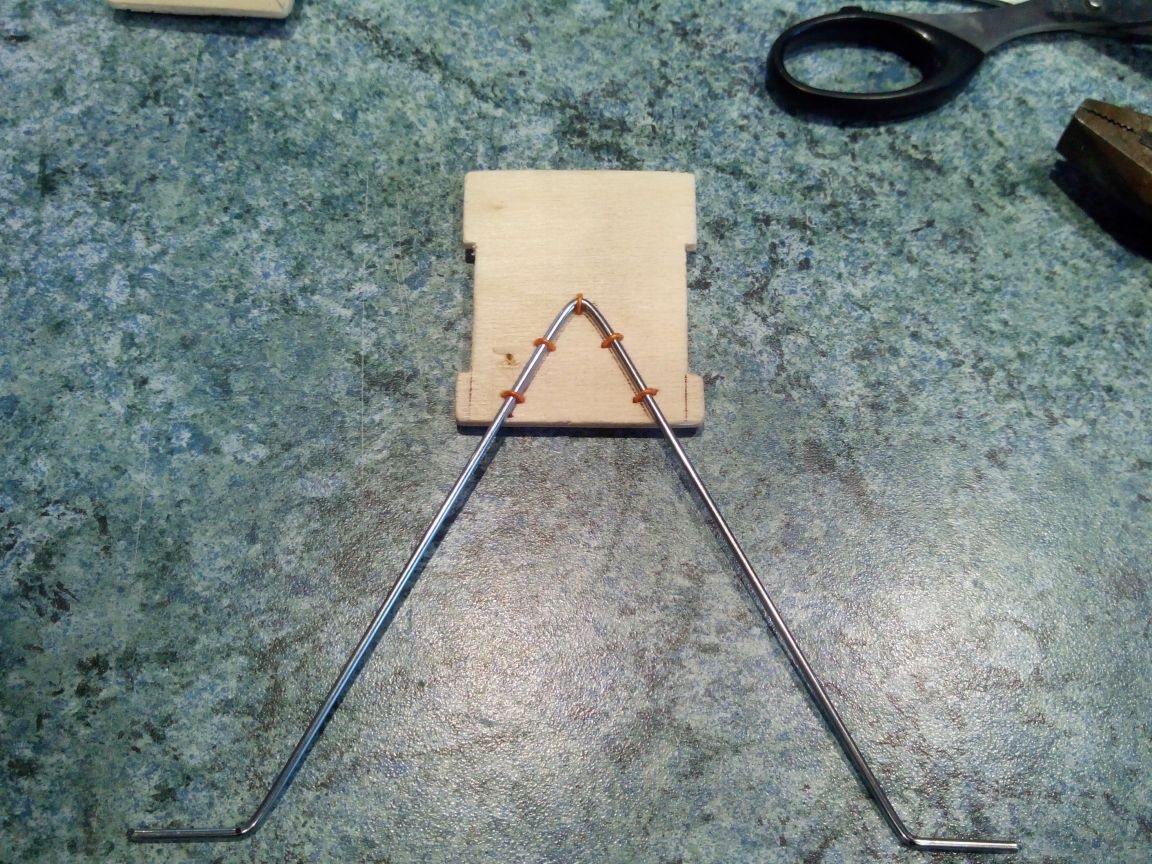
Then we fill in the epoxy joint place of the rack and the frame and glue this frame into the fuselage.
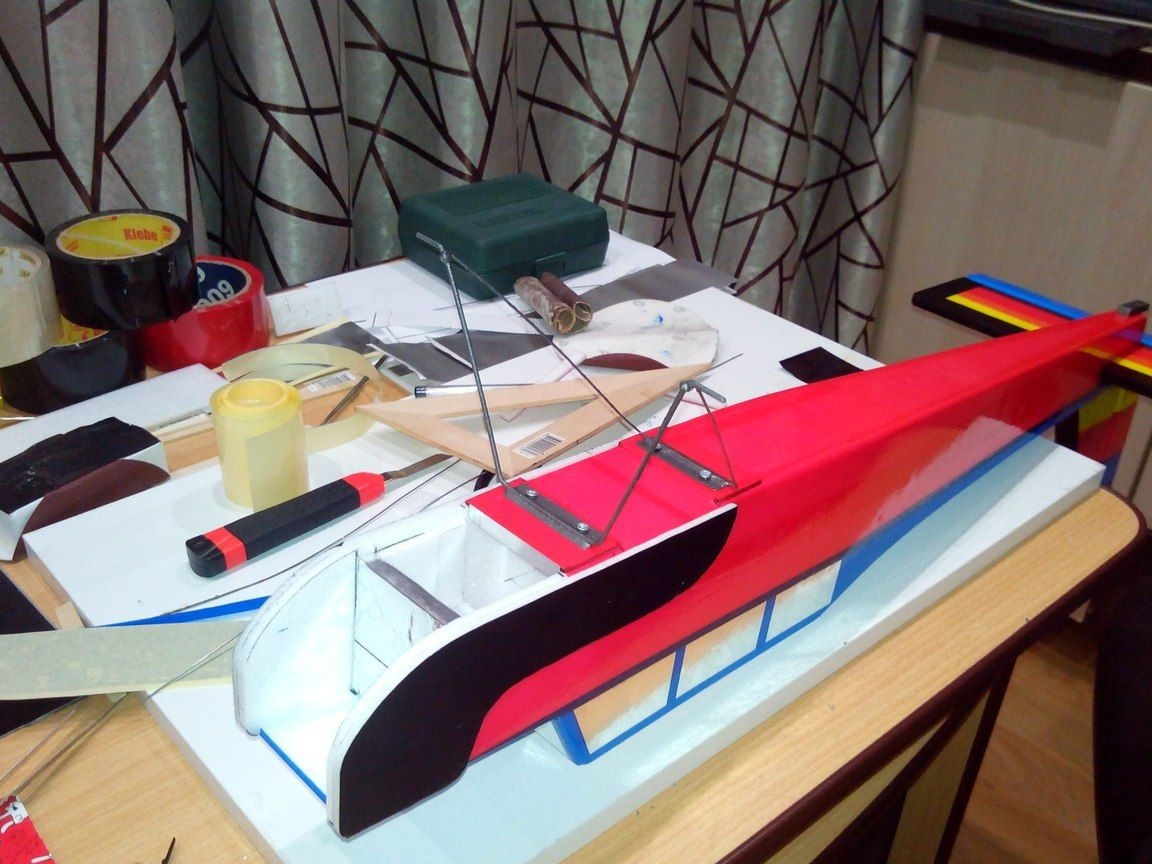
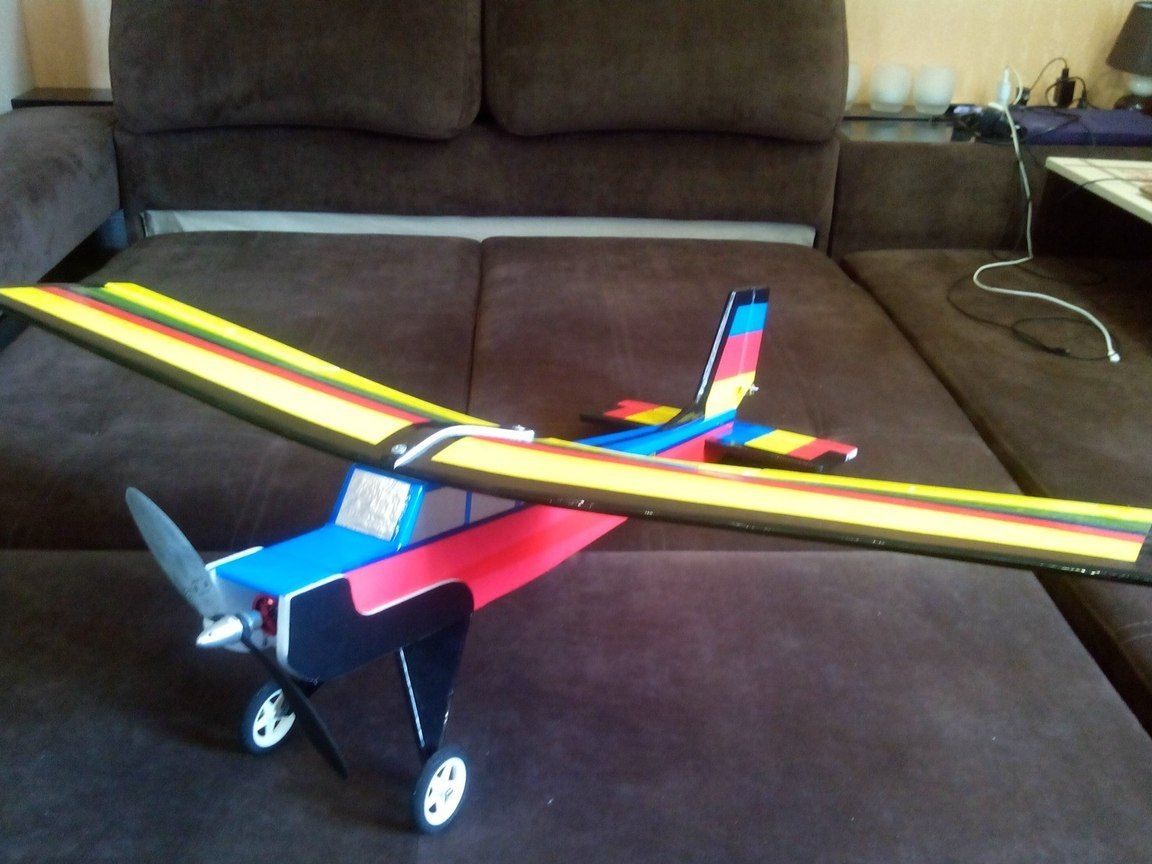
Another variation of the chassis from plywood and rod is presented in the photo below. The only difference is that the nose stand is single, but it is mounted in the plywood base in the same way.
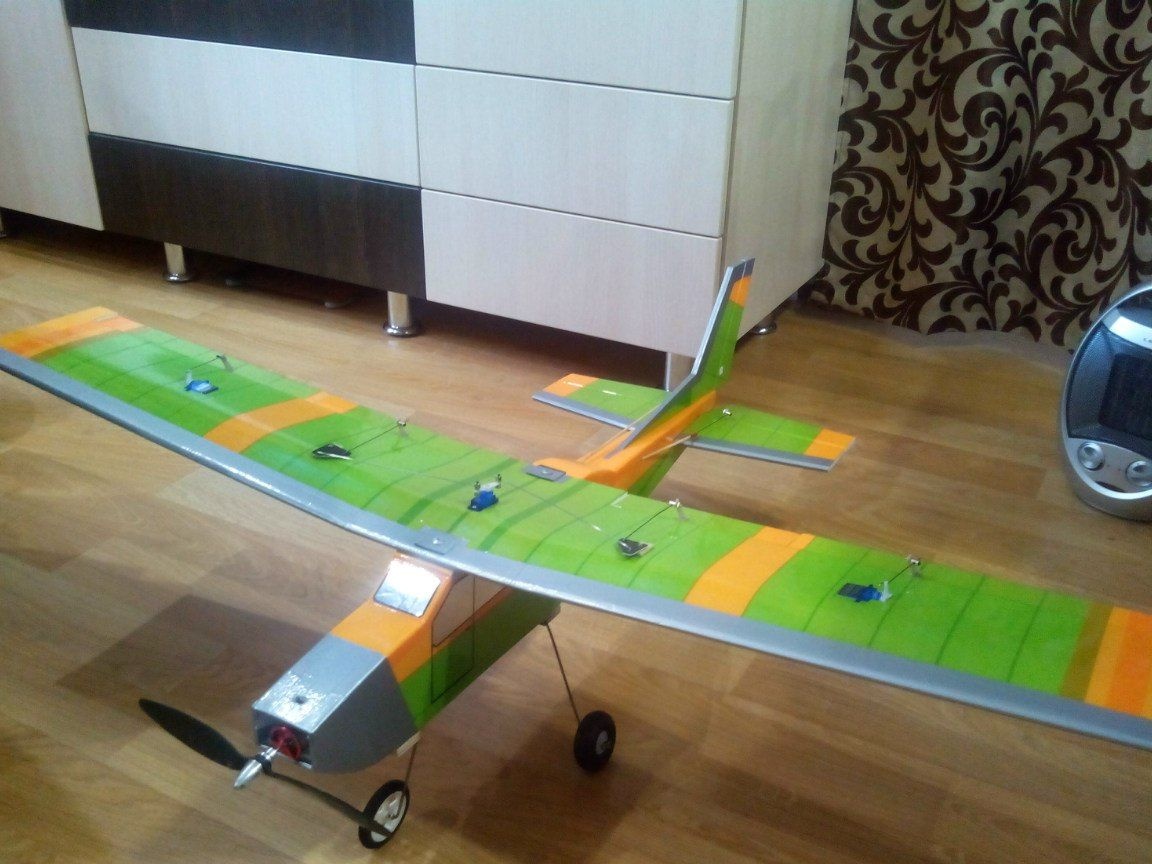
I want to note that even if copying required to make one wheel in the bow and two in the middle on this model, it didn’t justify itself in the field - with the slightest roughness on the runway model flips its nose into the ground. And therefore, after a test flight, I redid the chassis to a more familiar scheme, when a single wheel is behind.
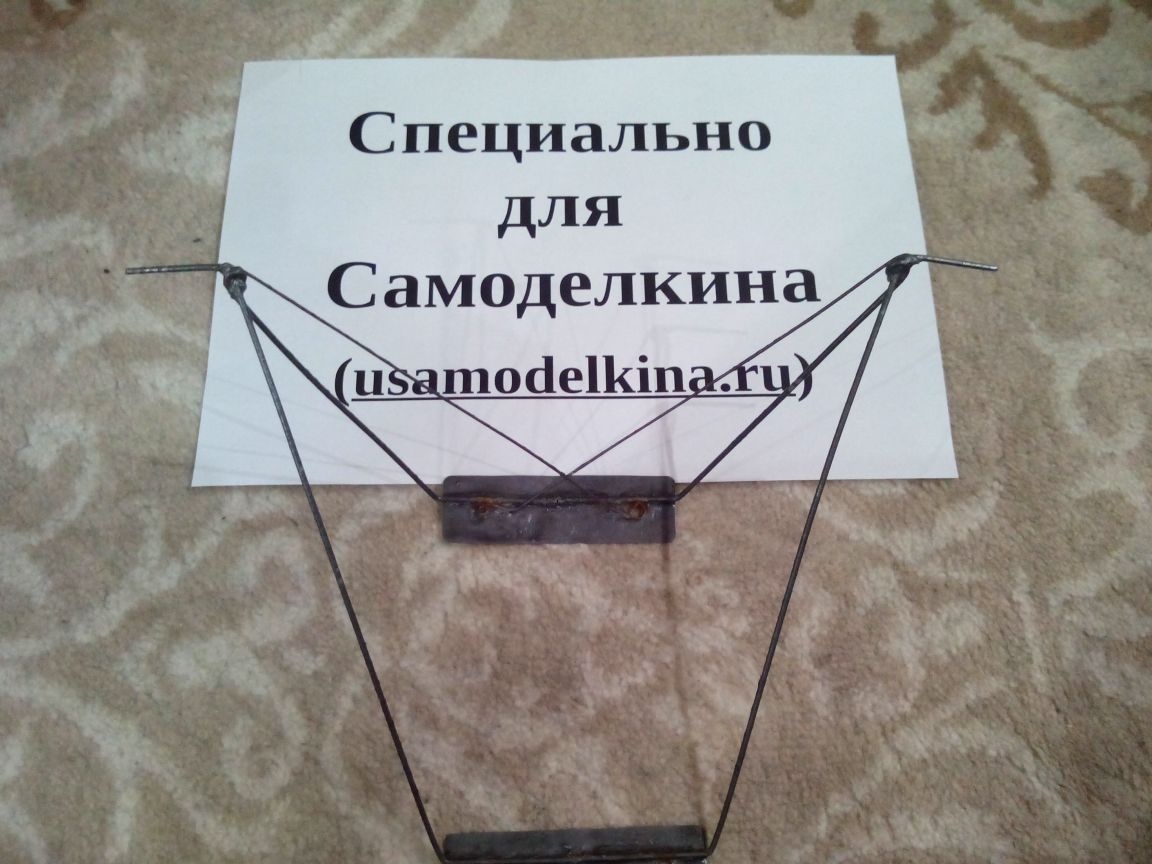
Option 3. From the docking tape
This type of chassis is more suitable for small aerobatic models, although it adds weight to them.
We take a duralumin docking tape that is suitable in width, bend the landing gear from it and drill mounting holes and holes for the axle bolts.
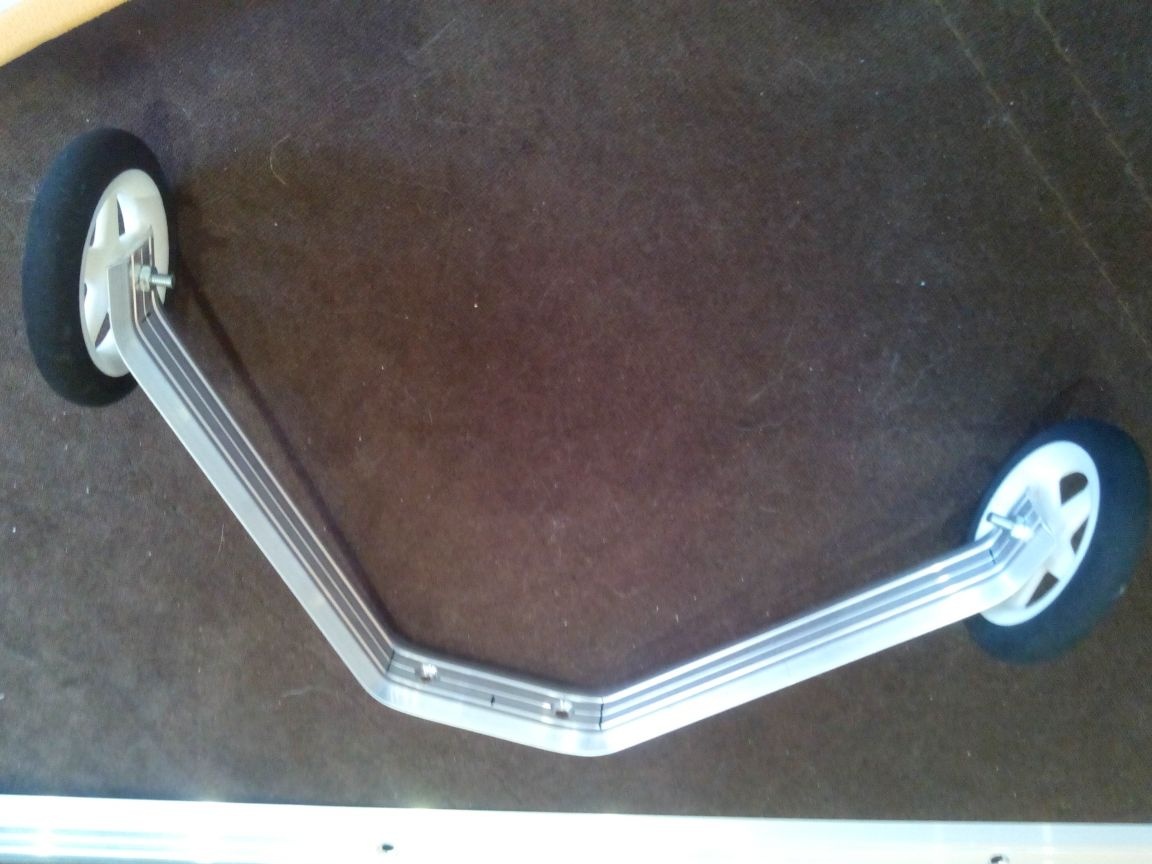
We fix the wheels with small bolts.
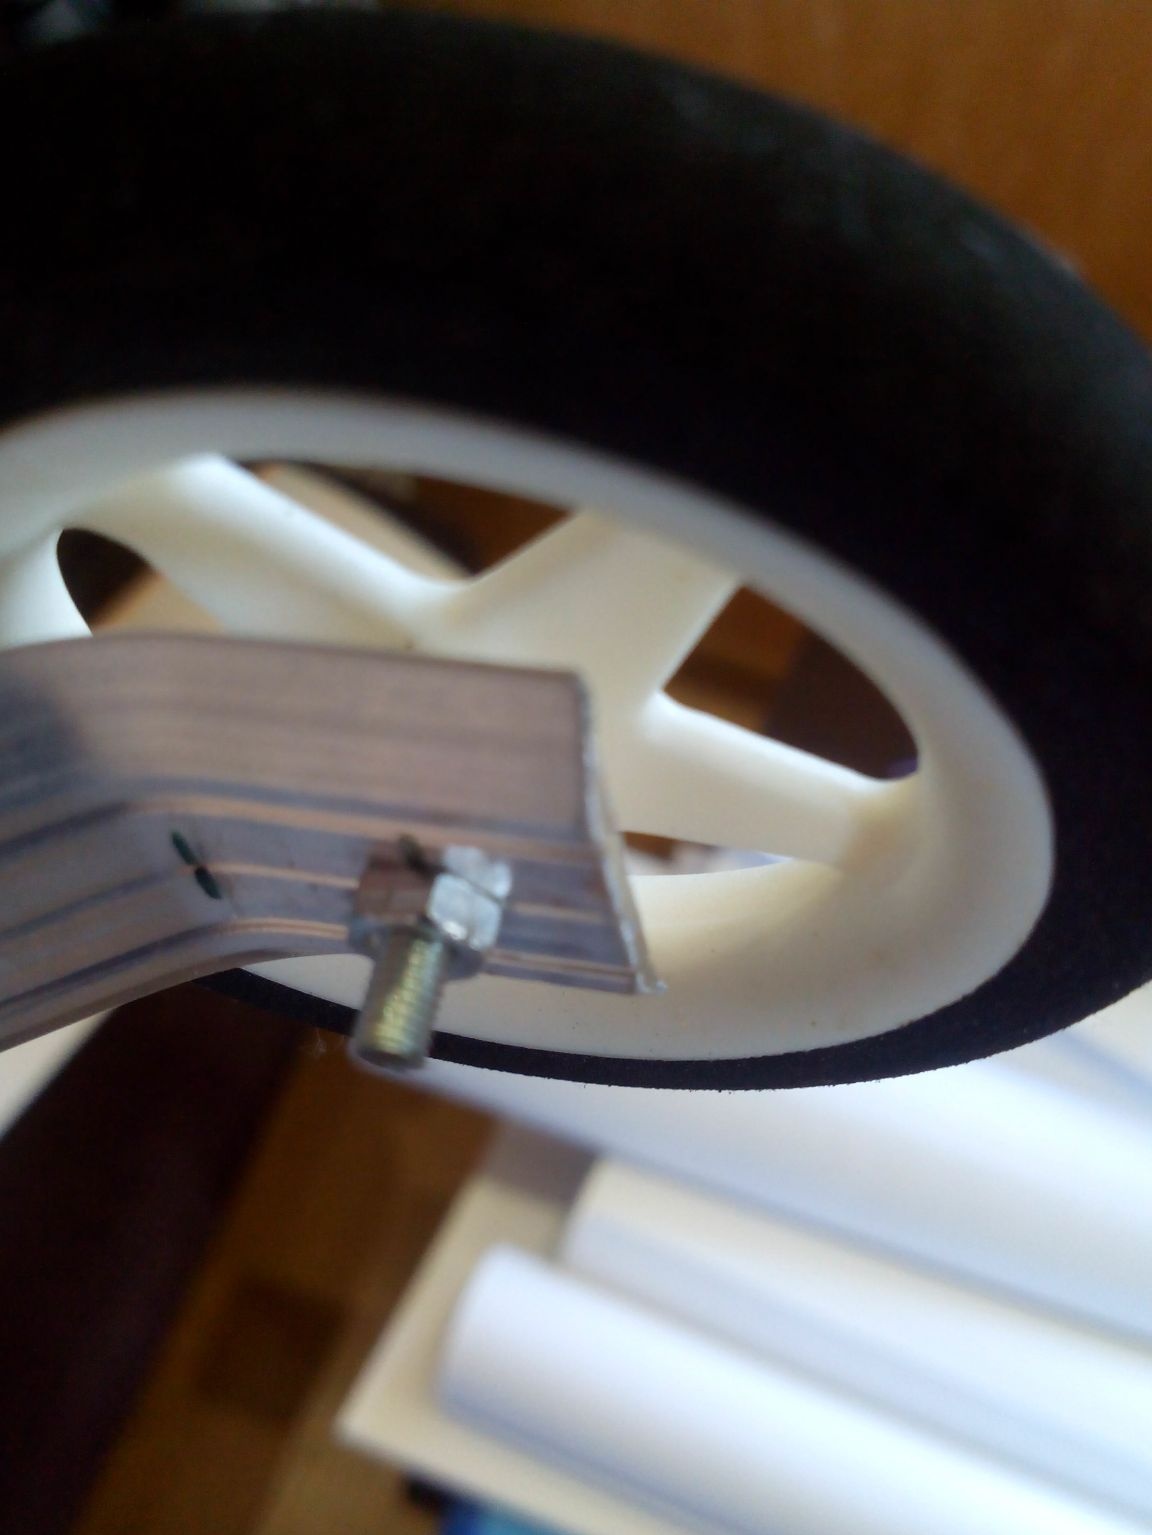
Then we fasten the chassis with screws to the plywood platform in the fuselage.
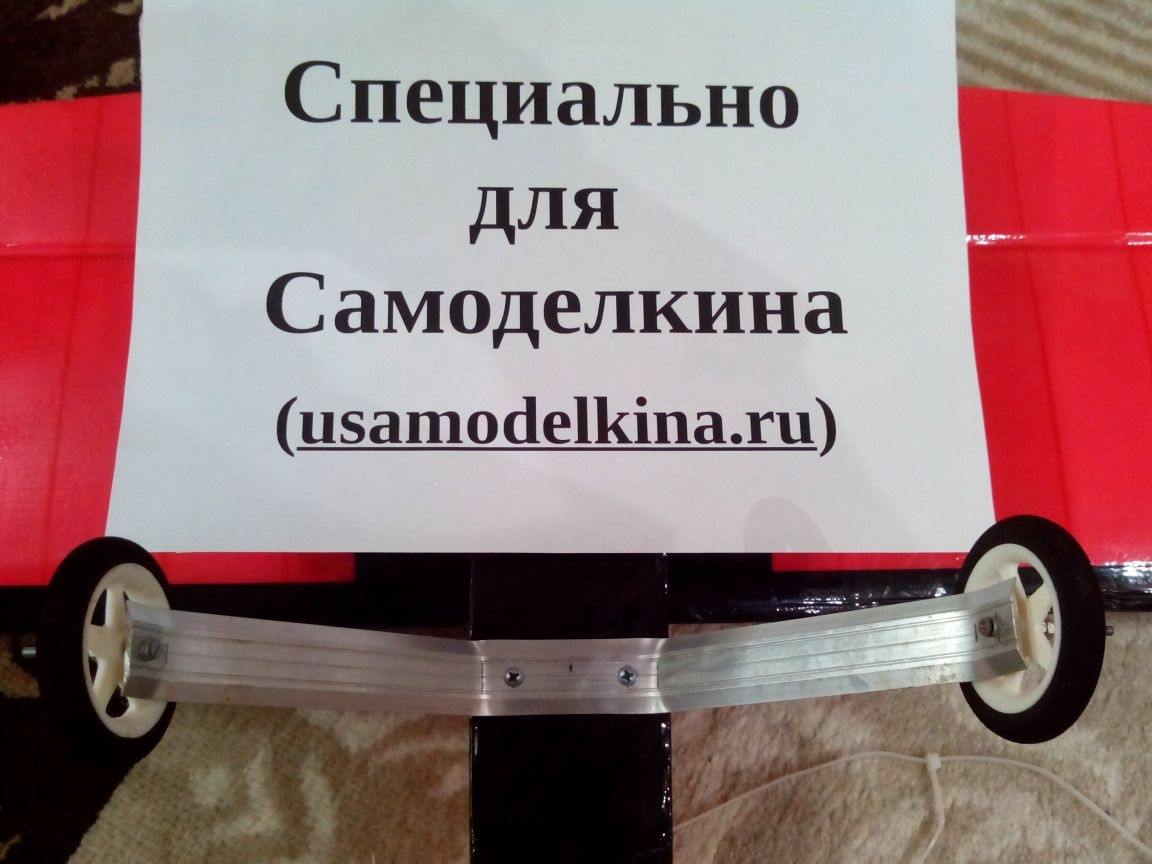
The base for such a chassis in the fuselage is better to fix more reliable, otherwise it will vomit “with meat” during a hard landing.
Step 3. Making the rear chassis
Option 1. Non-swivel rear chassis
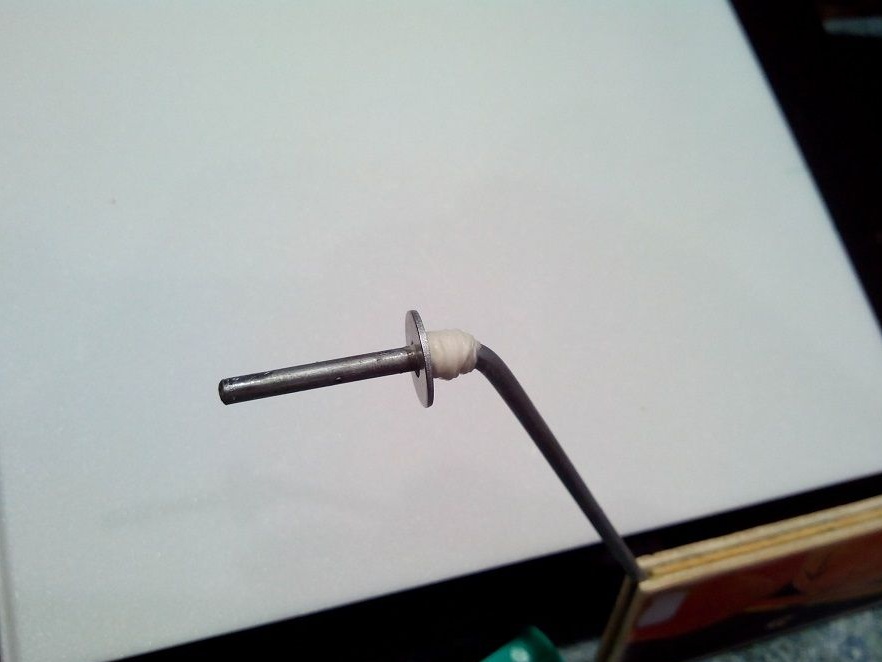
We fix the wheel on a steel spoke with epoxy thread or purchased clips.
We make small bites with pliers along the entire length of the knitting needle (the main thing is not to overdo it and not to bite it). Spread the needle with epoxy glue and insert it into a pre-made hole.

Instead of bites, you can wrap the needle with thread with glue, let it dry, and then glue it onto the tail part with the same epoxy.
Option 2. Swiveling rear chassis
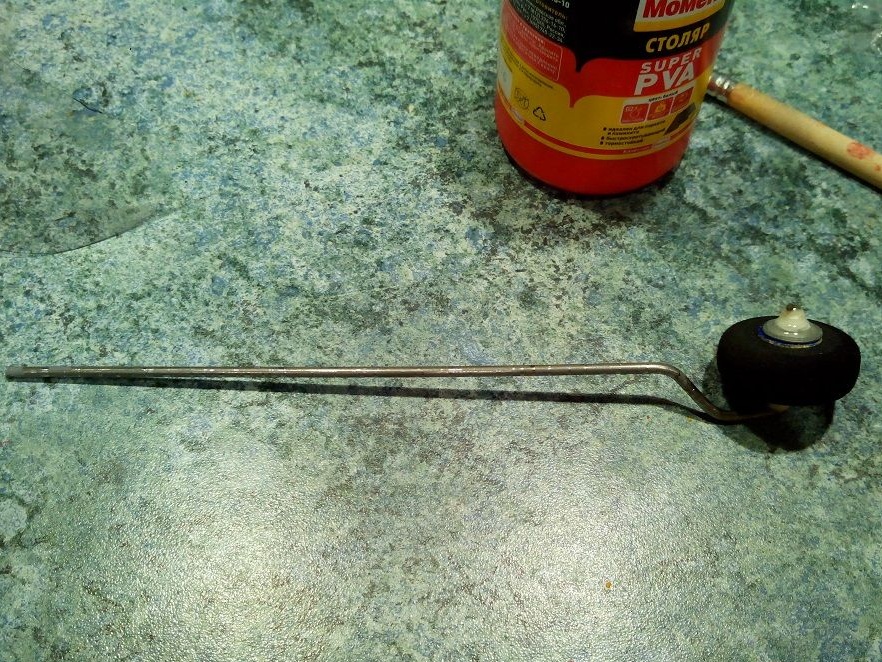
We round the steel wire around the screwdriver (one or two turns) and bend one end to the side from the plane of the resulting spring - this will be the axis of the wheel.
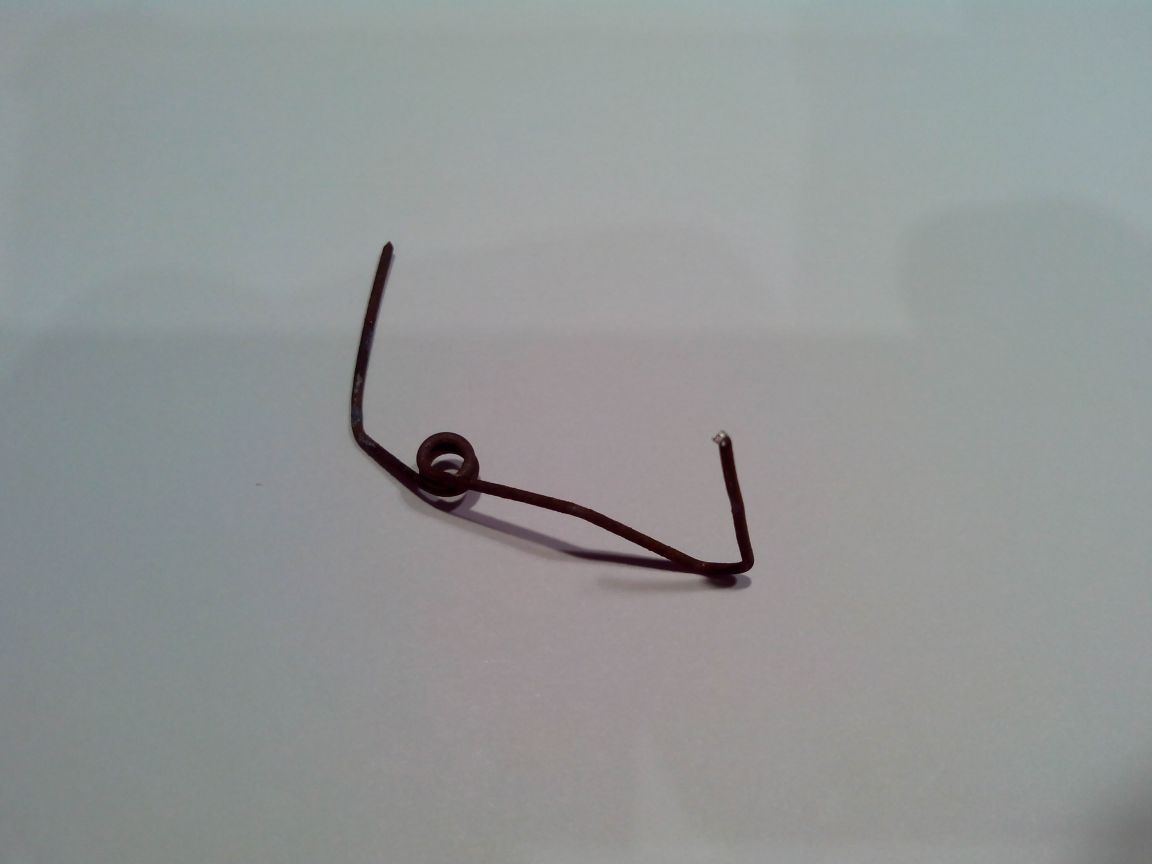
From the wire we bend the loop-clamp in the form of the letter "G".
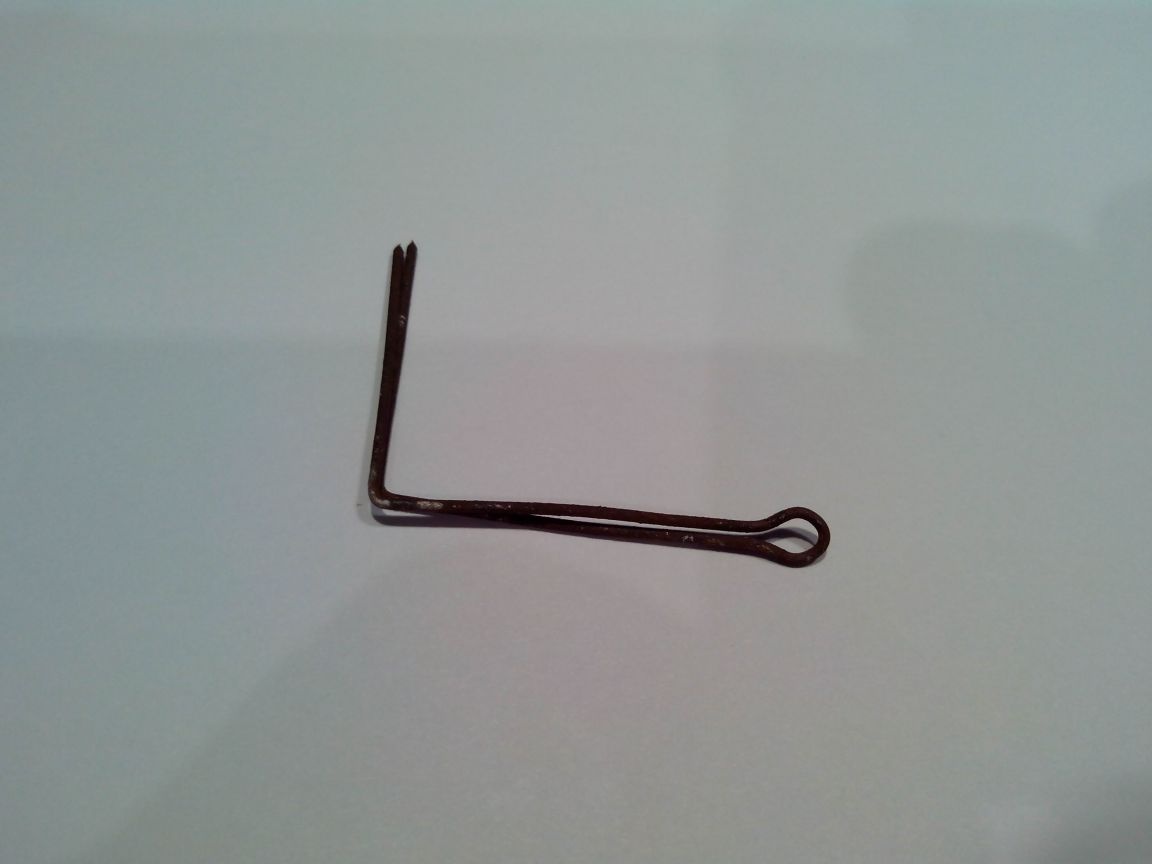
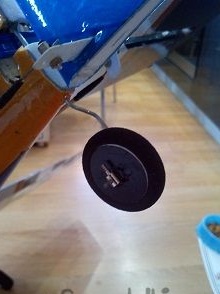
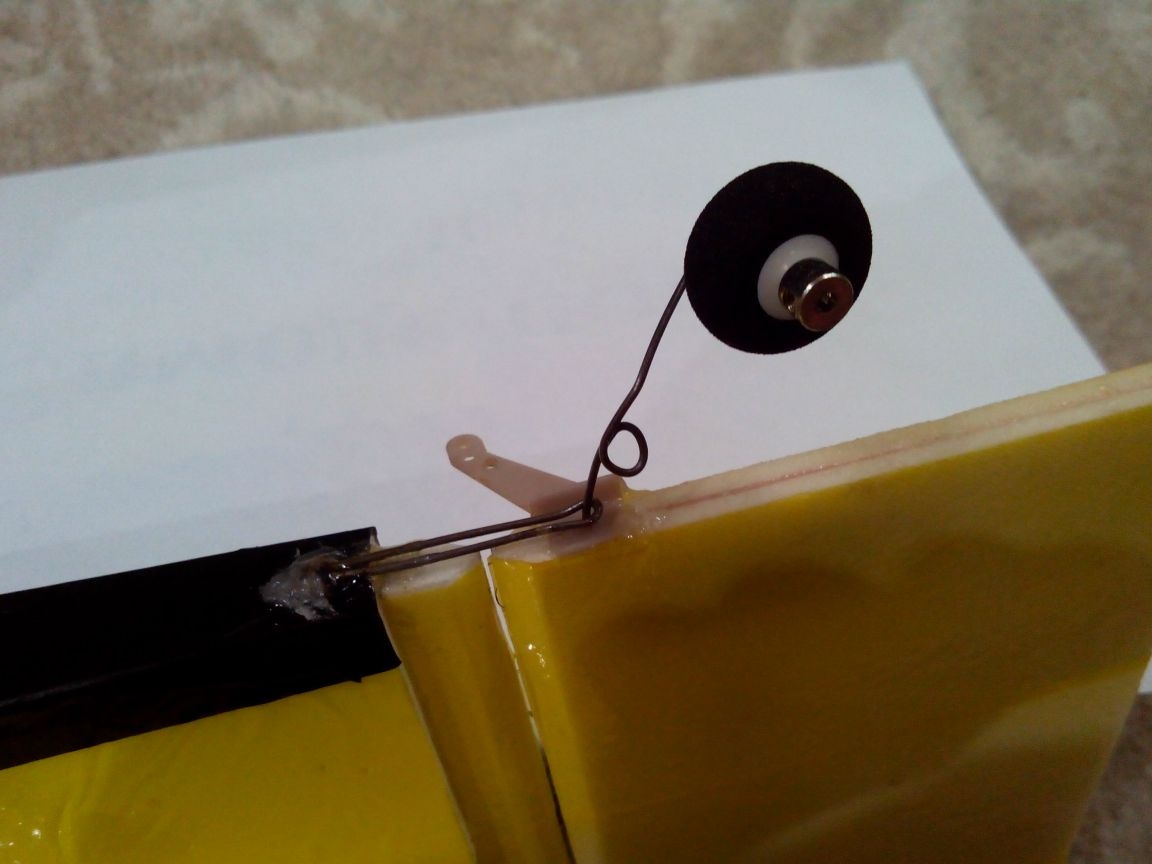
We wrap the parts that will be pasted into the fuselage and into the rudder with thread with glue. Then we paste them into the rear of the fuselage so that the chassis is in a loop (schematically depicted in the figure).
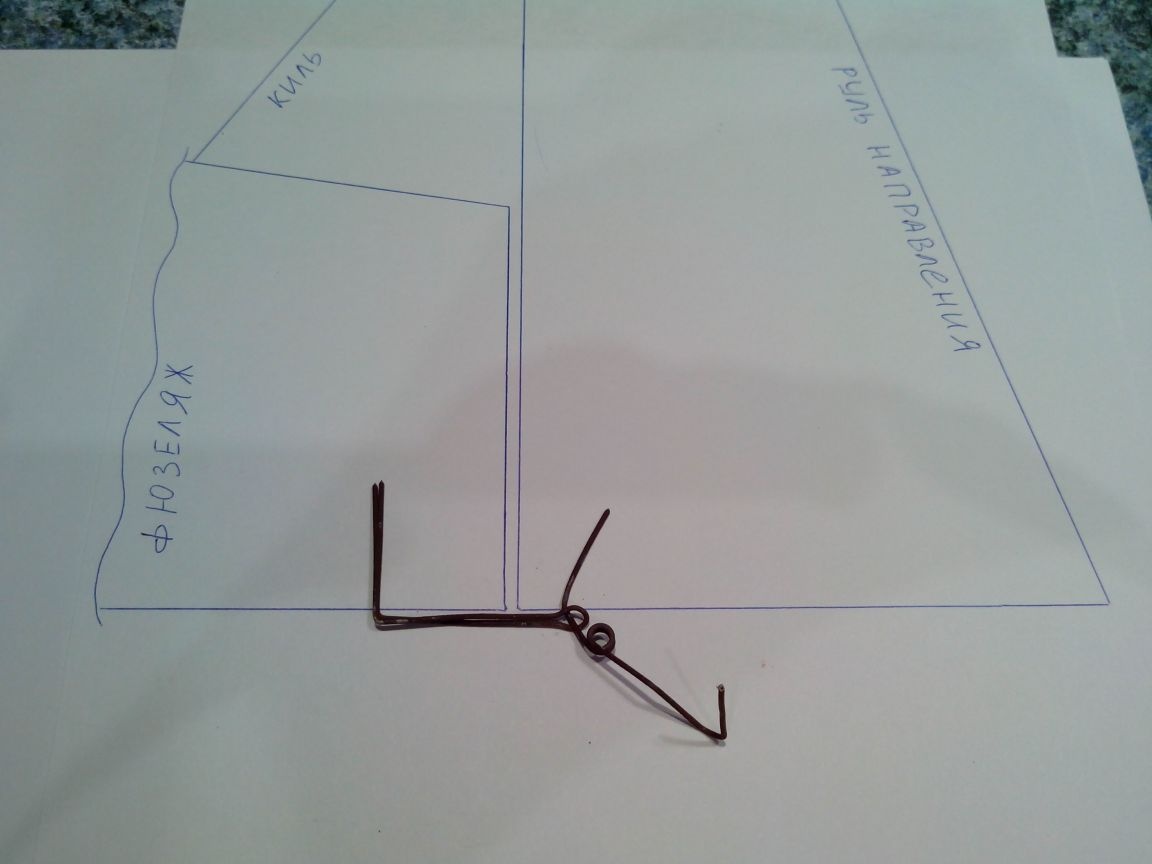
Such a reinforcement will not allow tearing off the rudder along with the tail landing gear during landing.
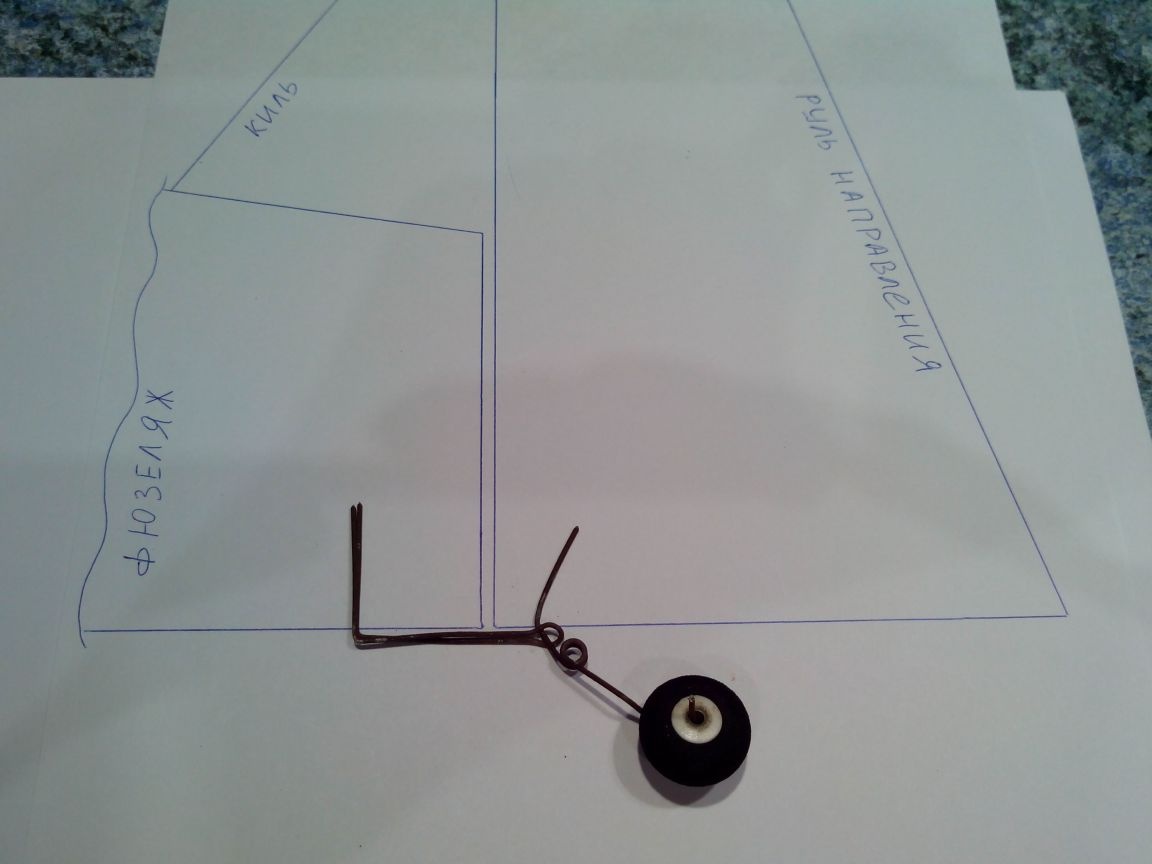
It remains only to fix the rear wheel on the axle in a convenient way
Of course, these are far from the only options for the independent manufacture of the chassis, but these are some of the most economical. In addition to what is seen in the photo, they can be combined using purchased wheels and makeshift racks.