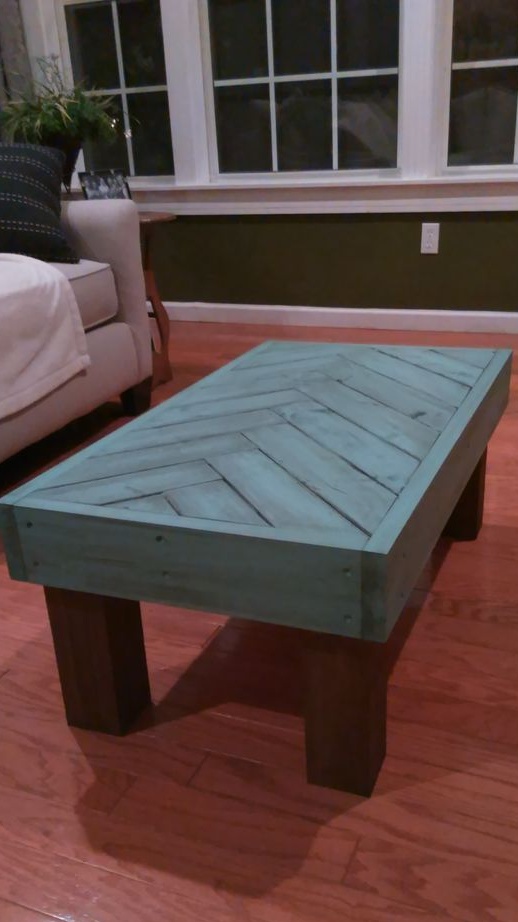
The author made this small coffee table by spending $ 20 on everything. We believe that for residents of the United States is ridiculous money for the purchased furniture.
Mostly the money went to a decorative protective coating and screws, and all the wood materials went to him for nothing. These were the remnants of timber of various types of wood, left over from previous work, and short trimming of boards, which were not of special value.
His wife had long dreamed of a table by the fireplace, where you can drink coffee and be alone with your thoughts.
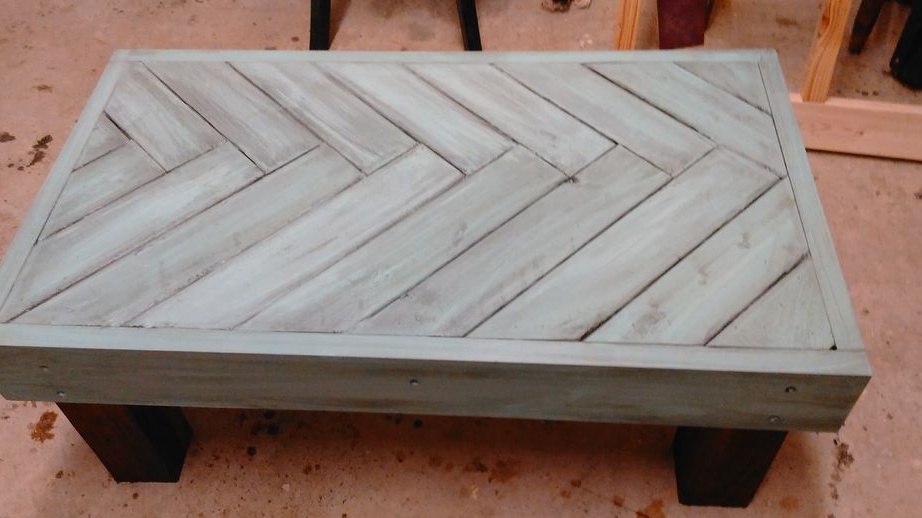
Christmas-tree mosaic formed the basis of the idea for the countertop, since the author had wanted something similar for some time, but his searches were unsuccessful.
In order to do it yourself to make such a coffee table, we will need:
Materials:
- wooden blocks 10 x 10 cm:
1. 35-40 cm - 4 segments (for legs);
2. 35 cm - 2 segments (transverse frame elements);
3. 65-70 cm loose along two identical ones made (longitudinal frame elements);
4. 65-70 cm (central part of the frame);
- boards for external decorative strapping - two short and two long longitudinal ones;
- boards for mosaic countertops;
- wood screws;
- small nails, preferably with decorative hats or copper;
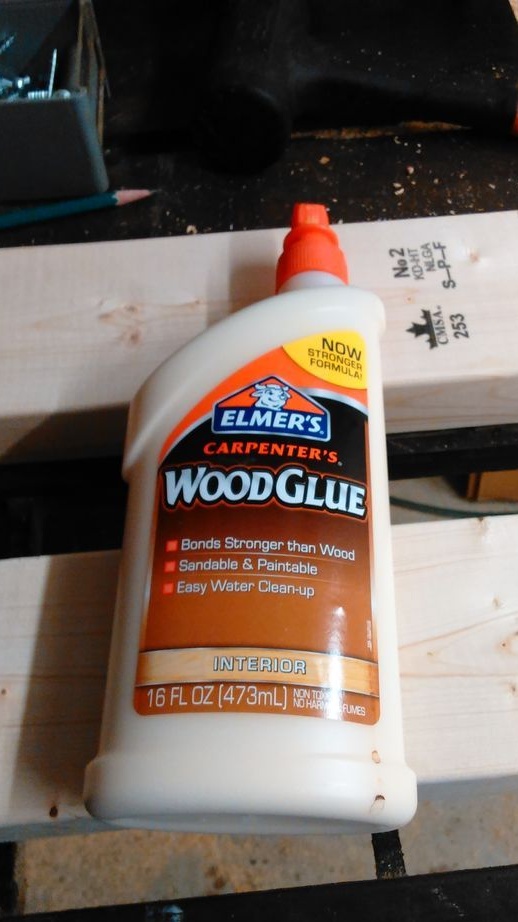
- glue for wood;
- protective and decorative coating for wood.
Instruments:
- a drilling machine or electric drill;
- grinding machine or sandpaper;
- a screwdriver or screwdriver;
- jigsaw or sharp wood hacksaw;
- hammer;
- vise;
- construction tape measure;
- a pencil;
- home-made templates made of cardboard or plastic for sawing boards and paper for their manufacture;
- scissors.
Step 1: preparing lumber for work
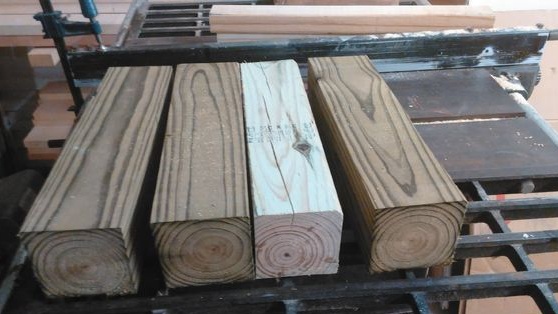
If you are using used lumber, carefully process them with a grinder. If the defects are not too pronounced, you can do with sandpaper to refresh the wood and prepare its surface for applying coloring substances.
According to the list of materials, prepare 4 parts for the legs of the beam with a cross section of 10 cm. The table is massive, so it is better not to use wood of too dense species, so that the weight of the finished product remains within reason.
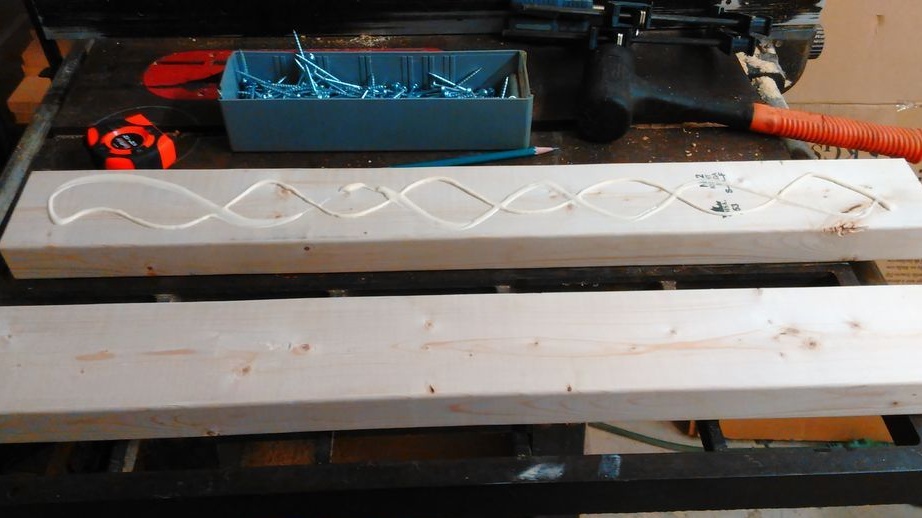
The transverse details of the frame are also made of timber, so that it is easier to attach mosaic elements to them. The author glued two boards together, since the whole stock of timber was left to its legs.To do this, he used glue for wood and left the glued blank for a while until completely dry. He also made a central longitudinal bar for the frame.
Decide on the length of the structure, mark and saw off the longitudinal elements of the frame from a bar with a cross section of 5 x 10 cm.
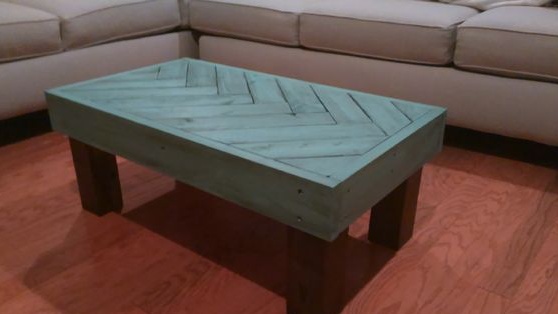
Select and prepare the boards for the external decorative trim. Initially, the author planned to do without it, but the table looked unfinished, so I had to make adjustments to the design.
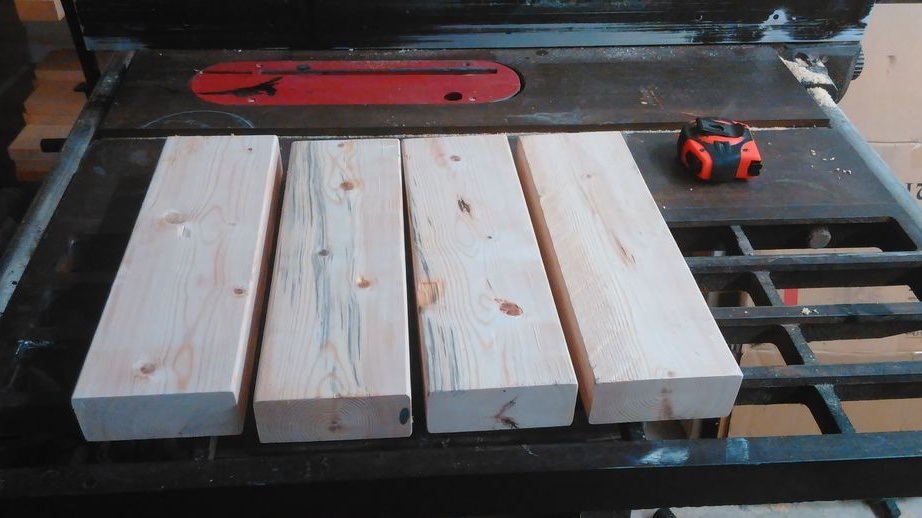
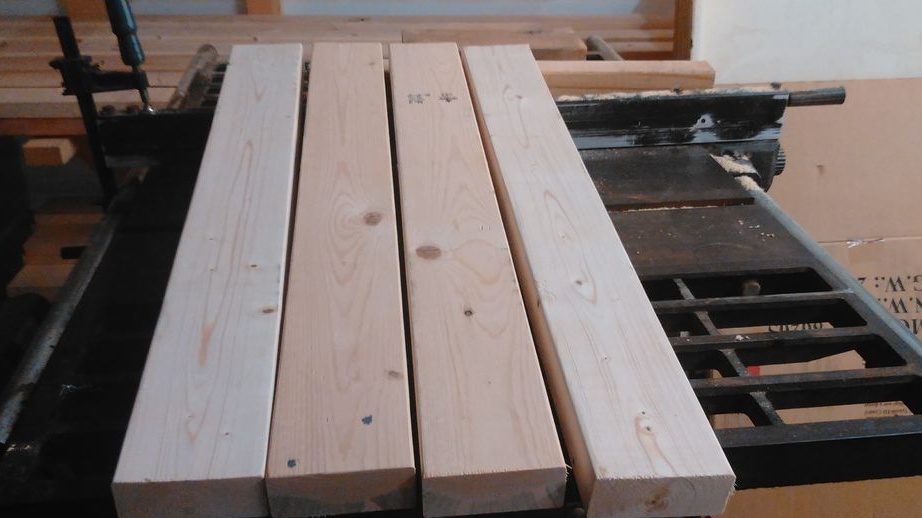
Select boards for countertops. They should be the same thickness, not too thick so as not to weight the product. Therefore, shred them, if necessary. Grinding is not necessary at this stage, since after assembly it will be necessary to walk the grinder over the entire surface of the table.
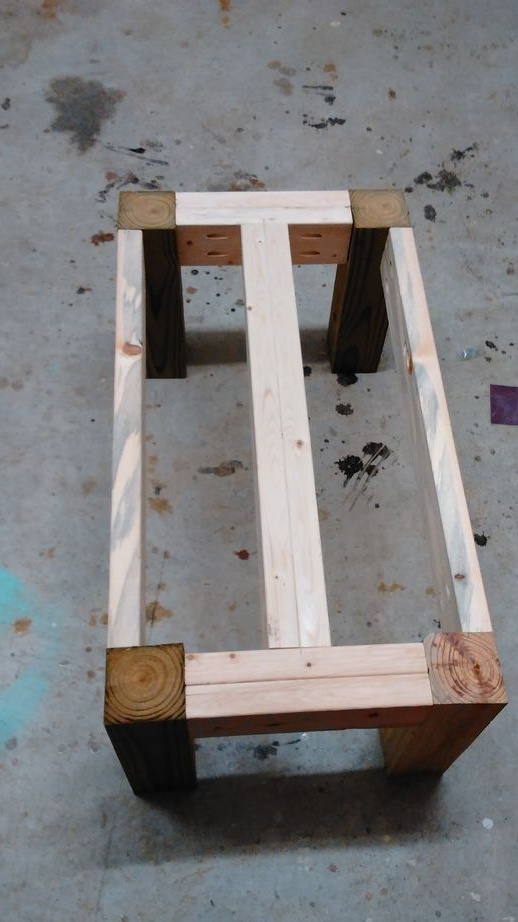
Step 2: assemble the frame of your coffee table
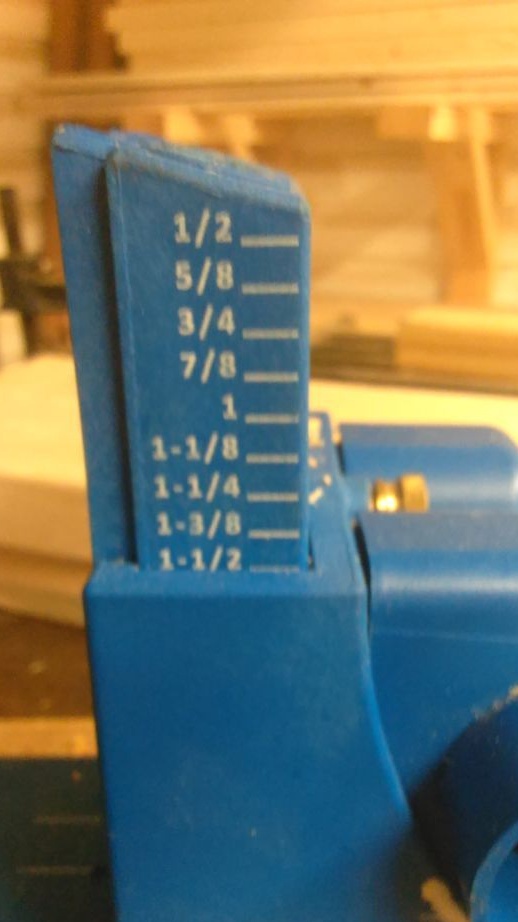
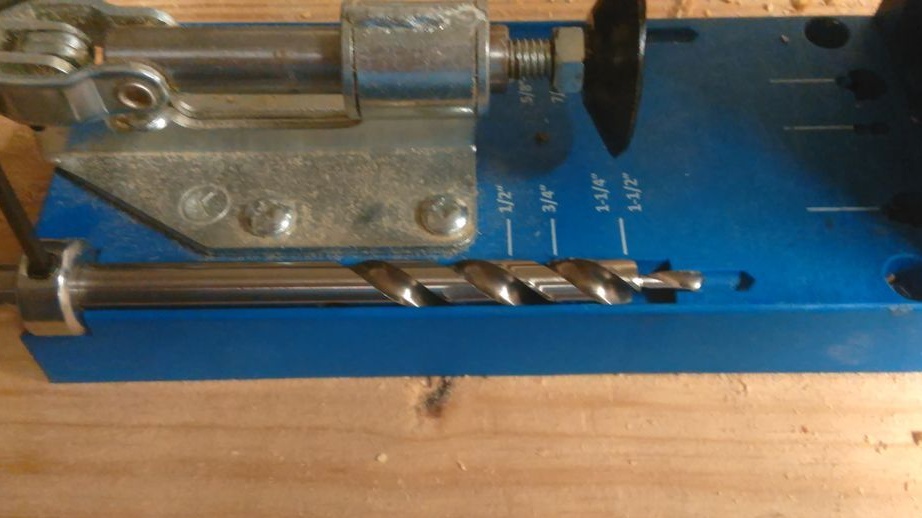
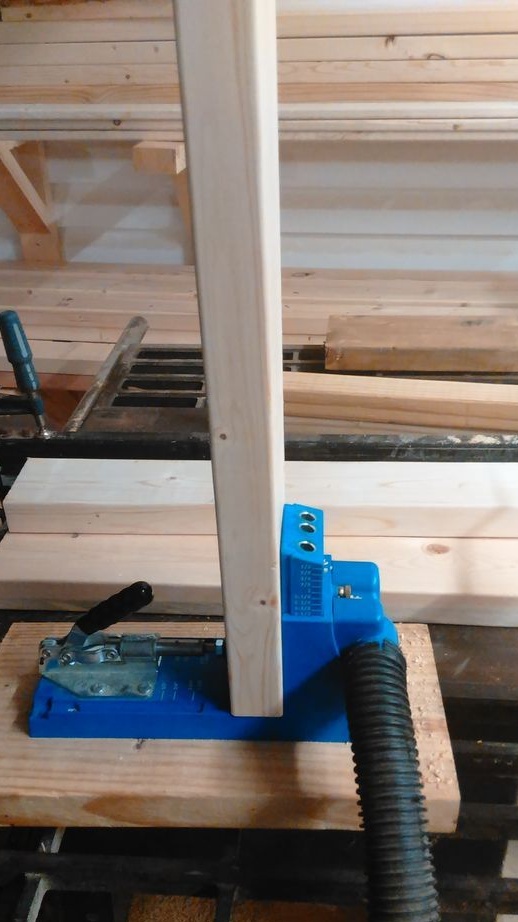
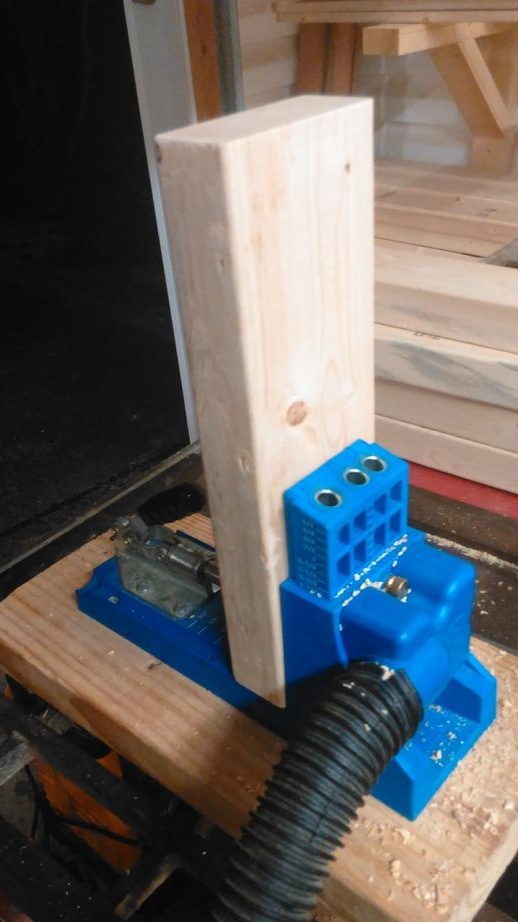
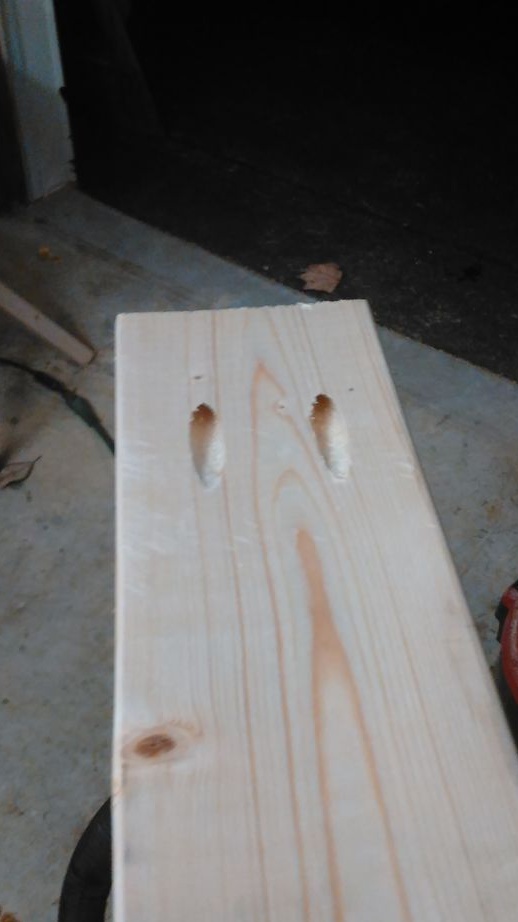
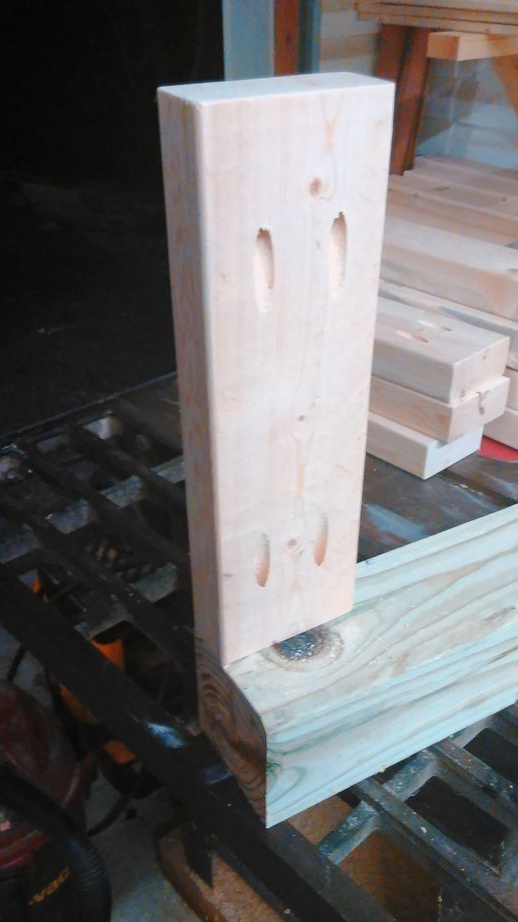
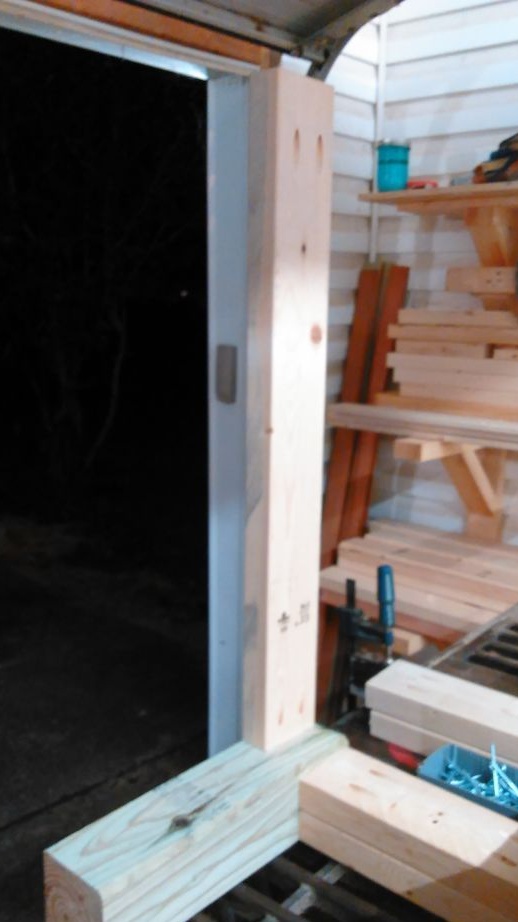
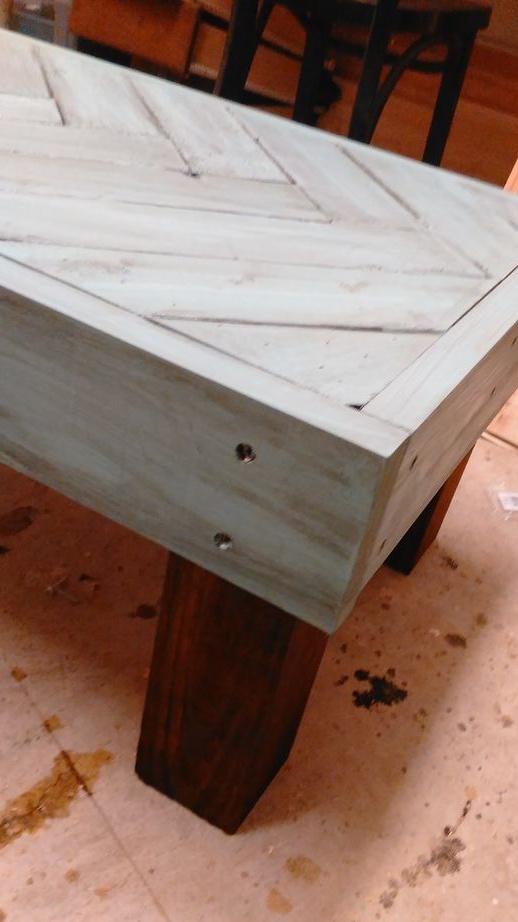
In the bars intended for the frame, make pocket holes as shown in the photo. The author used a machine for this, but an electric drill will be enough. Before drilling, make sure that the part is firmly clamped in a vise.
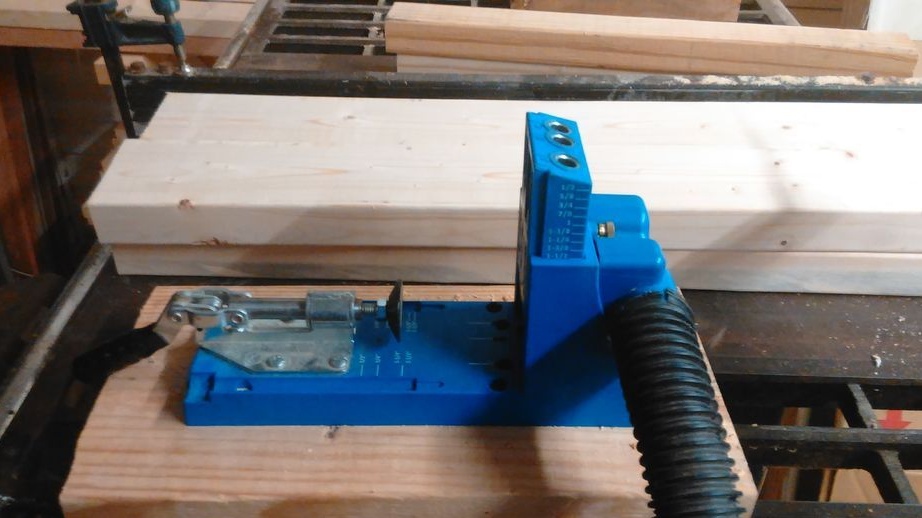
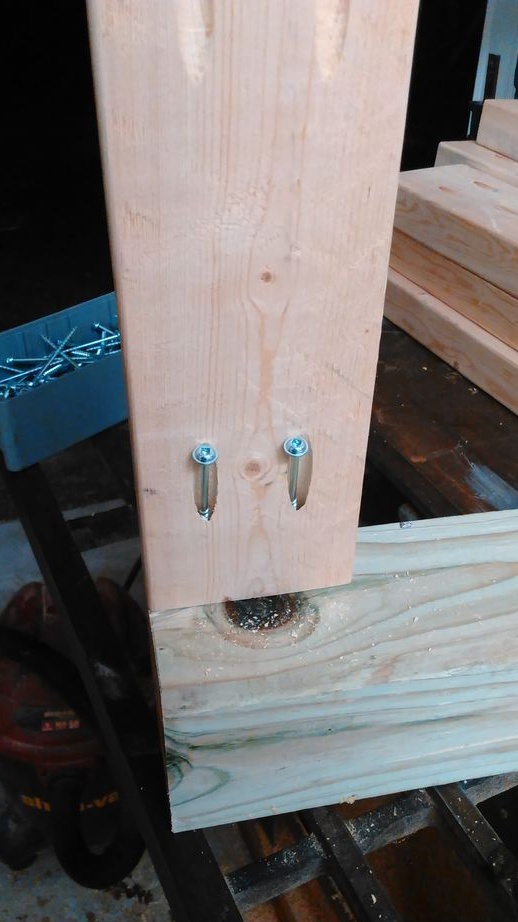
You can apply other connection methods, including secret ones. But the author decided to connect the details from the inside of the frame. However, since the table will be lined with decorative trim on the outside, you can easily turn the screws on the outside.
Assemble the frame with a screwdriver and wood screws. You can use glue before screwing in another screw. To do this, dip each into a container with glue and screw it into the drilled hole. Such joints last much longer, and the frame absolutely certainly will not become loose over time.

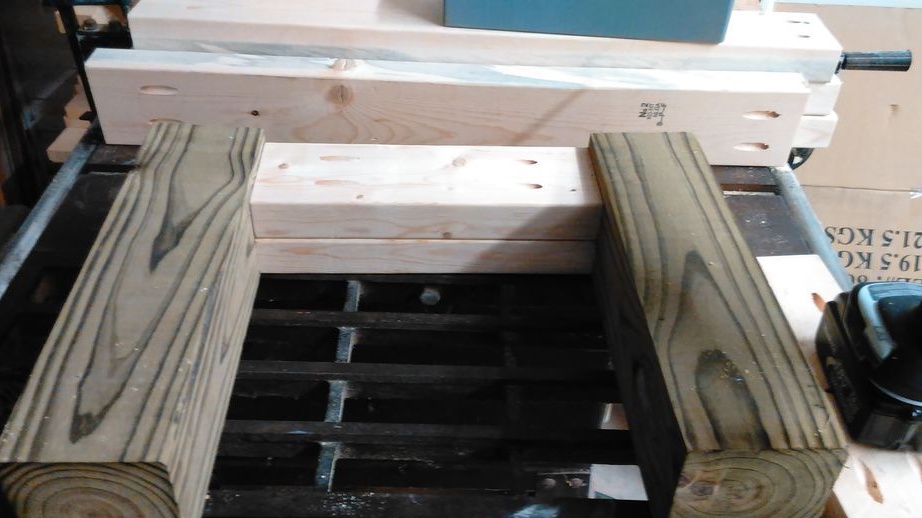
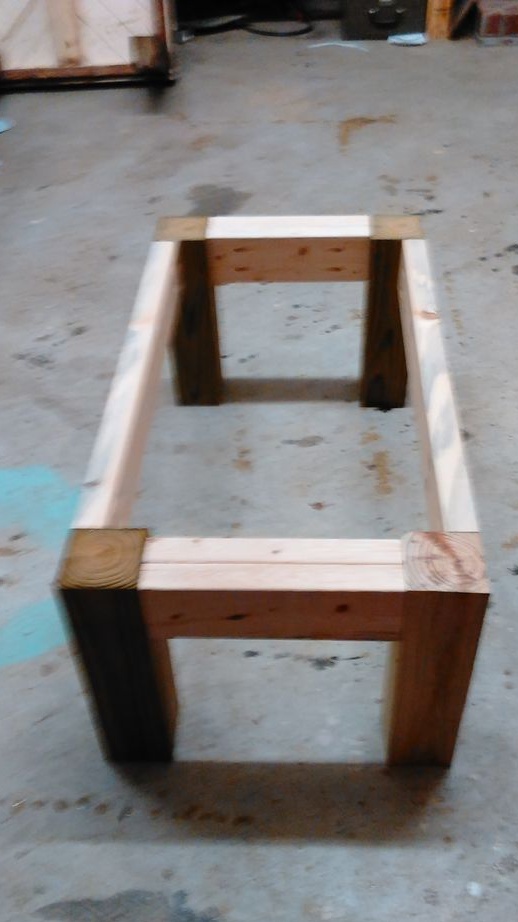
Install the center block of the frame to secure the mosaic elements. The author glued it from two boards in the same way as the transverse parts of the frame. Use glue on the ends of the bar.

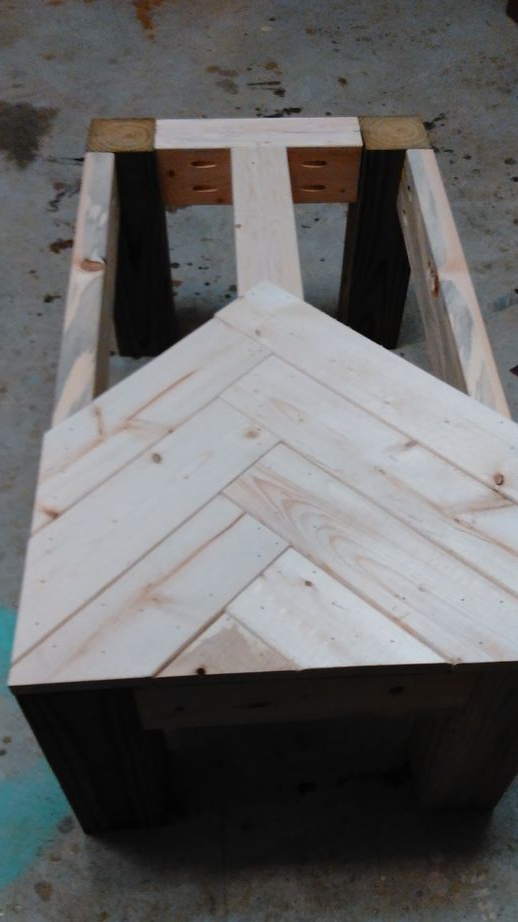
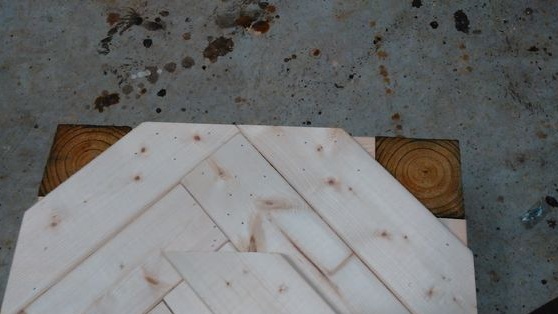
Step 3: create mosaic countertops
Marking and cutting boards for mosaics can be done in the course of filling the countertops. Remember to mark every detail. This is the longest stage of work and perhaps you will spoil a little material before you get used to it.
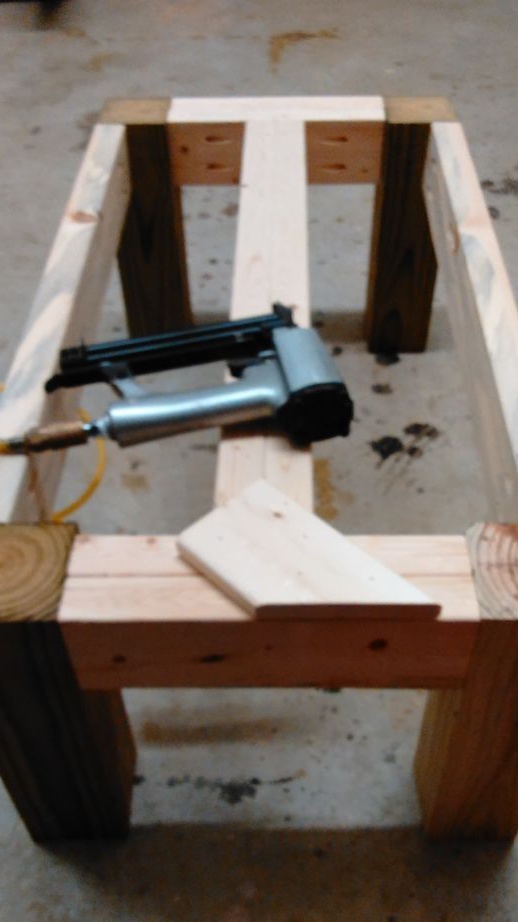
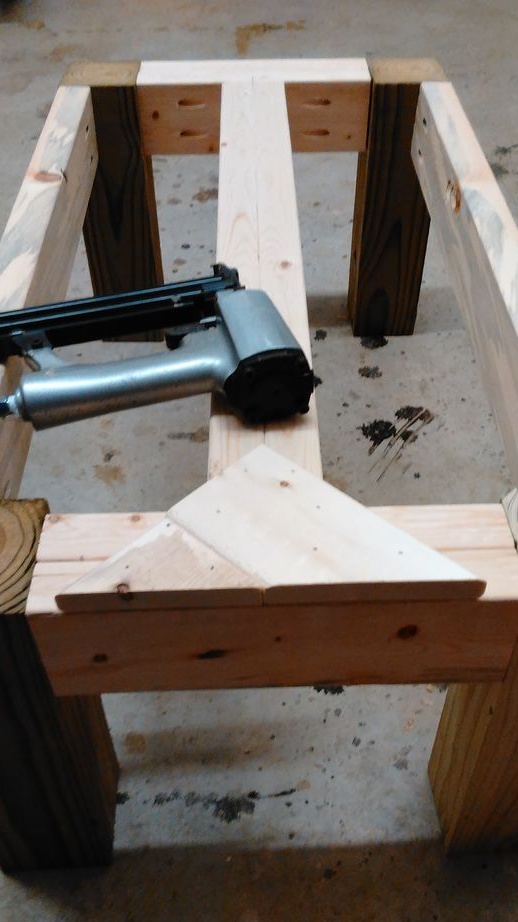
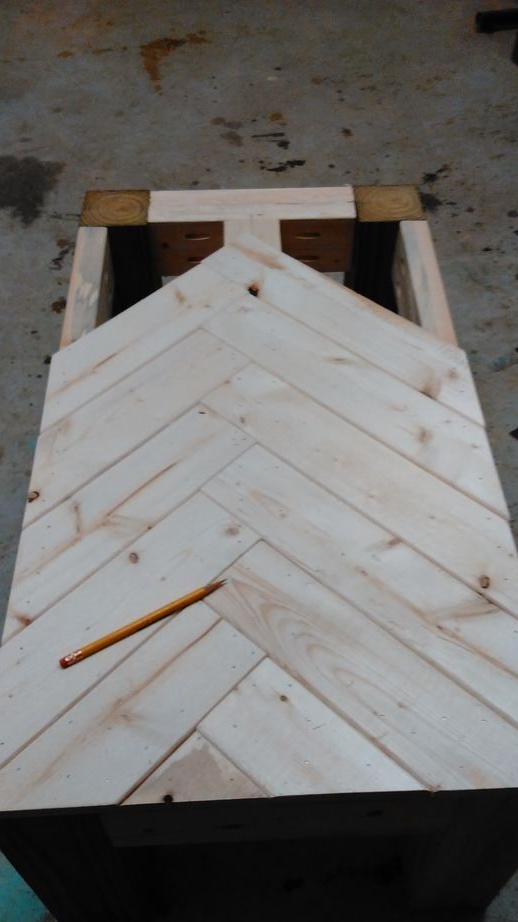
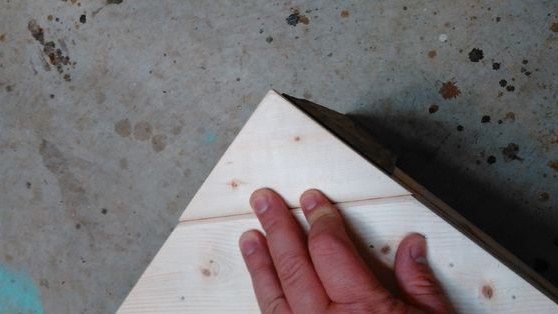
For marking, make and use a template at 45 degrees, do not mark each board manually, it will take too much time and effort. Measure the angle and make the same pattern for the back of the parts. You can make templates without additional devices. Just take a square piece of paper with equal sides, bend it three times in a row to get an angle of 45 degrees, transfer it to plastic or cardboard with a pencil and cut along the contour. You can also make a second template.
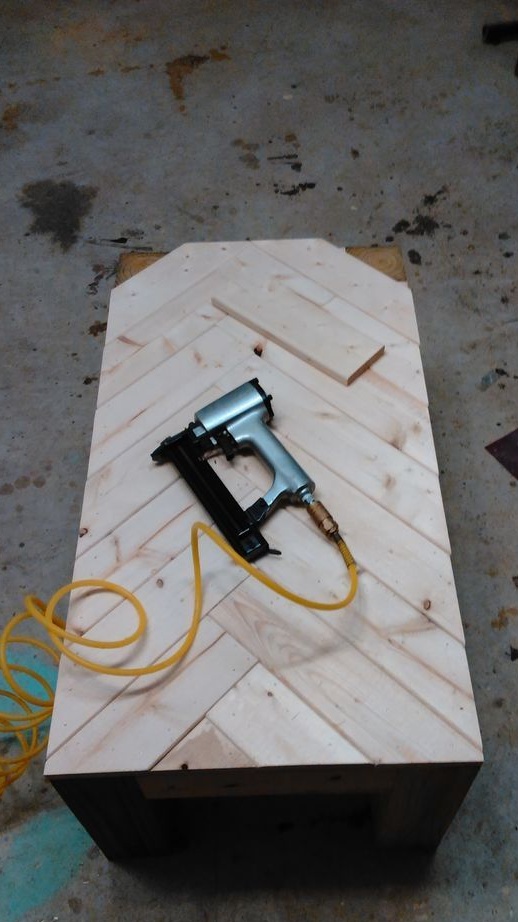
The author used a pneumatic tool for attaching plinths. If you don’t have one, use the hammer as usual.
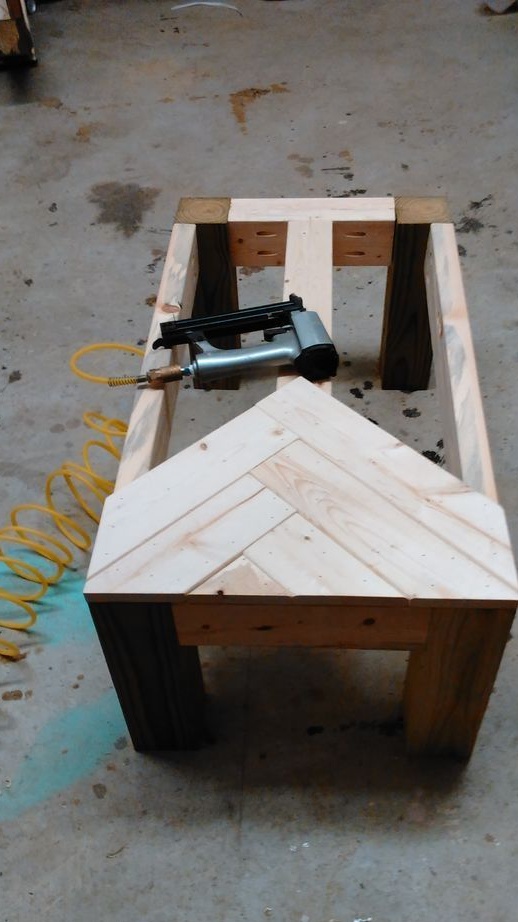
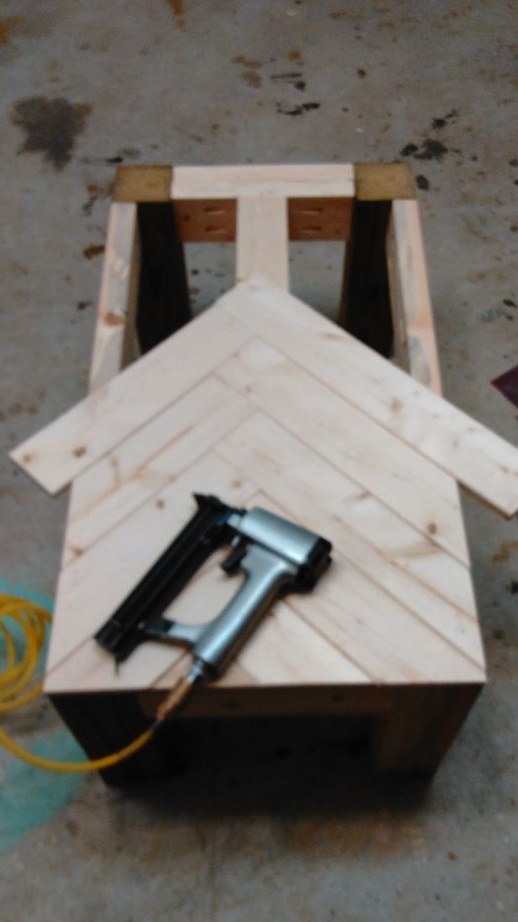
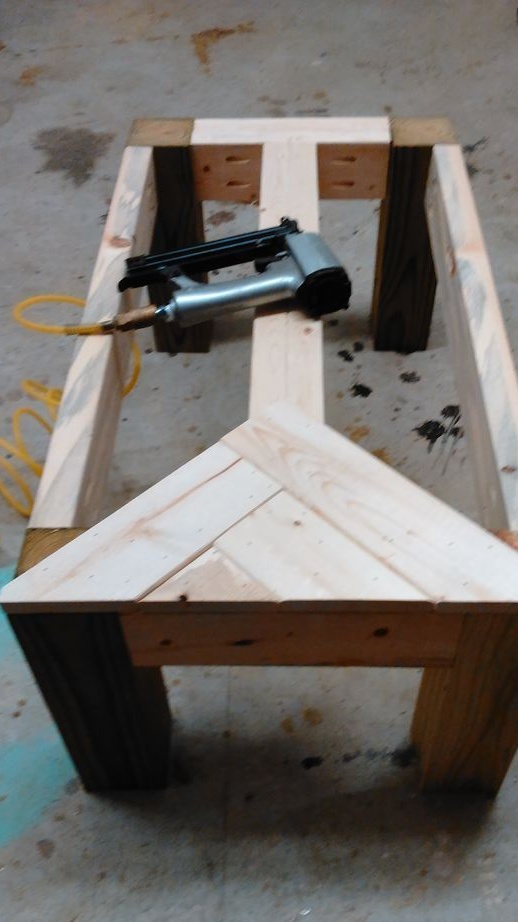
Take small nails, preferably with decorative hats or copper. The strength of the joints in this case is not so important - with such a fundamental frame and with an external strapping to boot.
When you finish attaching the mosaic, make an external strapping. No secret connections this time. However, if you want, you can experiment.
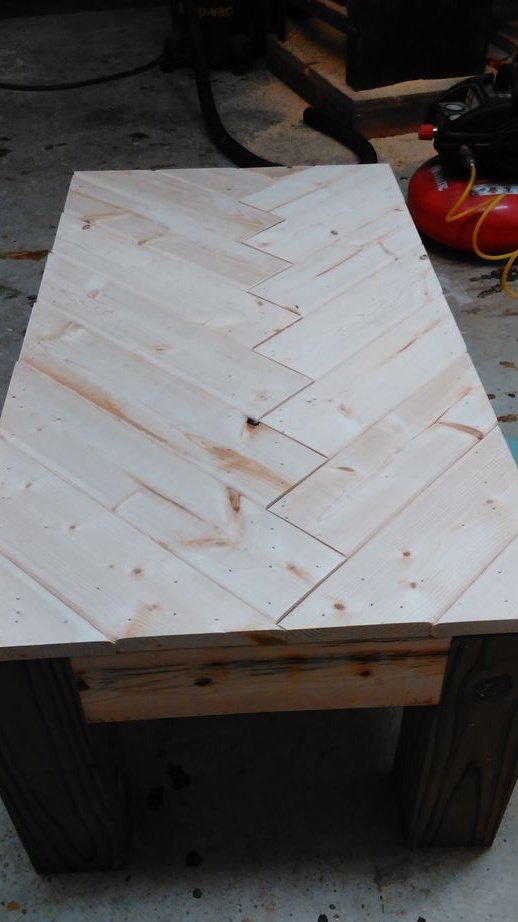
Walk the grinder over the countertop to level the surface. If the boards are perfectly matched to each other, you can use sandpaper.
Step 4: decorative protective coating of the countertops
The author used one of the most popular in our time paints with a loose coating. Such a paint perfectly protects the wood, tones it, but at the same time allows preserving the natural texture of the wood. It also has sufficient water repellent properties.
Apply paint on the entire surface of the countertop and wait for it to dry. If the tone seems too pale and little pronounced, repeat the procedure. With each new layer, the protective properties of the paint increase.
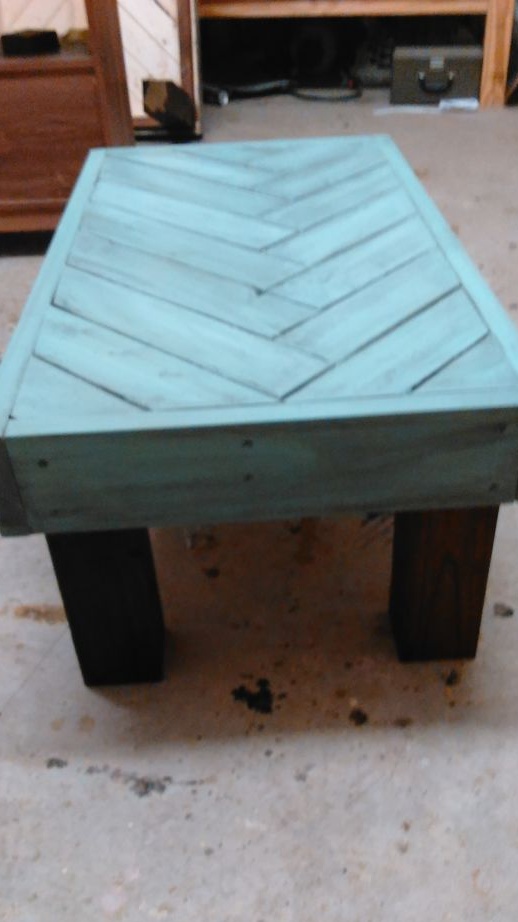
The legs can be left as is (the author did just that), you can proliferate or soak in warm linseed oil. Or varnish in a couple of layers.
You can use water-based varnish on top of the paint or do without it at all: it all depends on how intensively you plan to use the coffee table and how often you will spill your coffee on it.