
Good day to all !
Today, the author of this work invites you and me to look at the process of making a home-made boat from plywood, he was inspired by an old dream. First of all, he went to one of the factories where such boats are made, he is in the city of Cherepovets, where he emphasized for himself several points that later came in handy in the manufacture, bought the necessary material in the same place.
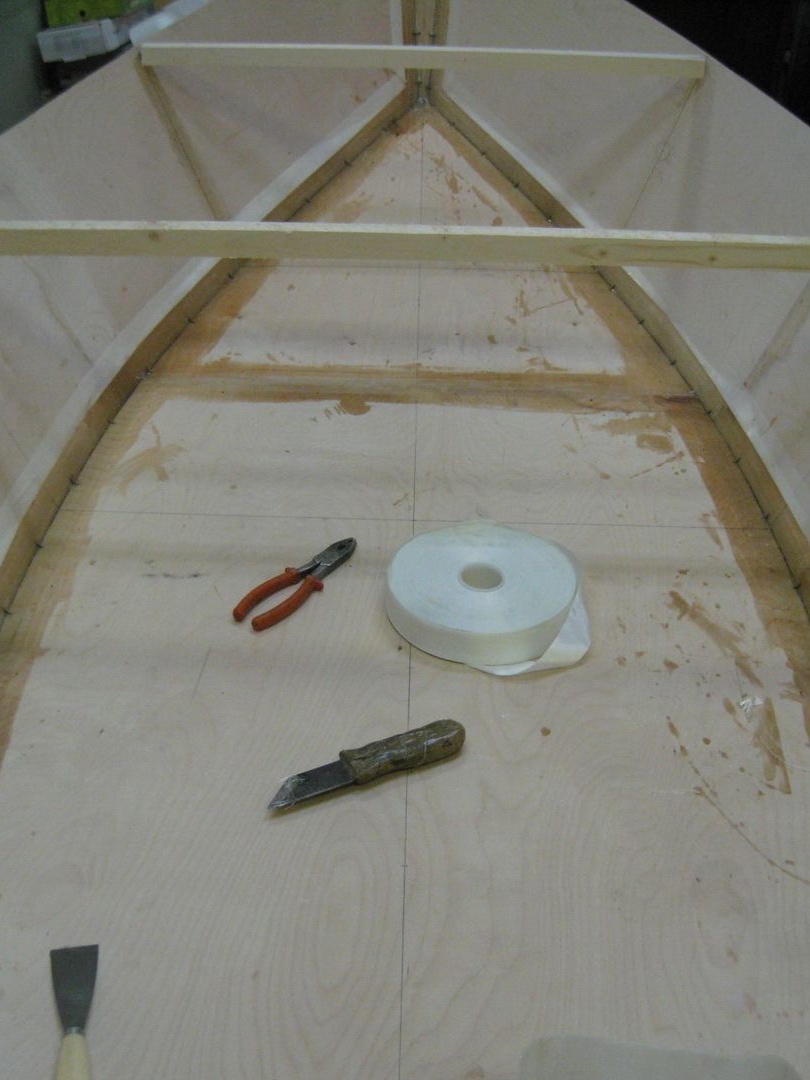
To make a boat we need:
Tool:
- a pencil;
- ruler;
- electric screwdriver;
- Sander;
- eleutrorubanok;
- clamps;
- pliers.
- square ruler.
Materials:
- plywood;
- copper wire
- fiberglass;
- epoxy adhesive;
- self-tapping screws.
Since the plywood sheets were smaller than the planned size of the boat, the author had to glue them together, sorting through all the possible options, this type of bonding “on the mustache” was chosen
And so, we take the sheets and begin to lay out.
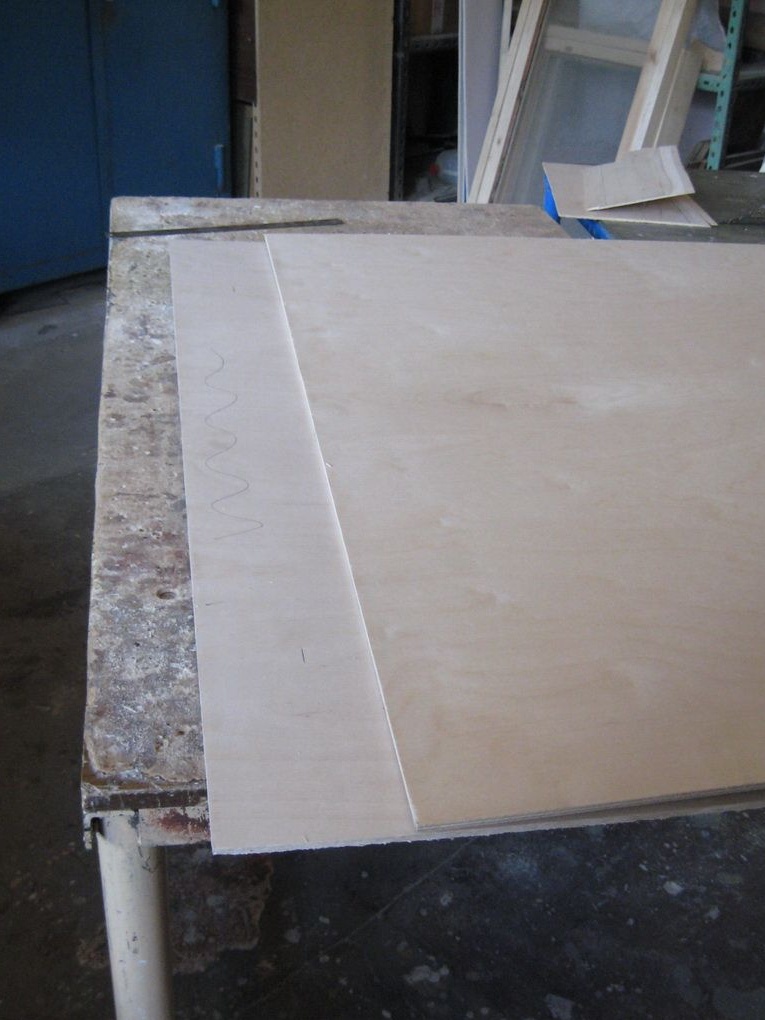
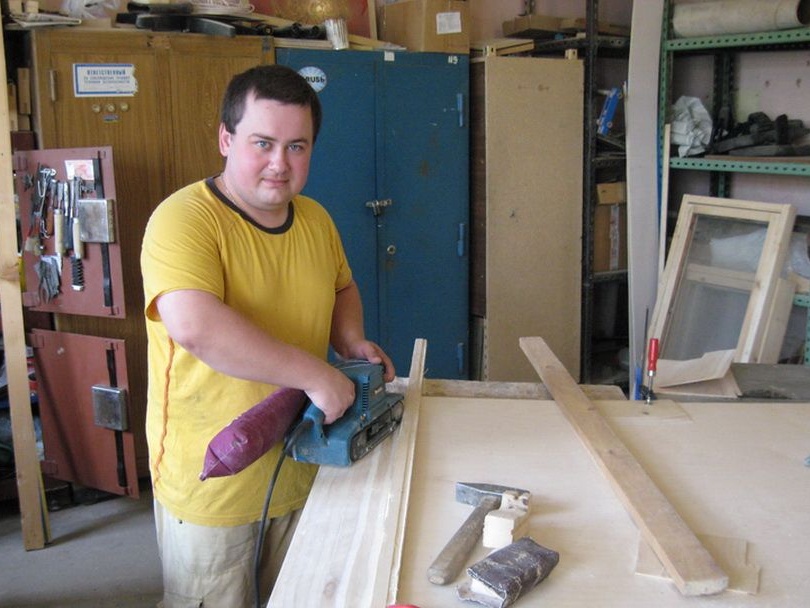
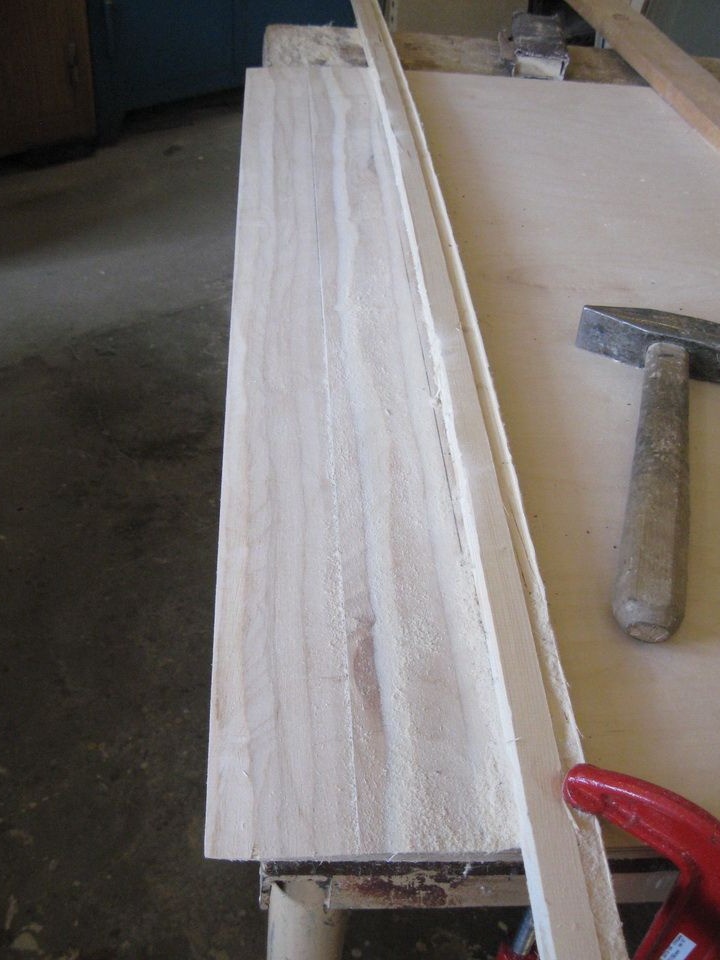
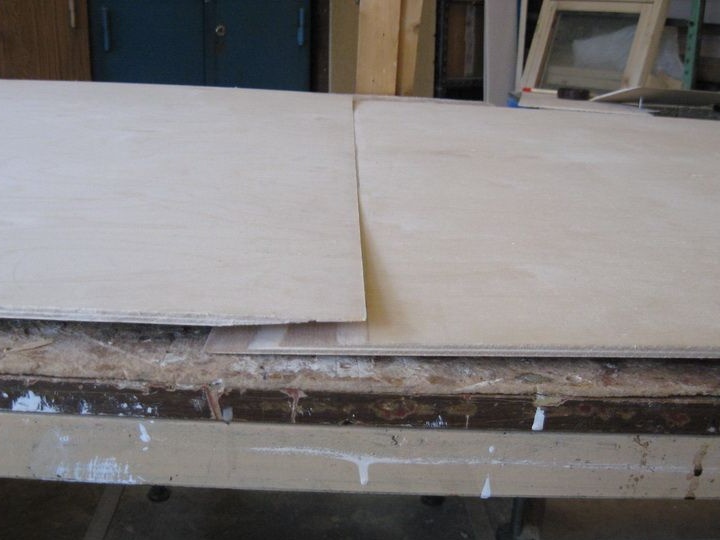
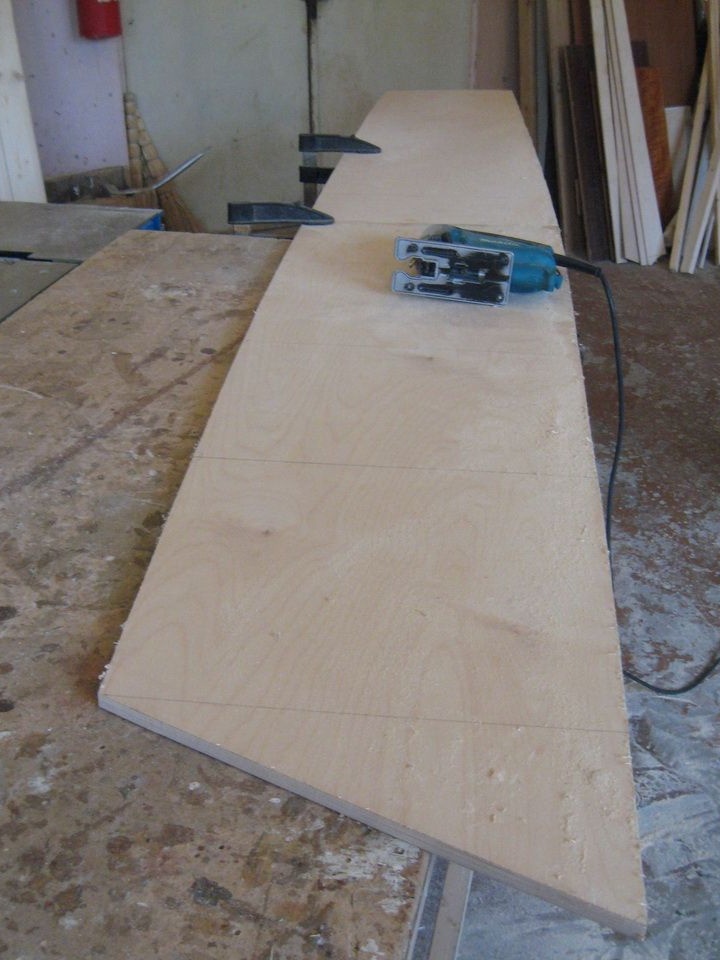
We smooth the ends of the plywood at an angle, for this we use a planer, and then we go through a grinding machine
It should be like this.

Next, the sheets are applied to each other, and glued together using carpentry glue, then we put it under the press, laying a clamping strip along the entire length of the seam.
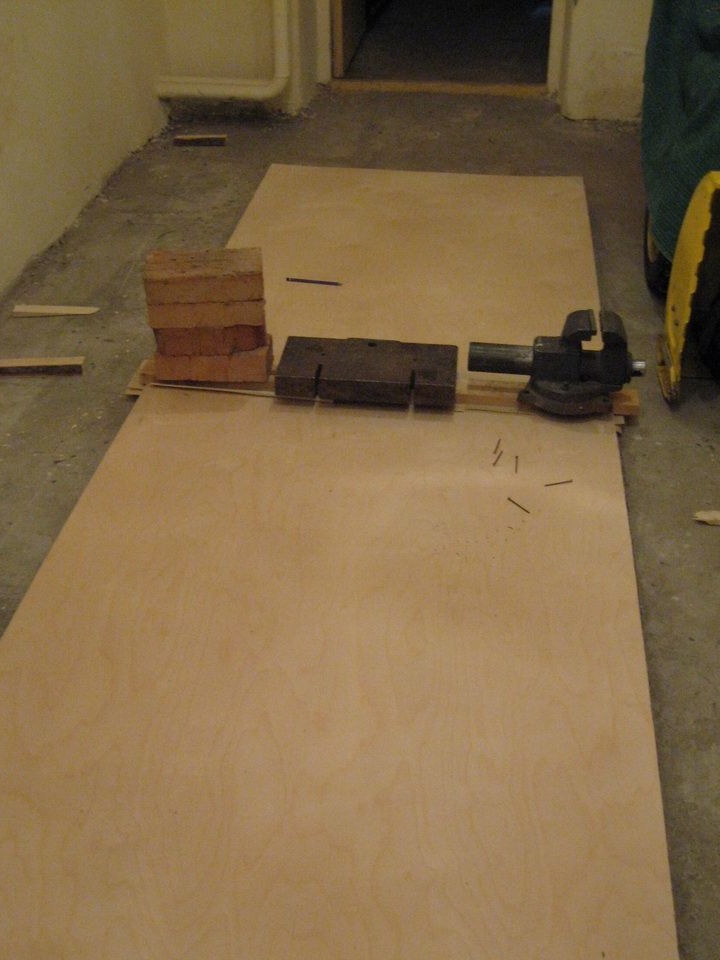
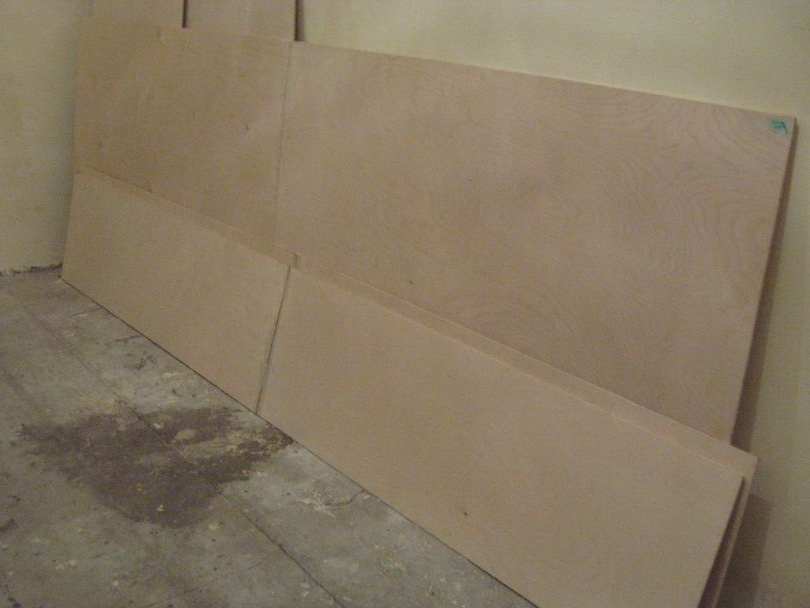
After the sheets have finally glued together, you can remove them from the press, remove the clamping strips, the joint should turn out to be even and very strong, so we got the blanks of the desired length for us.
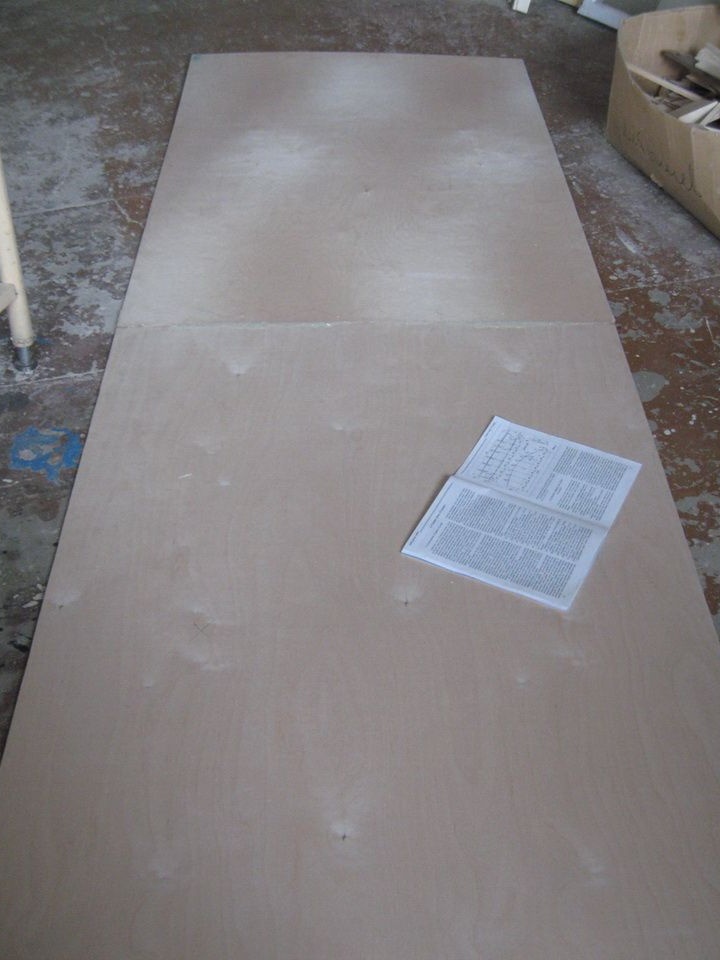
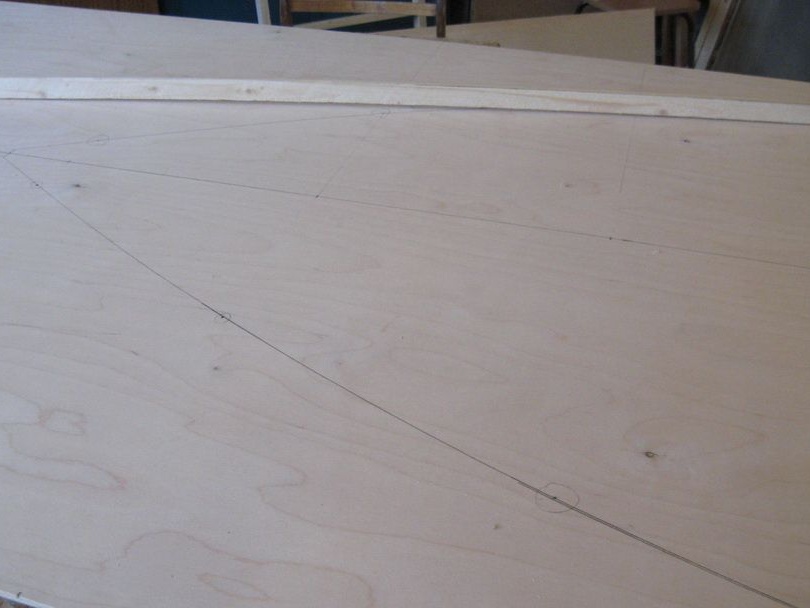
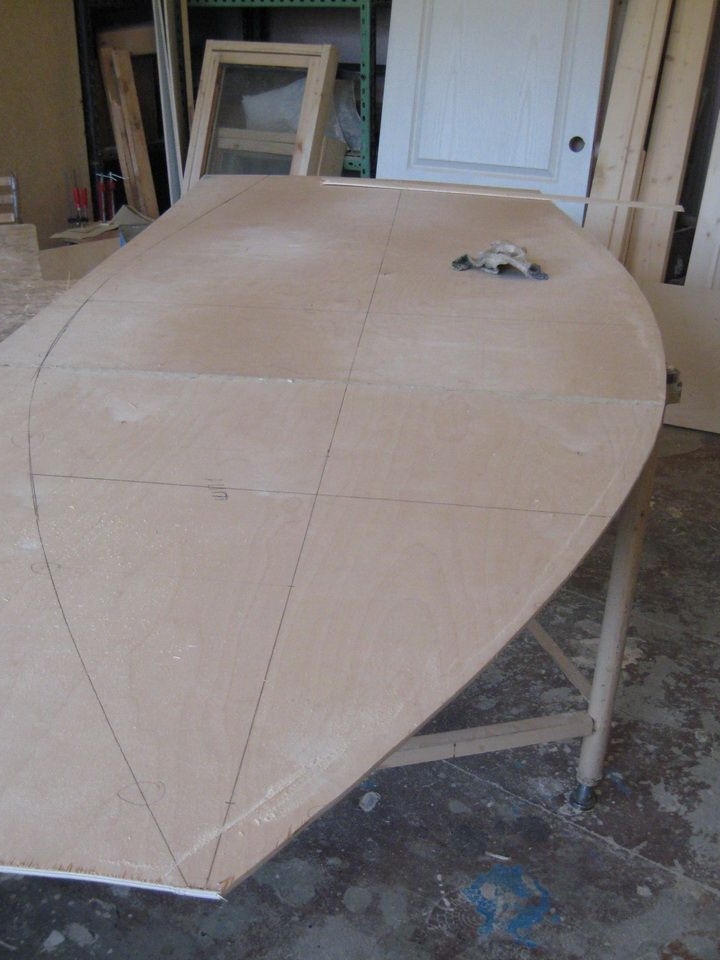
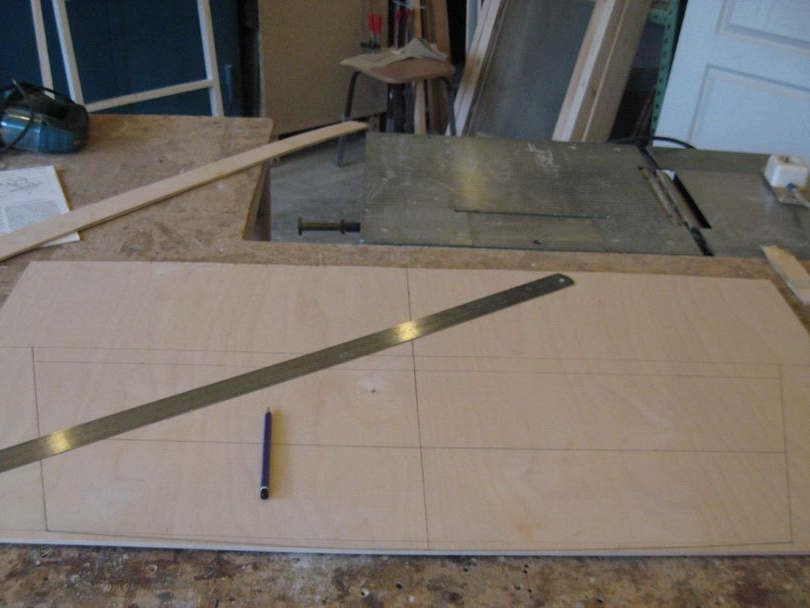
On the plywood sheet, mark the center line, from it in the future all the main dimensions will go.
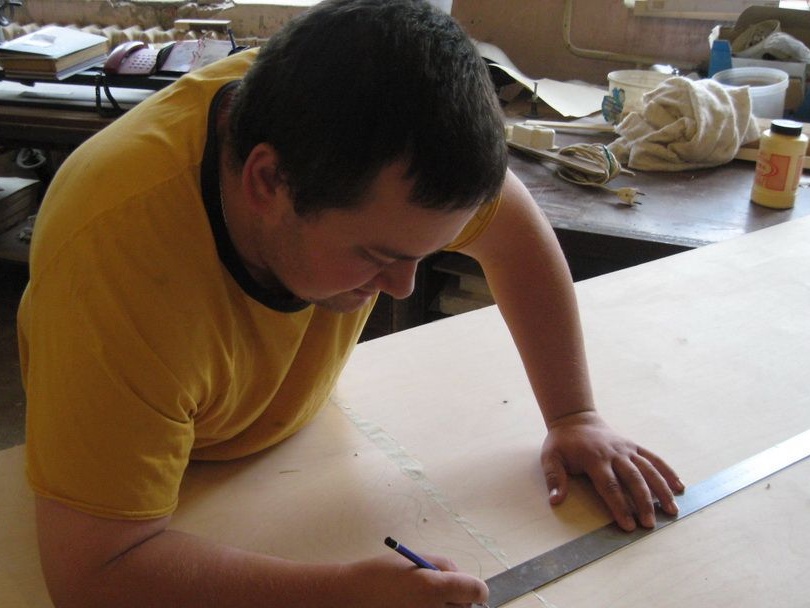
We draw the bottom of the boat, as shown in the photo
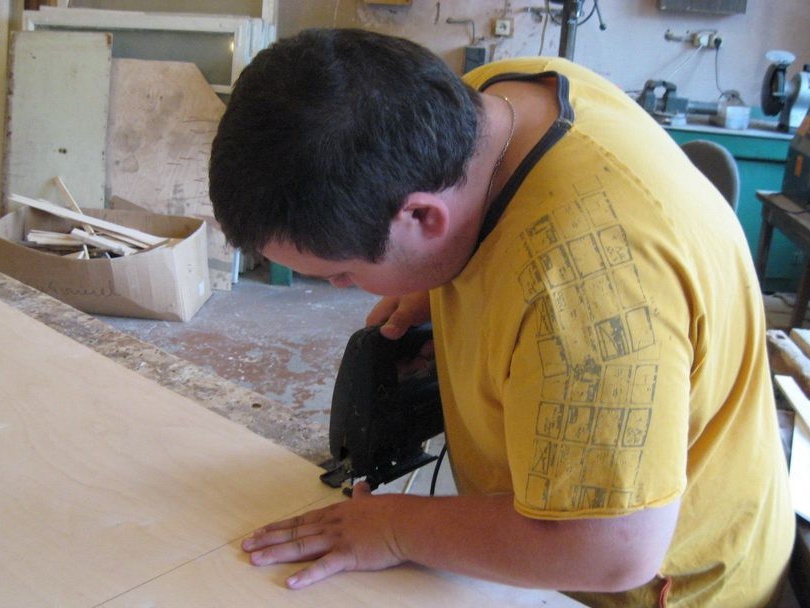
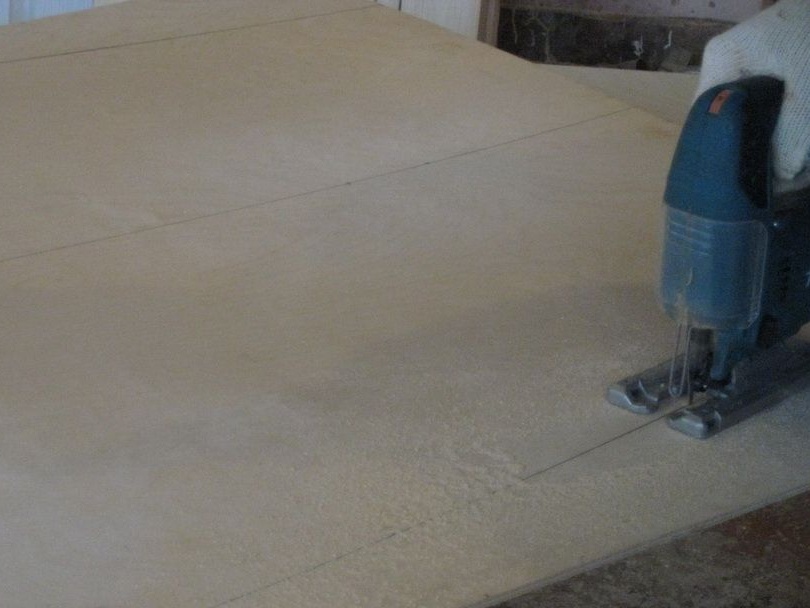
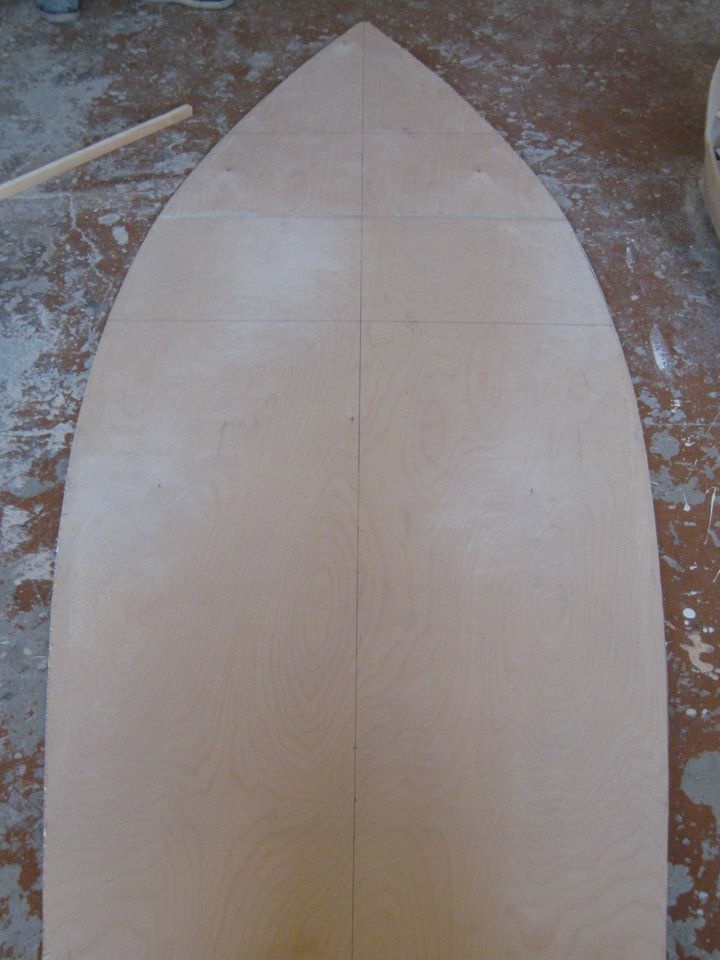
Next, with the help of an electric jigsaw, we cut out the bottom according to the marking, we use a specialized canvas designed for plywood, it is best to saw at high speeds.
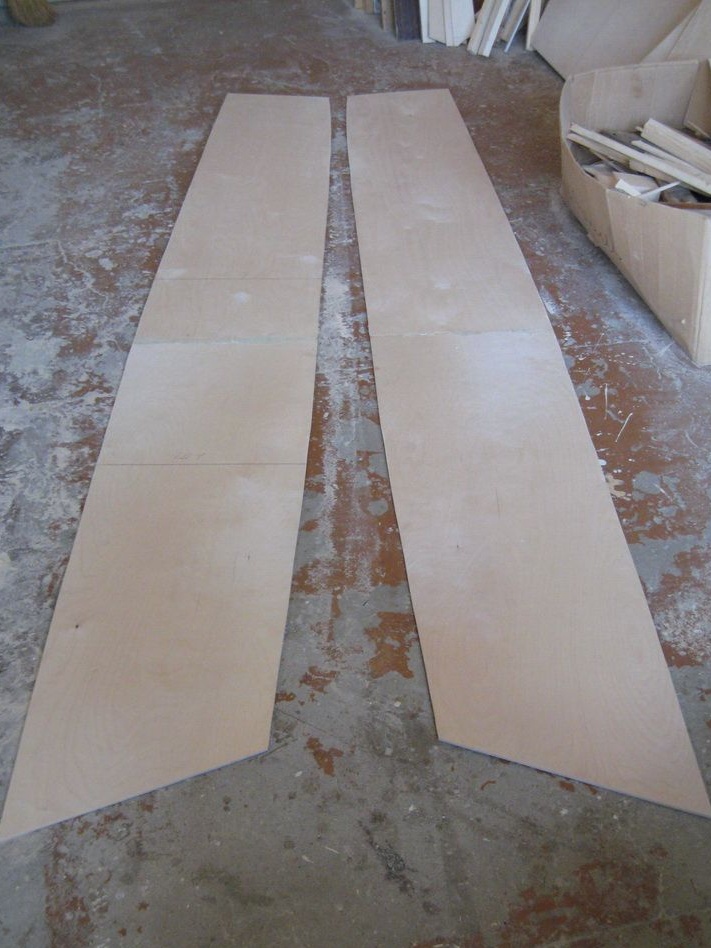
Then we mark one side for the boat, cut it out, and use it as a template for making the second.
Next, we make the markup and cut out the transom.
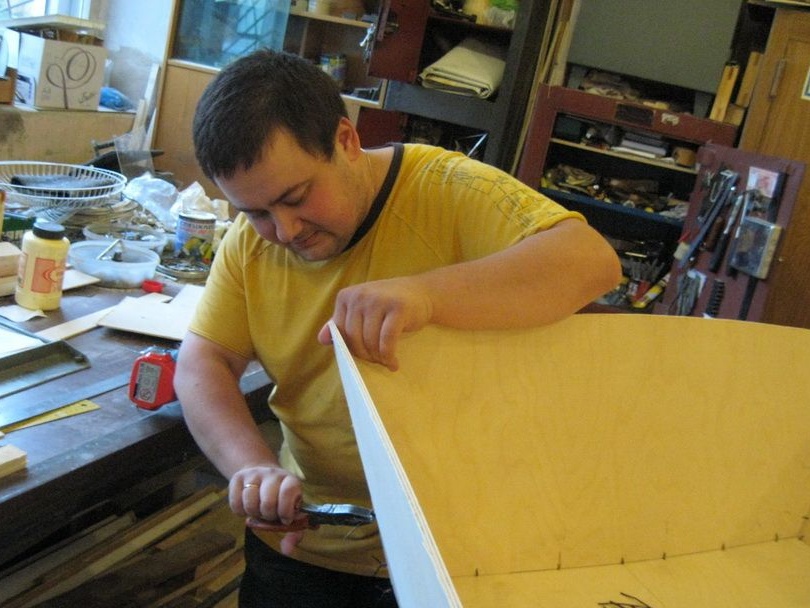
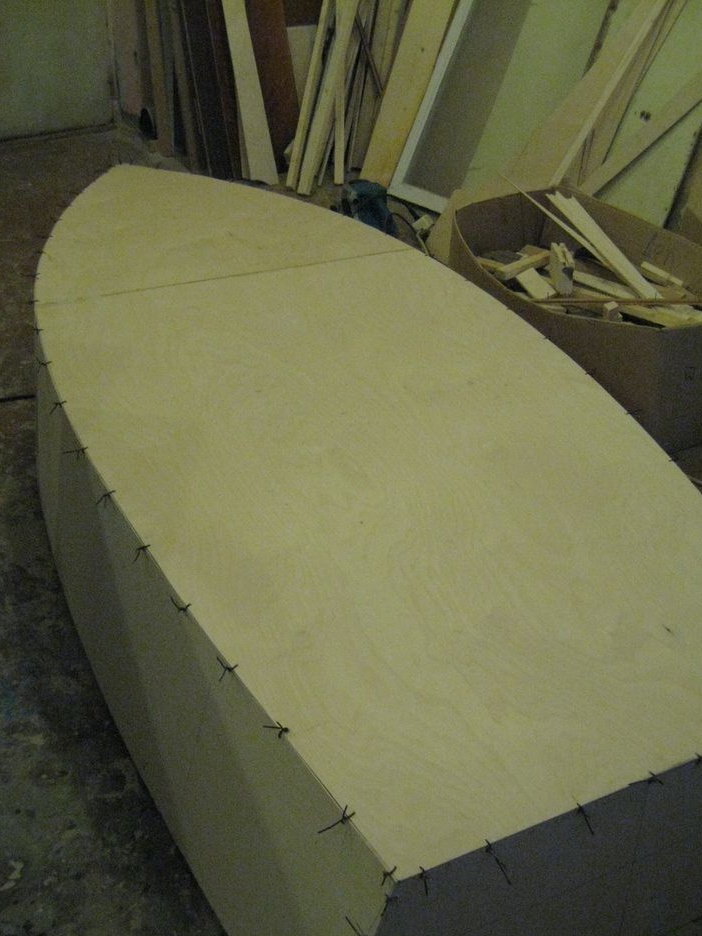
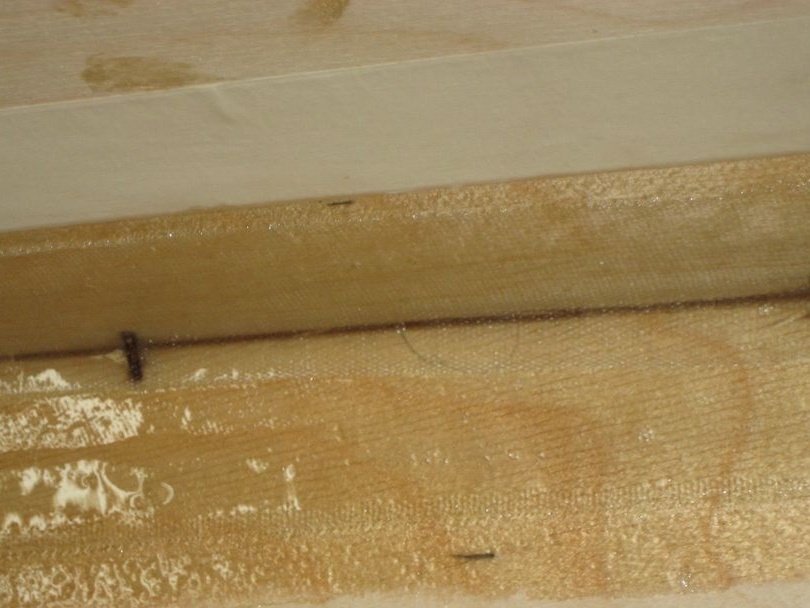
We join the cut parts, at the joints, we chamfer using a grinding machine. Next, we make holes on the sides and on the bottom of the boat with a thin drill, and we begin to stitch the elements of the boat with the help of prepared pieces of copper wire, which we put into the holes made, and then twist with pliers.
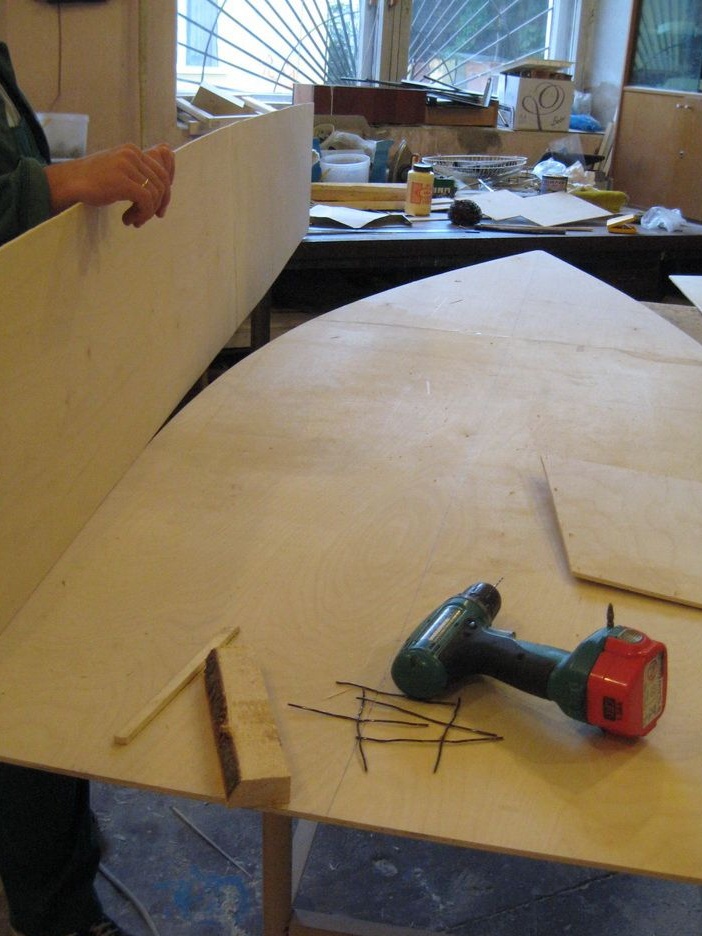
Sew from the stern to the bow.
In this process, you will need an assistant, as it will be difficult for one to do this.
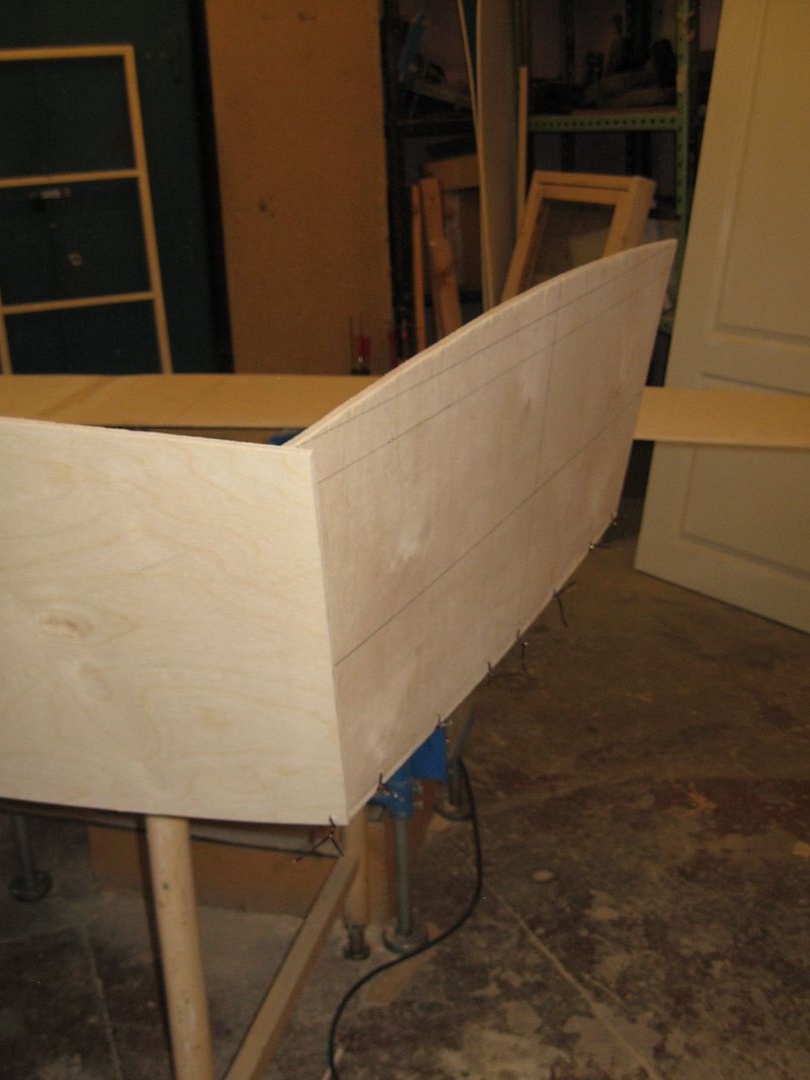
An example of seams.
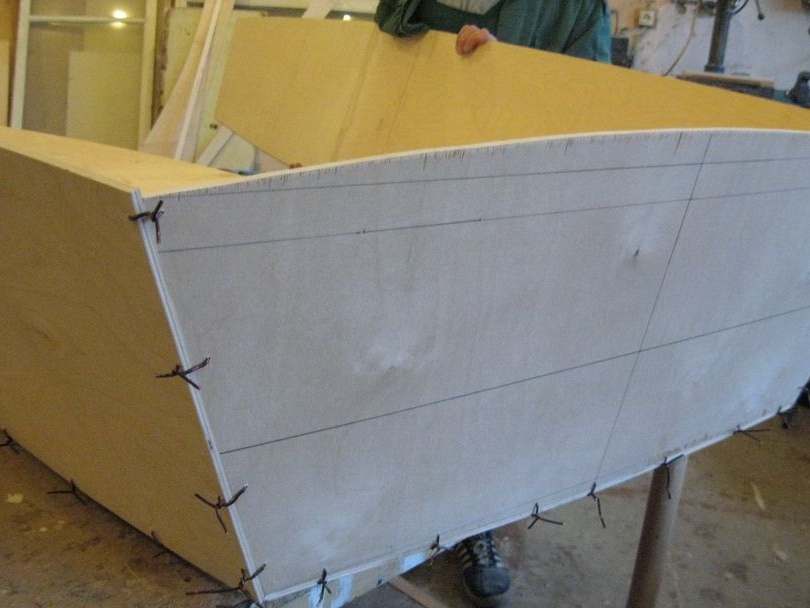
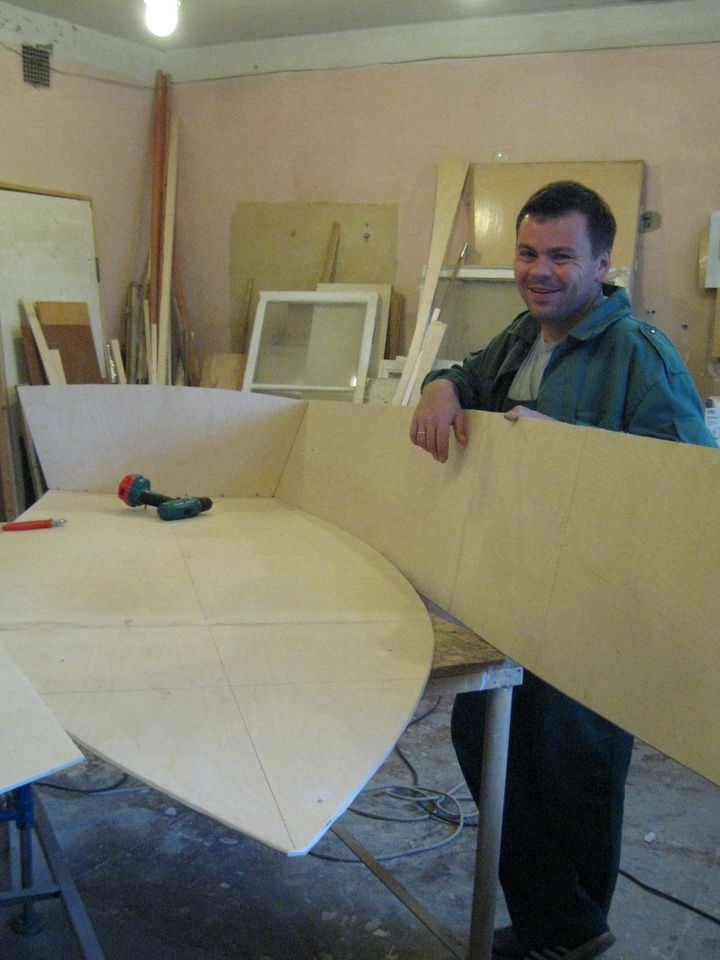
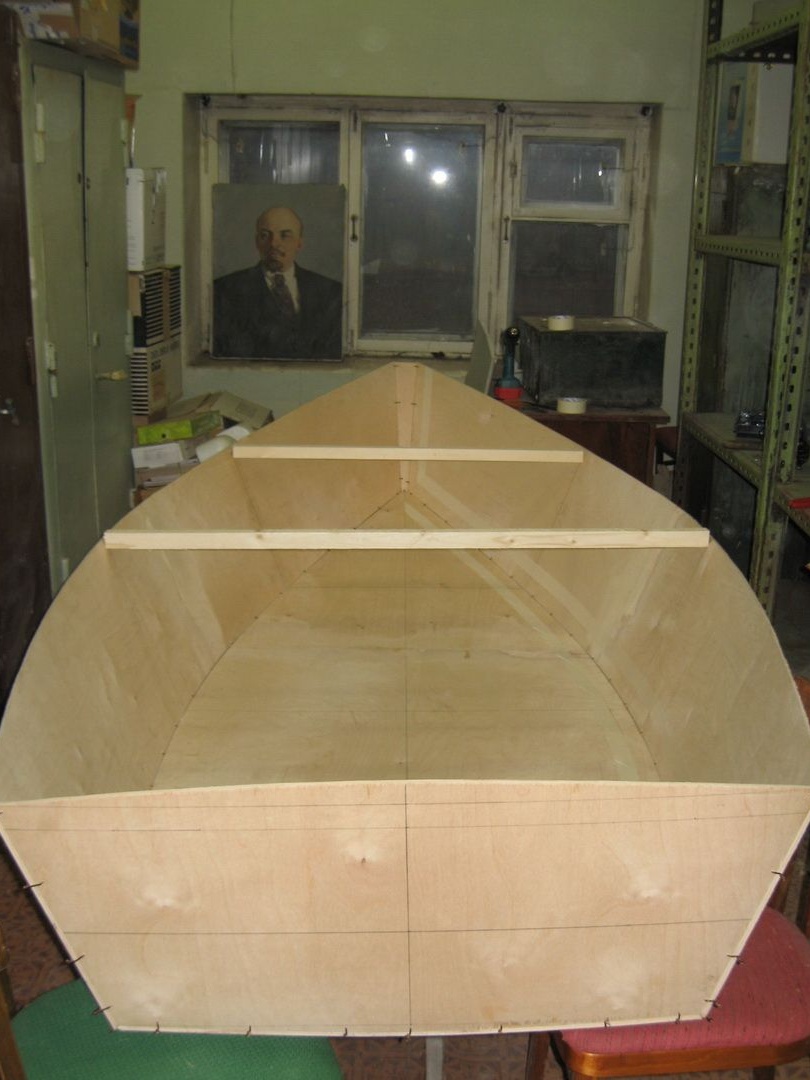
In the end result, when the last part is fixed, we get such a case.
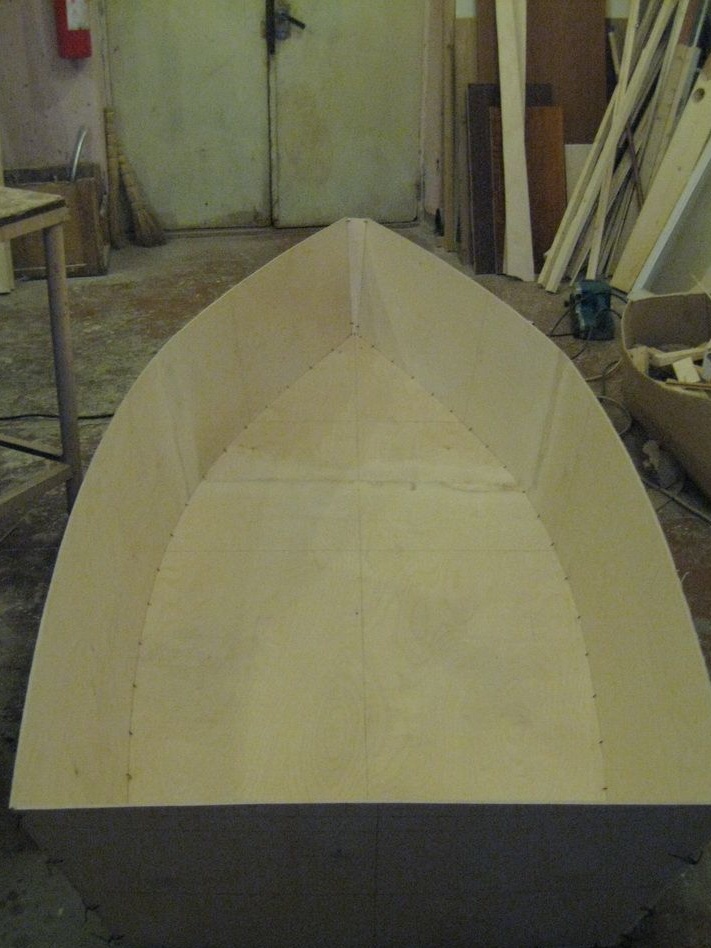
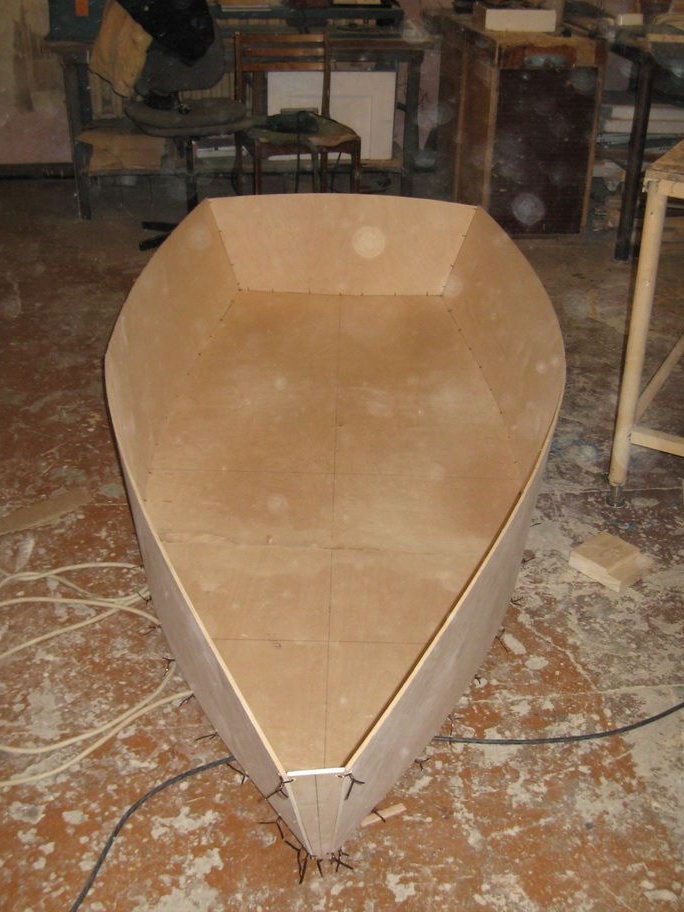
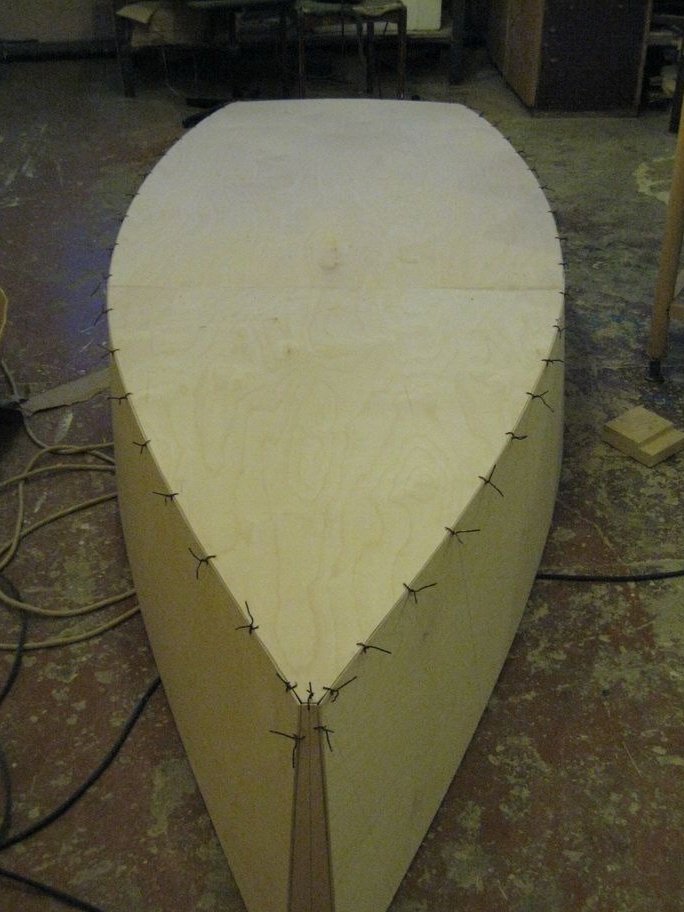
We are trying on.
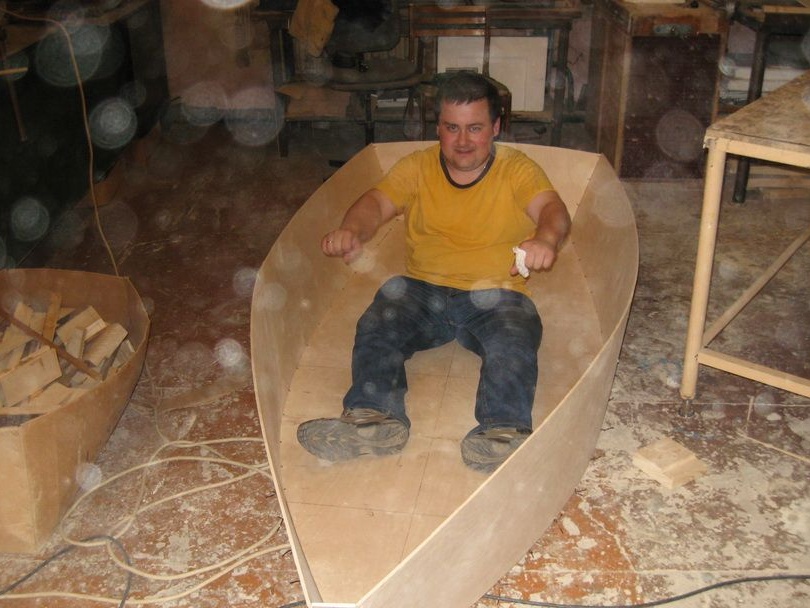
Next, we check the geometry of the obtained shape, if necessary, we additionally tighten the staples tighter, and then with the help of a chisel we plant them, doing this from the inside of the sides. After the operations done, we cut out and put temporary braces, they were fixed in place of future frames.
In order to form a more even seam, it was decided to use masking tape.
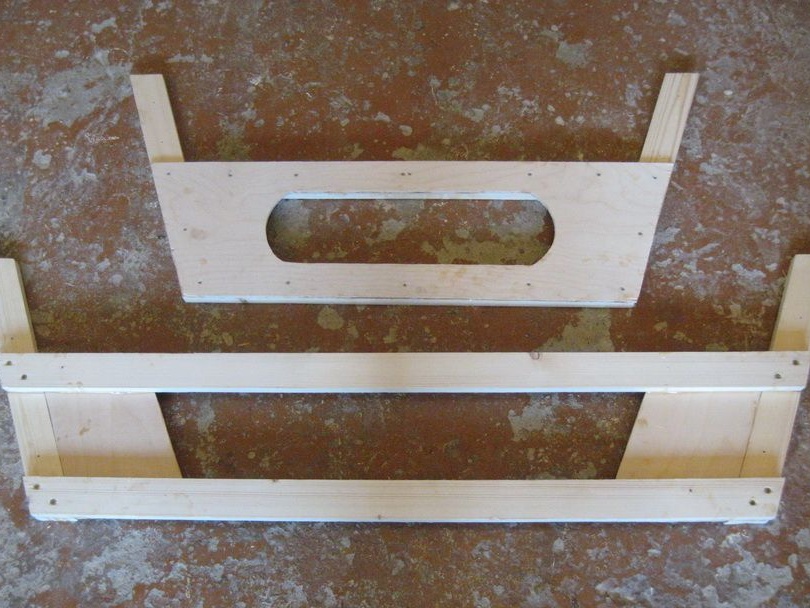
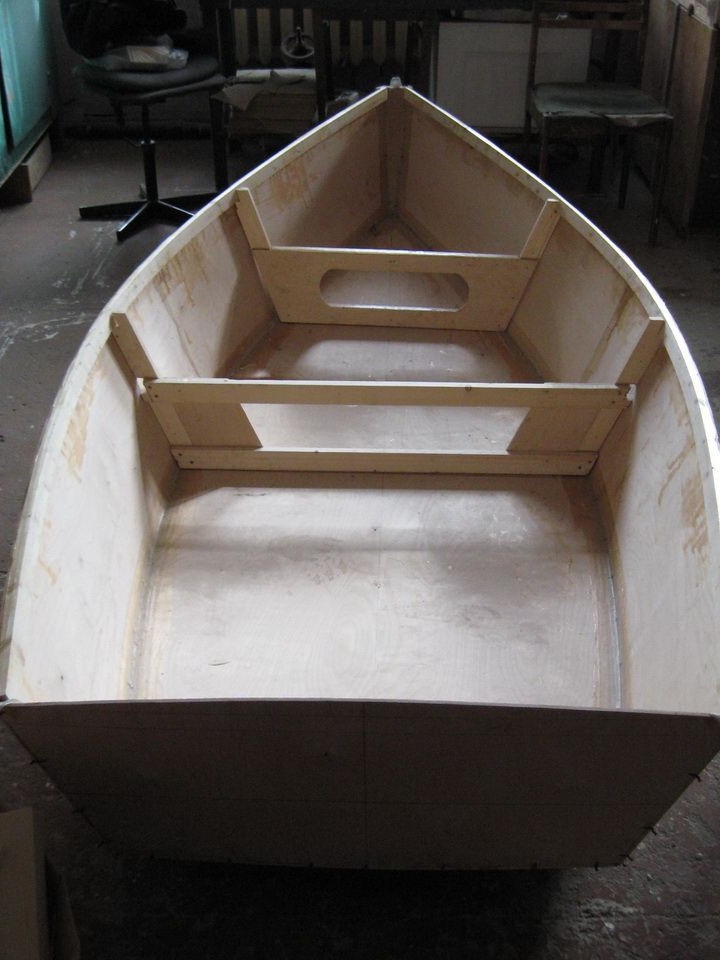
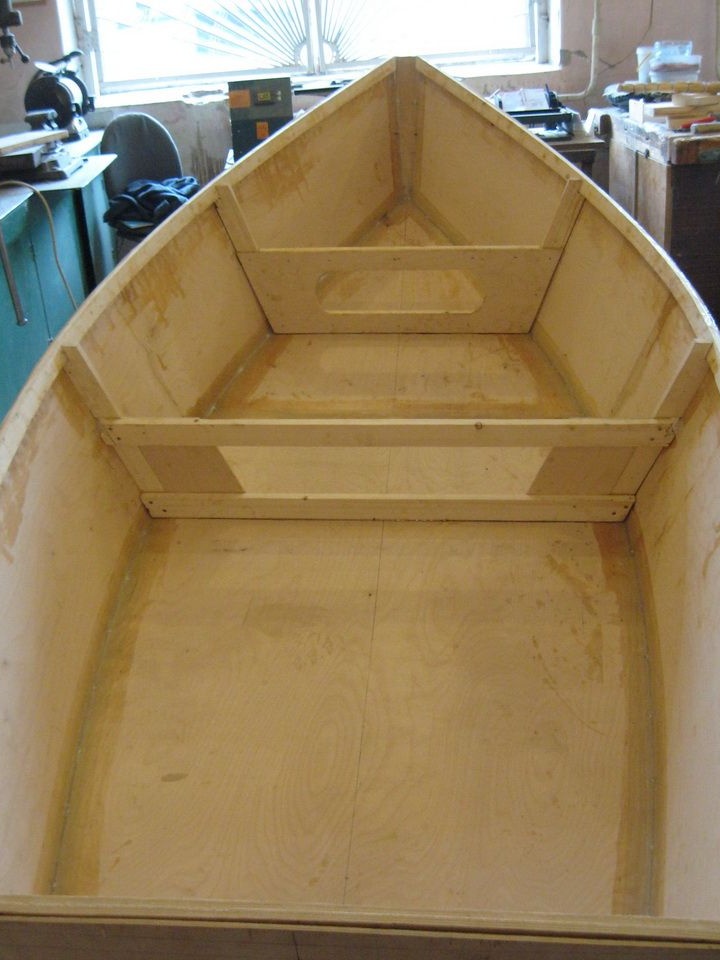
Next, the author drew a template for frames, and proceeded to assembly.
Such frames have turned out, everything is fastened with self-tapping screws and epoxy glue.
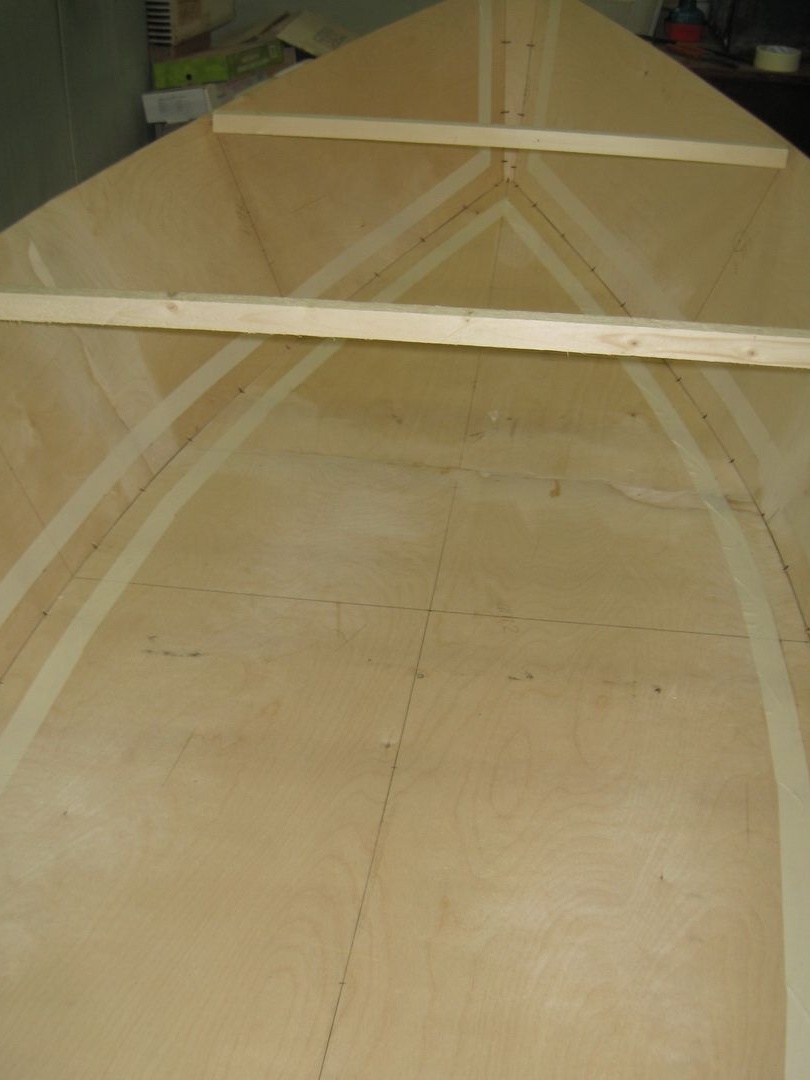
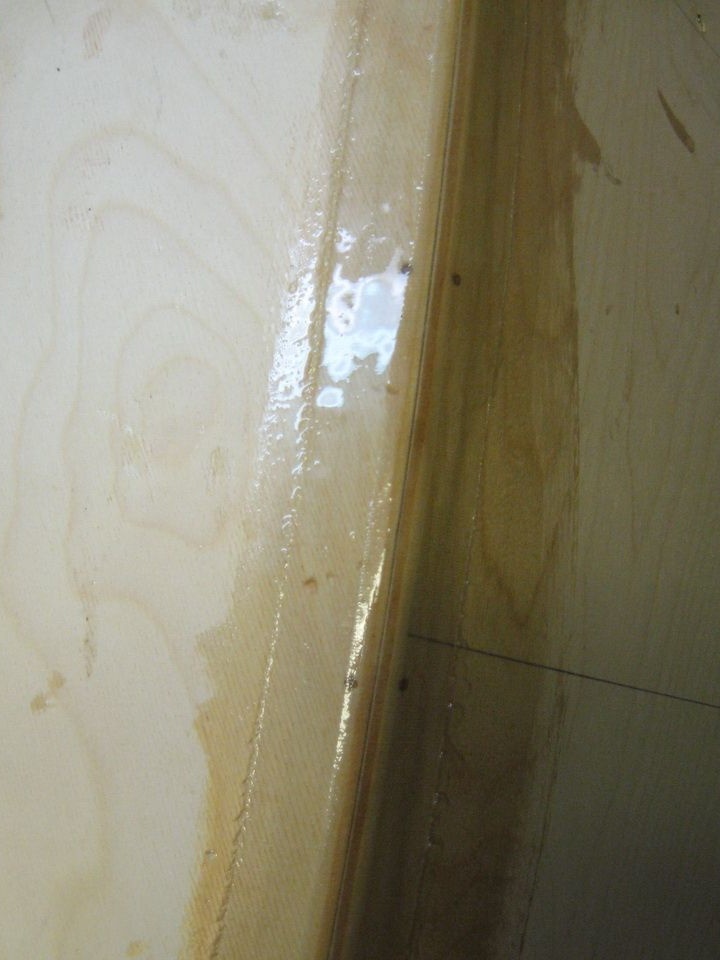
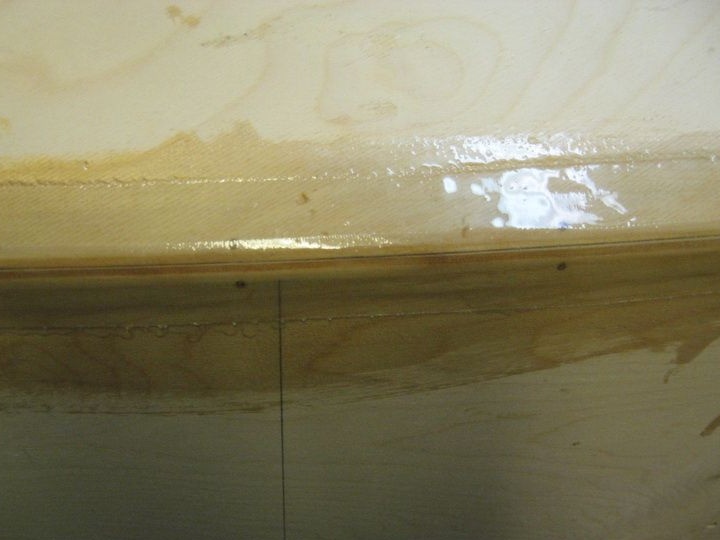
We begin to glue the internal seams, for this we use strips of fiberglass, and epoxy, we glue in three layers, we try to saturate the fiberglass well, we make sure that there are no bubbles.
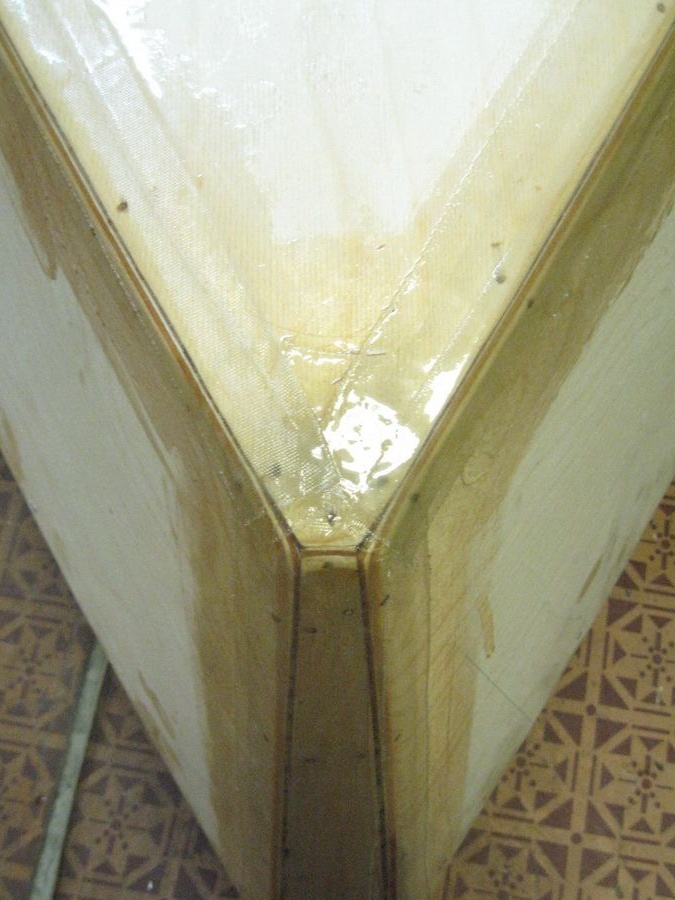
The end result is a beautiful transparent seam.
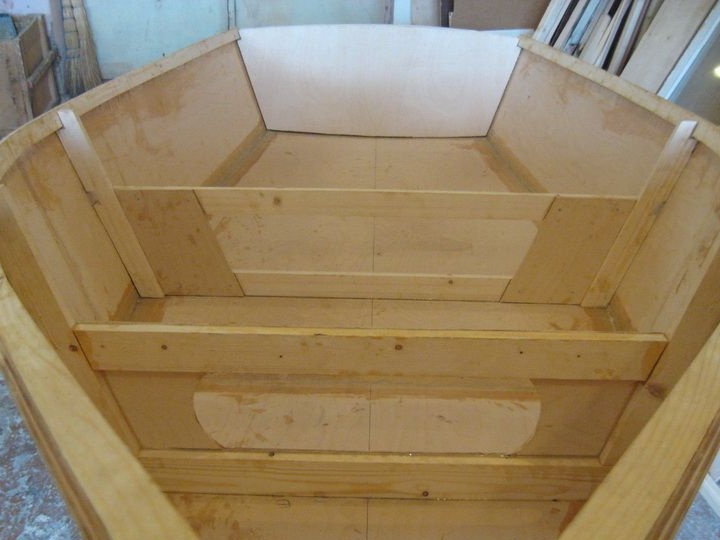
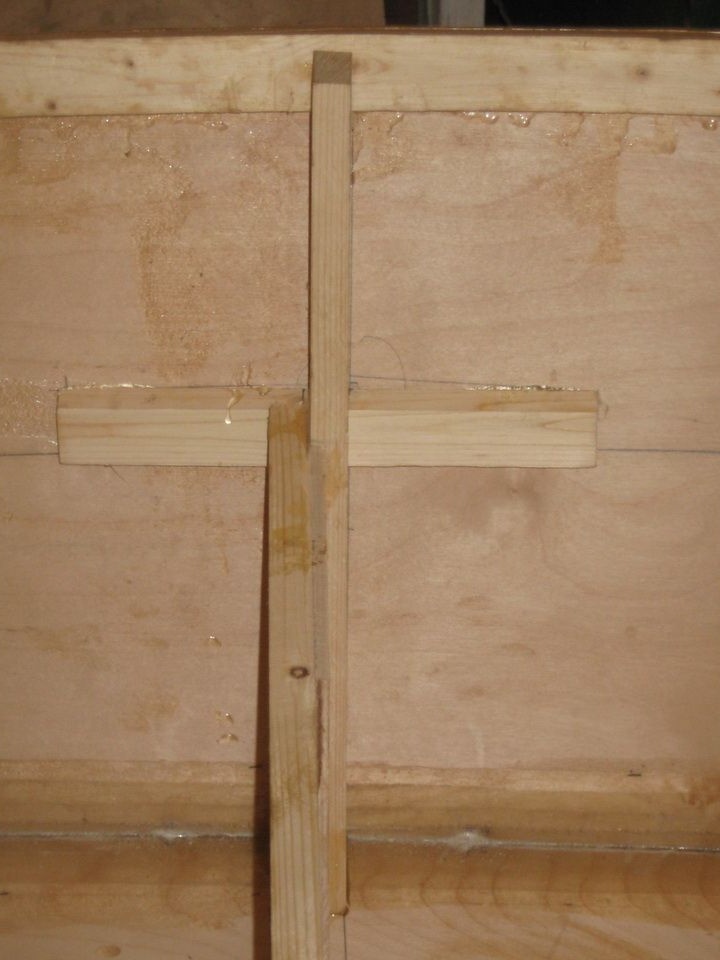
Further, the author adjusted the frames and screwed on the girders
Then he fixed the frames with glue and self-tapping screws.
Then you need to turn the boat over and remove all the staples with pliers. When everything is ready, round off the joints
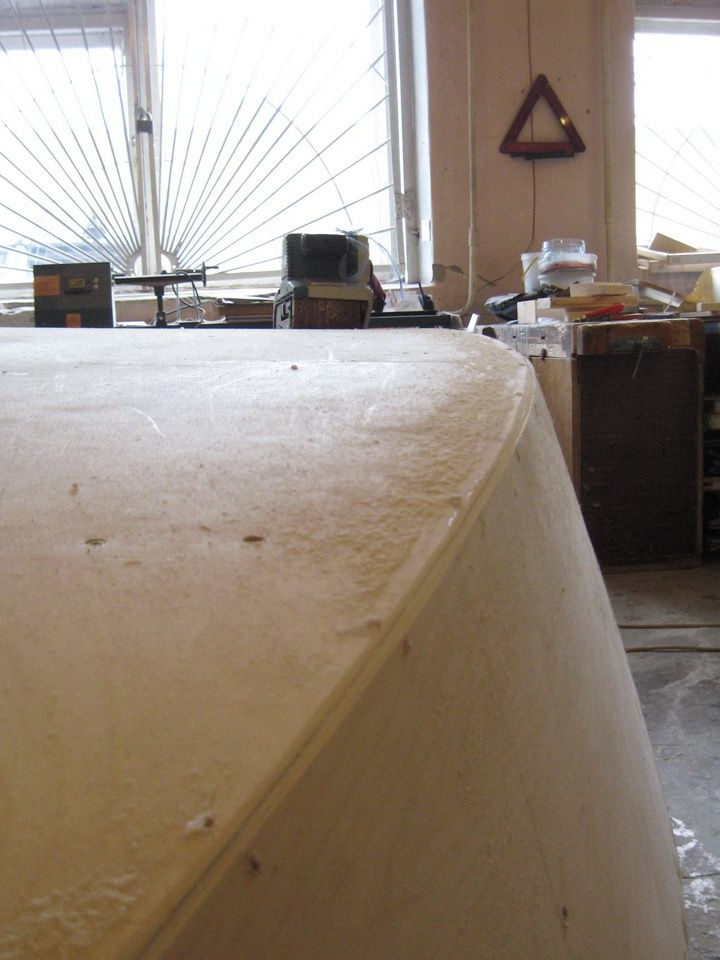
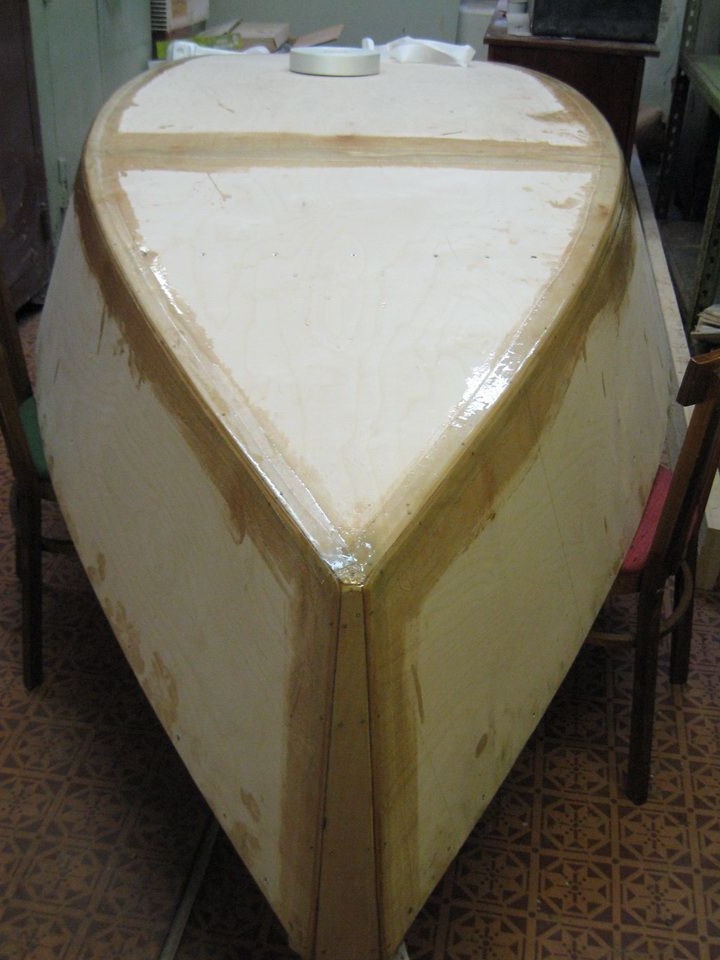
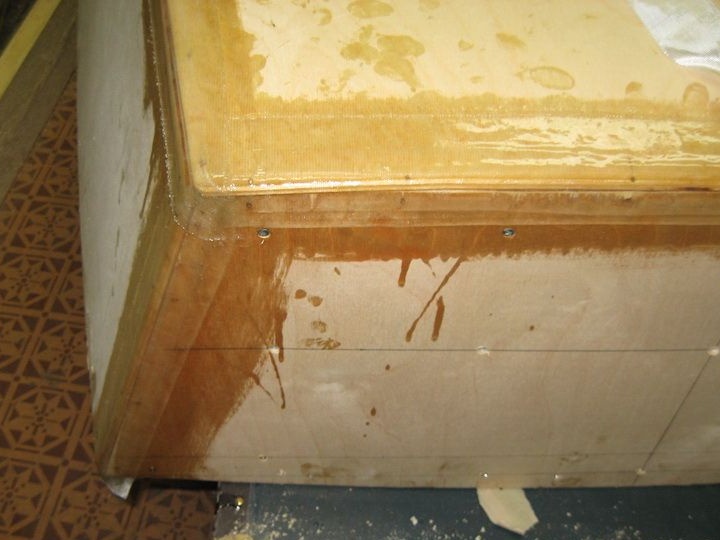
Next, you can proceed to pasting the seams. We do everything the same way as when gluing the inside.
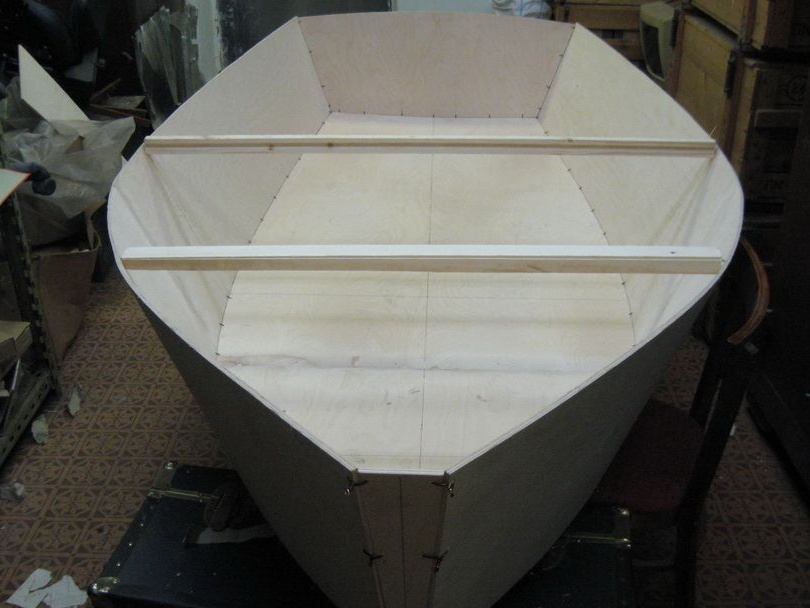
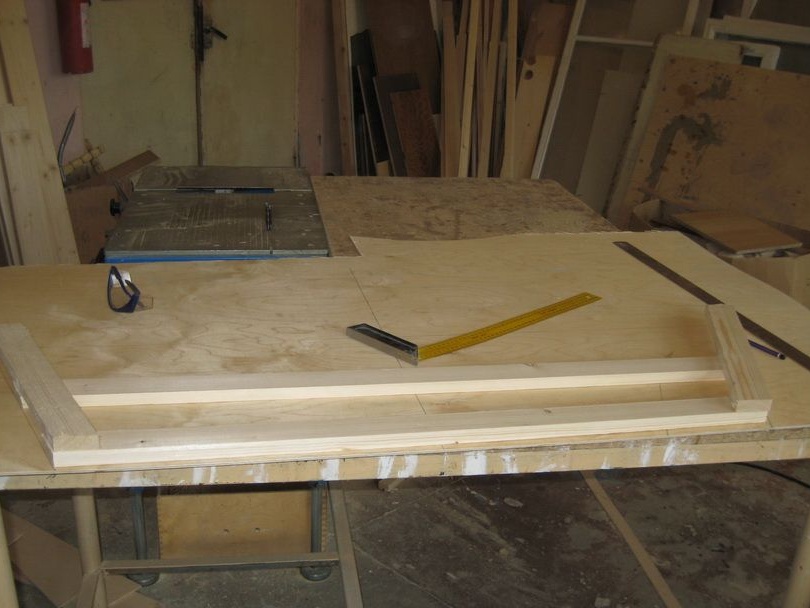
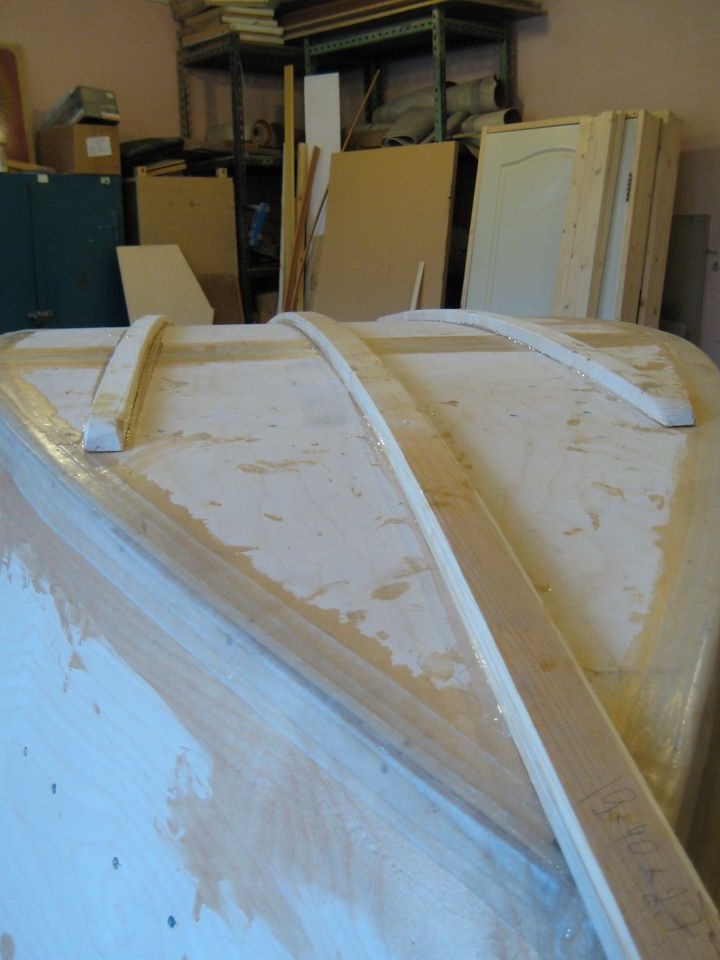
When all the seams were dry, the author attached slats for the front and middle benches.

Next, the slats were cut, which need to be polished, and then with glue and screws to install on the bottom of the boat, as shown in the photo. The so-called external stringers will protect the bottom of the boat during its mooring, and will give additional structural strength.
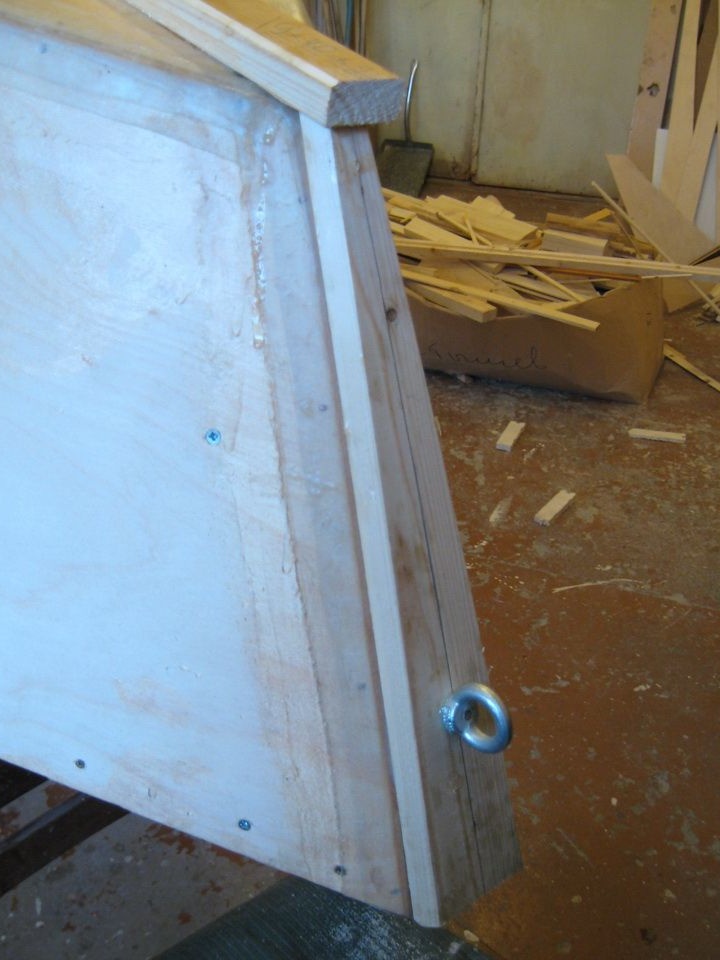
A forearm and a nasal rymbol were installed, and a rope or anchor rope would be attached to it.

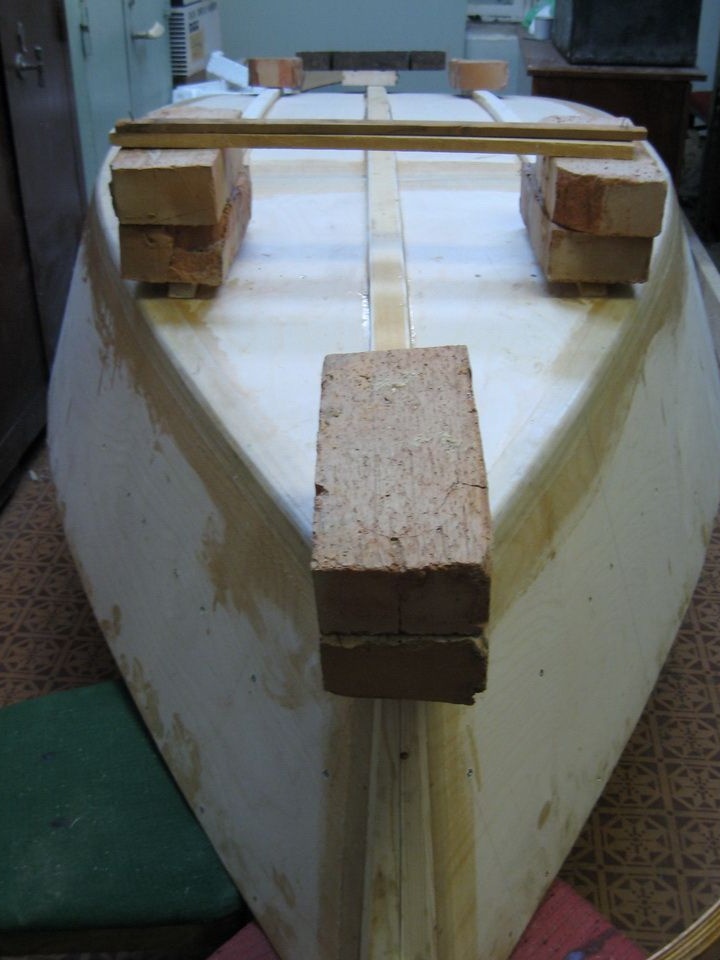
In order to get a better grip, we use an additional load.
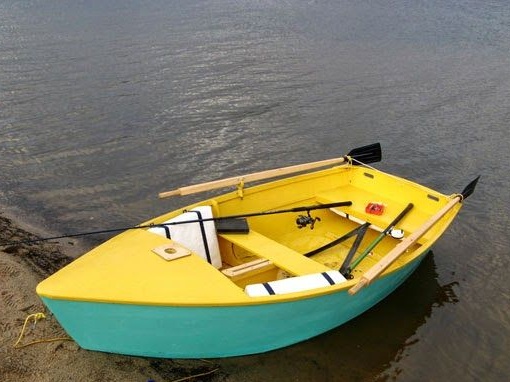
This ends the article, the main work is done, then it remains to finish the bow a bit, paint work, then set up benches, oars, etc.
In the end result, we get such a makeshift boat made of plywood.
And some information about the characteristics of the boat:
- boat length 2.64 m;
- width 1.28 m;
- side height 0.38 m;
- total body weight 30 kg;
- load capacity 180 kg;
- capacity 2 people;
- permissible power. p / motor 2.5 hp
Thank you all for your attention!