

Good day to all!
Today, the article will describe the detailed manufacturing process of a milling table with a special pull-out stop. The author will step by step describe this process, which will be accompanied by a photo report.
To make a table we need.
Instruments:
- electric screwdriver;
- a hacksaw or other cutting tool;
- manual frezer;
- ruler;
- a pencil;
- roulette.
Materials:
- plywood 10 mm thick;
- bolts;
self-tapping screws.
So, let's begin.
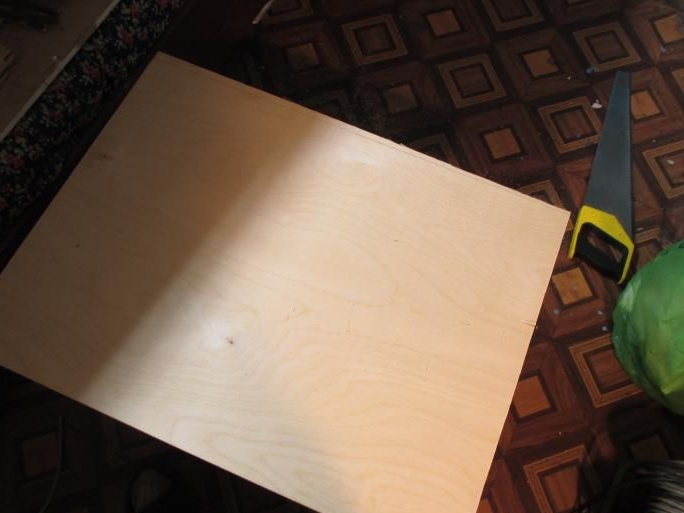
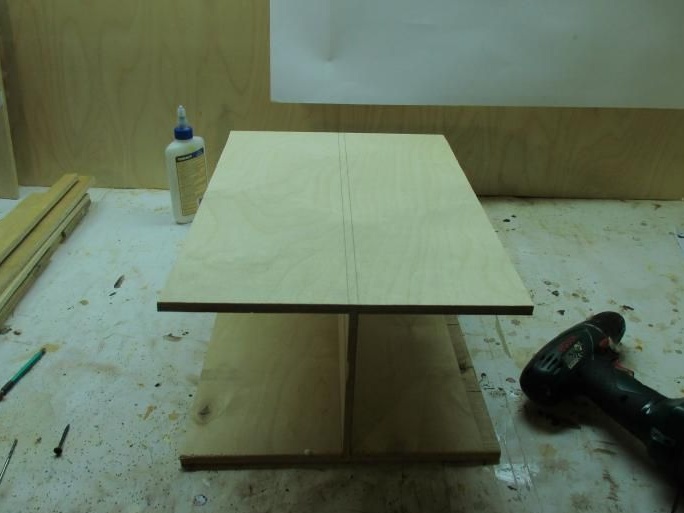
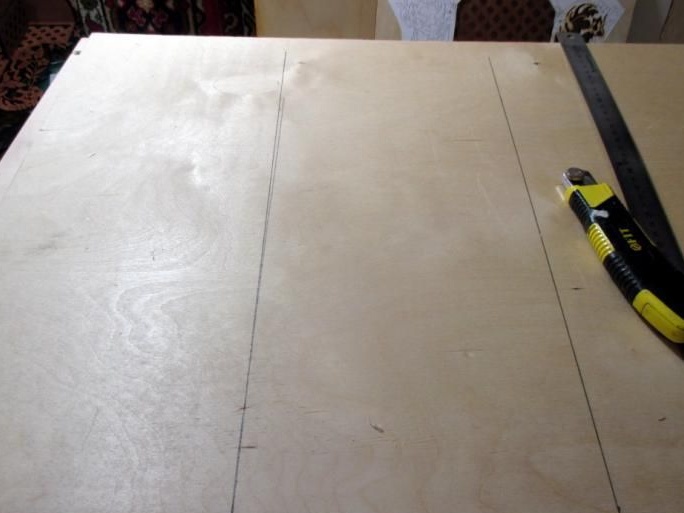
We take a sheet of plywood 10 mm thick, and cut out a piece of 49 x 65 cm in size, this will be the table top. As a cutting tool we use a hacksaw, or an electric jigsaw, or another available tool.
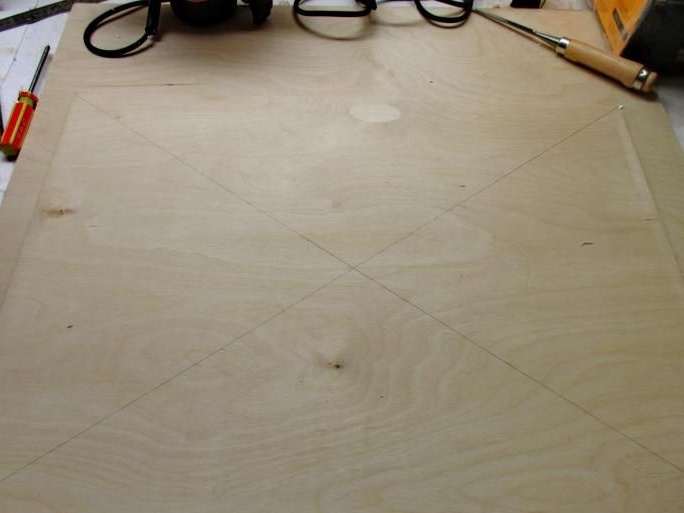
Now you need to determine the center of the workpiece, for this we take a pencil and a ruler and draw two diagonals, at the place of their intersection there will be a center.
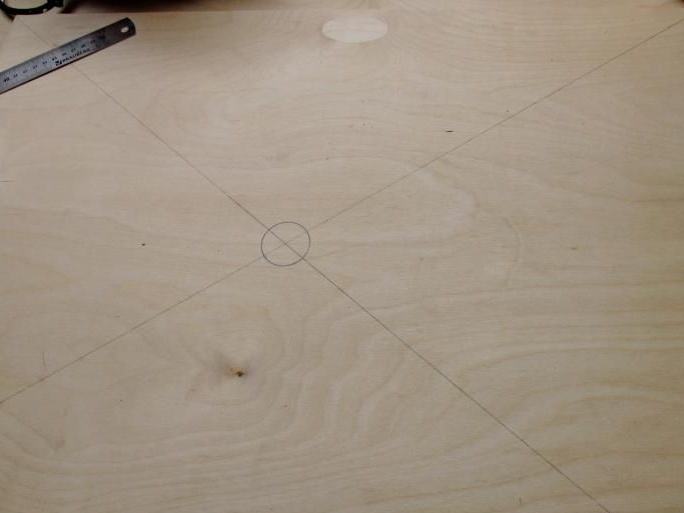
Further in the center you need to make a hole with a diameter of 38 mm, with the help of a compass we draw a circle. Through the hole, we can remove and replace the cutters if necessary.
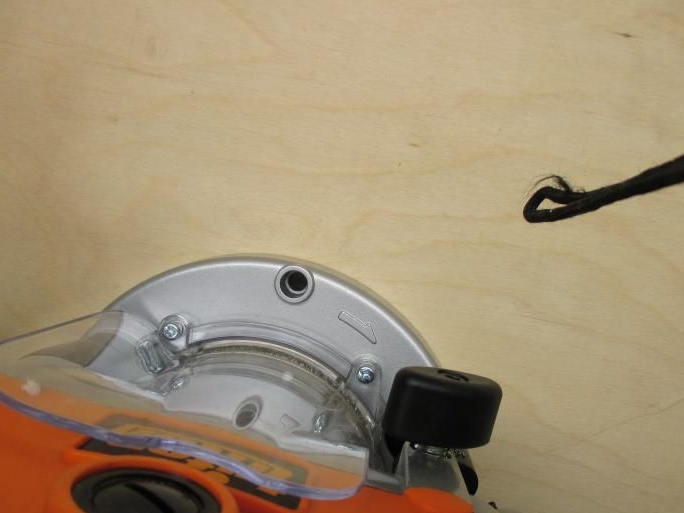
Then you need to mark the holes for mounting the milling cutter, to do this, you need to unscrew the sole from the milling cutter and attach this part to the center, as shown in the photo.
Using a pencil, make markup.
In order to cut a hole, the author used "nichrome".
Next, with a drill, we drill the remaining holes.
We take a milling cutter and try on, the holes should match.
We countersink holes.
Then, using a special bolt with a sweat, fix the milling cutter.
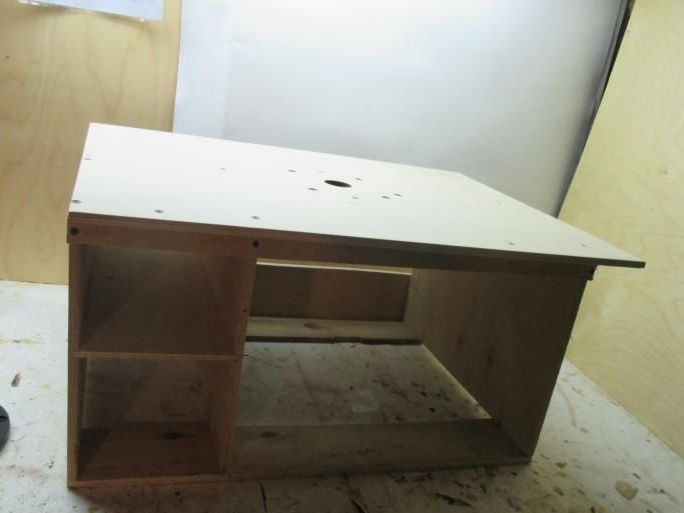
Next, the manufacturing process of the cabinet will be shown.
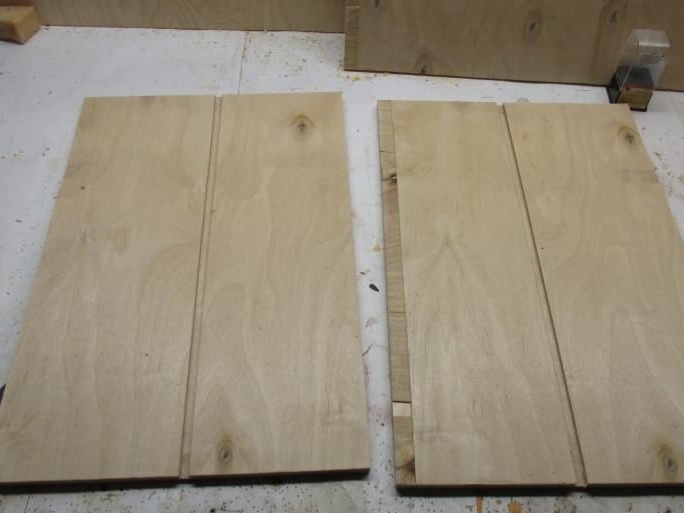
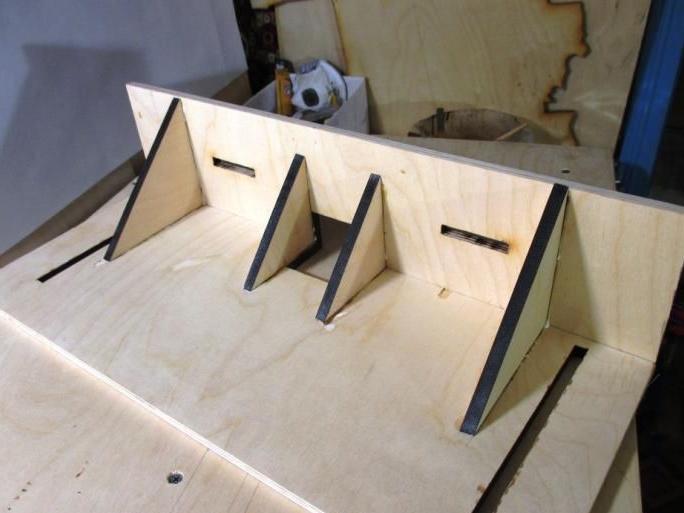
We cut out three side walls from plywood, with the following dimensions: height - 30 cm, width - 35 cm. As the table will be designed with drawers, which will subsequently store everything necessary for the milling cutter, we make grooves for the shelves and use a milling cutter.

You need to do this on two side blanks.
When everything is ready, we cut out the shelf, and fasten it to the sides, we use self-tapping screws as a fastening element, be sure to check for a 90˚ angle.
In order for everything to hold firmly, and there are no offsets, add horizontal crossbars from the back of the table.
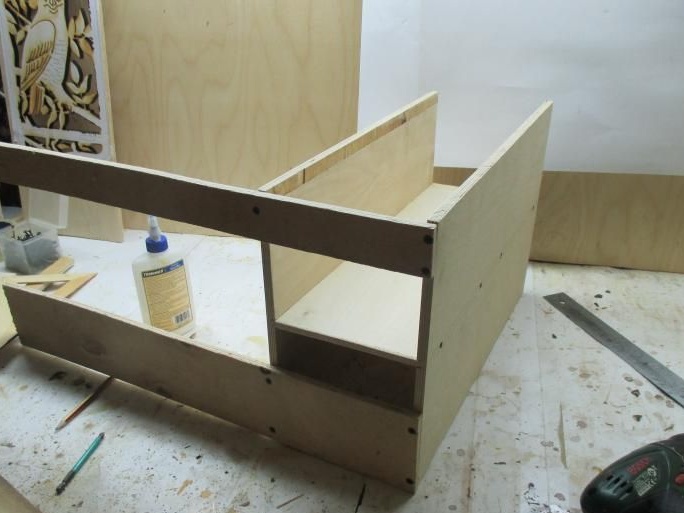
We fix everything with screws, add a third sidewall.
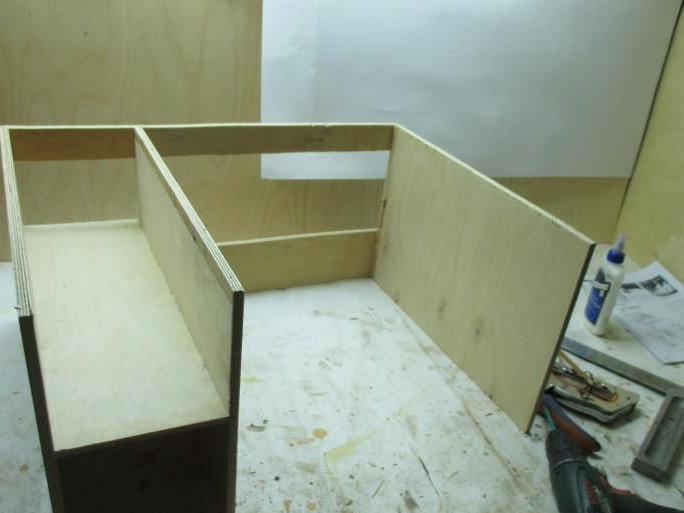
Next, cut out and fasten the two crossbars from below.
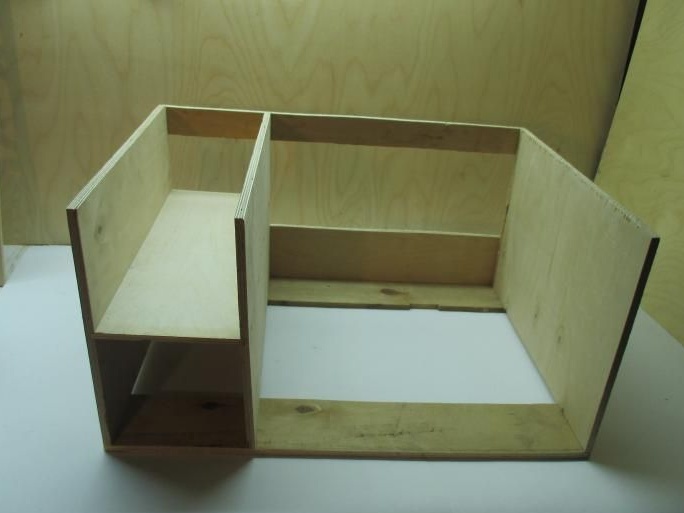
Then we take a ready-made tabletop, and install it, fasten it with self-tapping screws, be sure to check for bends and distortions, they should not be.
Install the router in its place
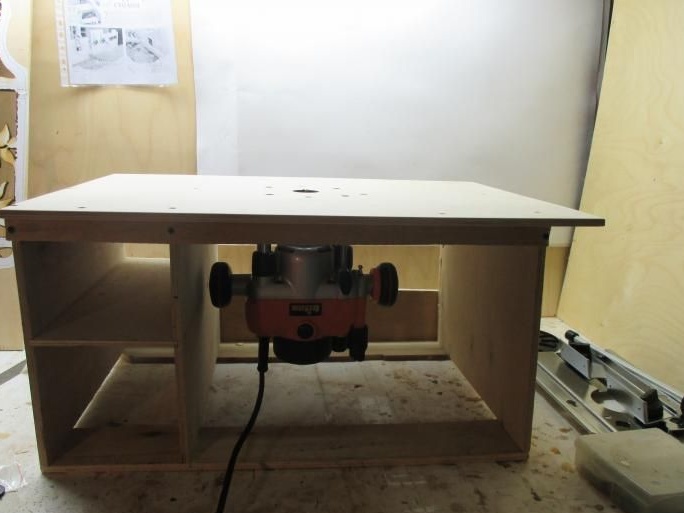
The table is ready.
According to the author, the test was excellent.
It remains only to finish the boxes.
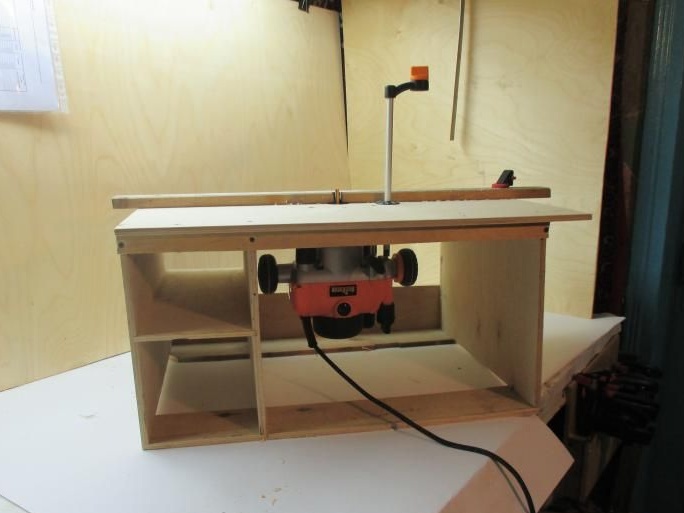
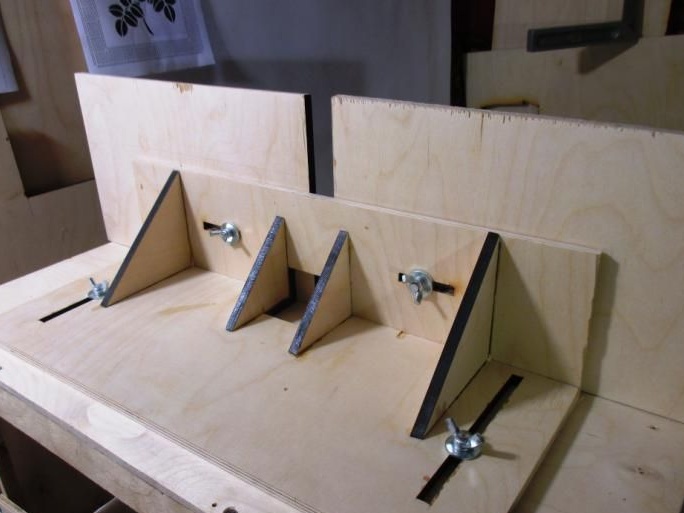
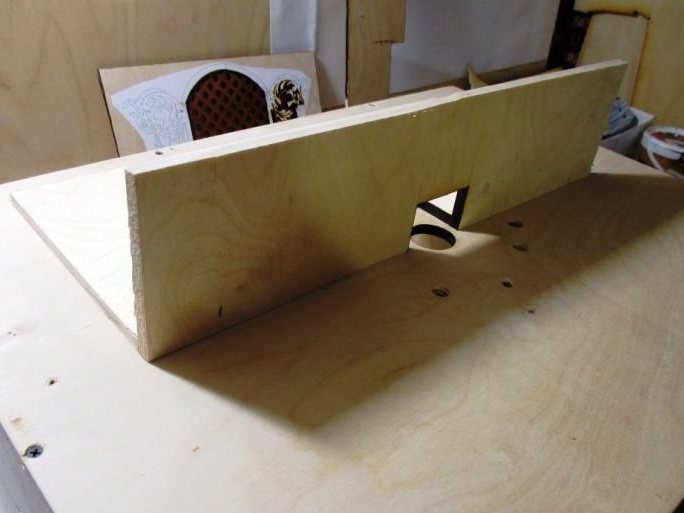
Next, the manufacturing process of the table stop will be described.
We use plywood 9 mm thick as the material, cut out the base of the stop and the side. The base is 30 cm, the side is 10 cm, then you need to cut out a small window, 5 cm high.
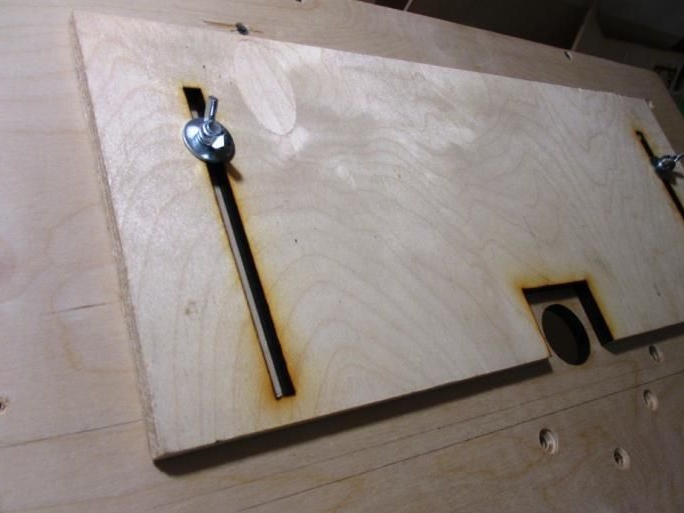
Then we make the marking of the grooves, thanks to them, the emphasis will move around the table, and be fixed in the desired position.

In the same way we make markings on the side, on it will be the so-called sliding "cheeks".
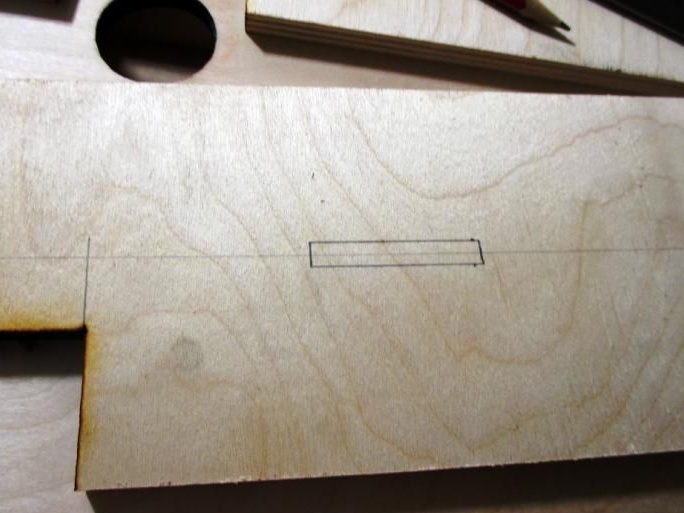
The following should result.
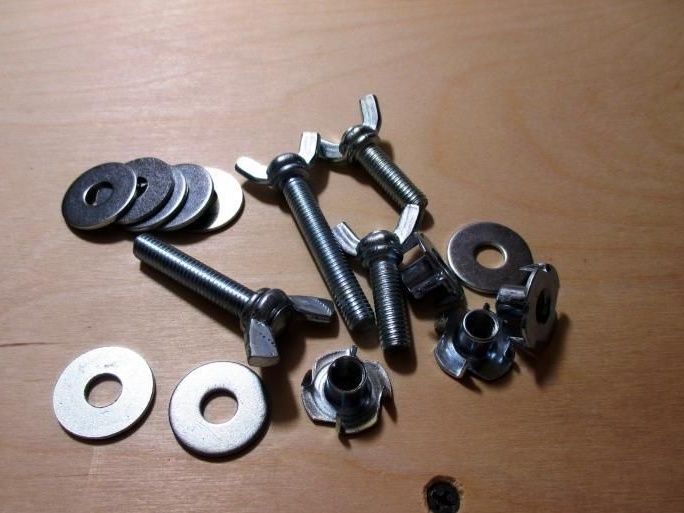
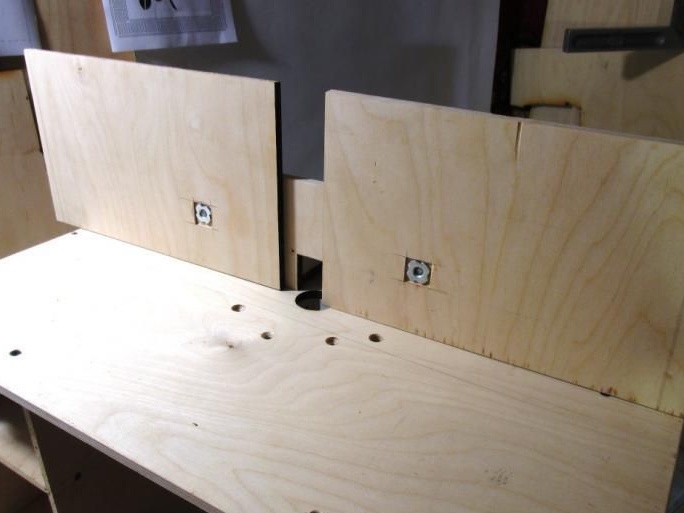
In order for the emphasis to be fixed and moved, we use these fasteners.
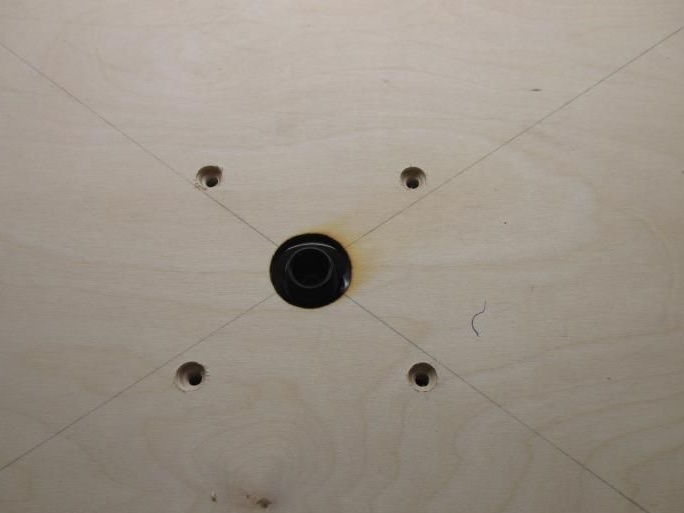
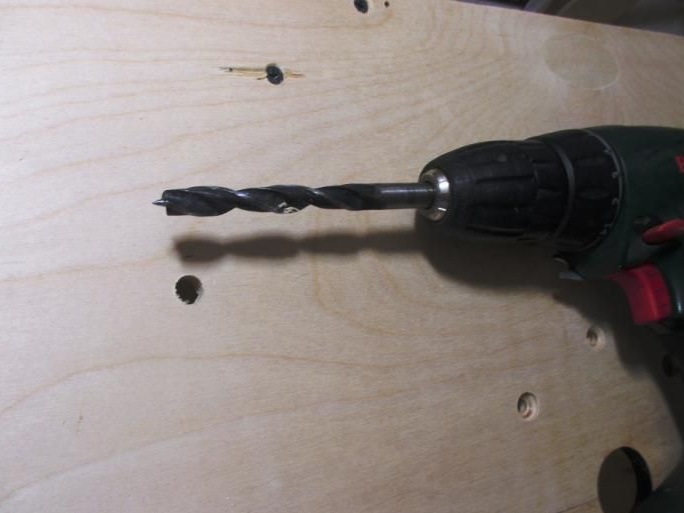
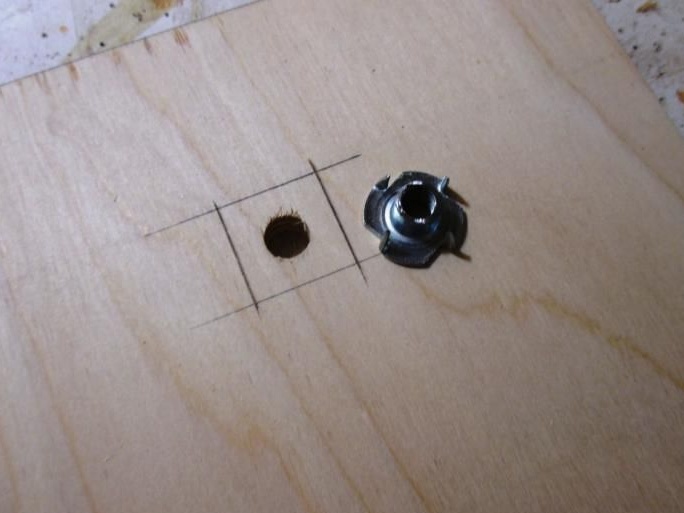
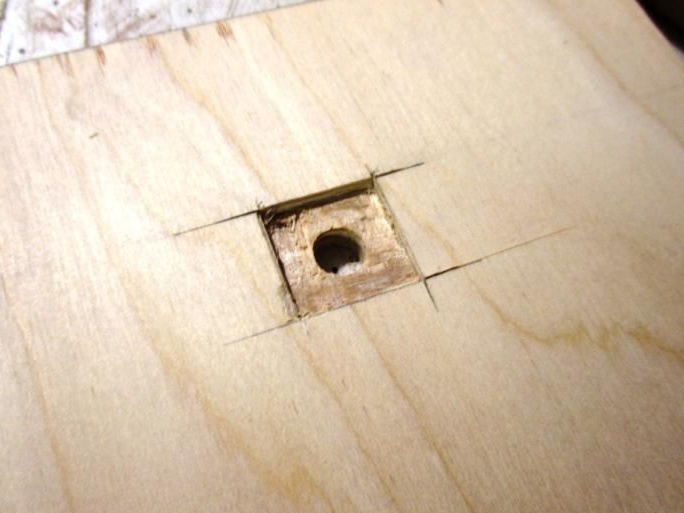
Next, make holes in the table top, use a 10 mm drill.
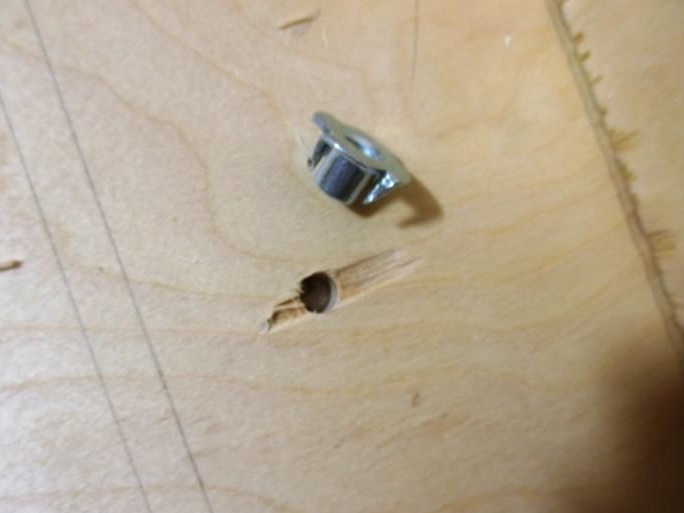
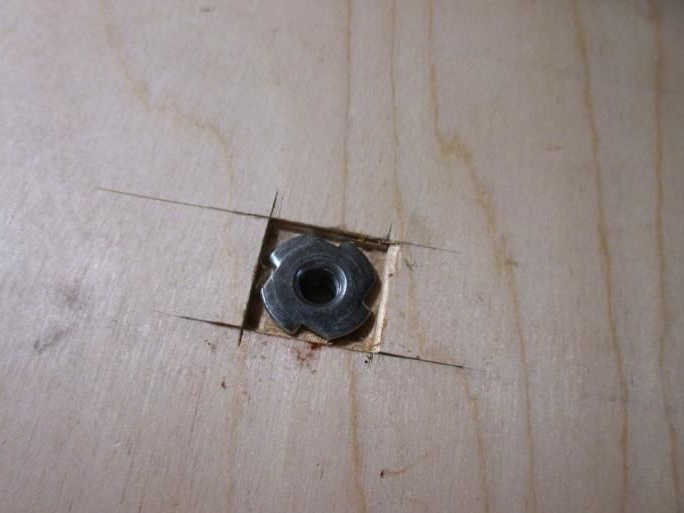
Then we take a hammer and hammer in such a nut, it should be located on the back of the table.
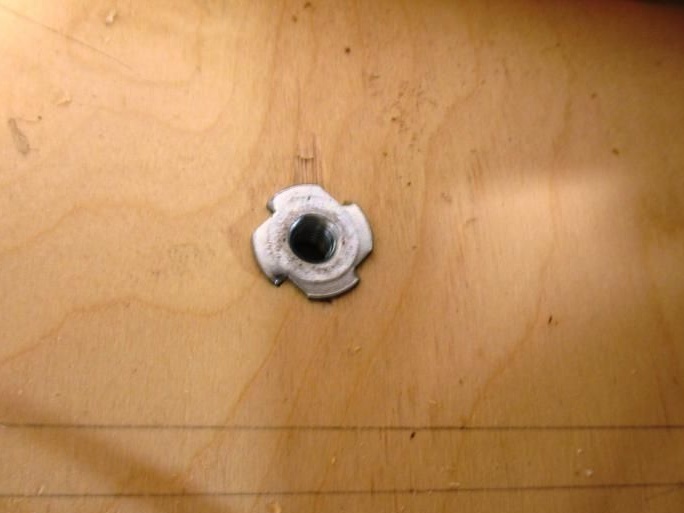
View from below.
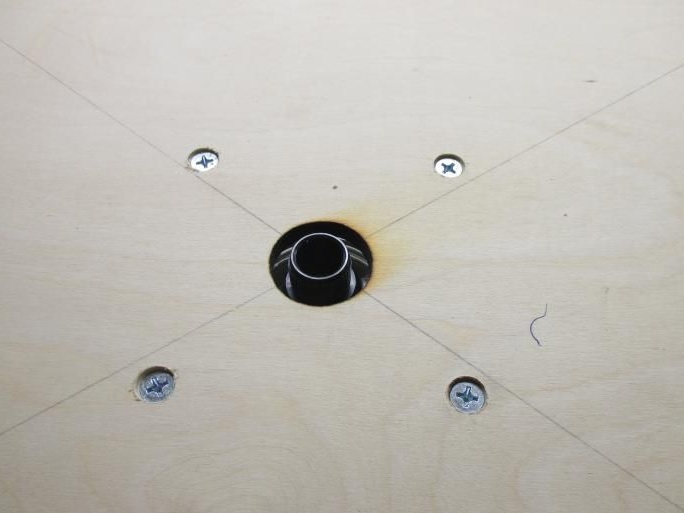
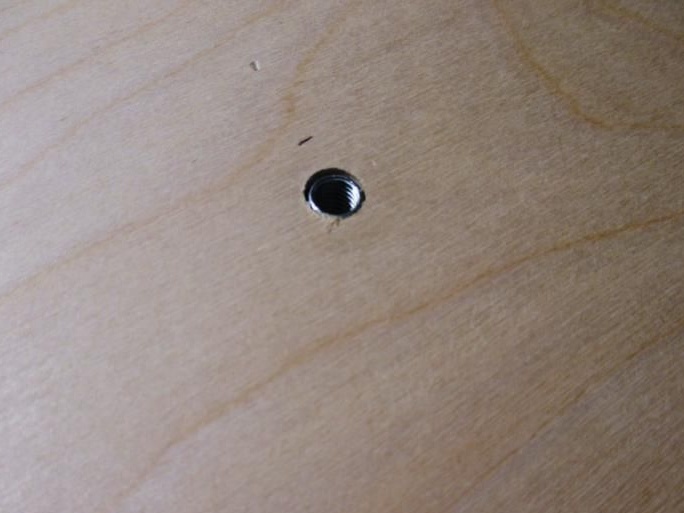
And so it looks on the front side.
We screw fixing elements.
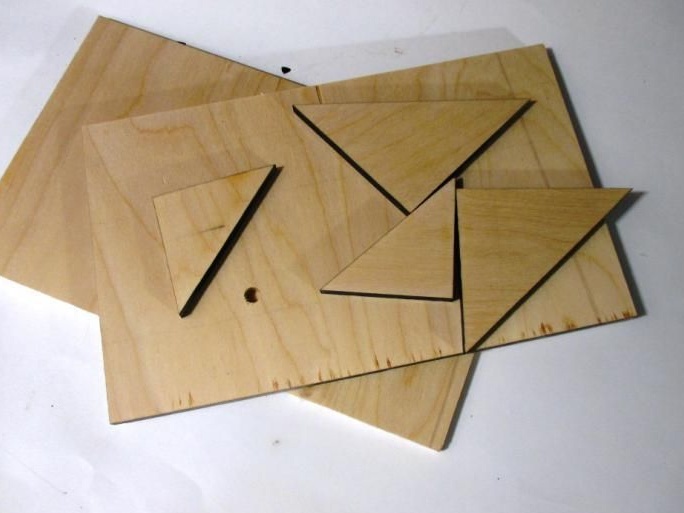
Now we need to connect the base with the sidewall, we look so that the angle is 90˚, for this we use these triangles.
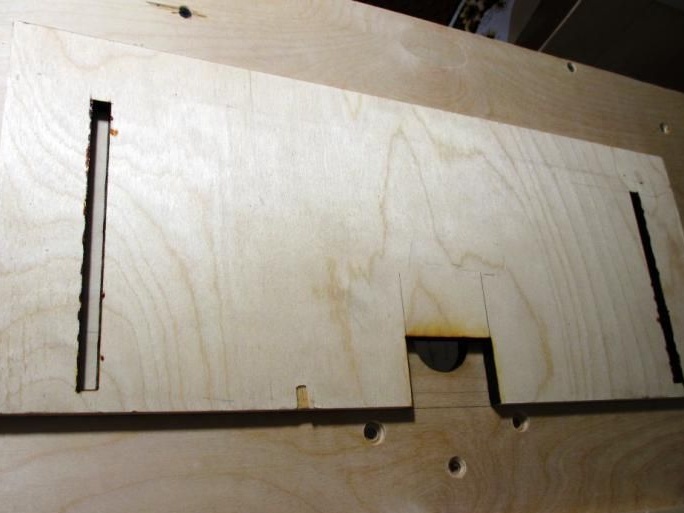
Next, we move on to the sliding "cheeks." Since the nut goes to the front side and sticks out a little, and this is unnecessary for us, we make a small depression, and then we sit it there, I give an example in the photo.
As a result of all the actions, we got such an emphasis.
Height allows you to mill parts from the end, in general, it turned out like two tables - this greatly simplifies some operations.
And also if under one “cheek” to lay a gasket, then you can use the router as a jointer.
This article can be considered finished, thank you all for your attention!