Hello everybody !
The author devotes this workshop to our beloved women.
We, men, the majority have garages, workshops, and similar secluded places in which we often spend a lot of time doing repairs, constructing constructions unknown to humanity homemade, or just do other useful things. What am I leading to, YOU ask? Besides the fact that beloved women are also not simple, and they like to craft no less, we are not talking about large-scale works, such as, for example, “Home-made manual flamethrower for baking home cookies ”, or“ Unmanned jetpack capable of shopping at supersonic speed ”, no, I’m not talking about that, but about this kind of craft needlework, knitting, embroidery, etc. I want to say that with you ladies should also have, if not a whole workshop, but a place close to these parameters, the so-called own corner, in which all the necessary materials will be stored, and the tools necessary for needlework, to which there will be access to any free time. As you probably already understood, today we will collect a special shelf for the “Craftswoman”.
To create a shelf we need.
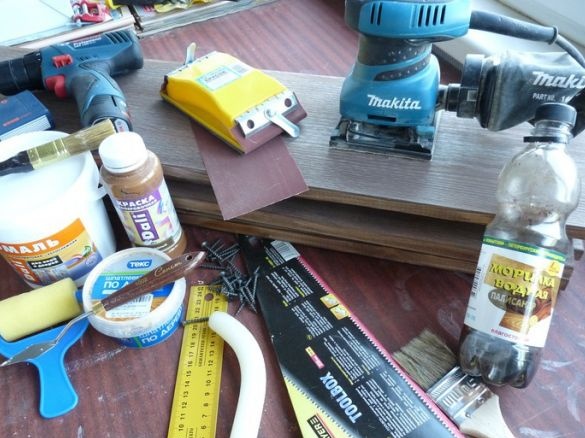
Tool:
- screwdriver;
- Sander;
- sandpaper;
- electric jigsaw;
- hacksaw for wood;
- construction square;
- roulette;
- a pencil;
- brush;
- clamps;
- roller;
- a small trowel;
- nails;
- self-tapping screws.
Material:
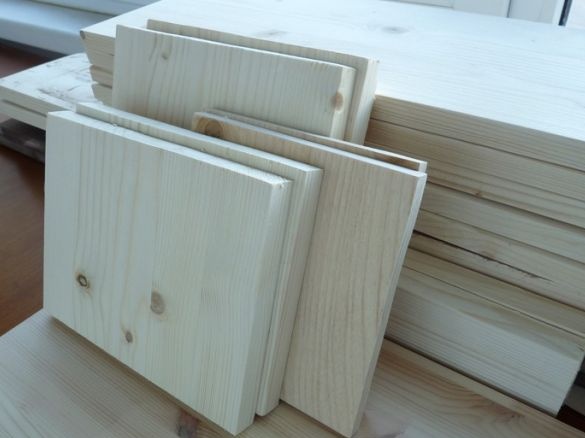
- boards of a certain length;
- putty on wood;
- stain;
- wax;
- White paint.
Let's start manufacturing.
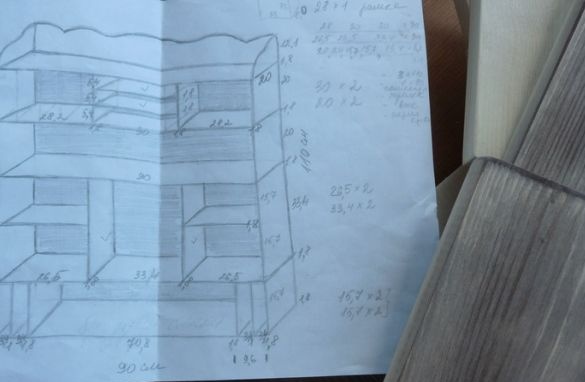
In order to make it clear what’s what, the author gives a detailed diagram on which all the dimensions of the manufactured parts are painted.
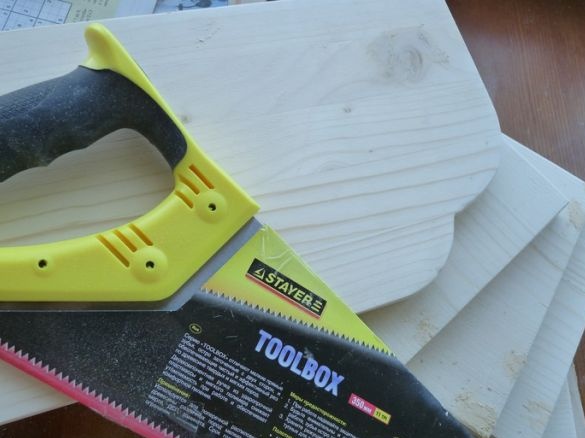
First of all, we cut the workpieces, according to the presented sizes, we use a hacksaw or an electric jigsaw.
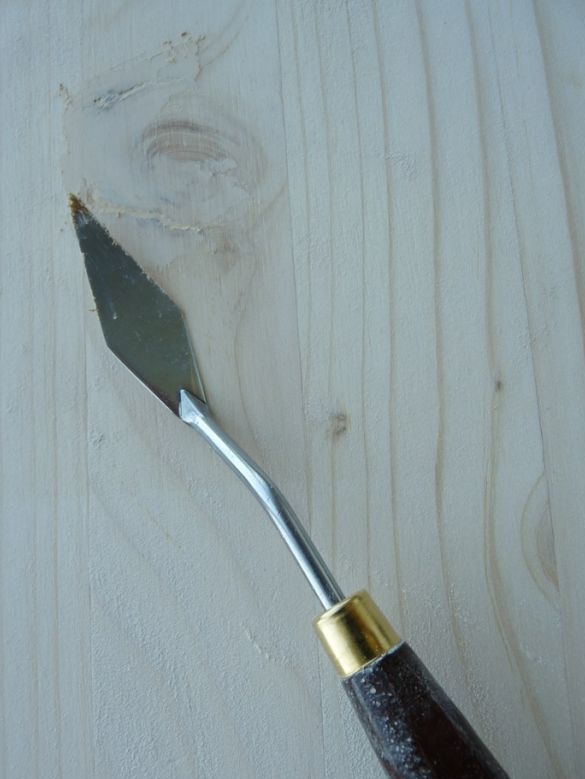
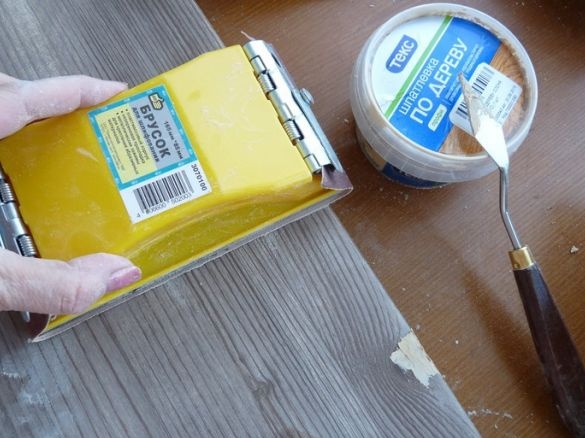
Using putty on wood and a small trowel, we cover all existing cracks on the surface of the wood.
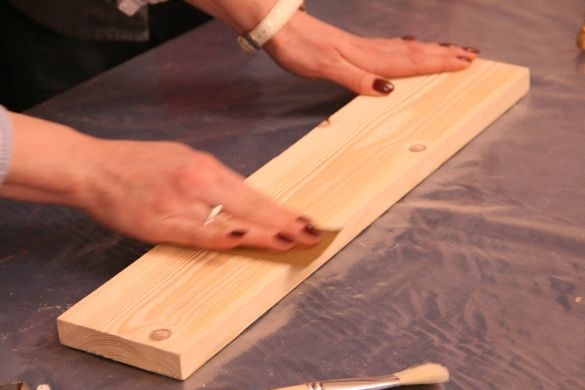
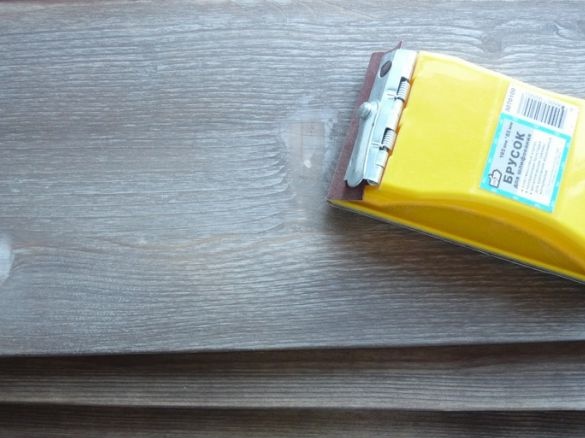
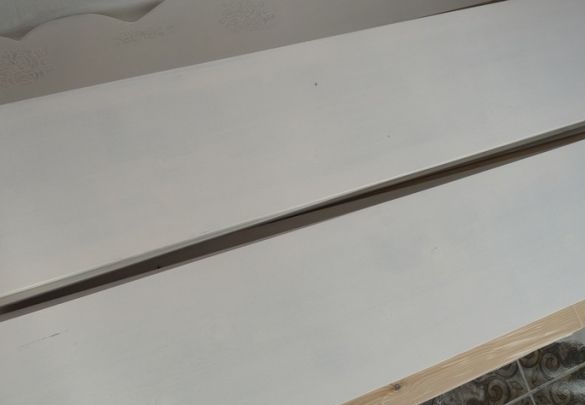
Then we grind all the details, the surface should be smooth and not have any irregularities.
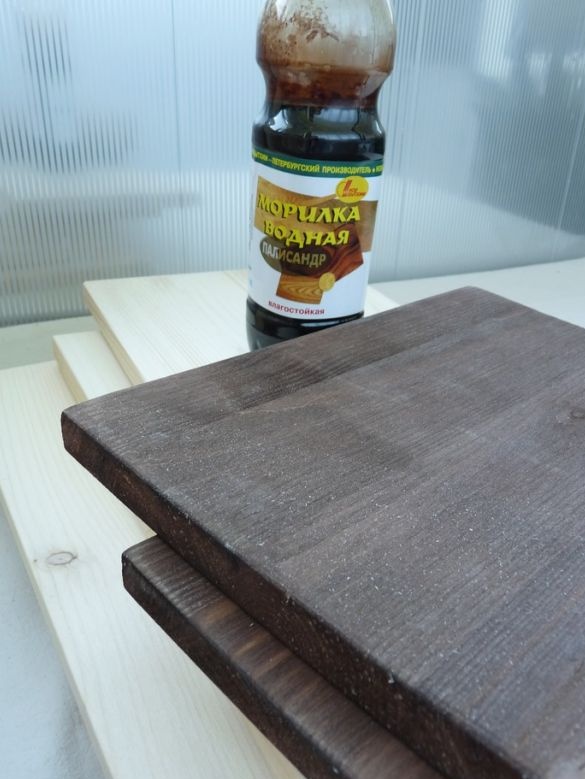
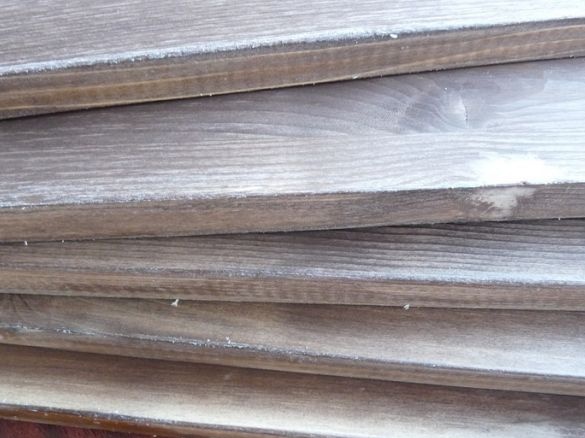
Then with the help of a stain we give the tree a color, in this case the color “Polysander” was used.
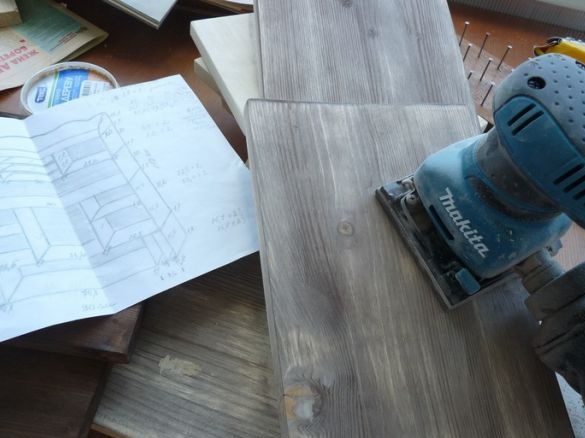
After drying the stain, we also go through sandpaper, giving the tree a more pleasant light.
In order to simplify the grinding process and speed it up, we use a special grinding machine.
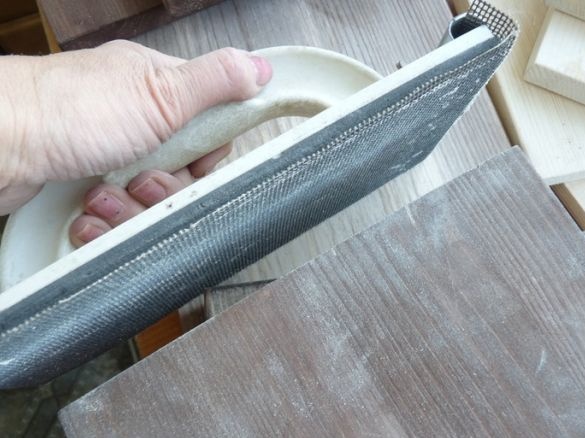
We grind the ends with a special grater, it is best to smooth rough surfaces with it.
Finally, we grind again.
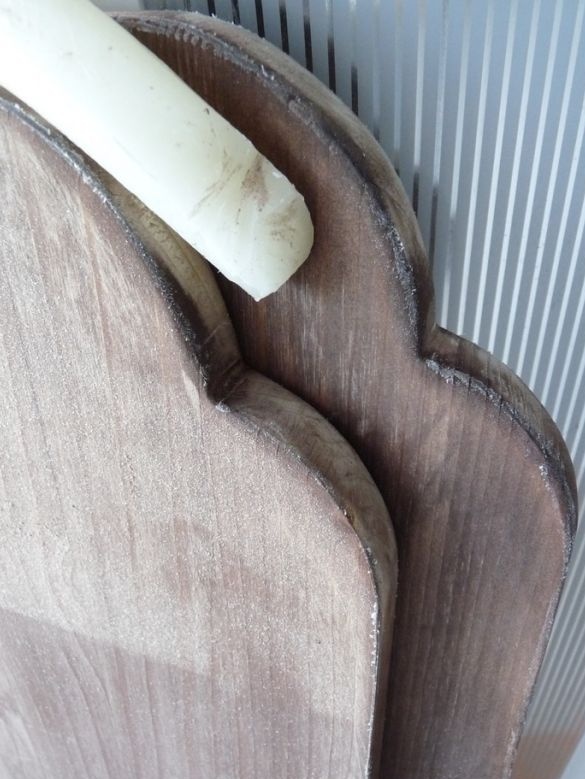
In order to protect the surface from the environment, we rub the wooden surface with wax.
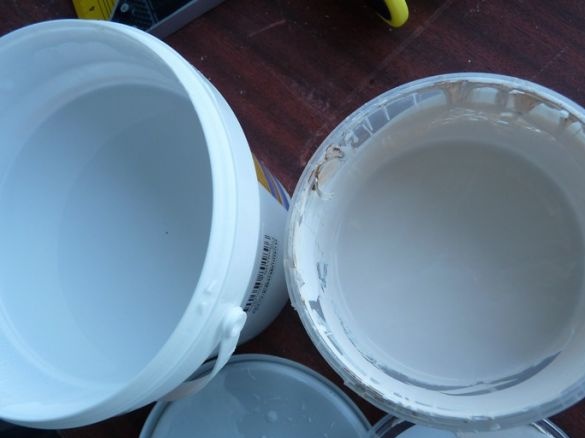
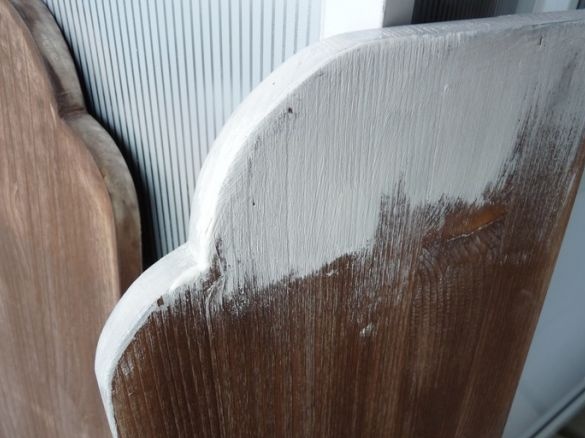
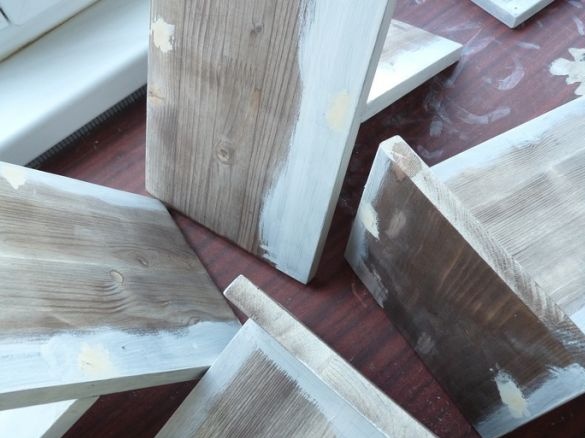
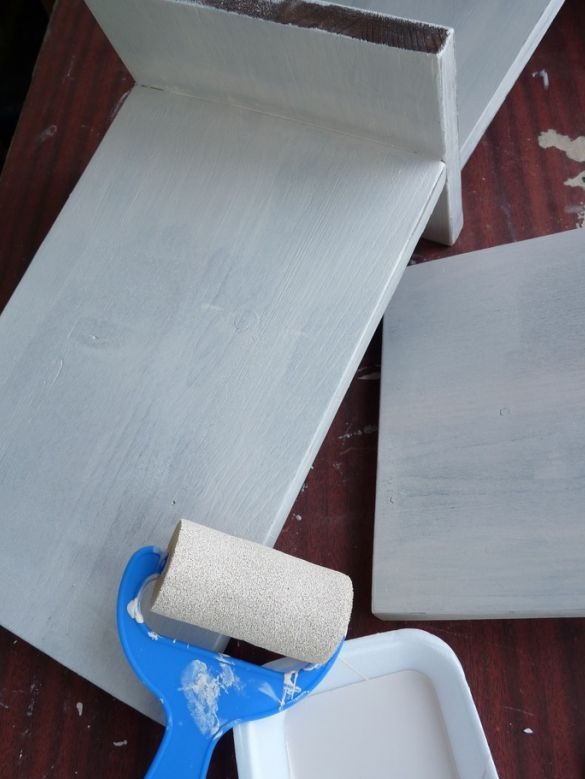
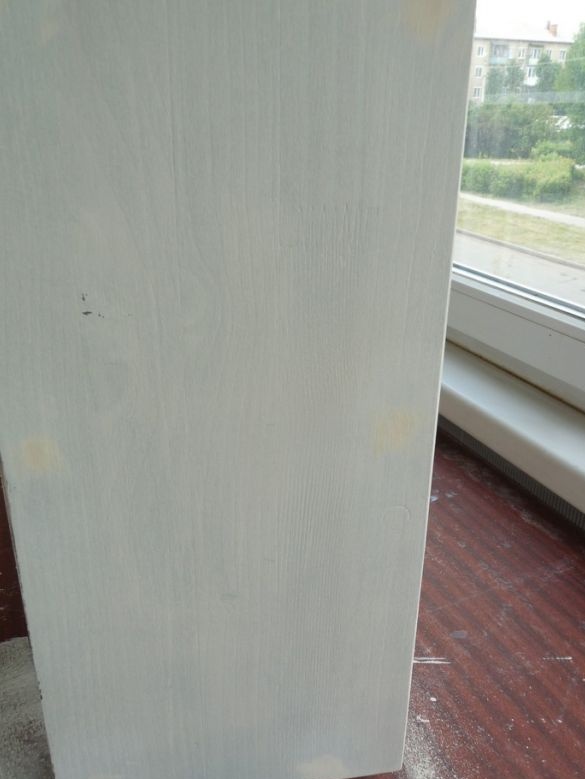
During the manufacturing process, the author came to the conclusion that the color does not quite harmonize with the surrounding interior, and a decision was made to repaint this color in lighter tones, namely white. This is more of an author’s preference, you can leave everything in the same color, in general, see how you like more.
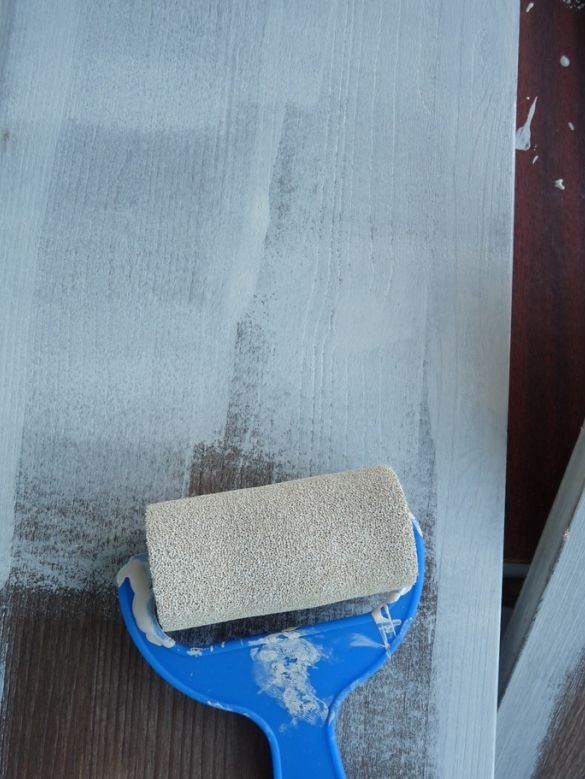
We make painting. Use a brush or a small roller.
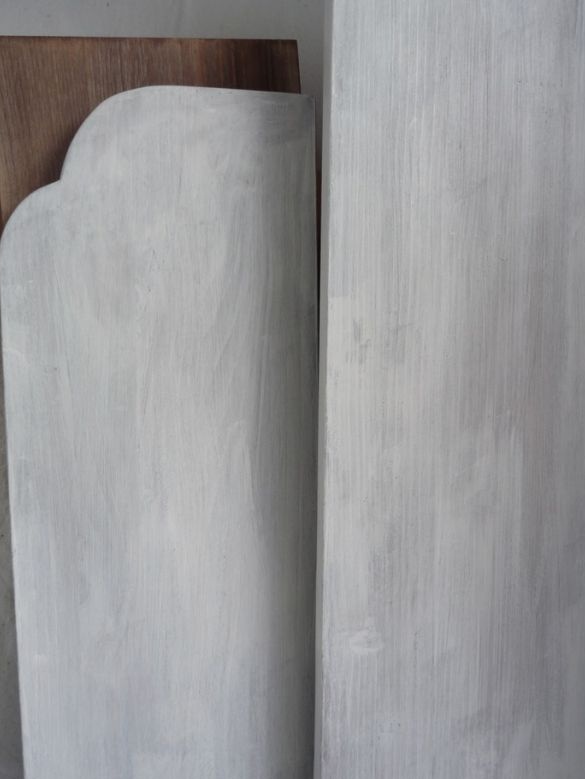
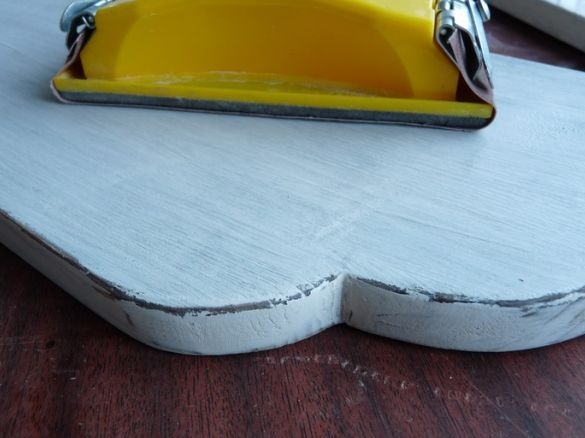
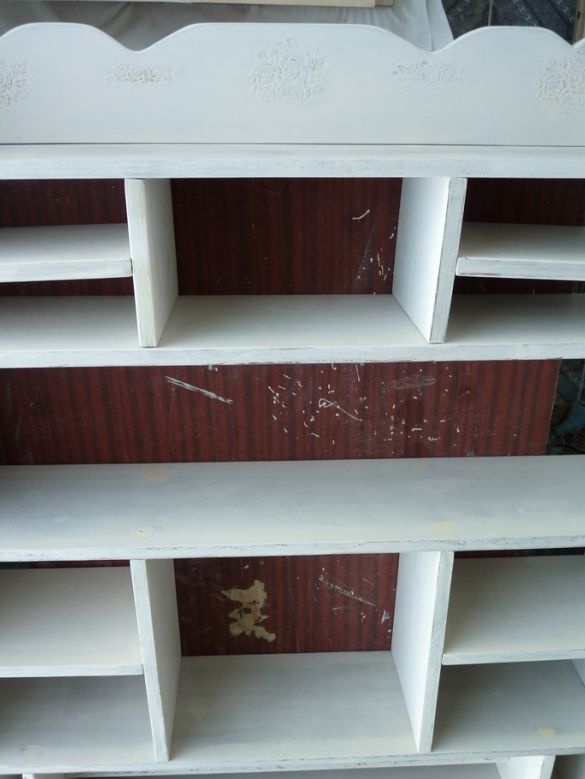
When the paint has dried, we pass sandpaper along the edge of the tree, this in order to give the tree the effect of an old thing.
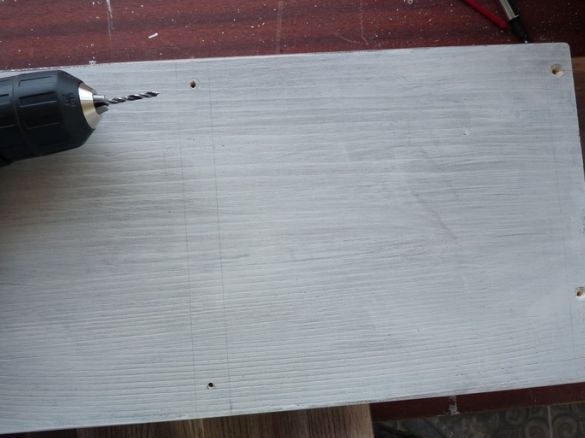
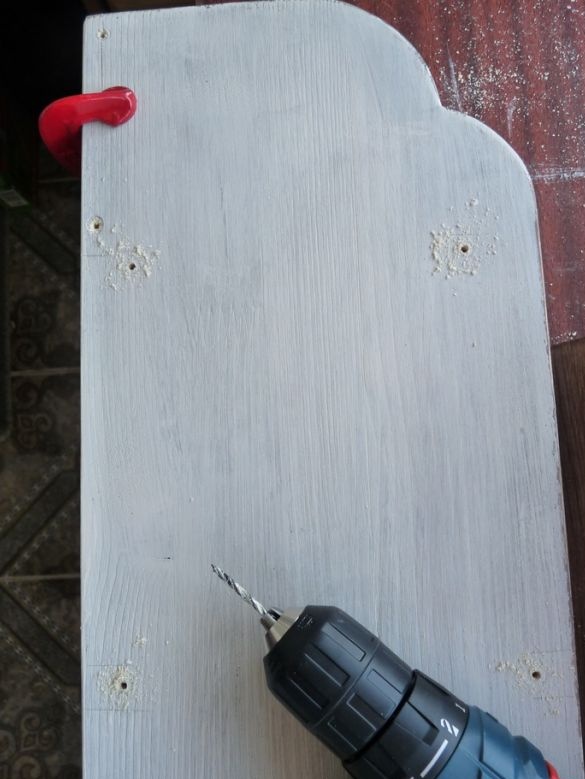
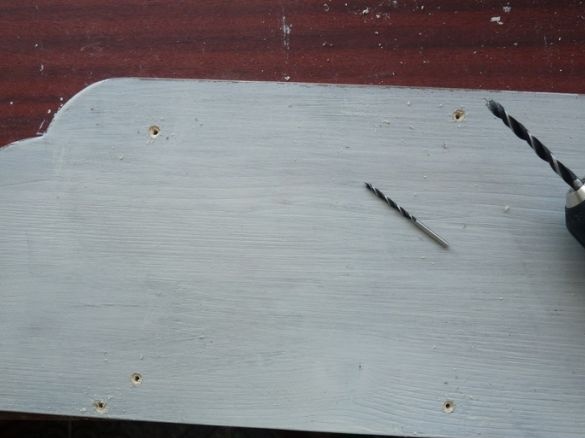
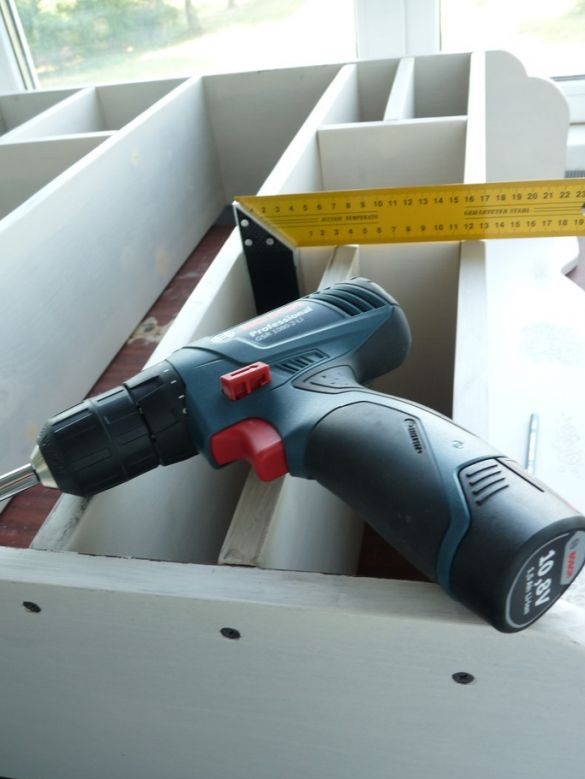
Next, when all the parts are ready, we markup, drill a hole for the screws.
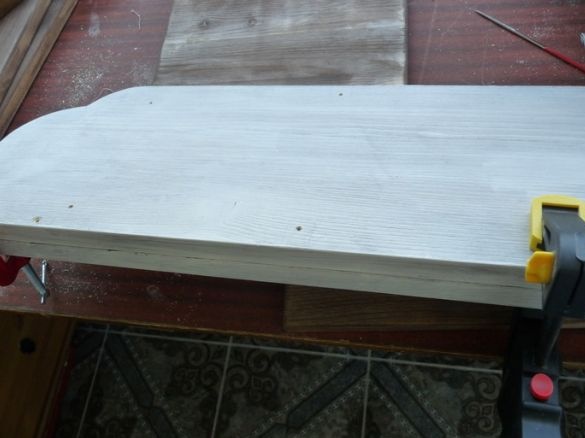
Paired parts, on the example of shelves, are drilled at the same time, fixing them with clamps.
In order for the screws to not protrude on the surface of the board, they need to be “drowned” a little, we countersink holes with a drill of a larger diameter.
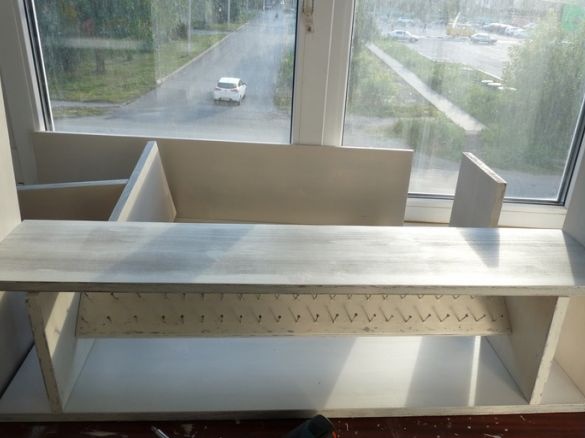
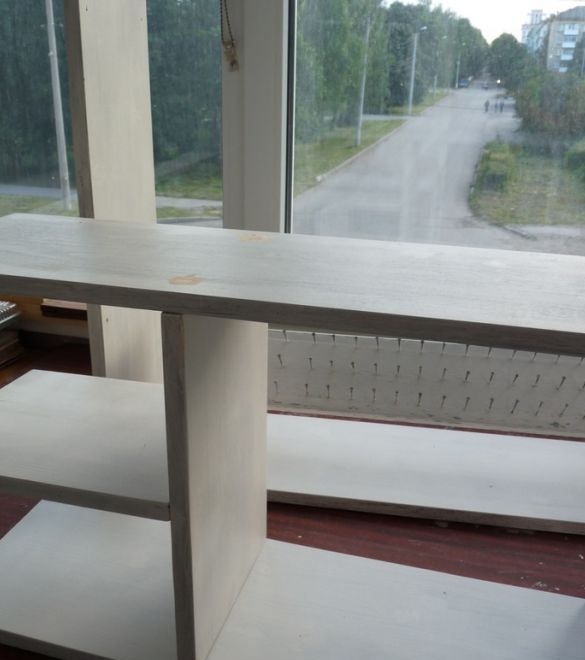
We assemble the frame.
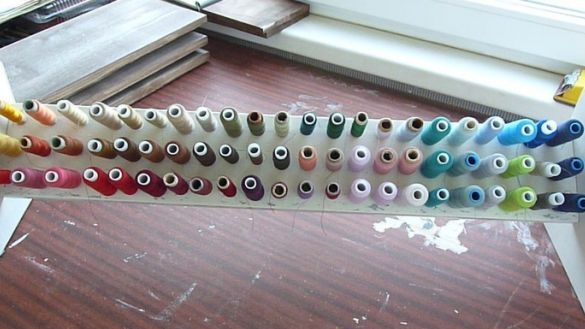
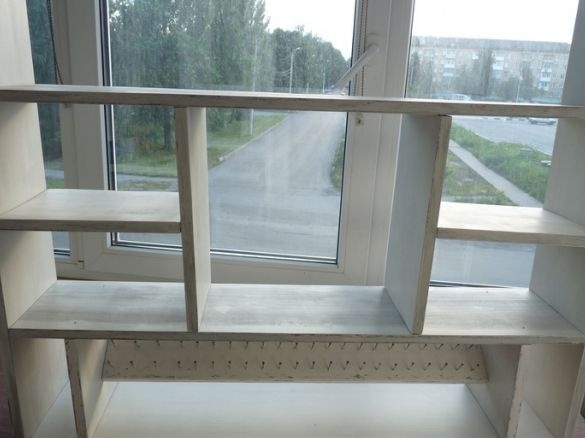
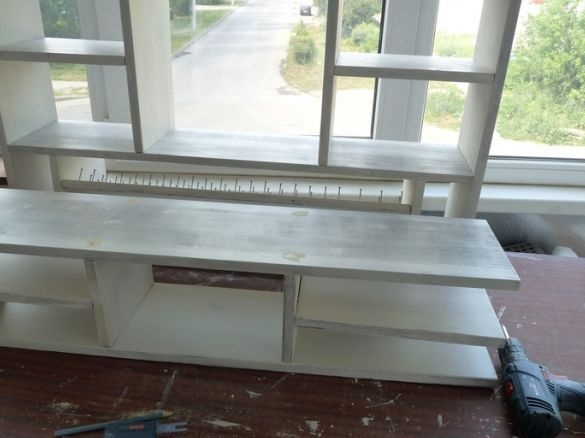
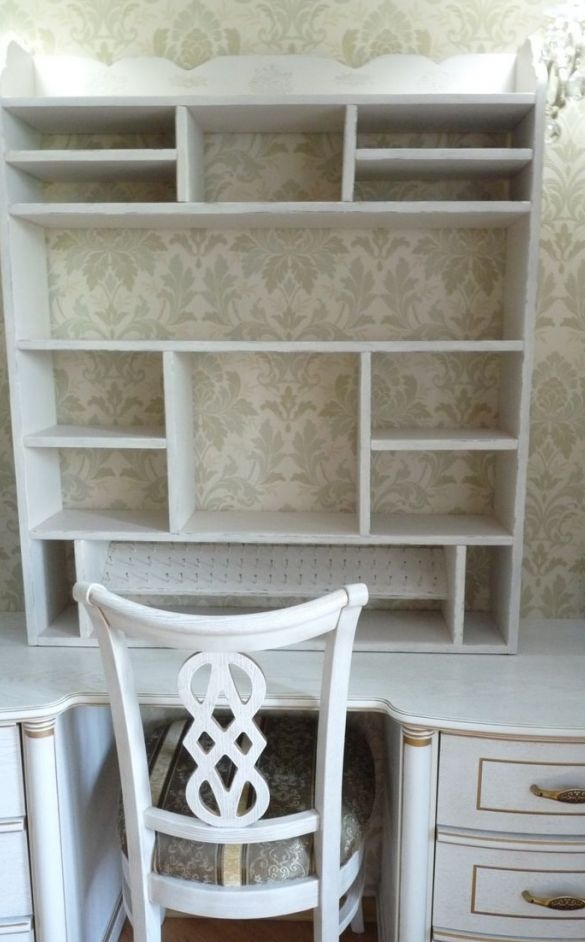
This photo shows the already assembled lower frame, on which, as you can see, a special shelf for spools of thread is made. They dress on nails that are driven into the board at the same distance from each other.
We continue to assemble the structure, moving from bottom to top.
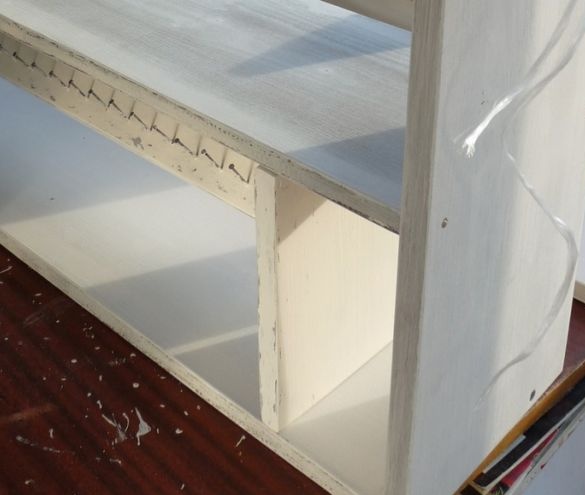
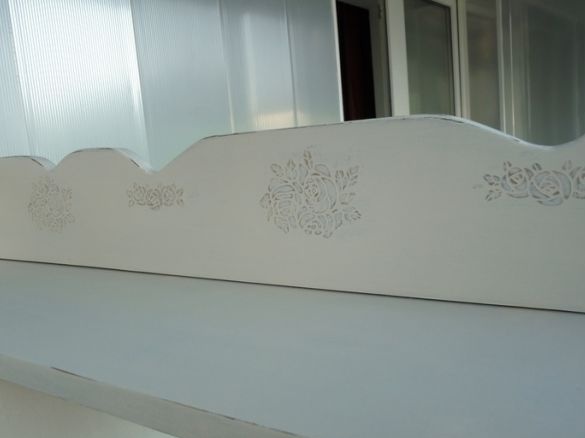
The last part that we fasten is the top module, on which curly cuts are made.
During assembly, it is necessary to ensure that all parts are exposed at the right distance, in order to avoid unnecessary distortions.
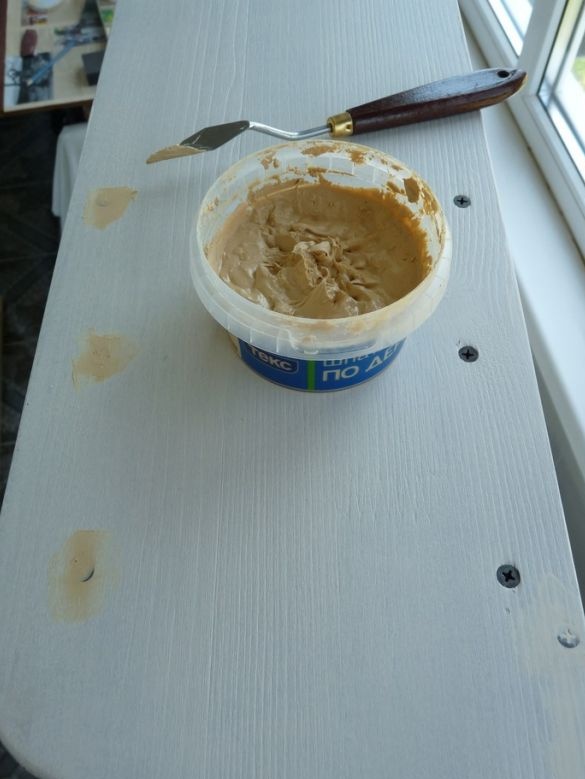
Next, hide the screws, for this we use putty and a small trowel.
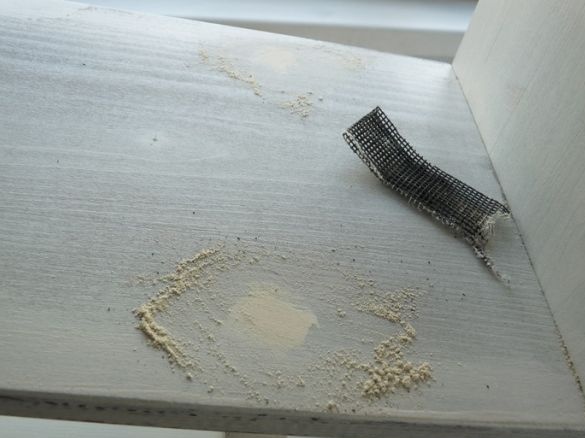
When the putty is dry, wipe it with sandpaper and apply several layers of paint.
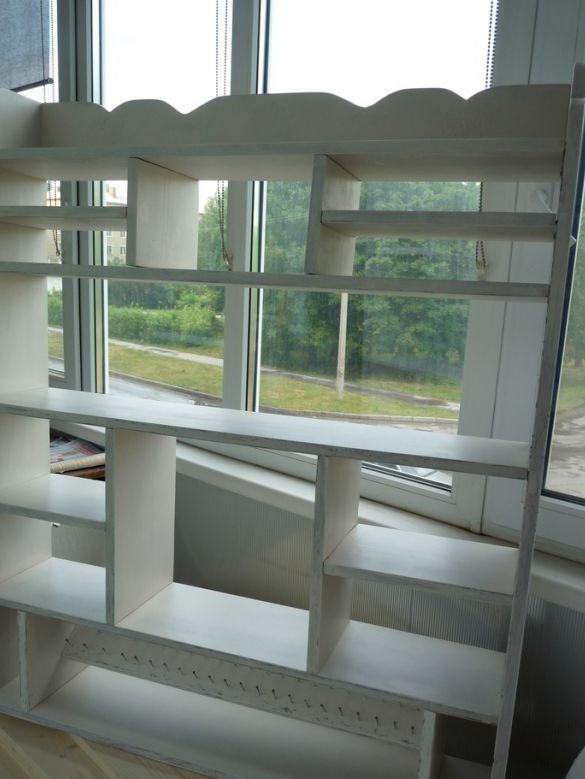
The shelf can be considered complete.
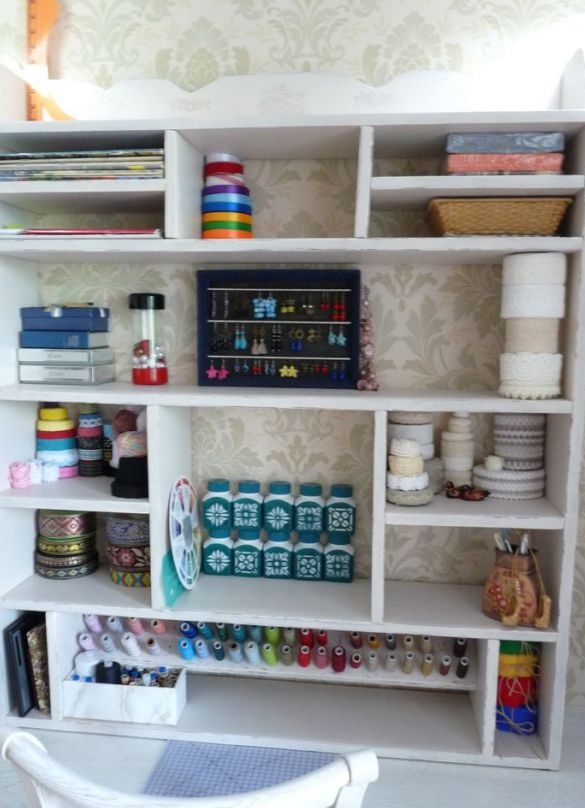
So she looks in the finished version.
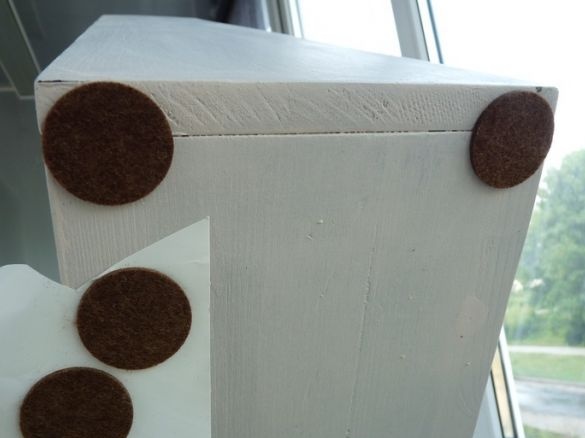
Since the shelf will stand on the table, as in this case, special softening felt substrates are glued to its bottom.
We put the shelf in its place.
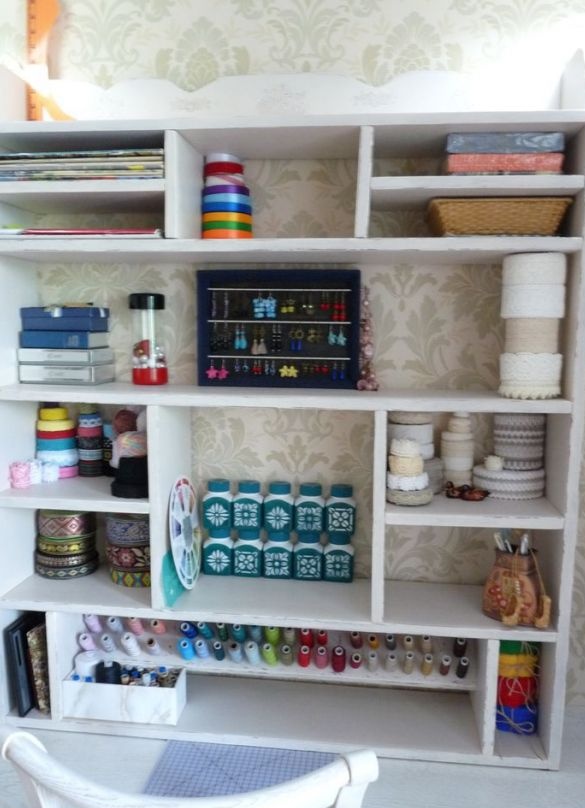
Next, we call your beloved soulmate so that it fills all the niches with all its necessary material and tools.
The home workshop is ready!
This work can be considered finished.
Thank you all for your attention!

