Dear site visitors, in the master class presented by the author, you will see how
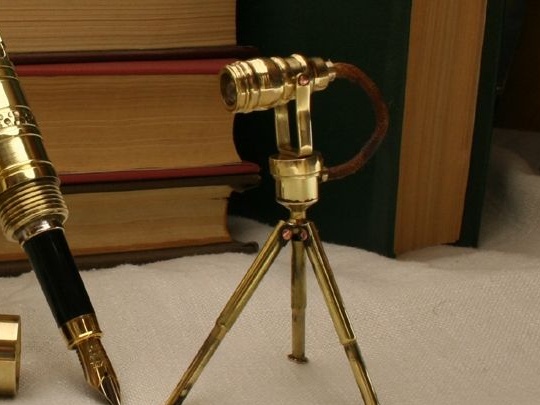
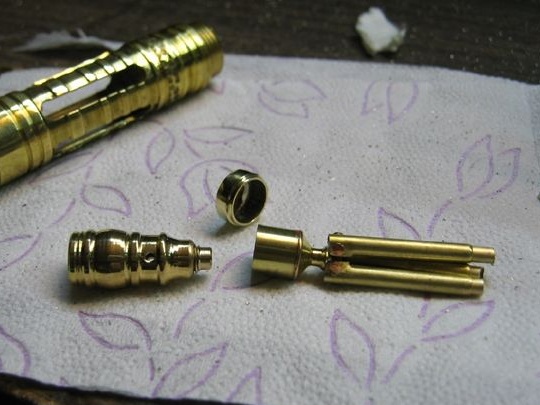
do it yourself you can make a miniature spotlight in the style of "Steampen". The master made this product in a kit for a fountain pen and presented us with a complete and detailed overview of the work process.
The work was carried out very complex and painstaking, one can even say jewelry, because the parts and connections are very tiny.
And so, let's take a step-by-step look at and evaluate the work of the author, and also find out what he needed?
Materials1. copper wire 1.2, 1.0, 1.5 mm
2. brass sheet 0.6, 0.8 mm
3. brass tube with thread m 4 and m 5
4. brass bar 10 mm
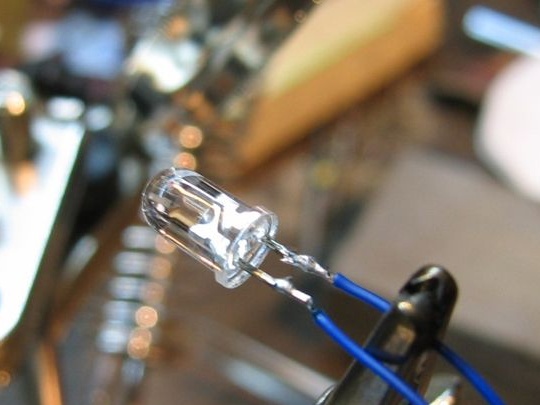
5. LED (white light)
6.3 batteries
7. brass tube d outer (8,) (3,1) (2.8) mm
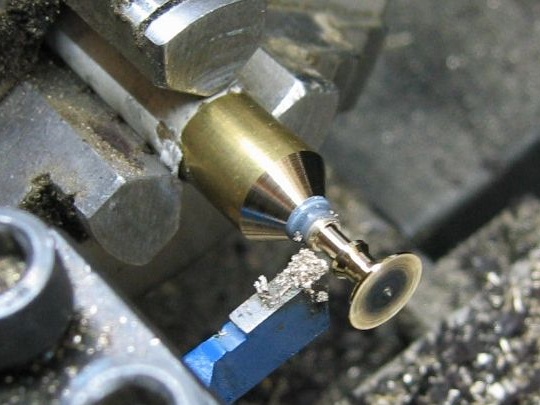
Instruments1. lathe
2. drill
3. mini grinder
4. hacksaw
5. jigsaw
6. file
7. sandpaper
8. file
9. velvet
10. pasta
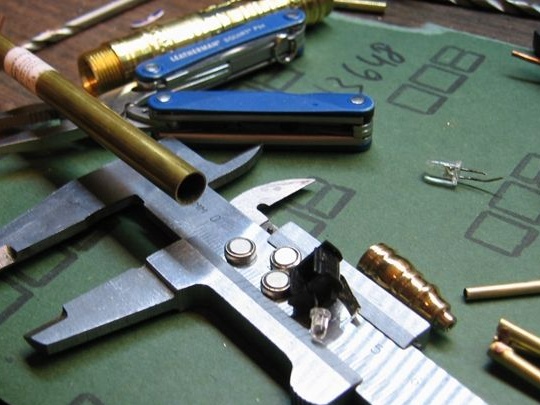
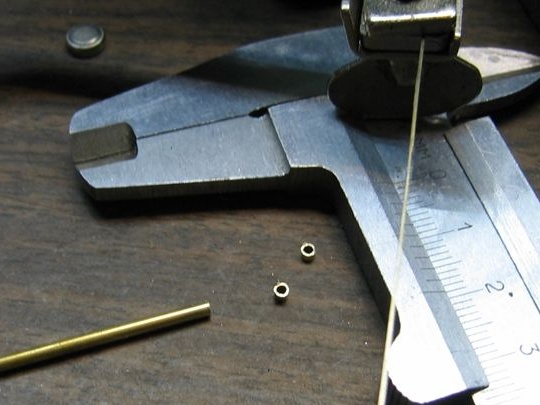
11. vernier caliper
12. vise
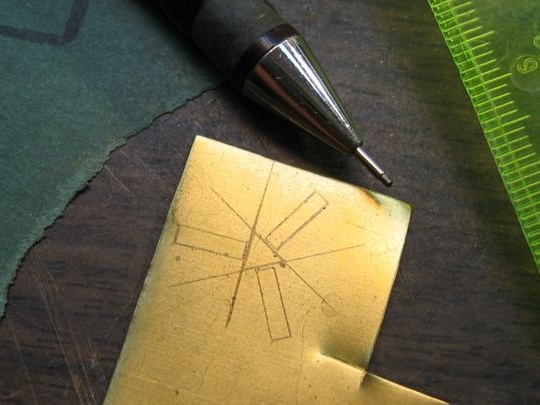
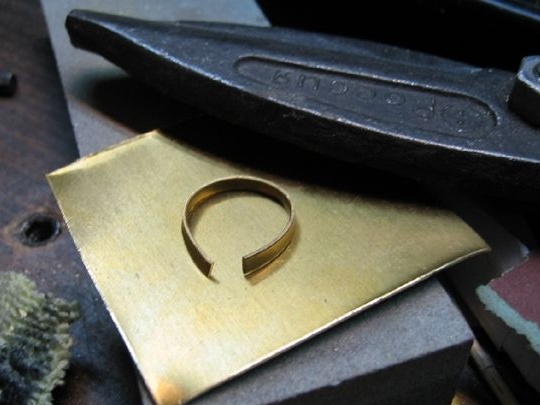
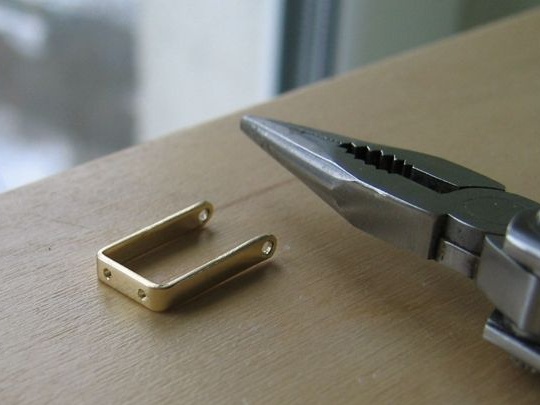
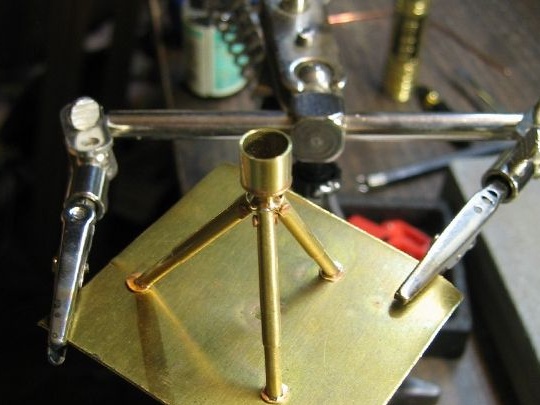
The process of creating a do-it-yourself spotlight.And so, first of all, the author begins to make the base of the lighting device, where the legs, the container with batteries and the spotlight itself will be attached. To do this, the author takes a piece of sheet brass and draws a sketch on it, then carefully along the intended contour, with the help of scissors for metal, cuts out the necessary part.
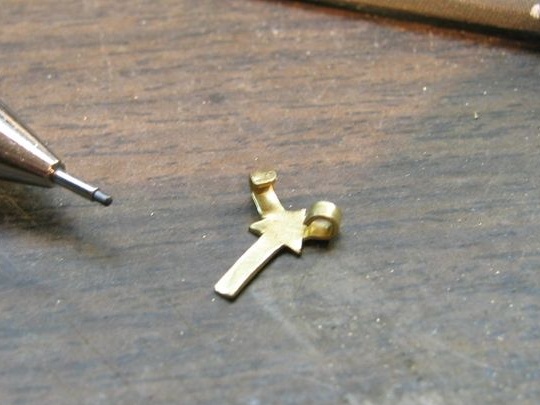
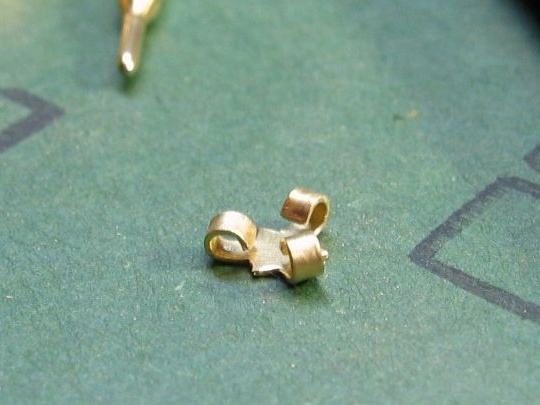
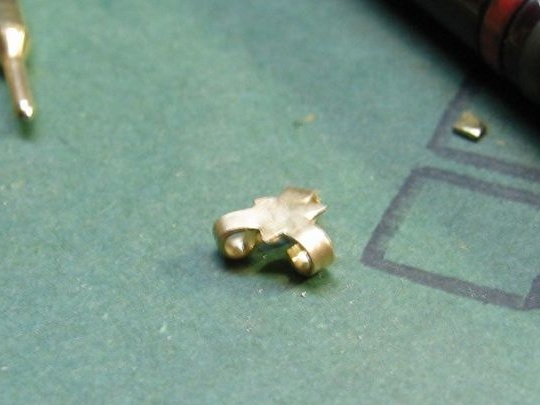
There are 3 petals on the blank, which the author carefully bends and this kind of loop is formed.
The legs of the tripod will subsequently be attached to these loops.
And on top of the loops, the spotlight itself and the batteries will be located directly.
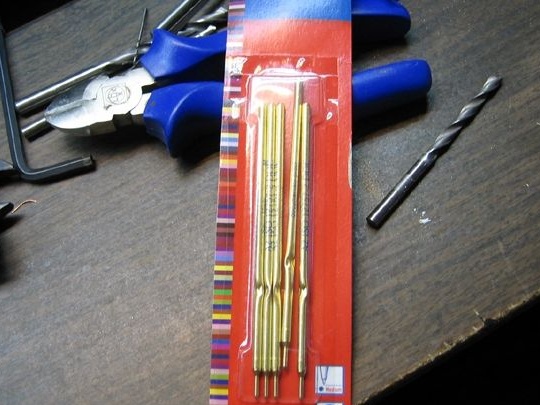
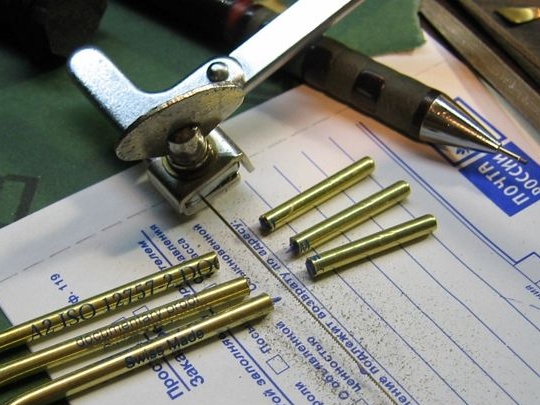
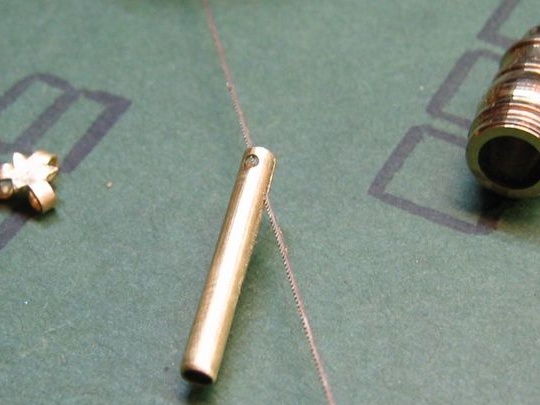
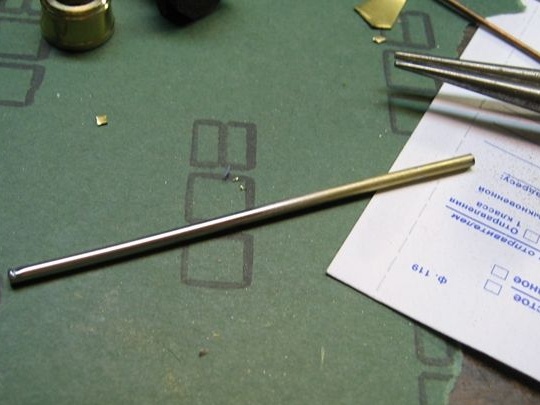
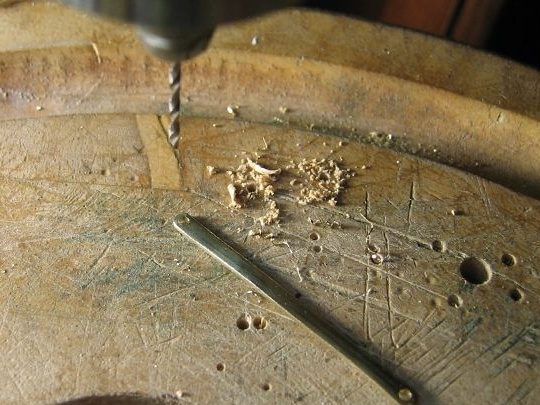
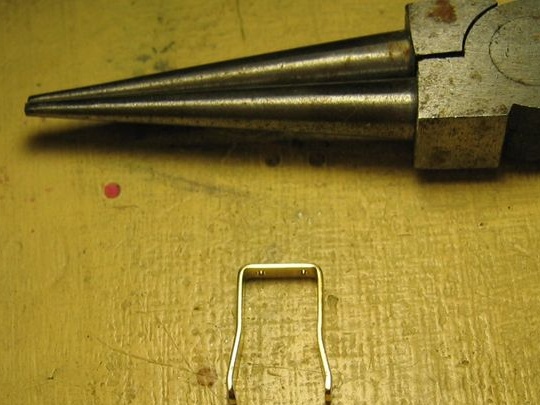
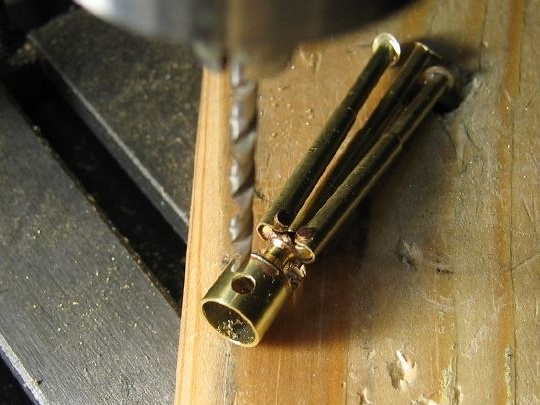
Then the author proceeds to manufacture the legs of the searchlight, for which he takes brass rods from the handles.
After sawing off the size he needs.
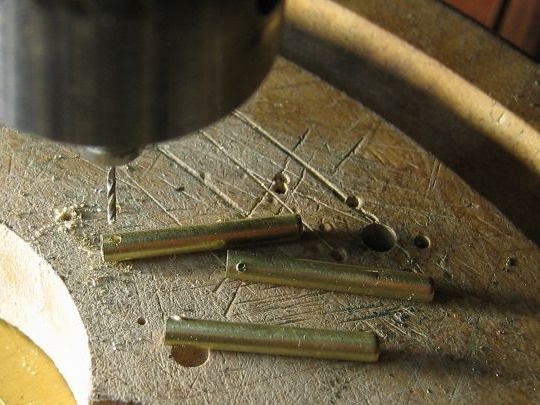
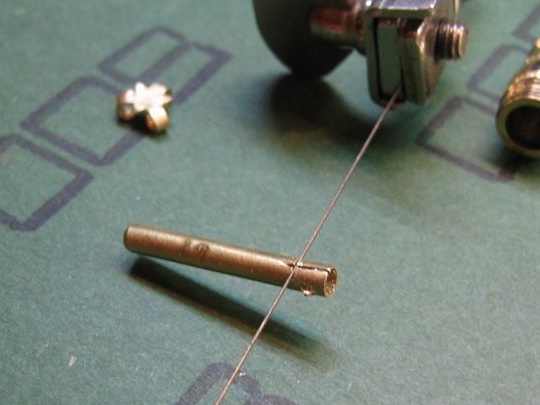
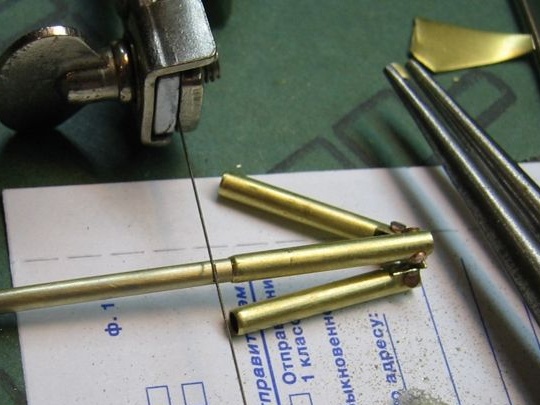
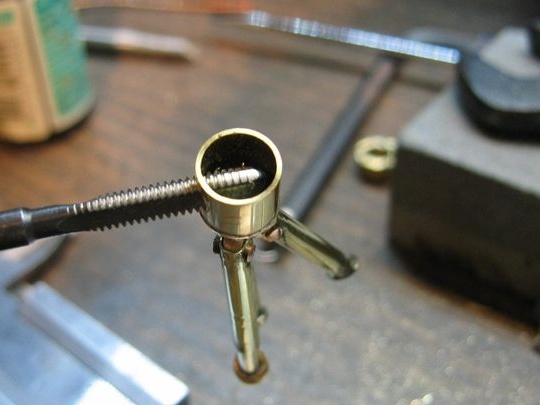
Performs drilling in the side of the tube.
And so in all the blanks.
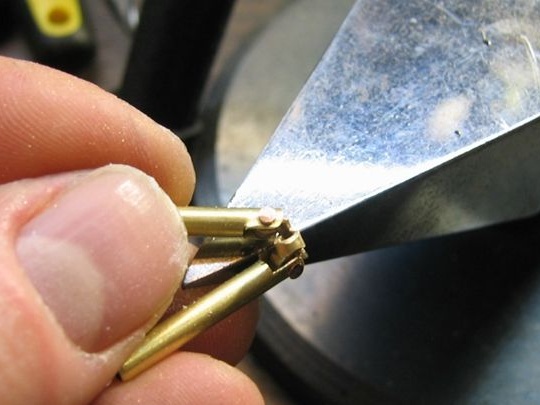
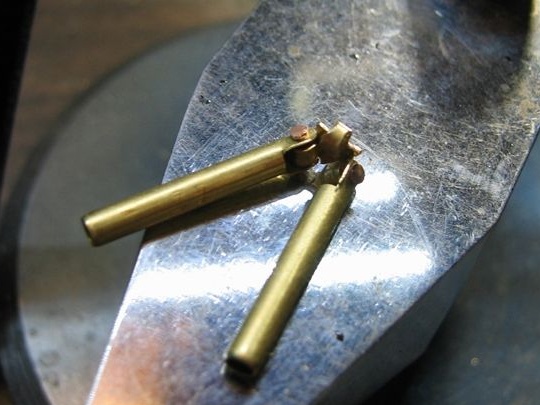
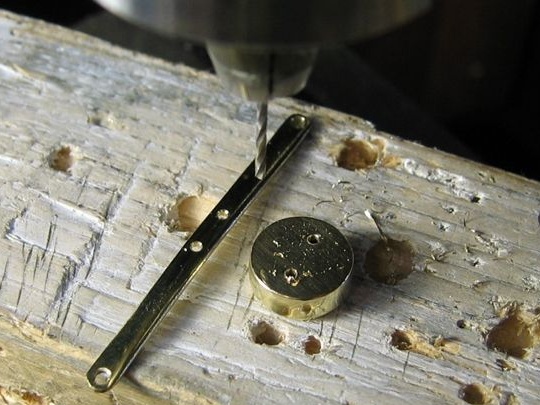
Makes a longitudinal cut with a jigsaw.
In all elements.
A rivet is made from copper wire.
Further, the author rivets the details on the basis.
Here is the result.
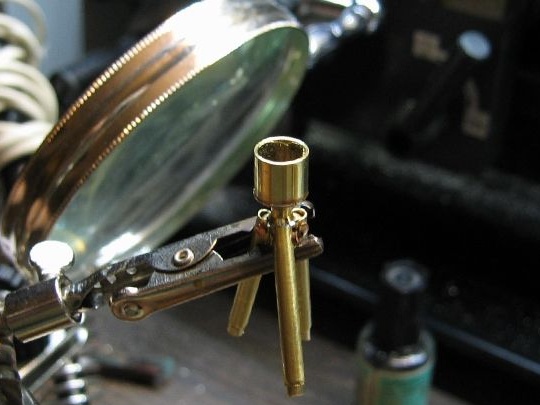
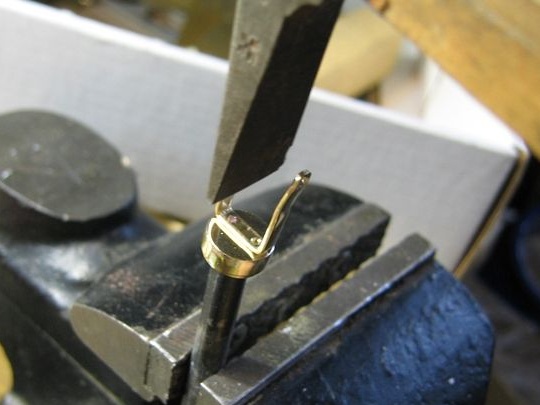
Then from the tube of a smaller diameter, the master makes telescopic extensions of the legs of the tripod's headlight.
That is, the legs can be adjusted in height.
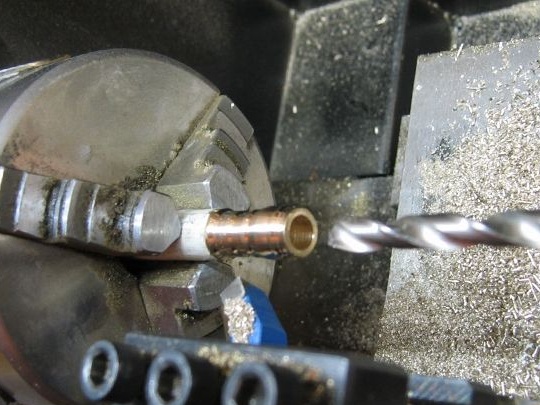
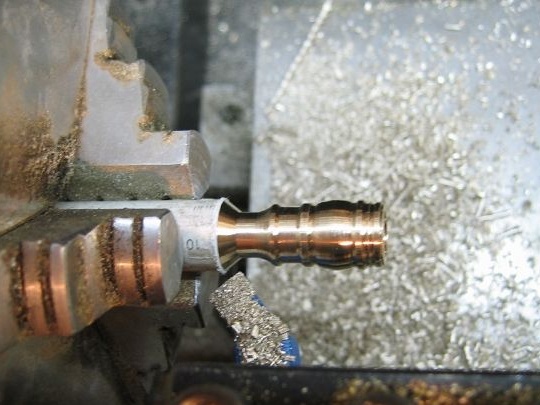
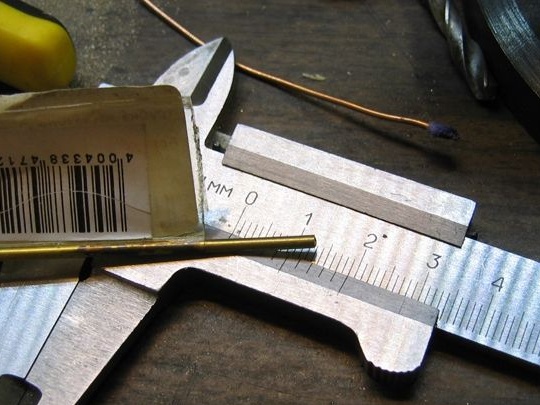
Next, a tube for batteries is made from a tube.
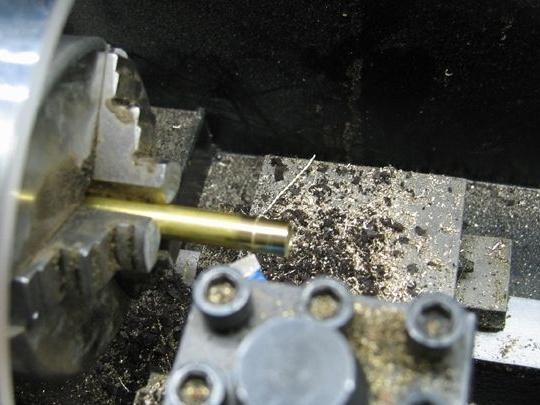
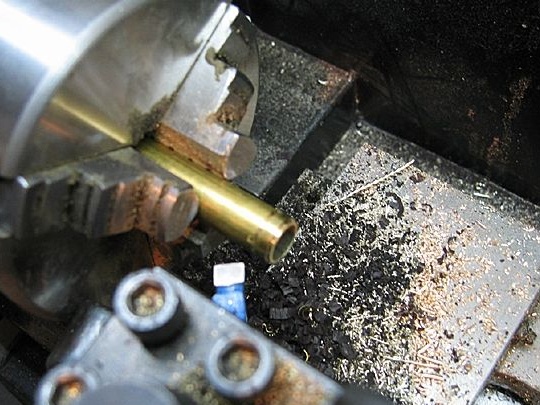
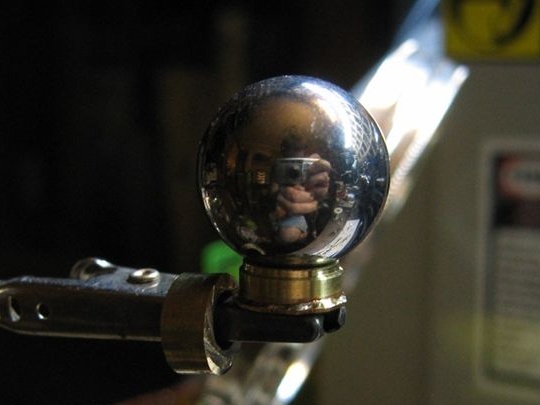
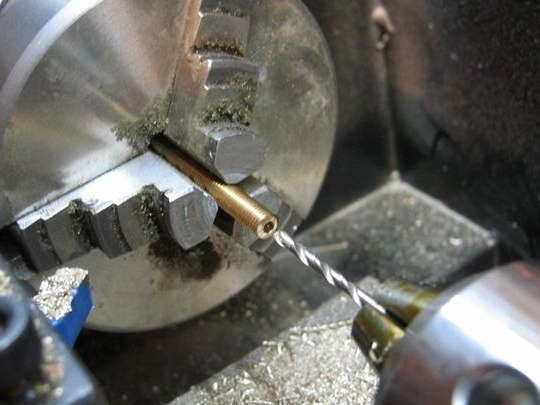
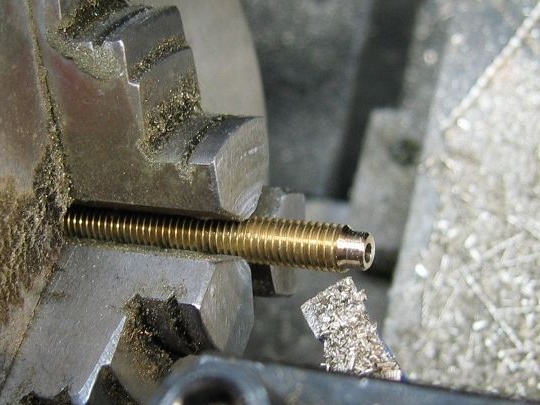
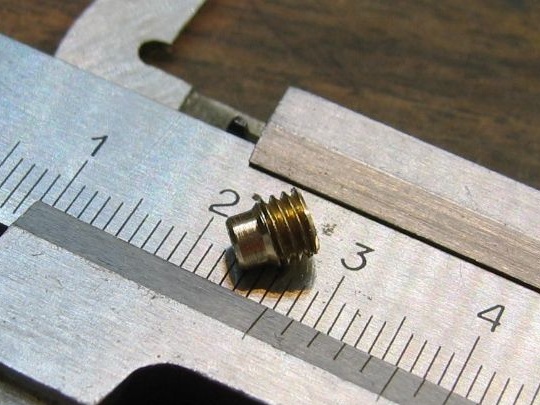
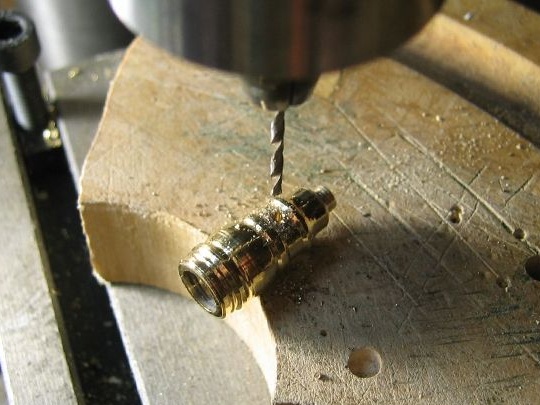
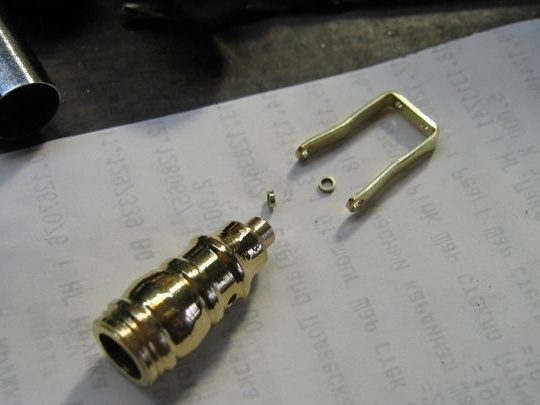
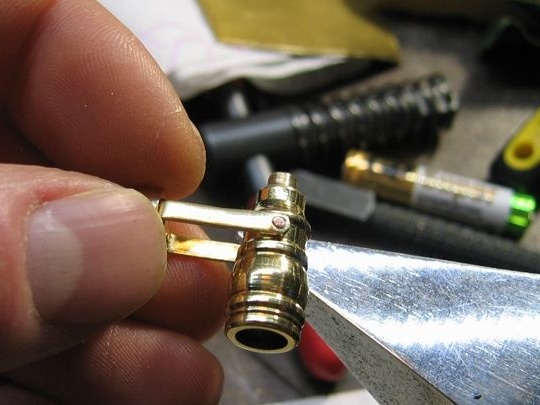
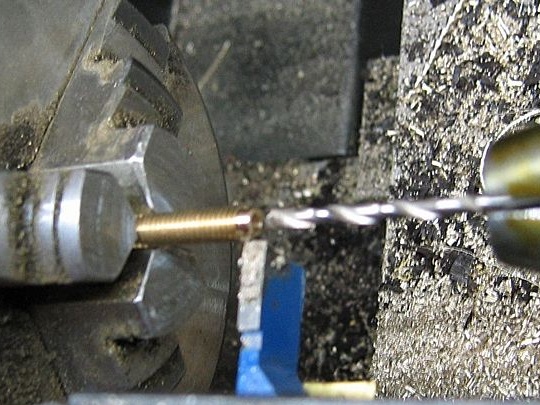
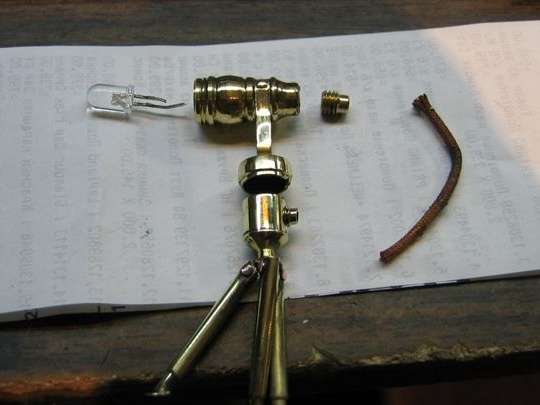
After that, from the brass rod 10 mm, the body of the spotlight itself is machined.
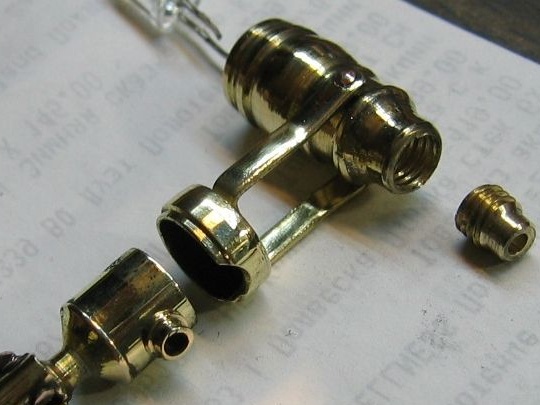
Also, the author made the elements of fastening the spotlight to the body, with the ability to adjust the angle of inclination and light beam, respectively.
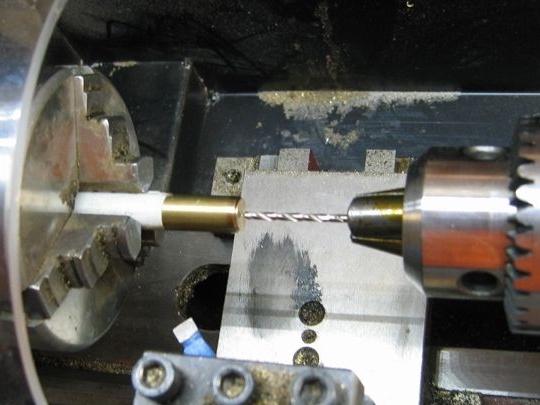
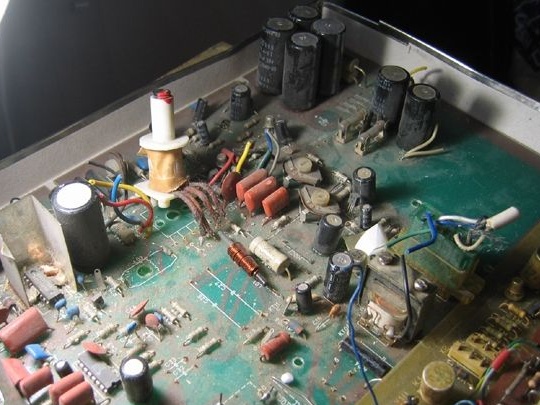
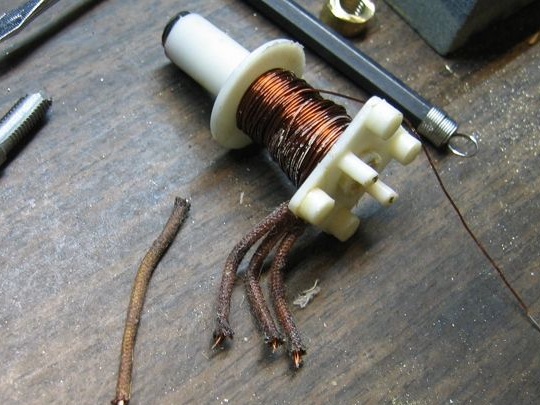
Wires are borrowed from the old board from the TV.
Need a small piece of wire in the insulator.
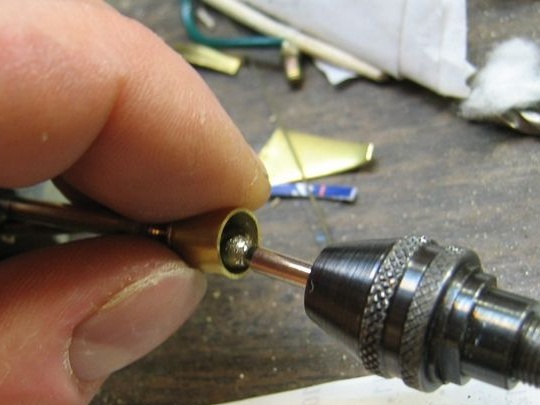
A hole is drilled in the battery case.
The thread is cut.
Drilling again.
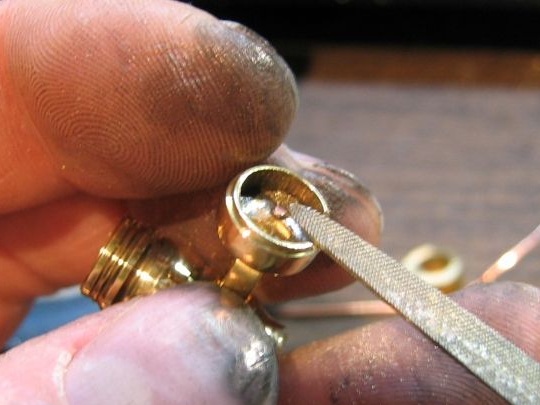
The inside is sanded.
It is processed by a file.
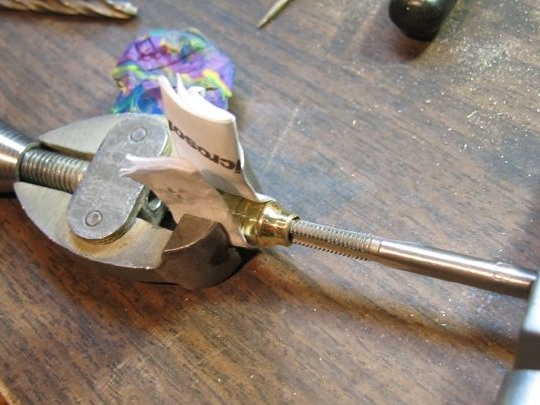
All parts are assembled into a single structure, as well as soldering and connecting electrical elements.
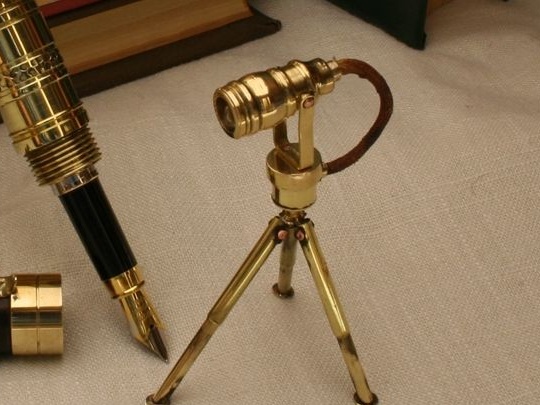
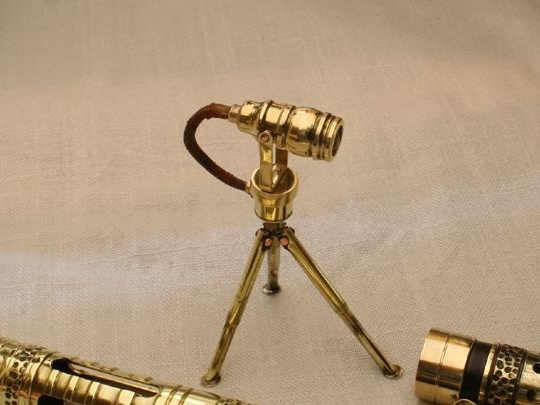
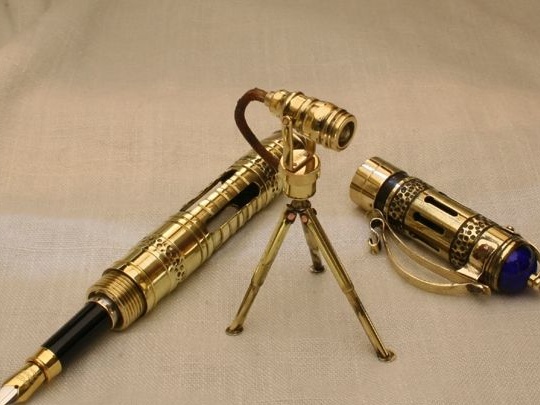
That's actually what happened in the end.
As you can see against the background of the pen, the spotlight seems very small, which once again shows us the high skill of the author and his professionalism. Well done!
This concludes the article. Thanks for attention! Come visit often, do not miss the latest in the world of homemade goods!
This article is for informational purposes only!