
Hello !
Today, the author will tell us how to make an easel do it yourself.
This article will be interesting to people who strive for creativity. Buy this device Now you can, without any difficulty, the variety and assortment allows you to do this. But since prices are now very high, not everyone can afford it. Therefore, we will make an easel with our own hands, it will be pleasant to ourselves, and the wallet will not suffer much.
To work, you need the following
Tool:
- screwdriver;
- hacksaw for wood;
- sandpaper;
- a pencil;
- ruler;
- roulette;
- clamps;
Material:
- wooden rail (2 * 4.5 cm) 4 pcs. 2 m.;
- several slats 2 * 3 cm;
- bolts with wing nut;
- door hinge;
- self-tapping screws;
- metal anchors;
- carpentry glue;
Let's start manufacturing.
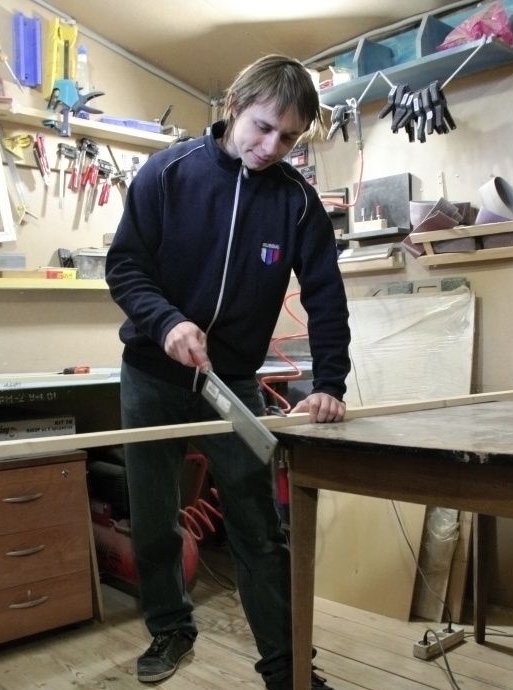
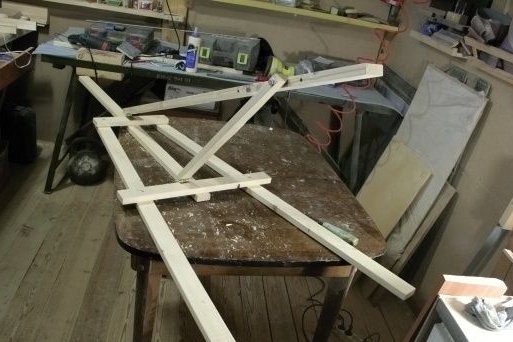
We take the workpieces and make a cut, use the existing cutting tool, we need to saw off 3 parts, each should be 120 cm, then one 28 cm, and another 50 cm. All these details will serve as the basis for the design.
Next, you need to cut the parts from which we will assemble the subframe on which the picture will stand, and the upper fastener, which will fix the picture in the position we need. We take the following dimensions, subframe - 15, 30, 50, 50, (on the photo from the right), the upper fastener - 4 parts of 15 cm (in the photo on the left), and also need to cut 4 small segments of 4.5 cm each.
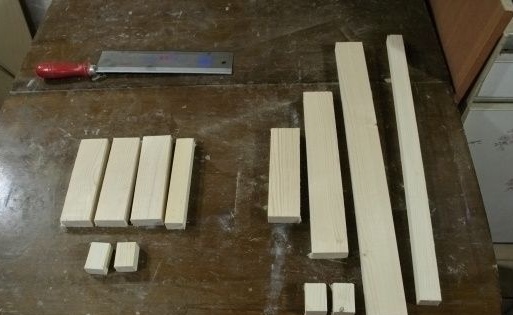
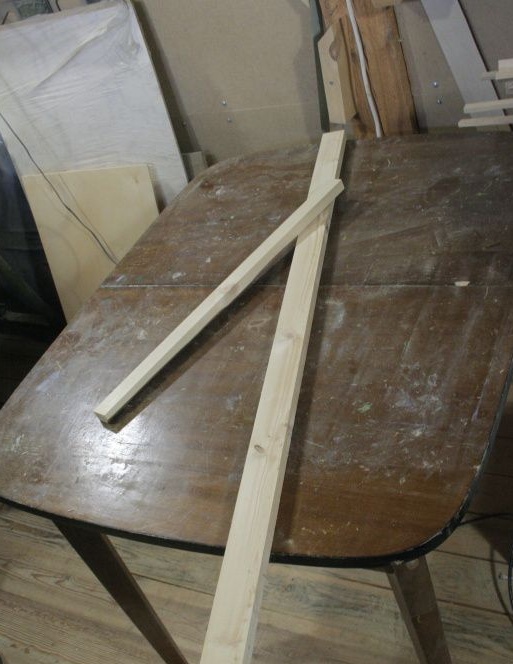
Then we cut two planks measuring 115 cm and 50 cm, this will be the third leg, and support for it, these parts will hold an easel.
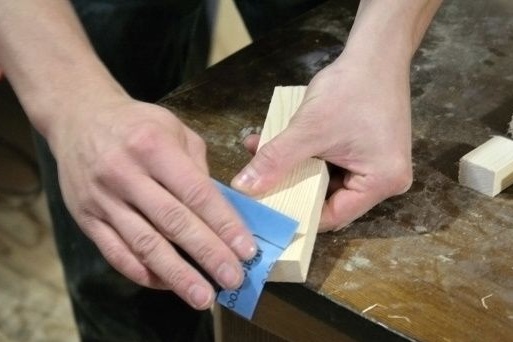
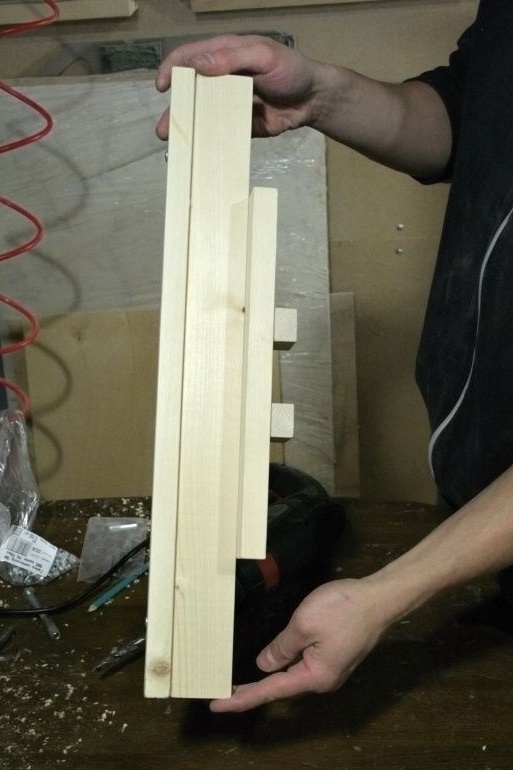
Now that all the parts have been cut, they need to be sanded, we take sandpaper and walk along the surface, we round the edge of the wood a bit, removing sharp corners.
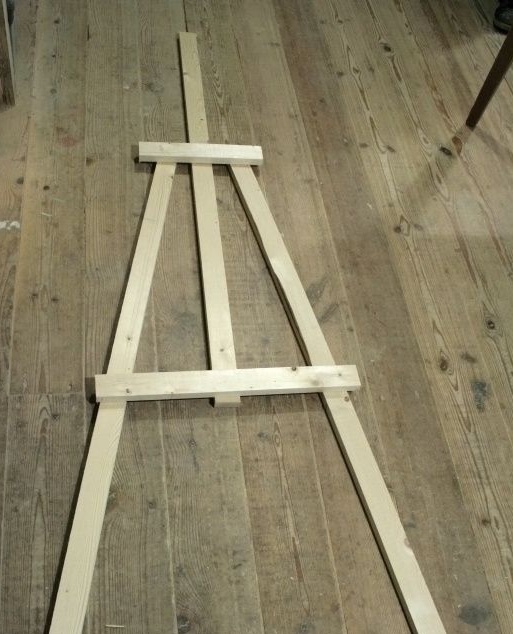
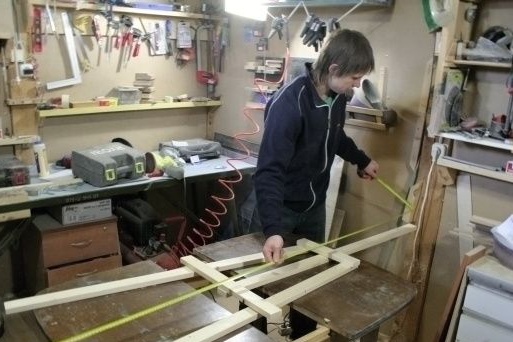
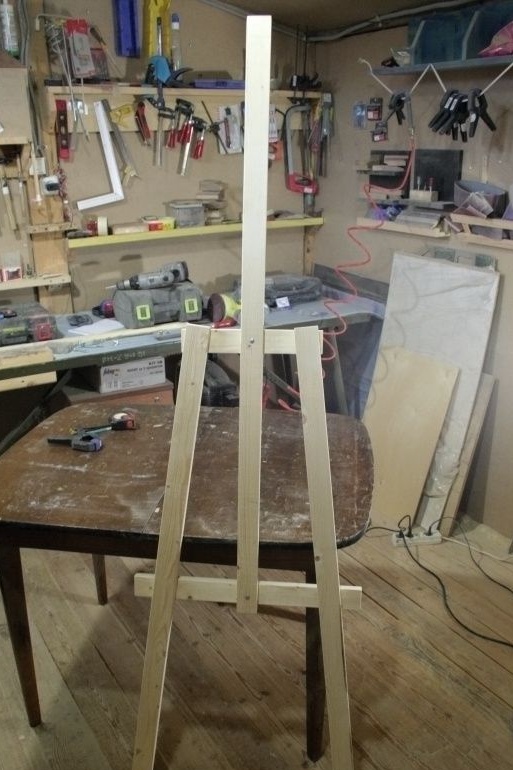
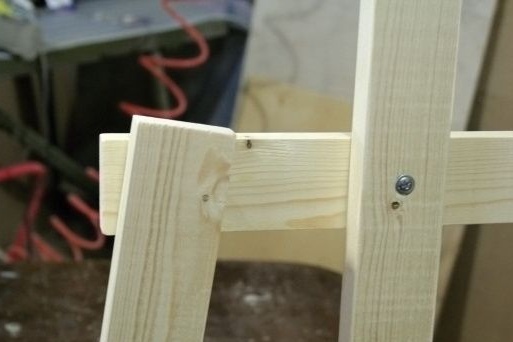
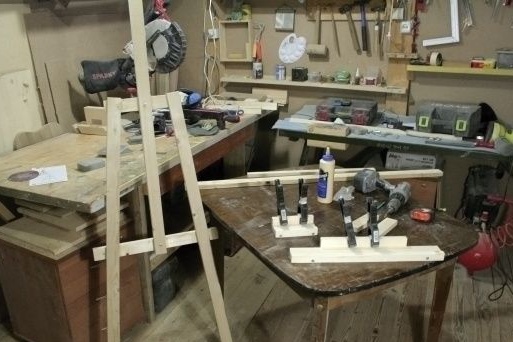
Then we take the front part and lay it on the table, folding all the details as shown in the photo. The total height of the structure should be 180 cm.
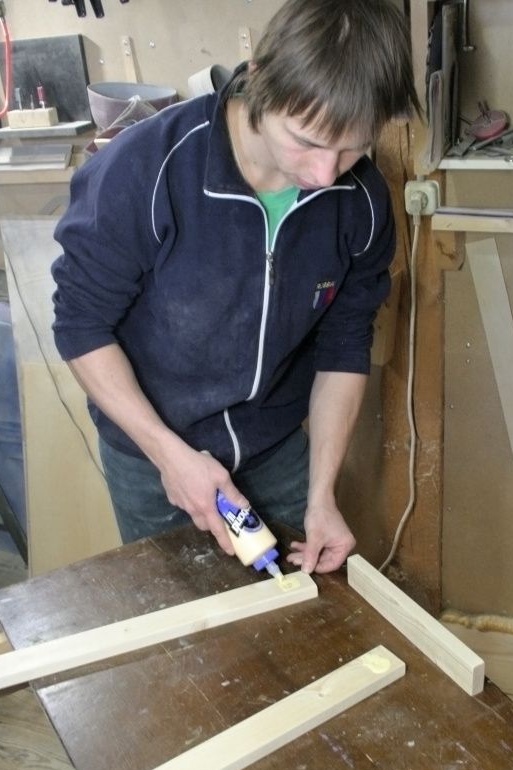
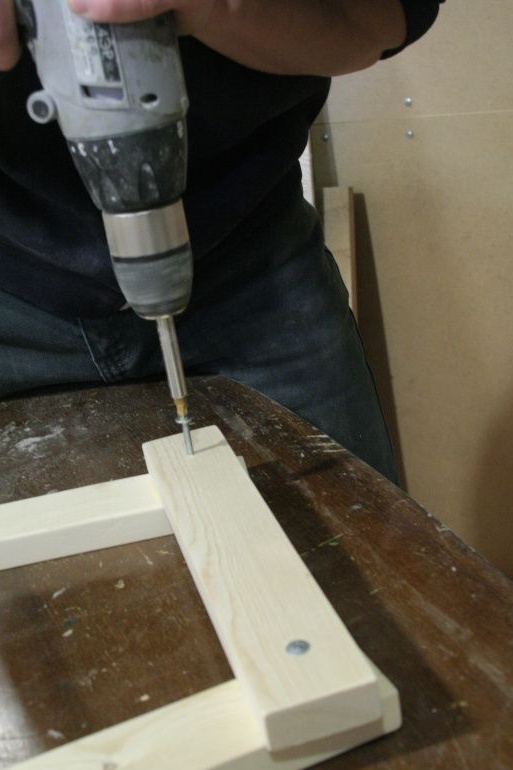
Next, we begin to attach the parts to each other, we use glue and screws.
You should get the following.
If any glue remains, remove them with a damp cloth.
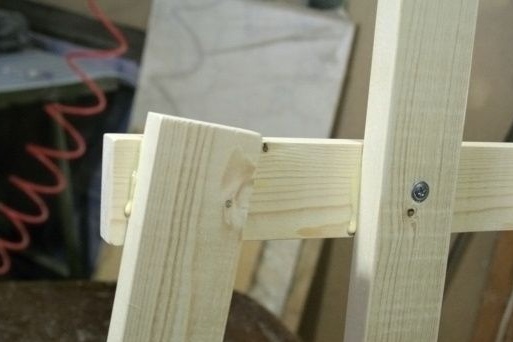
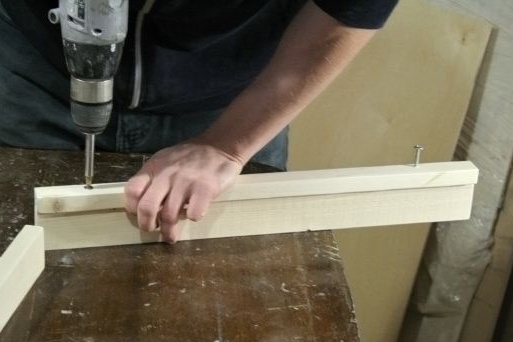
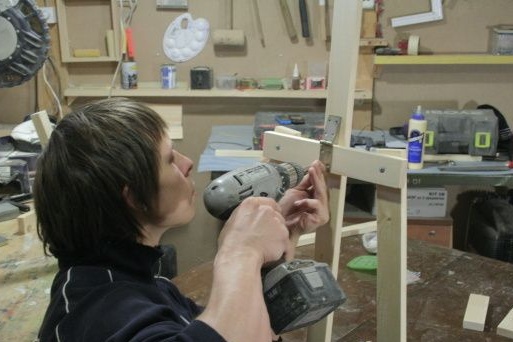
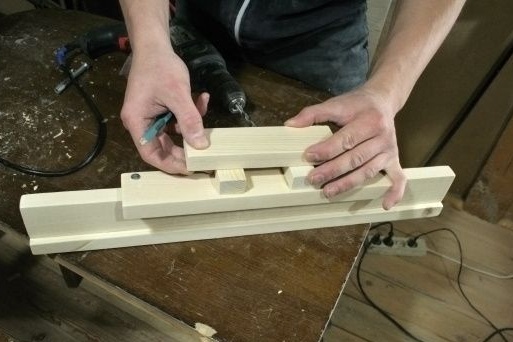
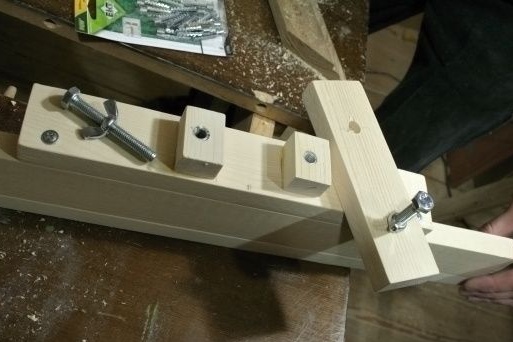
Then we begin to assemble the subframe and the upper fastener, so the subframe is shown on the right, and the upper fastener on the left.

We begin to connect the lower part using self-tapping screws, similarly we make the upper one.
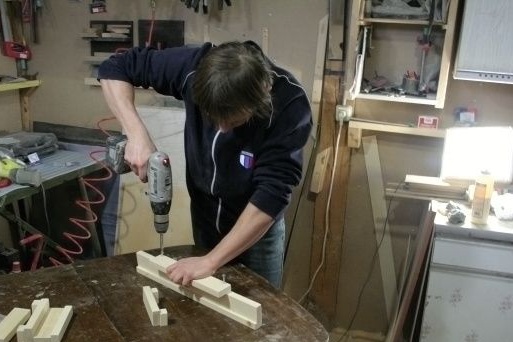
Next, with glue, glue two small blocks, they will allow the part to move smoothly along the vertical guide.
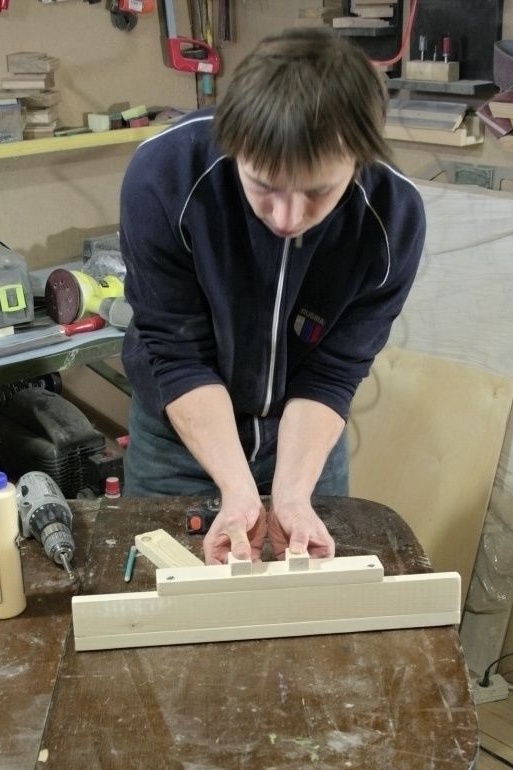
In order to better stick together we use special clamps, or just put it under the press.
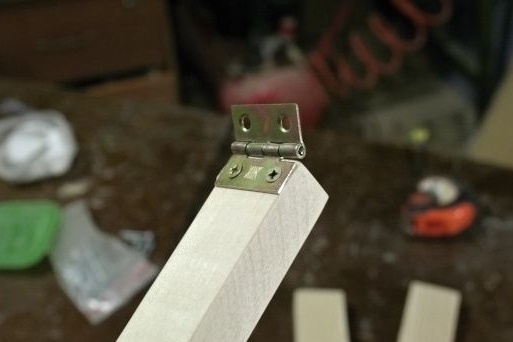
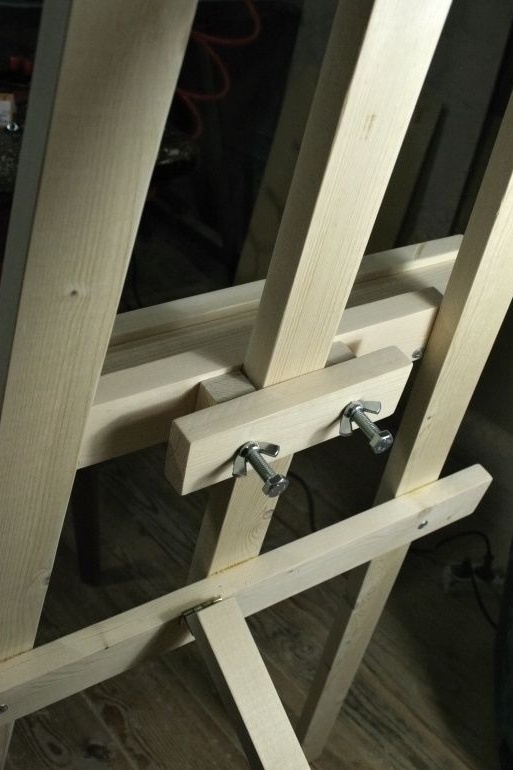
Then from the back of the structure we fasten the loop for the third leg.
Then we attach the leg itself to the loop.

Next, fasten a small loop for the leg lock.
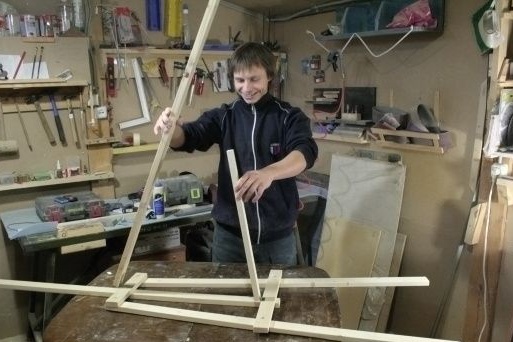
After that, we attach it to the frame. You should get the following, an example in the photo.
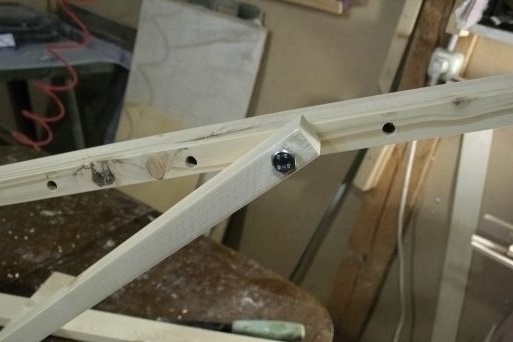
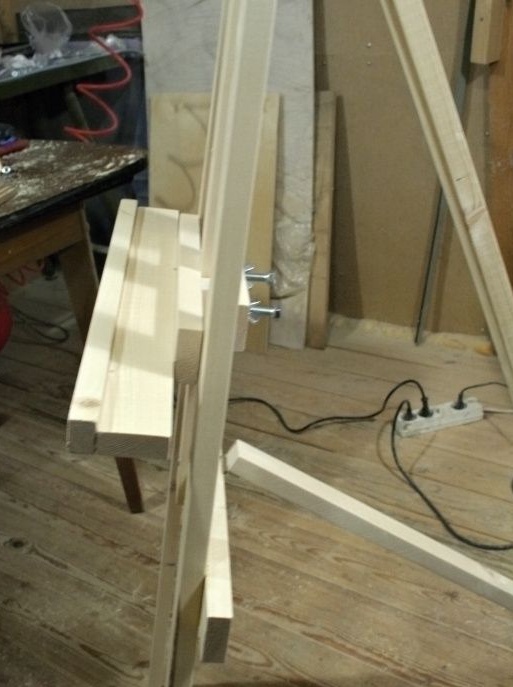
Then you need to drill several holes on the support leg, and one on the retainer, take the bolt and insert it into the desired hole, fix it with the wing nut. These holes are needed in order to set the desired slope of the structure, for this it is enough to rearrange the bolt.
Next, we take the subframe, and attach the last detail to it, mark the places for the holes, we need to drill so that the drill does not go through. After that, we take the anchor and insert it into the lower parts.
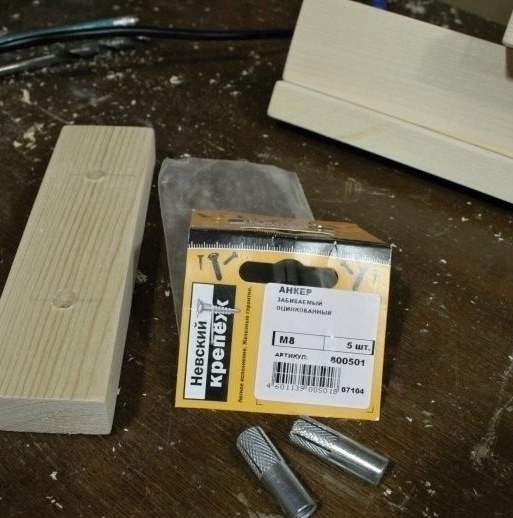
It should be like this. According to the author, this moment could be simplified, but he did not want metal parts sticking out in front of the easel, so it was done that way.
Next, screw the bolts, as shown in the photo, clamp with the wing nut, so we fix the lower part in the desired position for us.
We carry out the same procedure with the upper locking mechanism.
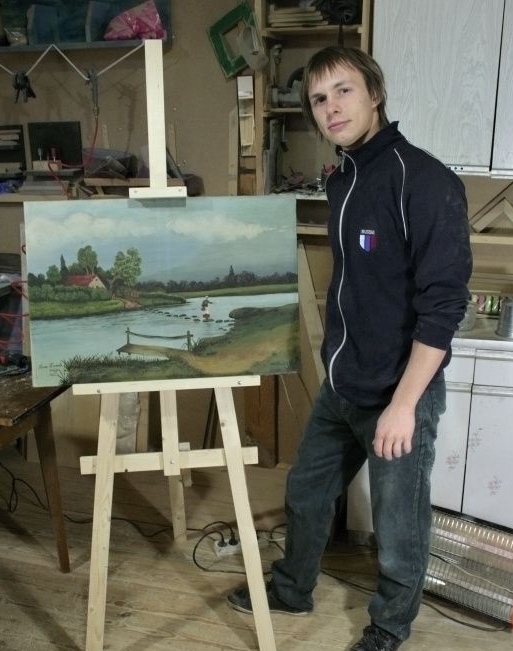
As a result of all the actions, we get such a makeshift easel.
The author asks not to strongly criticize his work, as this was his first experience in creating this homemadeperhaps some points could be simplified. Any changes and improvements are welcome.
The article is over, thank you all for your attention!