This article describes in detail the manufacture of home-made fairings for aircraft model wheels from ceiling tiles. If model large and wide wheels, the ceiling can be replaced with foam.
Materials:
- Cardboard
- Ceiling tile (or penoplex)
- Thin plywood
- Steel rod (there may be variations depending on the type of landing gear)
- Long bolts and nuts (M3 thread)
- Foam rubber (for wheels)
- Plastic cards
Instruments:
- Stationery knife
- Jigsaw
- Drill and drill
- Marker for disks
- Ceiling glue
- PVA glue and five-minute epoxy
- Sandpaper
- brush
- Acrylic paints
- Acrylic lacquer
- pliers
- screwdrivers
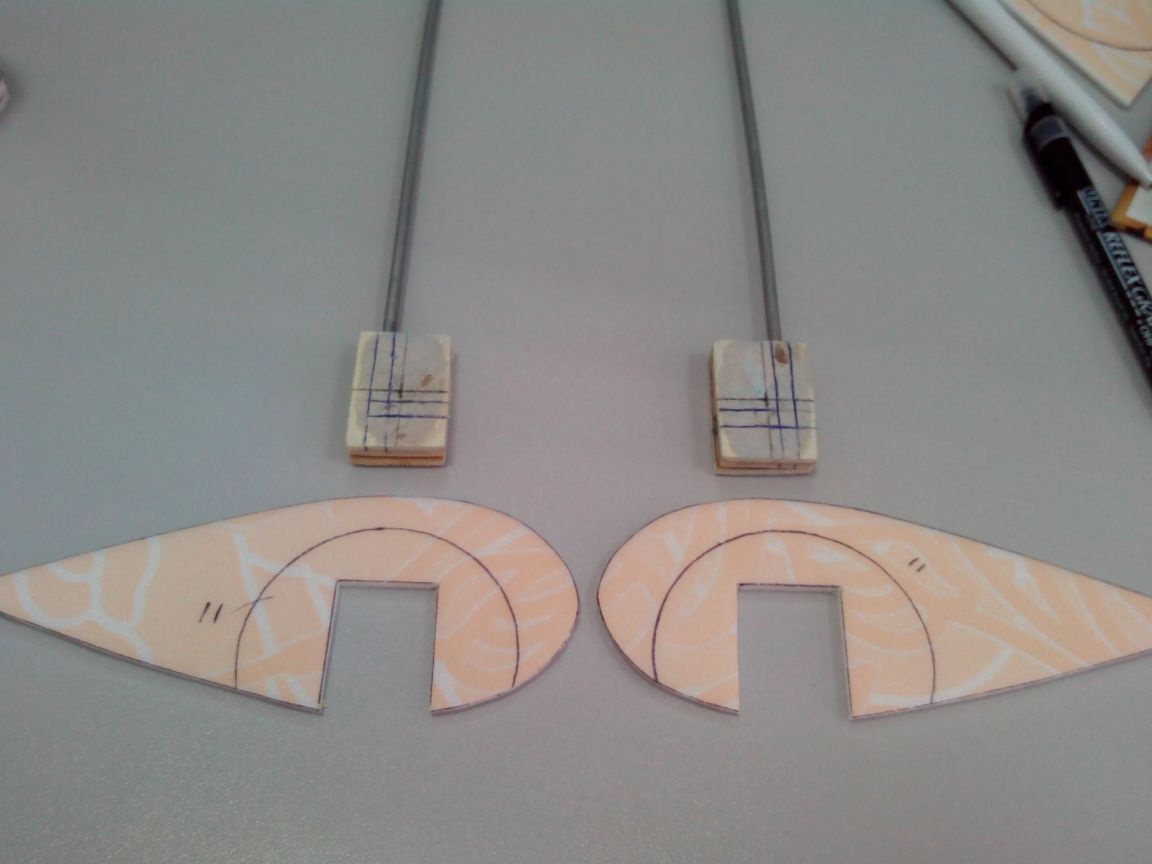
Step 1. Cut the blanks
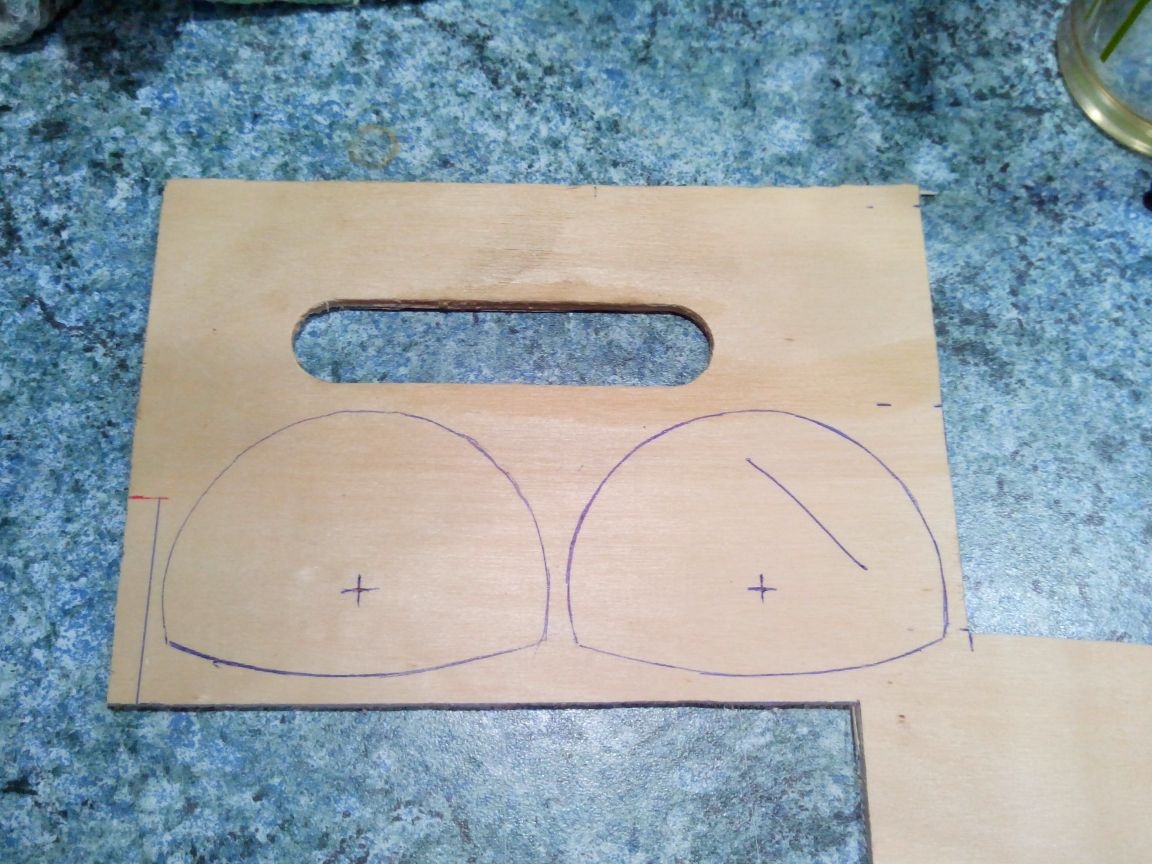
To begin, we draw a template for the future fairing on cardboard. The cutout for the wheel should be about 1 cm larger in diameter.
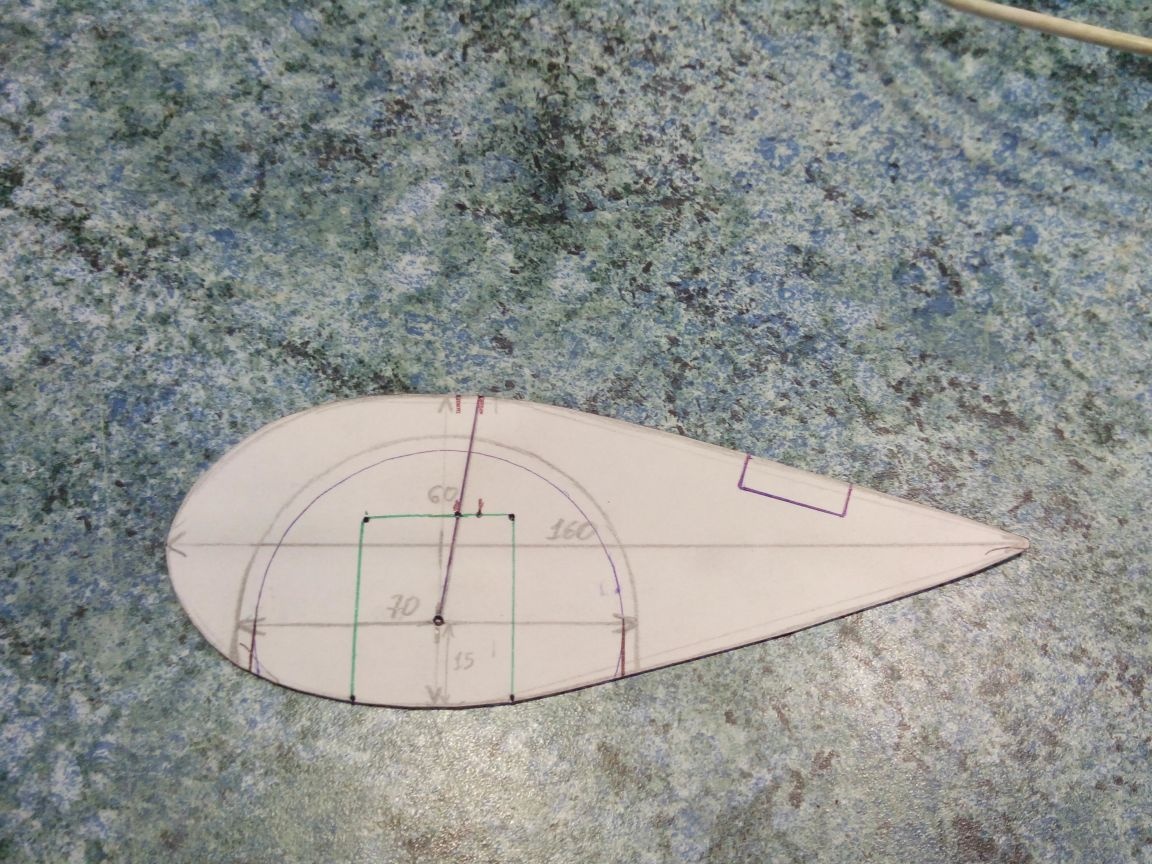
According to this template, we draw details on the sheet of the ceiling. I drew a circle on a separate cardboard mug of the desired diameter. The center of the circle (wheel axis) was pierced directly through the template with a pair of compasses.
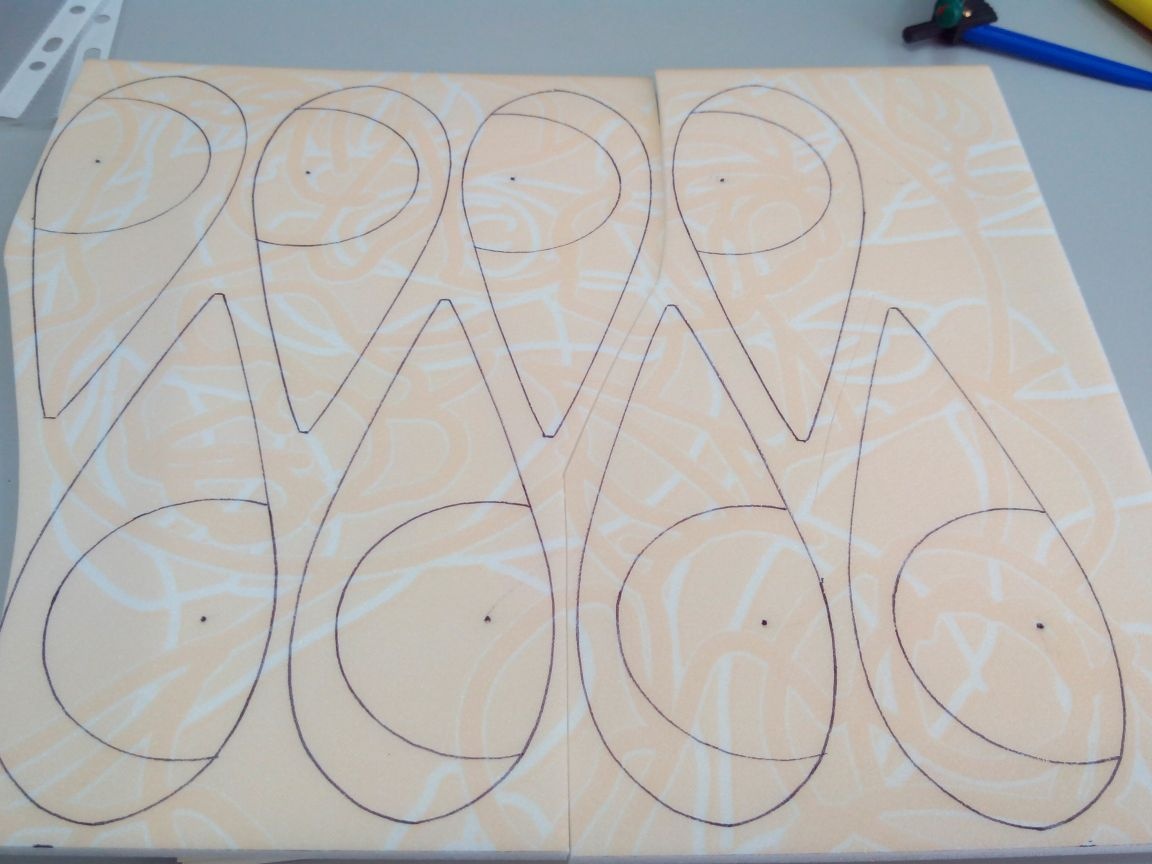
Cut the workpiece with a cutter. The number of workpieces directly depends on the width of the wheel. In addition, the thickness of the two nuts that will fix the wheel must be taken into account.
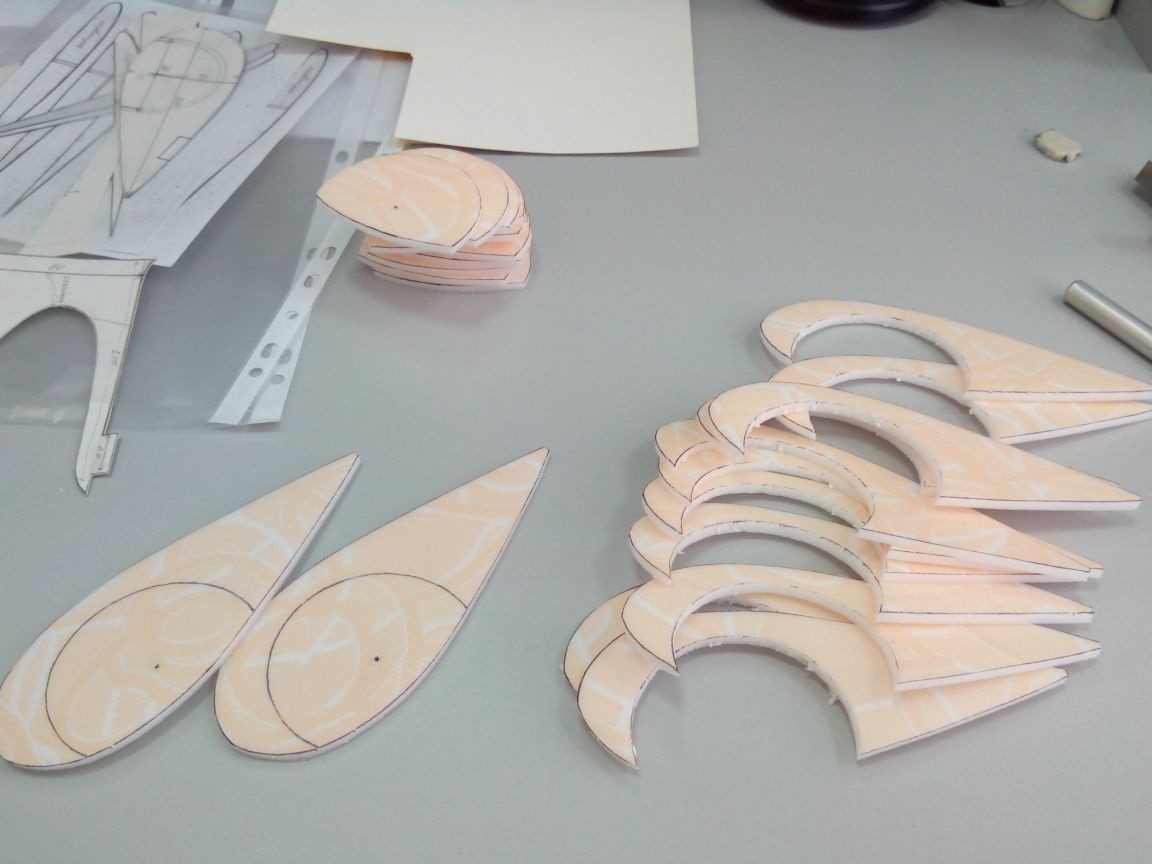
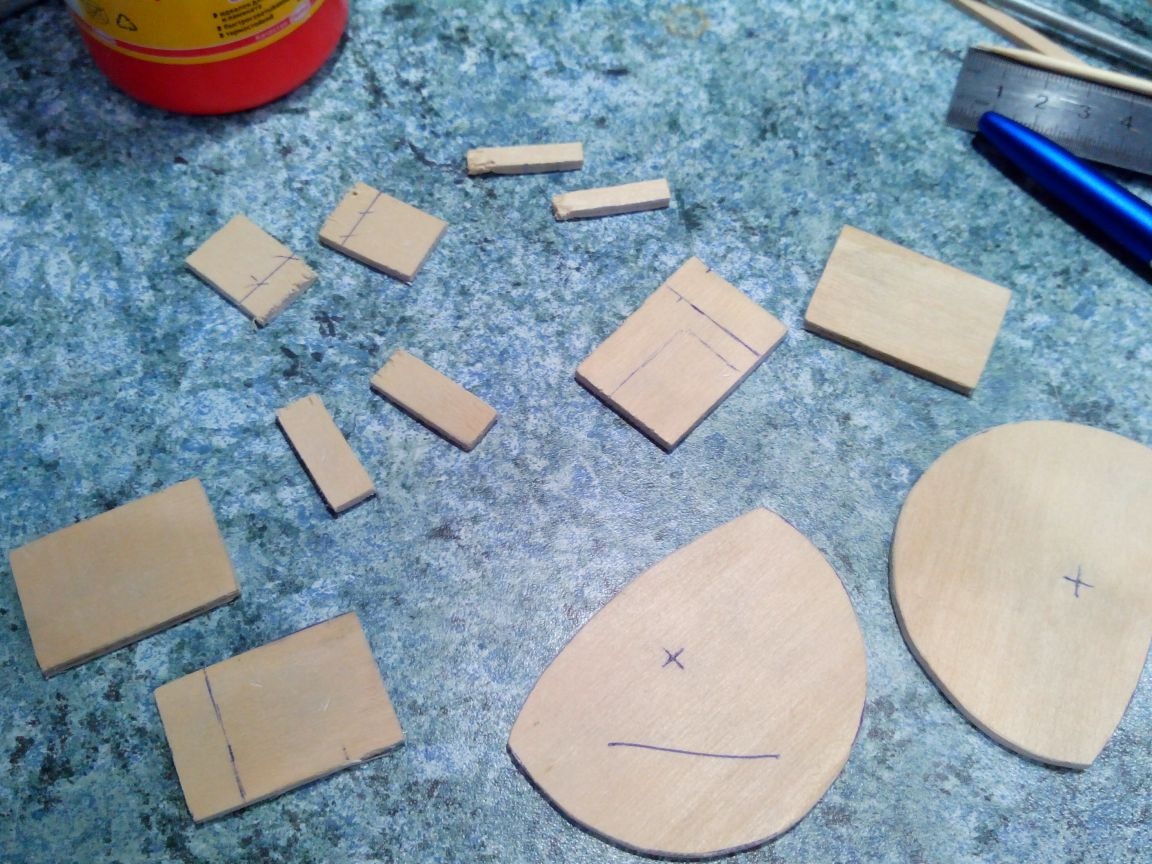
From thin plywood, we cut out two semicircles with a jigsaw.
From the same plywood, we cut out parts for the landing gear. Although this is optional, as the model may have a stand in the form of a metal strip, which simplifies the fastening of the fairings.
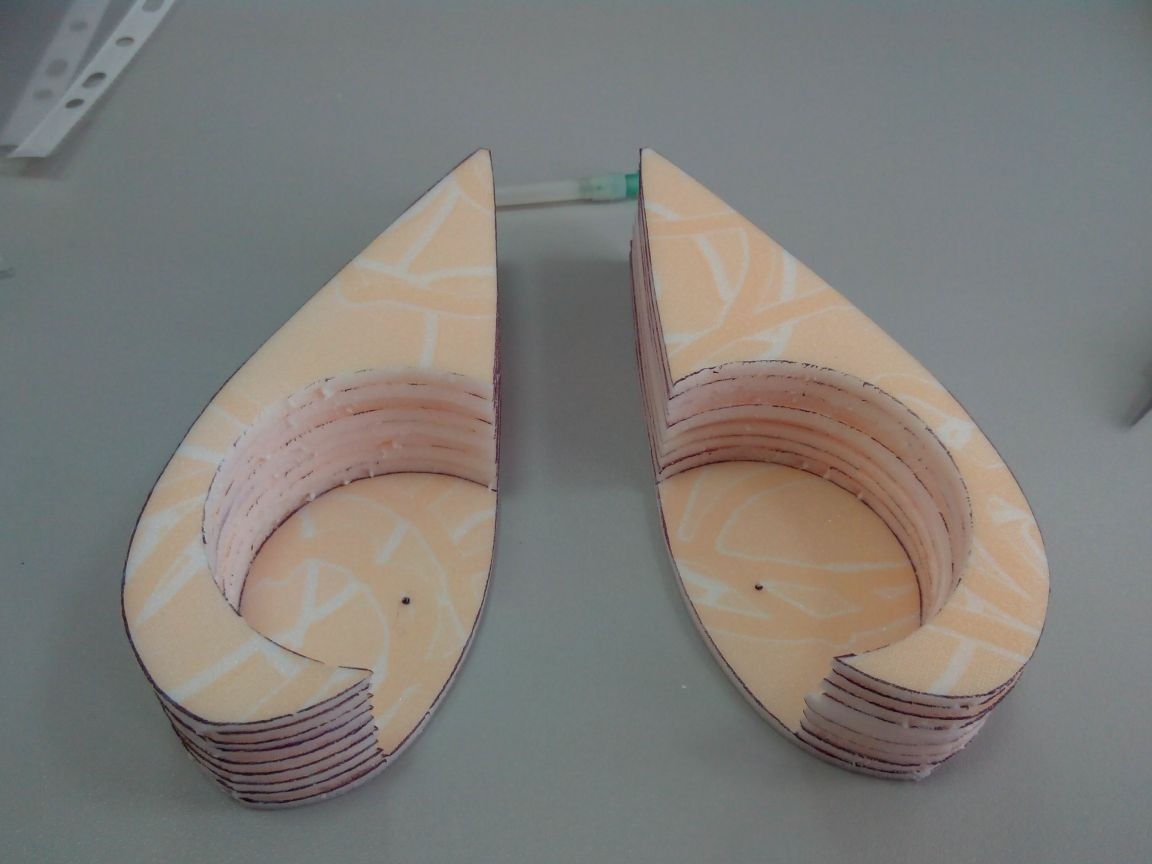
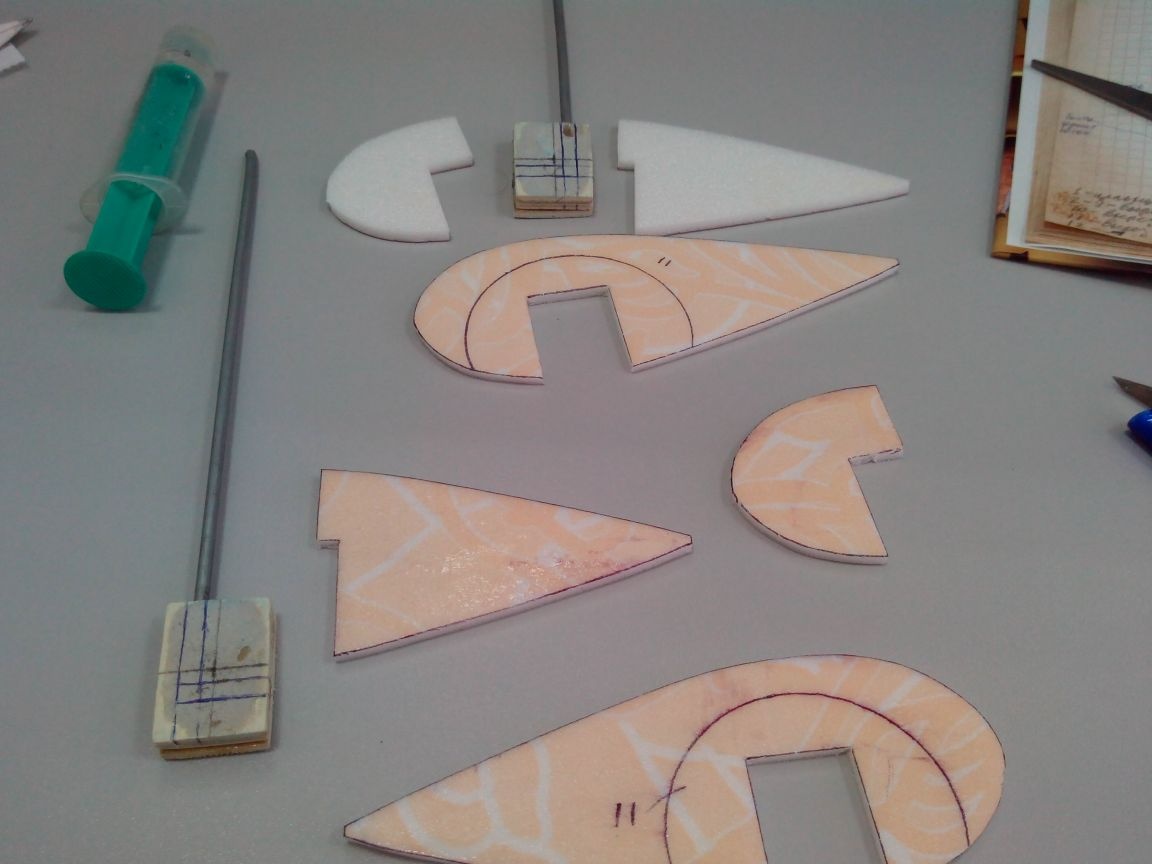
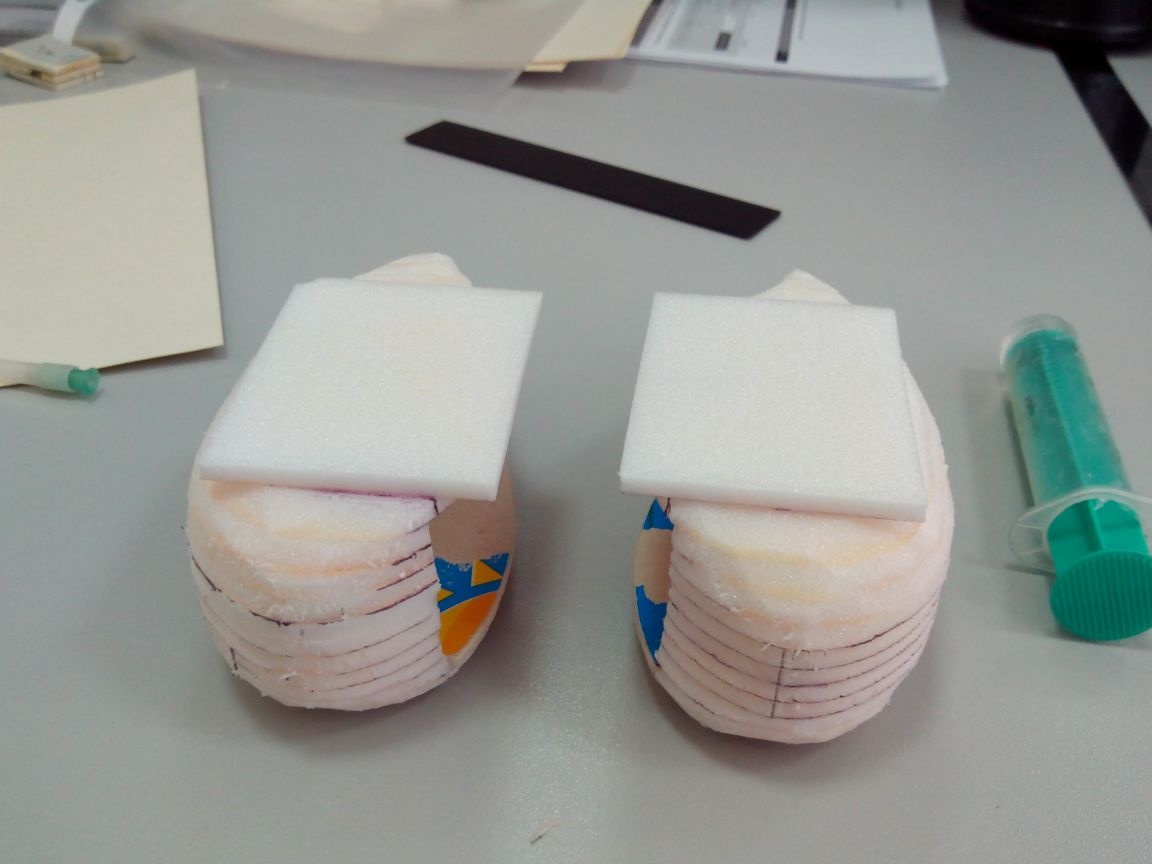
Step 2. Gluing fairings and racks
We begin to glue the fairing from the blanks with ceiling glue.
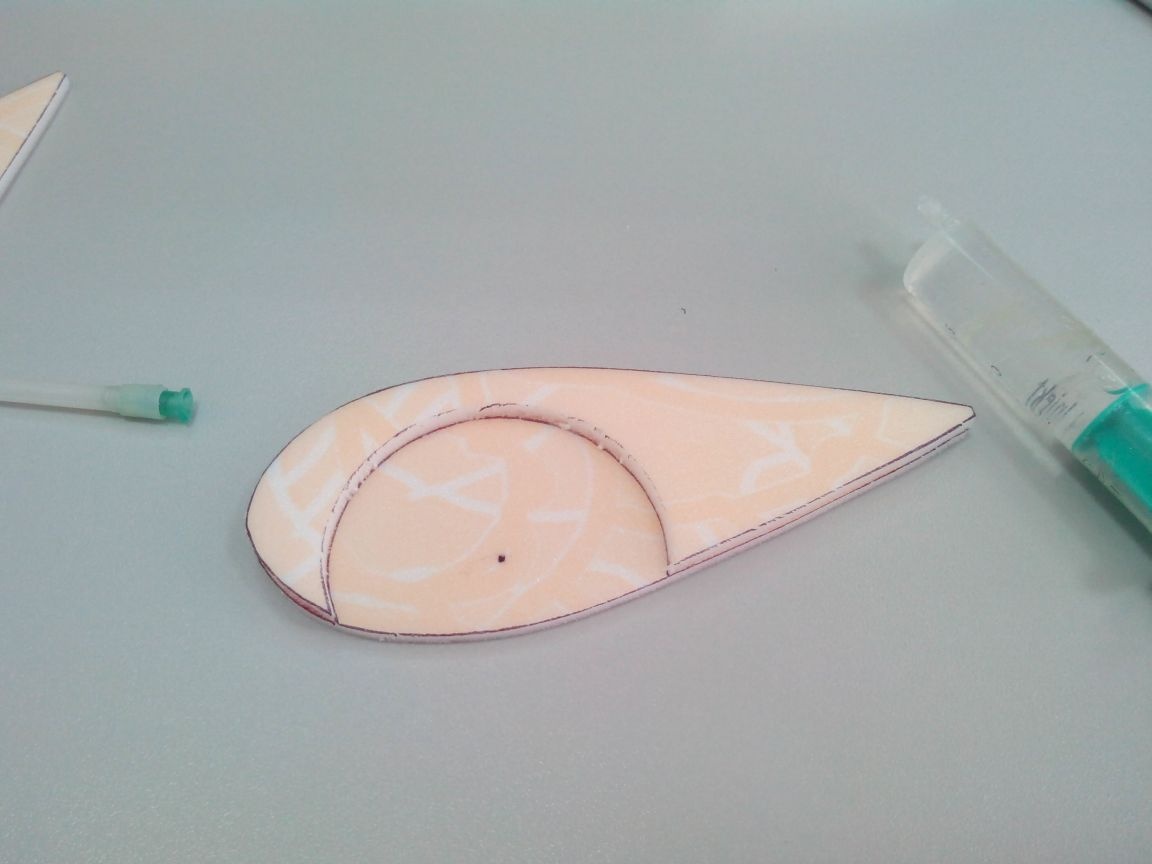
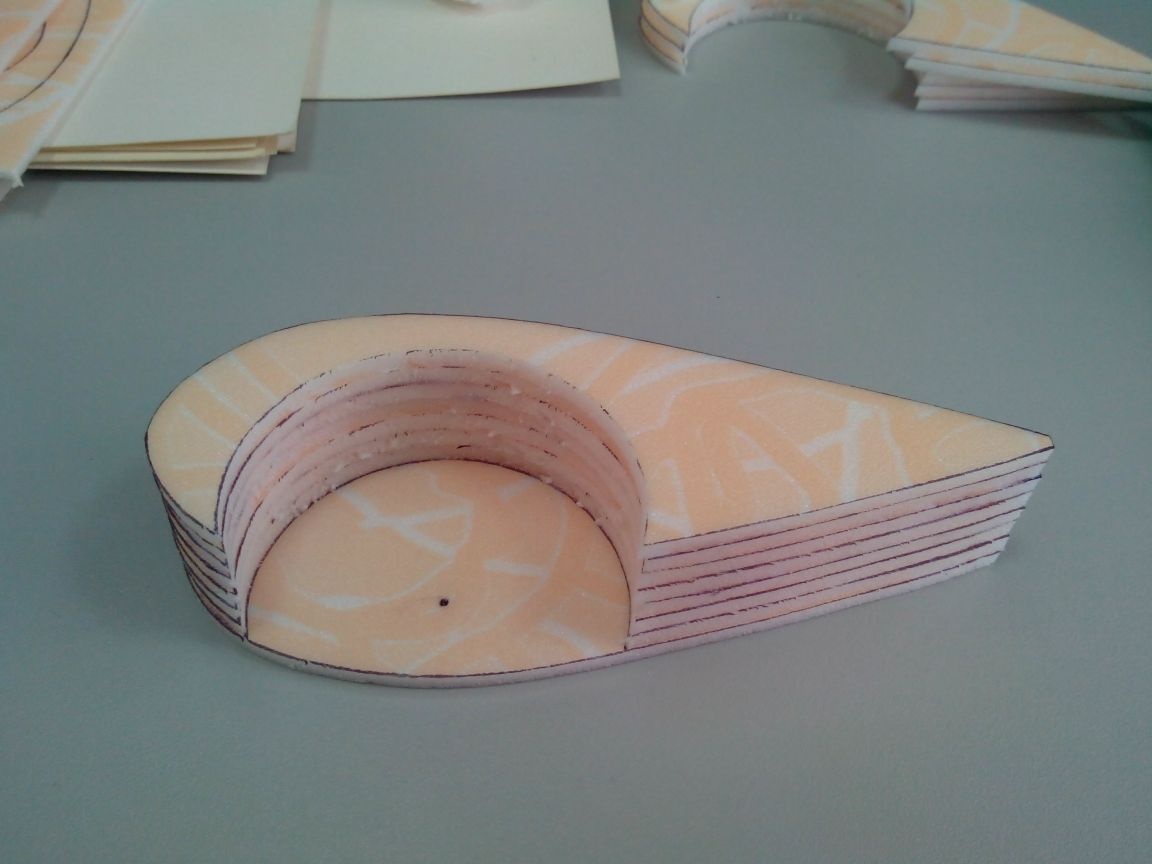
It is better to glue both at once, so as not to wait for the glue to dry twice.
Cut out semicircles are better not to throw away - they will then be useful in the painting process.
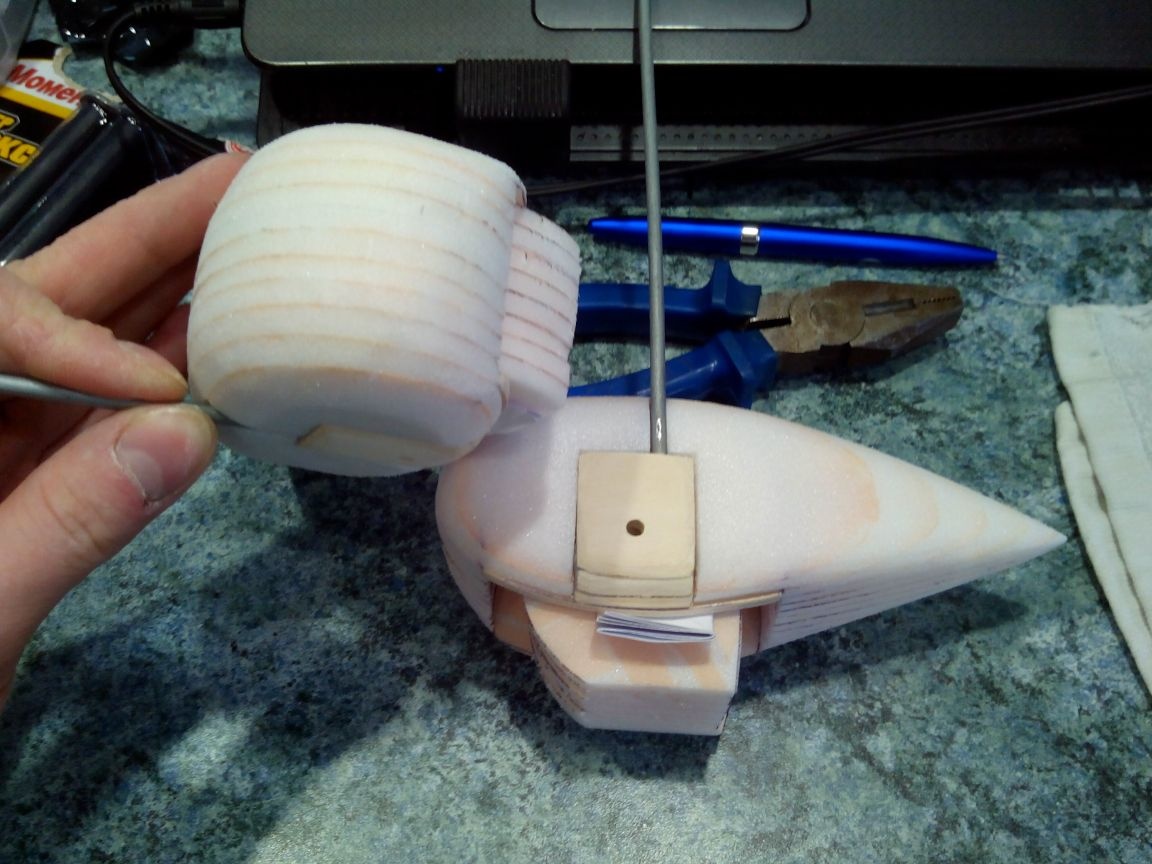
We glue the racks with PVA glue or epoxy, thereby clamping the wire rack in a kind of plywood "sandwich".
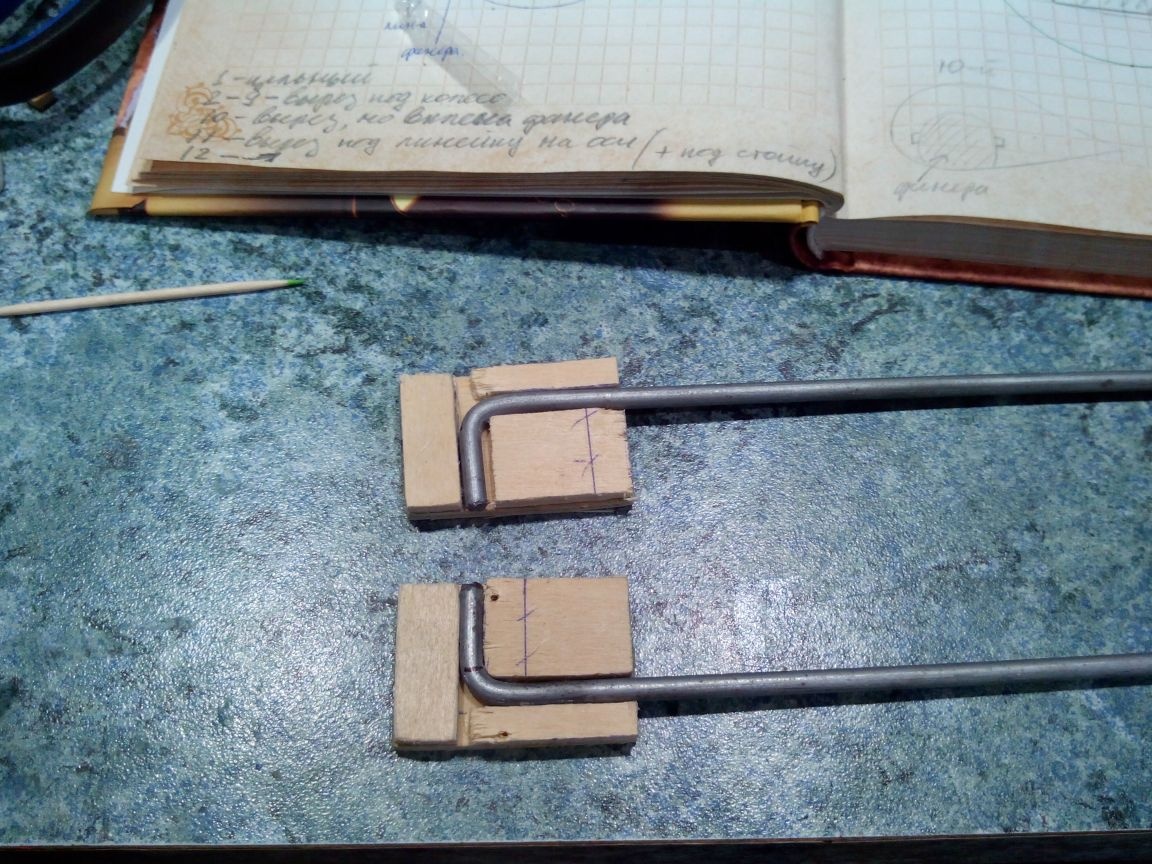
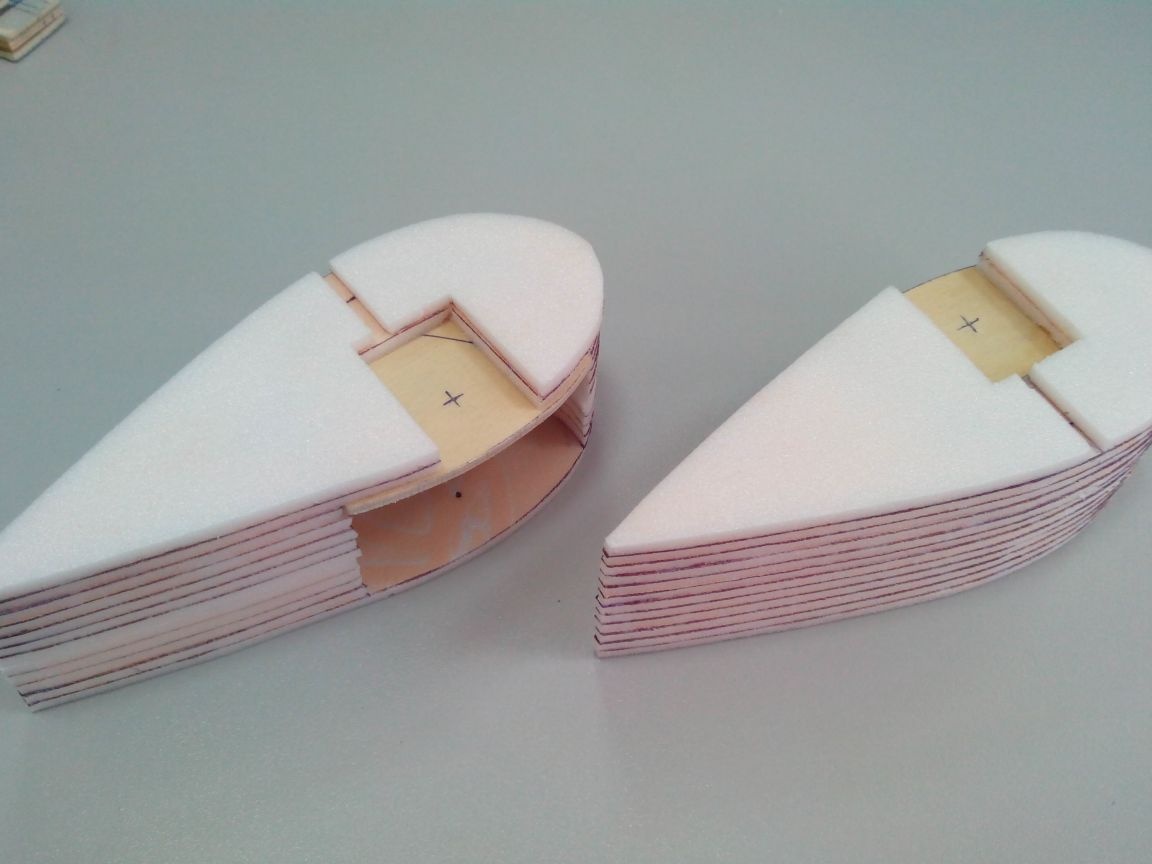
Under the glued racks we customize the fairing details (as in the photo).
We glue the plywood semicircles into the blanks with ceiling glue.

Glue the remaining parts to them.
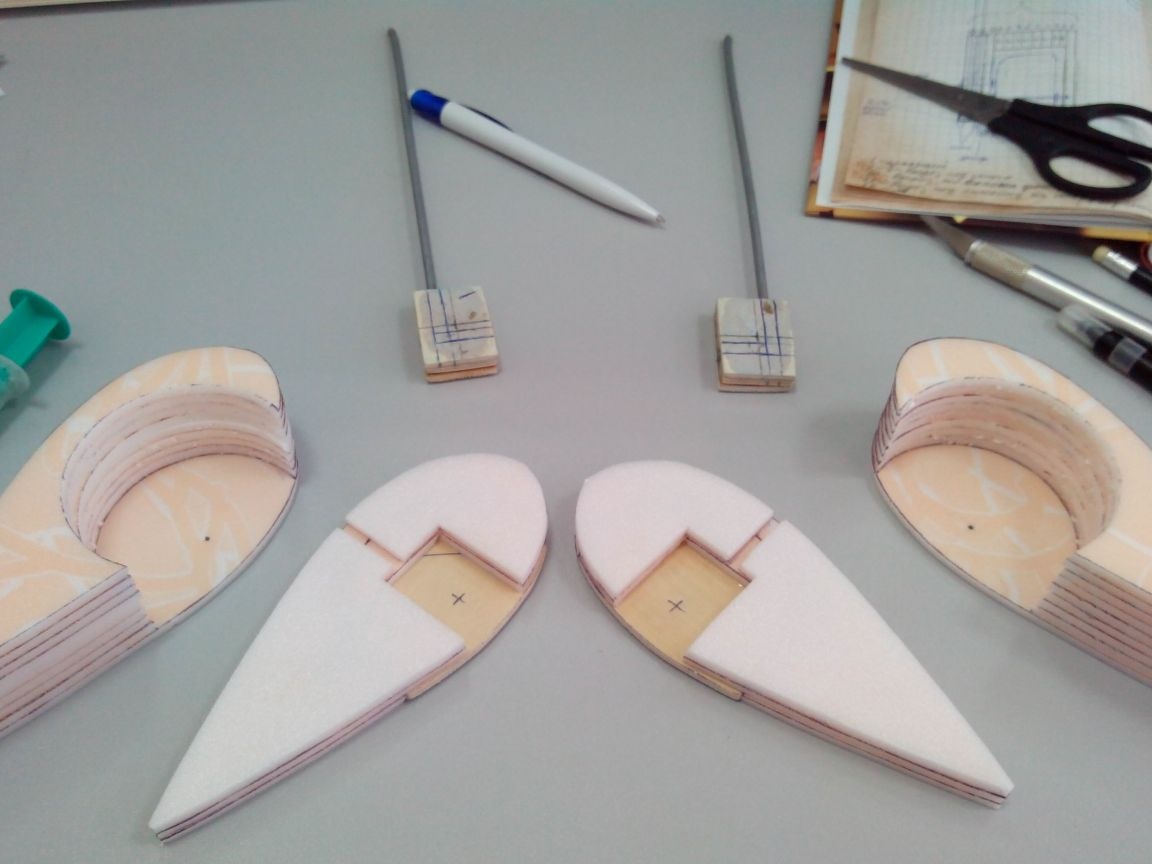
And glue everything to the fairings.
Step 3. Making wheels
You can skip this step completely if you have ready-made wheels available.I didn’t have wheels of suitable diameter - I had to do them myself. I already described technology in an article about homemade chassis.
We cut the blanks from foam rubber and glue them in several layers with ceiling glue.
From plastic cards we cut out circles and glue them with epoxy to future wheels.
We drill holes, screw a bolt into the workpieces, hold it in drills and process it with sandpaper to the desired shape.

The wheels are ready.
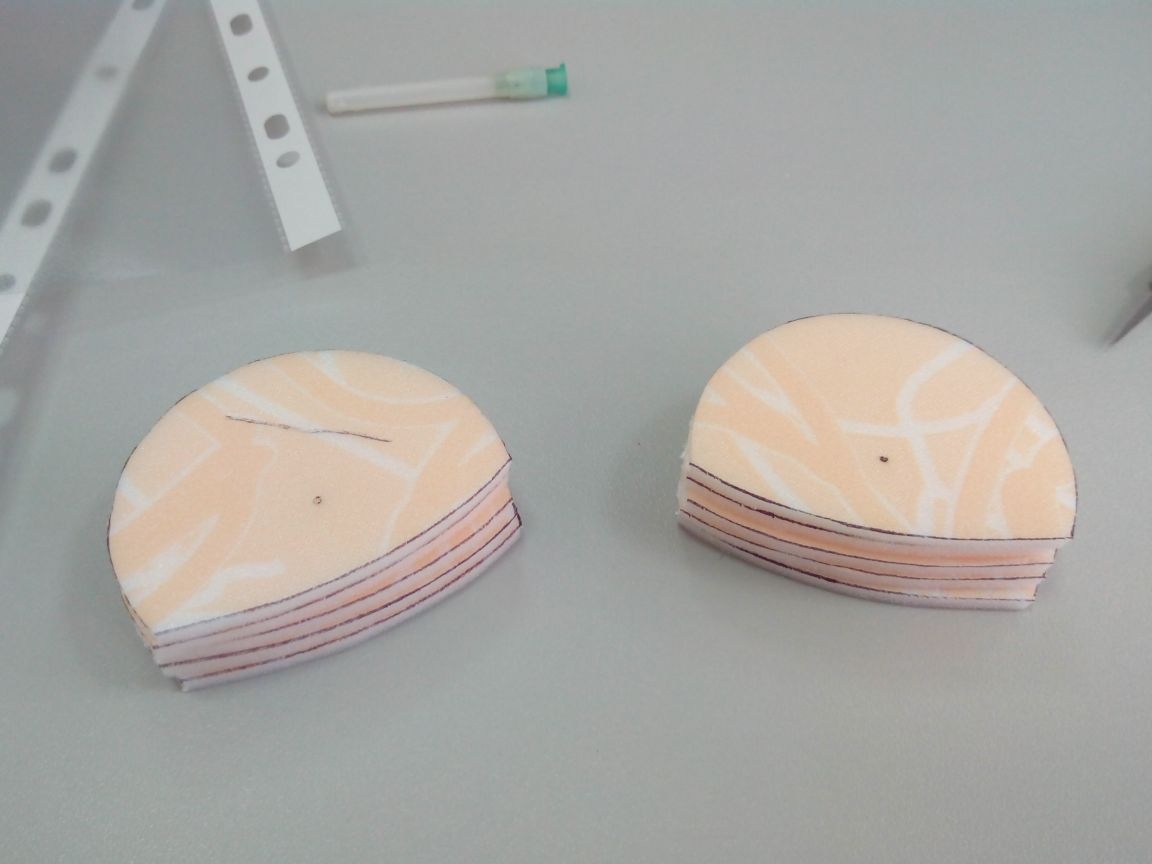
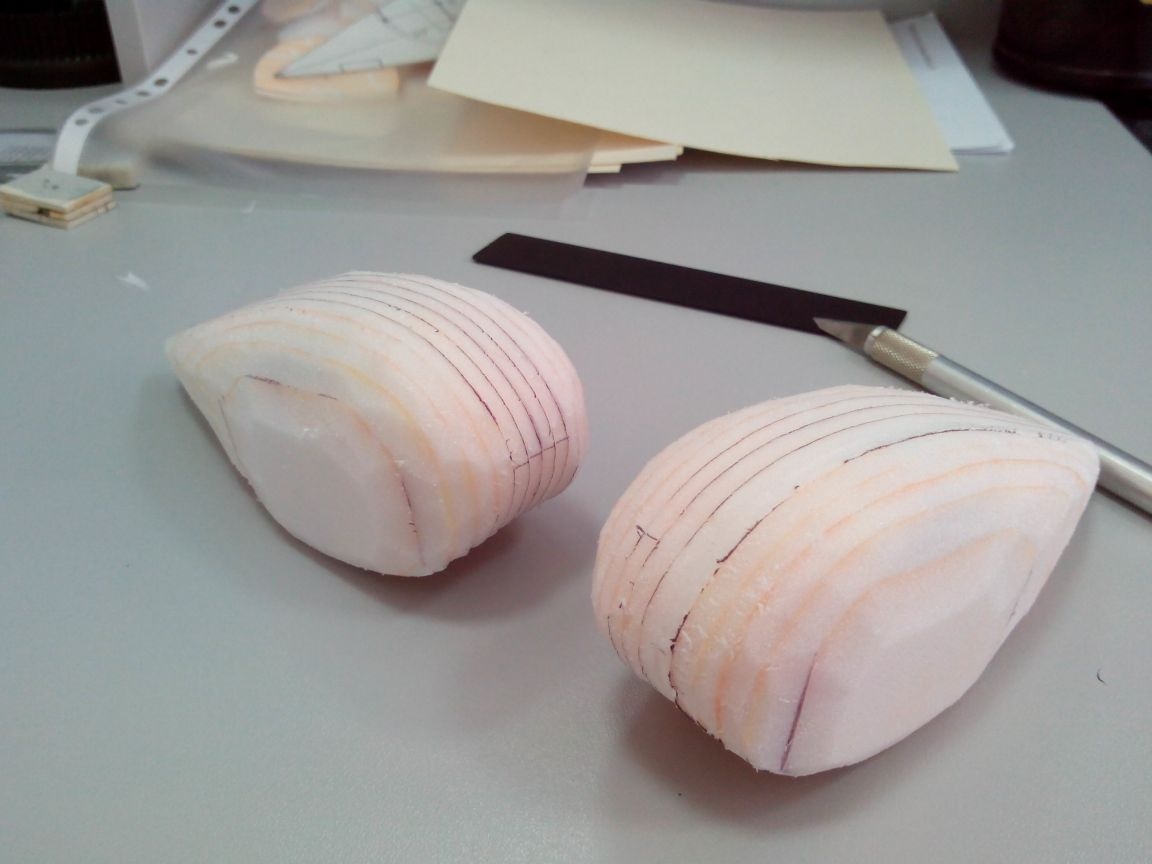
Step 4. Processing fairings
With a clerical knife, we cut off the excess ceiling to give the fairings a drop shape in a draft version.
For greater strength, glue the pieces of the ceiling onto the outside.
And cut off the excess with a knife.
We process fairings with sandpaper, giving them the final drop shape.

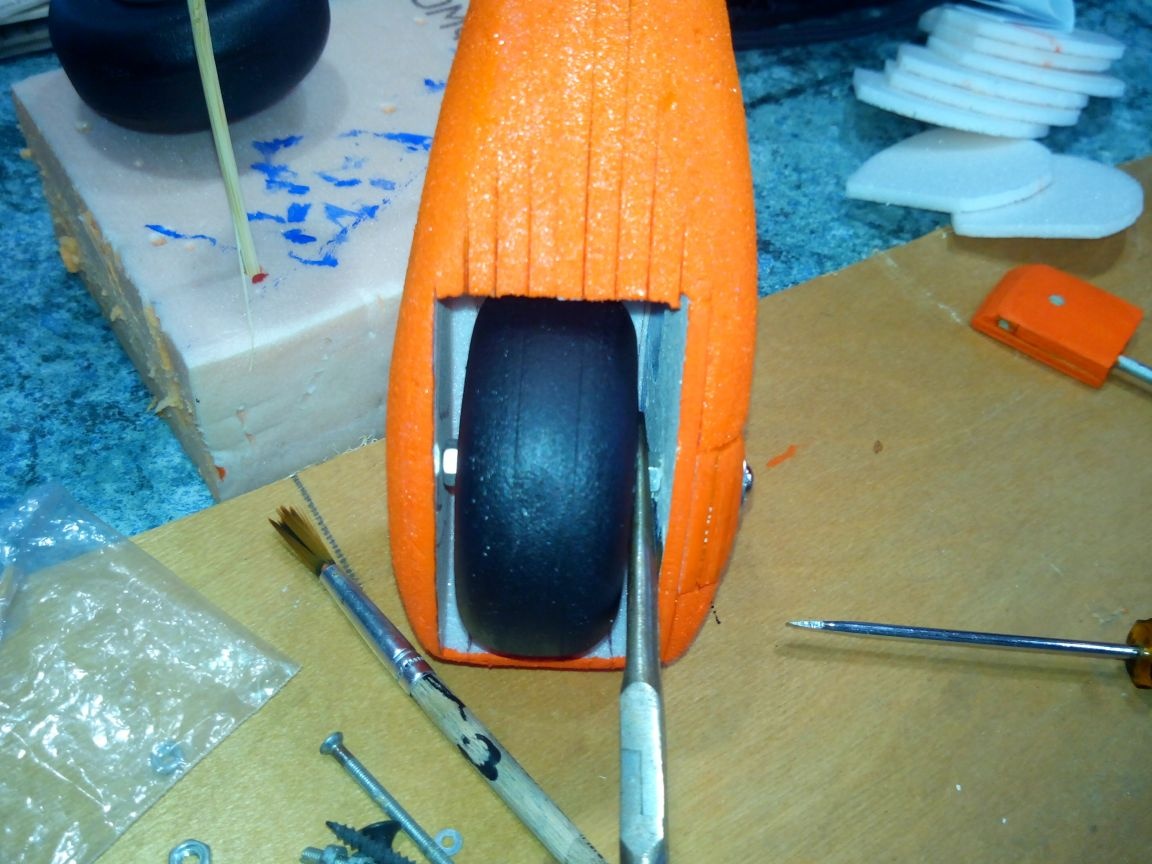
We grind the sandpaper of the rack so that they do not protrude from the fairings, and drill holes for the bolts.
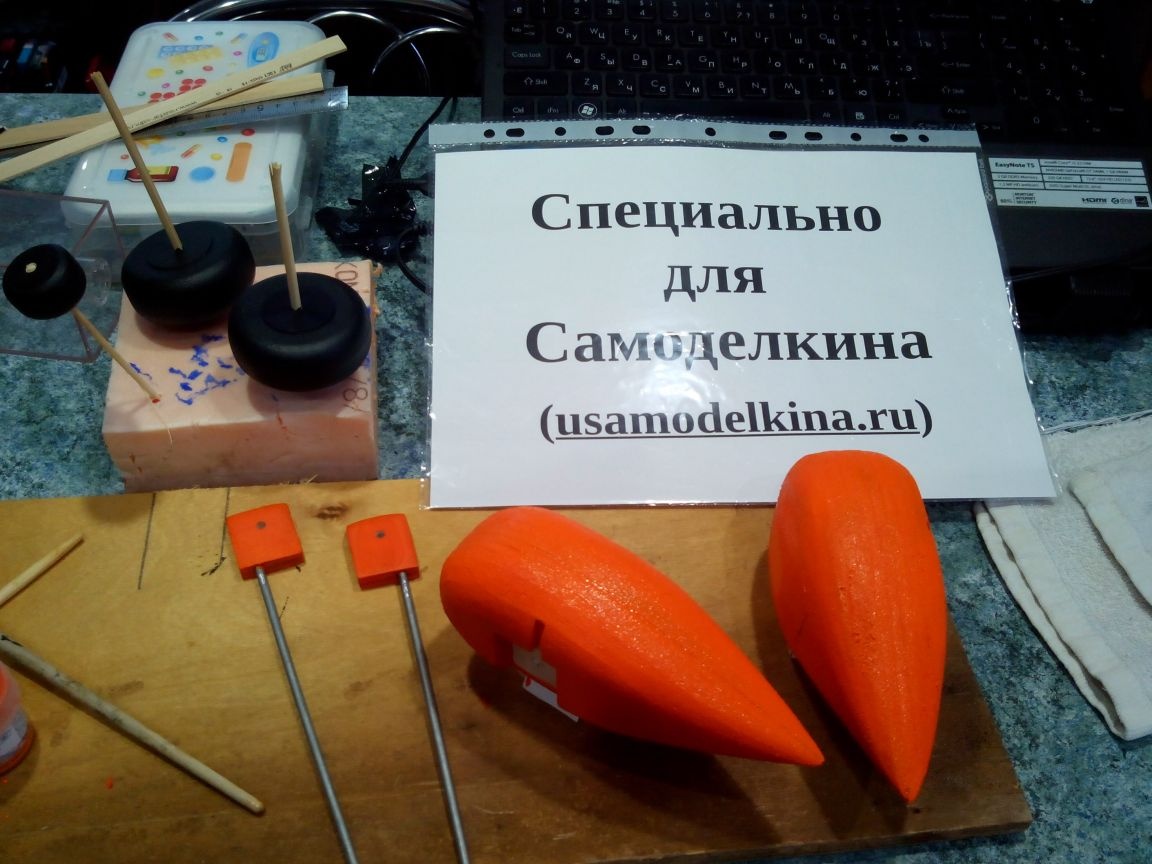
Step 5. Painting and assembly
We paint the wheels in black color with acrylic paints, and the fairings and landing gears in a color scheme suitable for the model. To do this, you will need previously cut semicircles - we insert them into the fairings and make an even cut. It is more convenient to keep fairings in the process of painting and can be put on the surface for drying. After drying, paint everything with acrylic varnish.
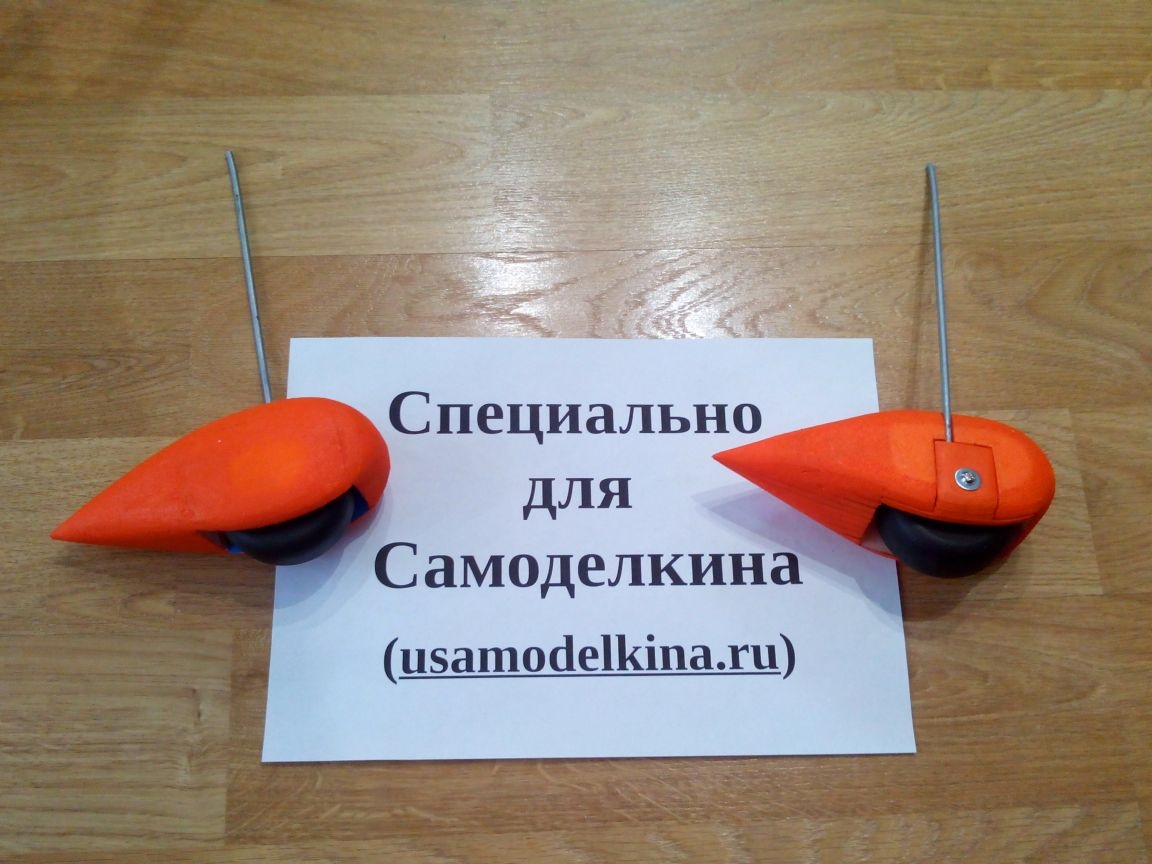
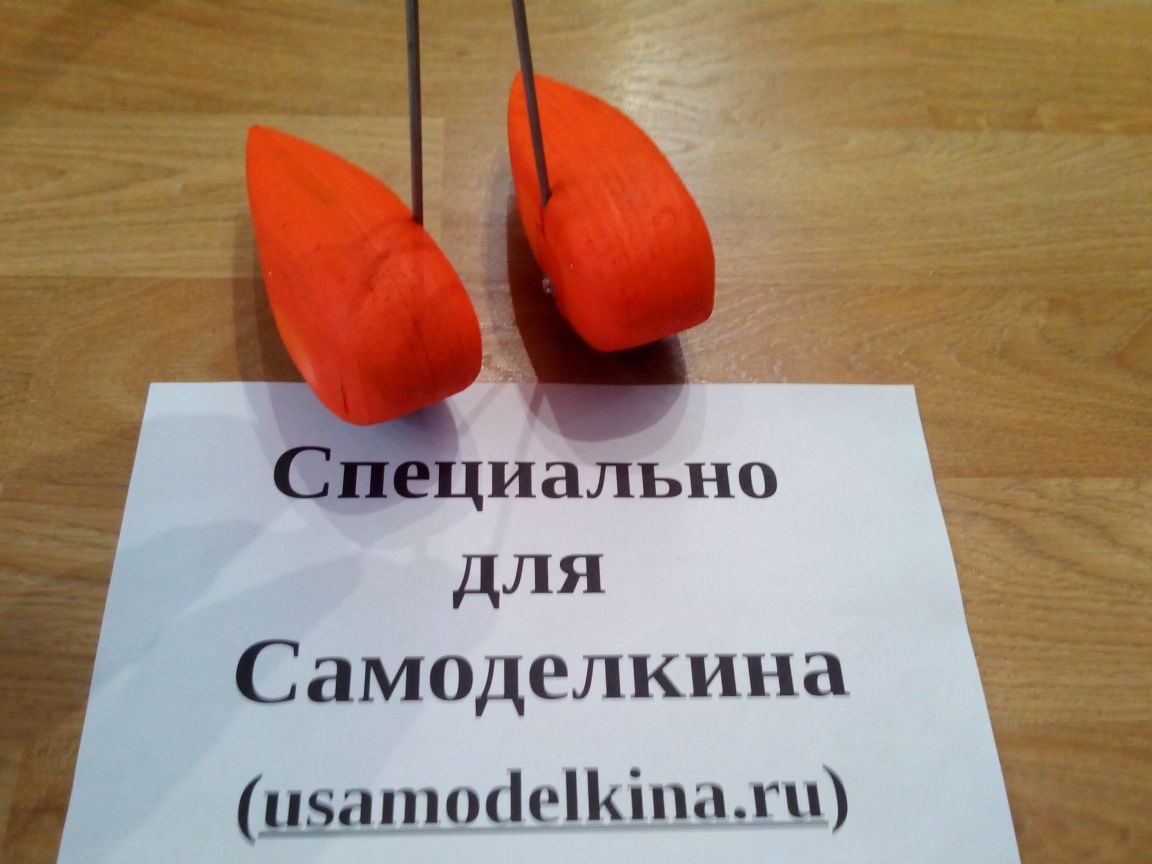
When the varnish dries, you can begin to assemble.
To facilitate the design, the bolt of the rack to the fairing also performs the function of the wheel axis.
How to put everything together - shown in the photographs.
The nut that secures the wheel is best coated with a thread lock or take non-twist nuts.
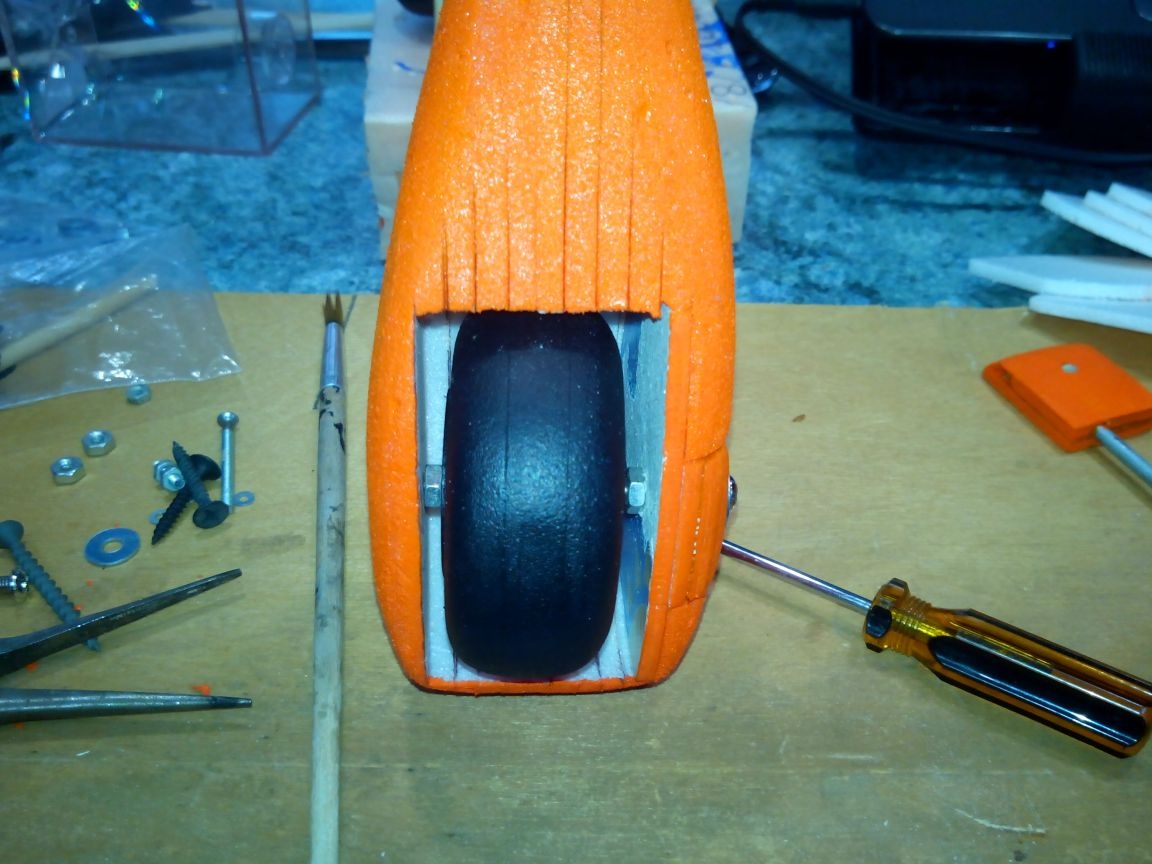
All the fairings are ready.