Dear visitors of the site In the presented master class will be shown in detail and described how
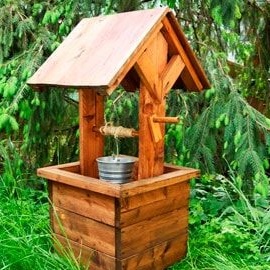
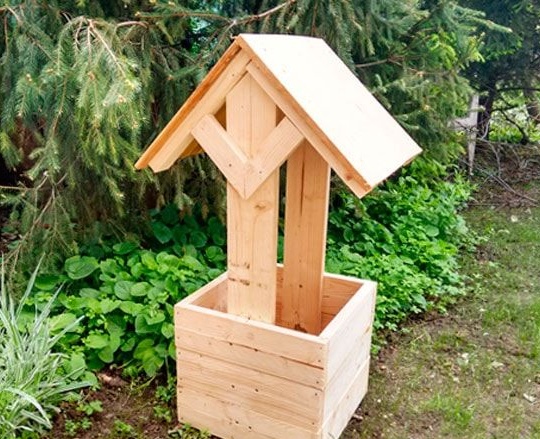
do it yourself it is possible to make a decorative well on a personal plot, a summer residence. Such a well will give a distinctive look to your site, fill it with kindness and comfort, because a tree, like no other material, gives a person joy and happiness.
The design of the well is quite simple and anyone can do it, following the instructions you will succeed.
And so, let's look at all the stages of construction in more detail, as well as analyze what is needed from the material and the tool.
Materials1. board 20 mm
2. beam 30x30 mm
3. stalk (stick)
4. stain
5. varnish
6. nails
7. wood screws
8. rope
9. decorative bucket
10. wood impregnation
11. roofing material or bitumen mastic
Instruments1. hacksaw
2. drill
3. screwdriver or curly screwdriver
4. clamp
5. hammer
6. brush
7. roulette
8. pencil
The process of making a decorative well with your own hands.And so, the design is still quite simple, the author begins to assemble the well directly from the base. The dimensions of the well can be chosen arbitrary, because it is purely decorative in nature and it is not necessary to make it full-size.
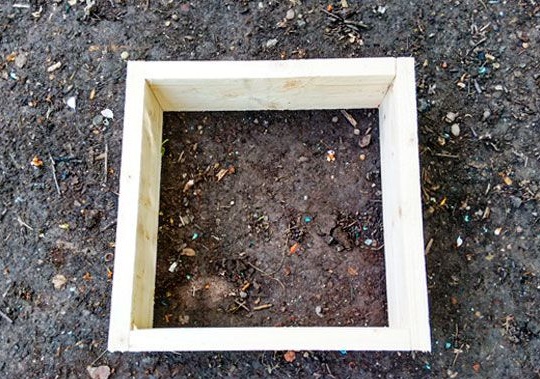
From boards of 20 mm (thickness), the author cuts and knocks the base. In order for the wood not to crack, in the place of hammering a nail, you should first make a hole with a thin drill, and then quietly hammer a nail.
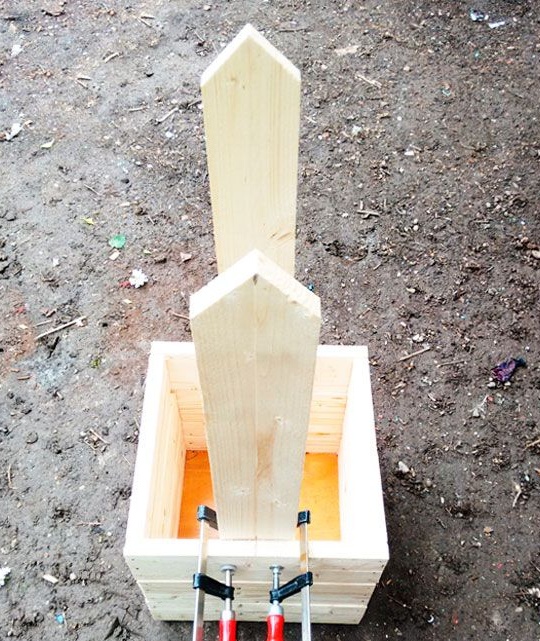
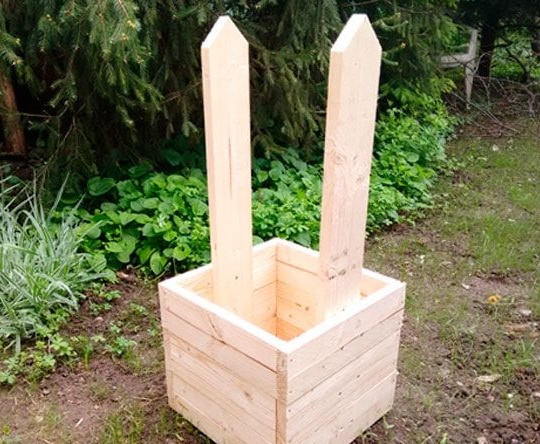
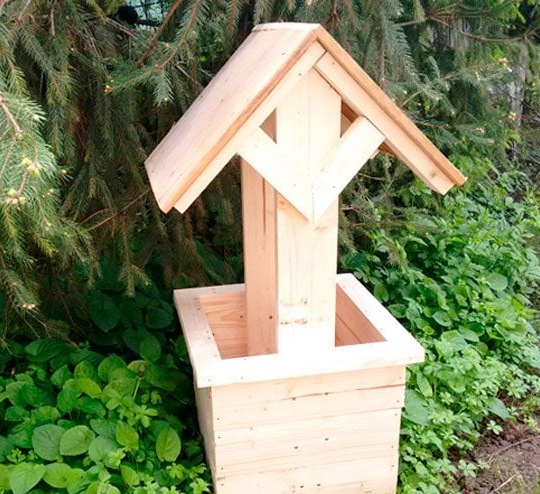
Further to the base, the author attaches racks to the roof of the well. From a board of 20 mm, 2 billets are cut, cut at an angle to the top, placed inside the base, fixed with wood glue and screws.
The subsequent crowns of the box are sewn onto the received racks (screwed with screws)
A gable roof is assembled from planks and timber.
Sides are made.
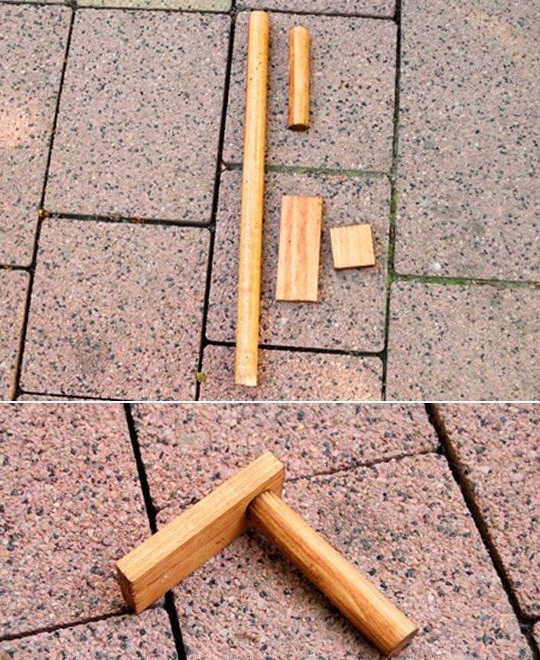
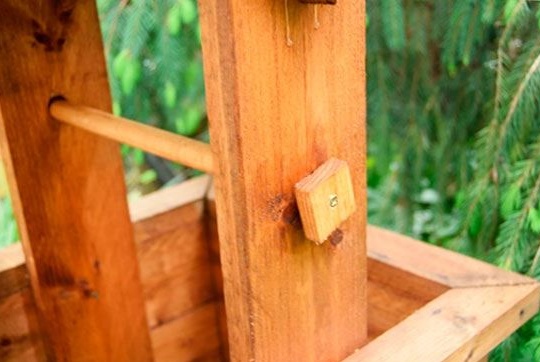
From a round handle or stick, the author makes a drum to raise a bucket.
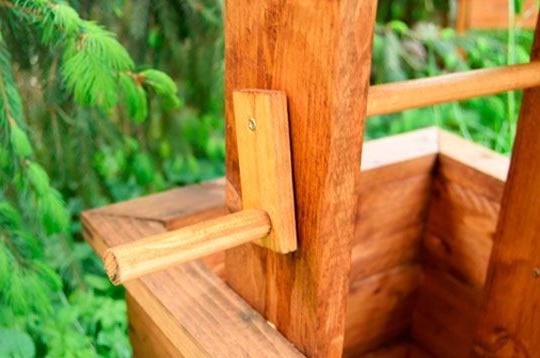
A hole is drilled in the racks, a drill with a crown, and then a stalk is inserted. On the protruding part of the stem from the hole, the master makes a pen.
And on the other side makes a mount in the form of a square made of wood screwed with a screw.
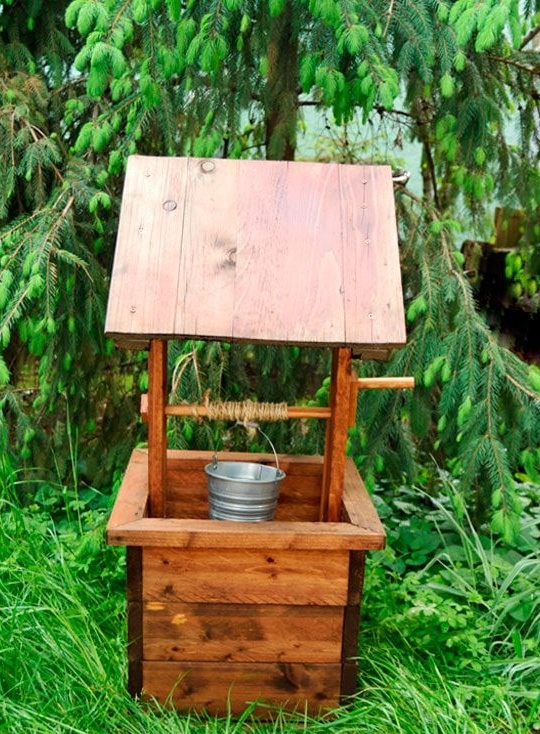
For a larger and more natural look, the author wound a rope on a drum, and also hung a miniature bucket.
Here is such a wonderful decorative well turned out by our author. But there is one more important point - the installation of a tree on grass or bare ground is not very rational, because its lower part will become unusable in a short time. This problem can be solved as follows: the bottom of the well needs to be greased with bitumen mastic, or a piece of roofing material should be glued. Thus, the waterproofing will be increased and the well can be placed anywhere on your site.
This concludes the article. Thanks for attention!
Come visit often, do not miss the latest in the world of homemade goods!
This article is for informational purposes only!
