Dear visitors of the site From the master class presented by the author, you will learn how
do it yourself You can make a tuez from birch bark, as well as when and to harvest birch bark. This is a rather serious matter and requires diligence, as well as attention. But having studied the presented material, you will surely succeed.
As you probably should know, birch bark is a birch bark which is appreciated among artisans for its unique qualities, such as: water resistance, a beautiful and unique appearance.
Products from birch bark are obtained simply fabulous beauty.
And so, let's take a close look at all the stages of creating a birch hat with your own hands, and also find out what is required for this.
Materials1. birch bark
2. board (pine)
3. wood glue
4. glue moment
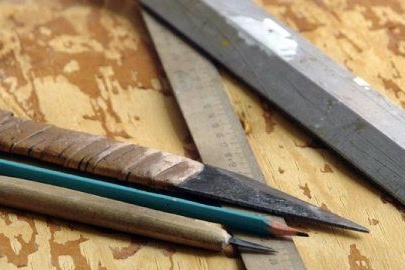
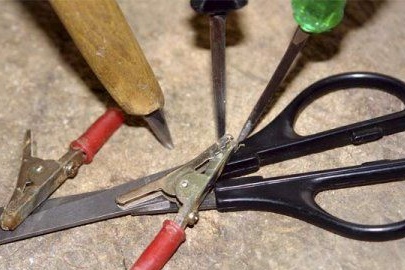
Instruments1. knife cutter
2. knife jamb
3. jigsaw
4. drill
5. hammer
6. punch
7. awl (round and square)
8. coinage
9. an awl with a blunt tip
10. metal ruler
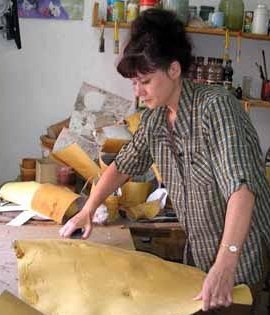
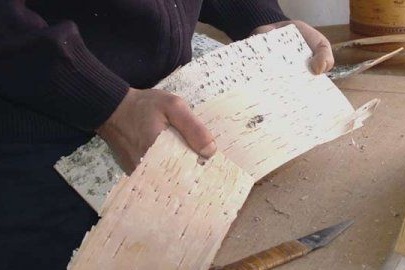
The process of making a DIY tuesca.The first step is to find out what birch bark is and how it can be obtained? Birch bark is the top layer of birch bark, the outer layer is white, and the inner one, facing the bast from yellow to brown. Artisans harvest bark in the spring and summer, during sap flow. Starting from the end of April, the masters go further into the forest, where they remove the bark from birches; in the above period, the bark is removed quite easily.
ATTENTION!If you are passionate about creating
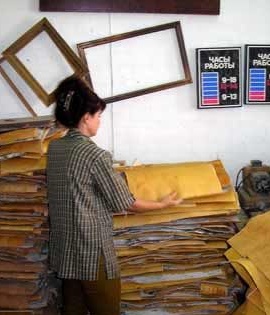
crafts from birch bark and you urgently wanted to get birch bark, then do not spoil the first tree that comes across, but go farther into the forest where a simple person rarely comes. Having collected the required number of birch bark sheets, they should be wiped with a clean cloth from moisture and juice. Having brought them home, they should be cleaned of growths and put in an even pile, while it is necessary to press down on top with a load, so that when dried, the birch bark is not twisted.
And so, Wipe and smooth.
Extra growths are removed.
Stacked and pressed down by the load.
Ready birch bark cannot be stored in a sunny place, because it can dry out, and it is better to store it in a dark place.
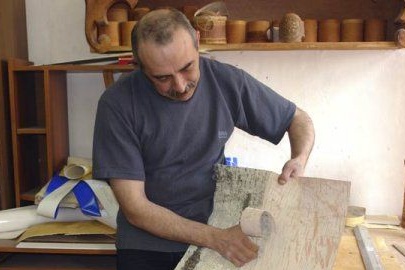
After the material dries, the master starts work, for which he takes the necessary tool.
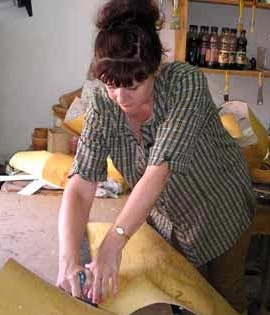
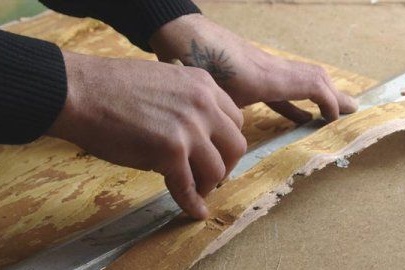
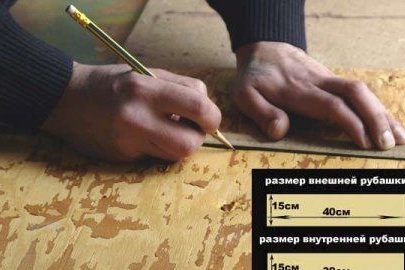
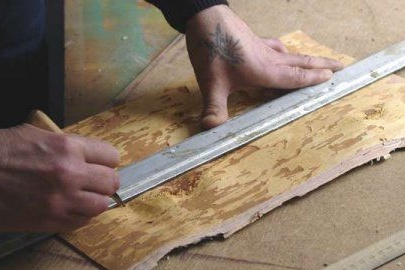
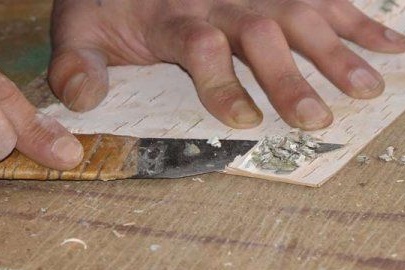
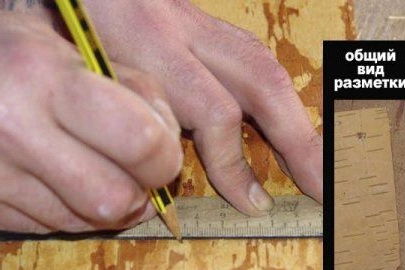
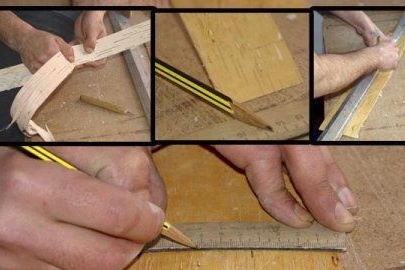
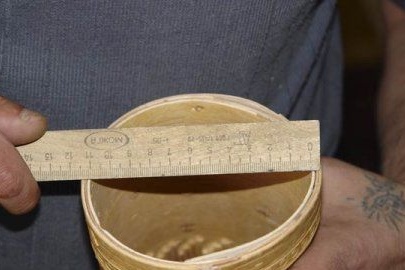
To make a tuezka, two strips of birch bark will be required, one of which must be exactly 1 cm longer than the other, because it will be necessary to make 2 cylinders, with the expectation that one will be inserted into the other. The edges are aligned using a metal ruler and a knife.
Cut out 2 stripes, the size of the author indicated on the photograph.
Everything is done very carefully.
The top should be removed.
Remove growths.
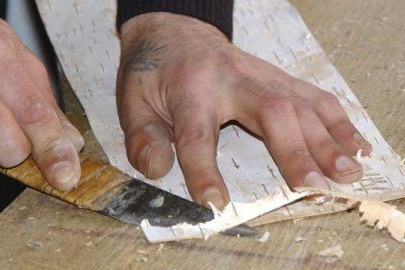
Cut the edge a little under the cone.
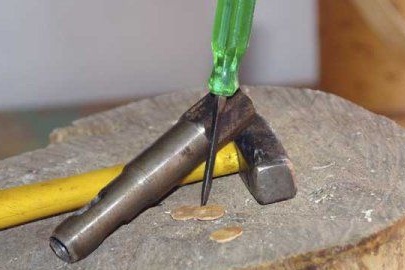
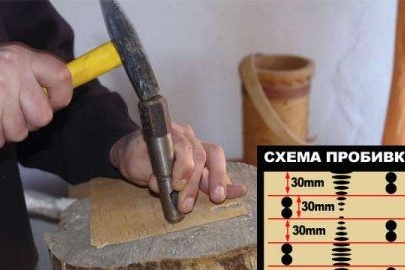
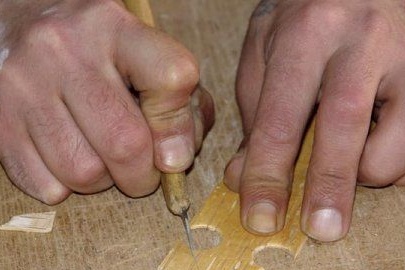
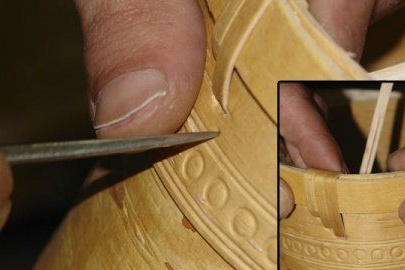
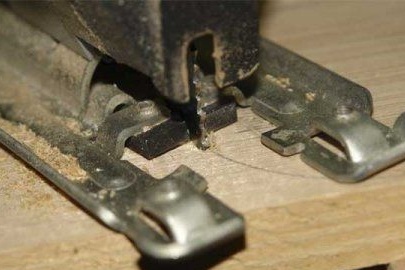
Then, it is necessary to make a castle on the obtained birchbark stripes, and it is made as follows: 2.5 cm recedes from the edge and a line is drawn, then holes are made using a punch. The punch is shown in the photo.
Drawing a marking.
The holes are punched as follows, shown in the photo.
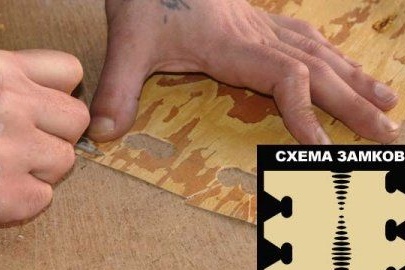
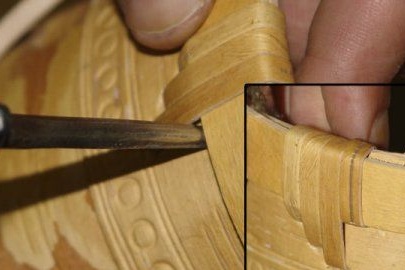
Extra parts are removed and such a lock is obtained.
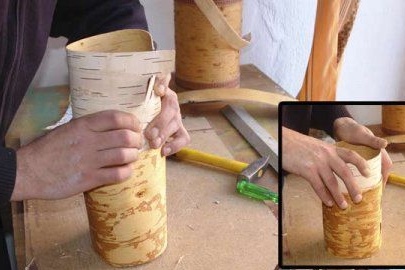
Then the cylinders are assembled, and the lock is simply docked.
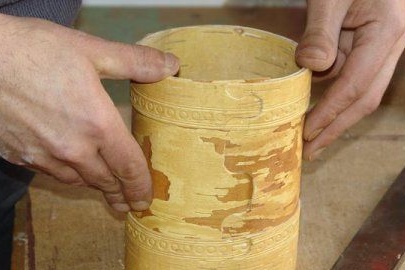
Cylinders are inserted into each other with a slight stretch.
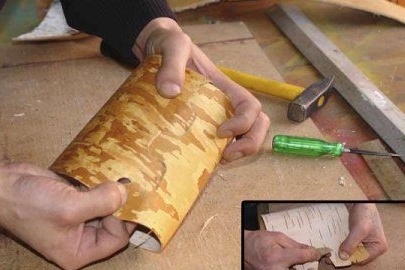
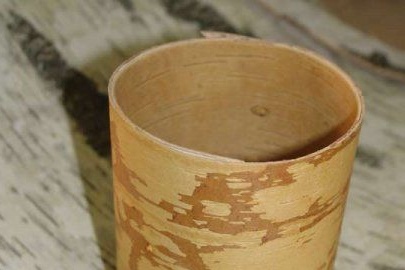
Here such a cylinder should result in the end.
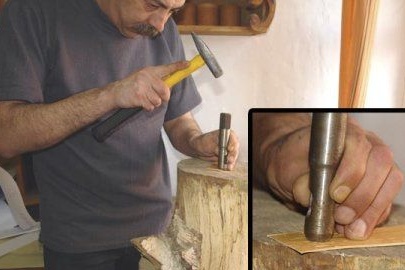
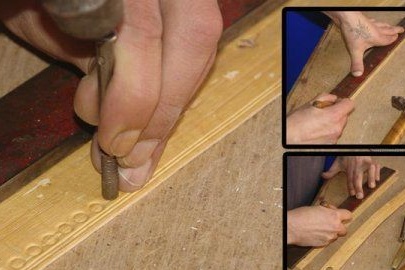
Then embossed, punched and square or flat awl.
2 strips are cut out.
The castle is also made.
There will be a hole at one end of the strip, and an arrow-shaped lock at the other.
Embossed with stamping with a hammer.
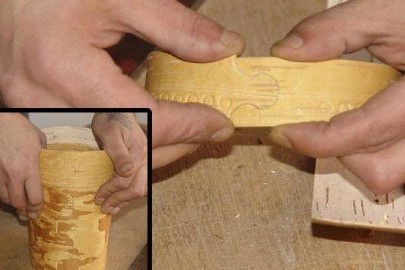
Going strip into the castle.
It is put on the cylinder.
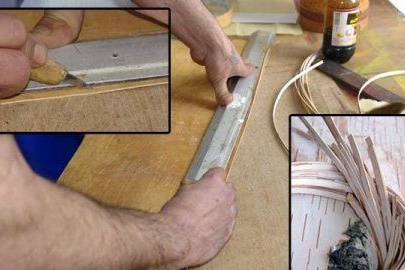
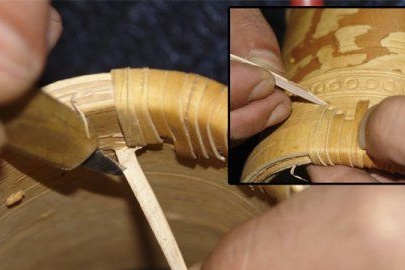
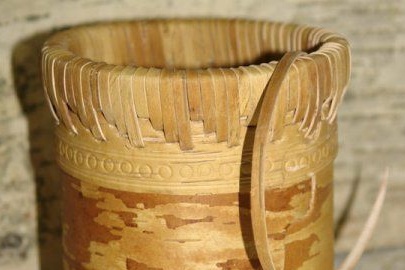
Next, the master will cut long, even and thin strips, they will be needed for braiding.
First, a birch bark sheet is prepared, the upper white part is removed from it.
The ruler makes markings and cut strips.
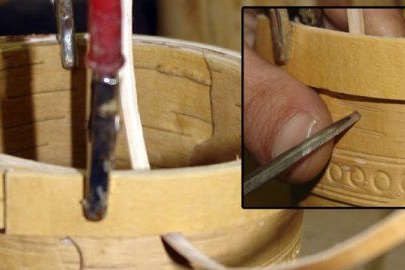
The cut out strip is fastened with a clothespin or such a “crocodile”
Using an awl, a hole is made under the imposed strip.
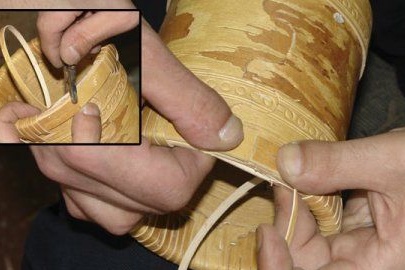
A birch-bark thread is passed (from the inside) where about 1 mm is left, and the second hole is made several millimeters lower.
After 3 ties, the author goes upstairs.
When the thread ends, a new one is inserted into the same hole, always from the inside.
Then you need to align the gaskets and braid everything to the end.
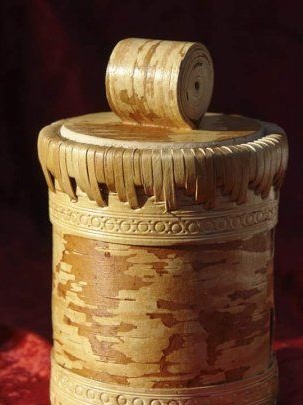
Here is such a beauty turns out.
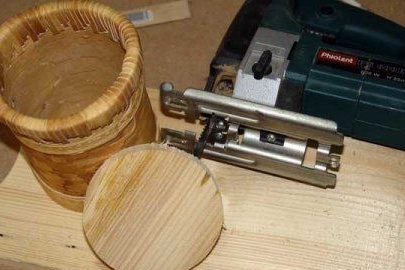
Then the master makes the bottom for tueska.
Makes a stop.
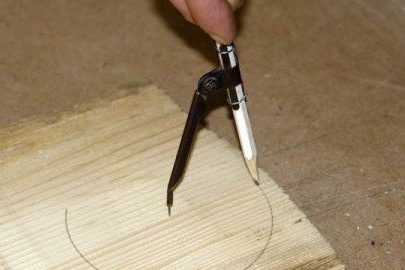
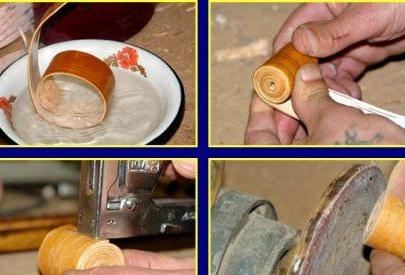
Draws a circle on a pine board with compasses.
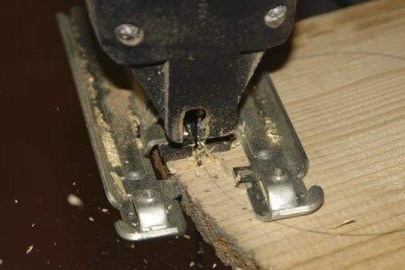
Sawing with a jigsaw.
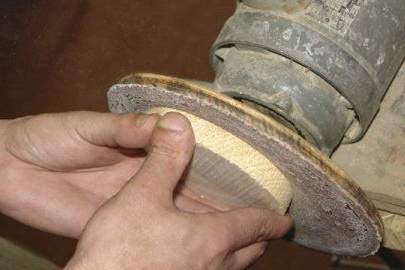
The author grinds the sawn circle on a grinding machine.
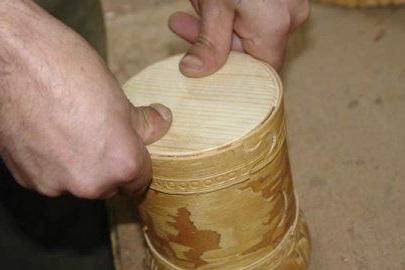
Inserts into the birch bark cylinder, the bottom should fit very tightly, after the birch bark is dry it will additionally clamp the circle.
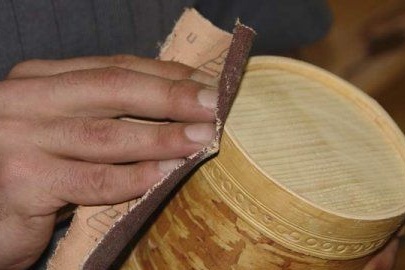
The edges of the tuezka should be treated with sandpaper.
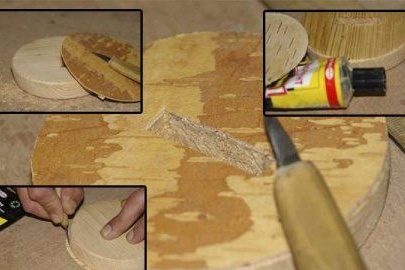
After the bottom is inserted, the author proceeds to the manufacture of the lid, it is done in the same way, only it is sharpened a little under the cone so that it freely closes and opens. A circle of the same size is cut.
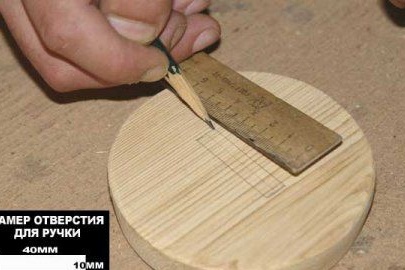
Marking is done for installing the handle.
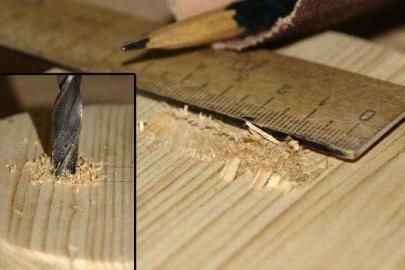
A hole is drilled, and then sawed along the contour with a jigsaw.
In order for the lid to be in harmony with the beautiful color of the tuezka, the author glues a circle of birch bark on it with glue "moment". What is extremely unacceptable when using foodstuffs in tuez, but souvenir toues can be relaxed).
Then a handle is made for the lid, a 60 cm long birch bark strip is taken, it is aligned at the edges and lowered into hot water, where it begins to curl. The author takes it out of the water and twists it into a scroll, while securing the edge with a stapler.
After cutting out another strip of the same width, the resulting roll is captured and passes through the slot, on the reverse side the strip is smeared with carpentry glue and the wedges are clogged. The excess is then simply removed with a knife.
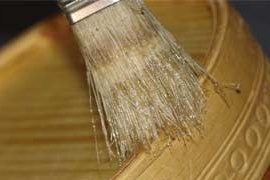
Last stage: the master lacquers the product from the outside.
ATTENTION!Inside tueses not varnished !!! Be careful! And in general, it is not worthwhile to cover such beauty with chemical compounds, but it is better to rub with linseed oil, the gloss will not be worse, and most importantly harmless to human health.
All sorts of drawings and embossments of indescribable beauty are also applied on tueski, but this is said to be a "different story."
This baguette can be used to store loose cereals, sugar, salt and in no case not water! To store water, tues are made using a different technology, by the way no less interesting and fascinating.
In the old days, when they made such tueski for storing jams and pickles, they also say that in such dishes milk was stored for a very long time and was not sour.
This concludes the article. Thanks for attention!
Come visit often, do not miss the latest in the world of homemade goods!
This article is for informational purposes only!