I took part of my design from the assembly instructions for Lego Technic 42029. The rest is my improvisation. So we need:
- Lego Technic 42029
- Arduino Nano 382P
- DRV 8833 (better than Populus, but a Chinese counterpart is also possible)
- 2 servo drives SG-90
- IR receiver
- Motor gearbox 200 rpm
- 2 LEDs
- 2 resistors 150 ohms
- Capacitor 10v 1000uF
- 2 single row combs PLS-40
- 2 PBS-20 connectors
- Inductor 68mkGn
- 6 NI-Mn 1.2v 1000mA batteries
- Connector dad-mom two pin to wire
- Homutik
- Wires of different colors
- solder
- Rosin
- Stationery knife
- soldering iron
- Bolts 3x40 and nuts and washers for them
- Bolts 3x60
- Batteries Ni-Mn 1.2v 1000mA 6pcs.
Step 1 we collect the back of the suspension.
First, you need to assemble the rear suspension according to the instructions of Lego 42029 part 1, starting from 3 pages and 8 inclusive. Next, add a few details so that you can install the engine and gearbox.
Step 2 front suspension.
We assemble the front part of the suspension according to the instructions of Lego 42029 part 1, from page 21 to 23. We take the trapezoid from the second part of Lego instructions from page 6 to 11. We assemble the winch from the second part of page 14 - 22. And the second part of the bumper is 34 -36 pages.

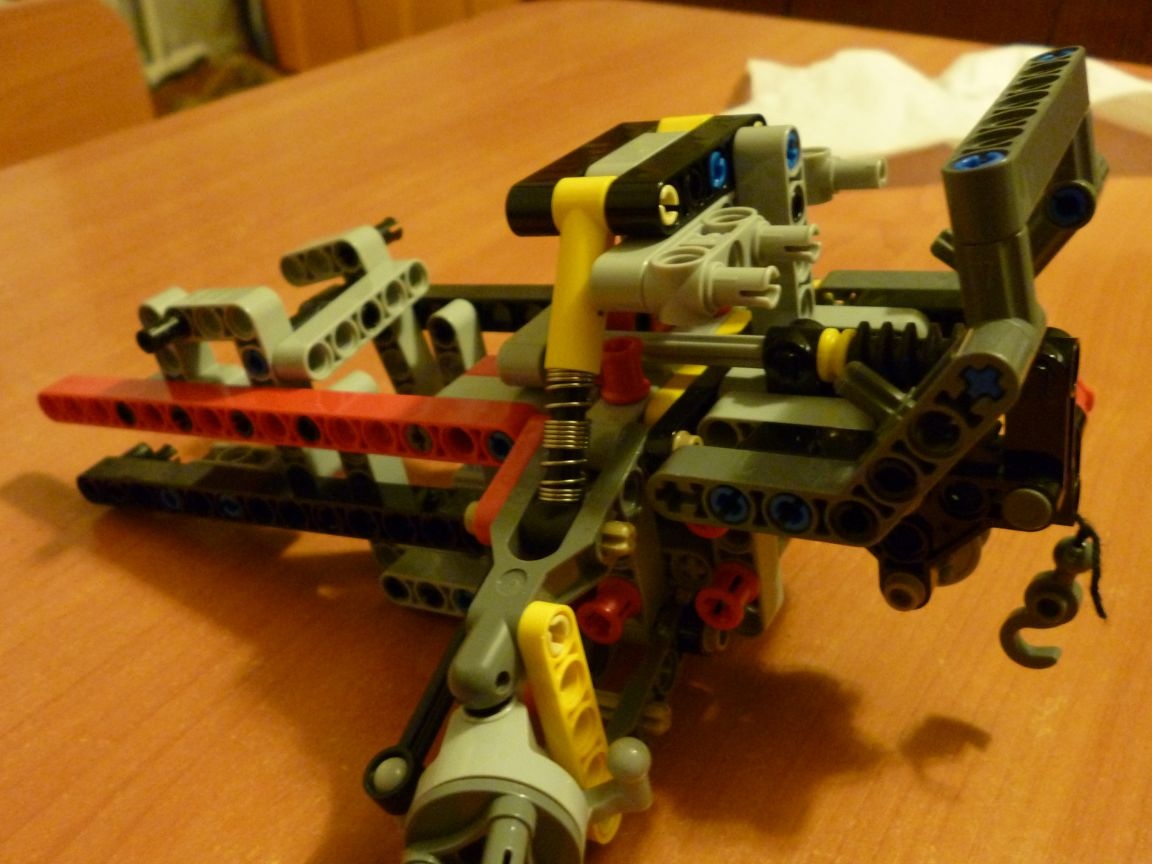
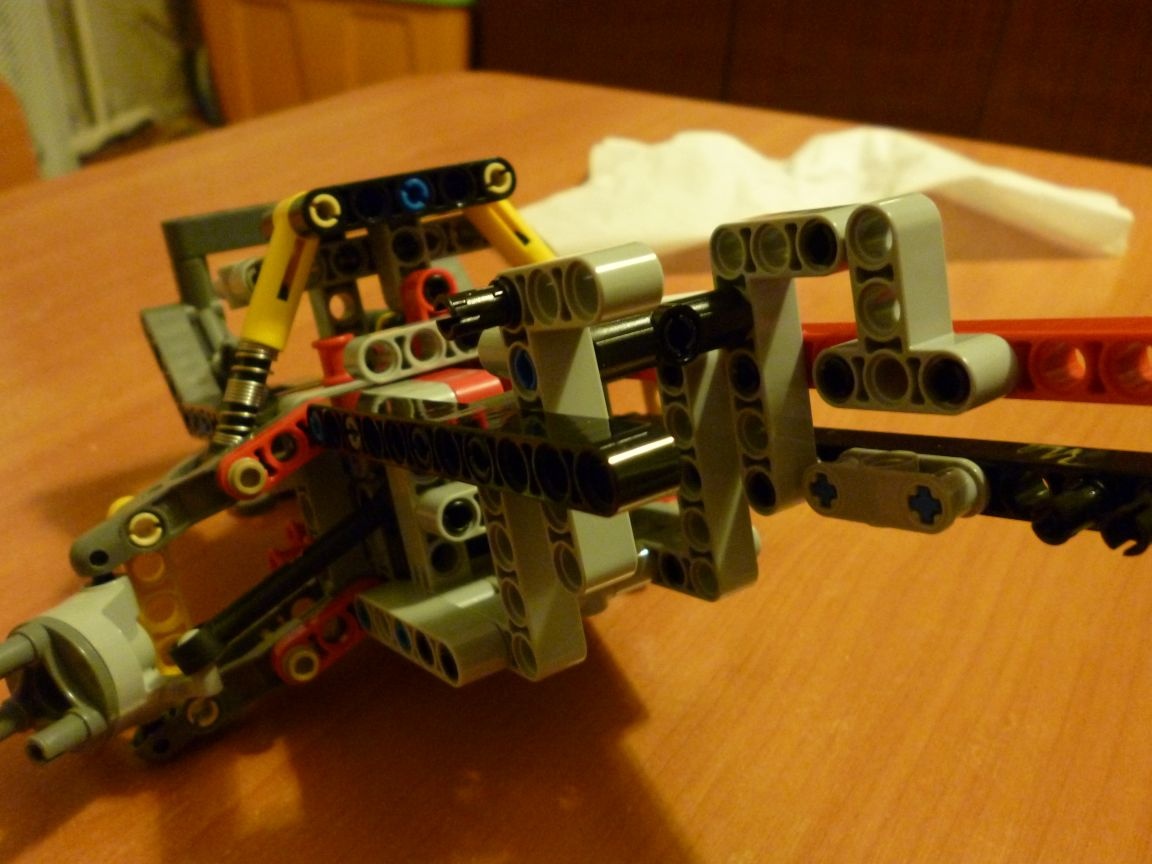
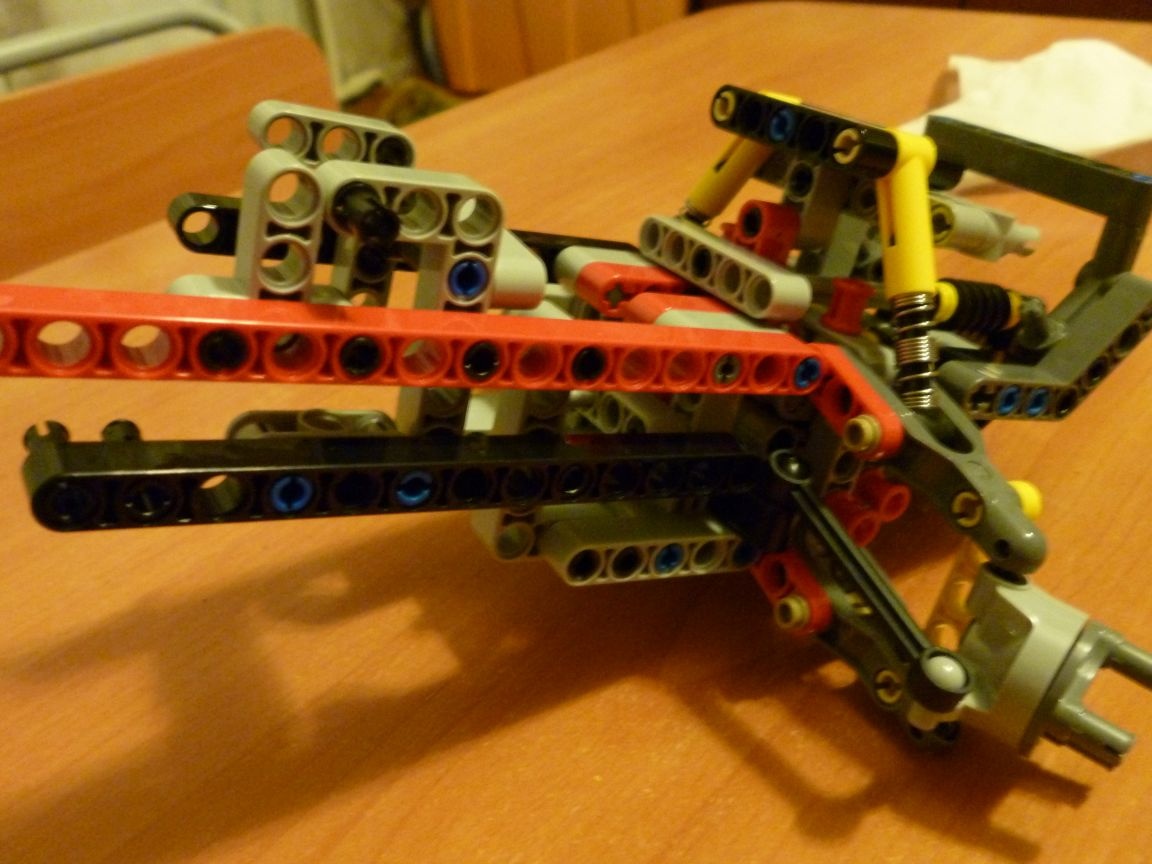
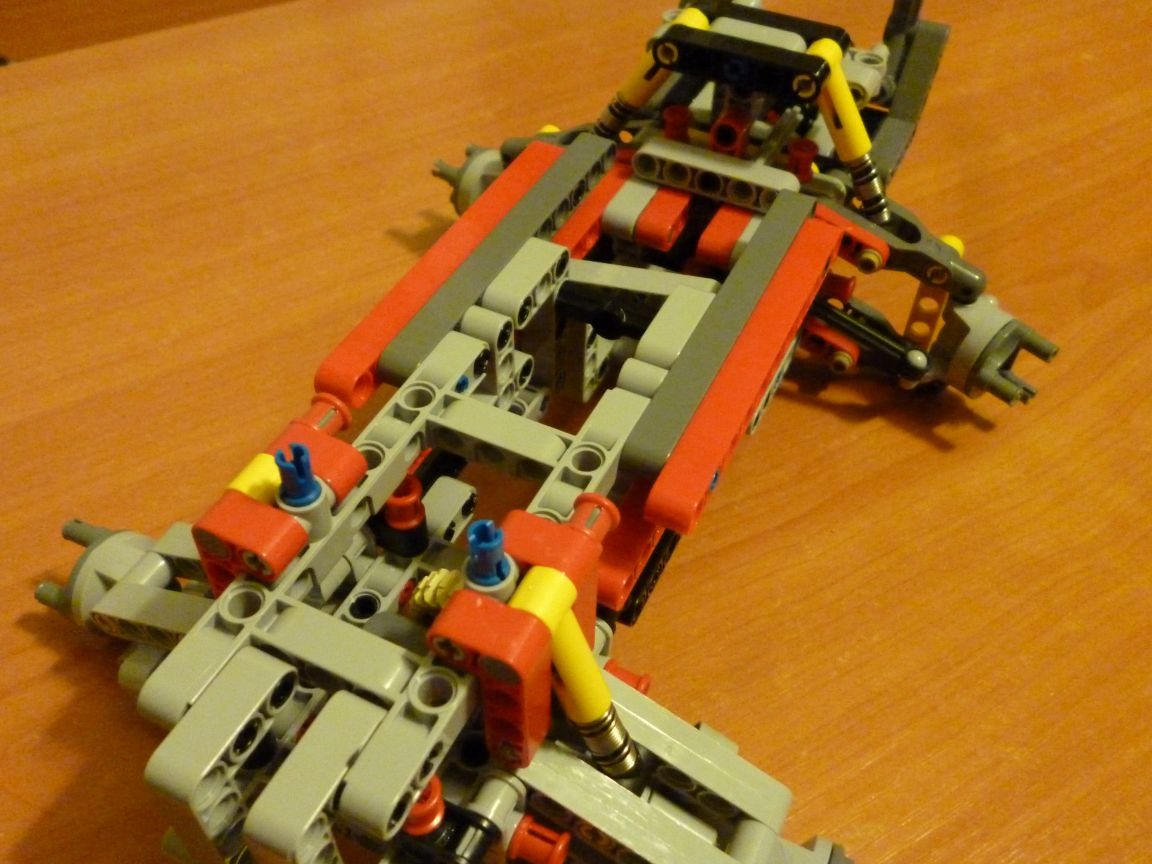
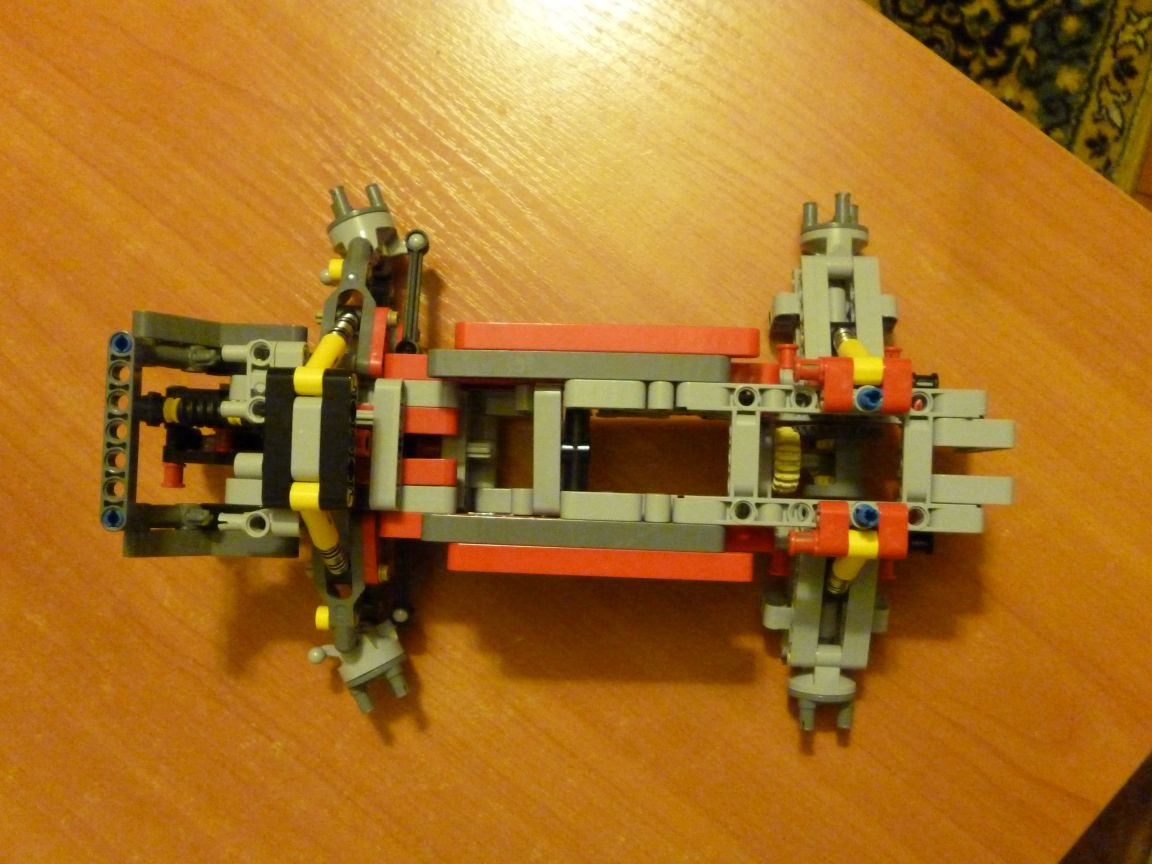
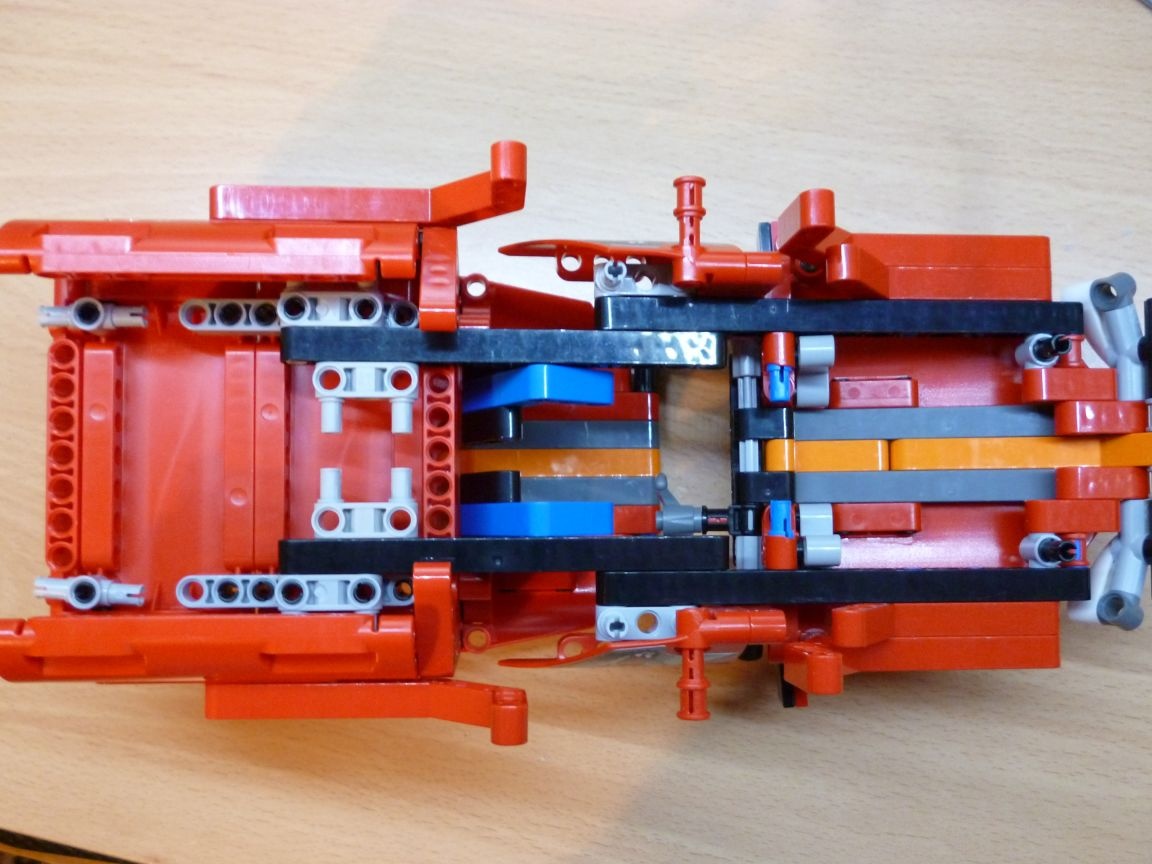
Step 3 assemble the chassis.
We connect both parts as shown in the photo:
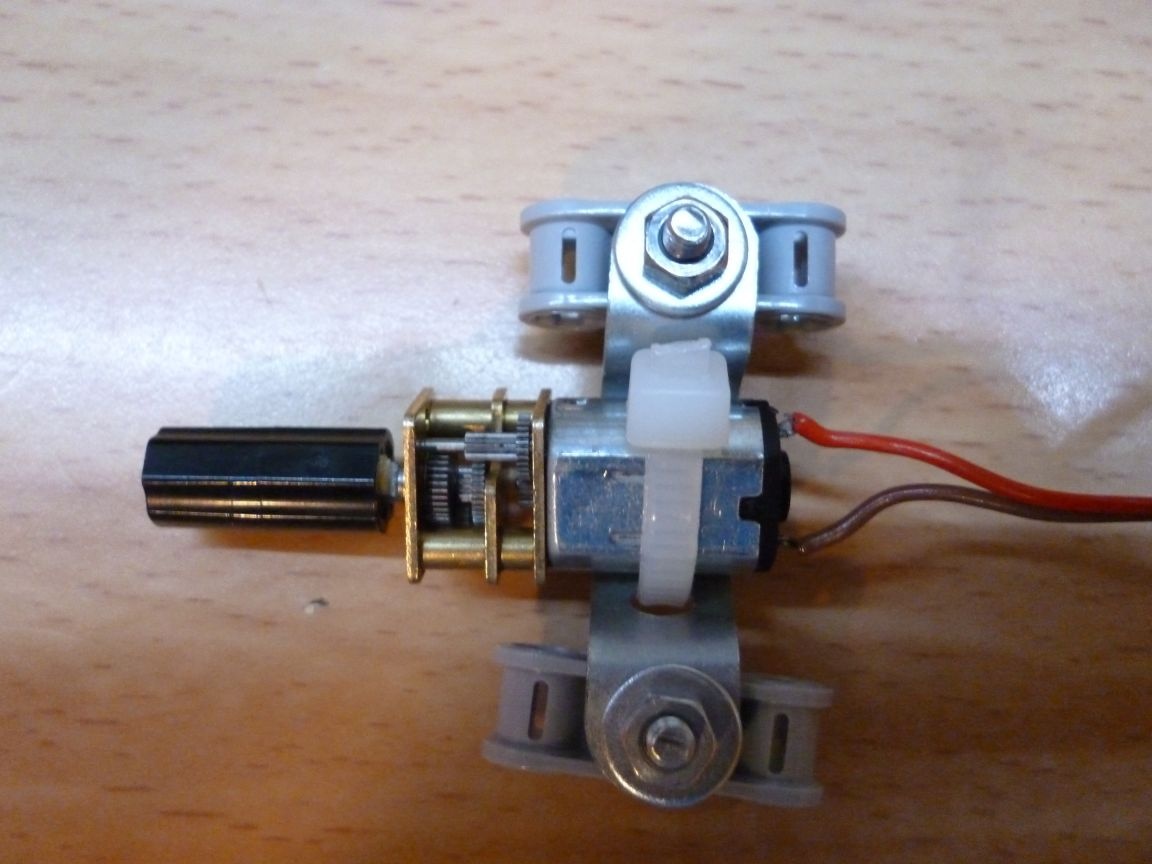
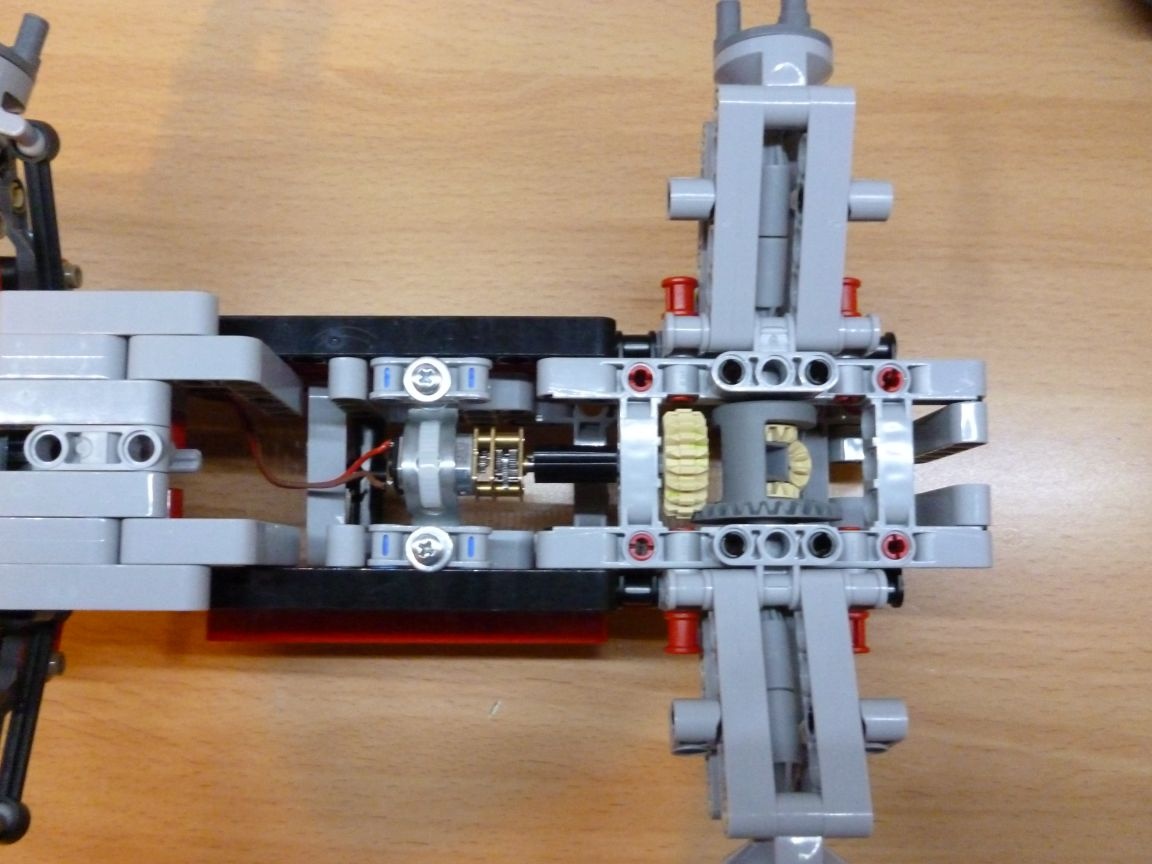
I solved the problem of connecting the gearmotor with the parts of the designer as follows: put on the axis of the gearmotor a connecting sleeve and inserted a scrap of a match for fixing. For mounting the gear motor used metal plastic from an iron designer and a clamp.
It turned out the following:
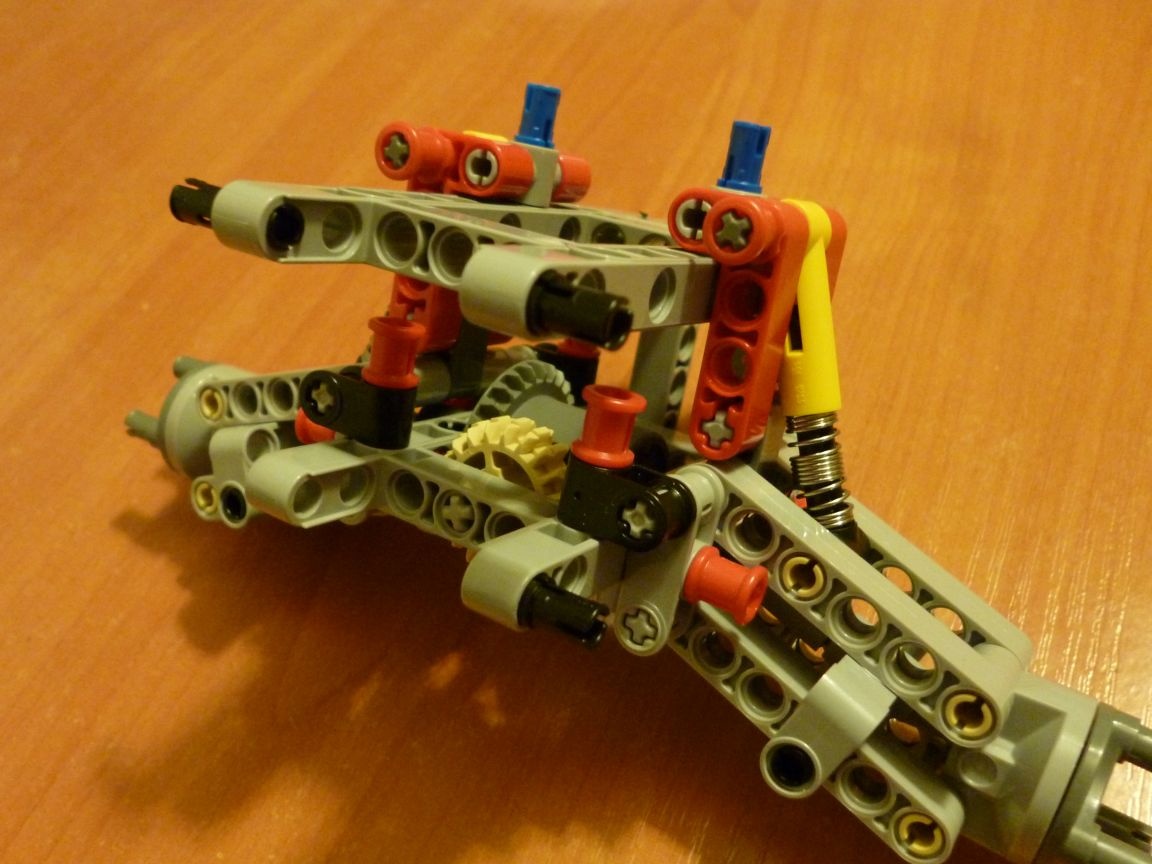
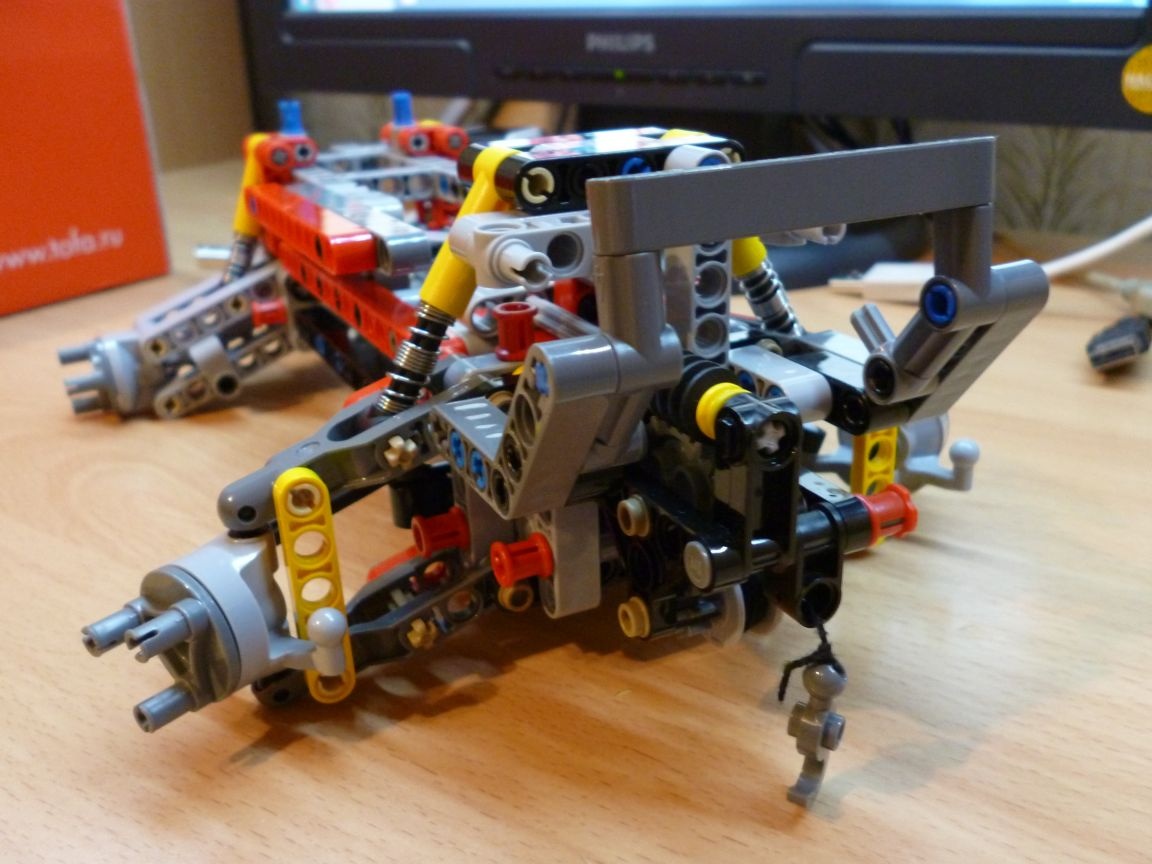
Mount on the chassis:
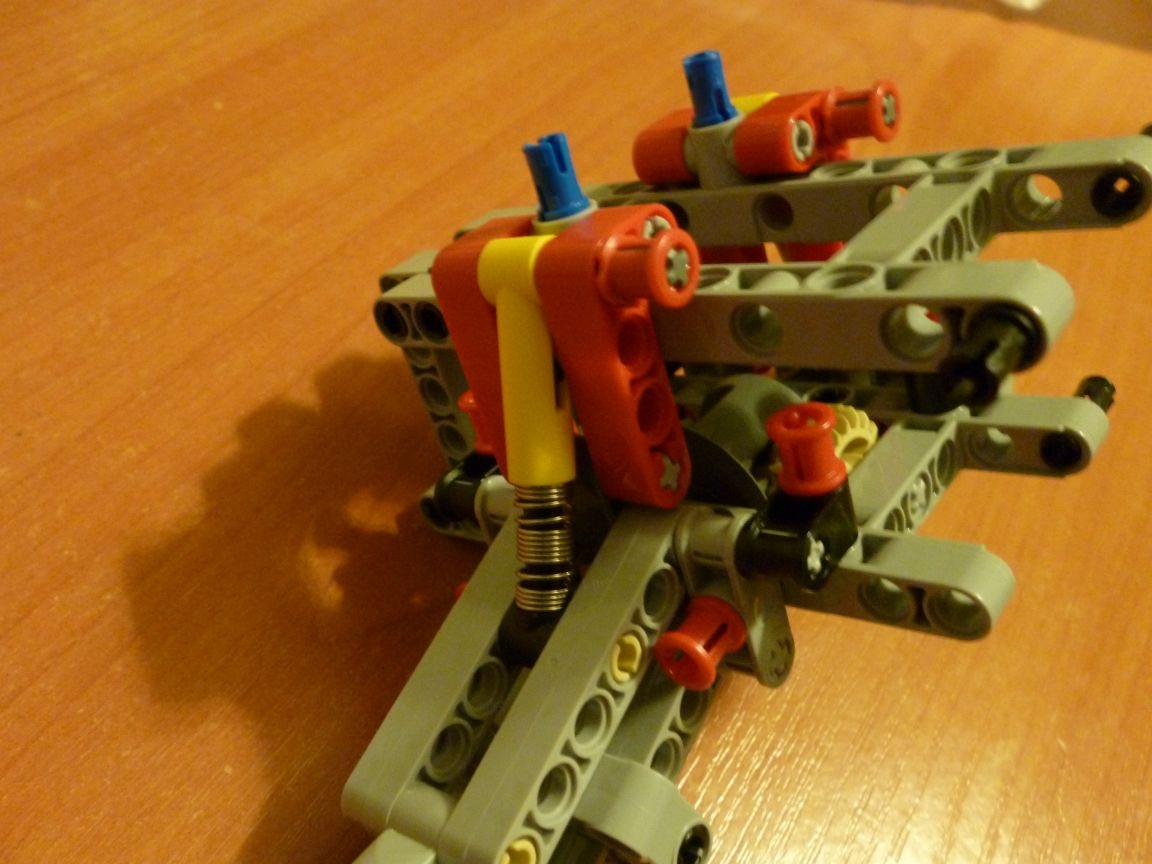
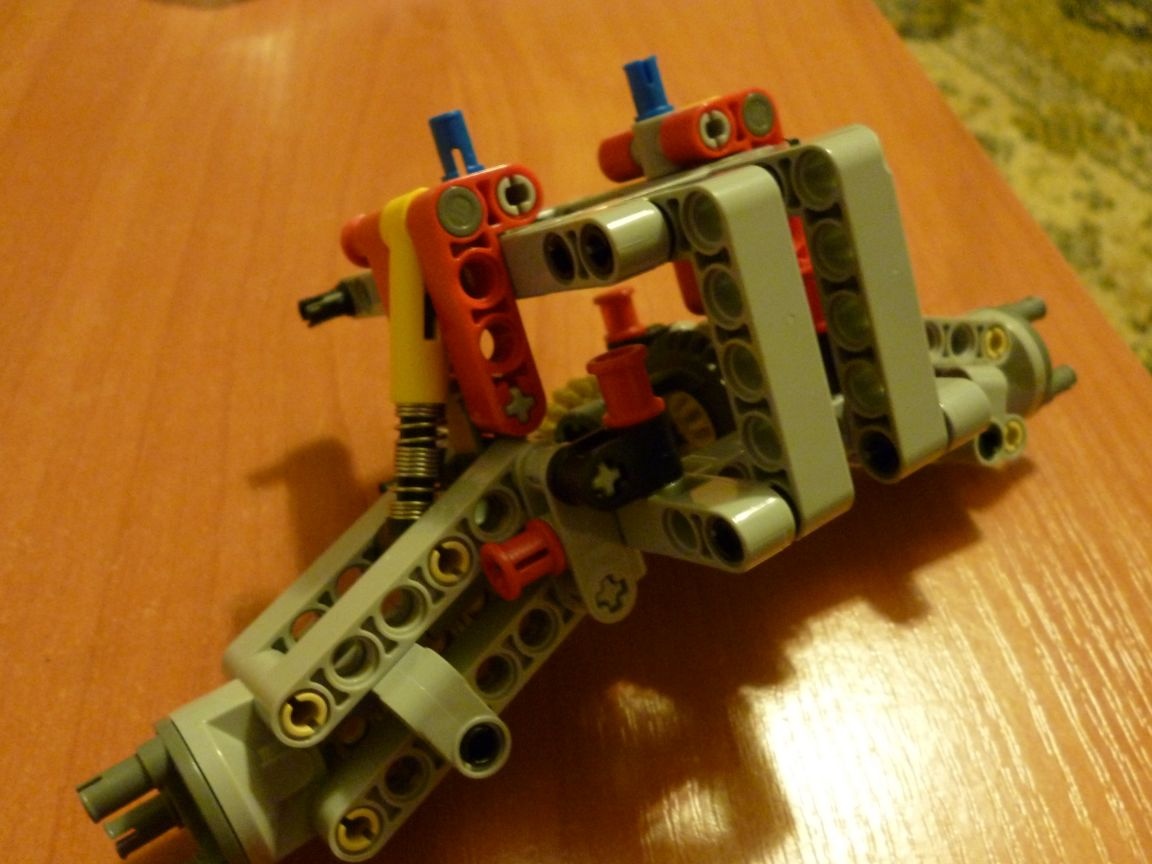
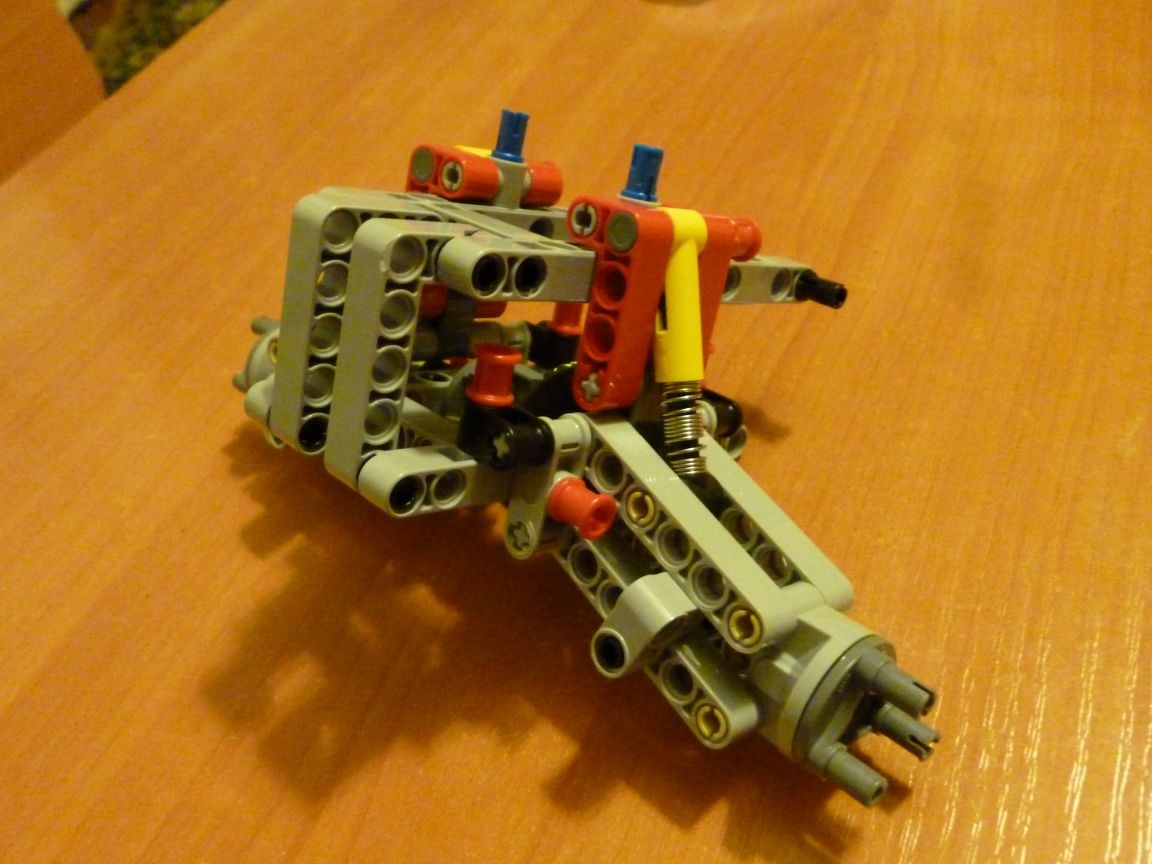
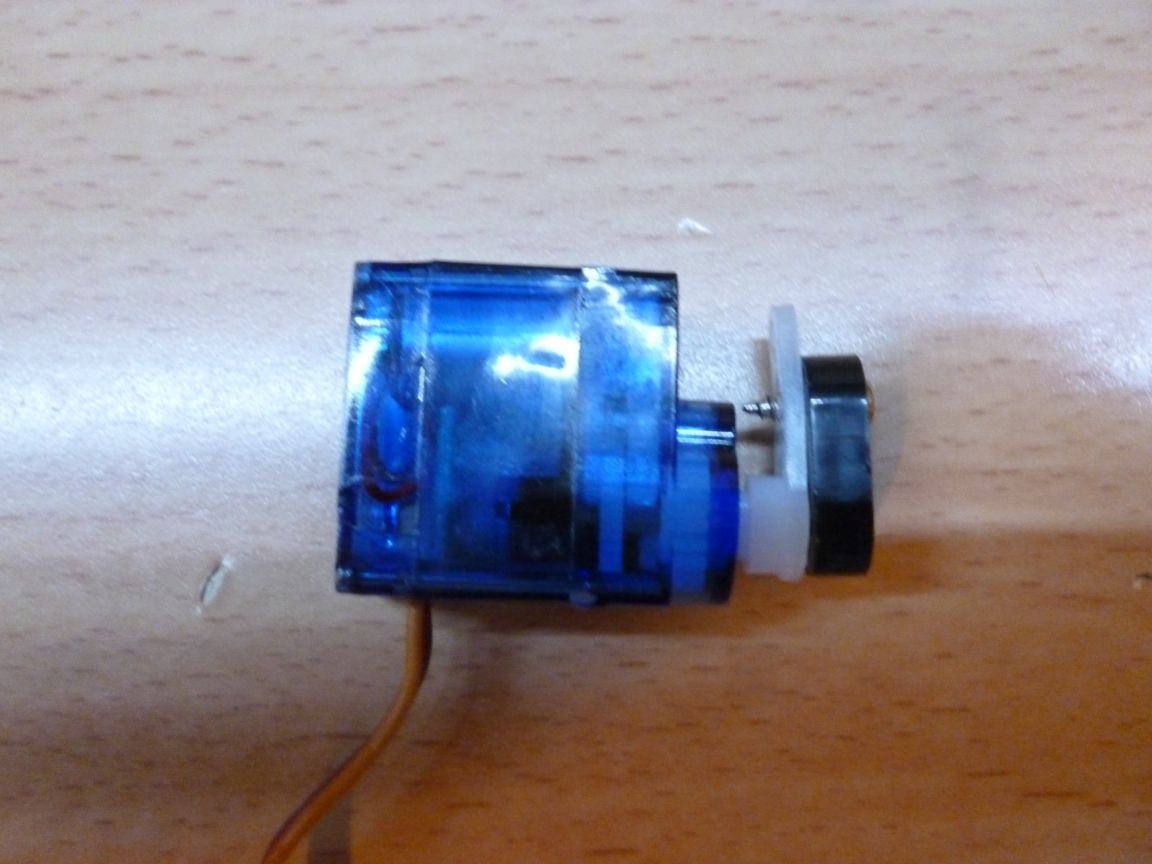
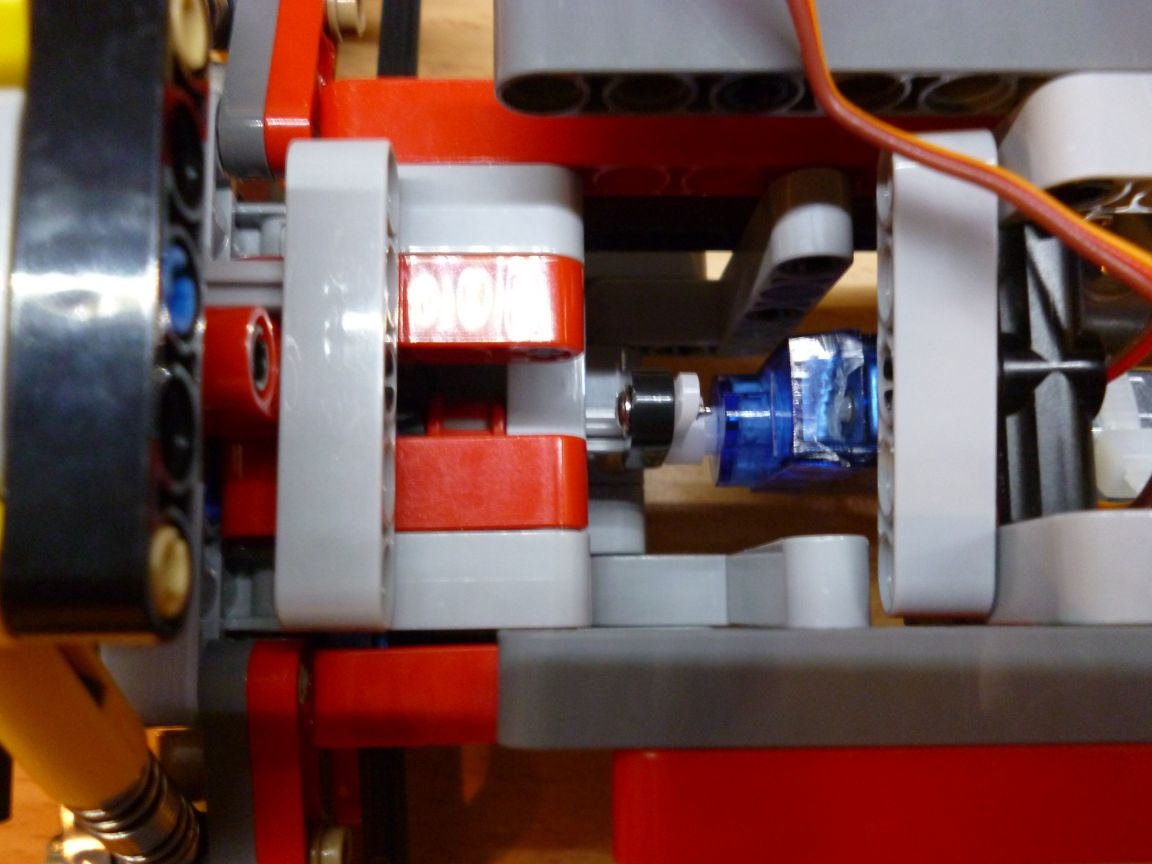
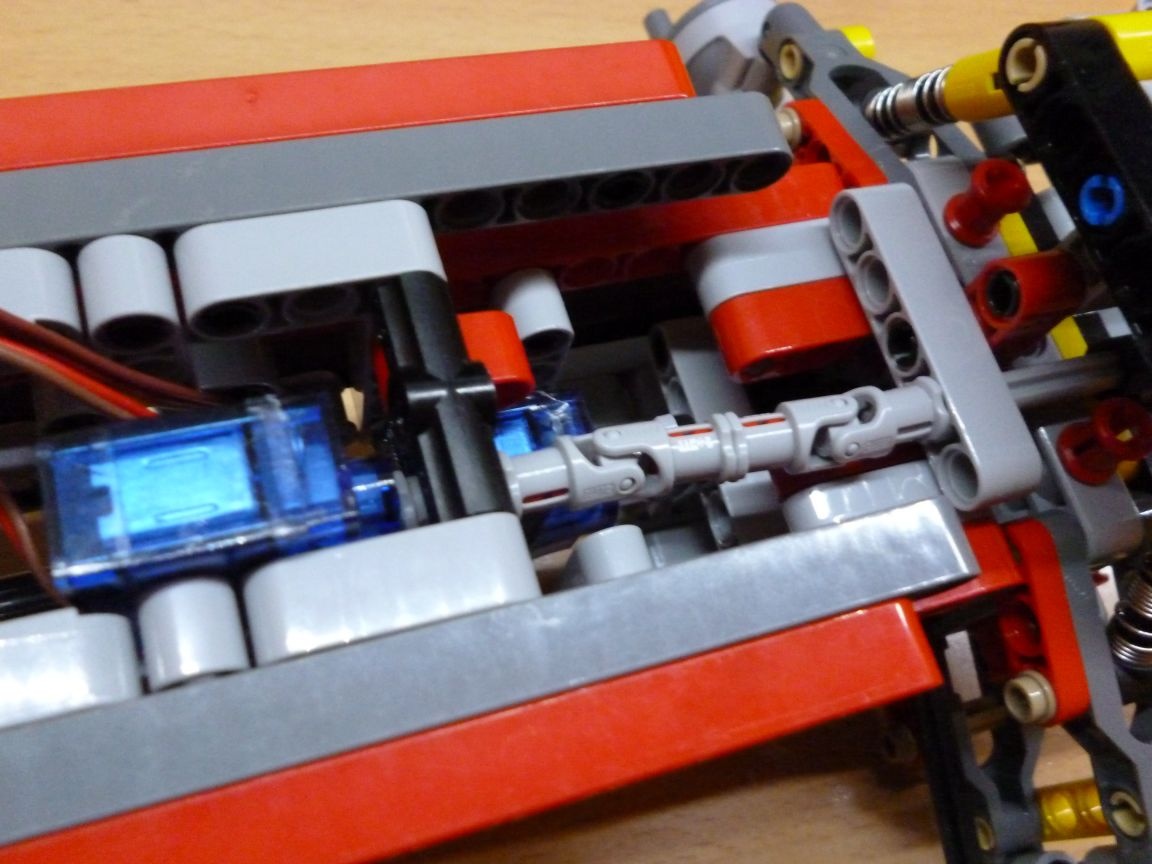
To carry out the rotation took the servo SG-90. It is necessary to carefully drill, so as not to touch the internal parts, a through hole with a diameter of 3.2 mm or just cut with a stationery knife. And also cut off the protruding parts (“wings” for fastening). We insert a bolt into the hole made and fix it with nuts. On the servo shaft we put on a lever with a screwed part from lego:
Install:
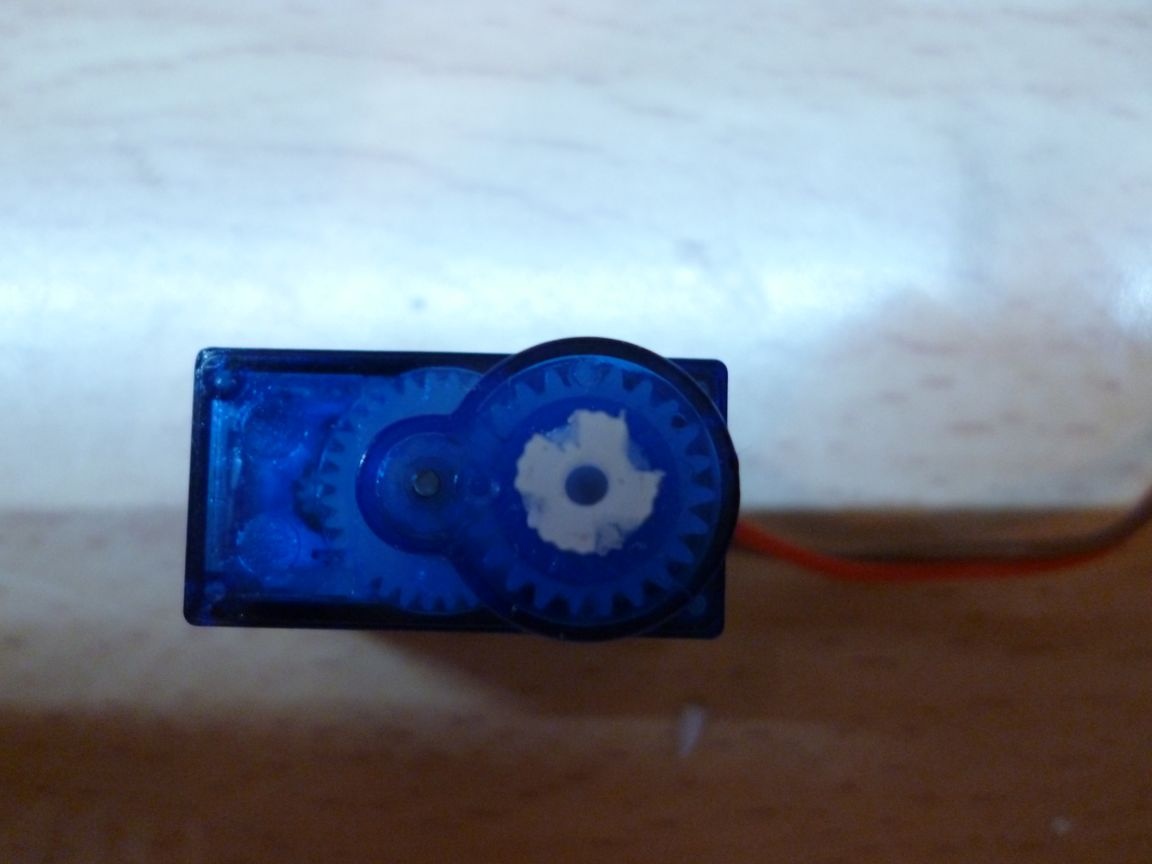
We will use the second servo for the winch. We do the same as with the first. And now, it needs to be modernized so that it rotates freely. To do this, we disassemble the servo drive, remove the board and solder the wires directly to the motor. We take out the main gear and cut off its travel stops.And finally, we make a slot with a clerical knife on the main gear as in the photo:
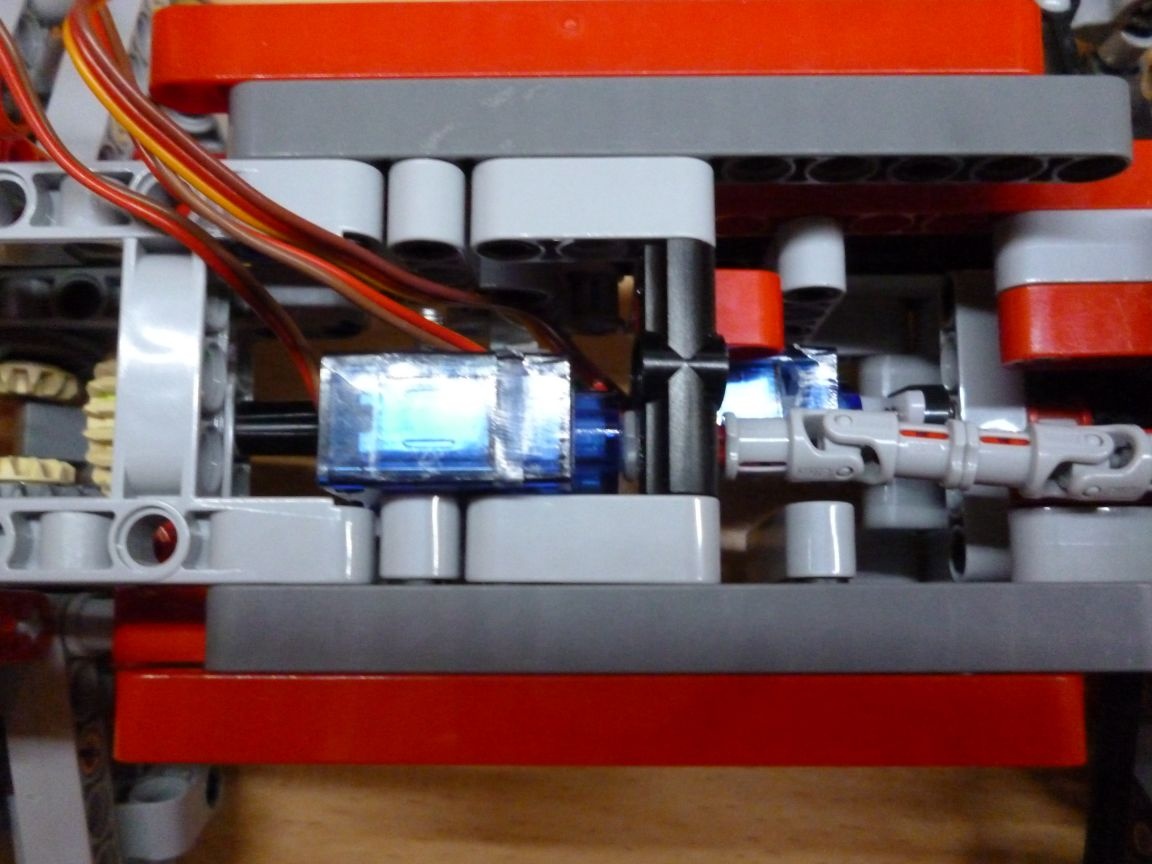
We connect to our winch and put on the chassis:
Step 4 Managing Controller
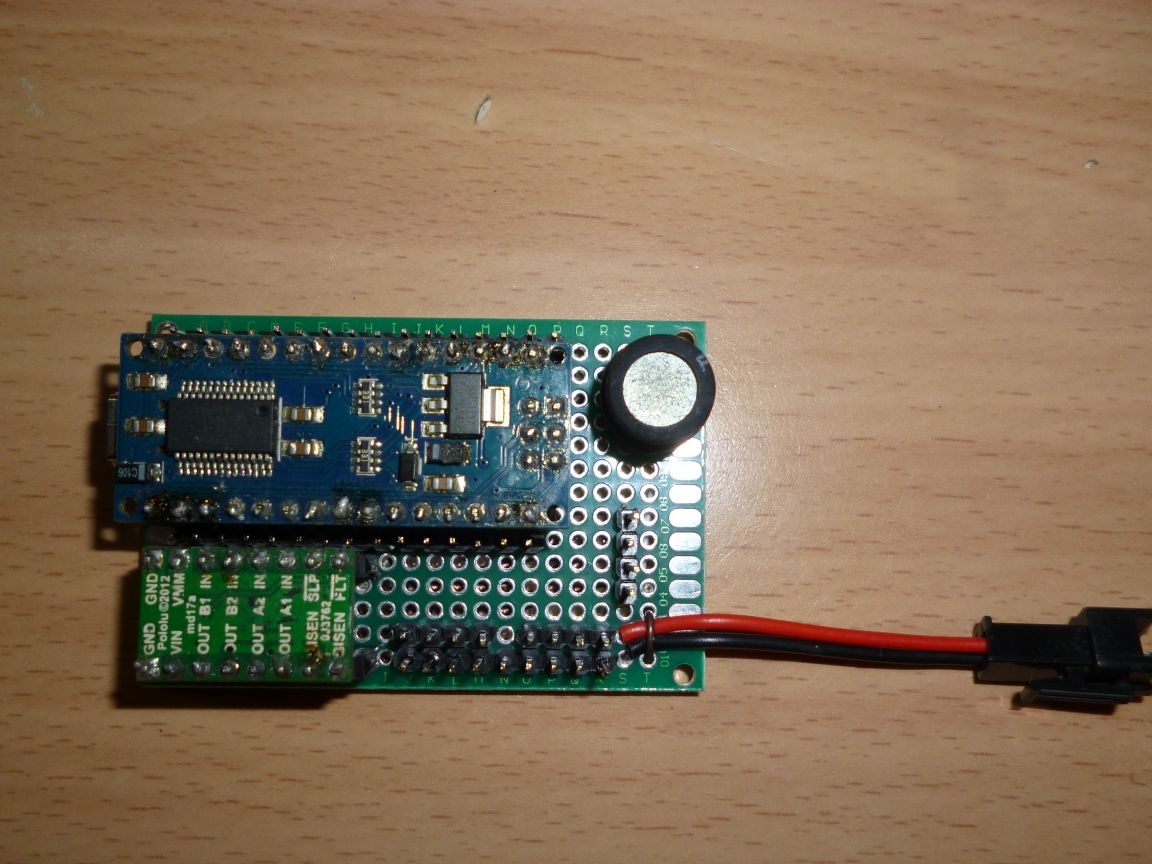
For control we will use Arduino and IR receiver. We take a soldering iron and assemble the following on the circuit board:
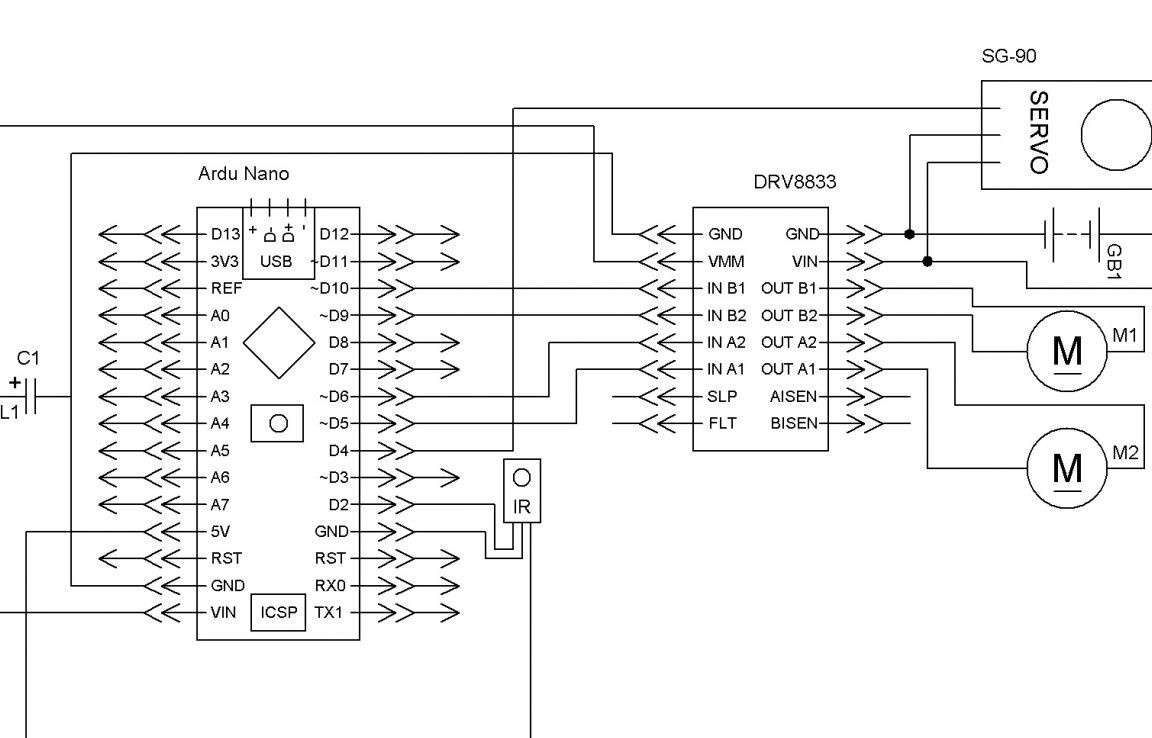
I explain: any low-power capacitor, the inductance coil you will also find, you need to stabilize the voltage of the microcontroller. Resistors are selected for the LEDs used. IR receiver or TSOP can be taken from an old toy, or bought at a radio store. If there is strong interference, add a capacitor to the IR receiver power circuit.
As a result, we get:
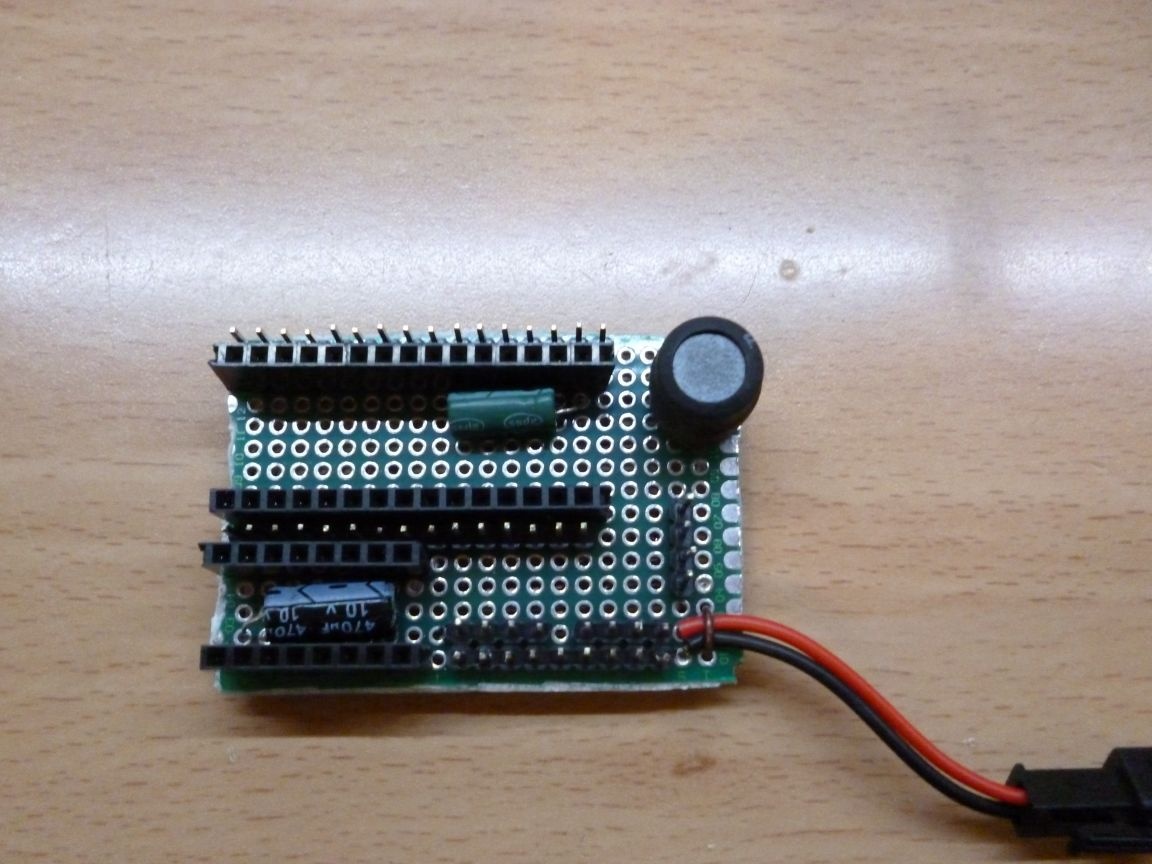
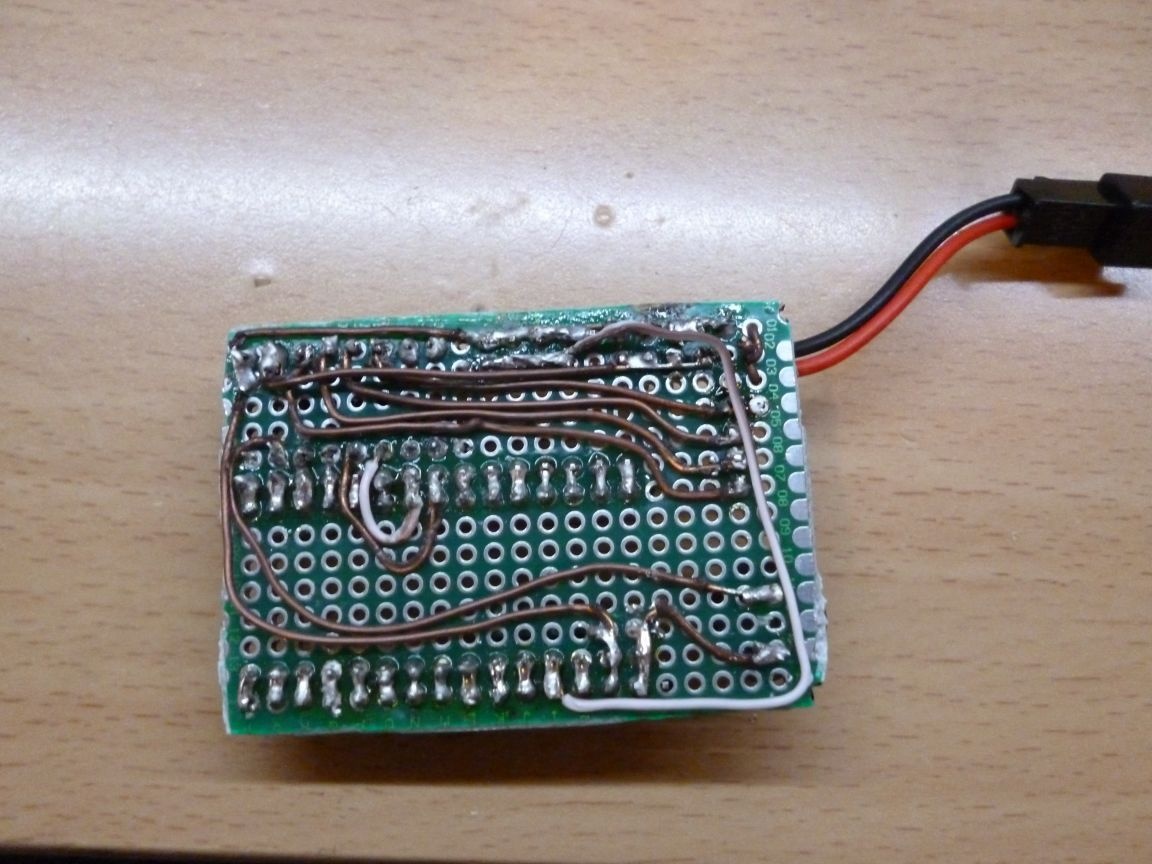
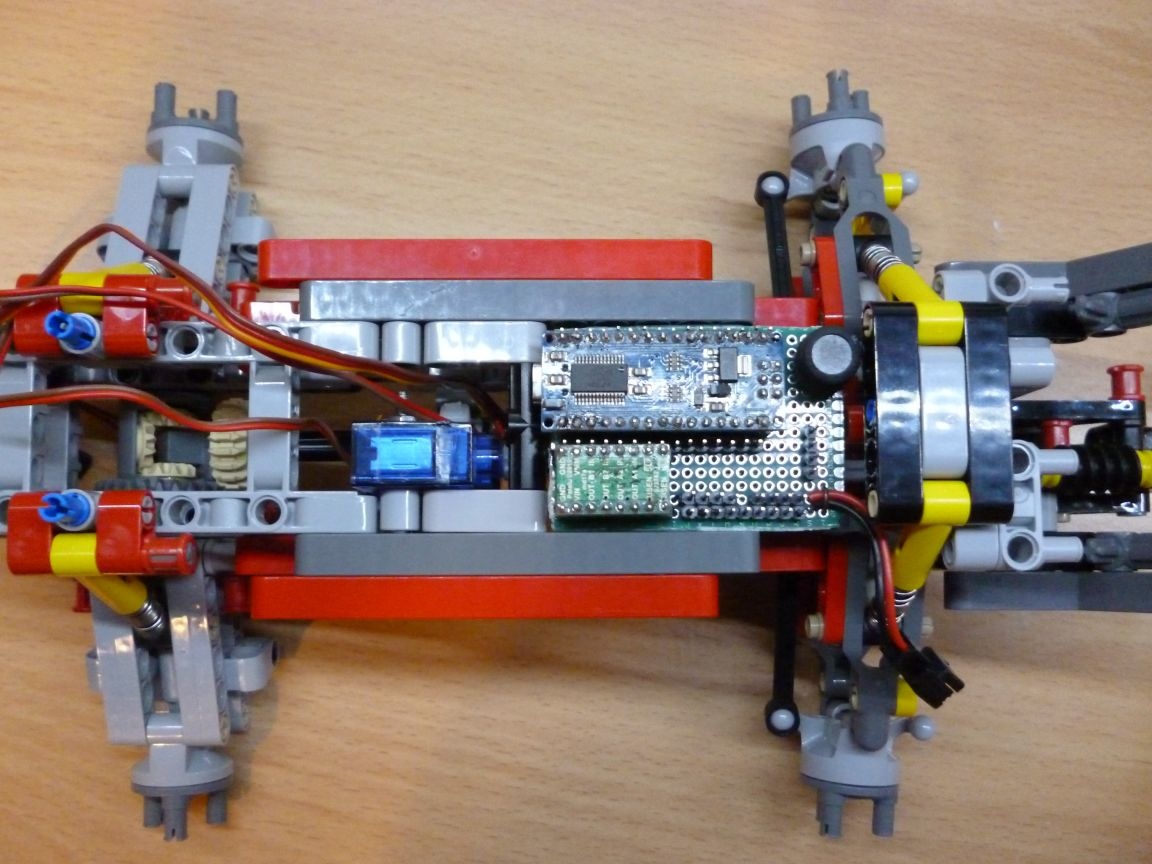
We install Arduino Nano and DRV 8833 in their places:
And put the board on the chassis:
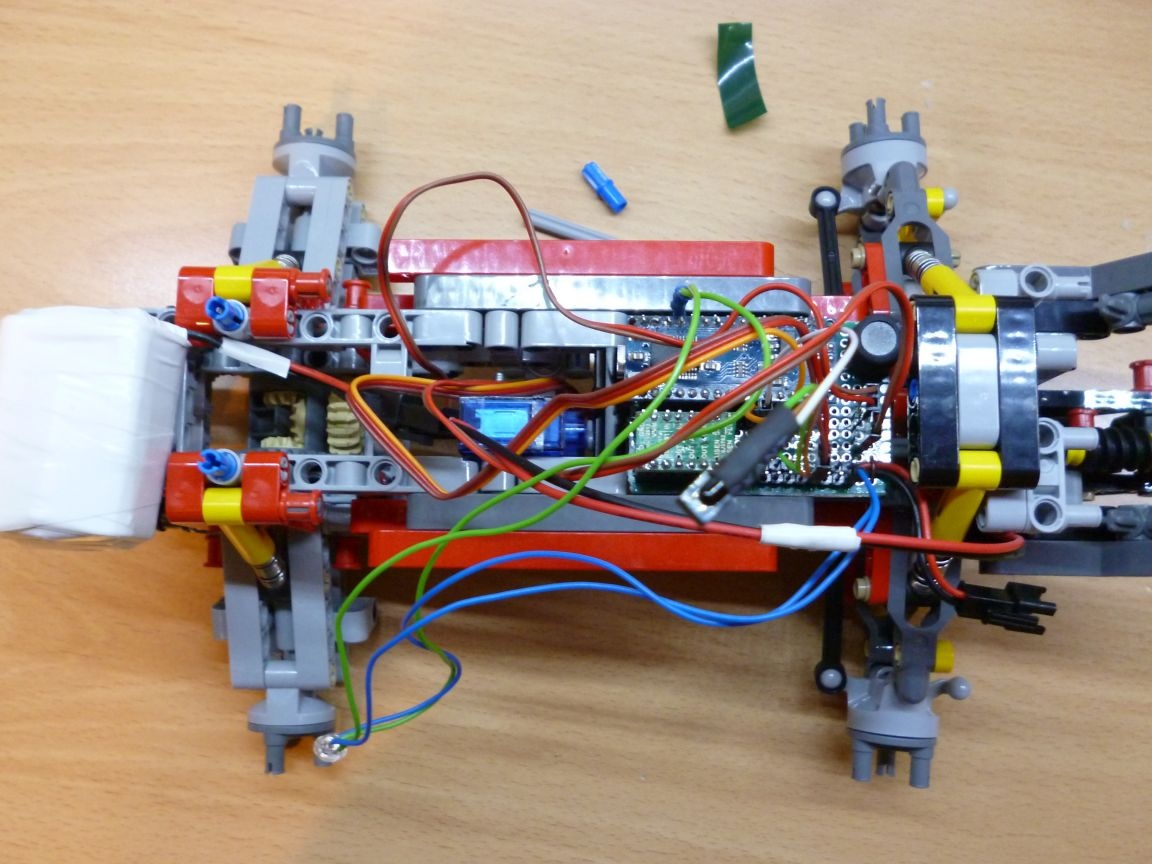
Power supply - 6 Ni-Mn 1.2v 1000mA batteries. It is necessary to solder them in series and wind them with electrical tape. Glue on double-sided tape in the back of the chassis.
We connect our entire structure:
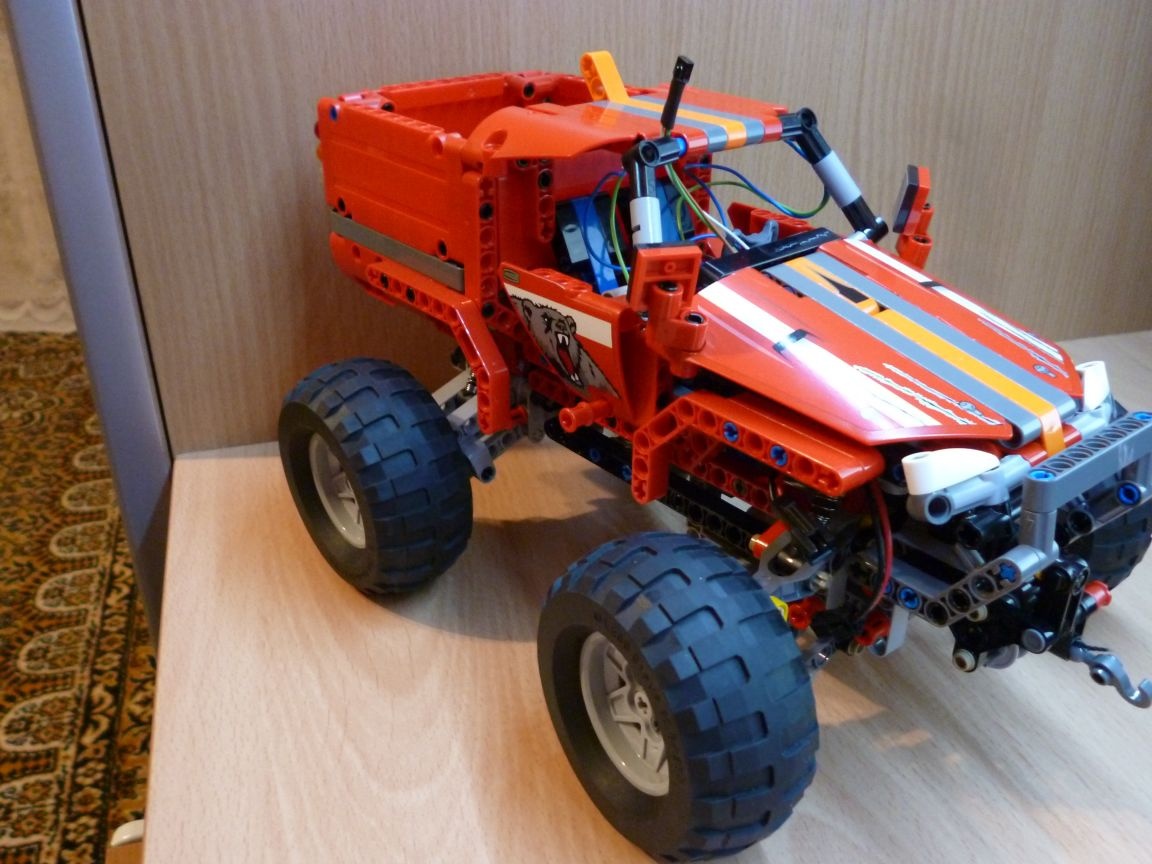
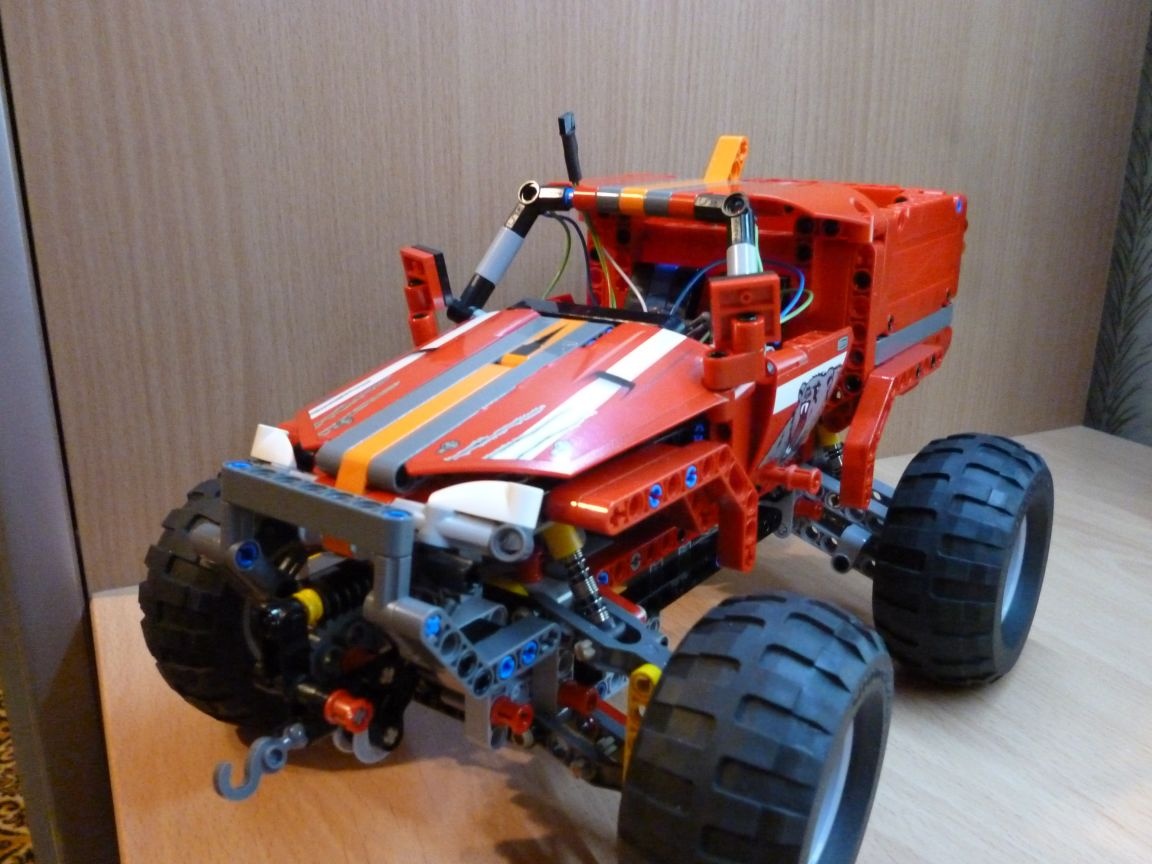
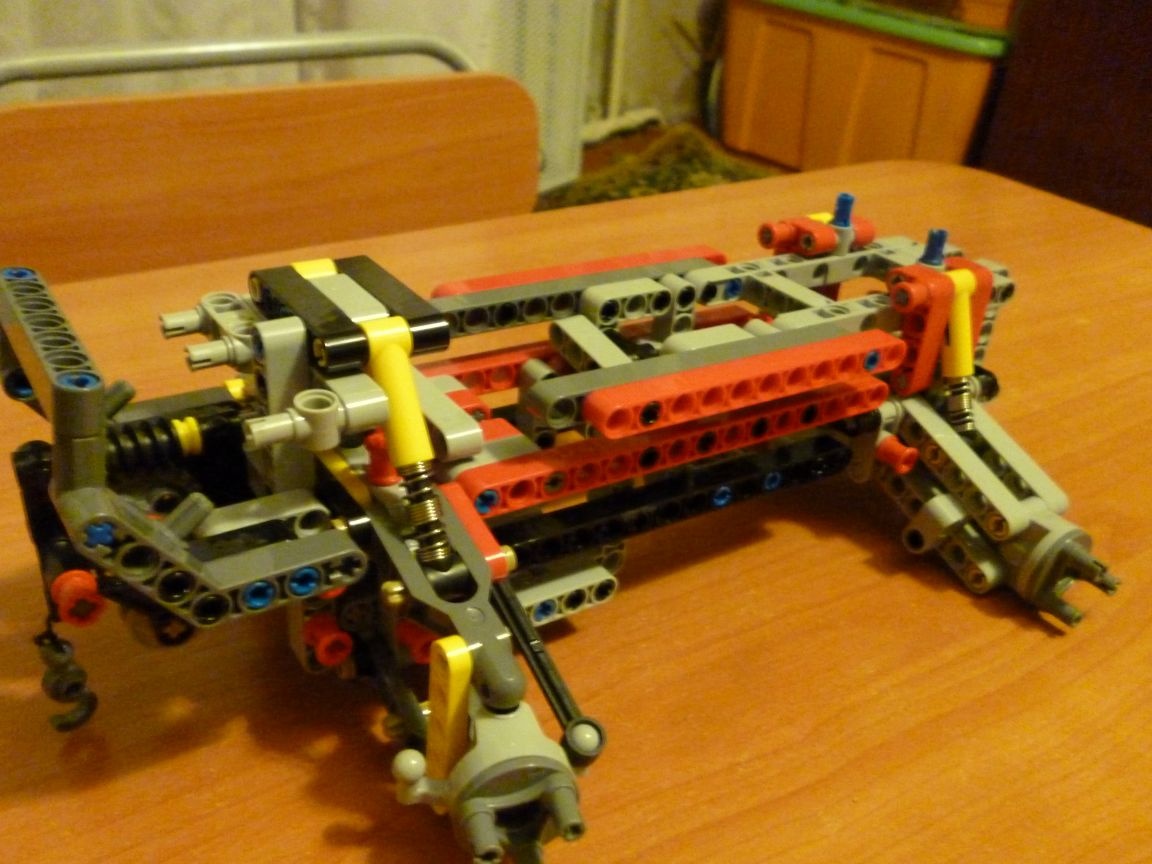
Step 5 Cabin
The cabin is personally my improvisation, there are no ready-made instructions, so you need to collect from photographs.
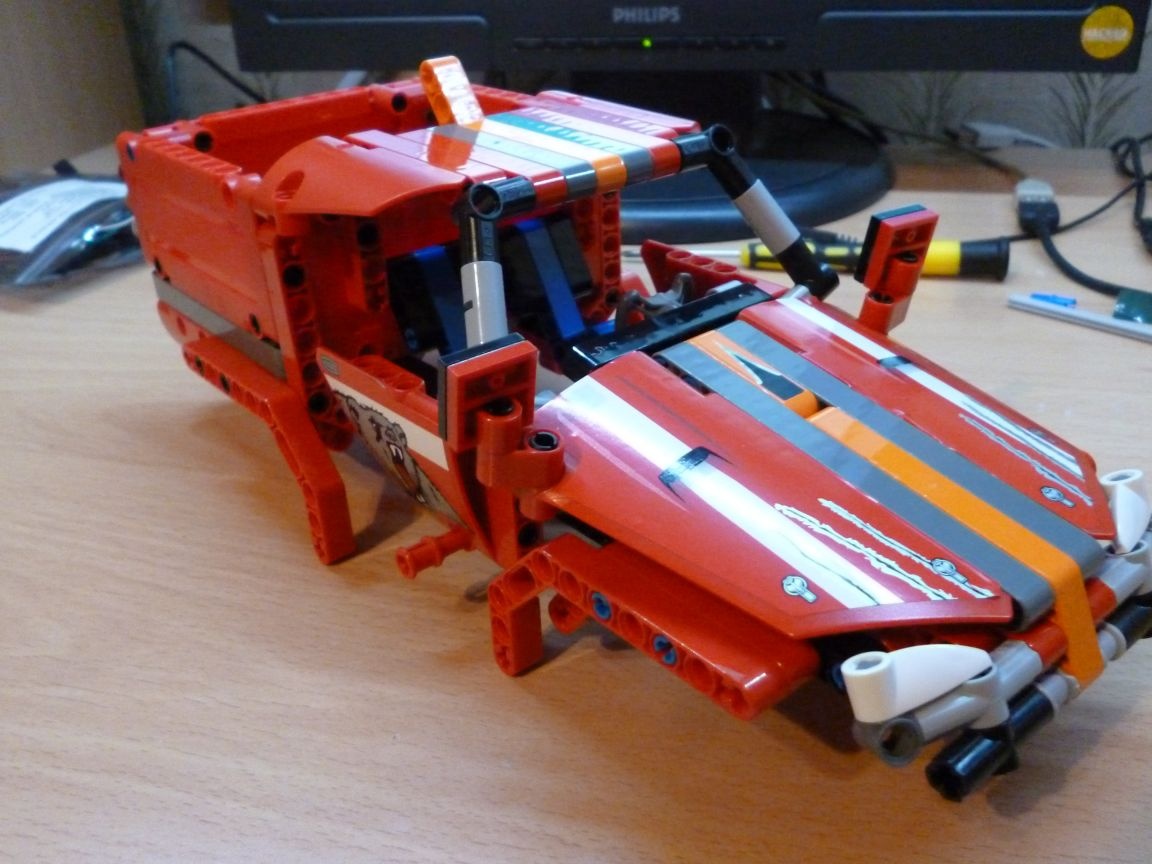
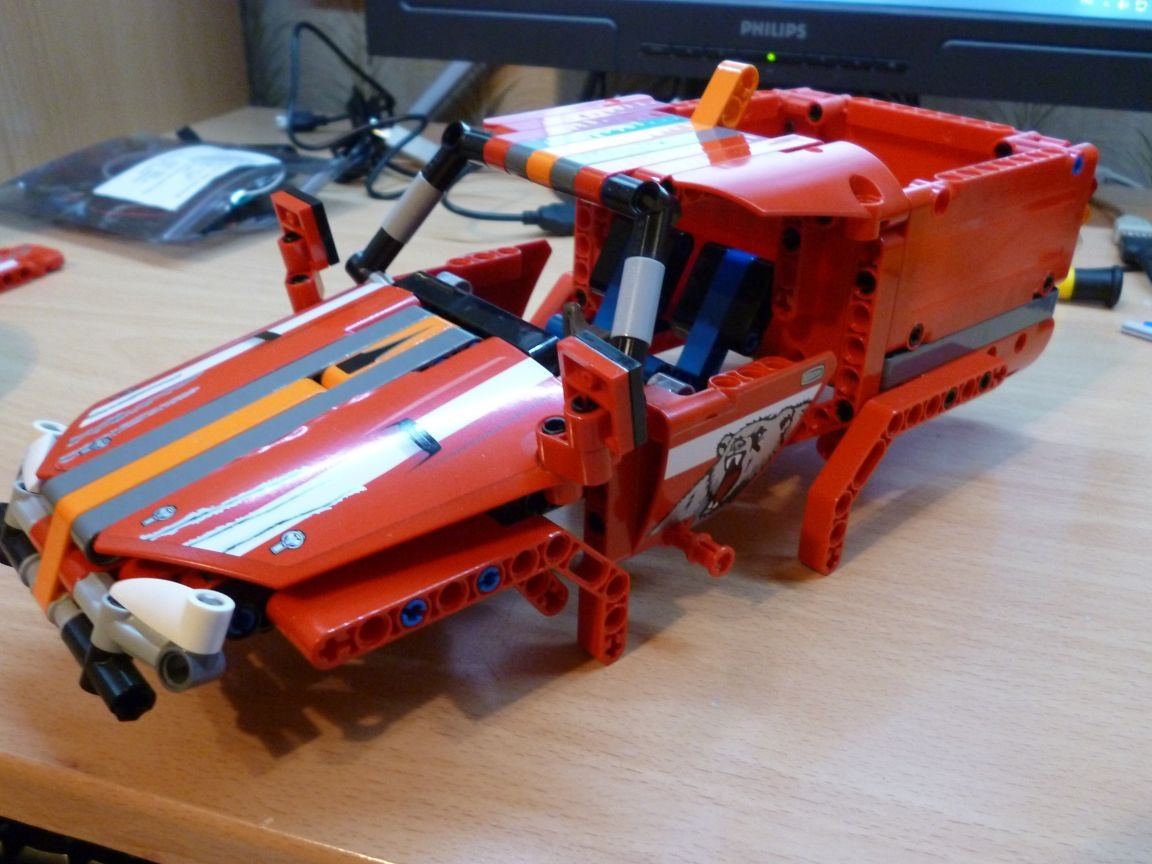
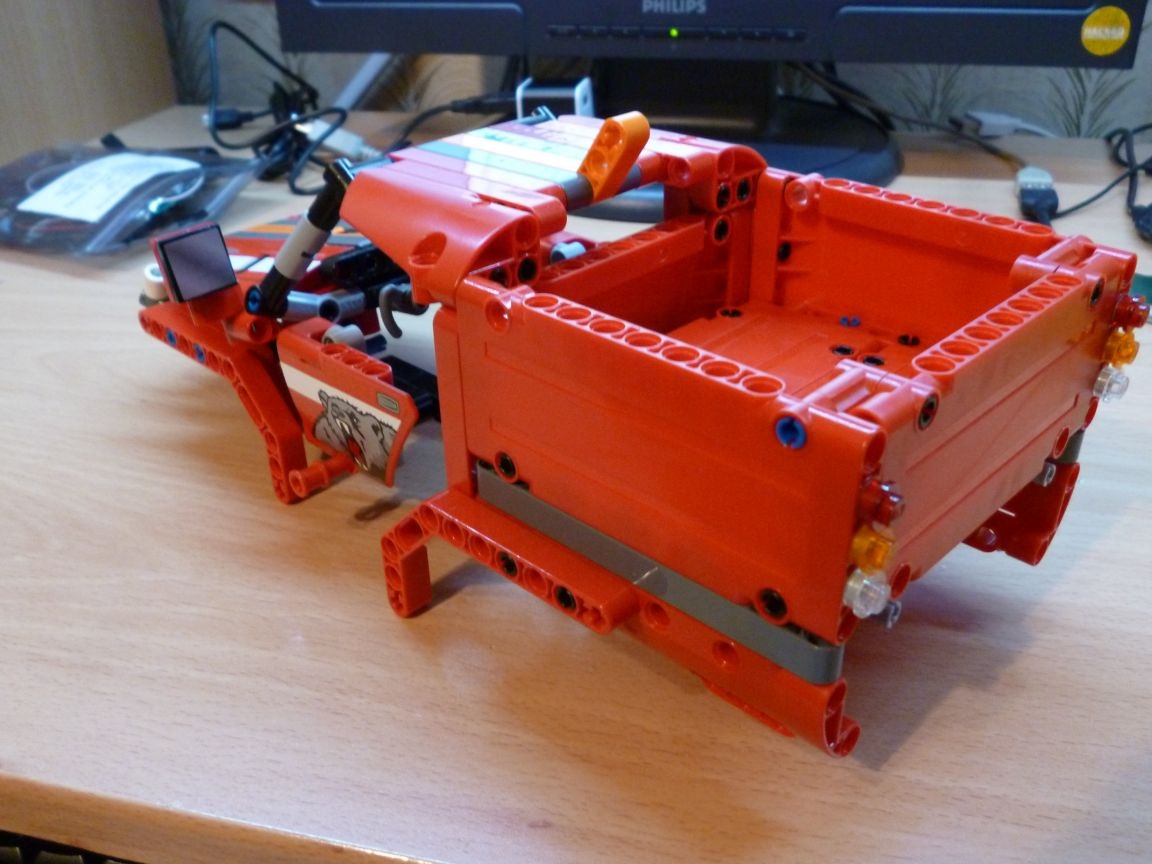
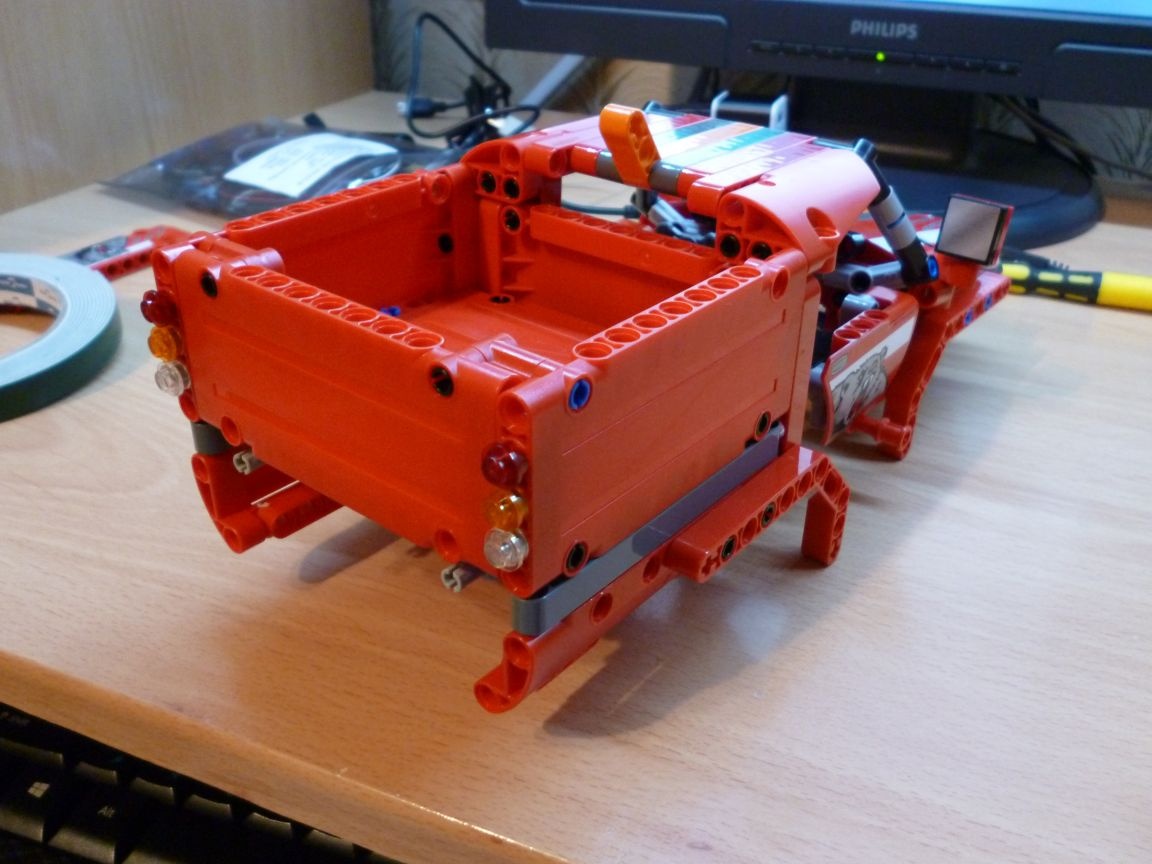
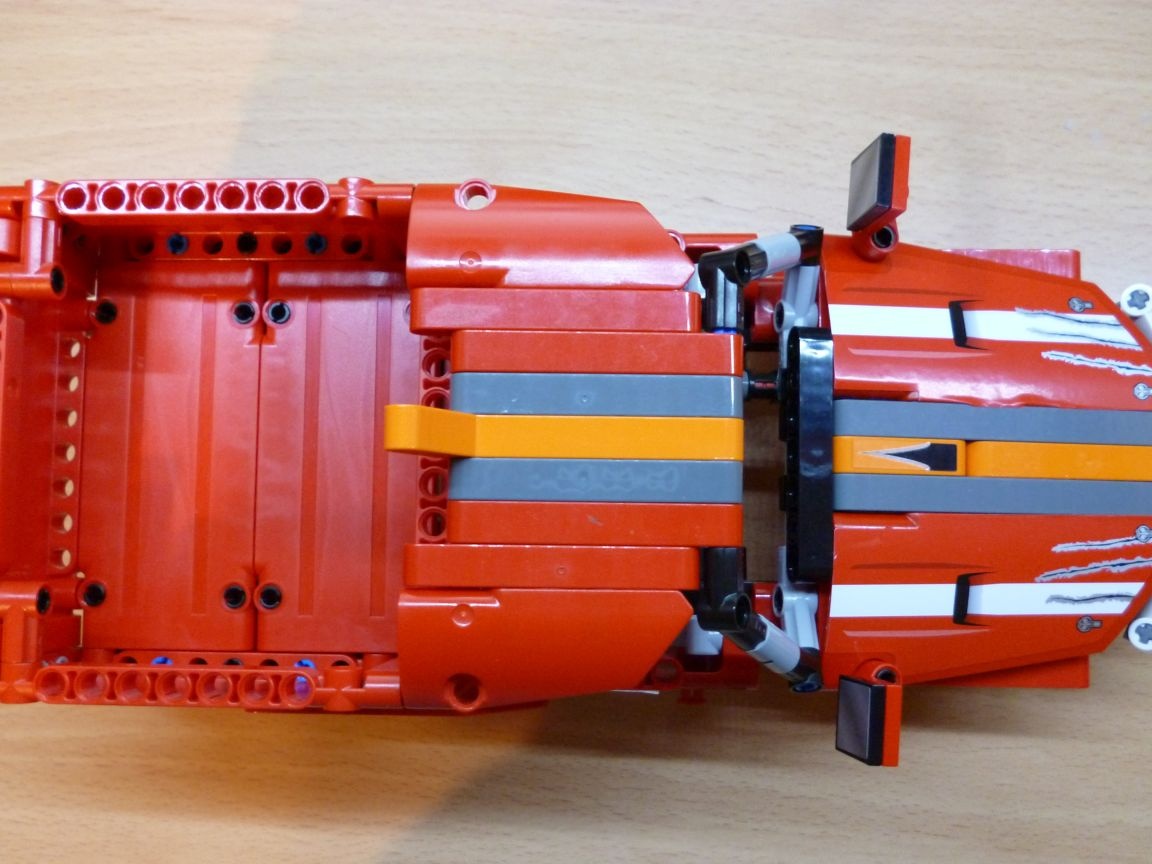
You can assemble your own version, you just need to fit it under the chassis. The main thing here is to match the mounting with the chassis. There are four of them and they are clearly visible in the photo from the bottom of the cab.
Step 6 firmware.
Today, however, as always, I program in the Arduino IDE. First you need to fill in my firmware and through the terminal look at the remote control codes that you are going to use. You can take any IR remote control, for example from a TV, DVD player or assemble your own (I have a homemade remote control from the Sega joystick). By pressing a button, in the terminal we will see the code of the pressed button, write it on a piece of paper. We do this with all the buttons on which we want to program the actions. Next, edit the sketch. We write down our codes into it for the necessary actions and flash it again. This firmware is configured on my Sega joystick remote. In the process of playing with the machine, I noticed a few nuances or inconveniences. It is difficult to achieve reliable reception of IR commands during movement. And it happens like this: press the arrow forward, the machine received a command to go, and rushed forward, released the arrow, but it did not receive a stop command, and continues to drive until it crashes or gets stuck, it is fraught with breakdowns. Partially, this problem can be solved by increasing the number of retries of sending a command, however, this is possible only when using the remote control yourself. But I will choose a more cardinal solution - I will switch to using a 433MHz transmitter - receiver. I will write about this in the next article.
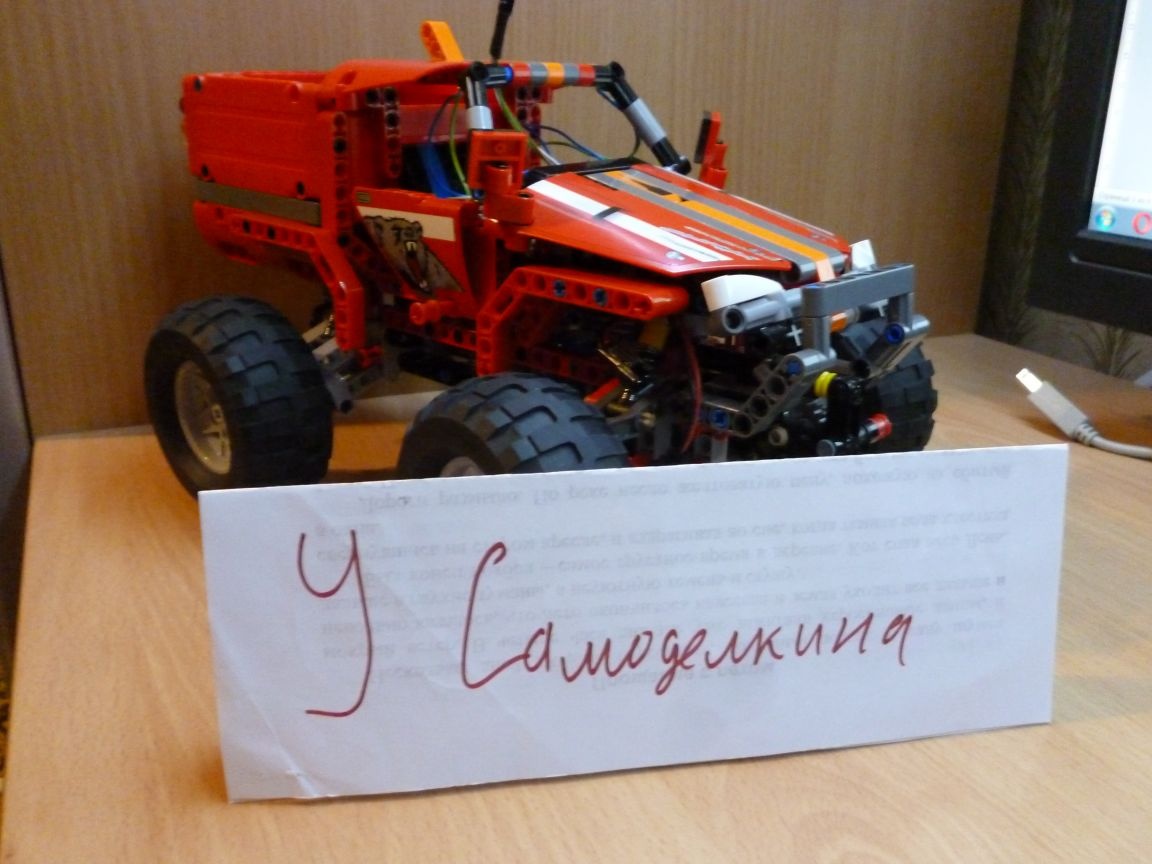
Step 7 put on wheels.
So, we just have to put the cab on the chassis, put on the wheels and check our SUV in action.