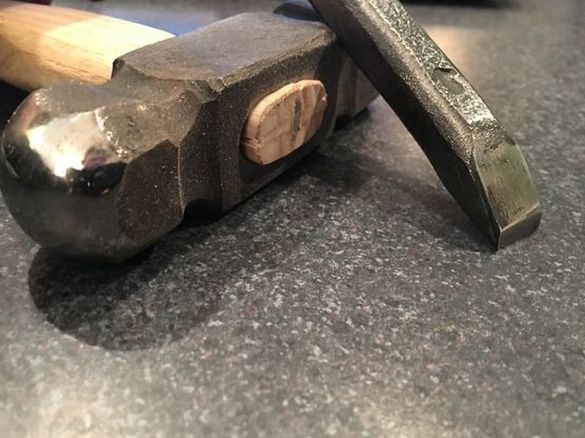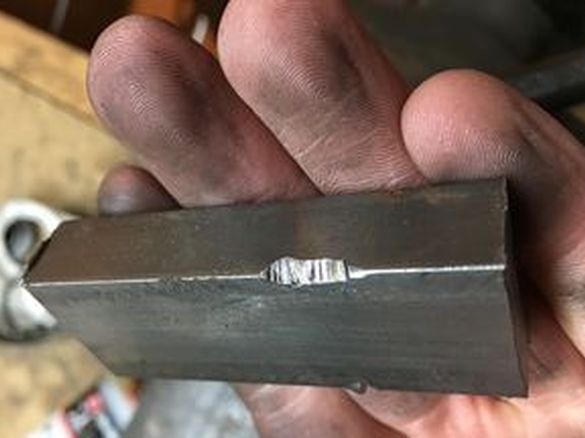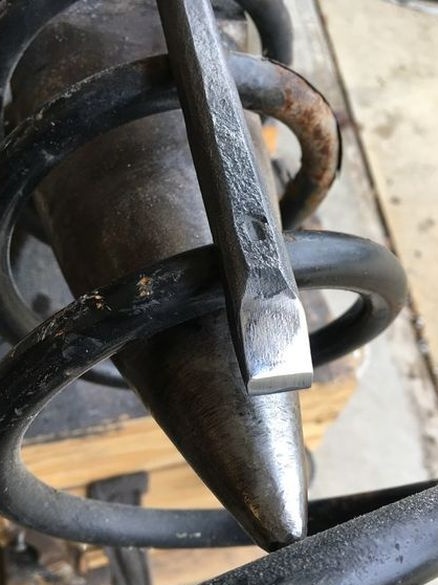
This article will discuss how to make a tool, such as a chisel, necessary in the household from a spring.
Tools and materials:
-Spring;
-Sledgehammer;
-Anvil;
-Forge;
-Forceps;
-File;
-Tape grinding machine;
-USHM;
-Cap with oil;
- Means of protection (glasses, apron);
- Vermiculite or perlite


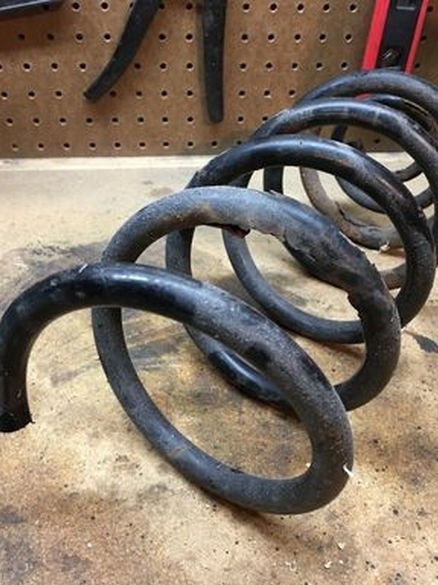
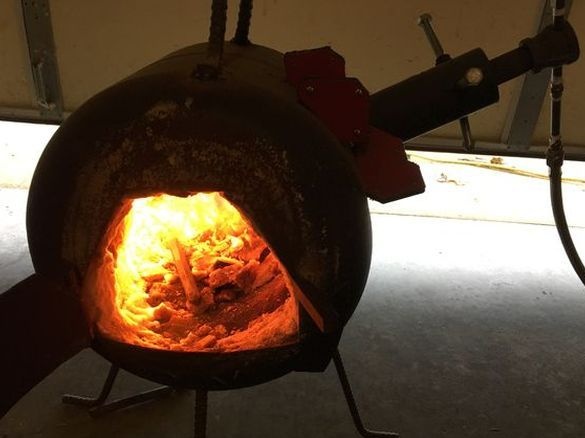
Step One: Harvesting
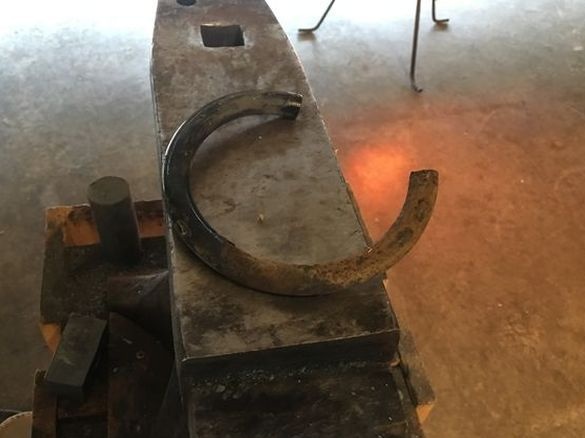
First, the author cuts one turn from the spring. Then heats it and straightens.
Step two: shaping
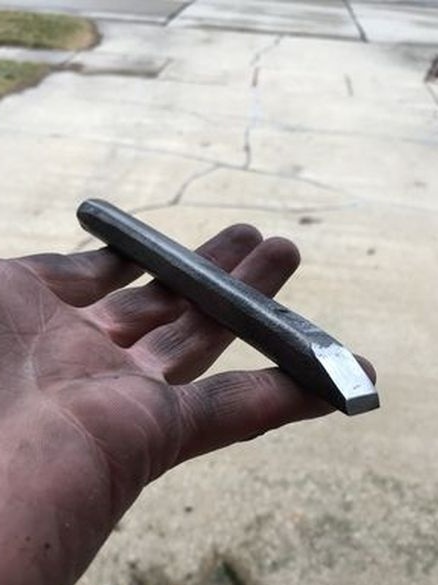
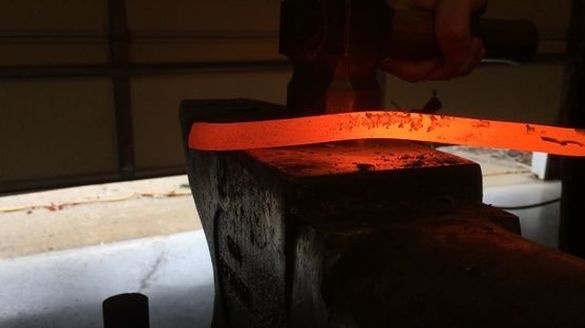
The next step, the author gives the workpiece a shape. Forms the working part. The chisel gives the body a tetrahedral shape.

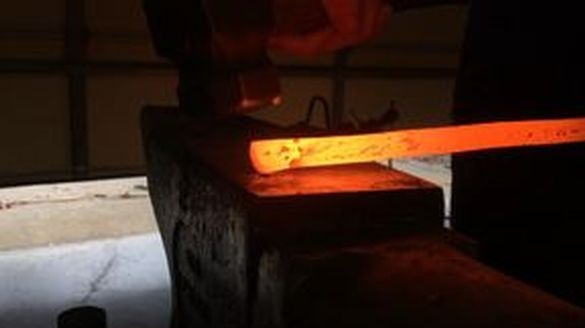
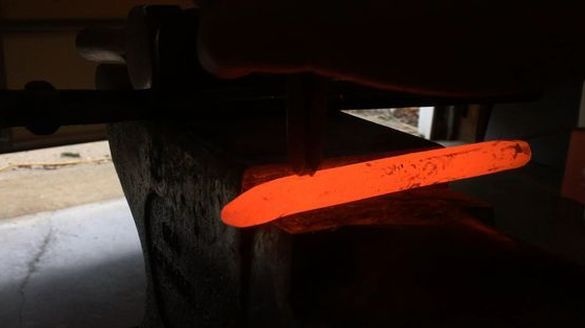
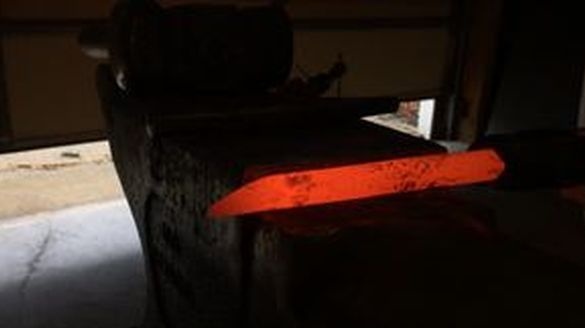
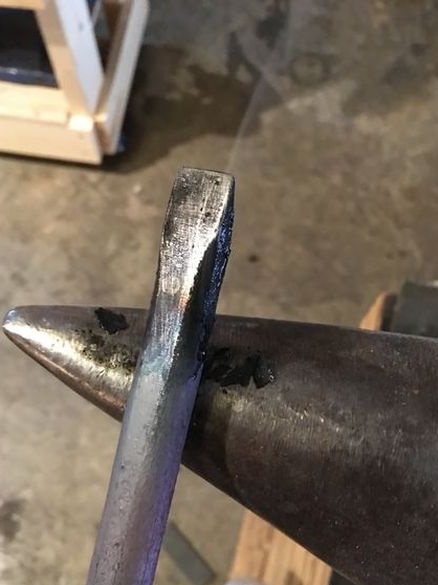
For the chisel, the author needs only 15 cm, he cuts off the rest. Heats the workpiece and sets it on the sharp part, taps it, periodically turning. After the groove is formed, the author breaks off the workpiece with forceps.


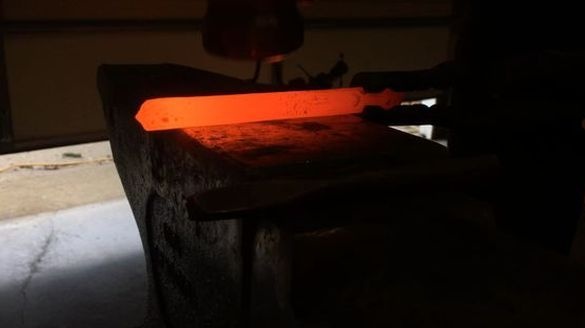
Shapes the back of the head.

Step Three: Annealing
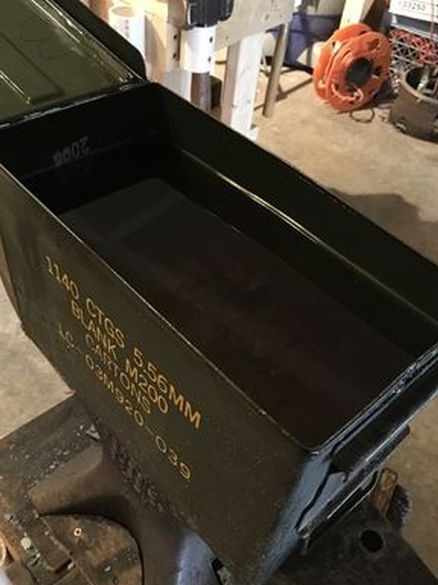
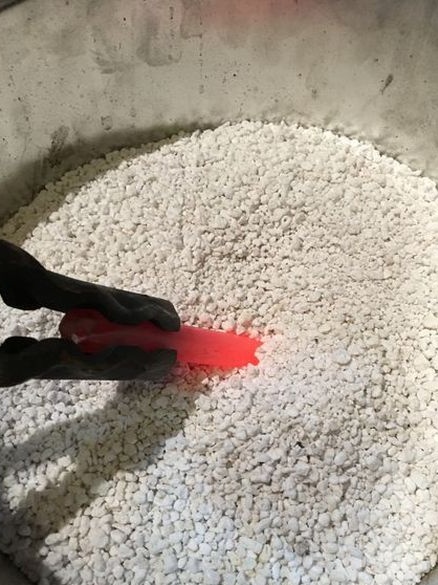
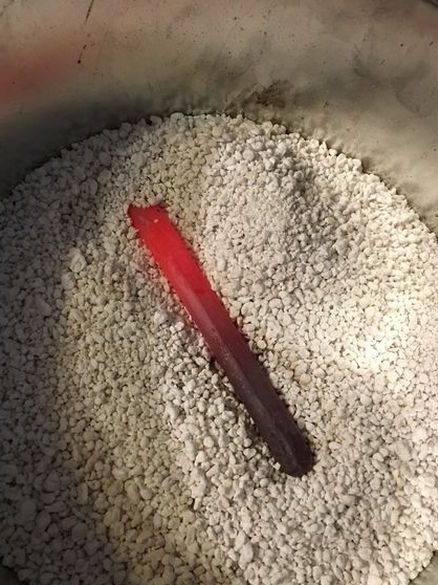
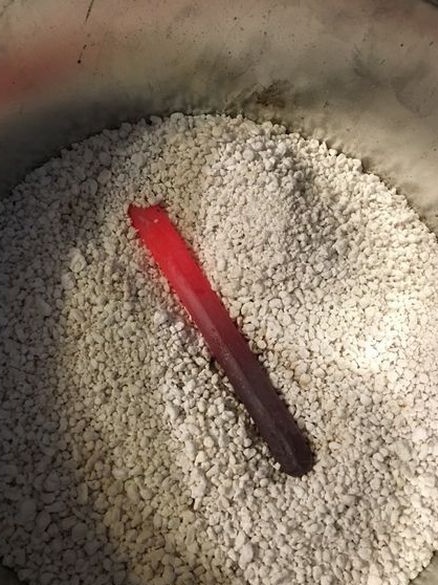
In order to make the workpiece easier to process, it is necessary to anneal it. To do this, the author heats it and puts it in the overflow, where it slowly cools down.
Step Four: Processing
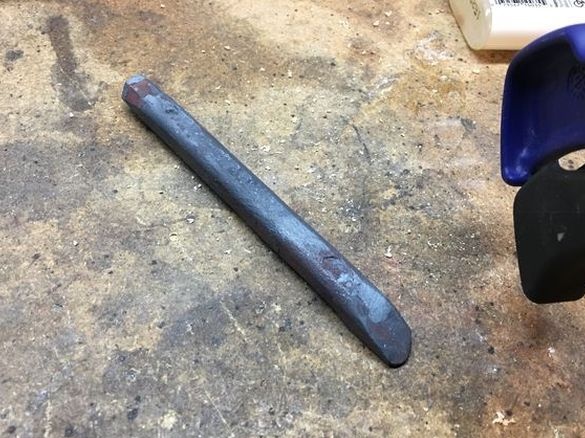
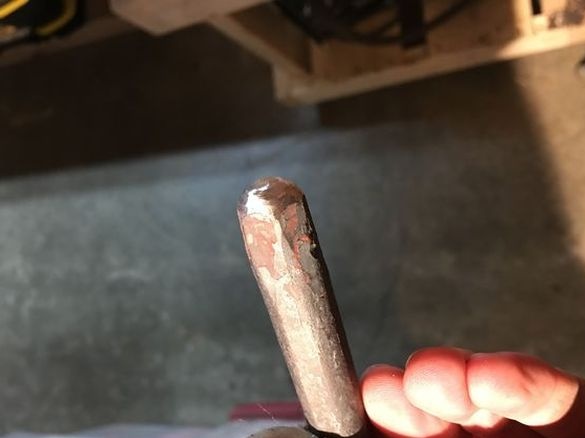
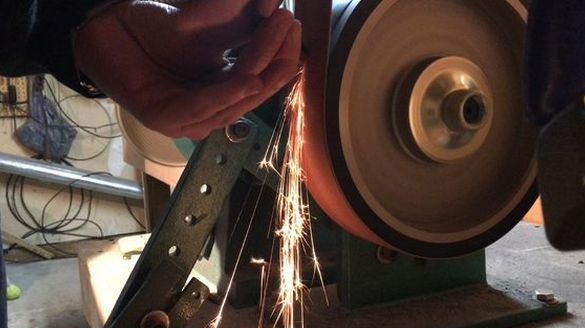
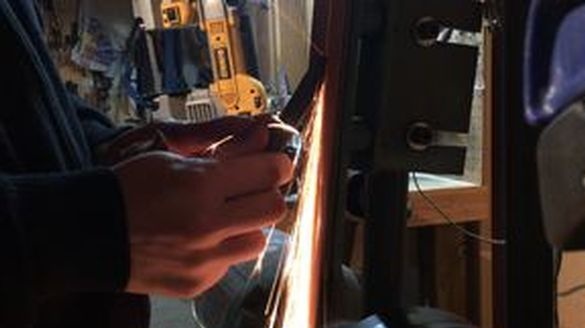
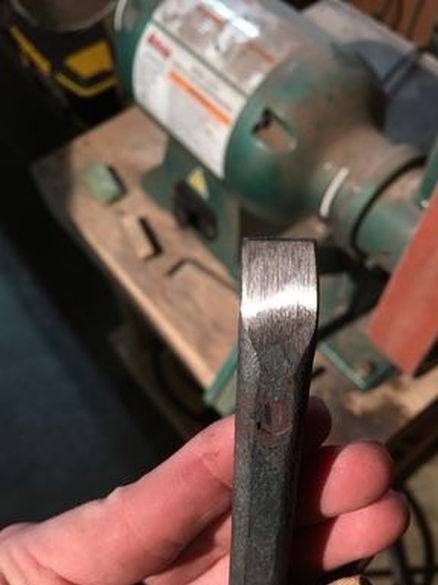
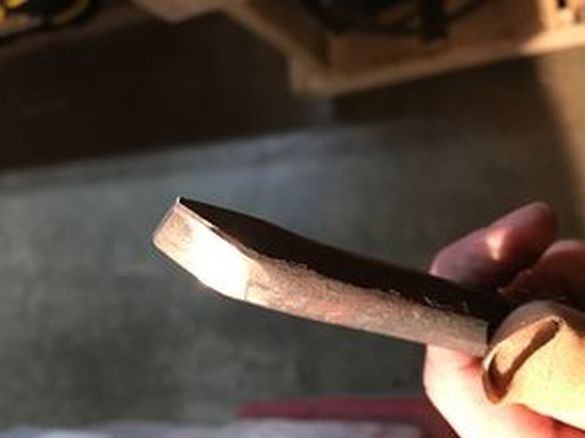
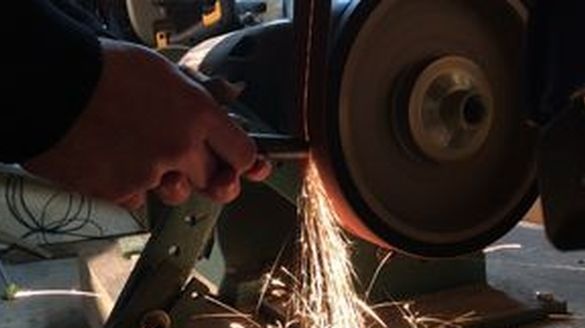
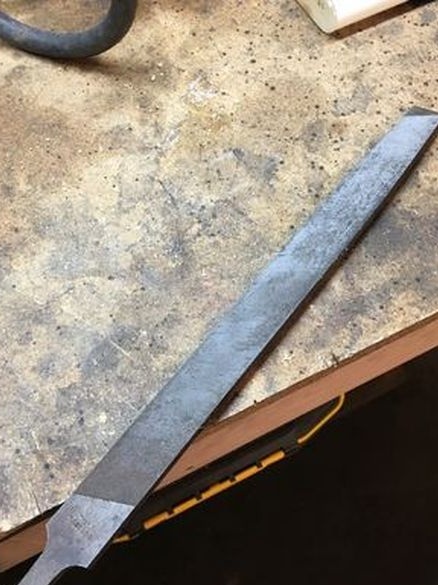
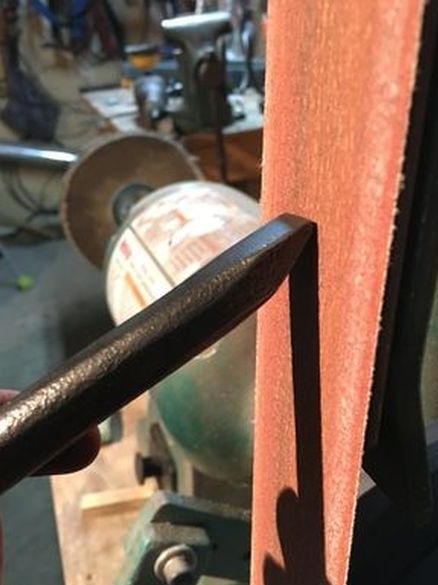
It processes the chisel with a file, and then with the help of a belt grinding machine.

Step Five: Hardening
In order for the chisel to be able to cut metal, it is necessary to harden it, which will give it a certain hardness. To do this, the author heats the chisel to a temperature of approx. 760 degrees Celsius and puts it in a container with oil.
Steel has become hard, but very fragile. Whatever the chisel was so fragile, it reheats it, but already to a temperature of 200 degrees and allows it to cool naturally.

According to the author, when processing the working part on a grinding machine, sparks should be light yellow. This color indicates that the working part is quite strong and solid.
Step Six: Final
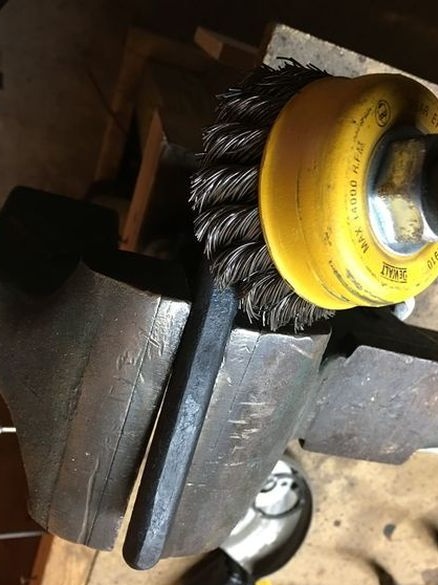
After hardening, the author re-polishes the chisel.
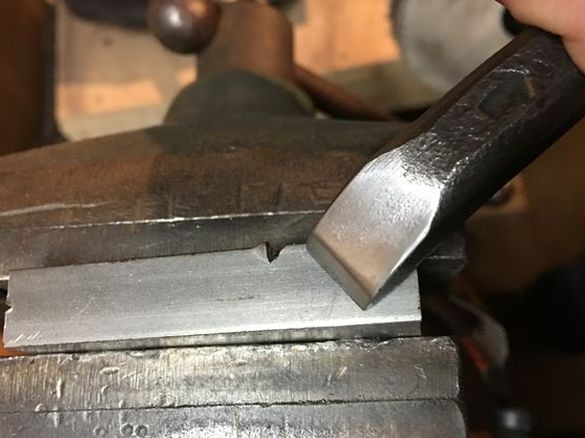
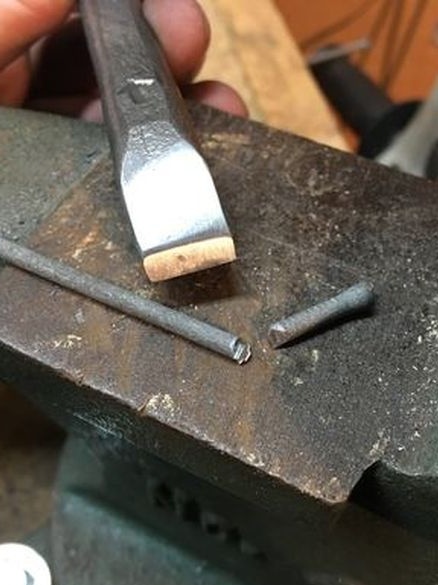
It remains to try the chisel at work.
