This article describes the detailed manufacturing process of the hood for an aircraft model from nylon tights and epoxy glue. Many have old tights, but if you are a staunch bachelor and don’t wear tights, you can buy any in a supermarket.
I would like to warn you right away - the process of manufacturing one hood or a flashlight can take several days, since the epoxy dries for a long time. In my opinion, it is better to start the hood and lantern at the initial stage of manufacturing the fuselage, and not at the end of the model's construction.
And one more small remark (own experience): it is better to work with epoxy in a warm and dry room. When I made the hood in the rain on a cold balcony, the epoxy absorbed so much moisture that it did not dry out for almost a week. I had to warm the hood in the oven.
Materials:
- Penoplex
- Ceiling tile
- Nylon tights
- Epoxy glue (not quickly hardening)
- Ceiling glue
Instruments:
- A sharp clerical knife
- Marker for disks
- Sandpaper
- Square
- wand
- Plastic cards
- wire
- A glass or a can
- Mini drill
Step 1. Drawing Templates
We draw the bow, motor and coke on the cardboard, not forgetting the thickness of the fuselage skin, and draw the shape of the hood in three projections.
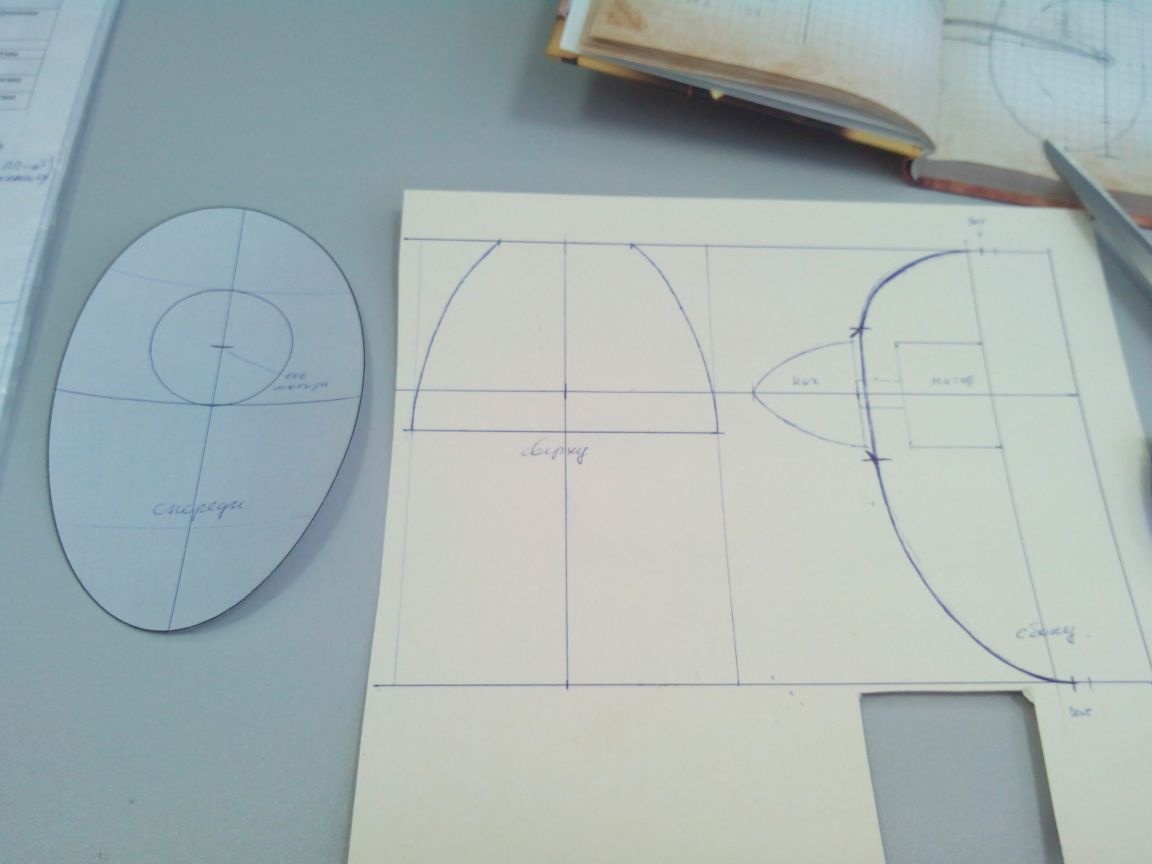
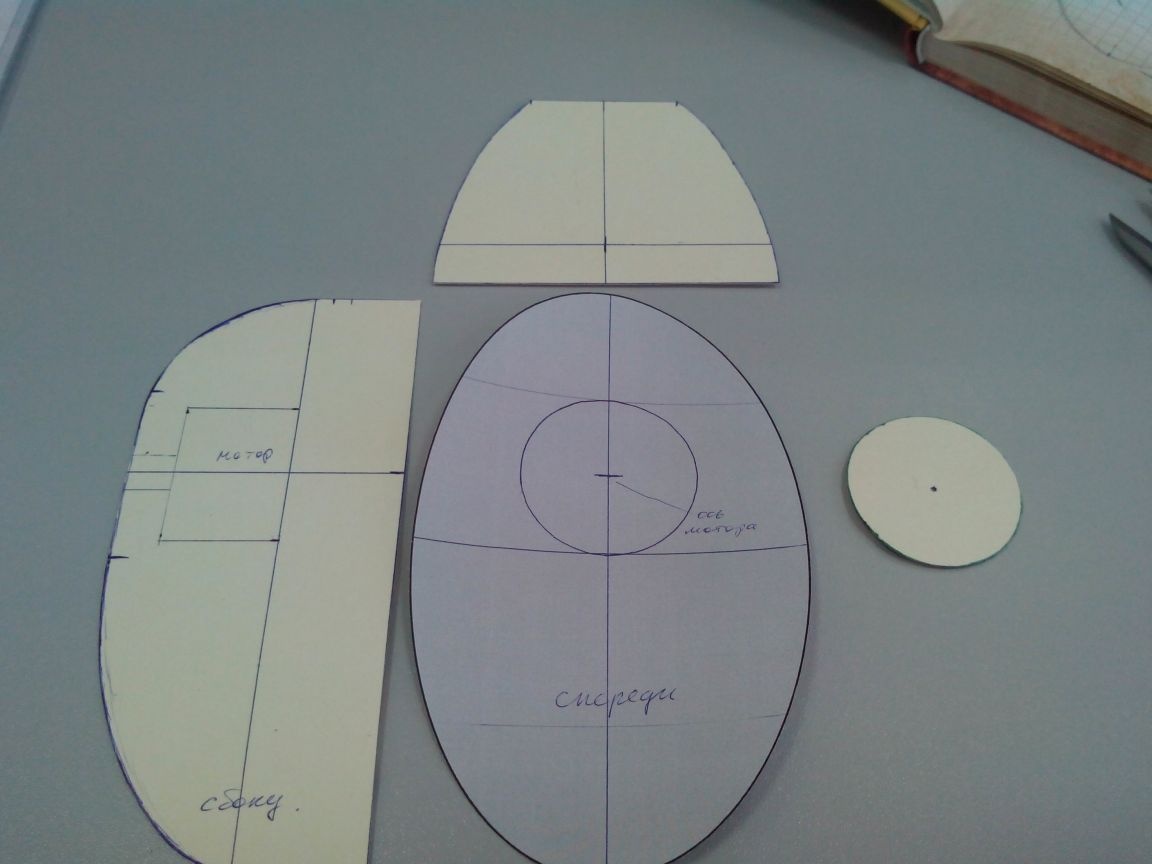
Cut out the patterns. A circle with a diameter slightly larger than the base of the coca is needed to give a more streamlined shape to the hood and to more easily determine the location of the future hole.
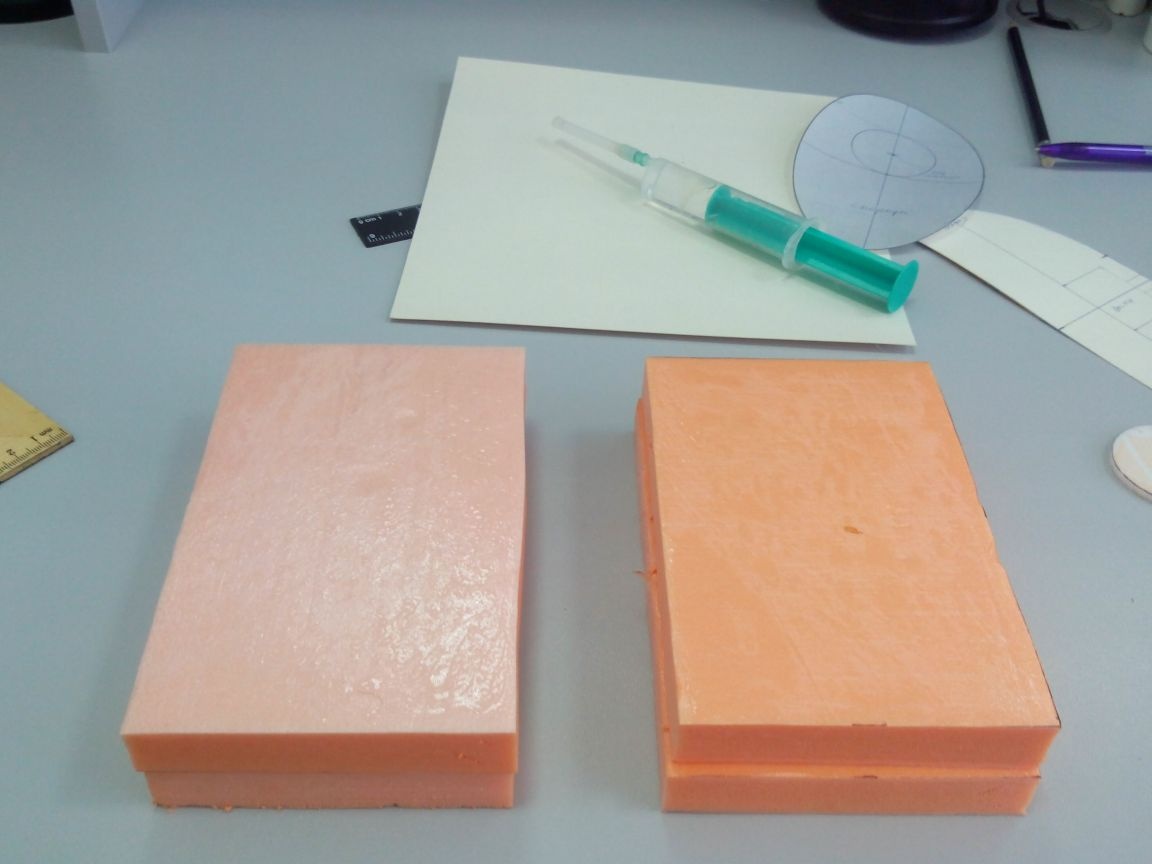
Step 2. Bonding the blank
On the penoplex sheet, we mark the rectangles a little larger than the template. The number of rectangles directly depends on the size of the future hood.

We glue them into a large block with ceiling glue. Since the foam is smoother and does not absorb glue, I recommend that the plastered parts are allowed to dry first.
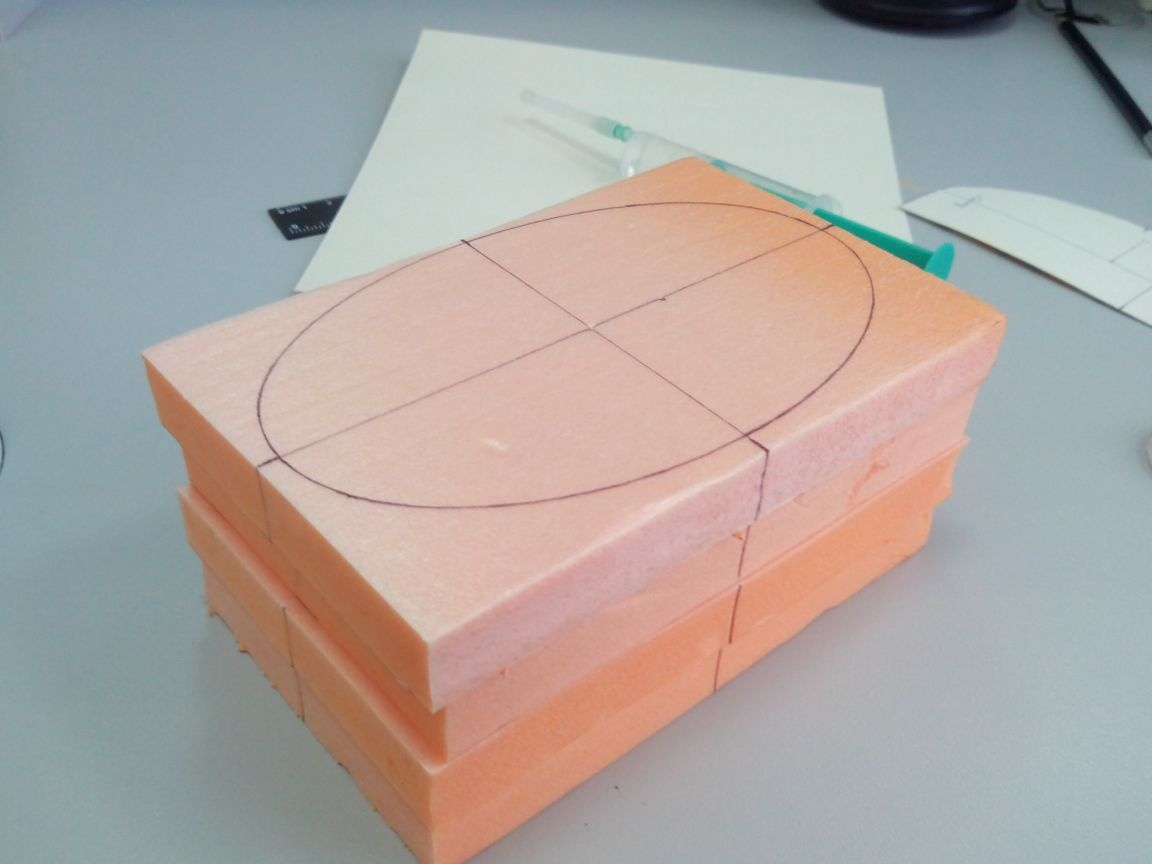
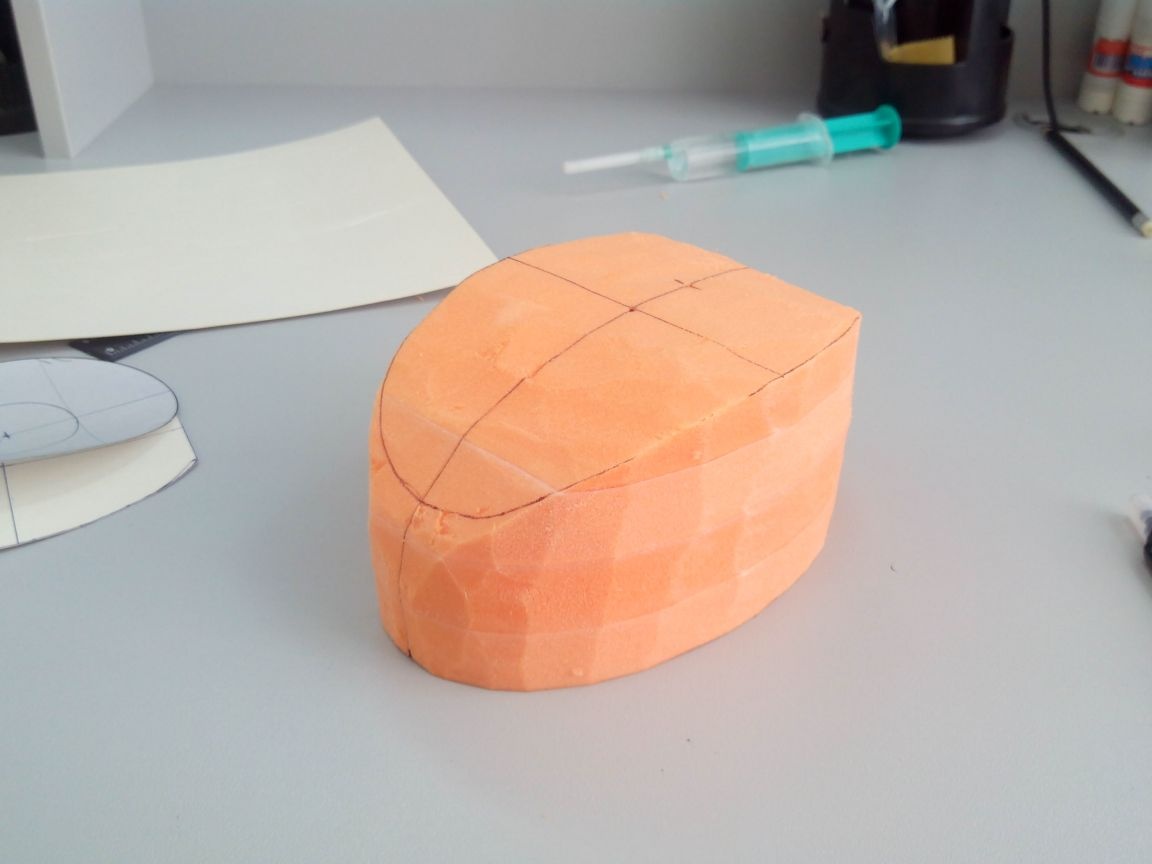
Step 3. Cutting the blanks
We draw on the finished bar according to the template the contours of the future hood. Then we draw perpendiculars along the square in order to more accurately draw the contours on the reverse side.
Similarly, draw side contours.
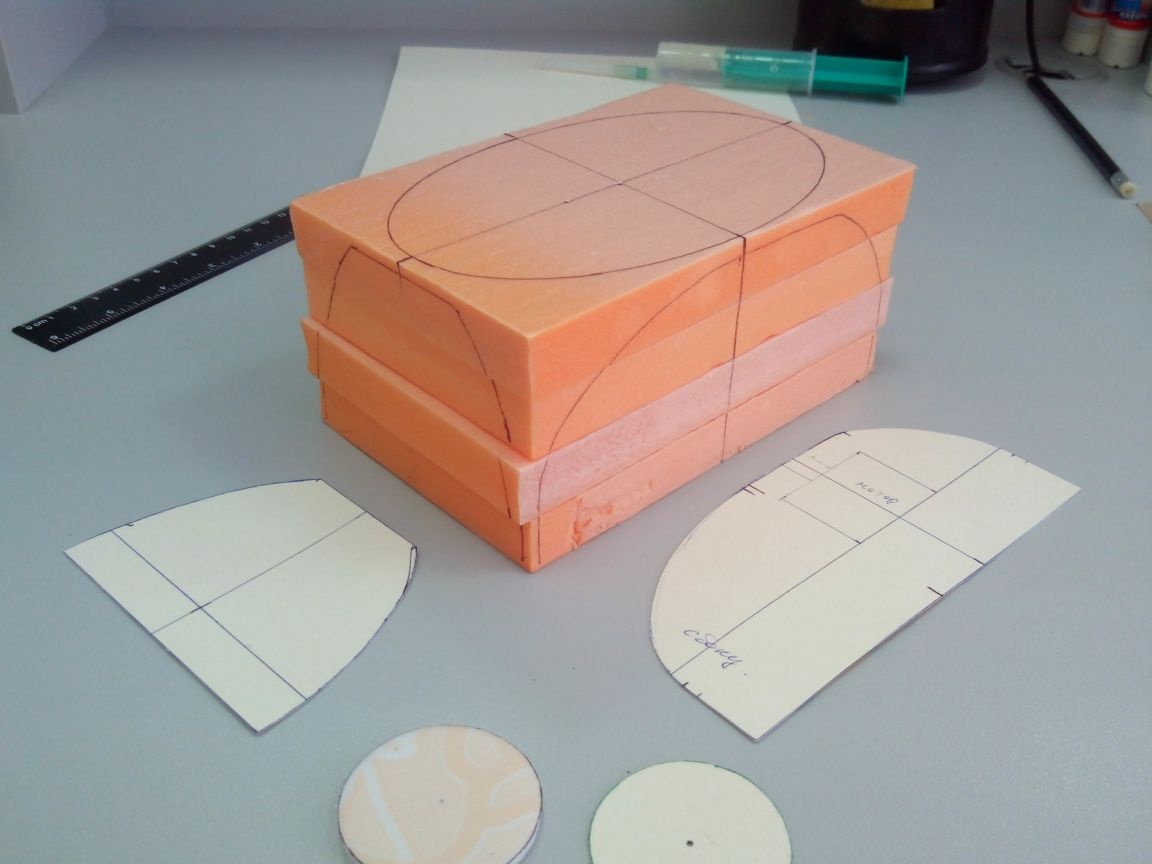
With a sharp clerical knife, cut out the side profile and draw a line (axis of symmetry).
On this axis we apply a template, draw contours and, based on the contours on the other side of the disc, cut out the front profile.
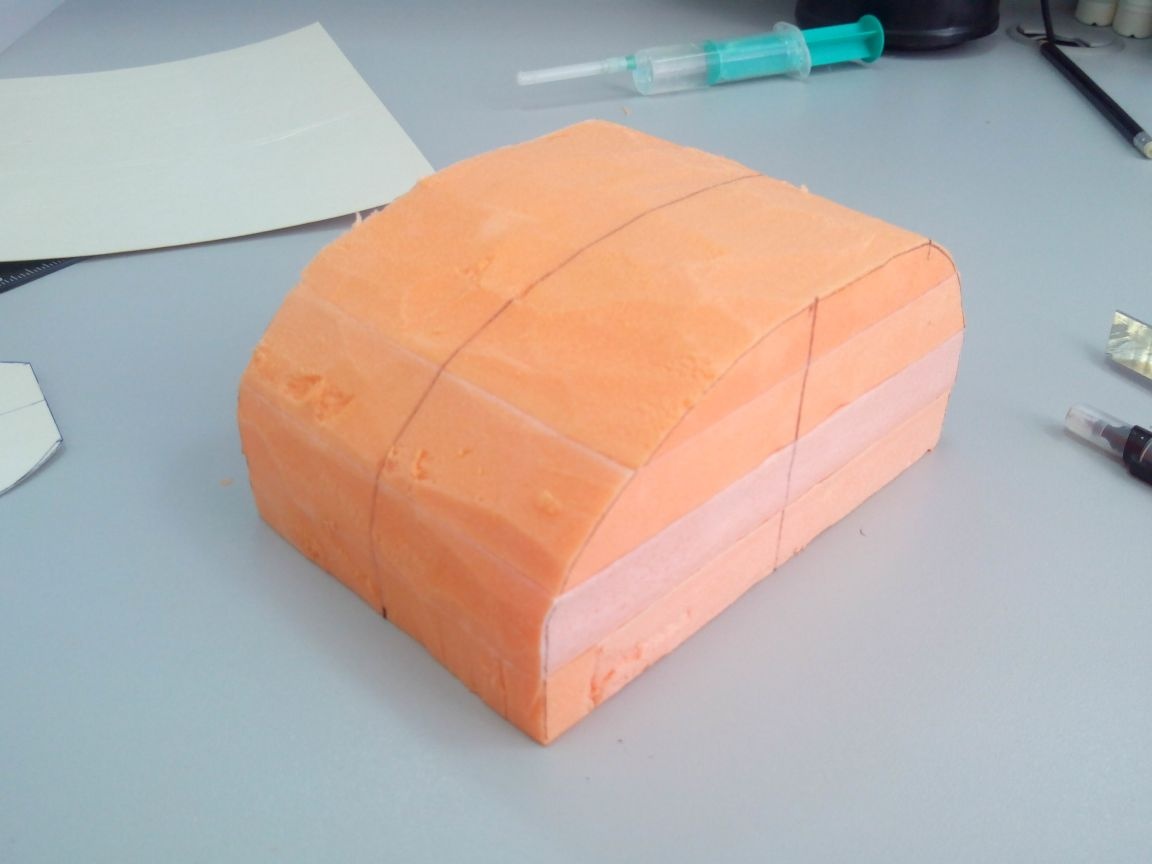
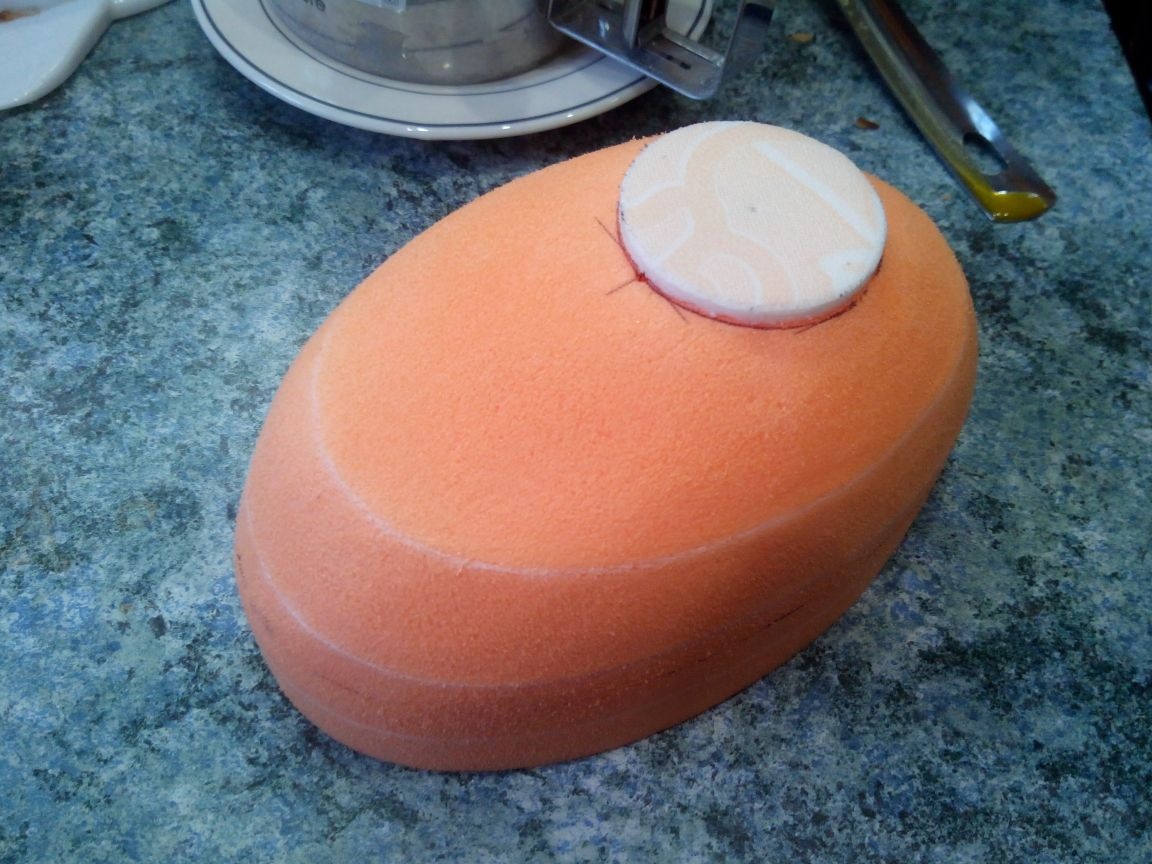
Cut the third profile and glue the circle from the ceiling.
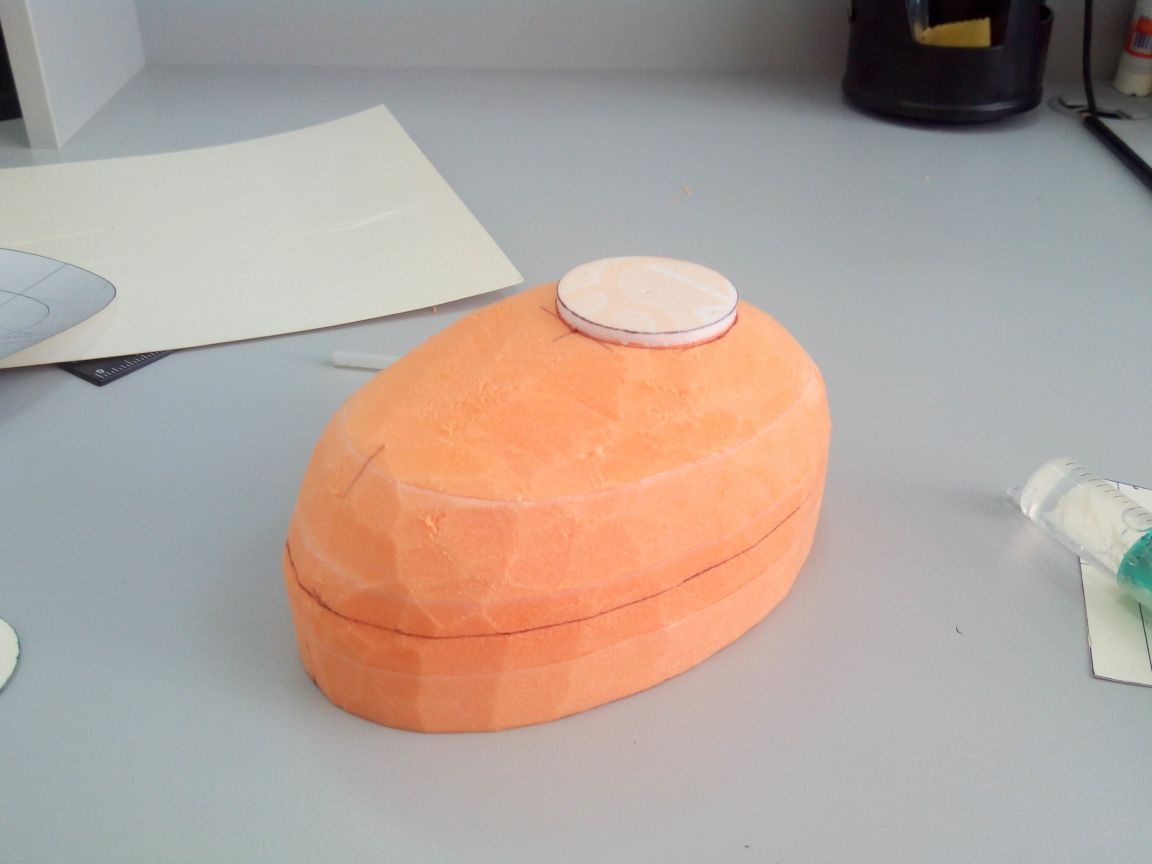
Sandpaper we process a blockhead to obtain a flat surface.
Step 4. Epoxy work
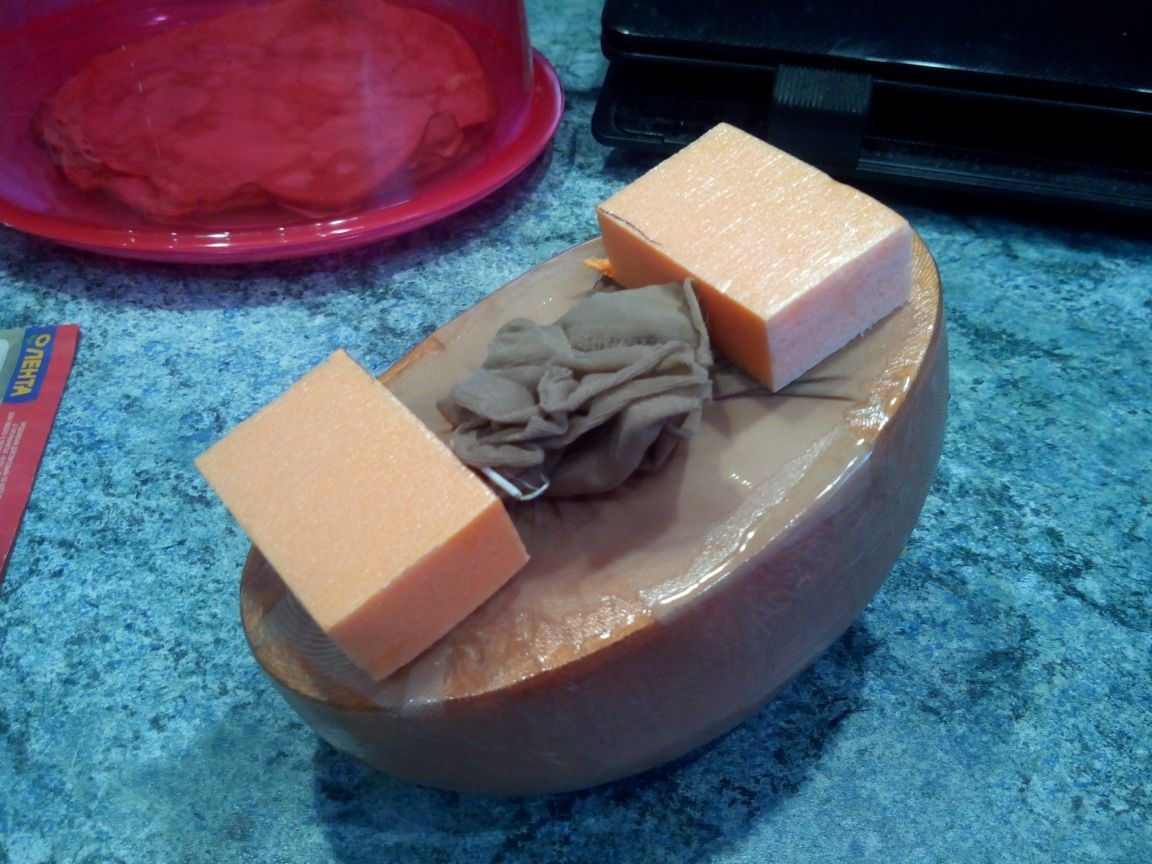
We wrap the doodle in a plastic bag (so that later it is easier to remove the finished hood) and pull the tights in it in one layer.
We twist the tights from the bottom so that all the folds are gone, fix with a wire and glue two bars of foam foam on the ceiling glue, then to put the blockhead straight.
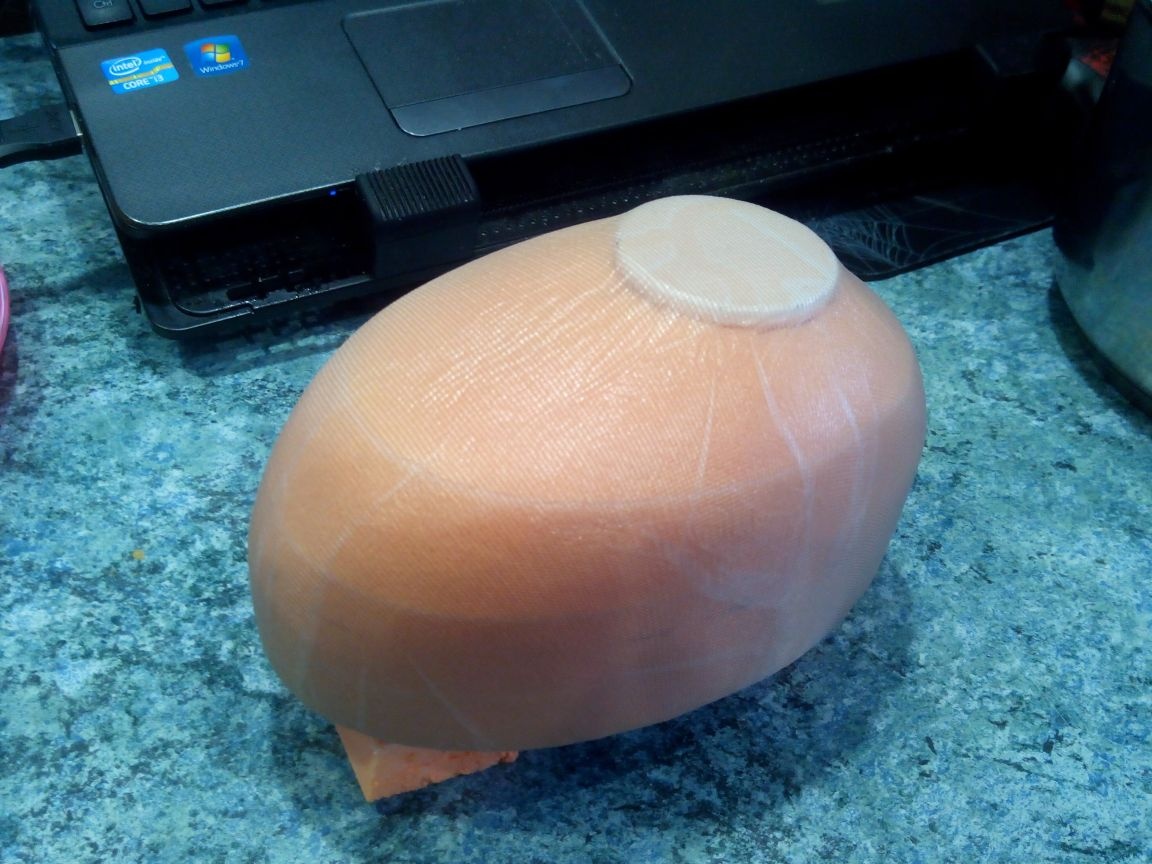
We breed an epoxy in a glass and begin to coat it with a blockhead using a plastic card.
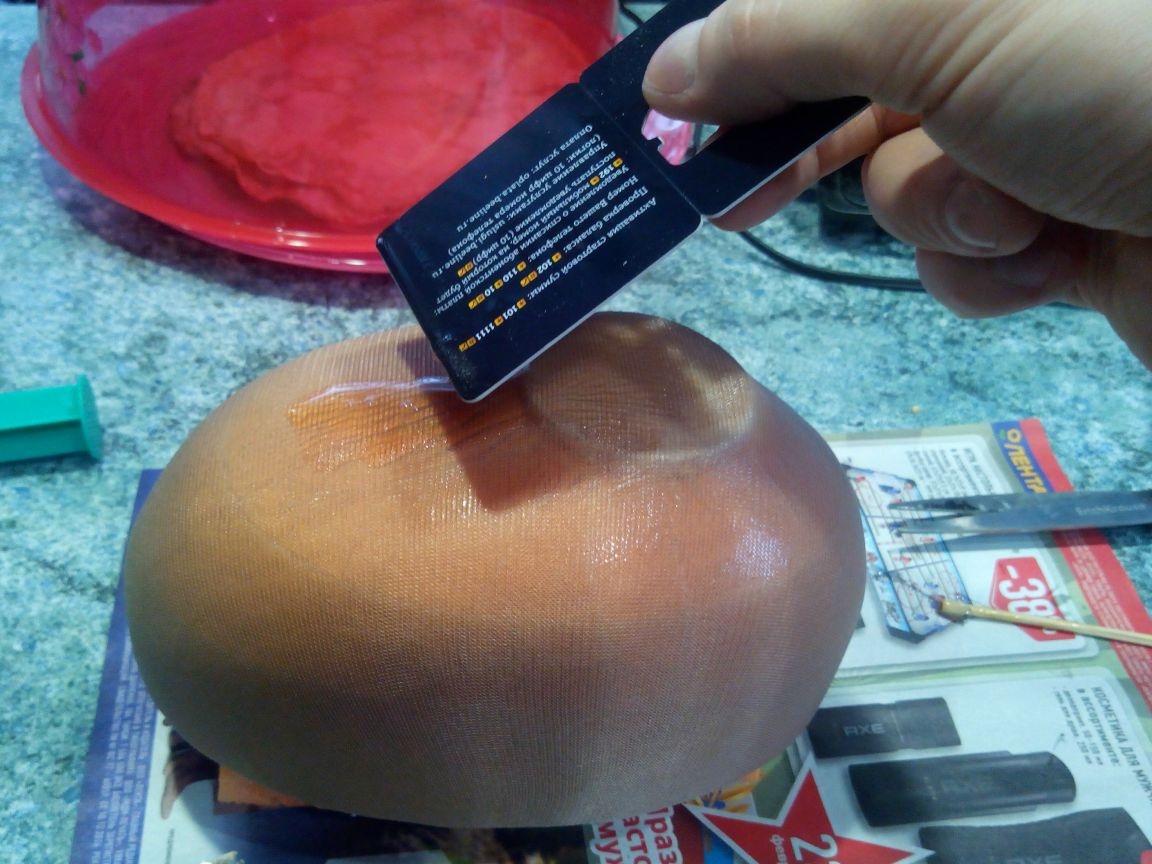
The process is not fast, because it is necessary to ensure that the epoxy impregnates the tights evenly and does not cause strong smudges in the lower part under good lighting. When the block is completely covered with epoxy, it can be put on a cabinet to dry.
After drying the epoxy, we cut off the excess tights from the bottom and tear off the foam bars.

Can start Step 4 at first, only the package is no longer needed. For normal strength, you need at least three layers of tights, that is Step 4 must be done three times.
Step 5. Final steps
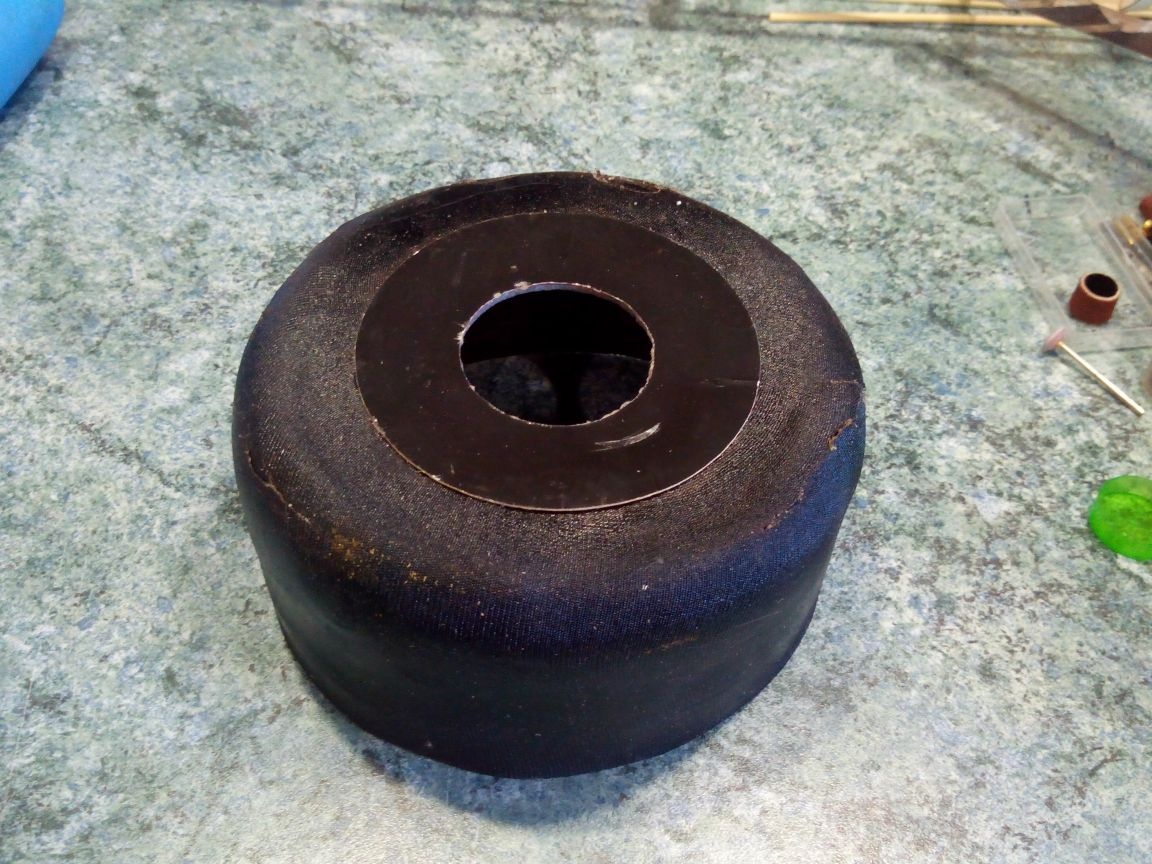
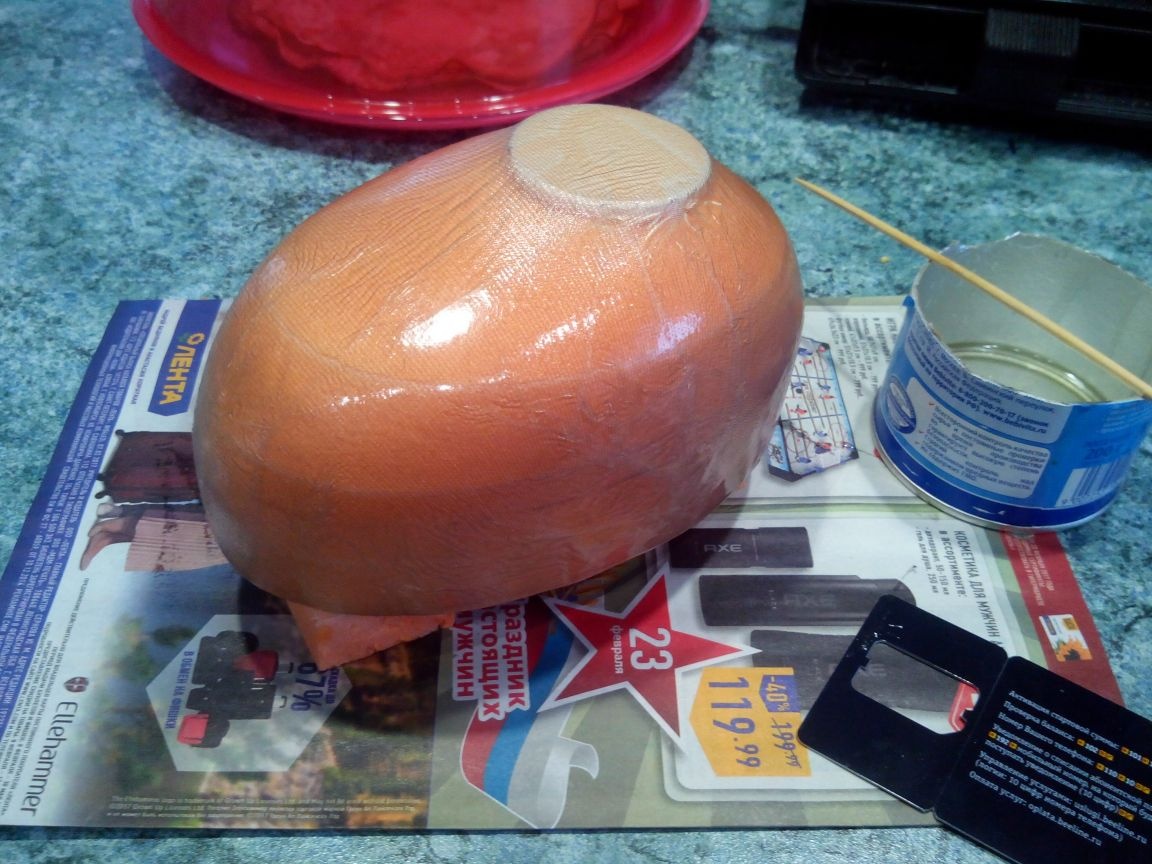
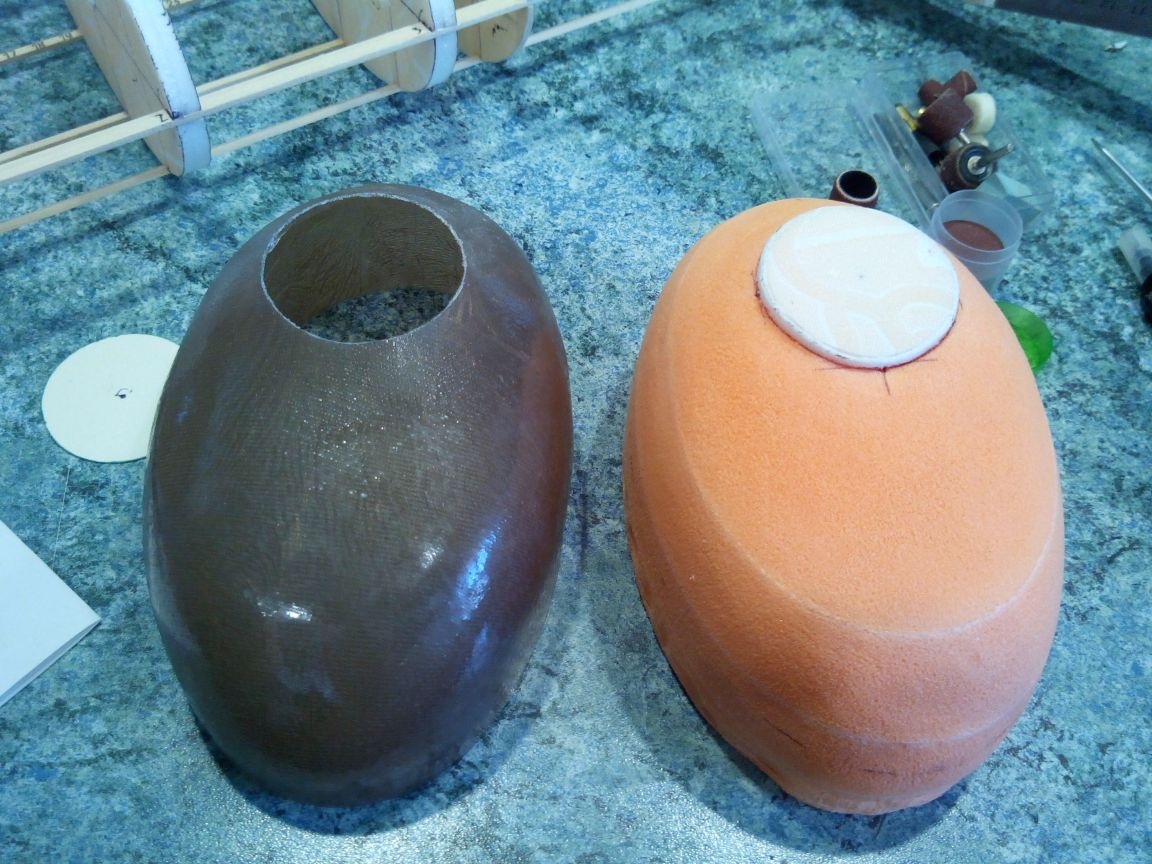
After the third layer of epoxy has dried, we get a very strong and even hood.
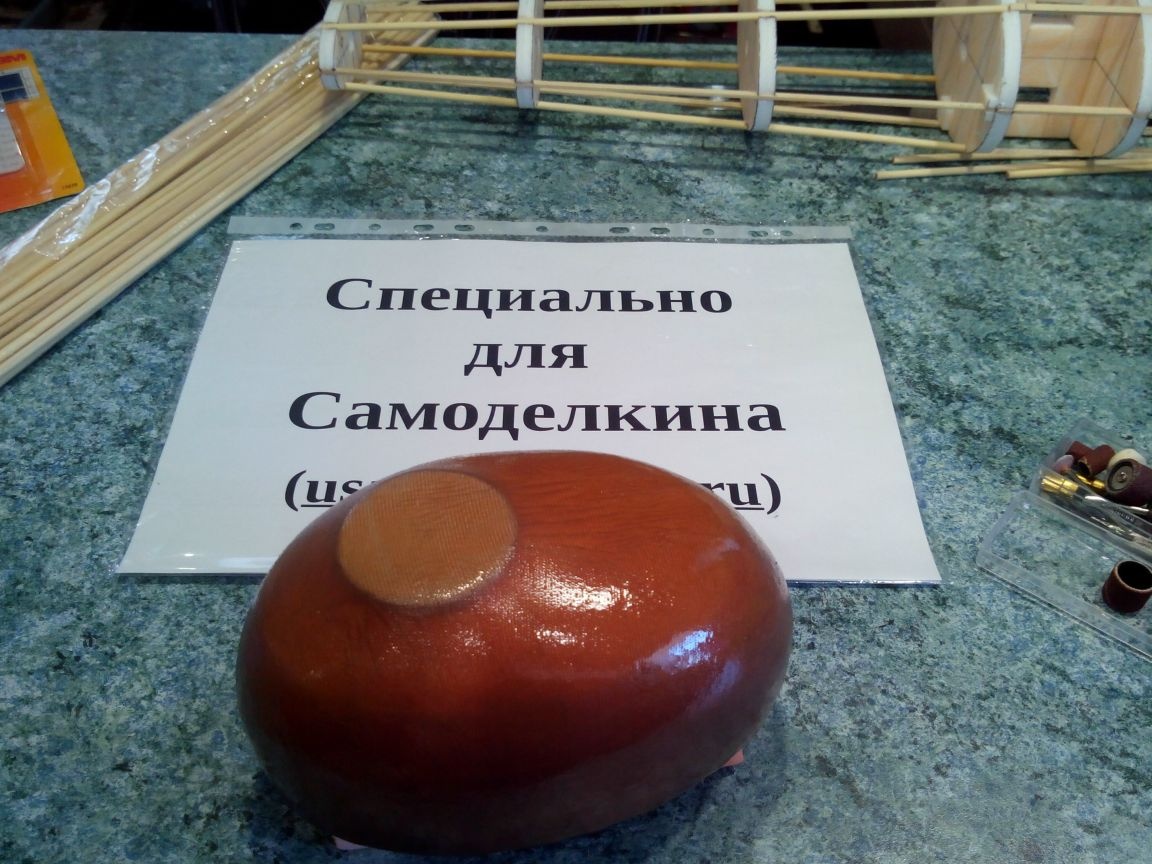
Now it remains to remove the blockhead. To do this, draw a line along the bottom edge with a marker and using a mini-drill (in the absence of such a tool, you can use a hacksaw for metal or a file), cut off the excess on it. The work is very dusty, and therefore I advise you to use protective equipment (respirator and goggles).
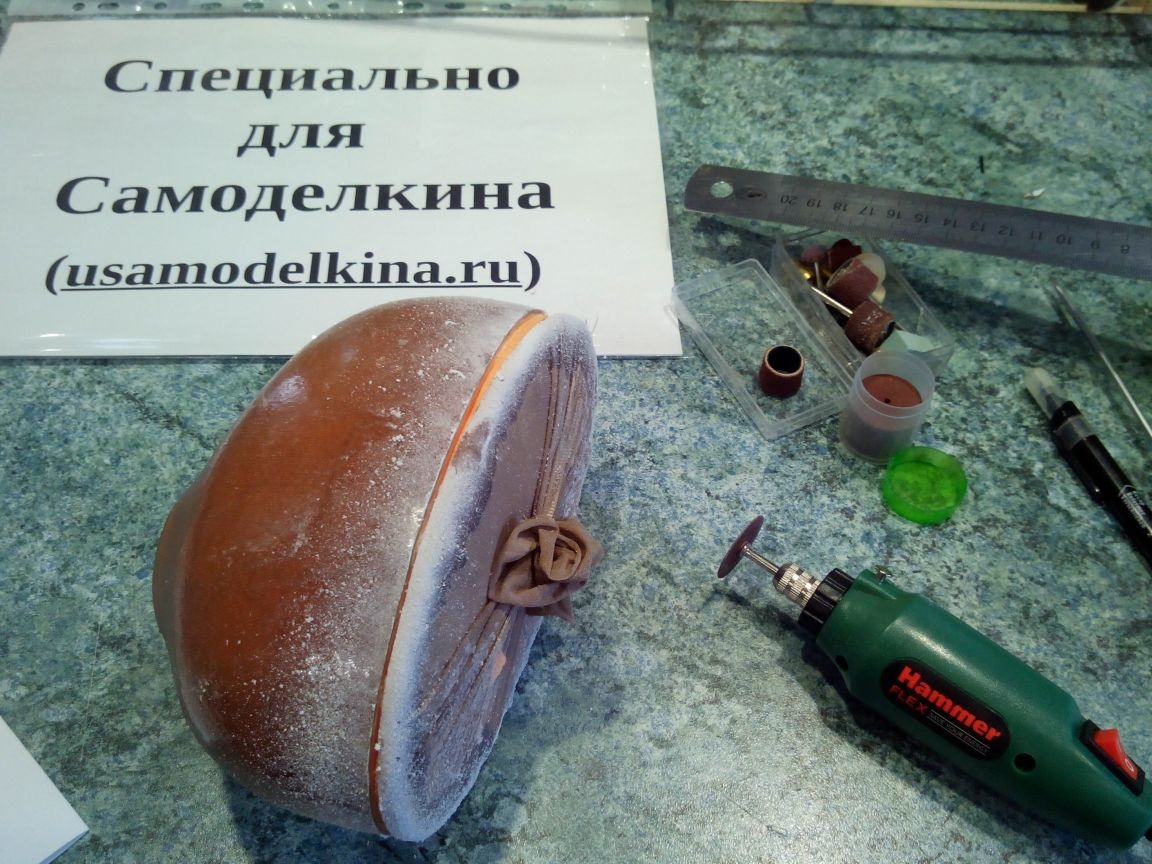
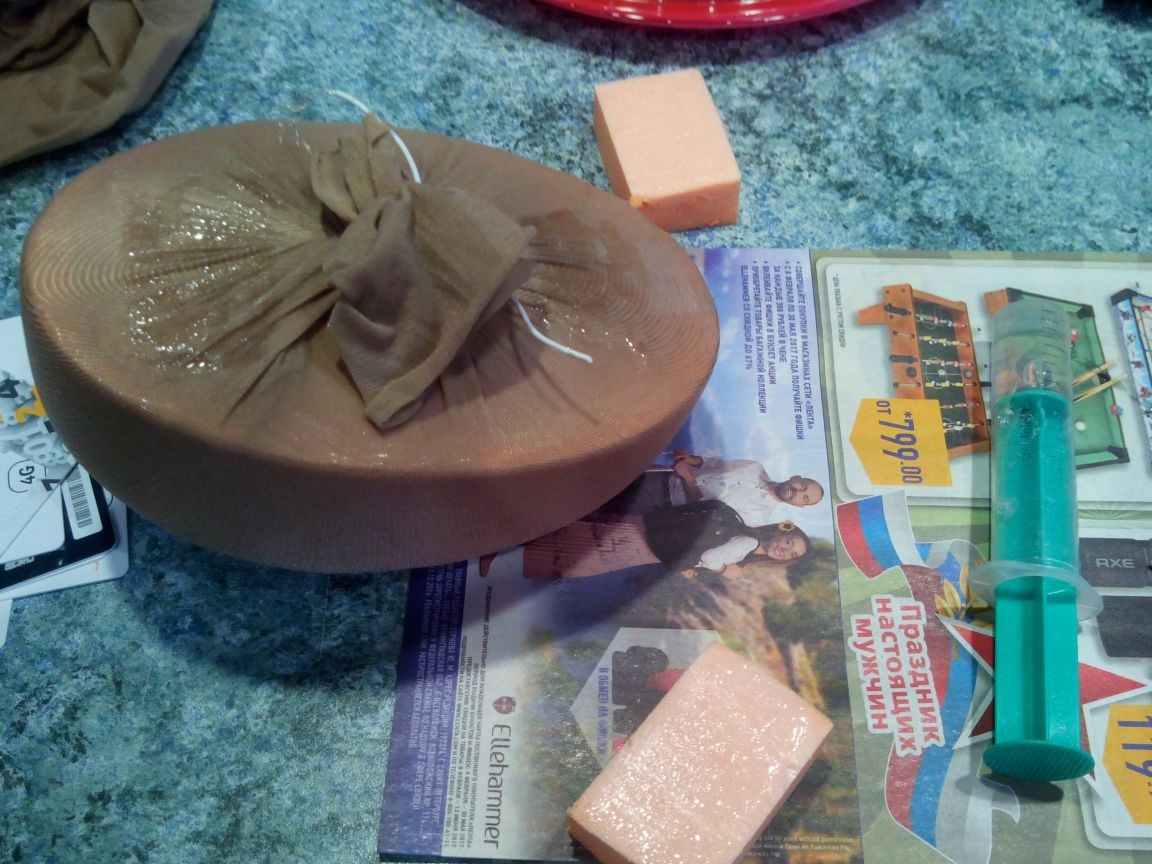
Cut a hole for the motor.
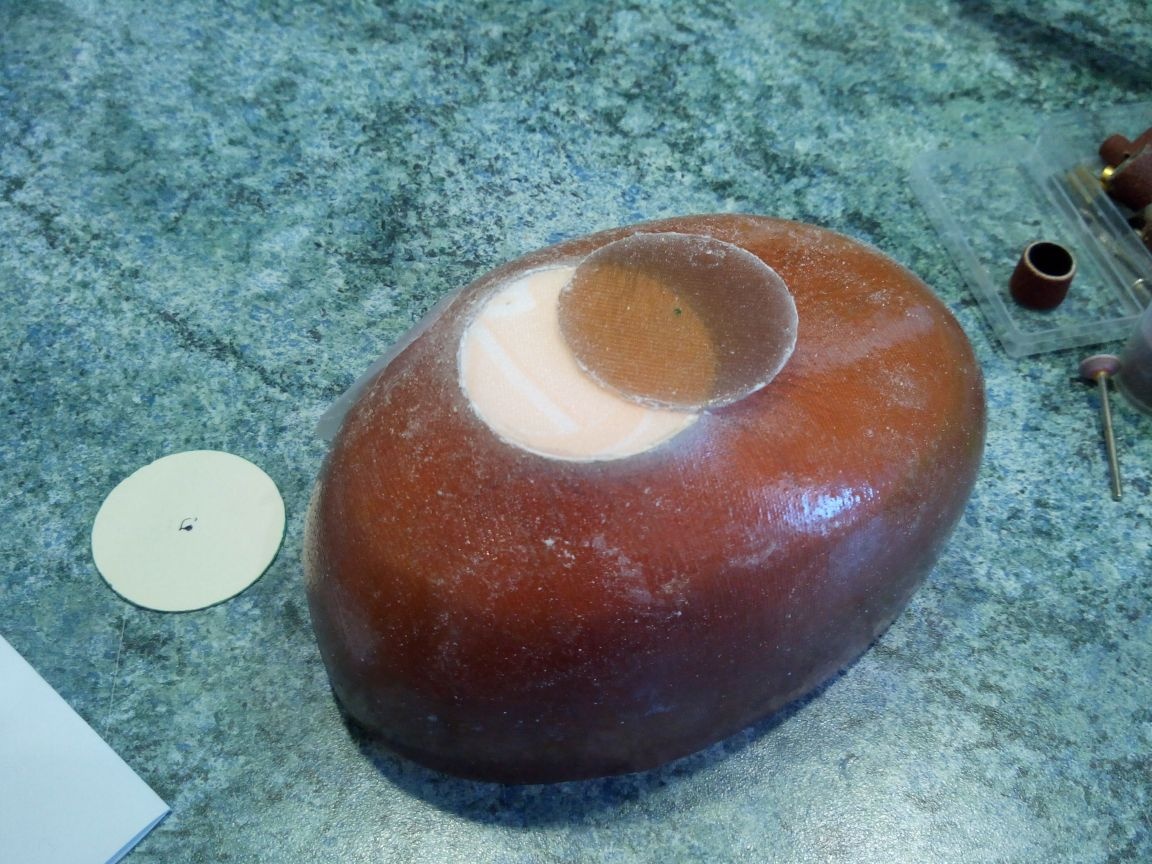
We squeeze the blockhead out of the hole and separate the film into which it was wrapped from the hood.
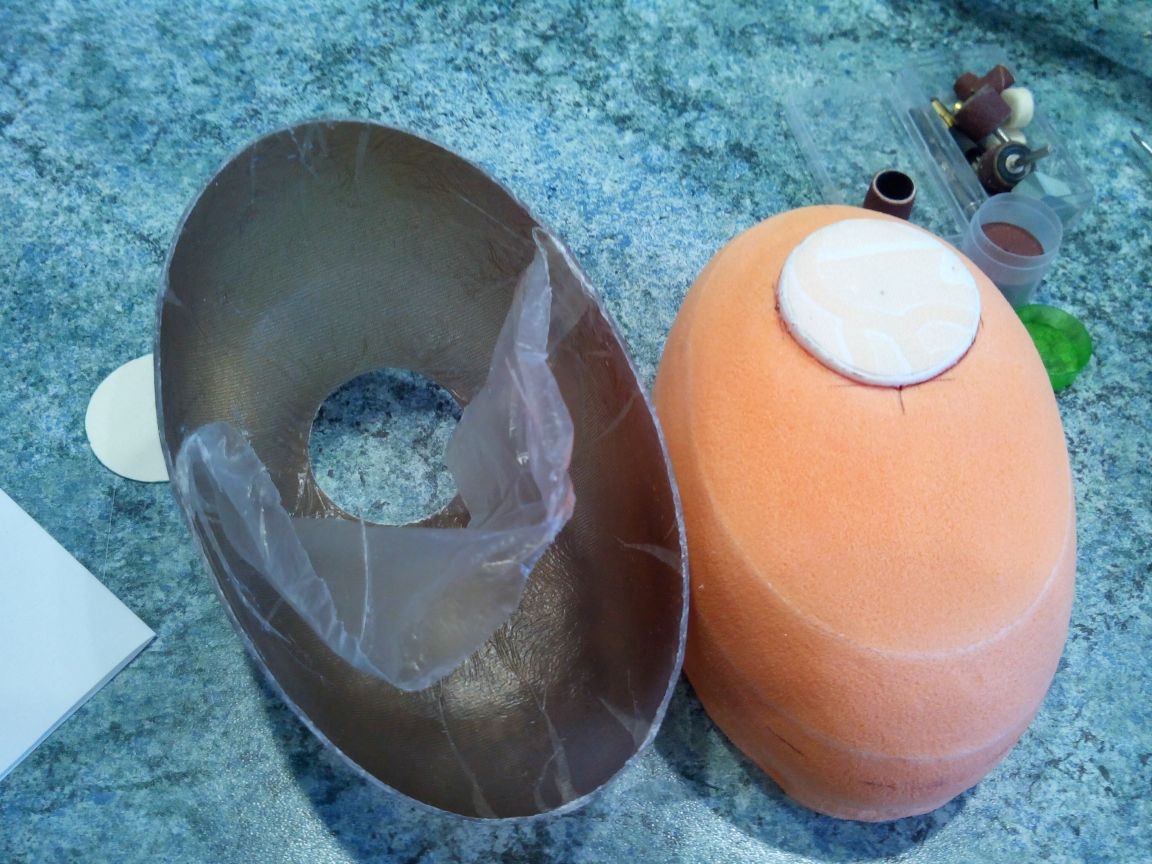
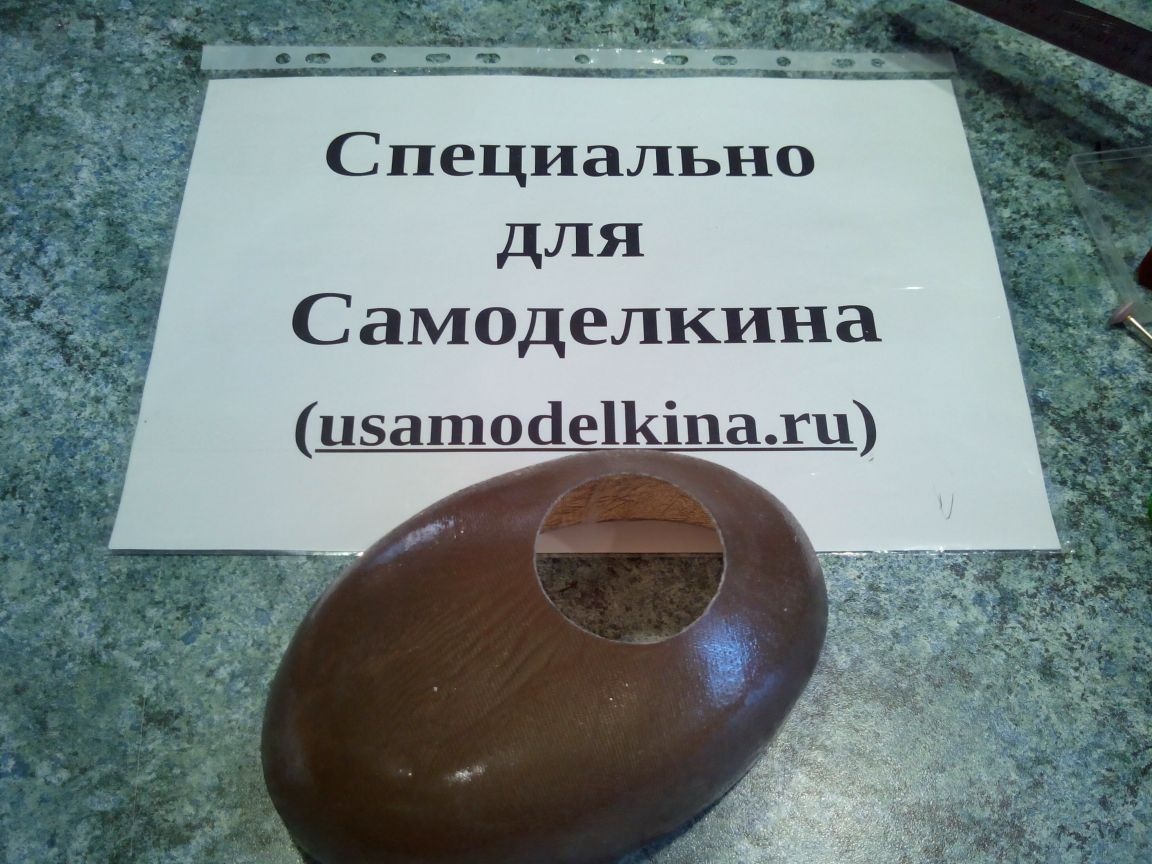
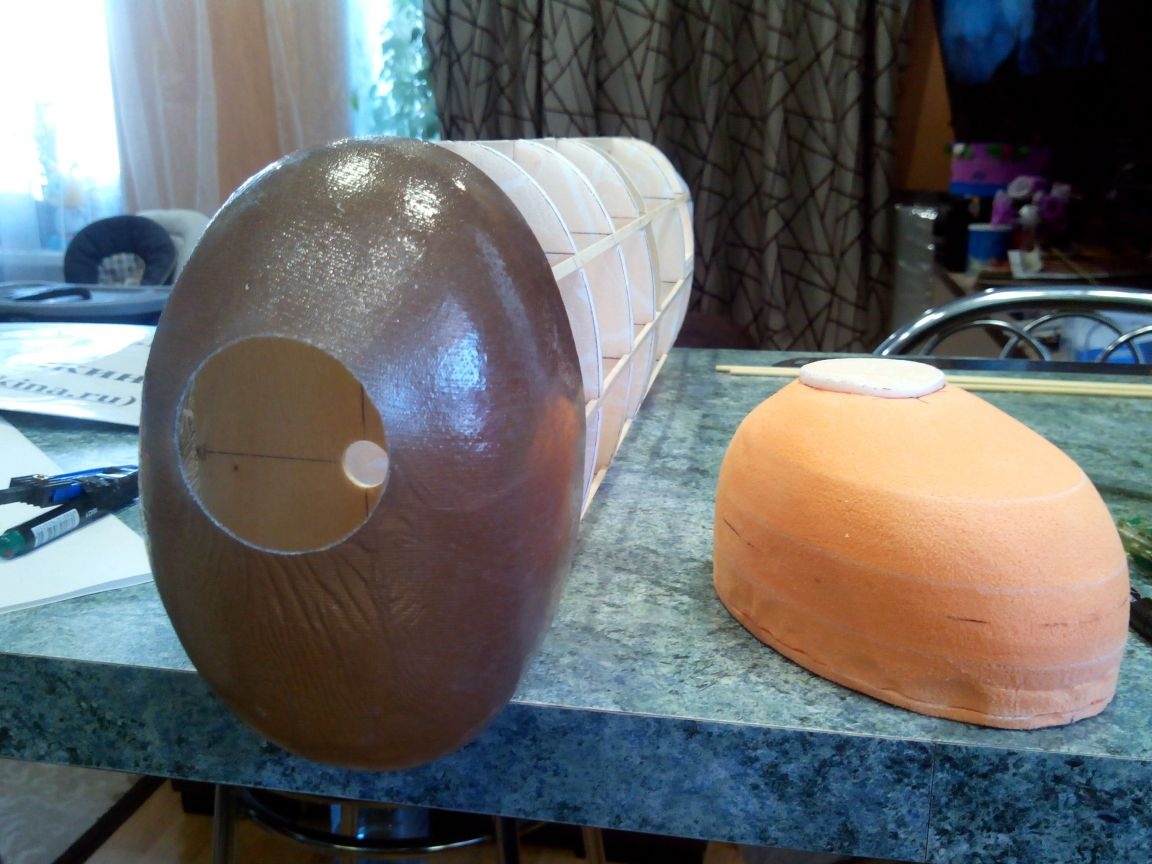
Everything, the hood is ready.
You can try it on the future fuselage.
The lantern is made similarly. The photo is already painted with acrylics.
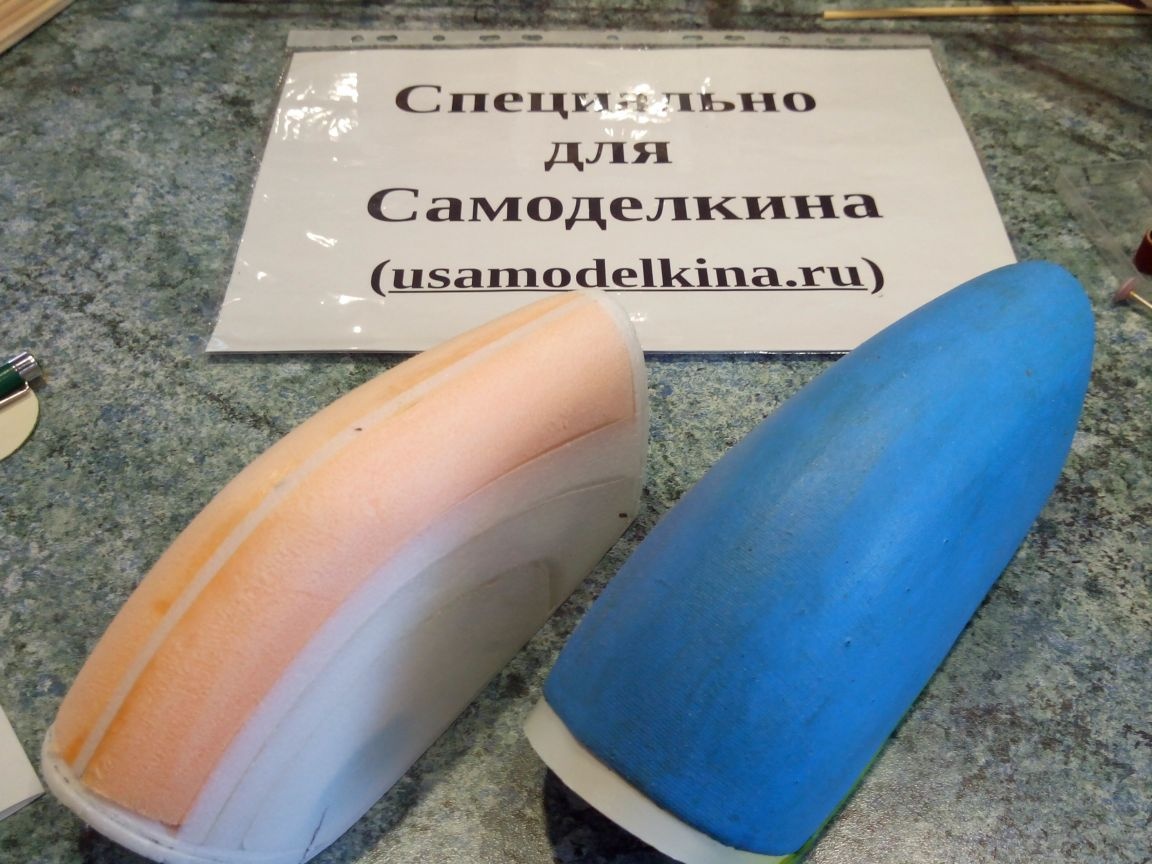
On the Yak-11. Painted with a black marker.
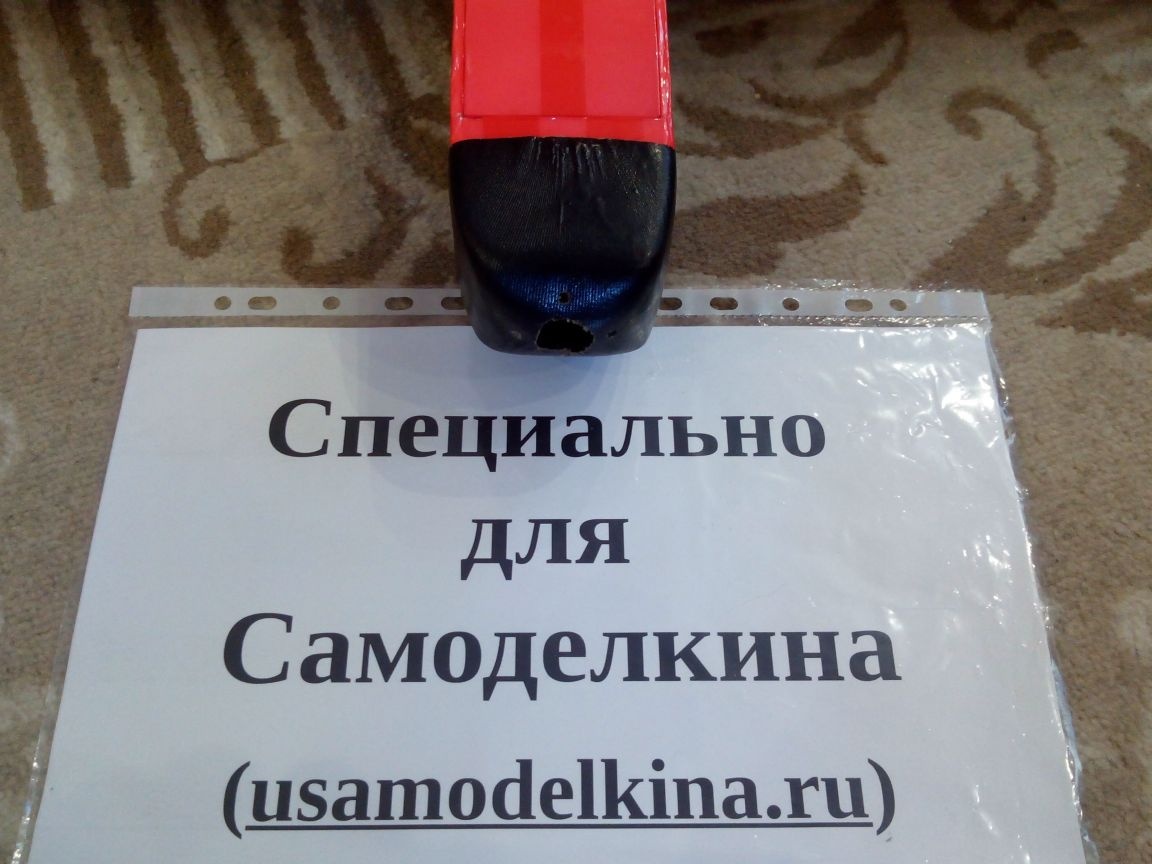
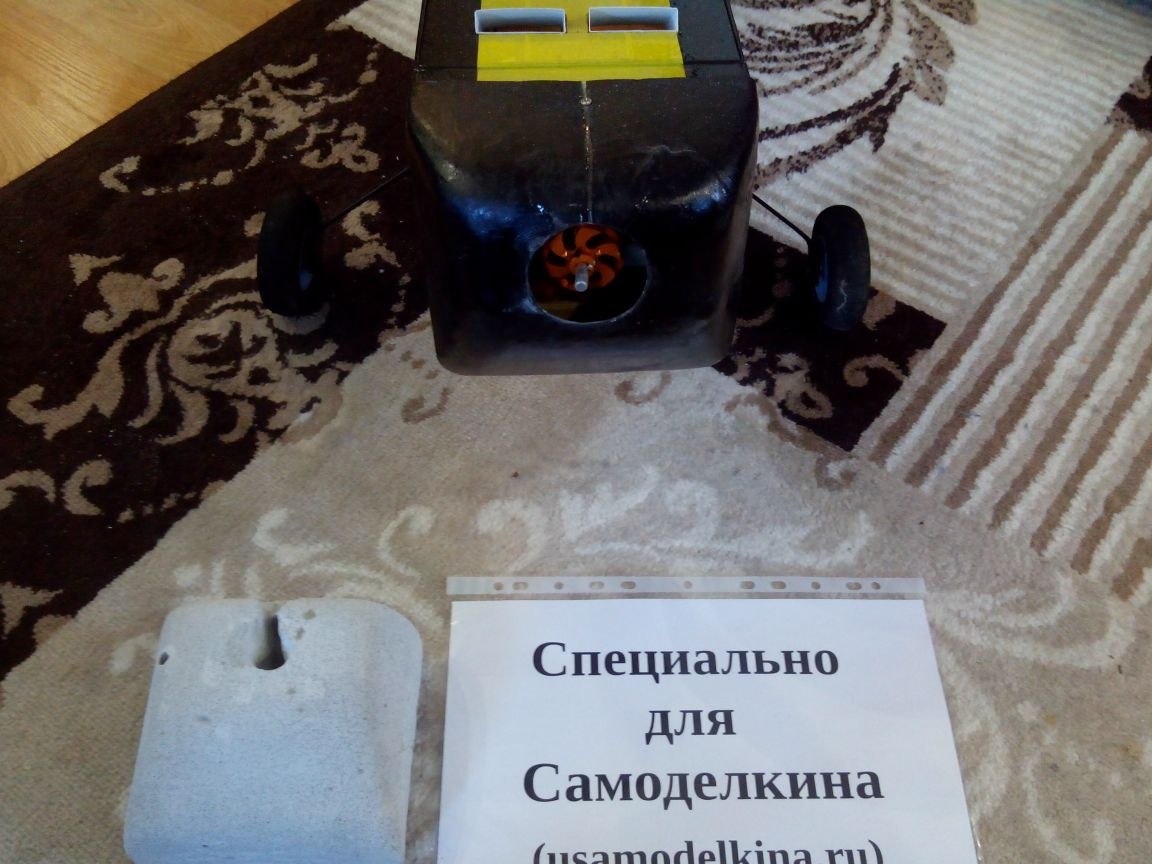
On the two-meter Cessna. Yes, a piece of foam block served as the material for the doodle. It is also very well handled with a conventional hacksaw and sandpaper, only a more dusty option.
On the Yak-54. Also painted with a marker.