
Theremin is an electric musical instrument. It is controlled from a distance. When changing the position and distance of the hands to the antennas, the capacitance of the oscillatory circuit changes and, as a result, the tone and volume of the sound. Theremin invented the Soviet inventor Leo Theremin in the 20s of the twentieth century. Since then, the tool has undergone changes, and in addition to the classic, there are a number of more modern models using modern technology. This article will discuss how to combine theremin and such a classic Russian toy as a Russian doll. The first such design, back in 2000, was made by the Japanese Masami Takeuchi. Now the price of such a tool varies from 350 to 700 dollars per copy. At the end of the article will be shown a video of the concert of the game on the theremin matryoshka included in the Guinness Book of Records, as the largest concert using theremin. So let's get started.
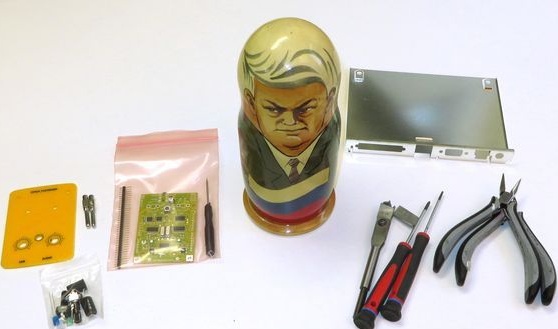
Tools and materials:
- Set of thereminox based Arduino UNO;
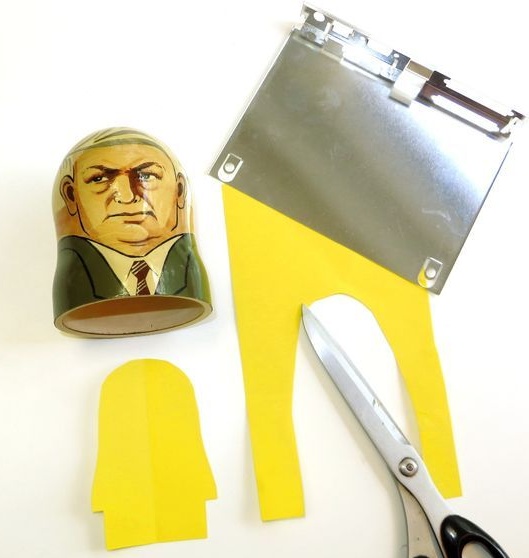
- Matryoshka;
-Soldering iron;
-Drill;
-Pen;
-Screwdriver;
-Scissors;
-Paper;
-Tin;
-9 V battery;
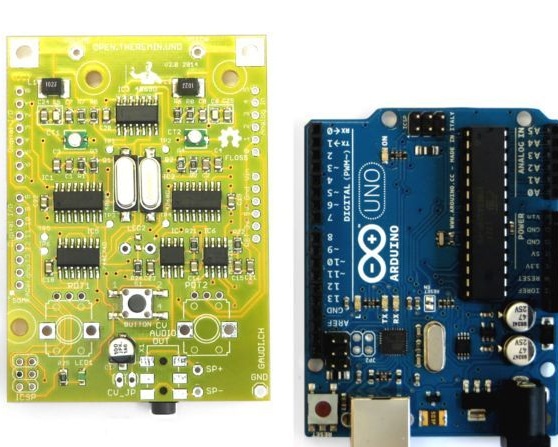
Step 1: Theremin
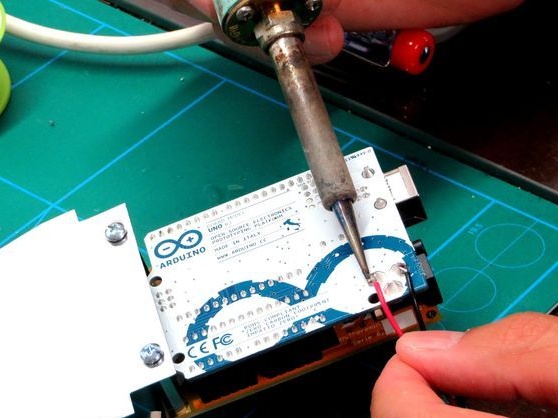
The author made theremin theremin based on Arduino UNO. Detailed instructions for its manufacture are here.
Step 2: Antenna
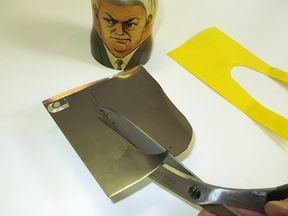
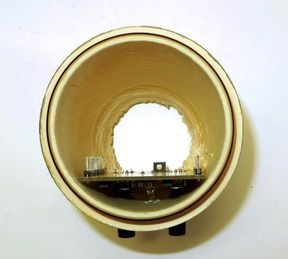
Unlike the classic theremin, this antenna should be hidden inside the case. For this, it is best to use a sheet of metal cut to the desired size. The antenna will be located at the top of the nesting doll. First, the author makes a template out of paper. After making sure that the template fits, cuts the antenna along it from a piece of tin (from the internal partitions of the computer).
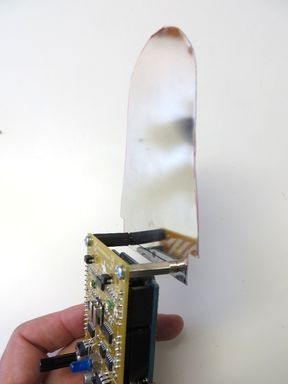
Next mounts the antenna to the theremin. Theremin has connectors for tone and volume. The antenna must not be mounted on the tone connector in isolation, but use an isolated mount on the side of the volume connector.
Step 3: nesting doll
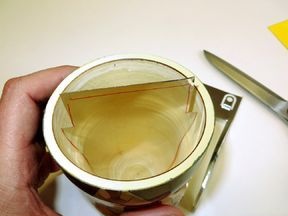
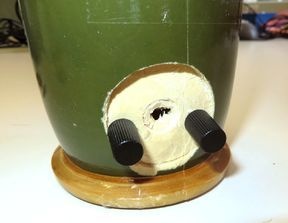
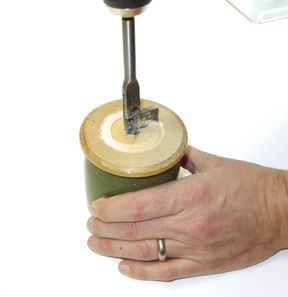
To install theremin in a nested doll it needs to be finalized. At the bottom of the doll, the author makes the hole necessary to access the board. On the side, it selects with three holes for installing the handles and access to the calibration screw.
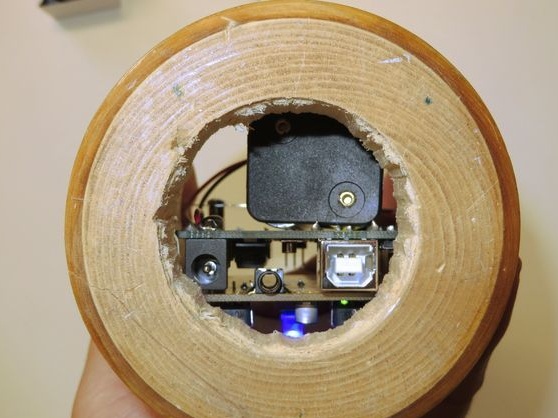
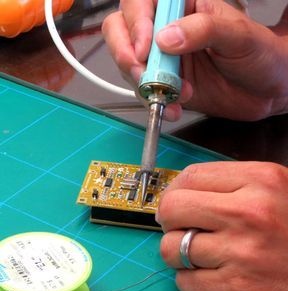
Step 4: Build
First, the author solders the power connector.Next, install the device in a Russian doll. Connects power. A piece of foam is laid between the battery and the board. Below connects the speaker.
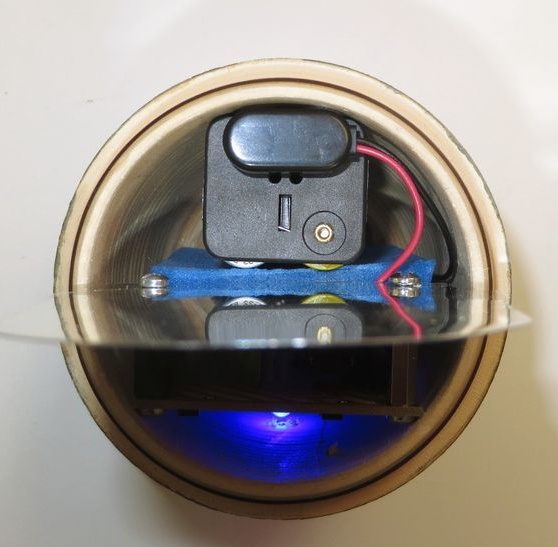
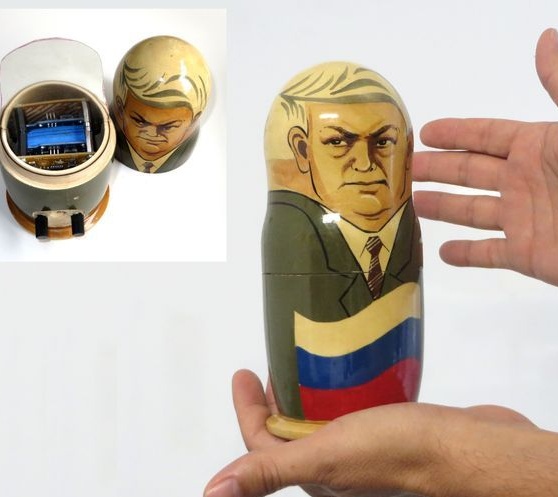
The device is ready. In operation, the device can be viewed in the video.
Symbolic sounds are made by such an Yeltsin doll.
And a short piece of video from the concert.