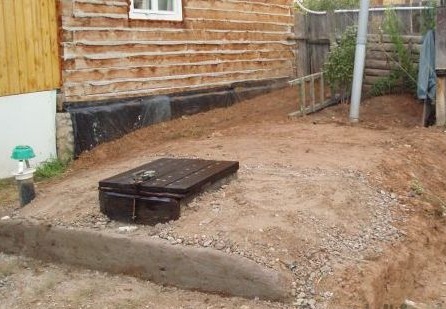
Any person living and working on their land knows that it is not enough to grow a good crop, it is still necessary to preserve and process it. To store the future rich :-)) the crop, it was decided to dig a cellar.
Considering my hard experience gained in digging sewage pits, sewers and the underground, I wanted to find a couple of at least some sober helpers who were ready to do this for money, but for some reason they were not found in the vicinity of our village. Even not sober helpers, even for the money, categorically refused to dig my cellar.
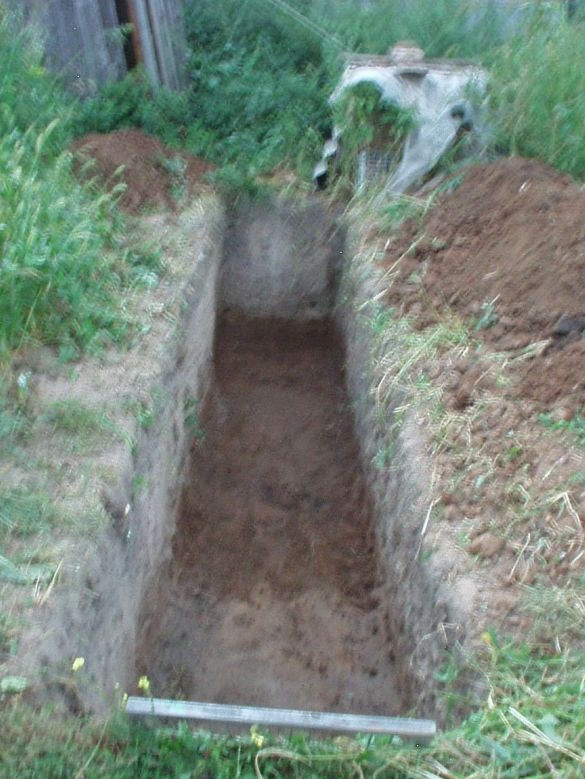
I had to dig on my own. Having decided on a place for the future cellar, and taking into account the maximum volumes required for storing the crop, I approximately calculated its necessary dimensions: 1.8x4.5x2.5 m. It was this depth that was suggested by the locals, because in severe frosts and with little snow the earth here it can freeze to a depth of 1.8 m.
For self-construction of the cellar by one person with minimal construction materials, I needed the following.
1. Shovels, shovels and bayonet, 2 pcs.
2. Buckets for the earth, 2 pcs.
3. Ropes
4. Oak blocks 3000 X 80 x 80 mm in the amount of 8 pcs.
5. Oak boards 1600 X 100 X 20 mm, 170 ... 200 pcs.
6. Second-hand pipe, 63 mm, 2.5 m long, 4 pcs.
7. Welding machine, electrodes.
8. Second-hand pipes, second-hand corners, fittings, scrap metal.
9. Wiring for 220 V, 10 m
10. Moisture-proof luminaires with lamps, 2 pcs.
11. Bricks from the old stove, 10 pcs.
12. Iron covers from old computers, 30 pcs.
13. Plastic pipe 110 mm, 2 meters, 2 pcs.
14. Fans from computer power supplies, 80 mm, 12V, 2 pcs.
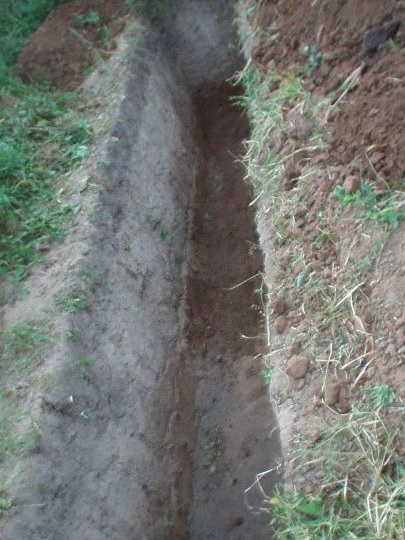
Here we will dig.
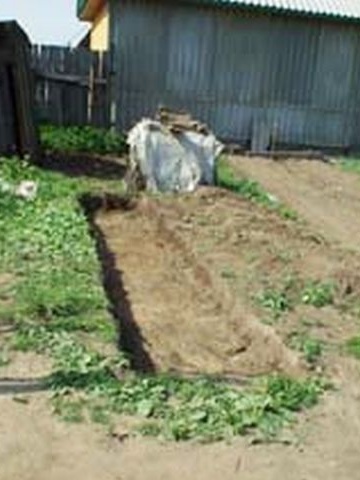
A week later, the depth reached 1m. Earth ended, dense clay began. It was then that I realized why none of the locals wanted to dig. Clay is dry and very dense. First you need to hammer it with a crowbar, and then collect these pieces with a shovel. No wonder that towards the end of the work, I already began to think how this cellar would not become my grave ....
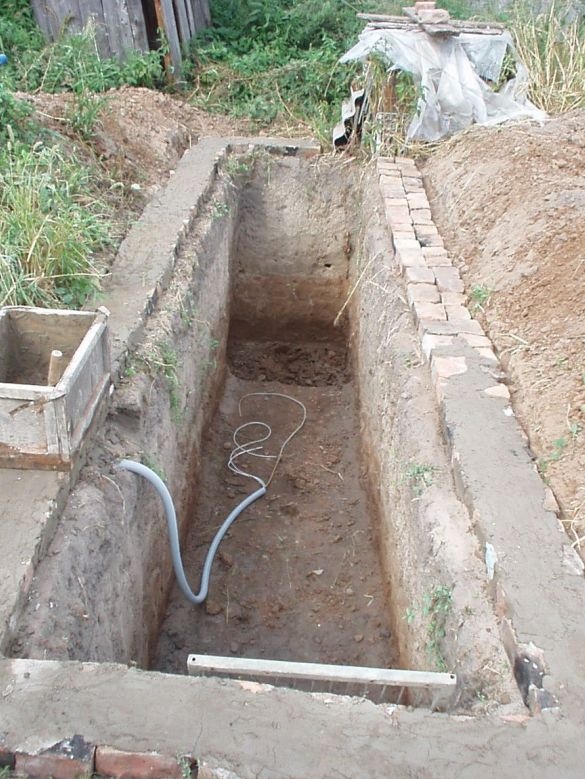
Along the edges, a blind area was made of old bricks, wires for future lighting lamps and ventilation fans were laid.
Upon reaching a depth of 2 m, a big problem arose. Cellar walls, especially sandy ones, began to crumble and crumble. It became clear that a simple cellar in the form of an earthen pit with a roof would not work. The work had to be stopped and the construction project urgently finalized.Looking at the various options of cellars with friends and neighbors, I realized that the construction of the cellar walls made of brick, concrete and even logs is not my option, both in terms of material costs and beyond the strength of one person.
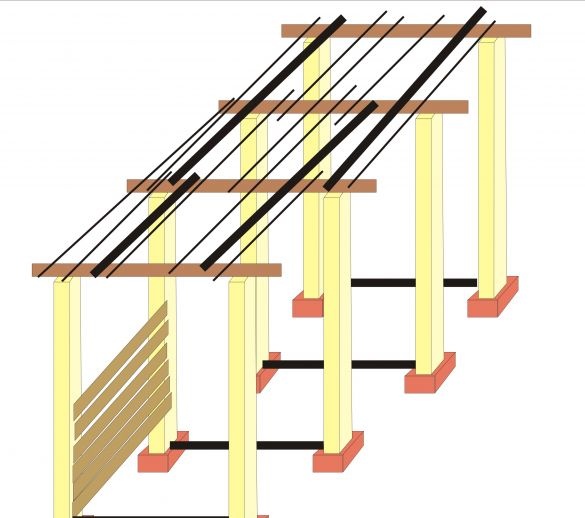
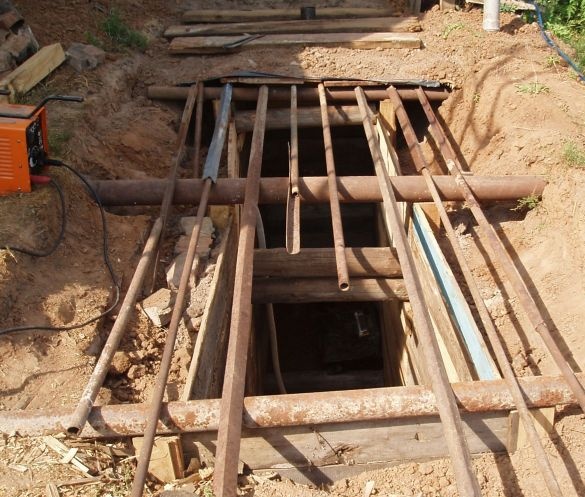
In the end, it was decided to do the following. Transfer the entire load to the spatial frame of beams and pipes. At the corners of the cellar and at regular intervals in the middle, on bricks dug into the ground, install power supports of 80X80 mm oak beams that will be lined with boards to prevent the walls of the cellar from shedding. On these supports, transverse ceilings from steel pipes with a diameter of 63 mm will be laid from above. The lower parts of the bars will be pressed against the walls of the cellar using spacers from scraps of old water pipes. Then, on the ceiling pipes from above, a lath of corners, pipes, profiles, and fittings will be welded, and already on it the roof of the cellar with thermo and waterproofing will be mounted.
Sample design of the supporting structure of the cellar
For a certain amount of money, and by agreement with the forester, they brought me a number of long oak trunks, which I sawed into 3 m long columns and then drove to a sawmill.
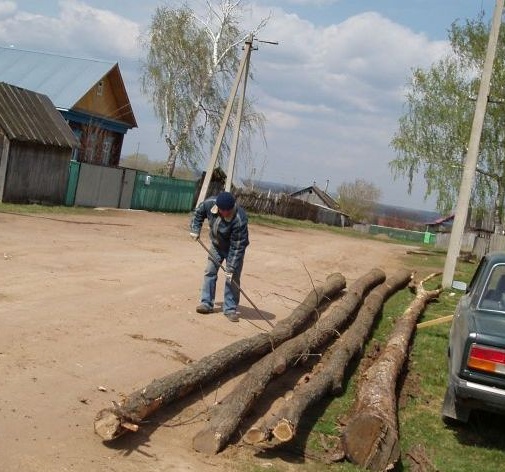
At the sawmill, I agreed to make 80x80 mm bars of these logs, and cut the boards from the rest of the wood, 20 mm, as it turns out. It turned out 10 pcs of three-meter bars and almost 50 pcs of narrow planks. I processed the bars with a septic tank, and cleaned the boards from the remnants of the bark and trimmed them along the edges. Why are the bars and boards oak? And so as not to rot. Moreover, these trunks were intended for firewood, and practically cost nothing. The size 80 X 80 mm was not chosen by chance either, the strength of such bars is more than enough for me, but the width of the cellar will not decrease much, and there will be more planks of logs ...
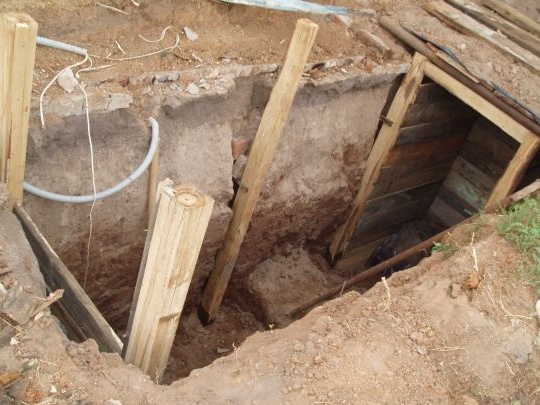
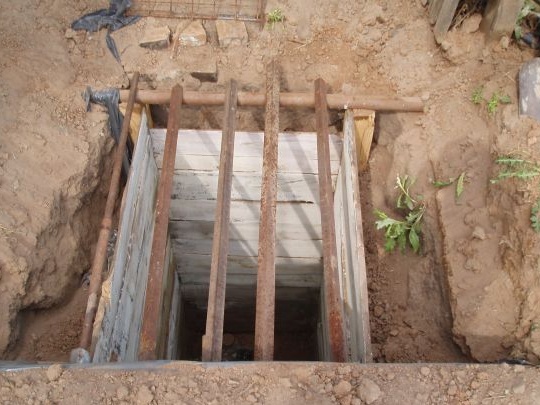
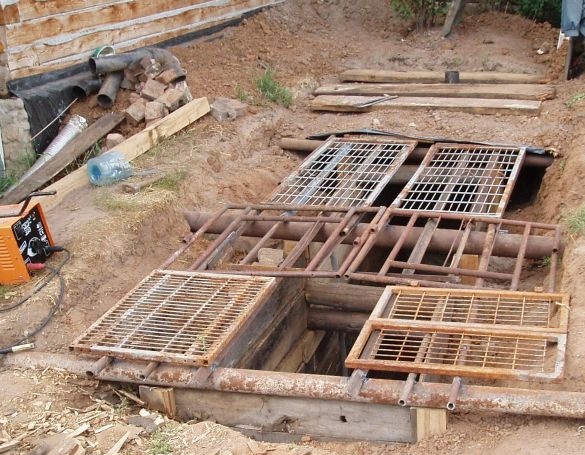
As you can see in the photo, with bars and pipes everything began to look completely different. On the floor pipes, I welded all the iron at hand such as corners, pipes, fittings, grids.
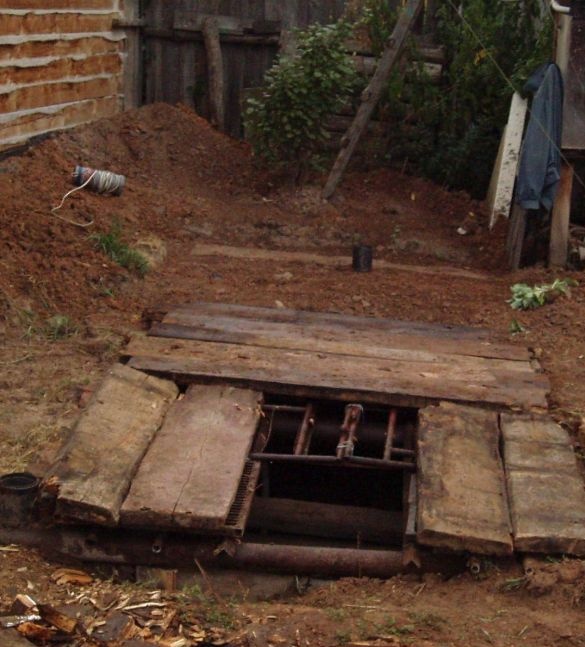
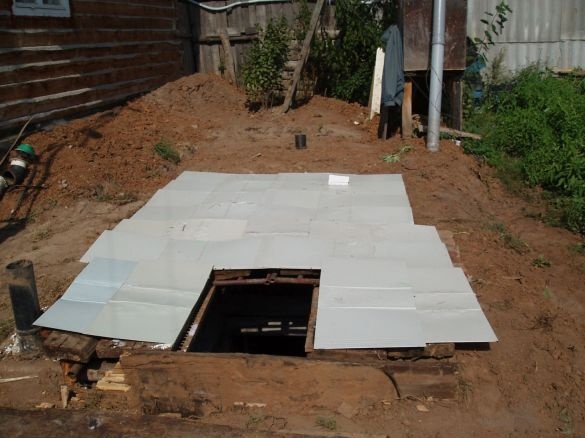
Then he laid on them the old thick boards that remained after replacing the floor in the old house. The boards, although old, are very dry, durable and repeatedly painted. On these boards waterproofing was laid out from two layers of roofing material, and then sheets of iron, which I straightened from the covers from the decommissioned system units of old computers.
For additional waterproofing, two more layers of roofing material and pieces of polyethylene from an old greenhouse are laid on this iron. On top of the cellar is covered with clay, which was dug out of it, then sand and gravel. The front wall of the cellar is concreted so as not to crumble onto the road. Ventilation pipes are installed with 12-volt fans inside, which are connected via an adapter to the main panel in the house. In order for the cellar to be ventilated without the participation of fans, one pipe lowers almost to the floor level, the other - is mounted under the ceiling. On the ceiling of the cellar two lamps with LED lamps of 12 V are mounted. As time has shown, no other lamps, especially 220 V, can withstand operation in the cellar, they close or burn out, because the ceiling is always very humid.
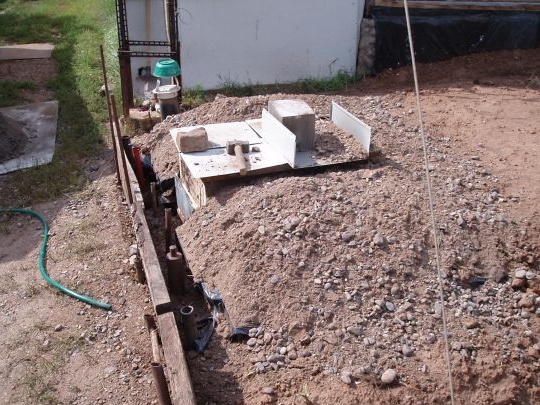

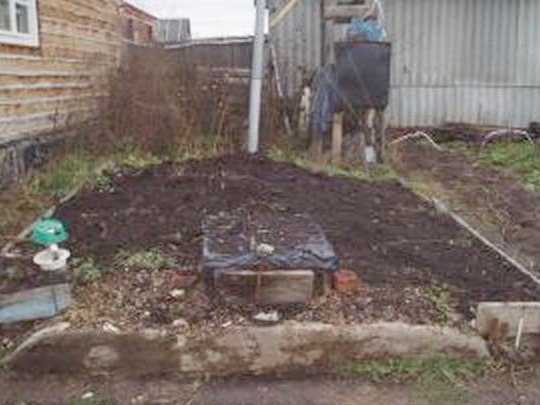
In the fall, I brought two trailers of earth to the cellar, then manure, I dug up all this, and in the spring I planted cabbage here.
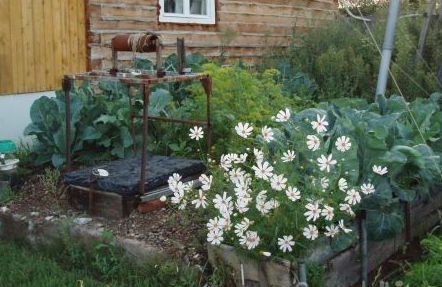
Something like that.


