
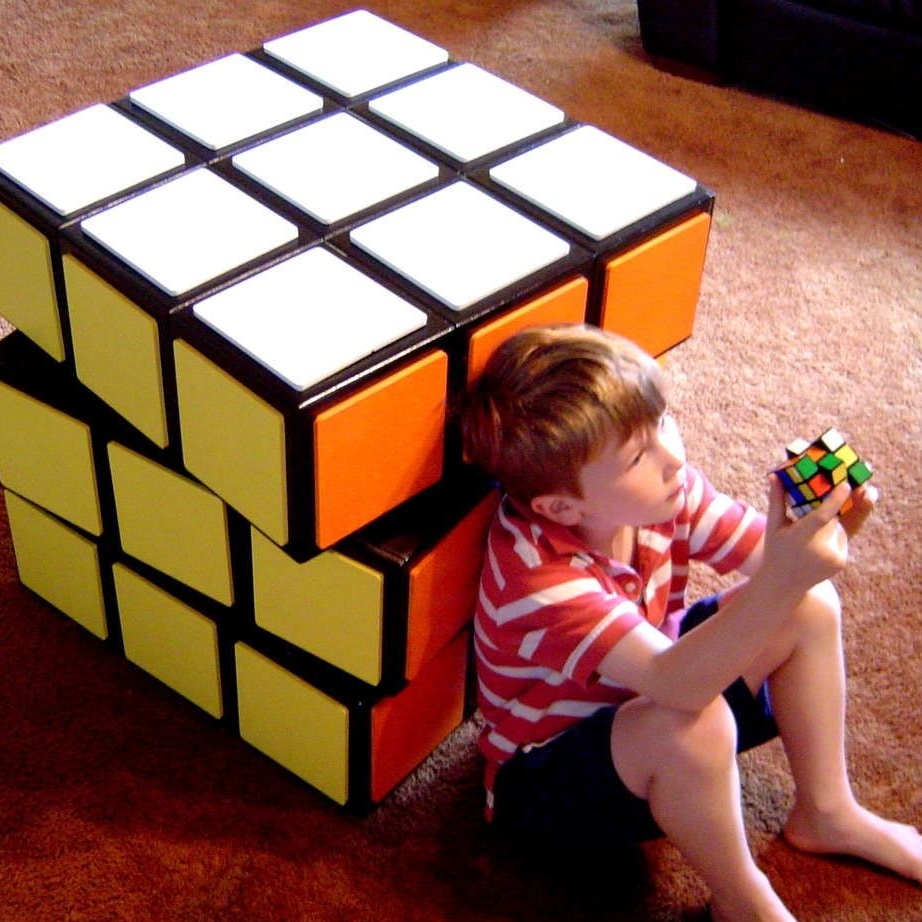
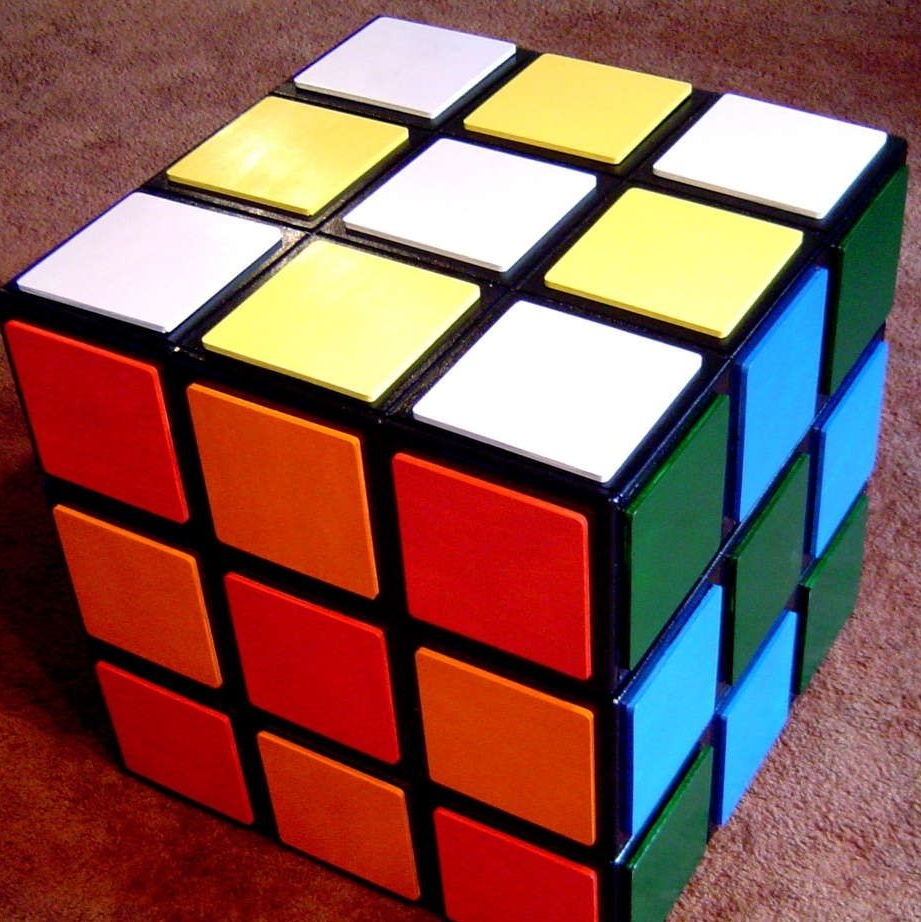
All of us know what the Rubik's Cube is - it is perhaps the most popular and recognizable puzzle to date, which has conquered the whole world. Its interesting design will not leave anyone indifferent. In this article, the author wants to share his work, in which he describes a method for making a chest of drawers in the style of the Rubik's Cube.
To make a chest of drawers, we need the following:
Materials:
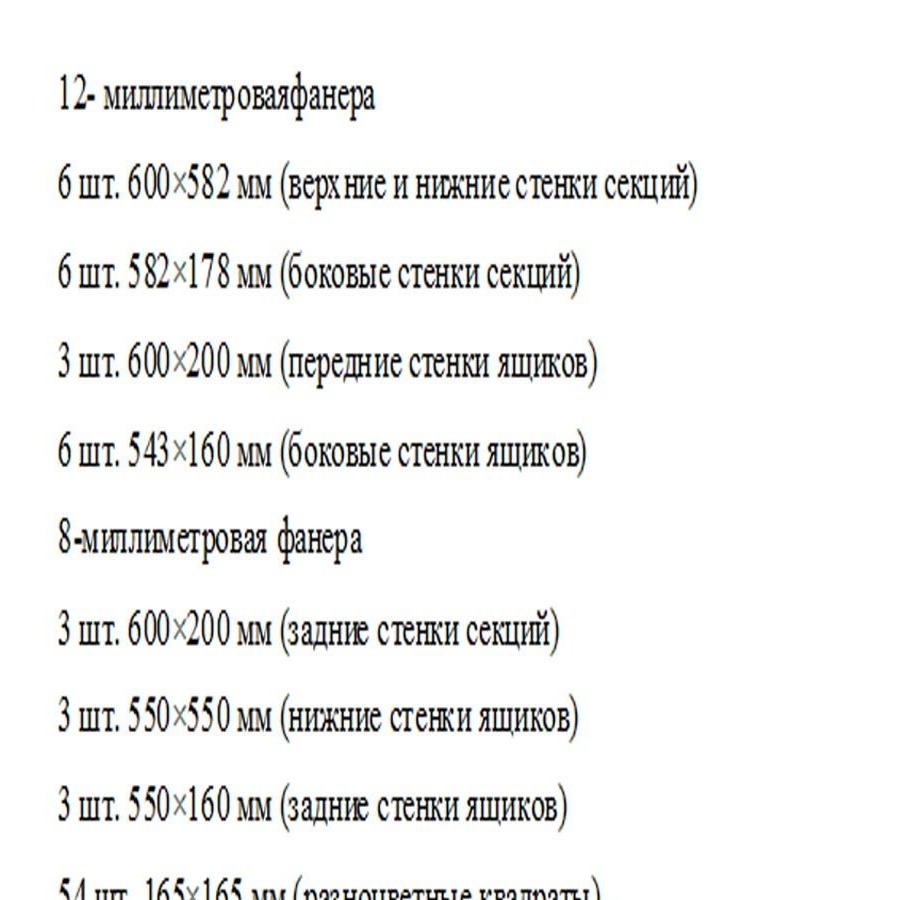
- one and a half sheets of 12 mm plywood;
- one and a half sheets of 6 mm plywood;
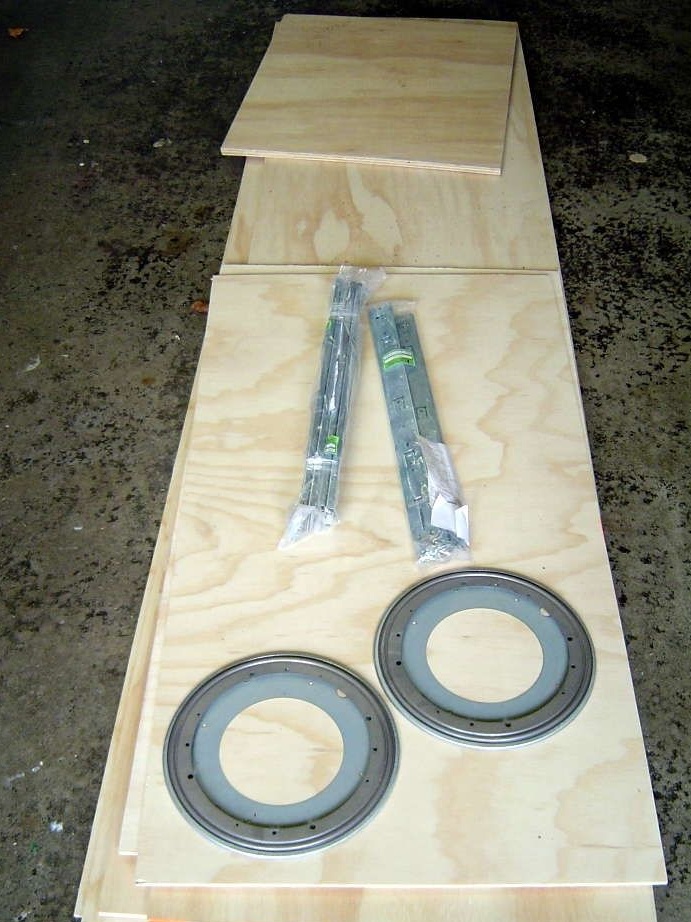
- two rotary furniture mechanisms;
- three pairs of rails for boxes;
- 60 pcs. 12 mm screws;
- 45 small round magnets;
- 54 pcs. steel washers with a diameter of 10 mm;
- 54 wooden pins 6 * 30 mm, cut in half;
- carpentry glue;
- epoxy adhesive;
- nails without caps;
- primer;
- glossy paint in six colors;
- black glossy paint.
Instruments:
- a circular saw;
- table miter saw;
- Sander;
- drill / screwdriver with a cork drill;
- a nuler;
- manual frezer.

Let's start manufacturing.
According to these sizes we do plywood cutting.
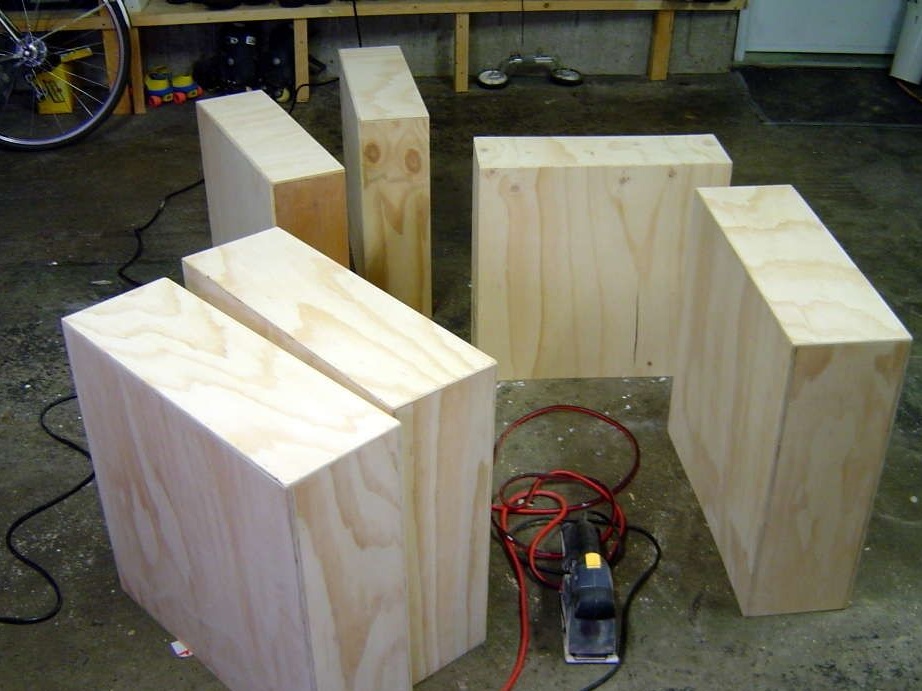
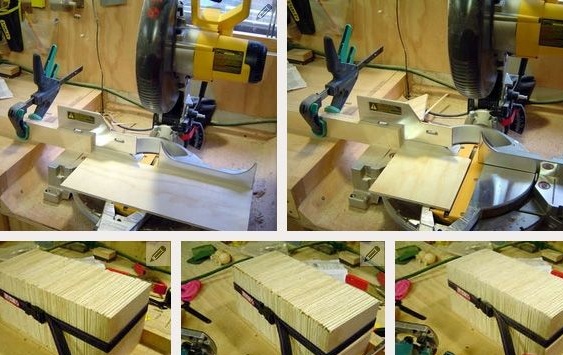
Using a manual circular saw and a board as a guide, we cut the blanks.
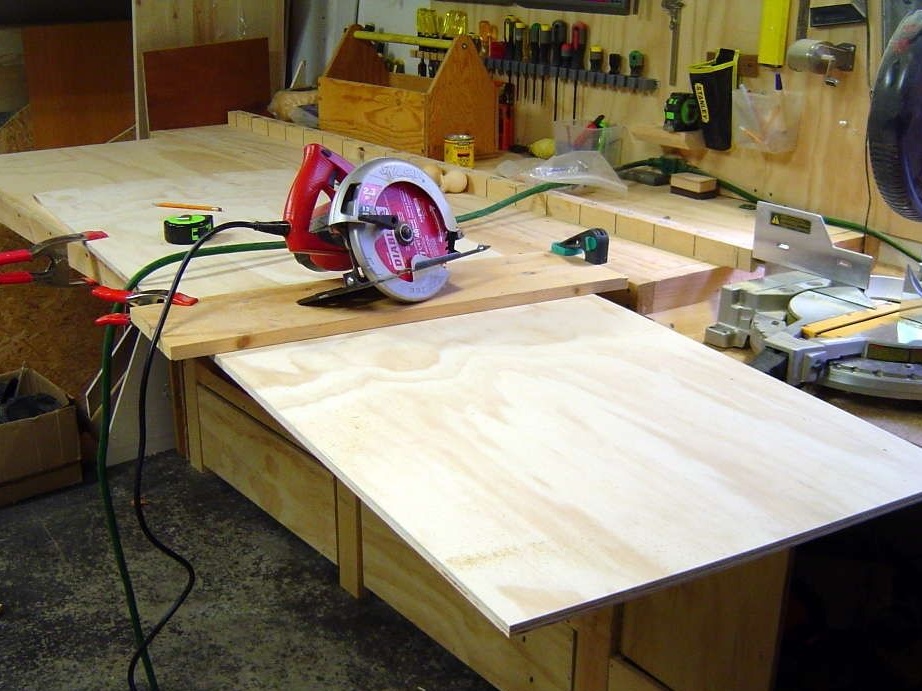
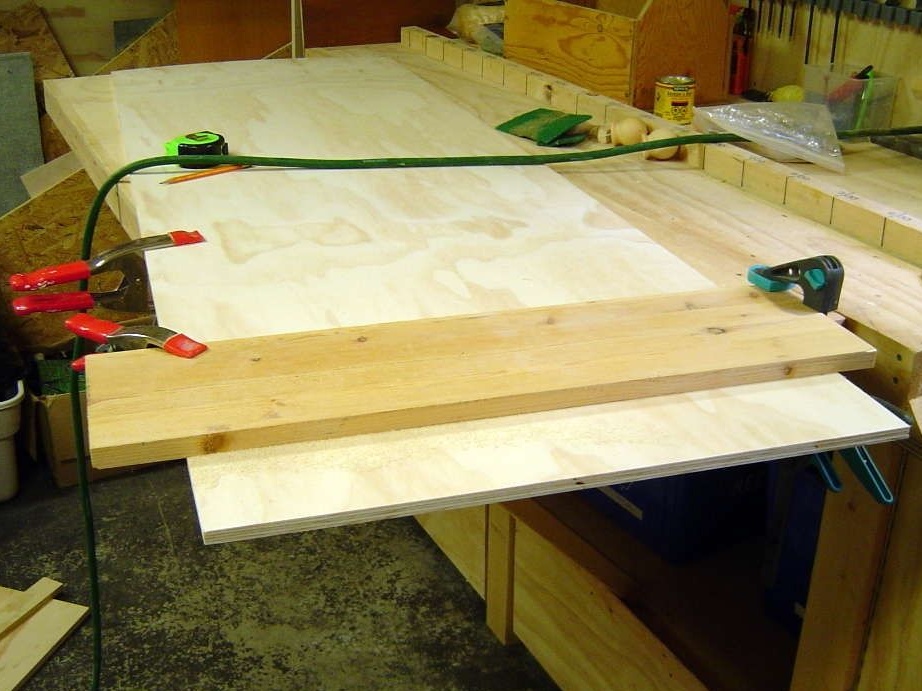

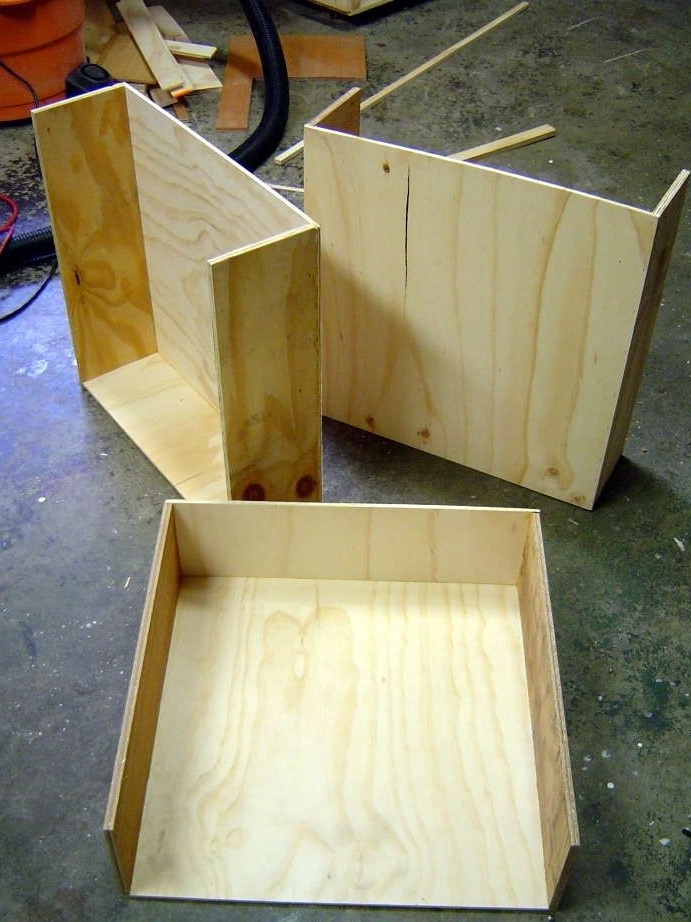
When all the elements of the parts are cut into the desired segments, you can start assembling.
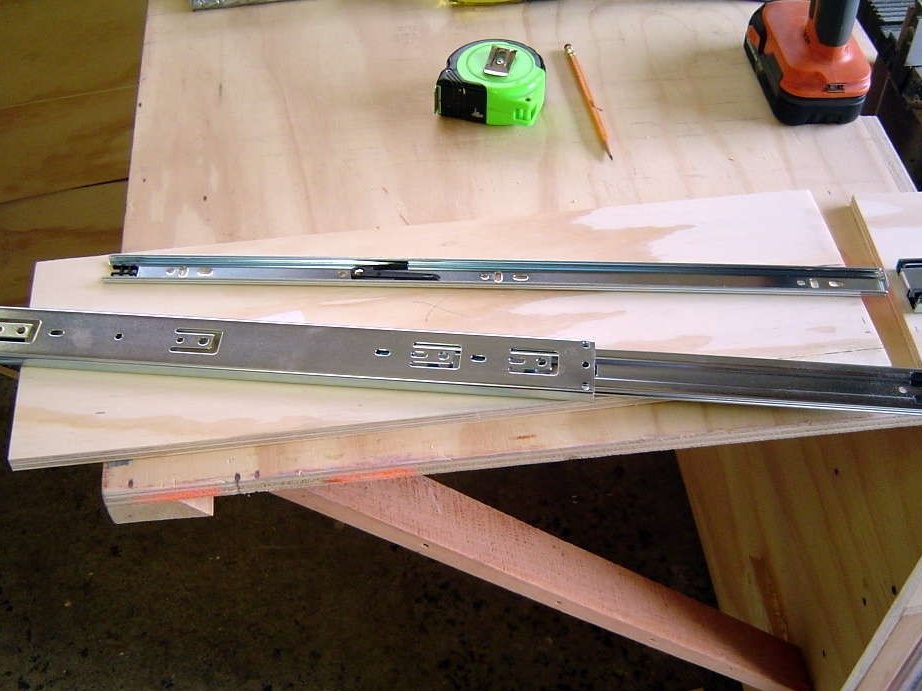
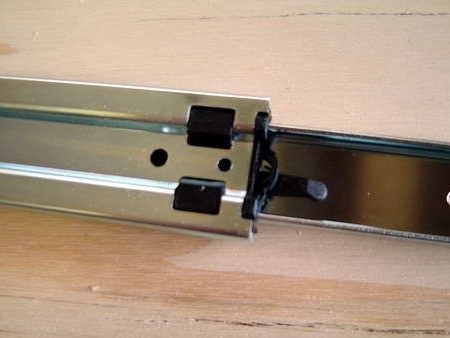
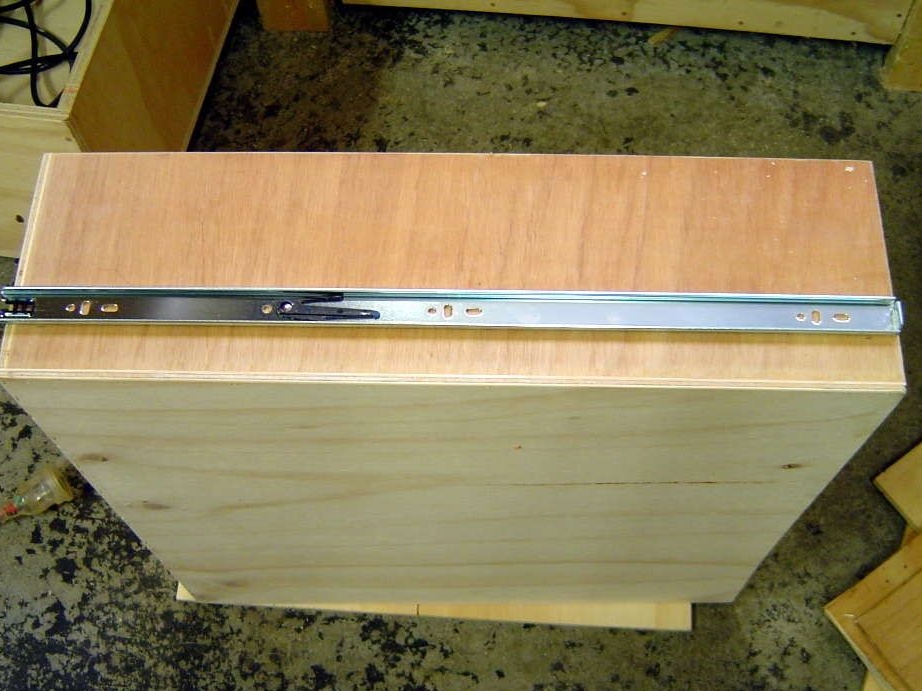
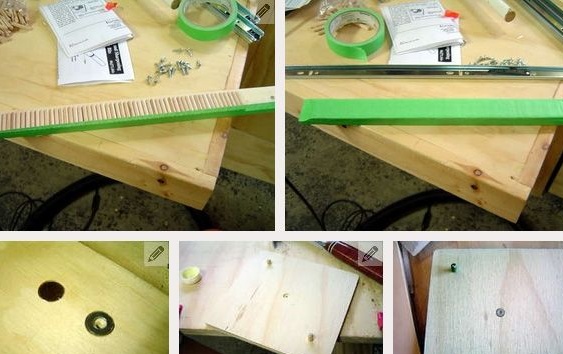
To begin with, we will install special guide rails for drawers. We retreat 5 mm from the front side edge and fasten them strictly in level.
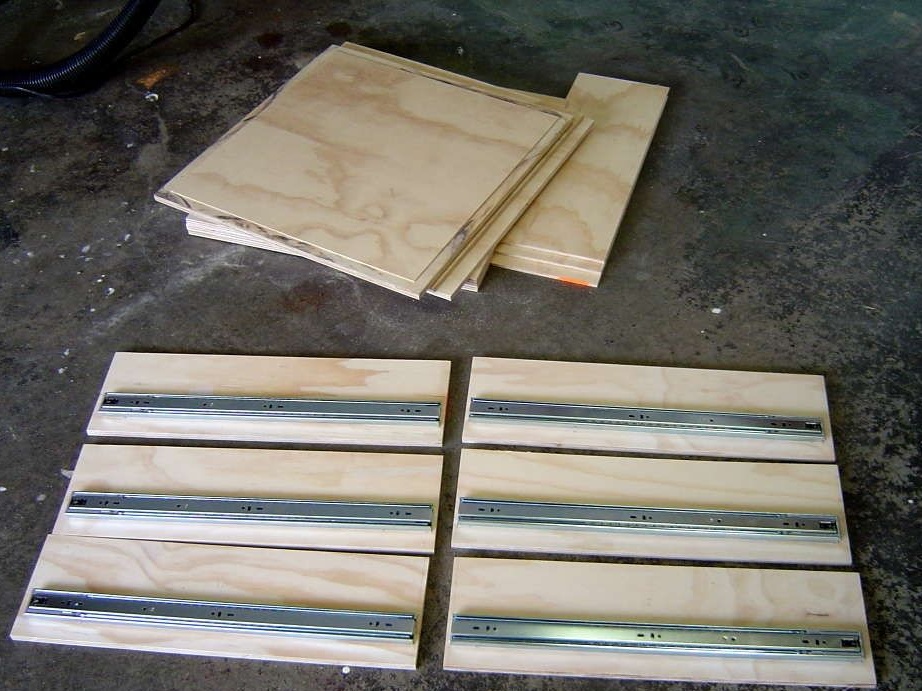
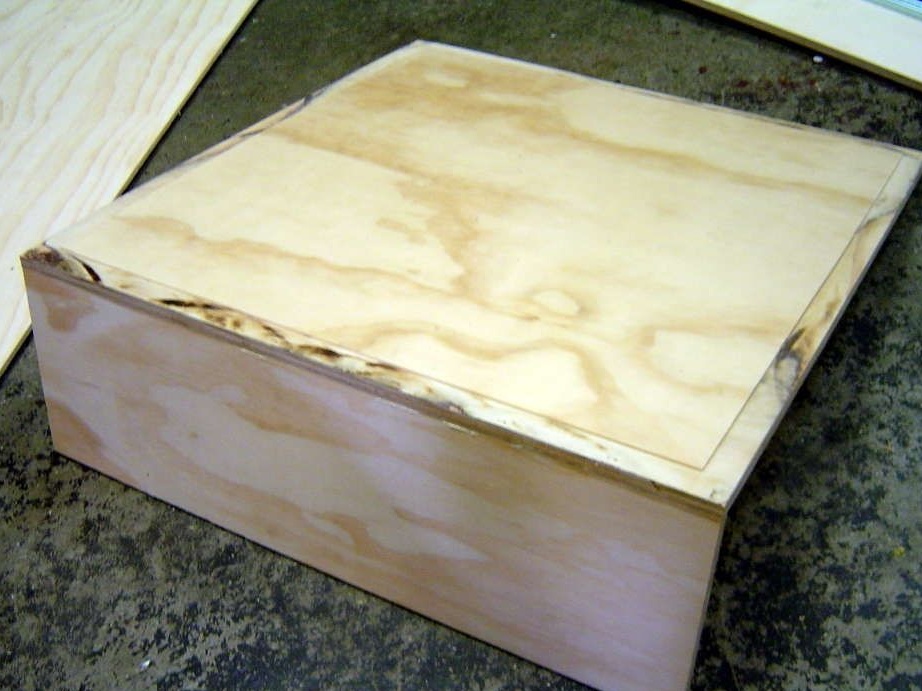
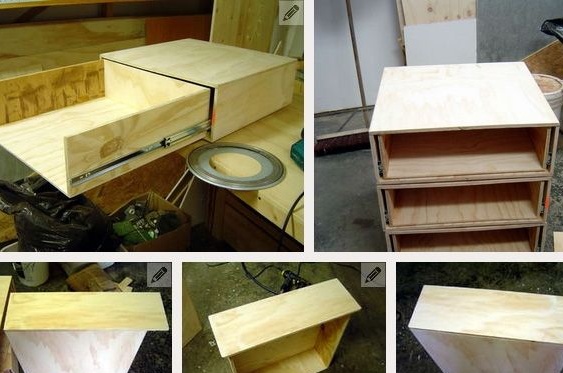
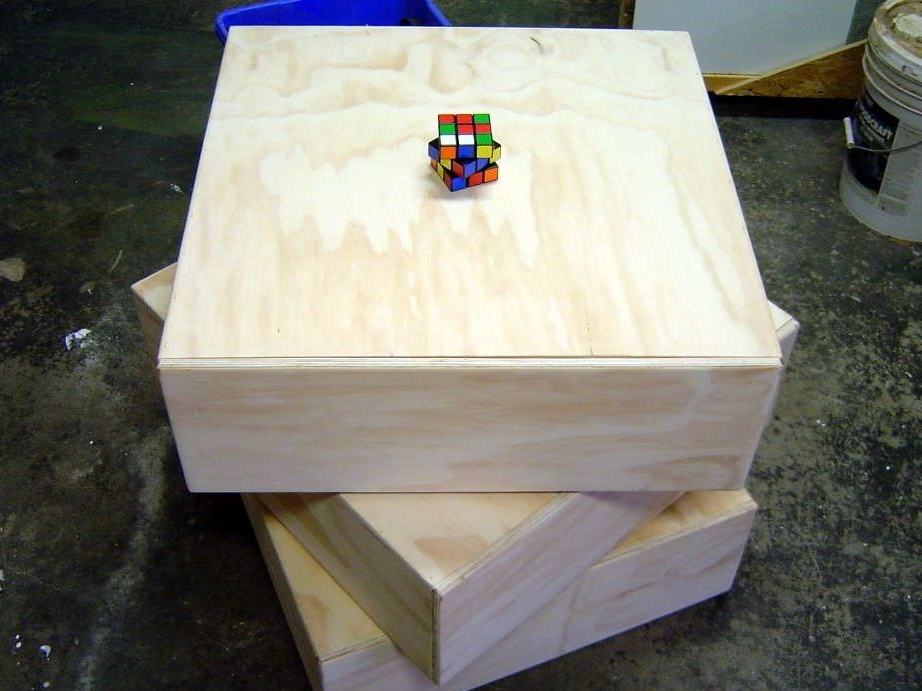
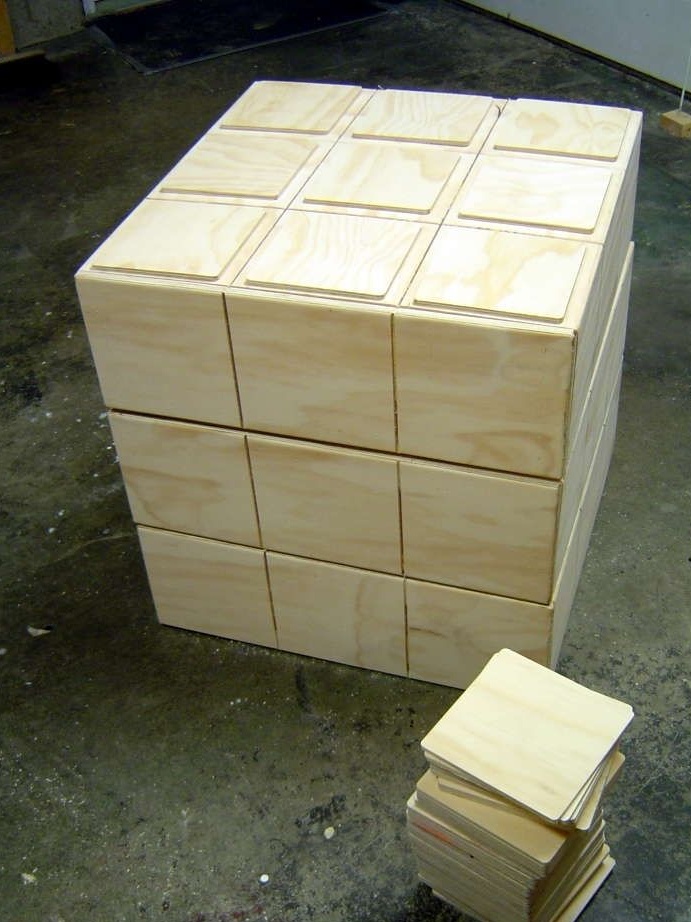
Putting the pieces together. We fix them with nails and wood glue. After everything has dried, the surface needs to be sanded, all voids need to be filled with wood putty, and then sanded again with sandpaper.
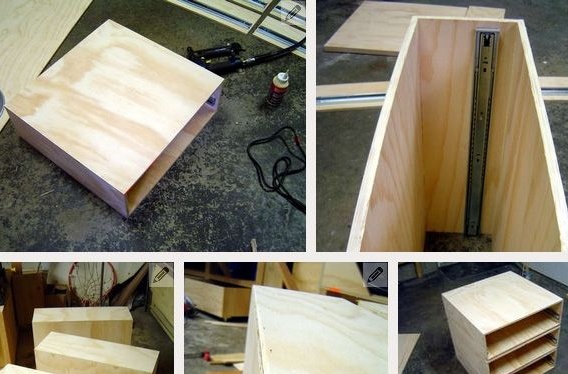
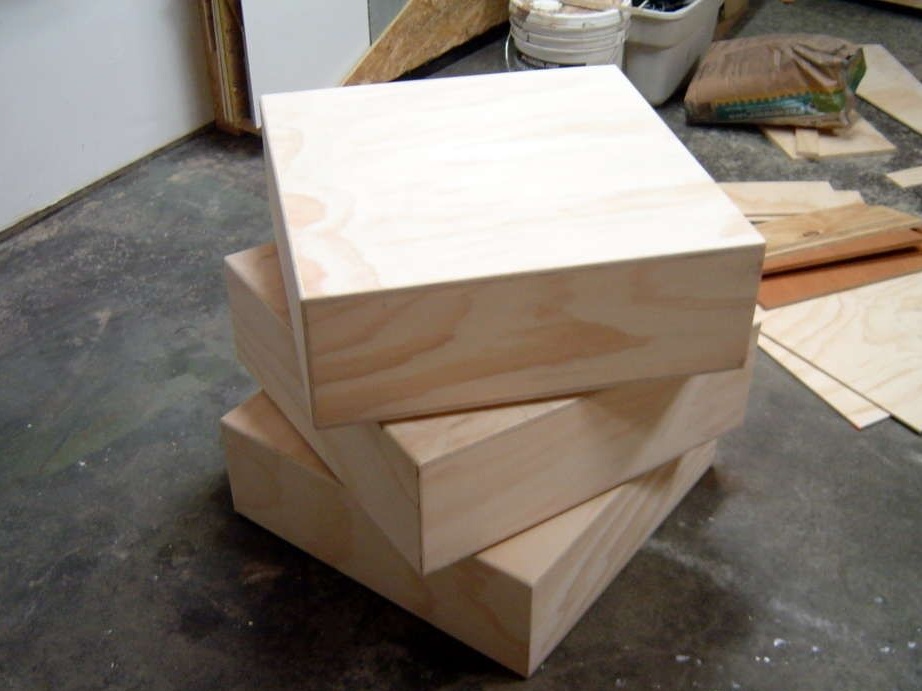
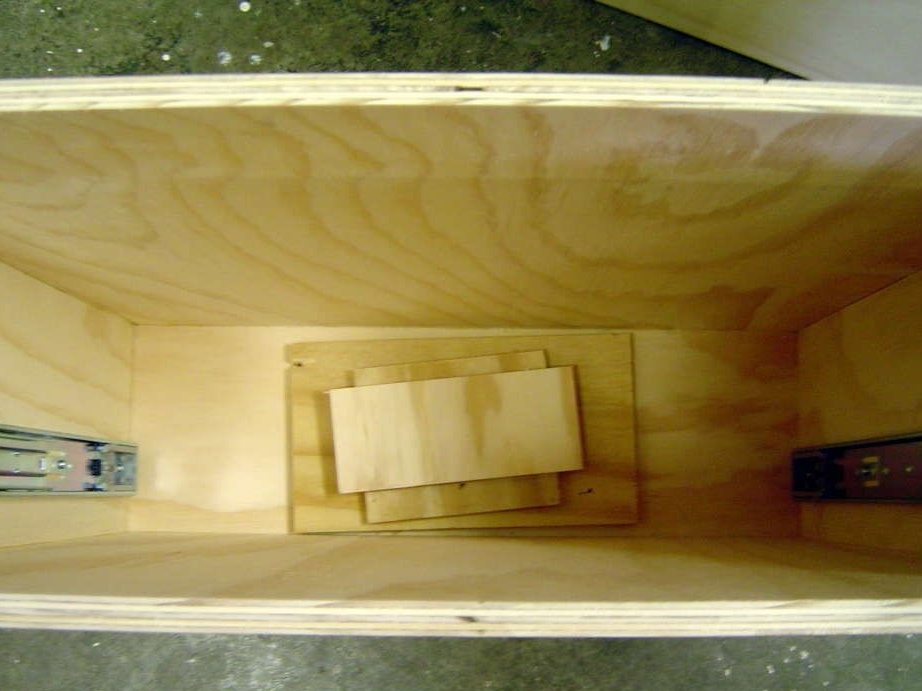
Next, you need to make three drawers without front and top walls, they must freely pass inside the sections. The side walls are made of 12 mm plywood, and the upper and lower 8 mm. After they have been collected, it is also necessary to fill in the existing voids with putty, and grind it.
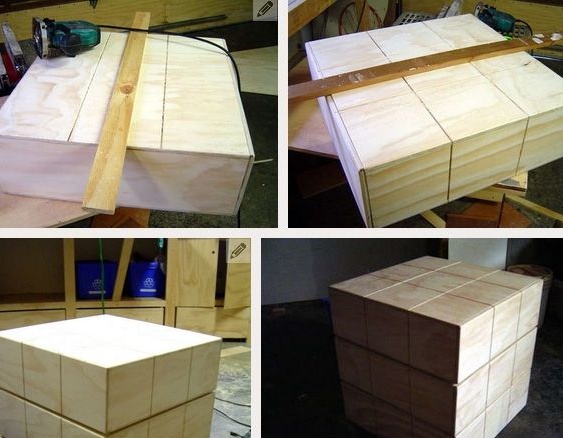
Install the front parts of the boxes. Then on the side parts we fasten the guide rails. We install them in order to make sure that they go to the end. Next, you need to put a chest of drawers on the back wall. After that, we take the scraps of cardboard or plywood and gradually put them under the rear walls of the shelves, until the shelves are on par with the front ends of the side walls. Next, we install the front walls of the boxes, try to align them well, then with the help of nails and carpentry glue, you need to fix them.The sharp parts should be slightly rounded, after which we fill the voids and sand the surface.
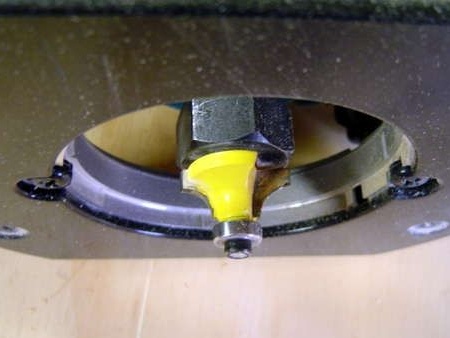
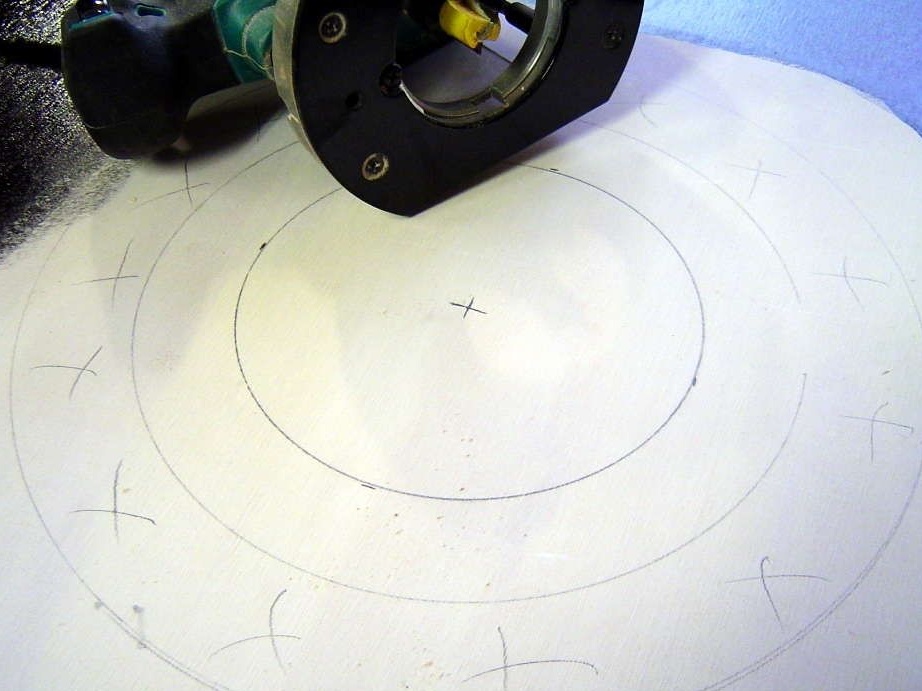
Next, using a manual router on the contour of the boxes, you need to make grooves, they are needed so that visually it seems that the weight of all sections of the cube can rotate, both horizontally and vertically.
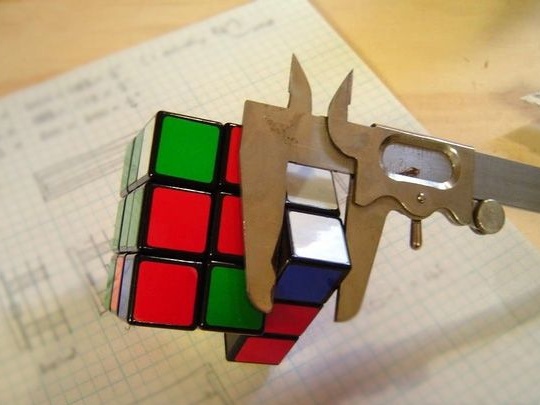
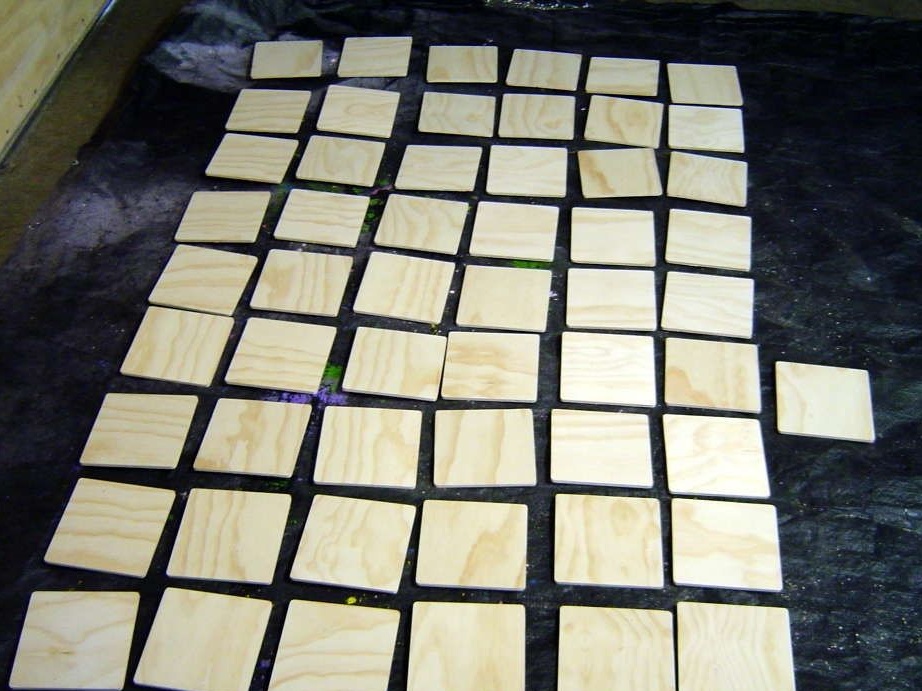
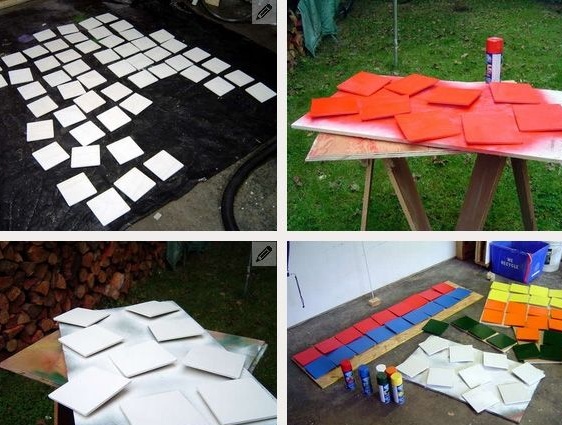
Now, following the original design of the Rubik's Cube, you need to make 54 square elements. Berm rubik's cube and measure the sides of the squares with a vernier caliper, they were 19.1 mm, and the sticker’s height was 15.6 mm, but we take the following dimensions: height 200 mm, and the dimensions of the so-called “stickers” 165 * 165 mm. We make these “sticker” squares from 8 mm plywood. When all the elements are cut, you need to use a grinder to round off all the corners and sharp parts.
Next, you need to remove the boxes, and unscrew the guide rails.
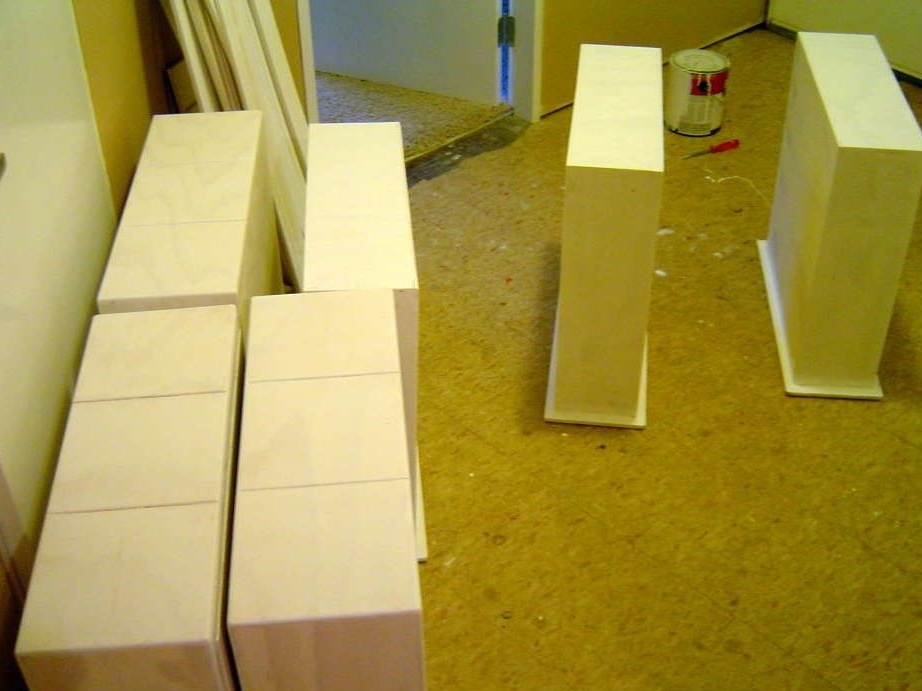
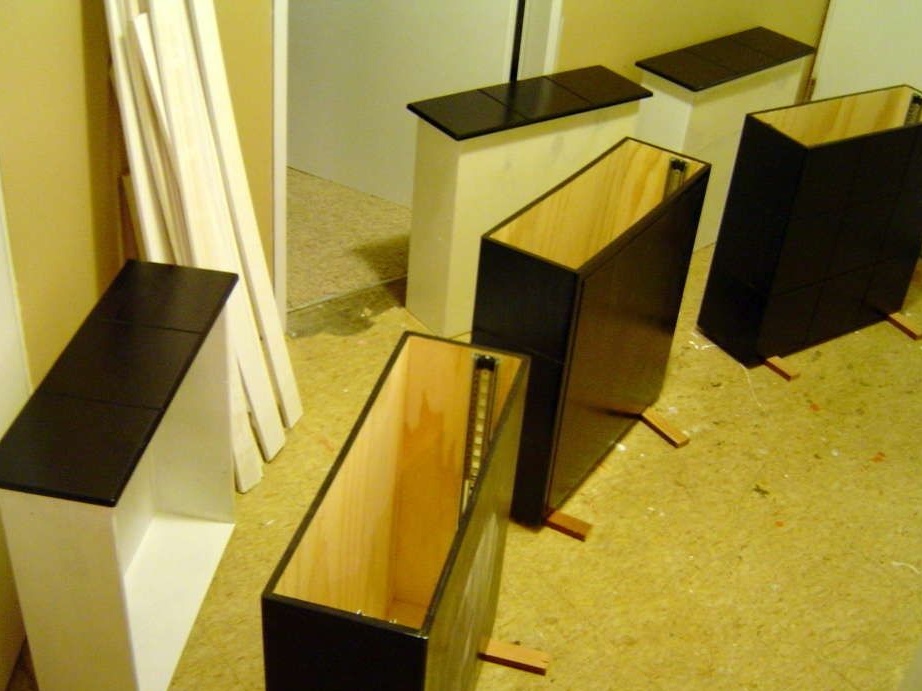
When everything is ready, you need to primer the entire surface, except for the internal parts, since they will not be visible. Then, using glossy paint, we paint the front walls of the boxes, the surface should look like plastic. To give this similarity, apply two to three layers of paint. Before applying a second coat, the previous surface must be sanded.
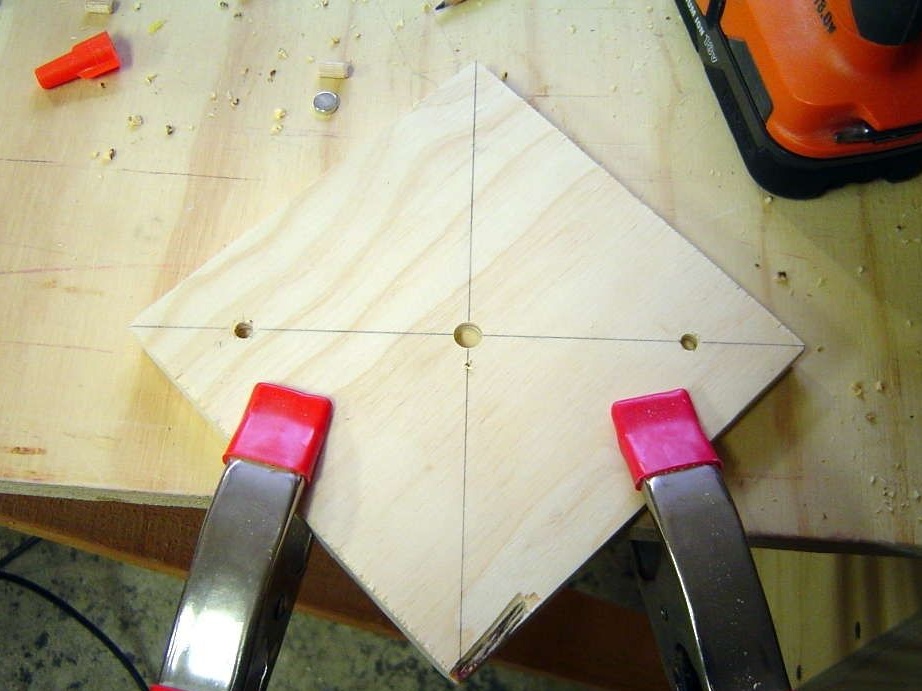
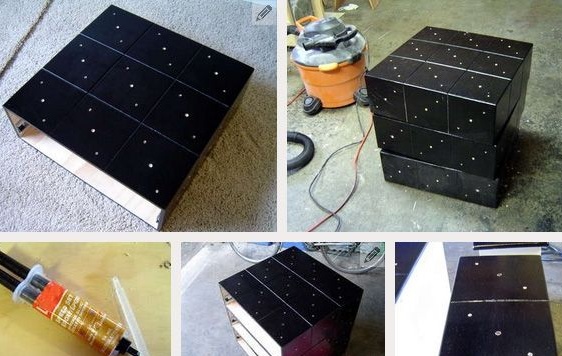
The next step will be the installation of wooden dowels and washers. In order to make marking easier it is necessary to make a special template. In the center of all the squares it is necessary to make a small depression, so that the puck lies flush. We drill holes for dowels with a diameter so that they come in with little effort during installation. We make holes not through, but about half the thickness of the plywood. Wooden dowels should be cut into two equal parts, then with the help of carpentry glue to fix them in the holes.
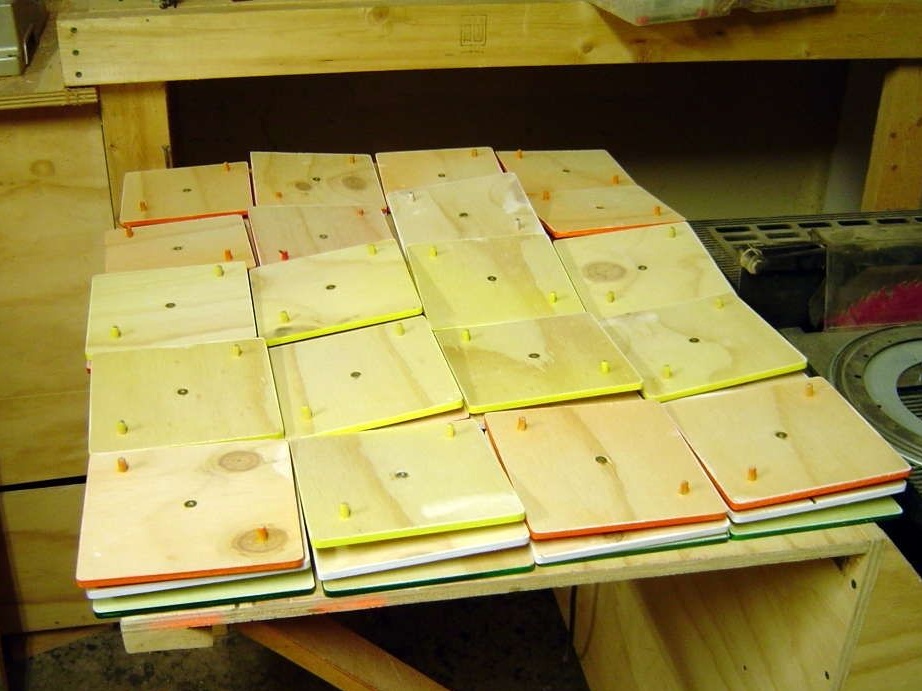
When the previous operation is completed, you can start priming all the squares, and then with the help of paint we color them in color, according to the original. Apply several coats of paint.
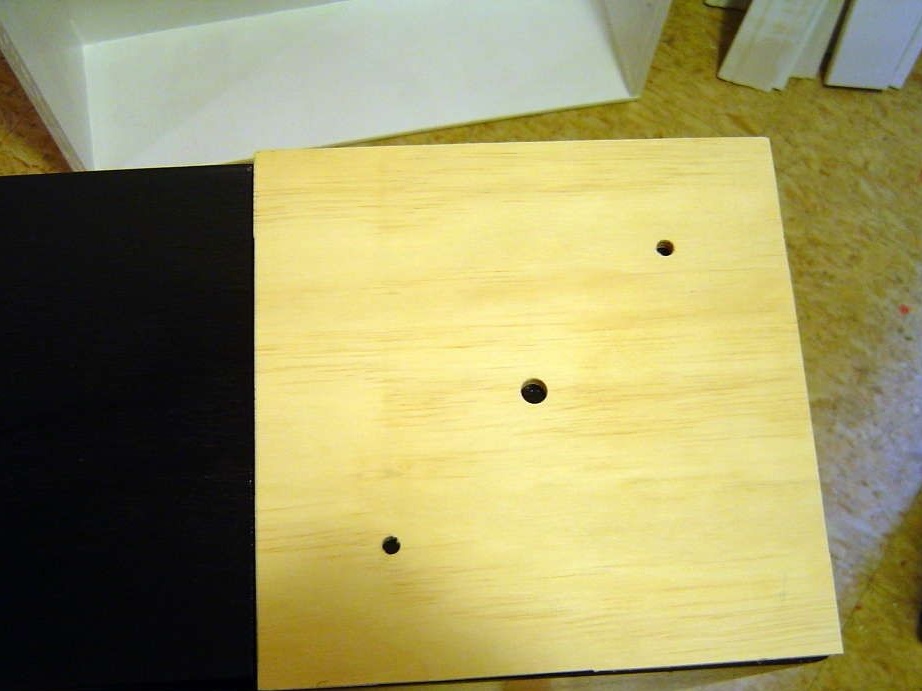
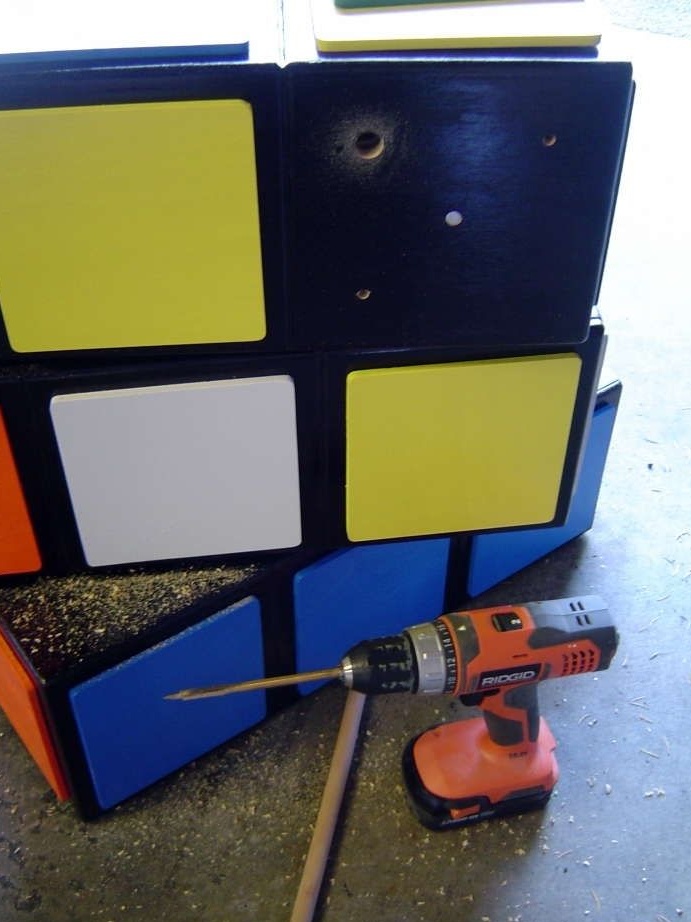
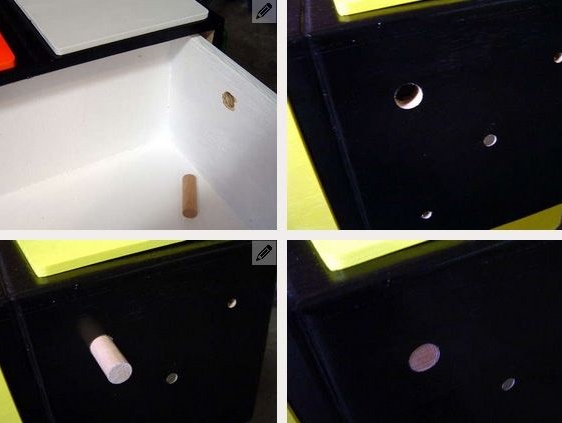
Next, on the surface of the case, we drill holes for wooden dowels and magnets. To do this, use the template made earlier. All holes for dowels must be made wider than the diameter of the dowel itself. Then, with the help of a cork drill, we make recesses for magnets, we fix them with glue.
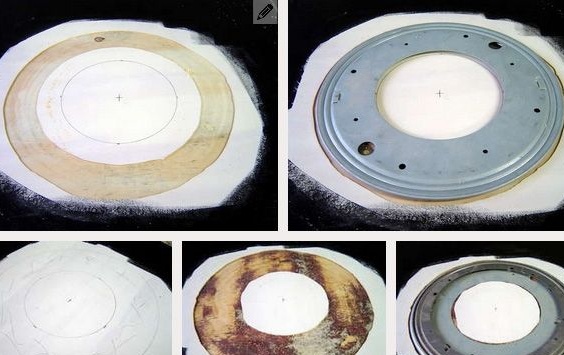
Next, you need to install a mechanism for rotating the structure. Since the standard low-profile rotary mechanism has a height of 9 mm, and we do not need such a gap between the parts, since it is too large, we mark the outline of the mechanism in the lower and upper parts of the sections. Now with the help of a manual mill, you need to make small indentations to a depth of 3 mm, as shown in the photo. In order to center the mechanism, we fix one of the parts with screws and the other with glue. During the time when the glue dries, we make adjustment.
If desired, you can put a hidden lock on any box. To do this, you need to drill holes in the side walls of the boxes. In time, when the box is closed, the holes made will coincide, and a wooden dowel can be installed in them, it will not allow the box to open. After all the colored squares are installed, the location of the locks will be hidden.
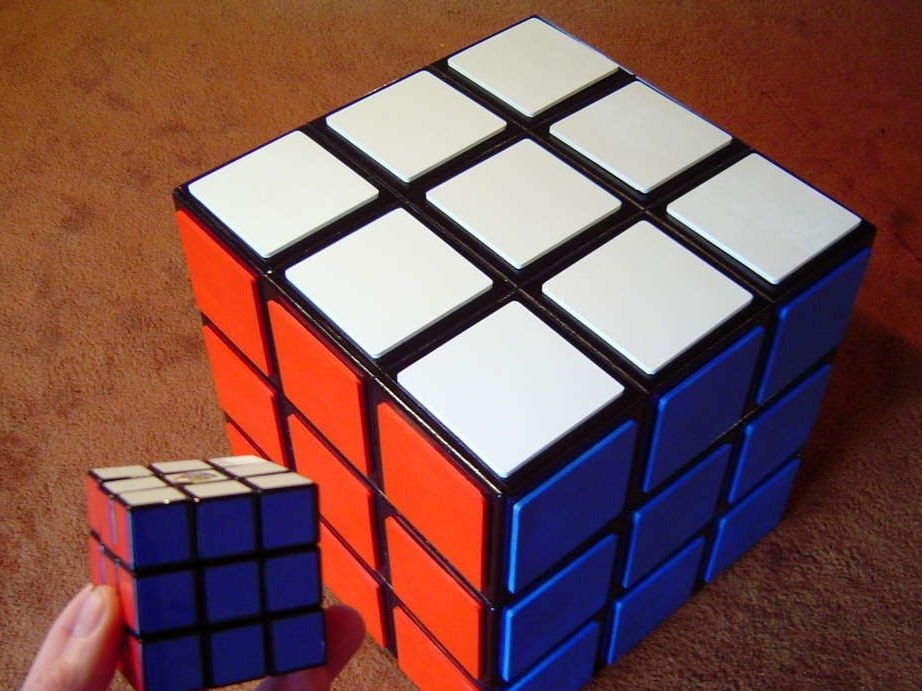
Next, we install the colored square parts, they can be set in different variations, it is not necessary to adhere to the same color.
The chest of drawers in the style of the Rubik's Cube is ready. Thanks to its unique design, it fits perfectly into any interior, and will especially look good in a children's room.

The article is over, thank you all for your attention!