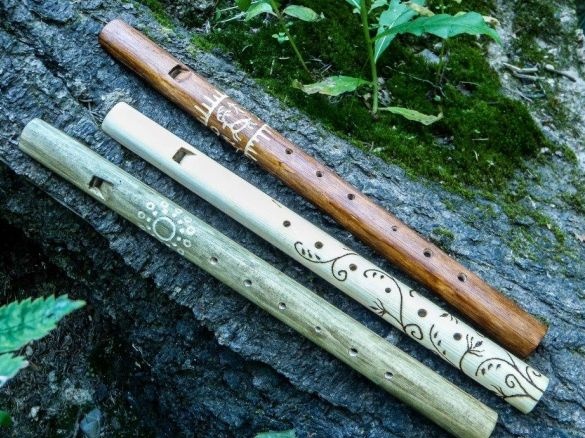
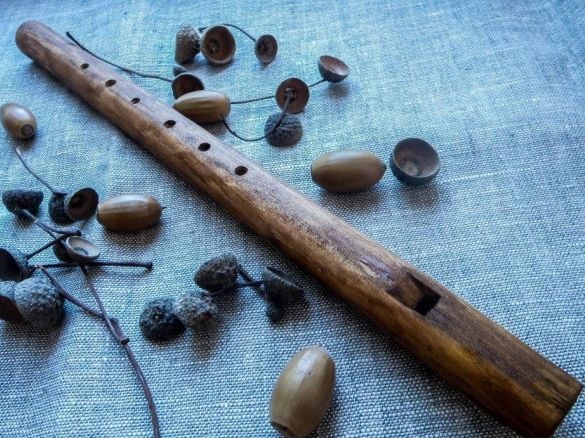
A pipe, which is also called ("sniffle", "tsevnitsa" or simply "pipe") - it is one of the types of flutes that was very common in Russia, it is a very old musical instrument. Often shepherds made it in order to entertain themselves and others during monotonous work. As a rule, a flute was made of reeds, reeds or other hollow material. In this article, the author will tell and show his method of manufacturing, following which you can repeat and make a musical instrument do it yourself.
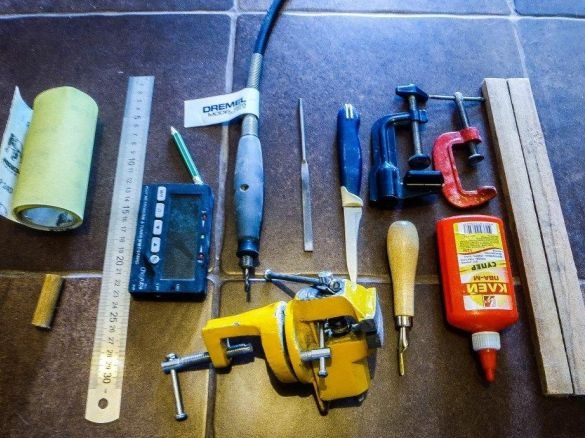
In order to make a pipe, we need the following:
Materials:
- two wooden bars measuring 30 * 2 * 1 cm;
- PVA glue;
- a wooden sleeve with a diameter of 1.5 cm and a length of 4 cm.
Instruments:
- ruler;
- sandpaper;
- a pencil;
- tuner;
- small vise;
- file;
- drill;
- drills of different diameters from 0.8 to 4.2 mm;
- knife;
- semicircular incisor;
- two clamps.
Let's start manufacturing.
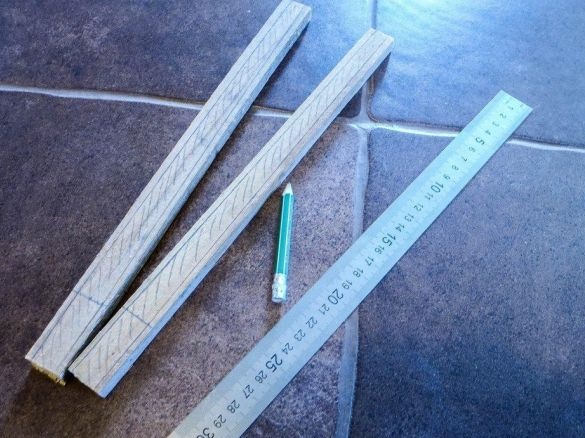
To do this, take two bars and mark them on them. It is necessary to draw the boundaries of the inside of the pipe. The inner channel should narrow slightly, for this on the one hand you need to make a width of 1.5 cm, and on the other - 1 cm.
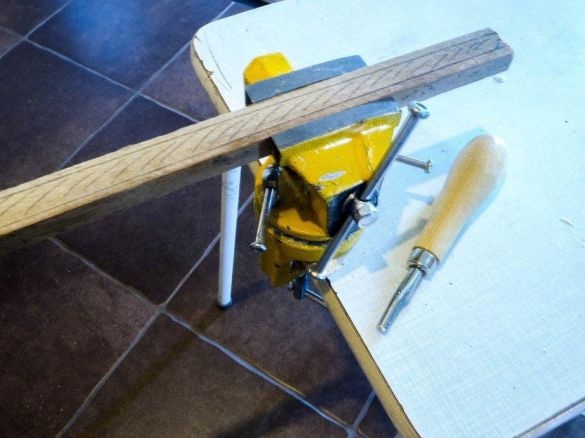
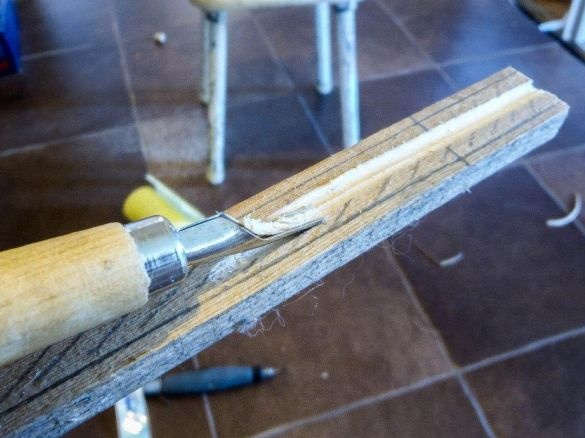
Now we take one whetstone and clamp it in tees, with the help of a semicircular cutter we begin to cut out the internal channel.
We try to carry out this operation slowly, removing layer by layer, and we also need to monitor in which direction the wood fibers are.
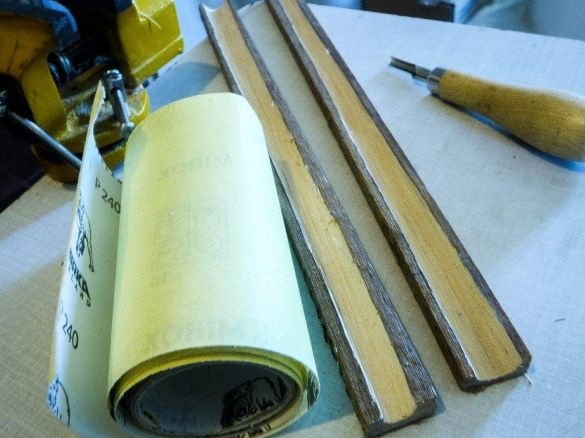
You should get an even semicircle along the entire length of the workpiece. On the second workpiece we perform a similar operation. When everything is ready, you need to clean the internal channels with sandpaper, they should be smooth.
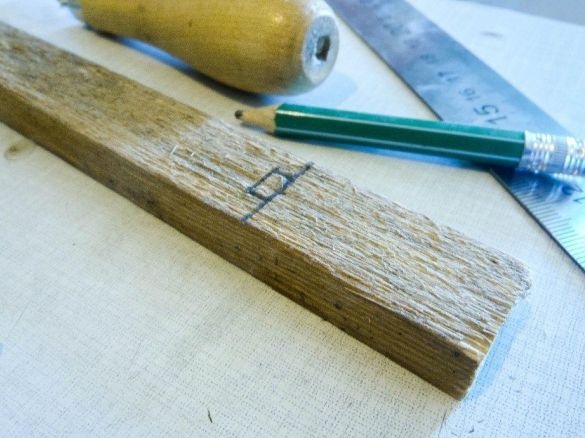
Next, let's move on to making the whistle. To do this, you need to deviate 4 cm from the top (where the wide end of the channel is located), draw a small rectangle using a ruler and pencil, it should be 5-7 mm, and should be centered.
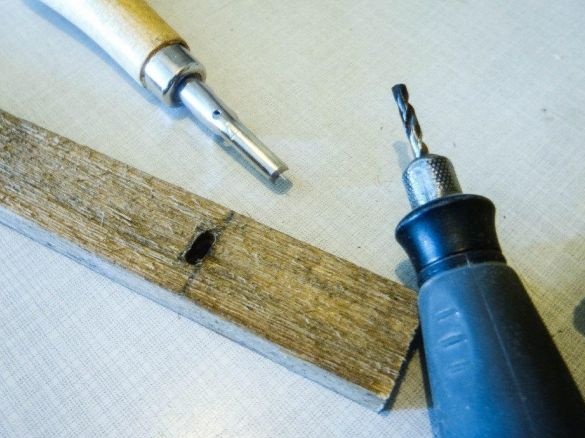
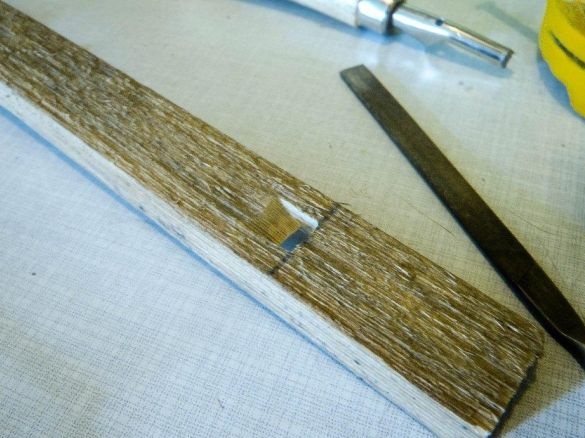
Next, using a drill with a drill diameter of 4.2 mm, you need to make several holes that need to be combined into one oval window.
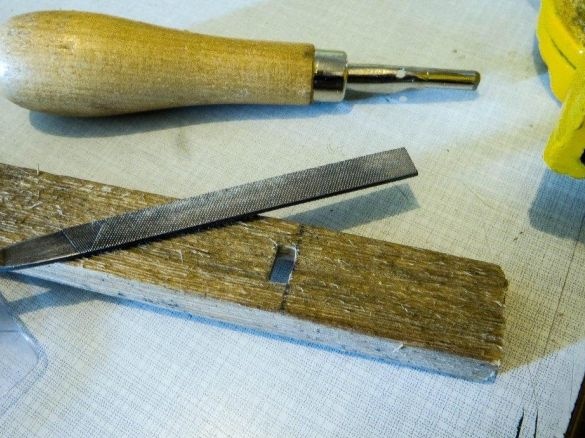
Then we take a flat file and make a rectangular window.
Next, using the same file, you need to make a small angular recess, approximately 30-45˚ - this part of the work is very responsible, on how sharp and smooth the edge will be, the sound quality of the instrument will depend on it in the future.
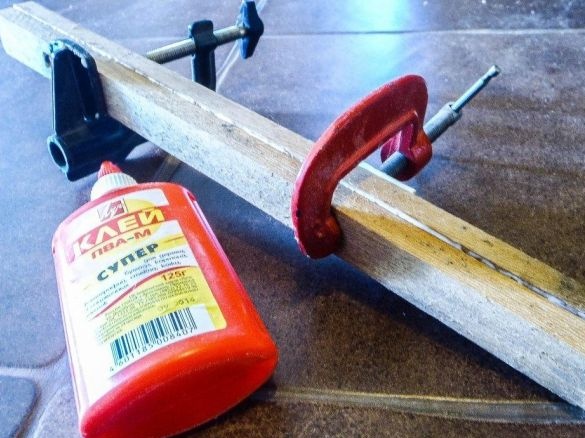
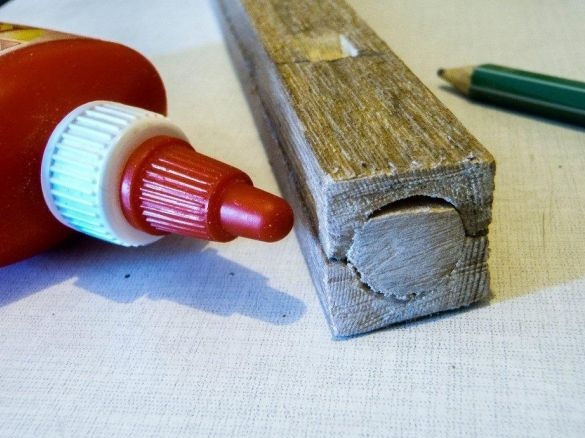
Now we take two halves and connect them together, fix with PVA glue. In order to avoid displacements and the parts glued together qualitatively, we use clamping clamps. Let the product dry for a couple of hours.
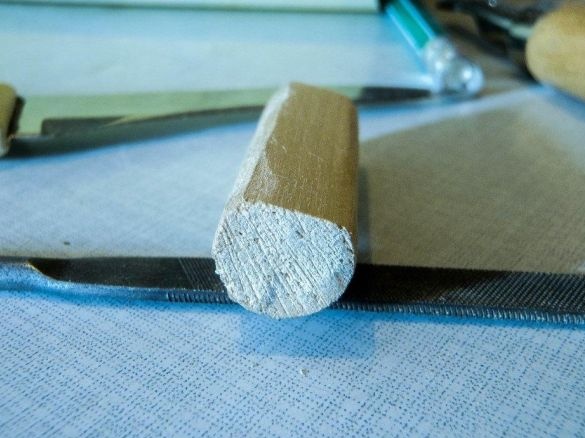
When the product is completely dry, remove the clamps. Now you need to take the wooden sleeve and use a knife to cut off the upper part, about 1.5 mm. You should get a flat, flat face. The sleeve is fixed with glue. See the photo for more details.
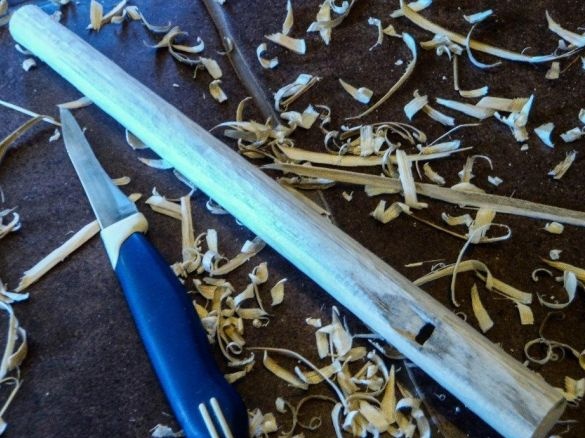
After the glue dries, we give the pipes a rounded shape, for this we use a knife. Further along the surface of the workpiece we pass sandpaper.
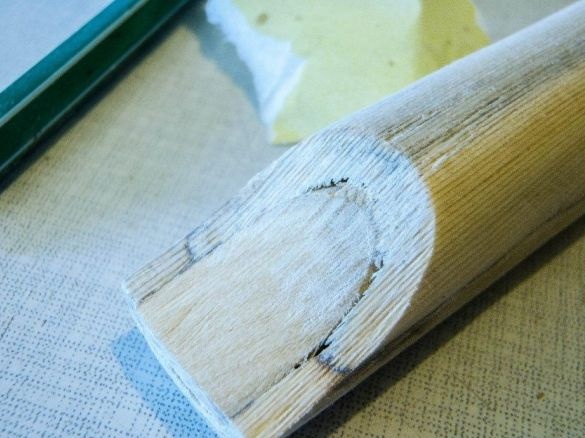
In order to make the instrument convenient to play, you need to cut off the upper part of the end of the pipe in the back.
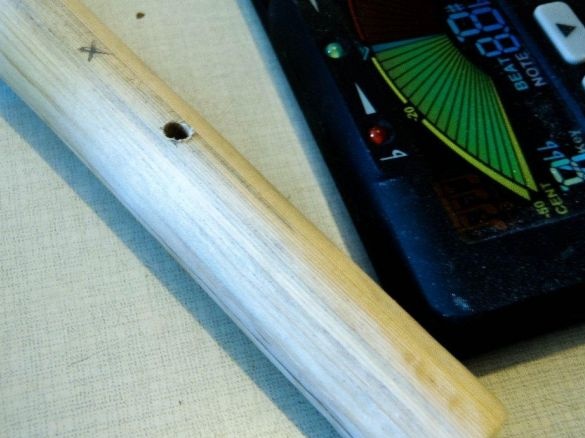
Now the most interesting part of this work is setting up the tool. The first thing to do is blow into the pipe and listen to the sound, we also use the tuner for this. If everything is done correctly - the sound will be sharp, this sound is the lowest that can produce a pipe. This instrument will have 7 notes.
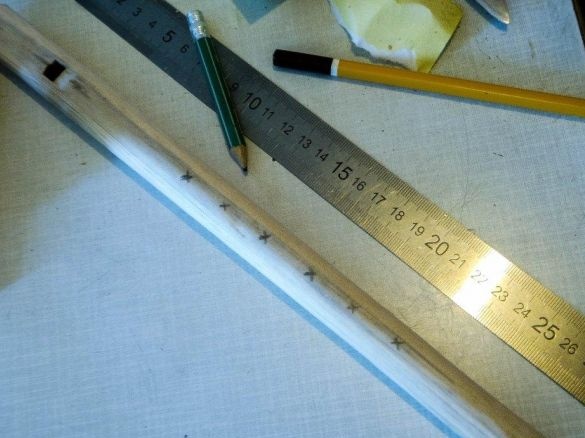
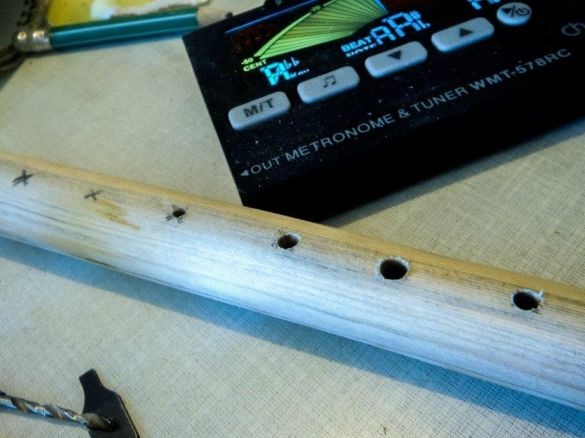
Mark up for six holes. We make the first mark, we will retreat 6 cm from the bottom of the pipe, the rest every 2 cm.
Next, we take drills with different diameters, with which we will configure. Often the flute is tuned in natural major, with such ranks of sounds of A sharp - Do - Re - Red sharp - Fa - Sol - La.
You need to configure according to this principle: the wider the hole is made, the higher the sound. That is why, first you need to make a hole of a small diameter, and then listen to the sound made. If the sound turned out a little higher - you need to drill a hole a little, making it wider. In this process, the main thing is not to overdo it, since the hole cannot be reduced back again.
We drill from the bottom hole. After it is configured, go to the next hole. The second hole should be adjusted with the first open, and so on.
When the setting is done, the flute can be slightly decorated and covered with stain.
The article is finished, thank you all for your attention.

